Next.js Integration Guide
Step-by-step instructions on how to integrate Concord into a Next.js application
Overview
Welcome to our guide on integrating Concord into a Next.js application. We make it easy to integrate Concord into your Next.js applications in just a few minutes and this guide will help you get up and running quickly. This guide includes the following information:
- Initial Concord configuration.
- Google Consent Mode V2 configuration.
- Integrating Concord into a Next.js application.
Getting Started With Concord
As part of the initial onboarding process that occurs when you set up a new organization or project in Concord, you will be able to choose your preferred consent settings, including the Consent Mode (Implied vs. Express), the Blocking mode (how trackers like cookies, scripts, iFrames, etc. are processed and blocked), the Google Consent Mode V2 setting, the Consent Duration (how long consent lasts), and other options (Sensitive Information consent, Do Not Sell, Global Privacy Control, etc.).
During that process, we provide sensible defaults that are recommended as the default global settings, but those settings can always be adjusted and additional regions can also be added and customized later in all paid plans.
For more details on this process or to complete it for the first time, please follow the instructions in this guide: Getting Started
If you utilize Google services like Google Analytics, Google Tag Manager, or Google Ads, we also recommend configuring and verifying Google Consent Mode V2, which allows you to adjust how and when data is shared with Google based on user consent collected via the Concord Consent Banner & Privacy Center.
To learn more about Google Consent Mode V2 and the recommended settings, please refer to this document: Understanding & Configuring Google Consent Mode (GCM) V2
Integrating Concord Into a Next.js Application
The final step is to Integrate Concord into your Next.js application, which typically takes just a few minutes. Please follow the instructions below to complete this part of the process using the latest version of Next.js and the app router:
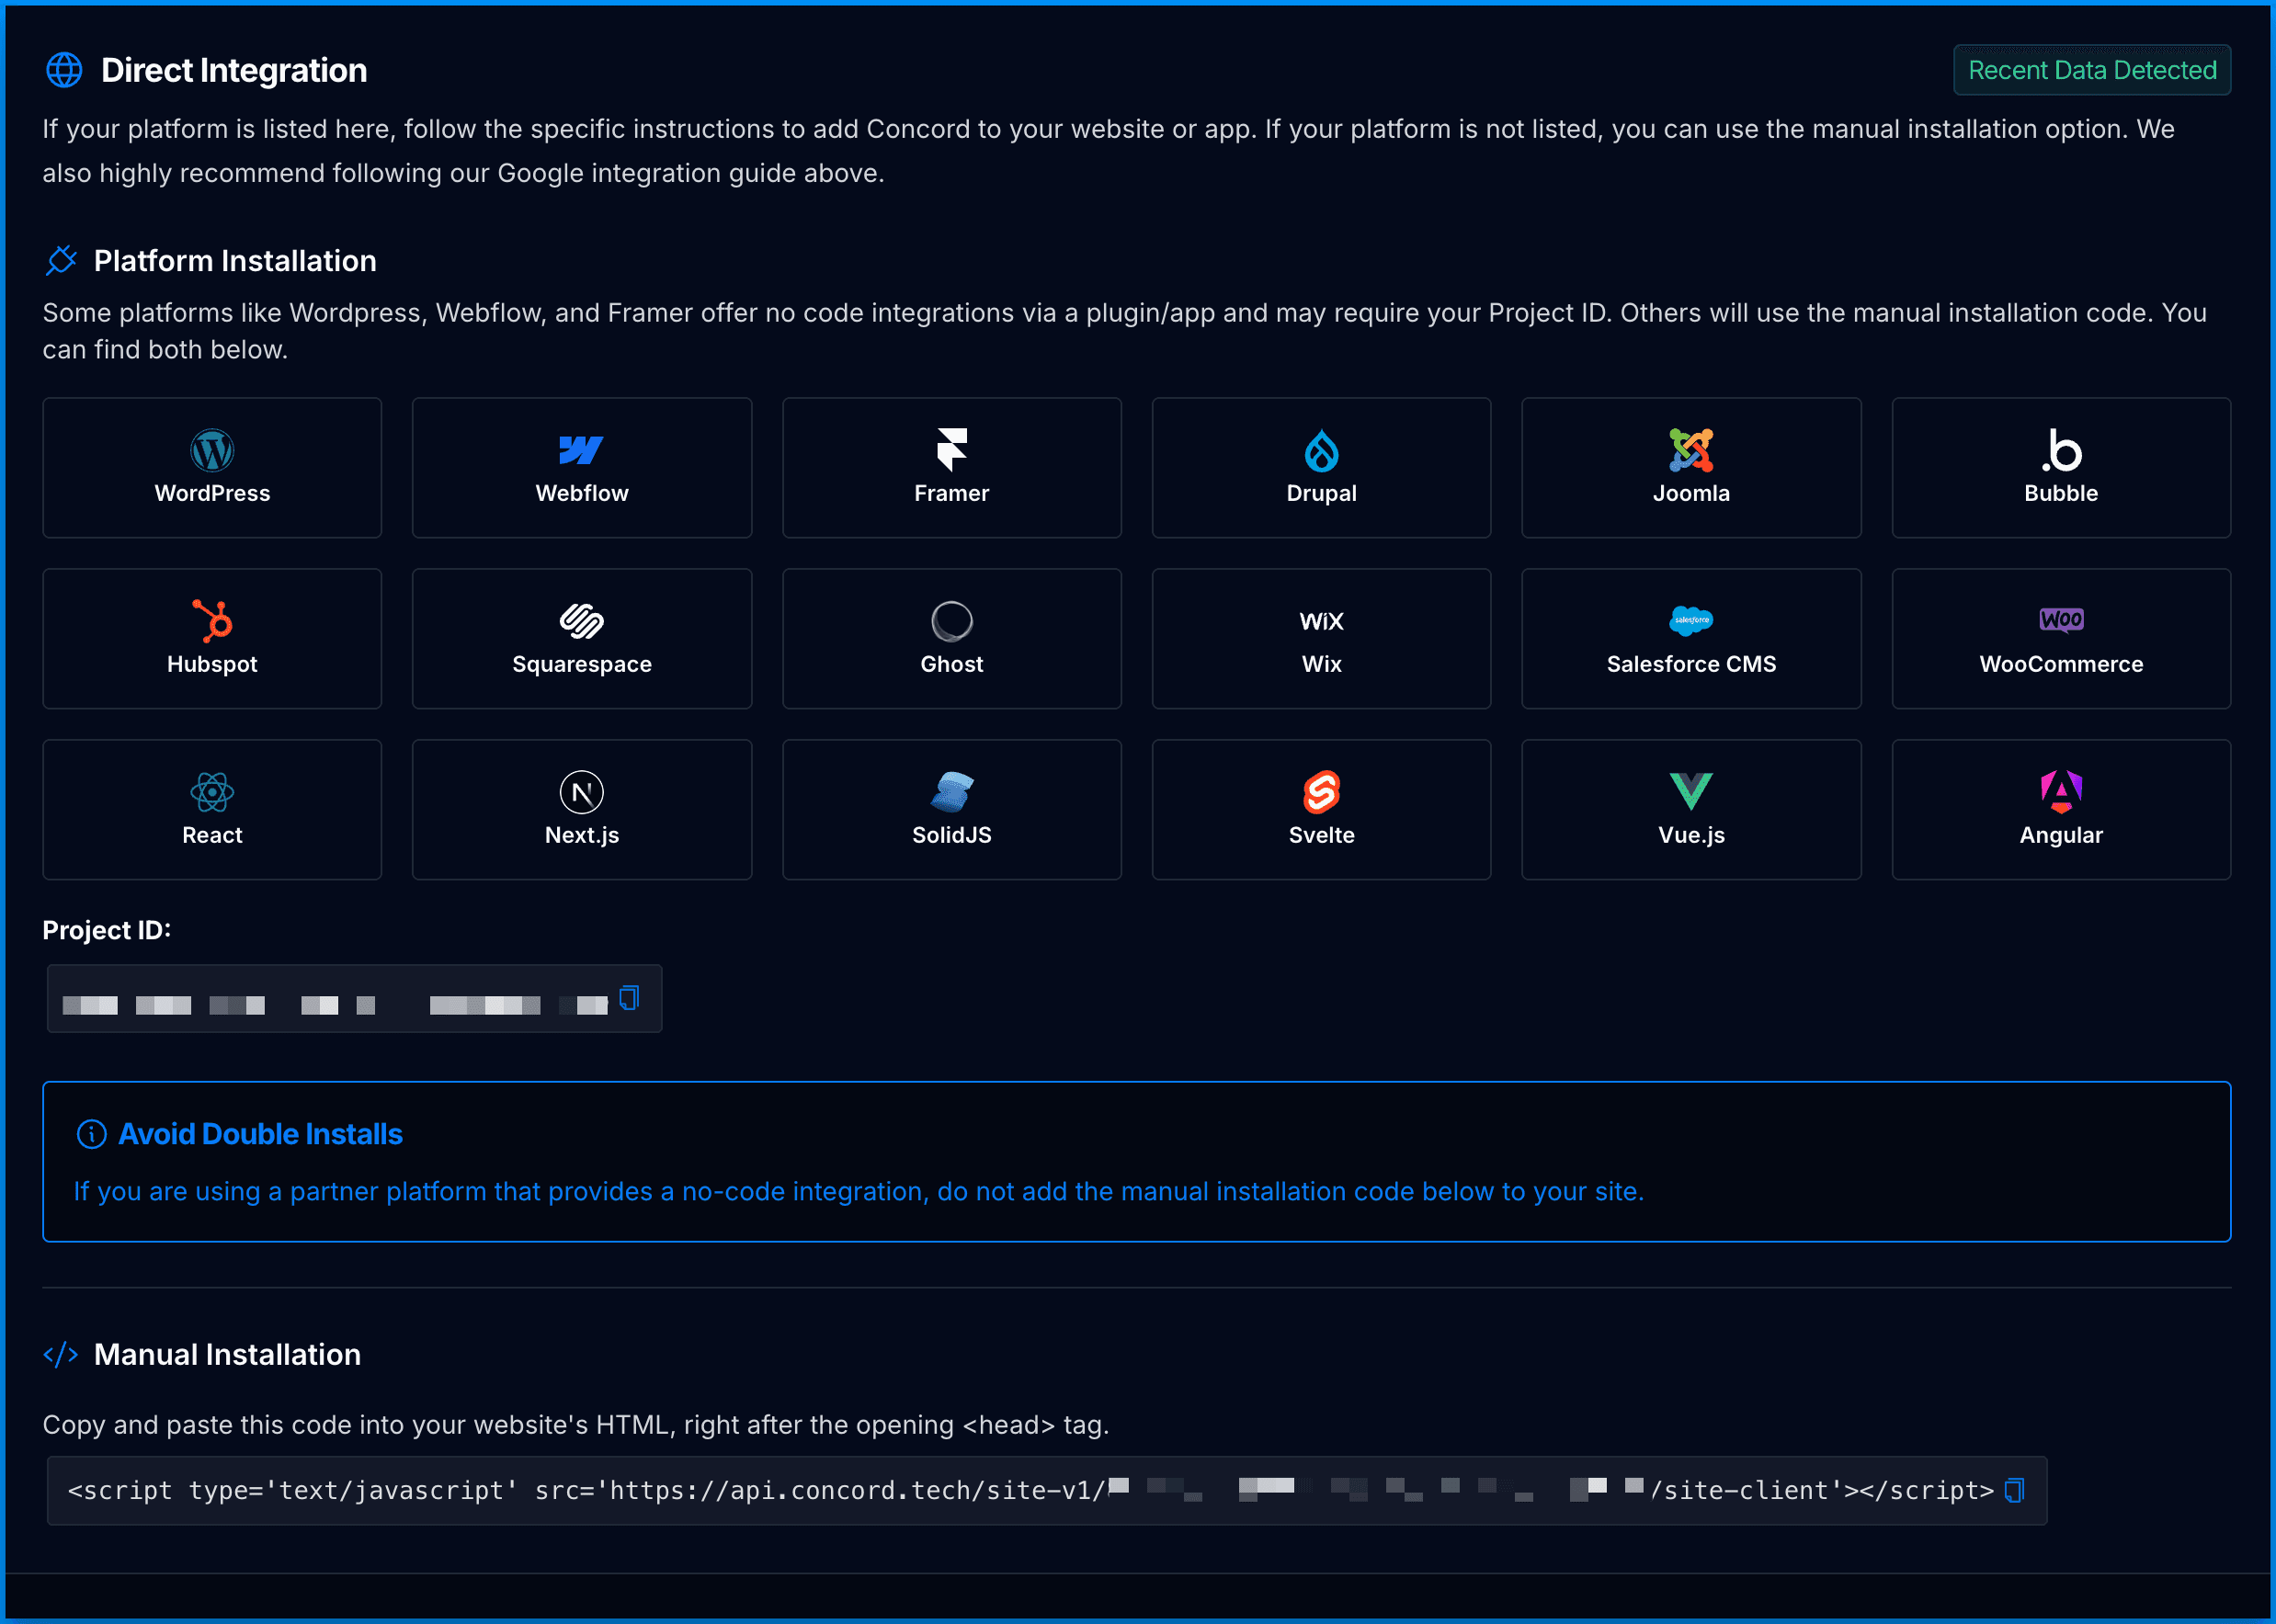
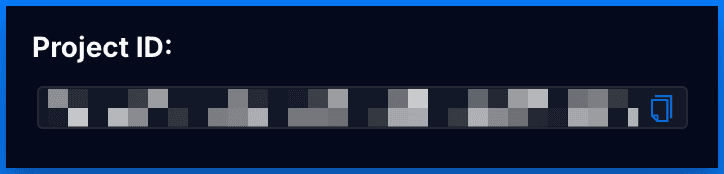
- Login to your Concord organization and go to Deployment → Integrations → Install Concord and locate and copy the Project ID for the project you want to add to your Next.js application (projects can be changed via the Projects selector in the page header if needed).
-
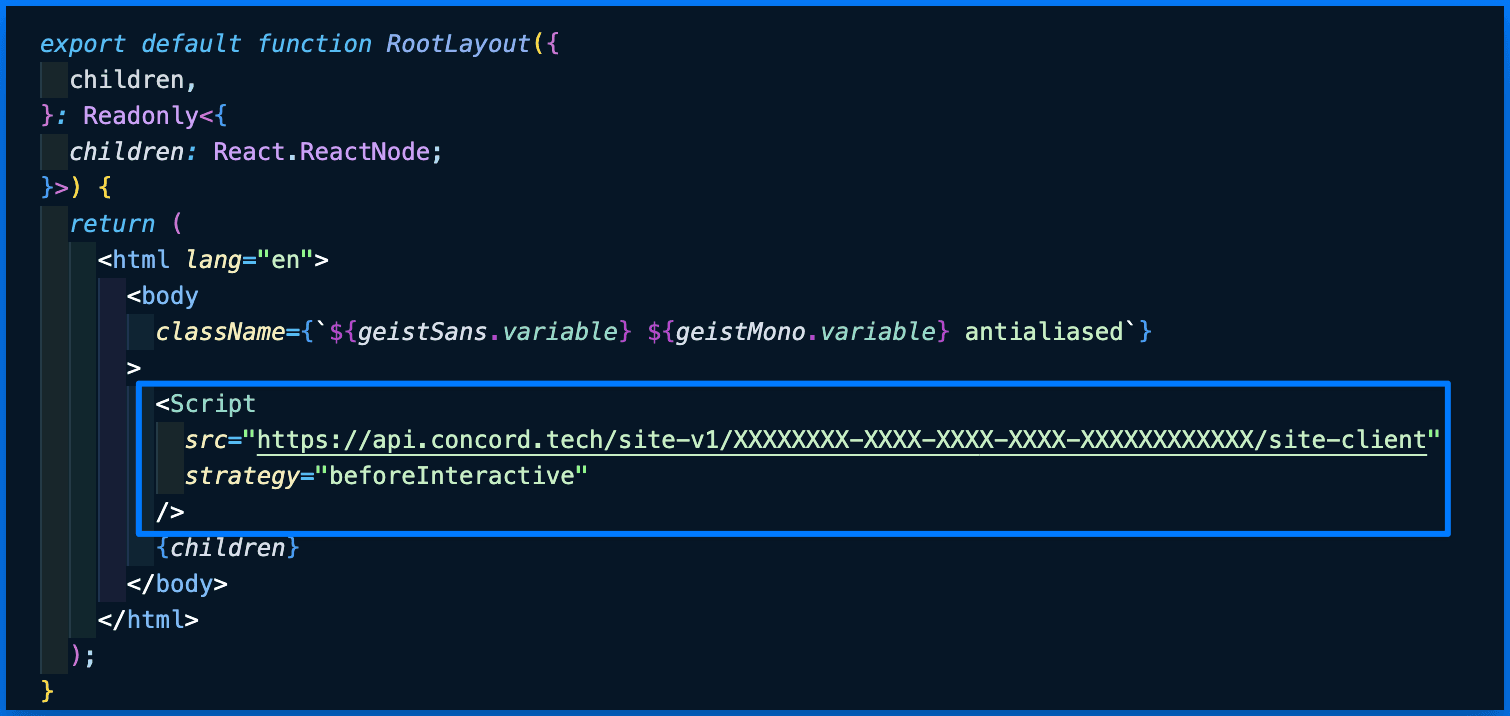
In your Next.js application open your layout.tsx/layout.js file. In this example, we have created a standard Next.js application via Create Next App so the file is in the root of the app folder.
-
If, not imported yet, import Script from next/script:
import Script from 'next/script';- Use the Project ID you copied above to add a script. For most scenarios we recommend the
afterInteractivestrategy, which defers the Concord script until after hydration. This improves Core Web Vitals — most notably Interaction to Next Paint (INP) — while still loading the CMP early enough for Concord's auto-detection and blocking system to intercept the trackers it knows about.
<Script
  src={`https://cdn.concord.tech/projects/${PROJECT_ID}/script.js`}
  strategy="afterInteractive"
/>- Note: place the Concord script above all other scripts in your layout so it loads as early as possible relative to them. For more details on script strategies, refer to the Next.js docs: https://nextjs.org/docs/app/api-reference/components/script#afterinteractive
- Note: make sure you are using your Project ID instead of XXXXXXXX-XXXX-XXXX-XXXX-XXXXXXXXXXXX in the src portion of the script.
- Note: in most cases no further work is required — Concord automatically detects and blocks most common marketing, analytics, and advertising trackers, including scripts that dynamically inject other scripts via
document.createElement. Manual intervention is only needed for certain inline or problematic scripts that may fire a network request before Concord can intercept them. If you run into a script like that, you can guarantee it is blocked prior to consent using the Manually Blocking Trackers Before Consent guide. - Note: if you load third-party tags through Google Tag Manager, you can also gate them on consent inside GTM using Concord's Google Consent Mode V2 integration — see Google: Conditionally Loading 3rd Party Tags in GTM with Concord Consent.
When to Choose a Different Strategy
Switch to strategy="beforeInteractive" when CMP loading speed is of the utmost importance — for example, when you have inline or problematic third-party scripts that may fire before Concord's auto-detection can intercept them. This loads the Concord script as early as possible in the page lifecycle, maximizing the chance it is in place before other trackers run, at the cost of some hydration and INP performance.
<Script
  src={`https://cdn.concord.tech/projects/${PROJECT_ID}/script.js`}
  strategy="beforeInteractive"
/>
Certain inline or problematic scripts may still require additional handling on top of beforeInteractive — combine it with the manual blocking approaches linked above for the strictest control, or contact support and we'll help you evaluate the best approach for your integration.
-
Deploy your application and ensure that the Concord script tag shows up in the source code above other scripts.
-
Go back to Concord to verify your integration under Deployment → Integrations → Install Concord. If successfully added and deployed, you should see "Recent Data Detected" in the upper right corner of the Direct Integrations section:
Congratulations. You have successfully integrated Concord into your Next.js application and any future changes to your attached project in Concord will be automatically synced to your application.