Global Settings
Adding Projects
How to add new Projects to your Organization.
Overview
- Concord uses Projects as the basic unit of deployment and configuration.
- This article provides instructions on adding a new project to your Organization.
- To learn more about how projects work, refer to this article: Projects Overview
Step 1: Add a Project
-
Login to Concord’s Admin UI.
-
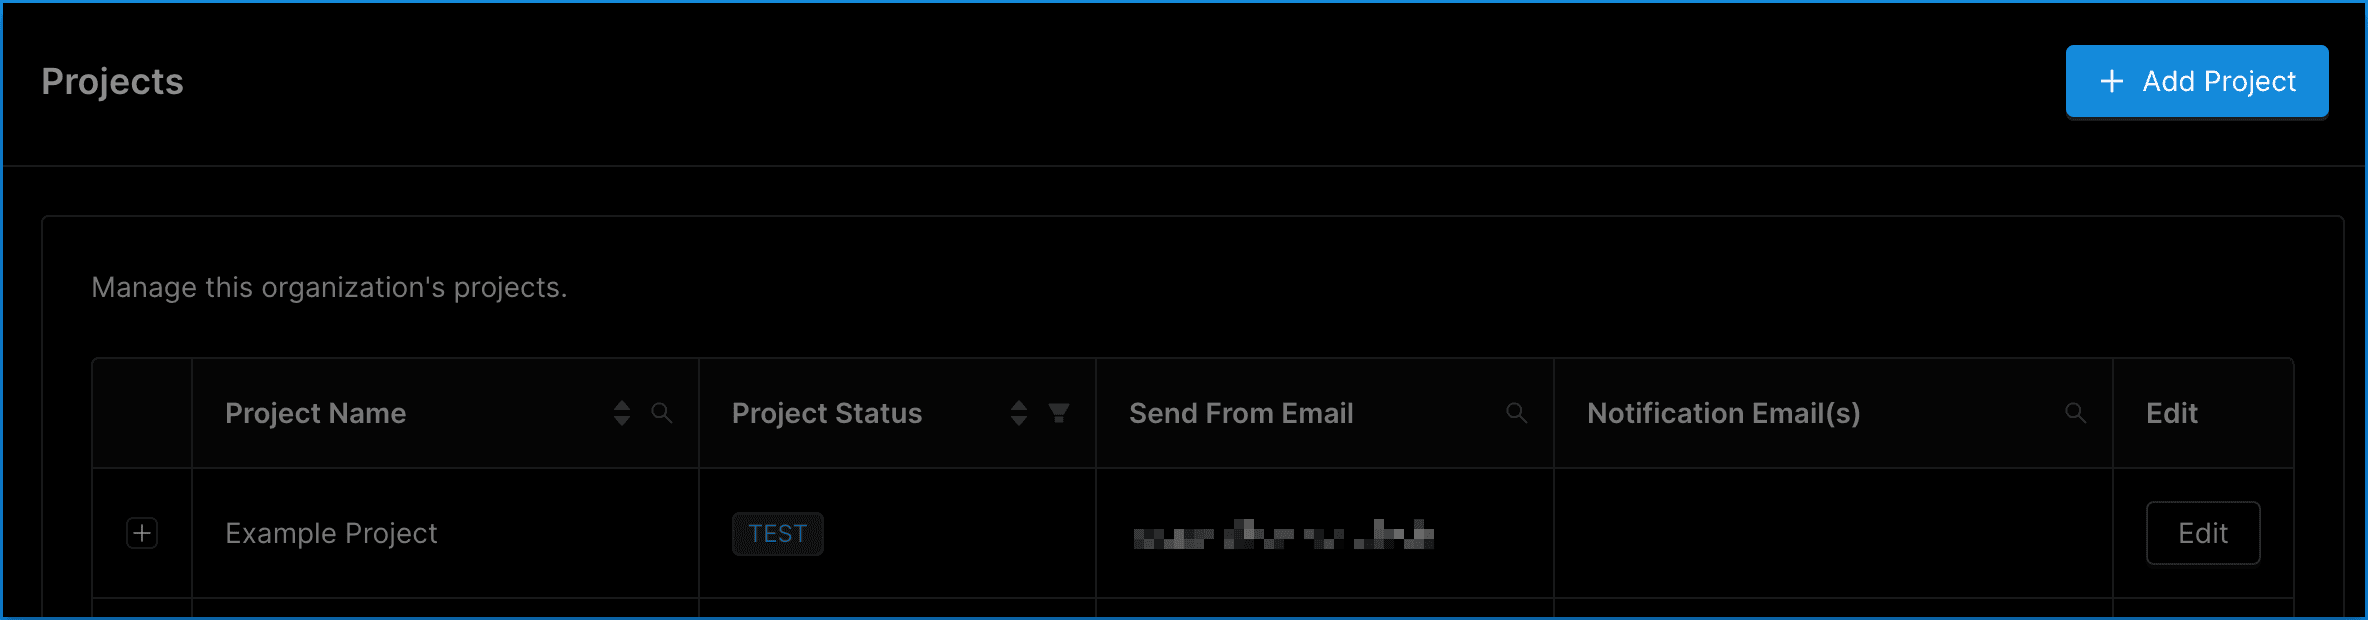
If this is your first login, a website project setup wizard will automatically start. Otherwise, click on Global Settings -> Projects and click the +Add Project **button. This will launch the Project Wizard.
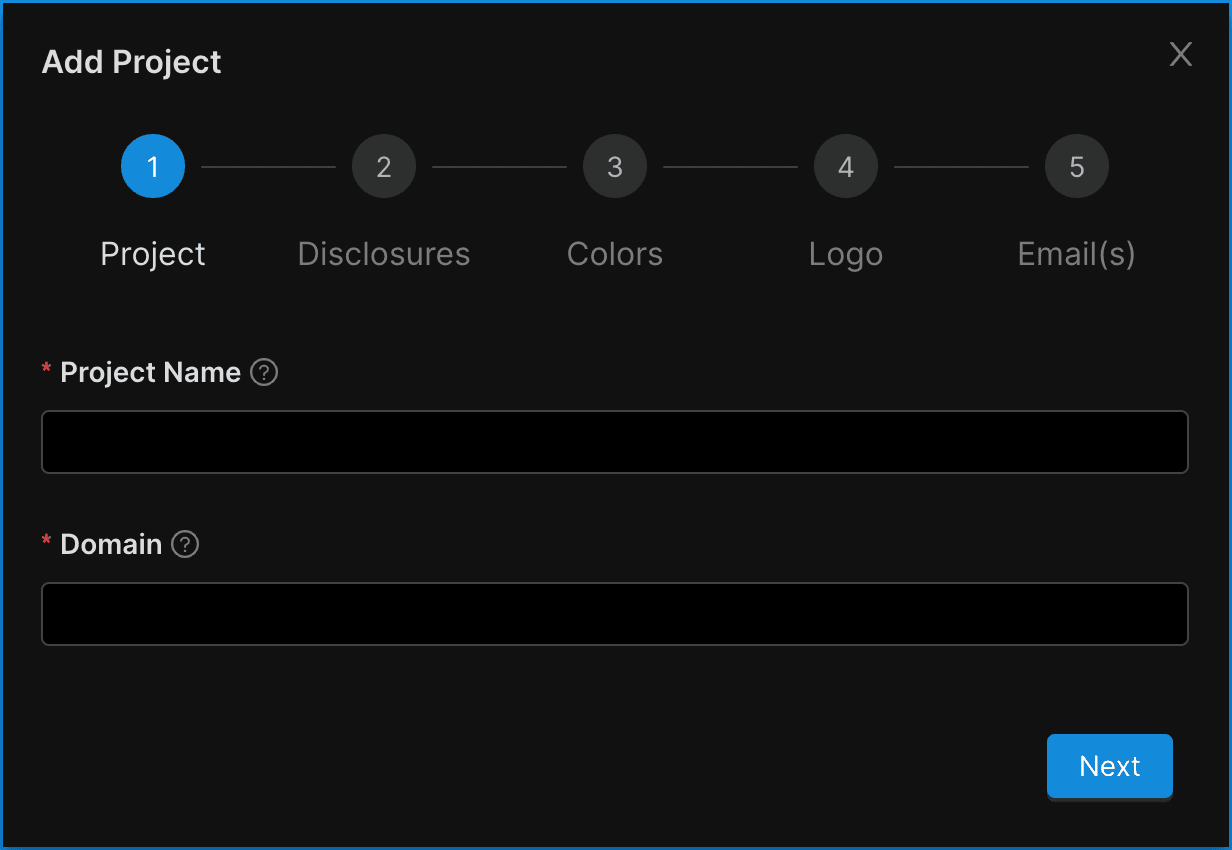
Step 2: Name the Project and Add the Domain
- Give your Project a descriptive name. Should you believe you will need multiple Projects (for example, because you have many different websites that may require different configurations) it is advisable to establish a systematic naming convention.
- List the domain with which the Project will be associated. The UI will confirm if you have entered a properly formatted domain. It is not necessary to prepend “http://” or “https://” to your domain.
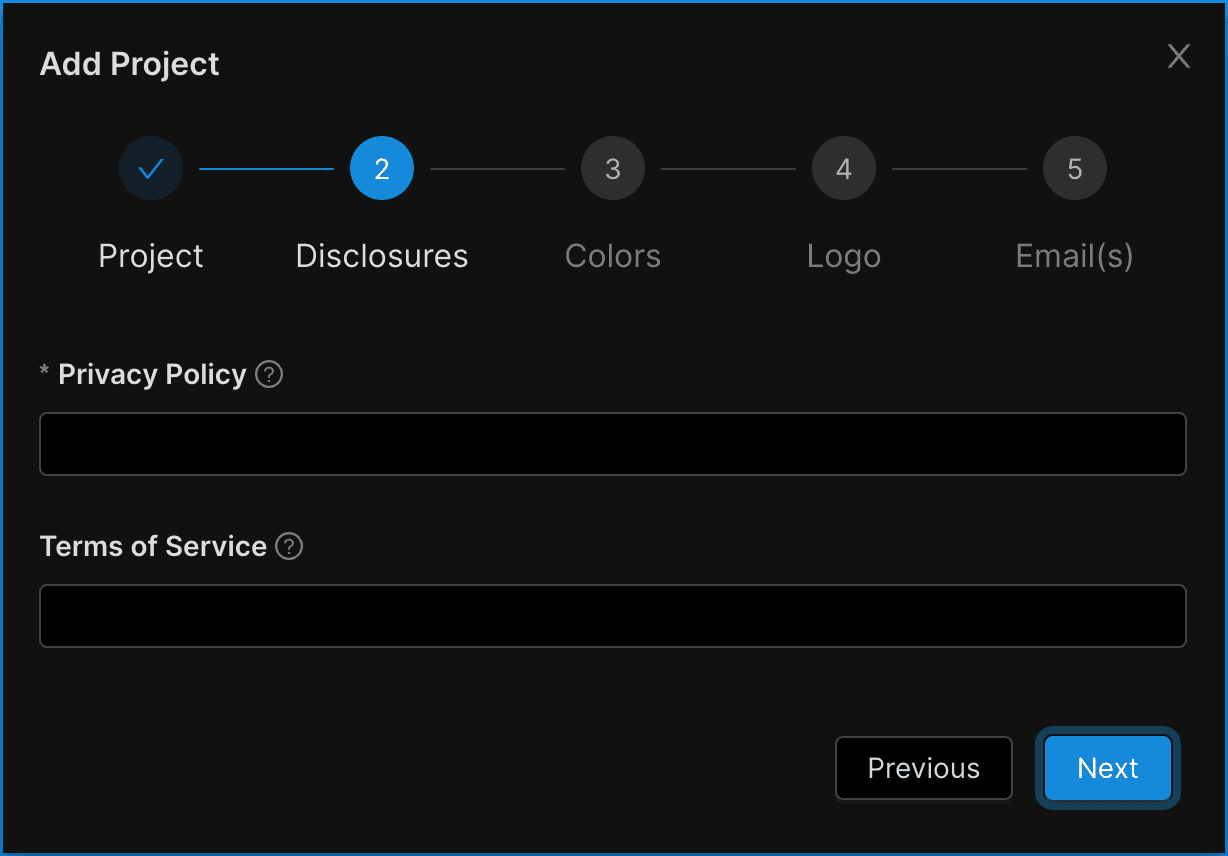
Step 3: Link to your Privacy Policy and Terms of Service
- Input a valid URL that links to your online Privacy Policy. Note that in this case, you will have to prepend “http://” or “https://”.
- (Optional) Input a valid URL that links to your Terms of Service if your site has one. Note that in this case, you will have to prepend “http://” or “https://”.
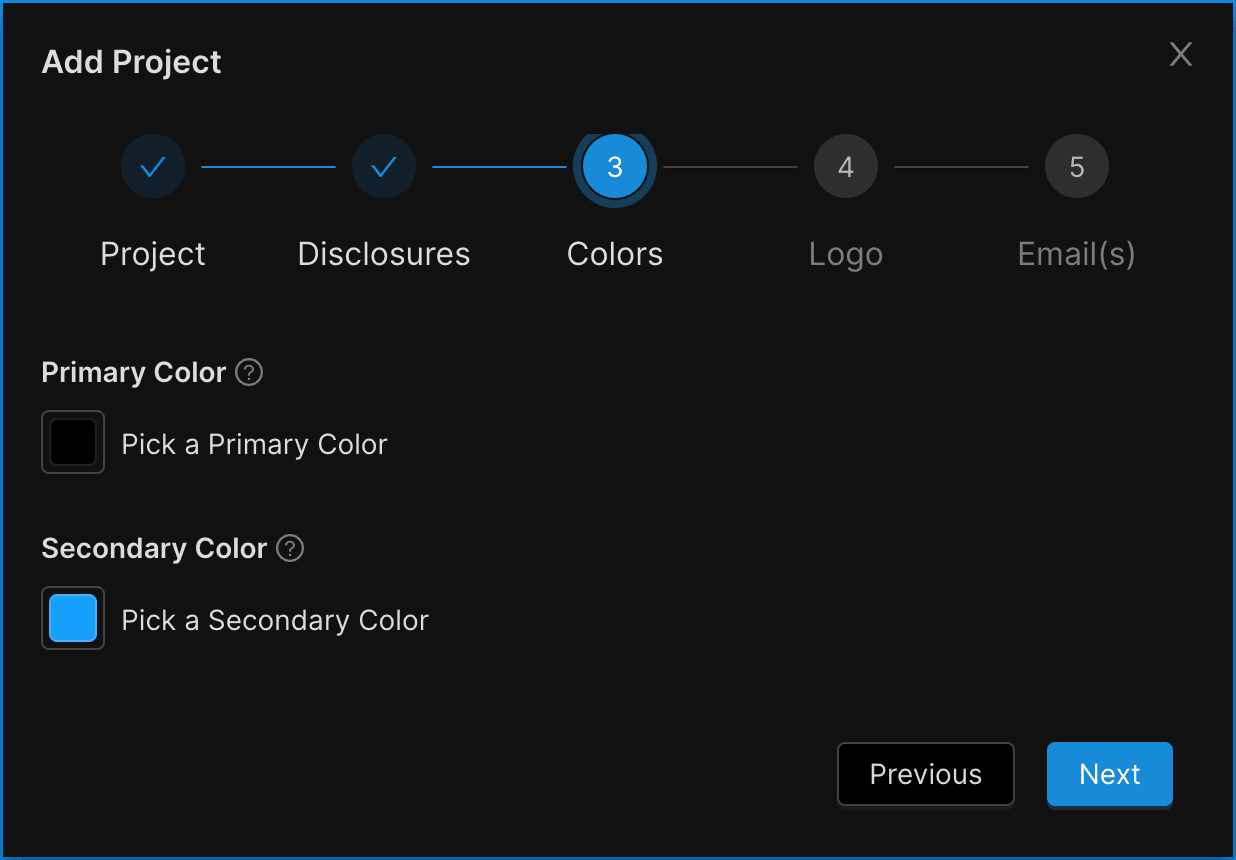
Step 4: Choose the Color for Your Privacy Center Widget (Optional)
- Choose a color that will be used for your Privacy Center website widget.
- You can either choose a new pre-existing color by clicking on any of the default colors shown or you can input a Hexadecimal color value (for example: “#22194D”).
- If you do not know the proper Hexadecimal color value for your desired branding, you may search online for “hexadecimal color picker” to find free tools for choosing a color and finding its hexadecimal value.
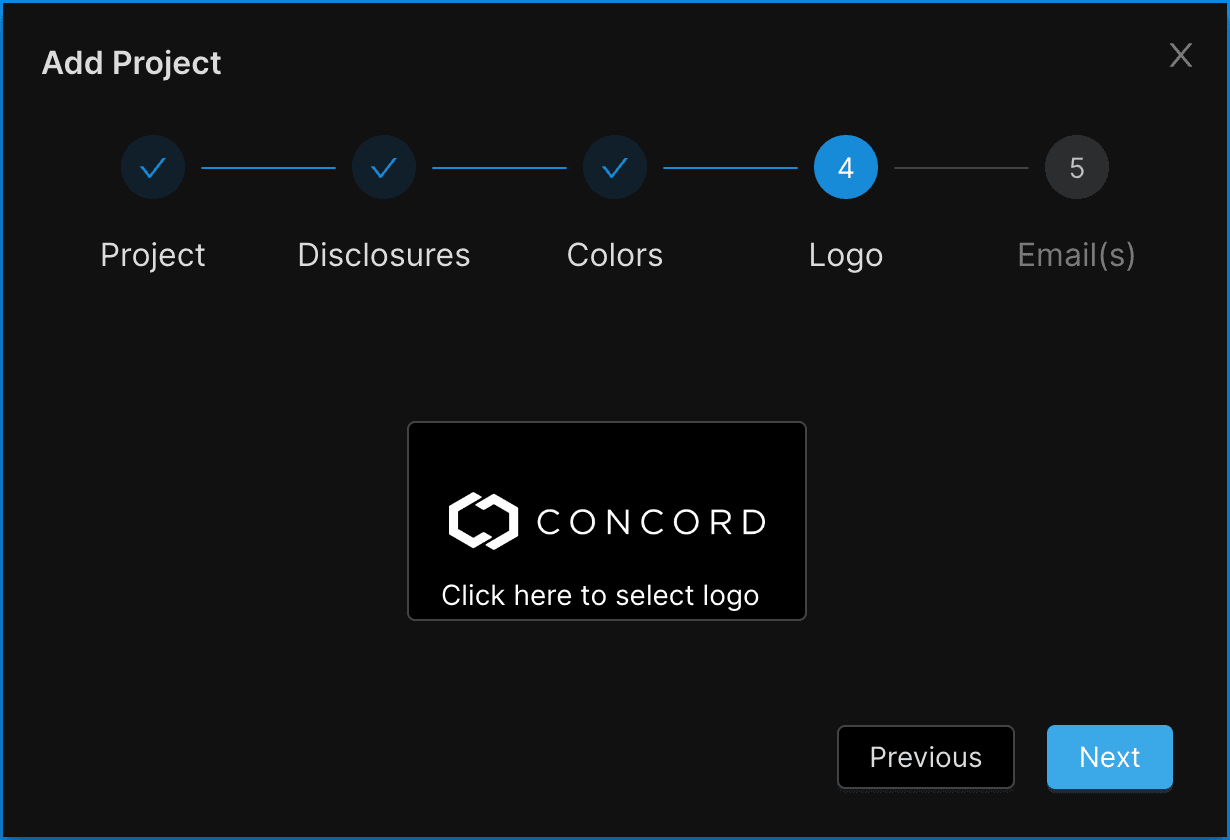
Step 5: Upload a Logo (Optional)
- Click on the logo icon and navigate to your saved logo file.
- Logo file size is limited 512KB.
- Logos are restricted to .png formats.
- There are no height or width restrictions, but logos are resized in the widget to a max-height of 40px so 40px is the preferred height.
Step 6: Input Email Addresses for Project Notifications (Optional)
- Emails can be added to your Project under Additional Notification Email(s). Those emails receive notifications for that Project and should typically be used for catch-all emails vs. notifications for specific users (as all users added to a project can instead manage their own notification settings without being added to the Additional Notification Email(s) section).
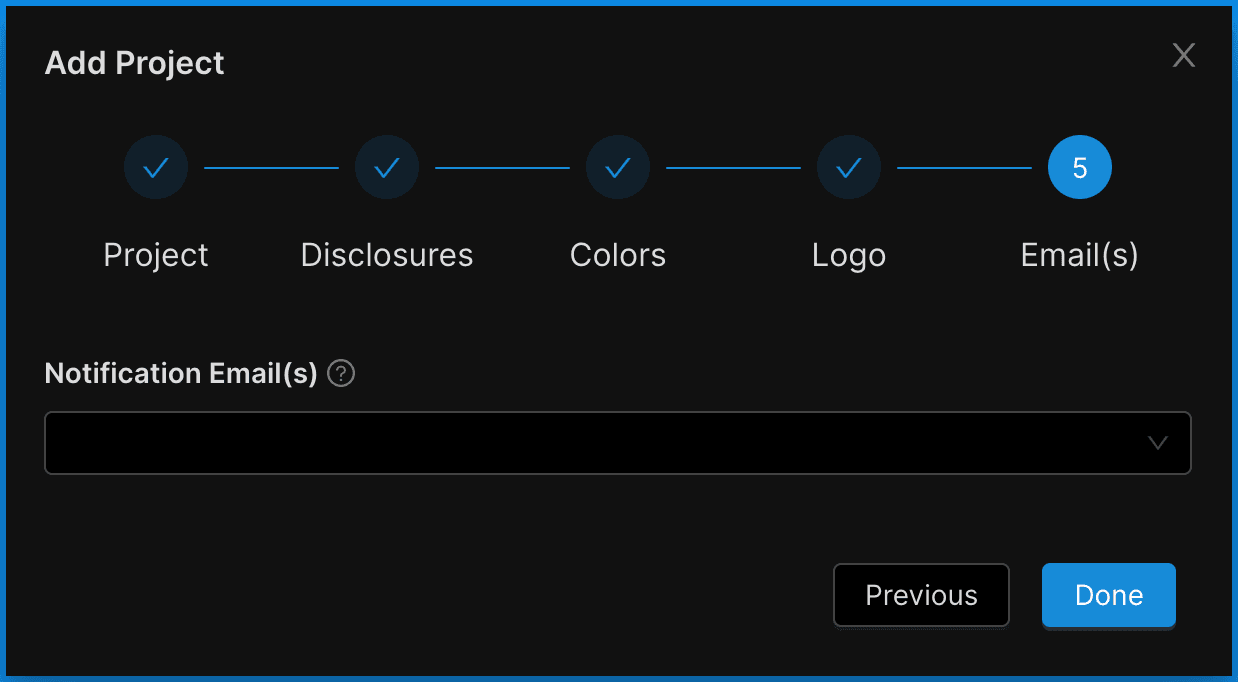
- Click Done when complete. You have configured your Project.
Setting Up Custom Branding (Logo, Colors, Font & Button/Card Radius)
How to update the logo colors, font, and button/card radius within Concord for use in your unified Privacy Center and Consent Banner website experiences.
Assigning Send From Emails to Projects
Step-by-step guide to assigning Send From Emails to Projects.