Managing Policy Links
Create reusable Policy Links for the consent banner and privacy center — privacy policies, terms of service, cookie policies, DPAs, and custom disclosures.
Overview
Policy Links are reusable project-level references to the legal documents your users need to see — your Privacy Policy, Terms of Service, Cookie Policy, Data Protection Agreement, and any custom disclosures you want to surface. Once a Policy Link is defined, you can insert it as an inline token in the consent banner text and it is automatically shown in your privacy center disclosures without copying URLs around.
Where Policy Links Are Used
- Consent banner text — insert a Policy Link as an inline token inside the banner copy so users can reach the relevant policy without leaving the banner. Covered in Configuring the Consent Banner.
- Privacy center disclosures — references the same Policy Links when presenting disclosure-type consents inside the privacy center.
Because both experiences resolve the same Policy Link to the same URL, you avoid drift between the banner and the privacy center.
Built-in Policy Types
Concord ships four built-in Policy Types so the most common links you'll need are already categorized:
- Privacy Policy
- Terms of Service
- Cookie Policy
- Data Protection Agreement
You can also create a Custom policy type for any other disclosure (subprocessors page, acceptable use policy, AI policies, and so on).
Adding a Policy Link
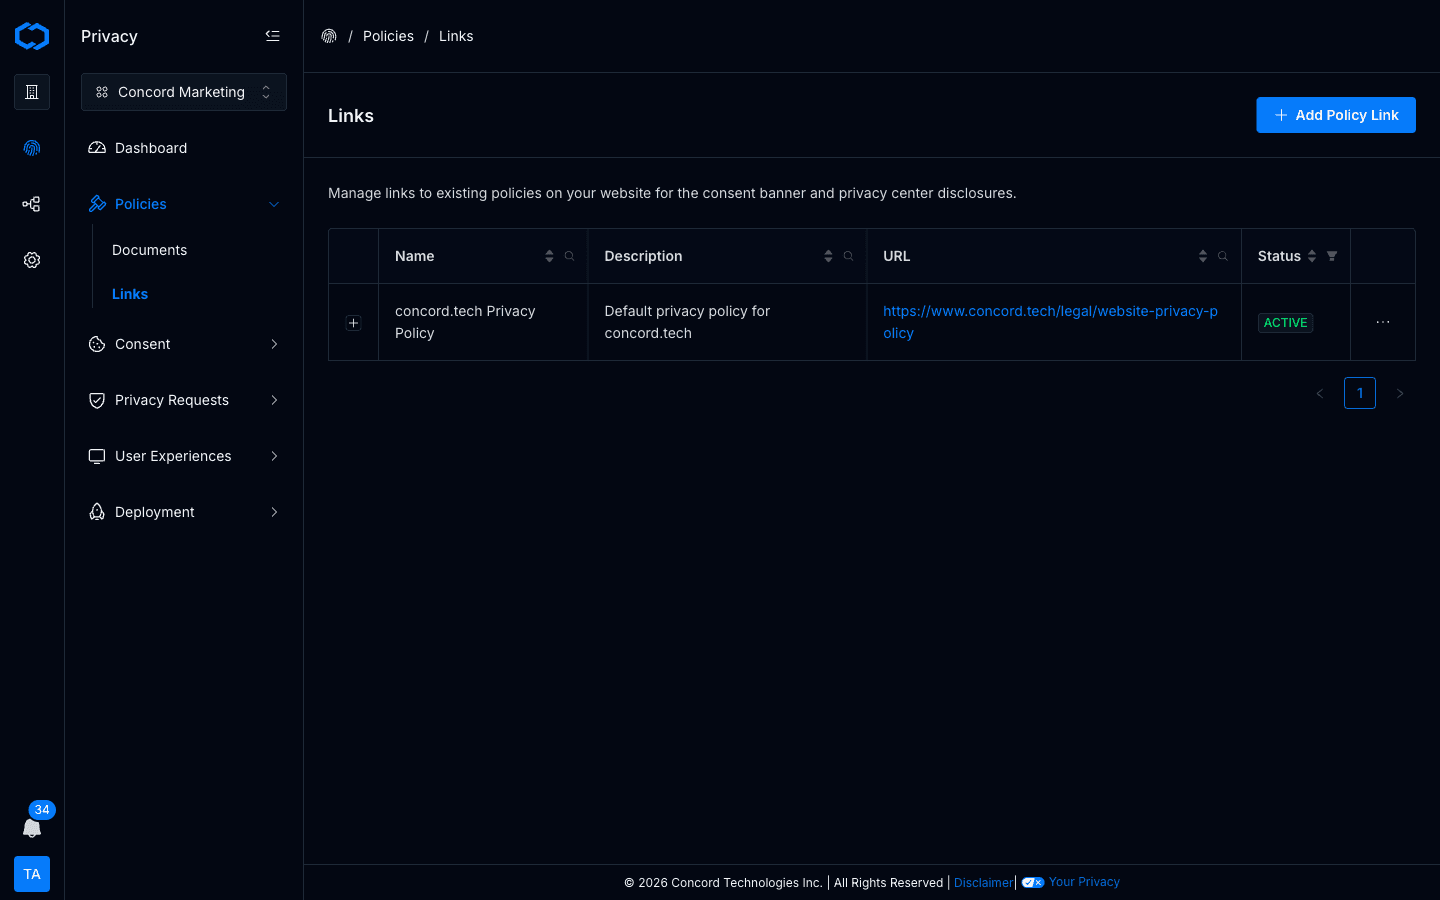
Navigate to Policies → Links in the admin. The page lists every Policy Link configured for the project, with columns for Name, Policy Type, Destination URL, and Status.
To add a new one:
-
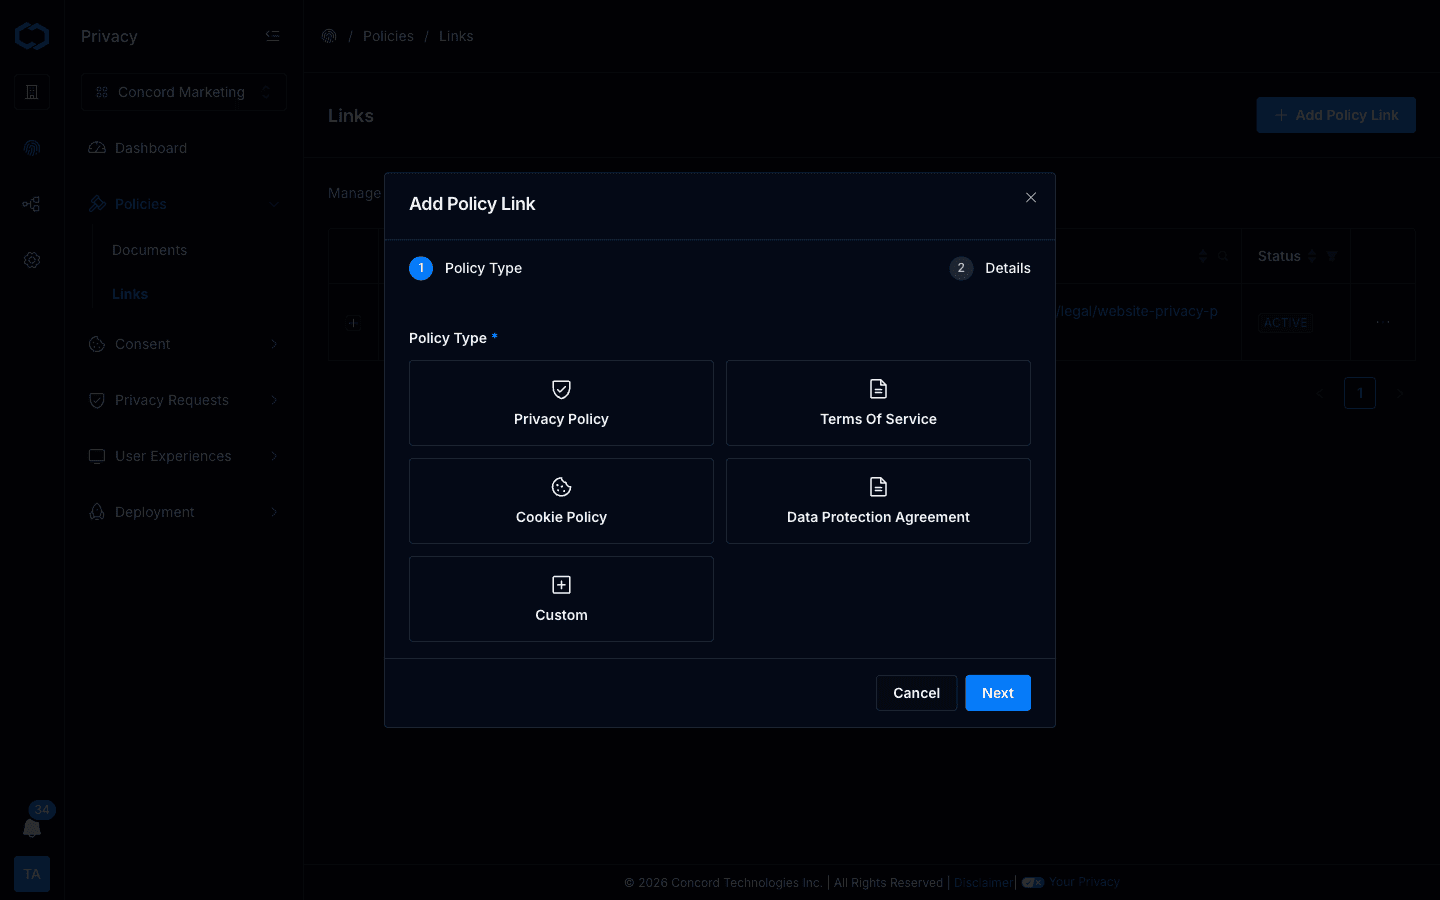
Click Add Policy Link in the top right.
-
Step 1 — Policy Type. Pick one of the four built-in types, or choose Custom for anything else.
-
Step 2 — Details. Fill in:
- Name — 5–100 characters. This is how the policy is shown in admin lists and in the banner text editor's Insert Link menu.
- Description — what the policy covers. Used internally and in privacy center disclosures.
- URL — the destination the link points to. Must be a full
https://URL.
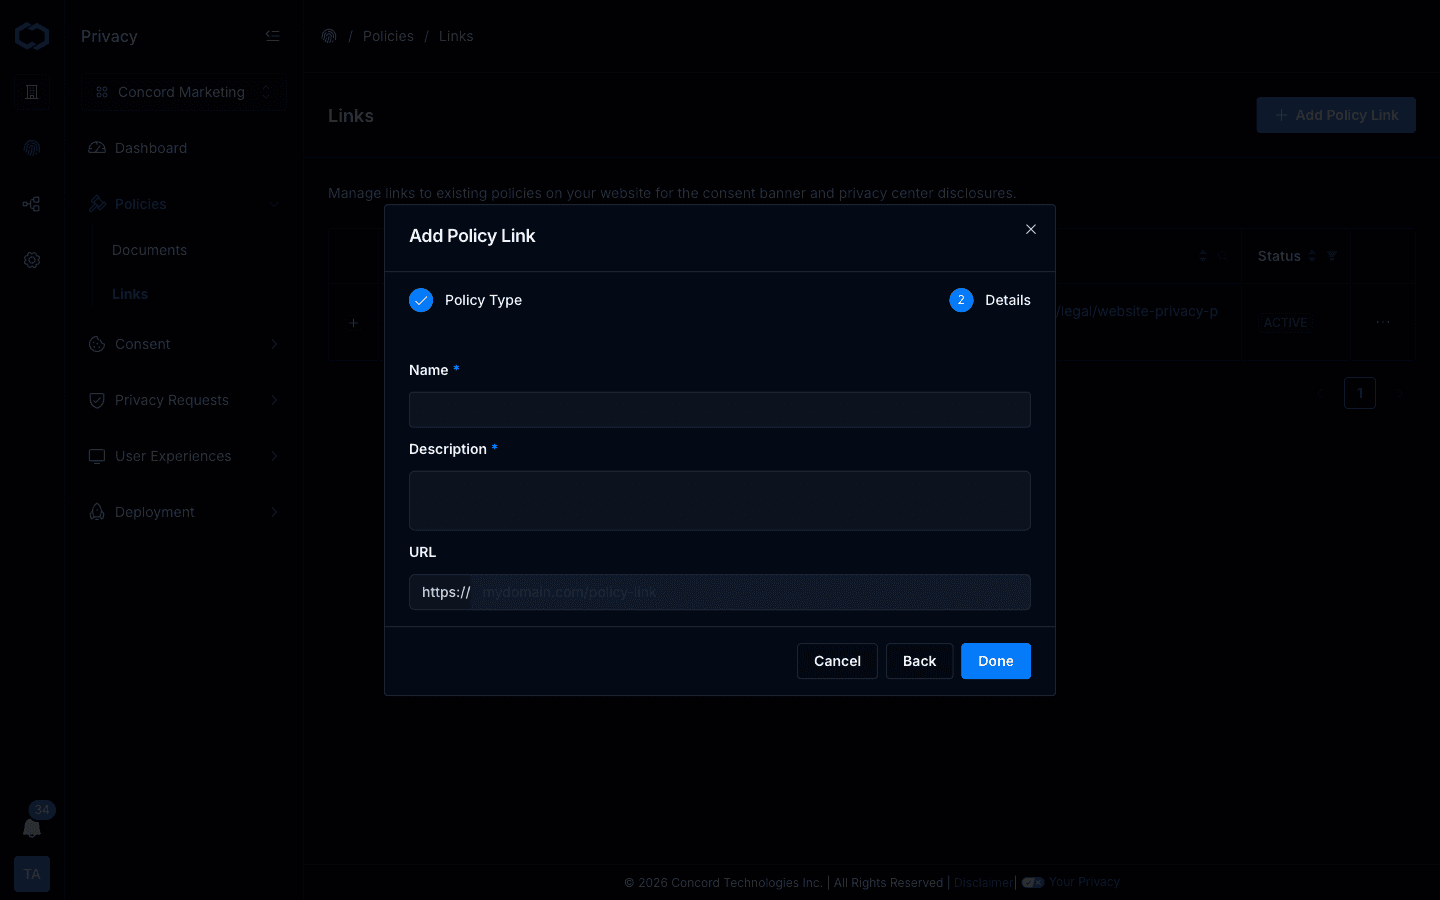
-
Click Done. The Policy Link is now available in the consent banner text editor's Insert Link menu and in privacy center disclosure settings.
Editing a Policy Link
From Policies → Links, click a Policy Link row to open it. You can update the Name, Description, and URL from there.
Two things to know before you edit:
- The URL is shared. Every experience that references this Policy Link will use the updated URL the next time it renders. If you need a different URL per region, create a separate Policy Link and assign each region its own.
- Banner-specific displayed text stays in the banner. The Name you set here is the default label. If a specific consent banner (or a specific language tab on a banner) needs a different displayed text for the same link, override it inside the banner's Language tab — see Configuring the Consent Banner.
Deleting a Policy Link
Deleting a Policy Link removes it from the Insert Link menu and from any privacy center disclosure that referenced it. Banners that already embed the deleted link will surface a validation error until you replace the token with a supported link or remove it from the text.
Legacy Policy Links
If your consent banner was configured before inline tokens were available, the old single-link setup continues to work. When you open a legacy banner in the editor, Concord converts the old Policy + Link Text fields into a supported inline token automatically.