Bubble Integration Guide
Step-by-step guide to add Concord to your Bubble application.
Overview
Welcome to our guide on integrating Concord into Bubble. We make it easy to integrate Concord into your Bubble application in just a few minutes and this guide will help you get up and running quickly. This guide includes the following information:
- Initial Concord configuration.
- Google Consent Mode V2 configuration.
- Integrating Concord into Bubble.
Getting Started With Concord
As part of the initial onboarding process that occurs when you set up a new organization or project in Concord, you will be able to choose your preferred consent settings, including the Consent Mode (Implied vs. Express), the Blocking mode (how trackers like cookies, scripts, iFrames, etc. are processed and blocked), the Google Consent Mode V2 setting, the Consent Duration (how long consent lasts), and other options (Sensitive Information consent, Do Not Sell, Global Privacy Control, etc.).
During that process, we provide sensible defaults that are recommended as the default global settings, but those settings can always be adjusted and additional regions can also be added and customized later in all paid plans.
For more details on this process or to complete it for the first time, please follow the instructions in this guide: Getting Started
If you utilize Google services like Google Analytics, Google Tag Manager, or Google Ads, we also recommend configuring and verifying Google Consent Mode V2, which allows you to adjust how and when data is shared with Google based on user consent collected via the Concord Consent Banner & Privacy Center.
To learn more about Google Consent Mode V2 and the recommended settings, please refer to this document: Understanding & Configuring Google Consent Mode (GCM) V2
Integrating Concord Into Bubble
The final step is to Integrate Concord into Bubble, which typically takes just a few minutes. Please follow the instructions below to complete this part of the process:
- Login to your Concord organization and go to Deployment → Installation → Install Concord and copy the Project ID for the project you want to add to Bubble (projects can be changed via the Projects selector in the page header if needed).
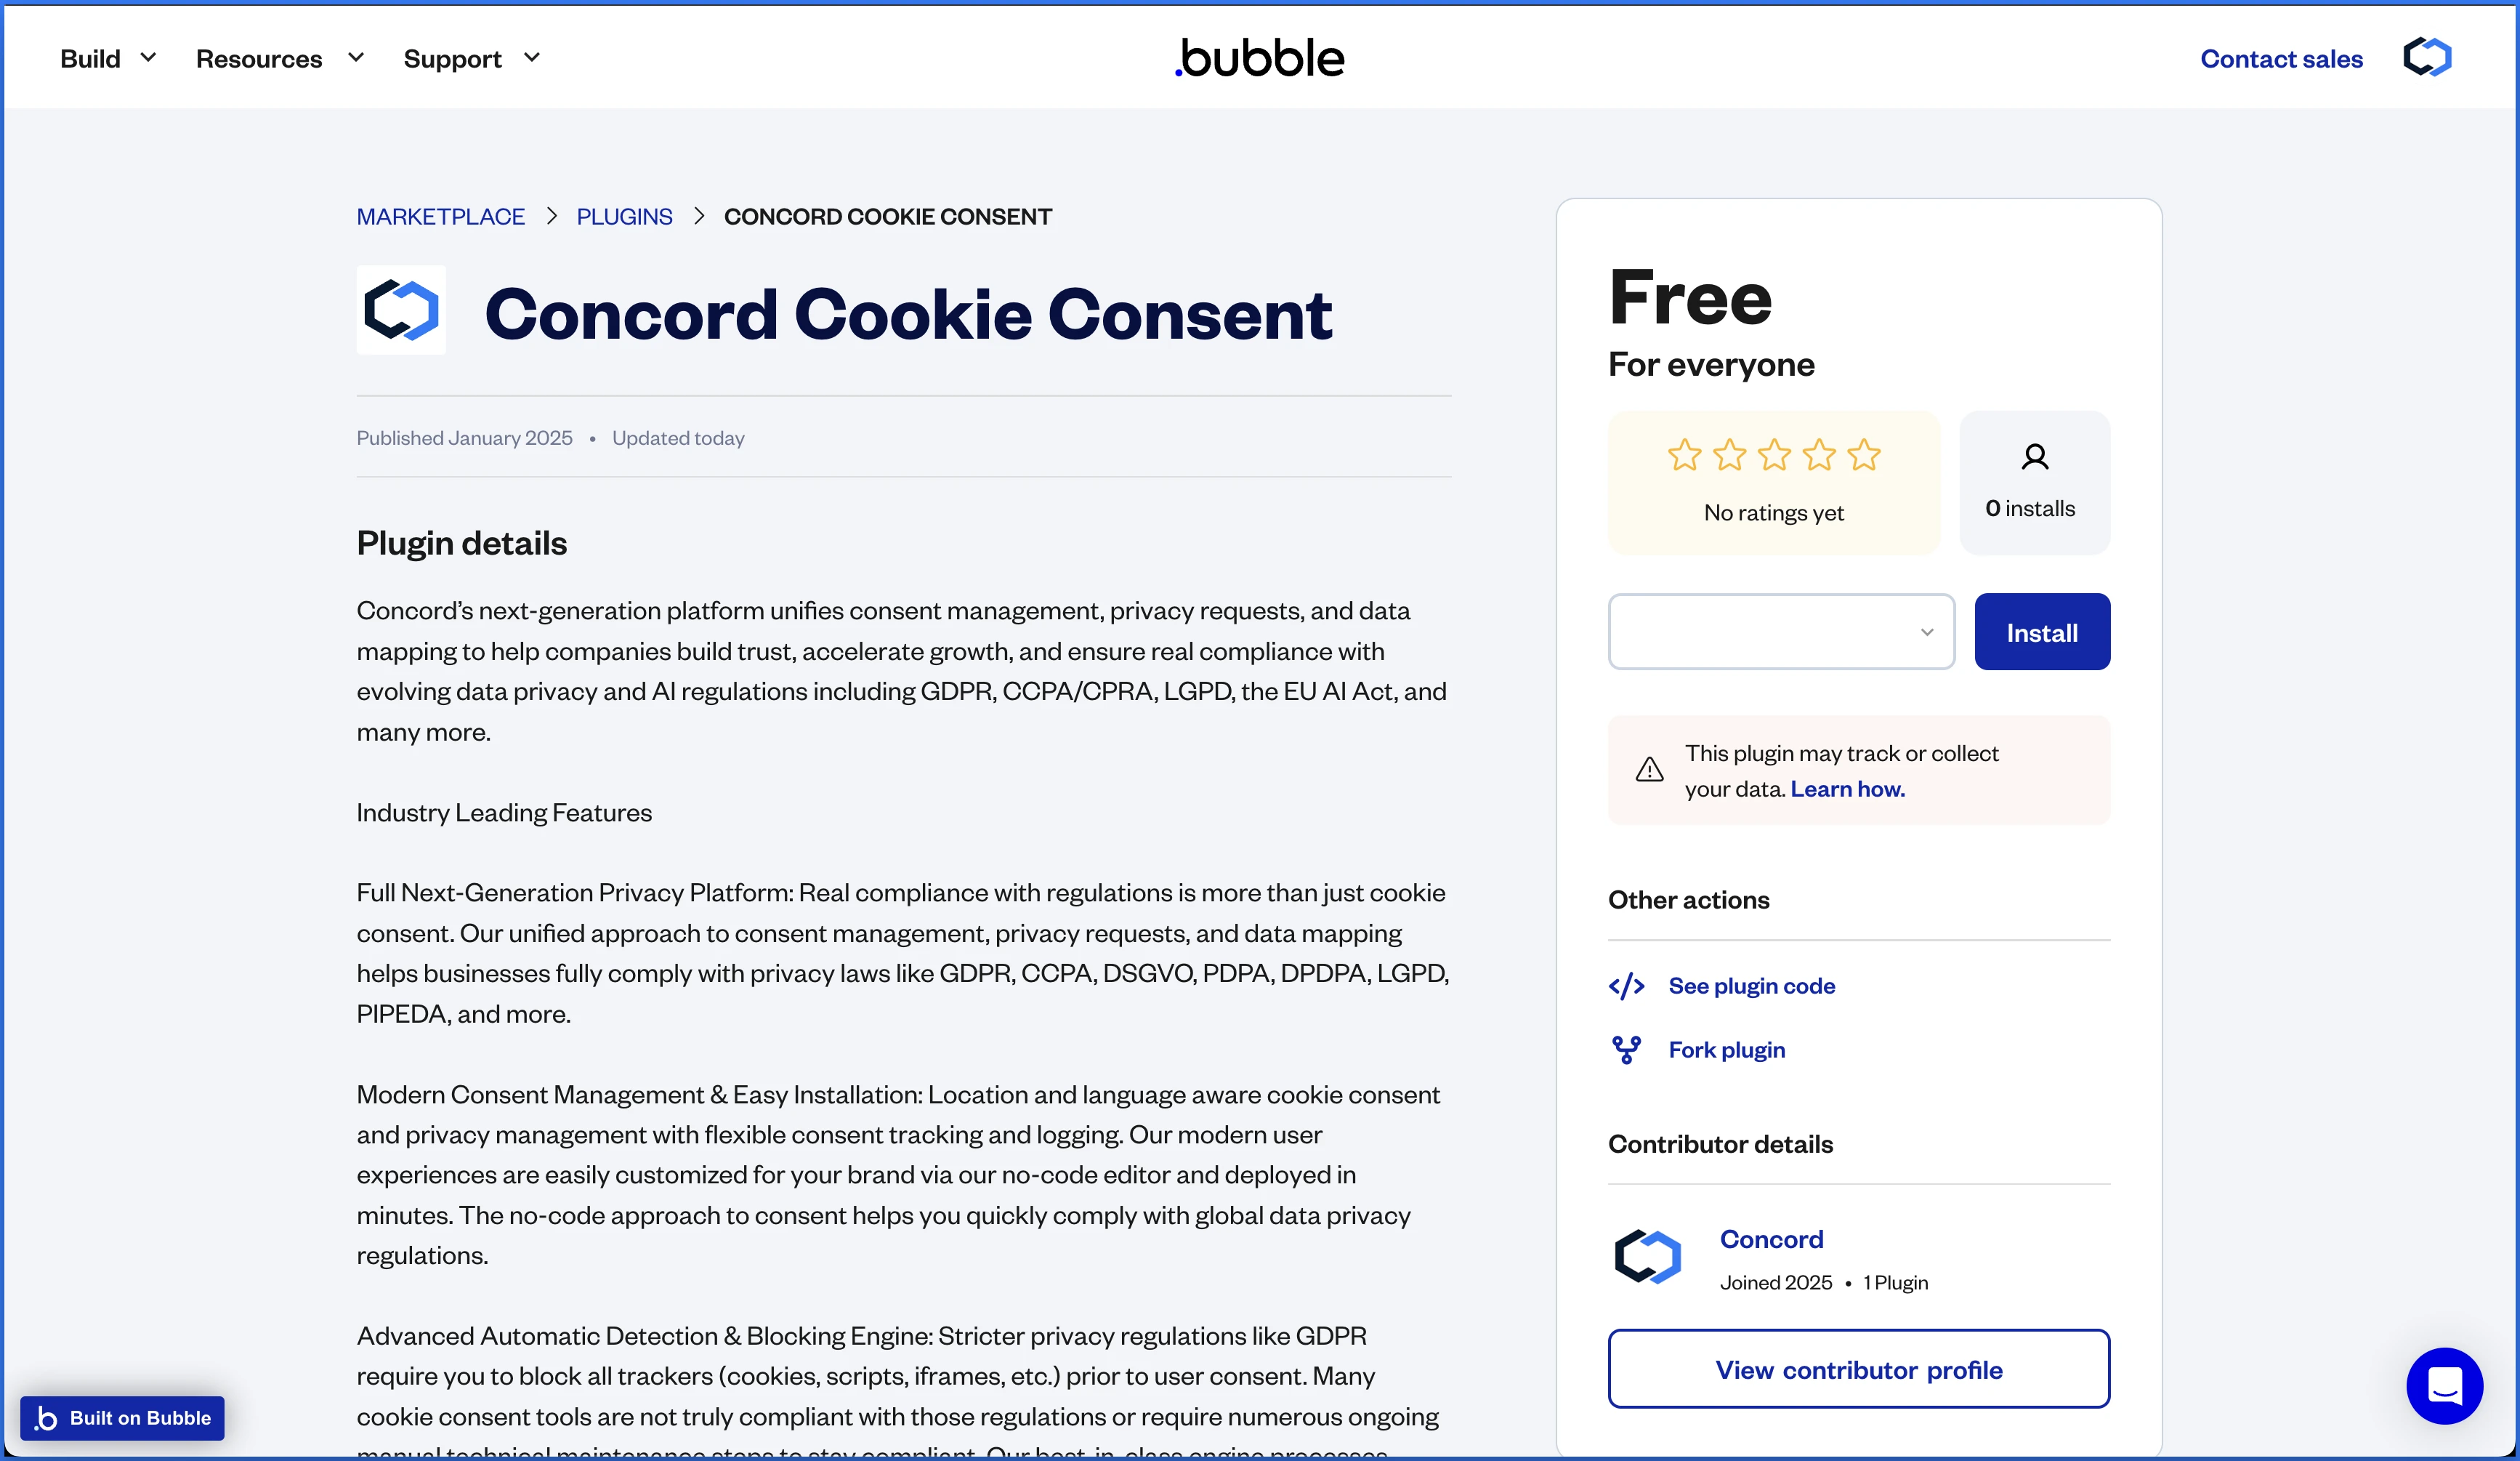
- Go to the Concord listing page on the Bubble website: Concord Bubble Plugin
-
Choose your desired Bubble application from the dropdown and click on Install.
-
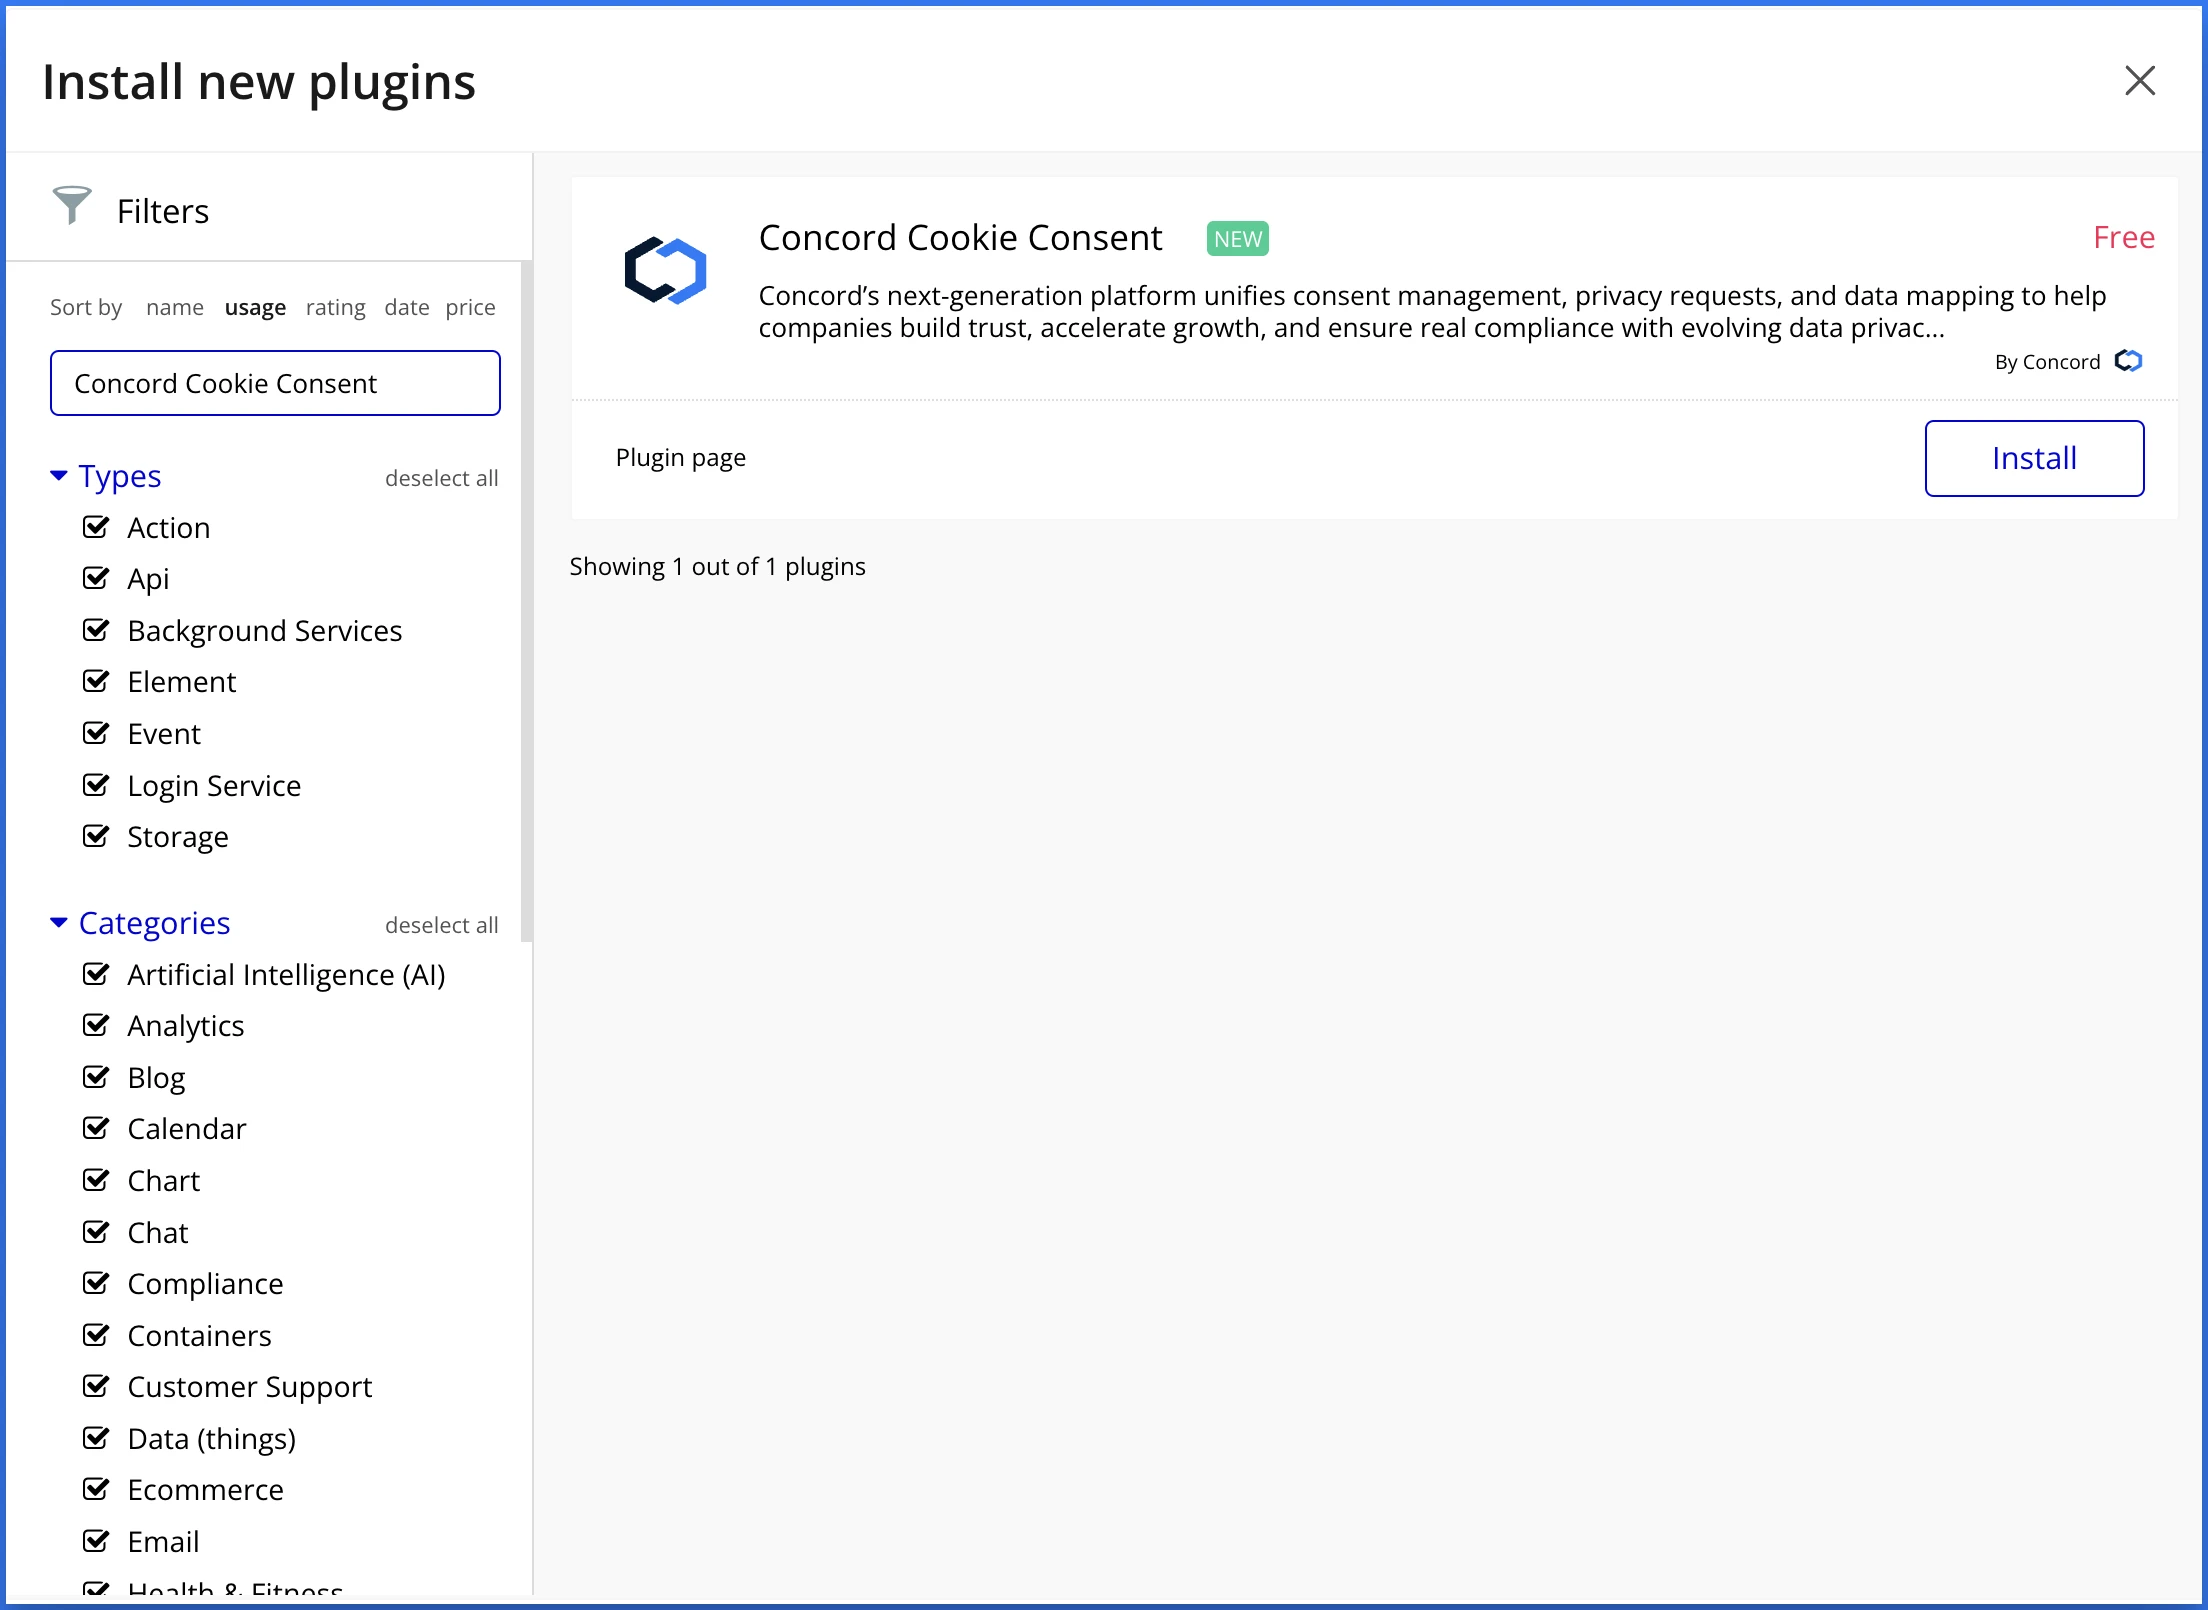
Once you are in your Bubble application, you will be prompted to install the Concord plugin. Click **Install **to complete that part of the process.
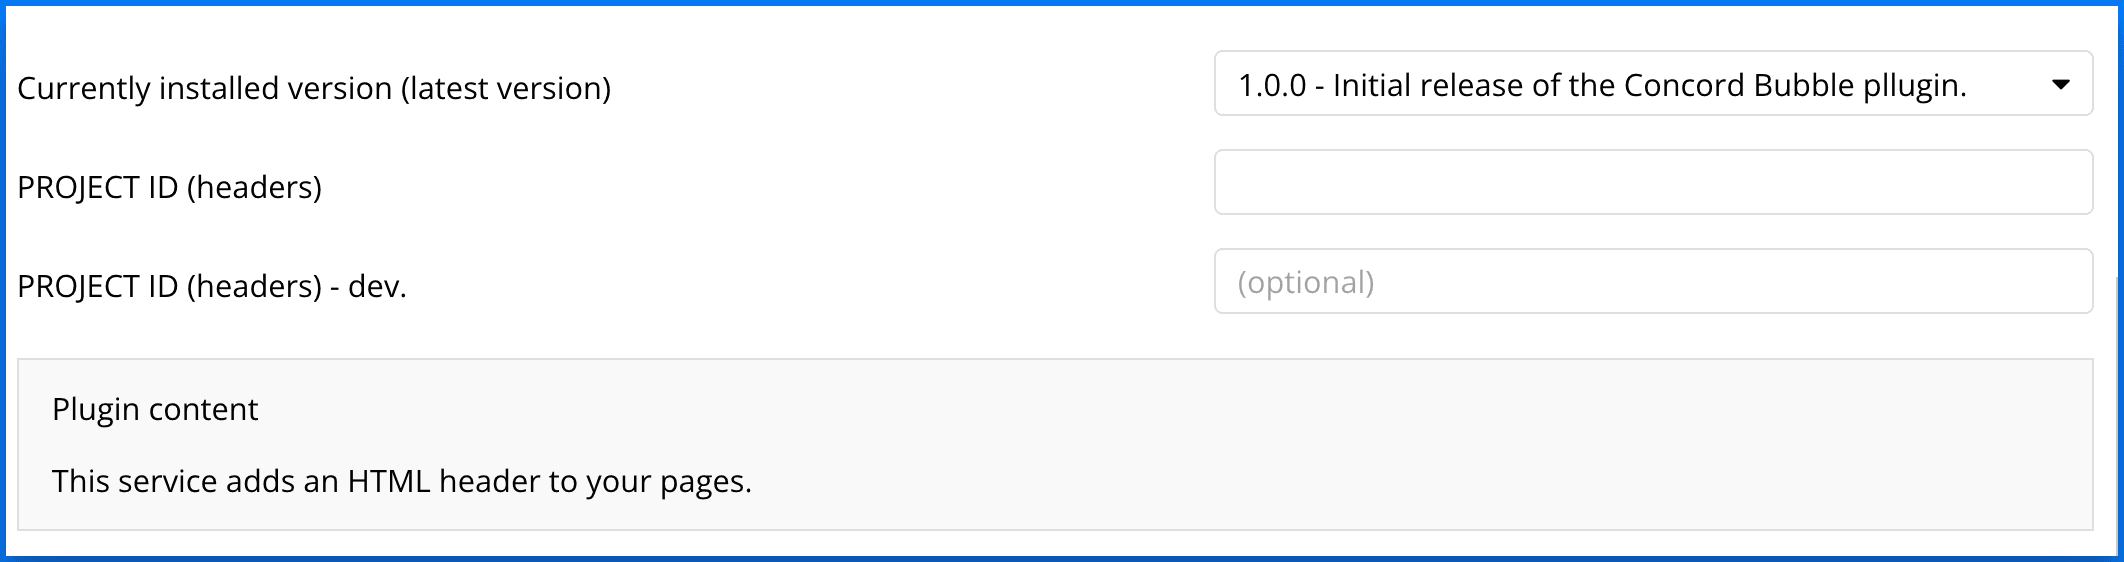
- Paste in the Project ID that you previously copied above. Bubble saves this automatically. The Project ID is not something Bubble detects on its own. It is stored in the plugin's configuration and read by Concord each time your application loads.
- Click Preview in the top-right corner of the Bubble editor and open the preview of your application. Installed plugins run in Preview, so the Concord plugin initializes automatically and Concord detects your Project ID as the page loads. Go back to Concord to verify your integration under Deployment → Installation → Install Concord. If everything is connected, you should see the following:
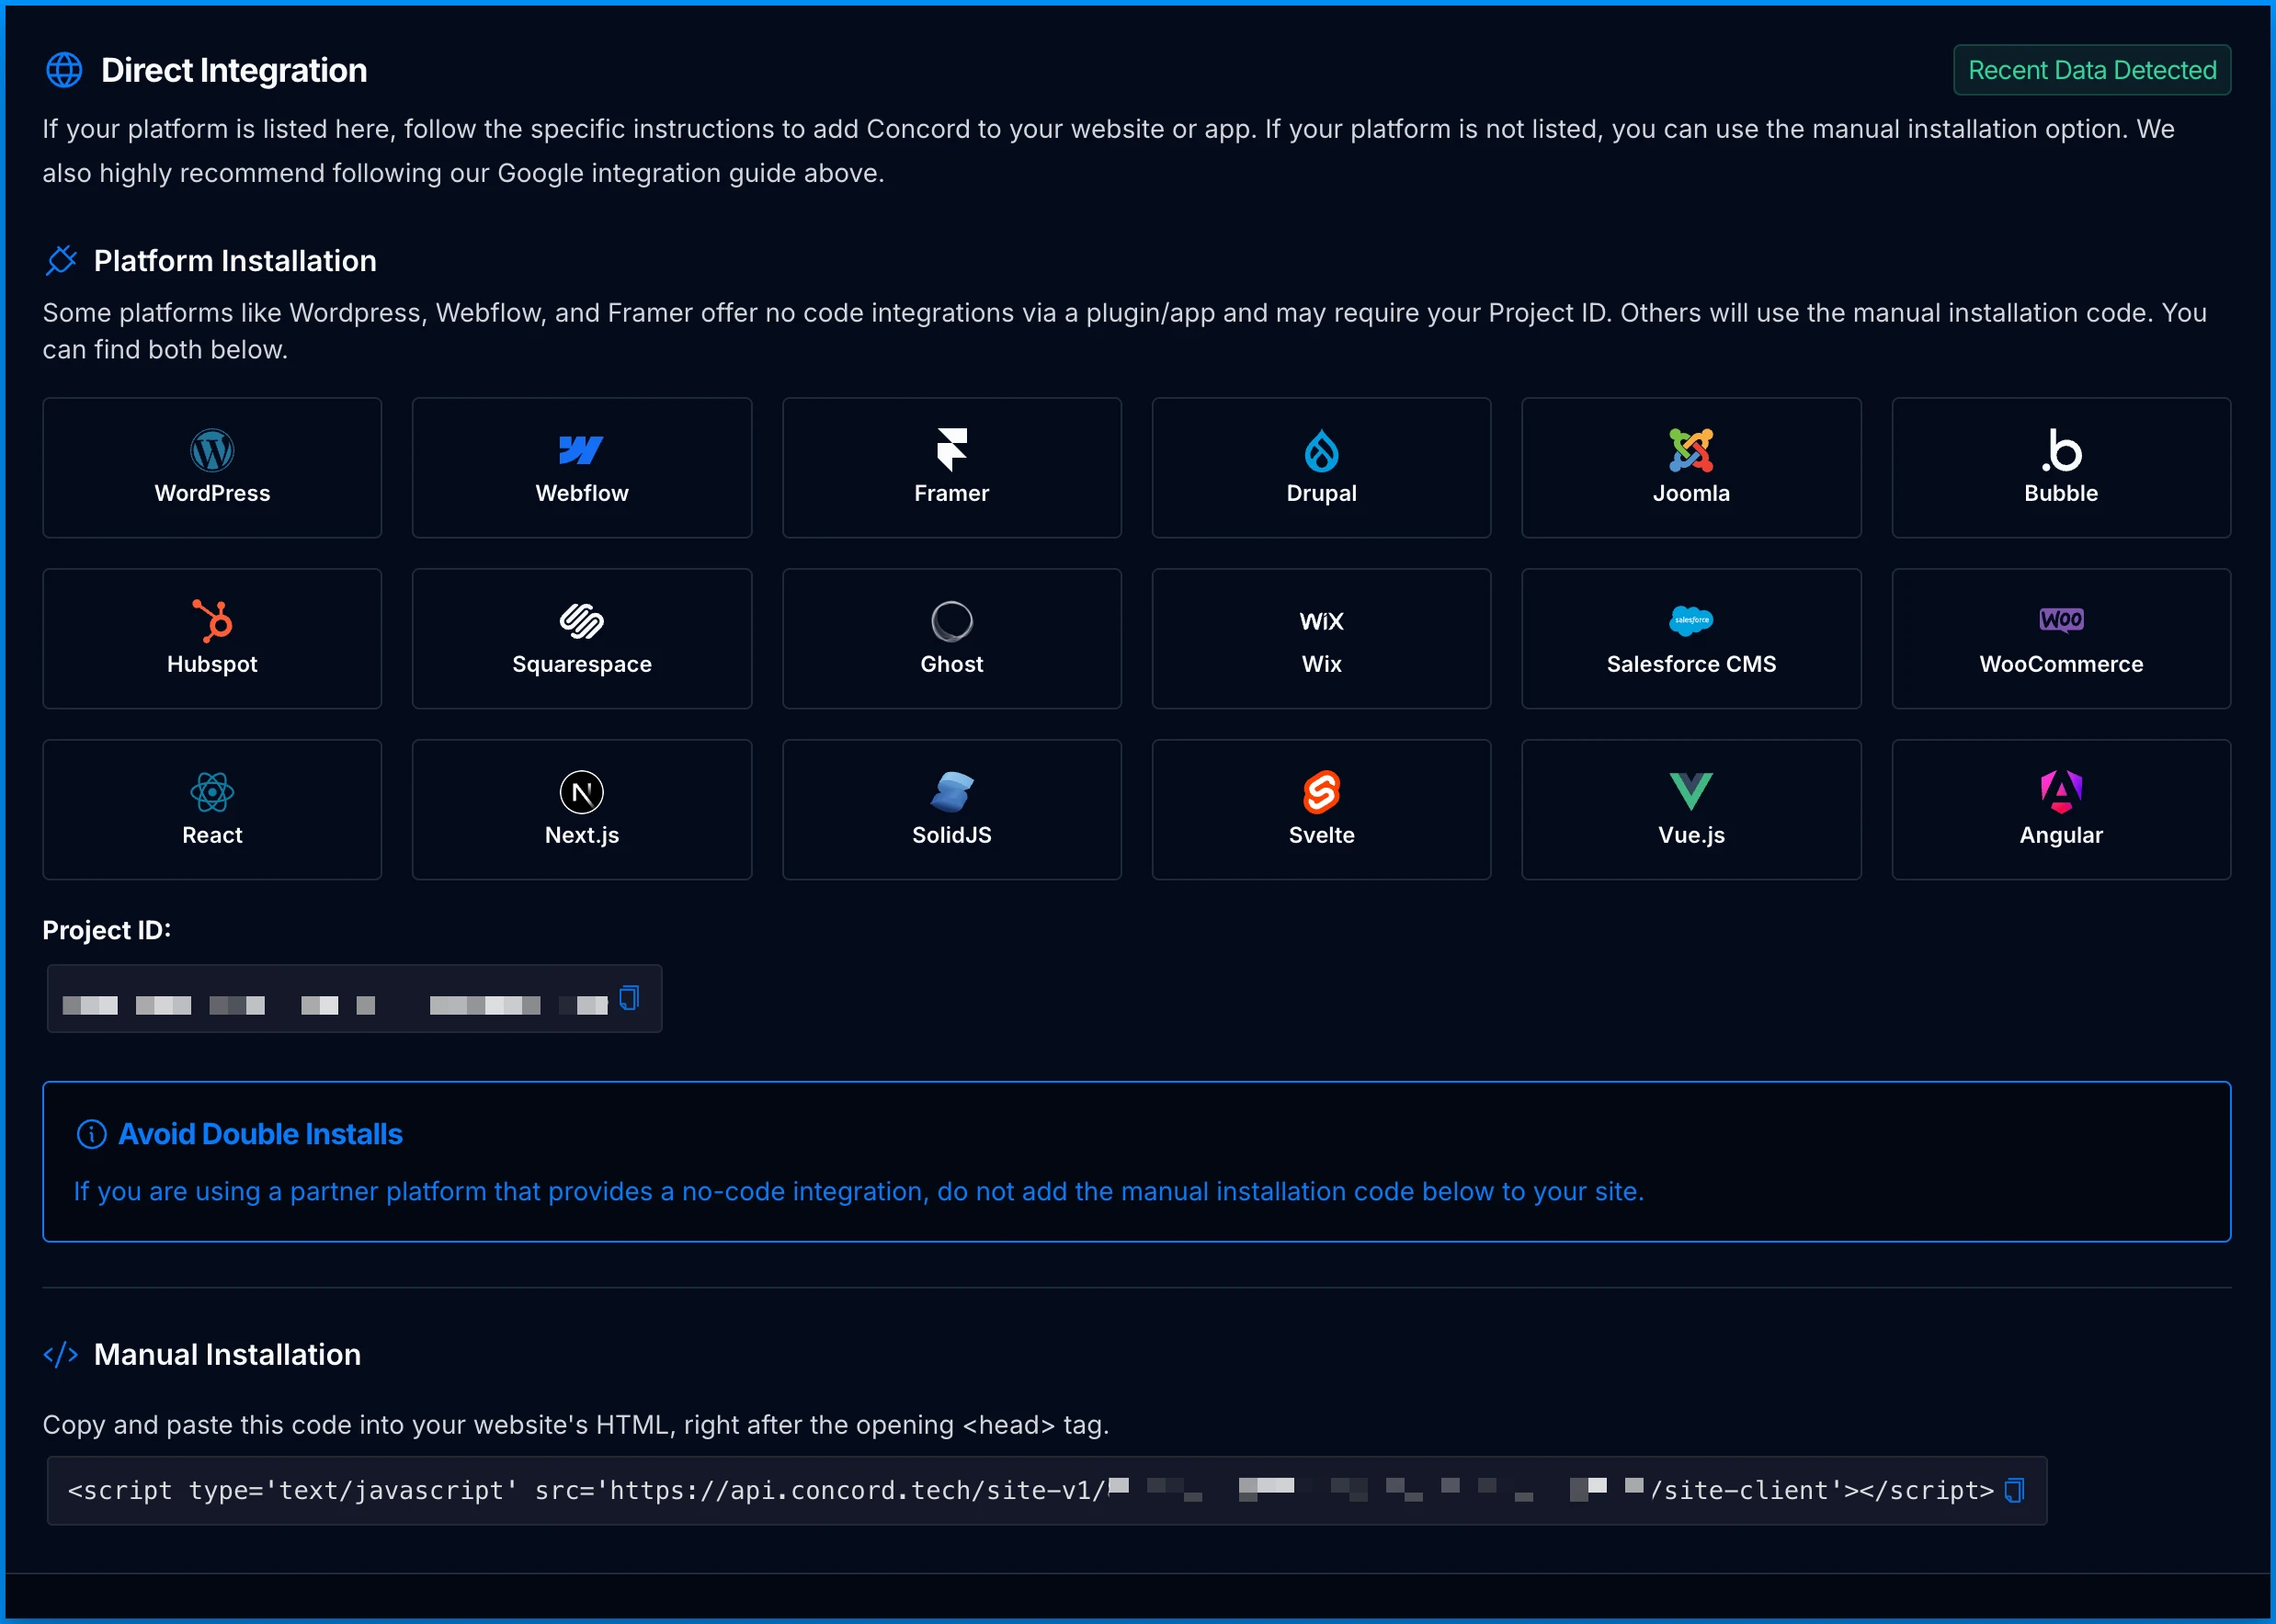
- When you are ready to make Concord live for your visitors, click Deploy in the top-right corner of the editor to push your changes to your Live application (Bubble's "Deploy to Live" action), then open your live site once to confirm Concord loads there too.
Note: Older versions of Bubble labeled this action Publish. Current Bubble calls it Deploy (or "Deploy to Live").
Congratulations. You have successfully integrated Concord into Bubble and any future changes to your attached project in Concord will be automatically synced to your application.
Troubleshooting
- Preview works but your live site does not. Changes only reach visitors after you deploy. Click Deploy to push to Live, then reload your live site.
- The plugin looks inactive. Confirm the Concord plugin is still installed and enabled under the Bubble Plugins tab, and that you are not previewing in Bubble's Disable plugins safe mode, which turns off all third-party plugins, including Concord.
- Concord shows no data. Check that the Project ID in the plugin exactly matches the one under Deployment → Installation → Install Concord in Concord, with no extra spaces.
- Requests are being blocked. Ad blockers or tracking-protection extensions can stop the Concord script from loading. Test in a clean browser profile or with those extensions disabled.
- You still see old behavior. Clear your browser cache, or use a private window, so you are not loading a cached version of the page.
- Verify the script loaded. Open your browser's Developer Tools, go to the Network tab, reload the page, and confirm a request to Concord is present. You can also check the Console for any Concord errors.
Manual Installation (Alternative)
If you cannot use the plugin, or you want full control over how the script loads, you can add Concord to Bubble manually. The result is identical to the plugin.
- In Concord, go to Deployment → Installation → Embed Concord and copy the Direct Embed Code for your project.
- In Bubble, open Settings → SEO / metatags and paste the code into the header scripts field (the "Script/meta tags in header" box) so it loads on every page. Place Concord above any other custom header code so it runs first, and paste it exactly as copied (do not add
asyncordefer, which can cause timing issues with compliance). - Click Preview to test, then Deploy to push to Live, and open your site once to confirm Concord loads.
To keep a single source of truth, we do not repeat the full script here. Always copy it from Embed Concord in your Concord dashboard, which reflects the current, correct code for your project.