Adding Consent Types
- Concord uses Consent Types to determine the type of Consent Events that you can capture on your website or in your applications.
- This article provides instructions on adding a new Consent Type to your Organization.
- To learn more about how Consent Types work, refer to this article: Consent Types Overview
Adding a New Consent Type
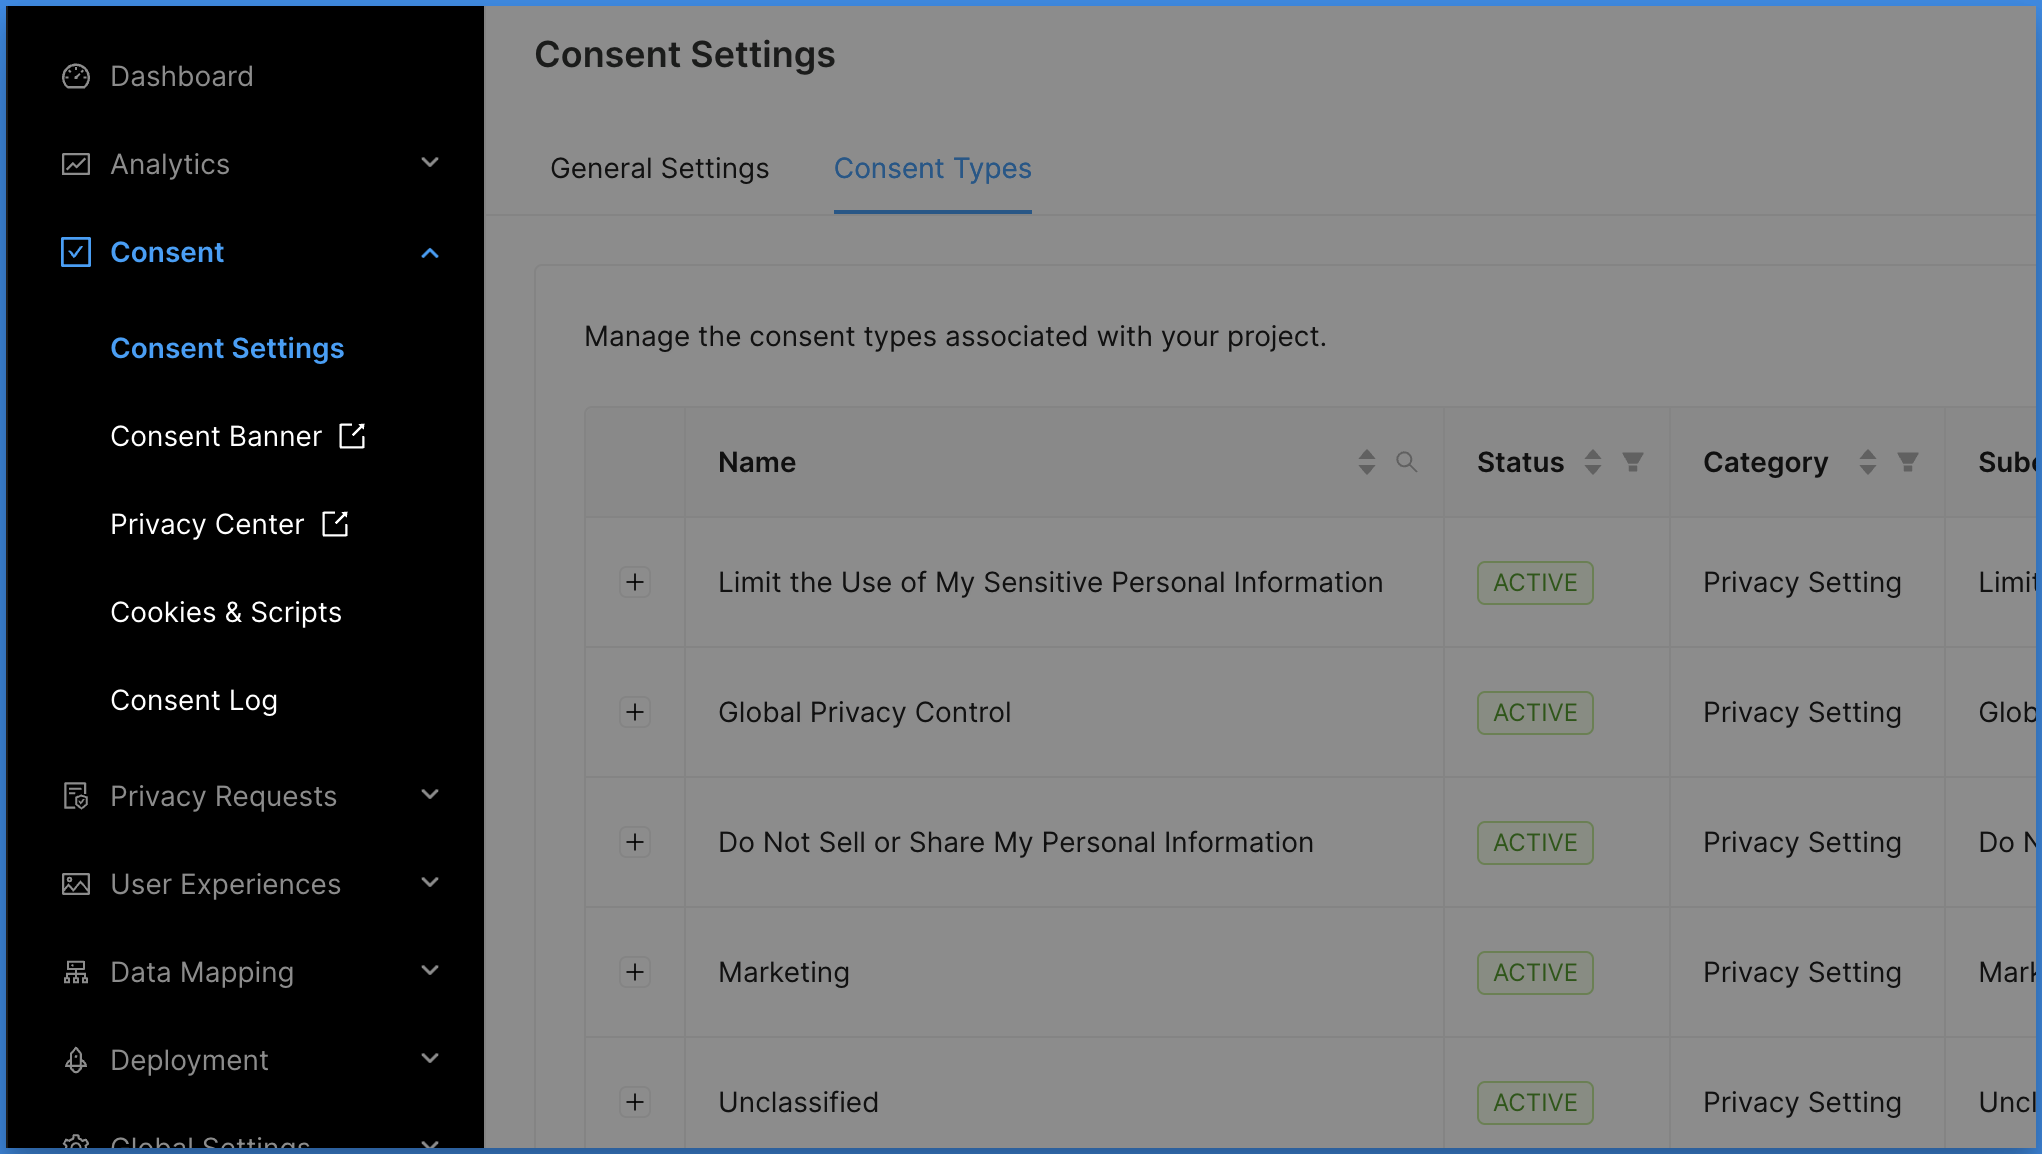
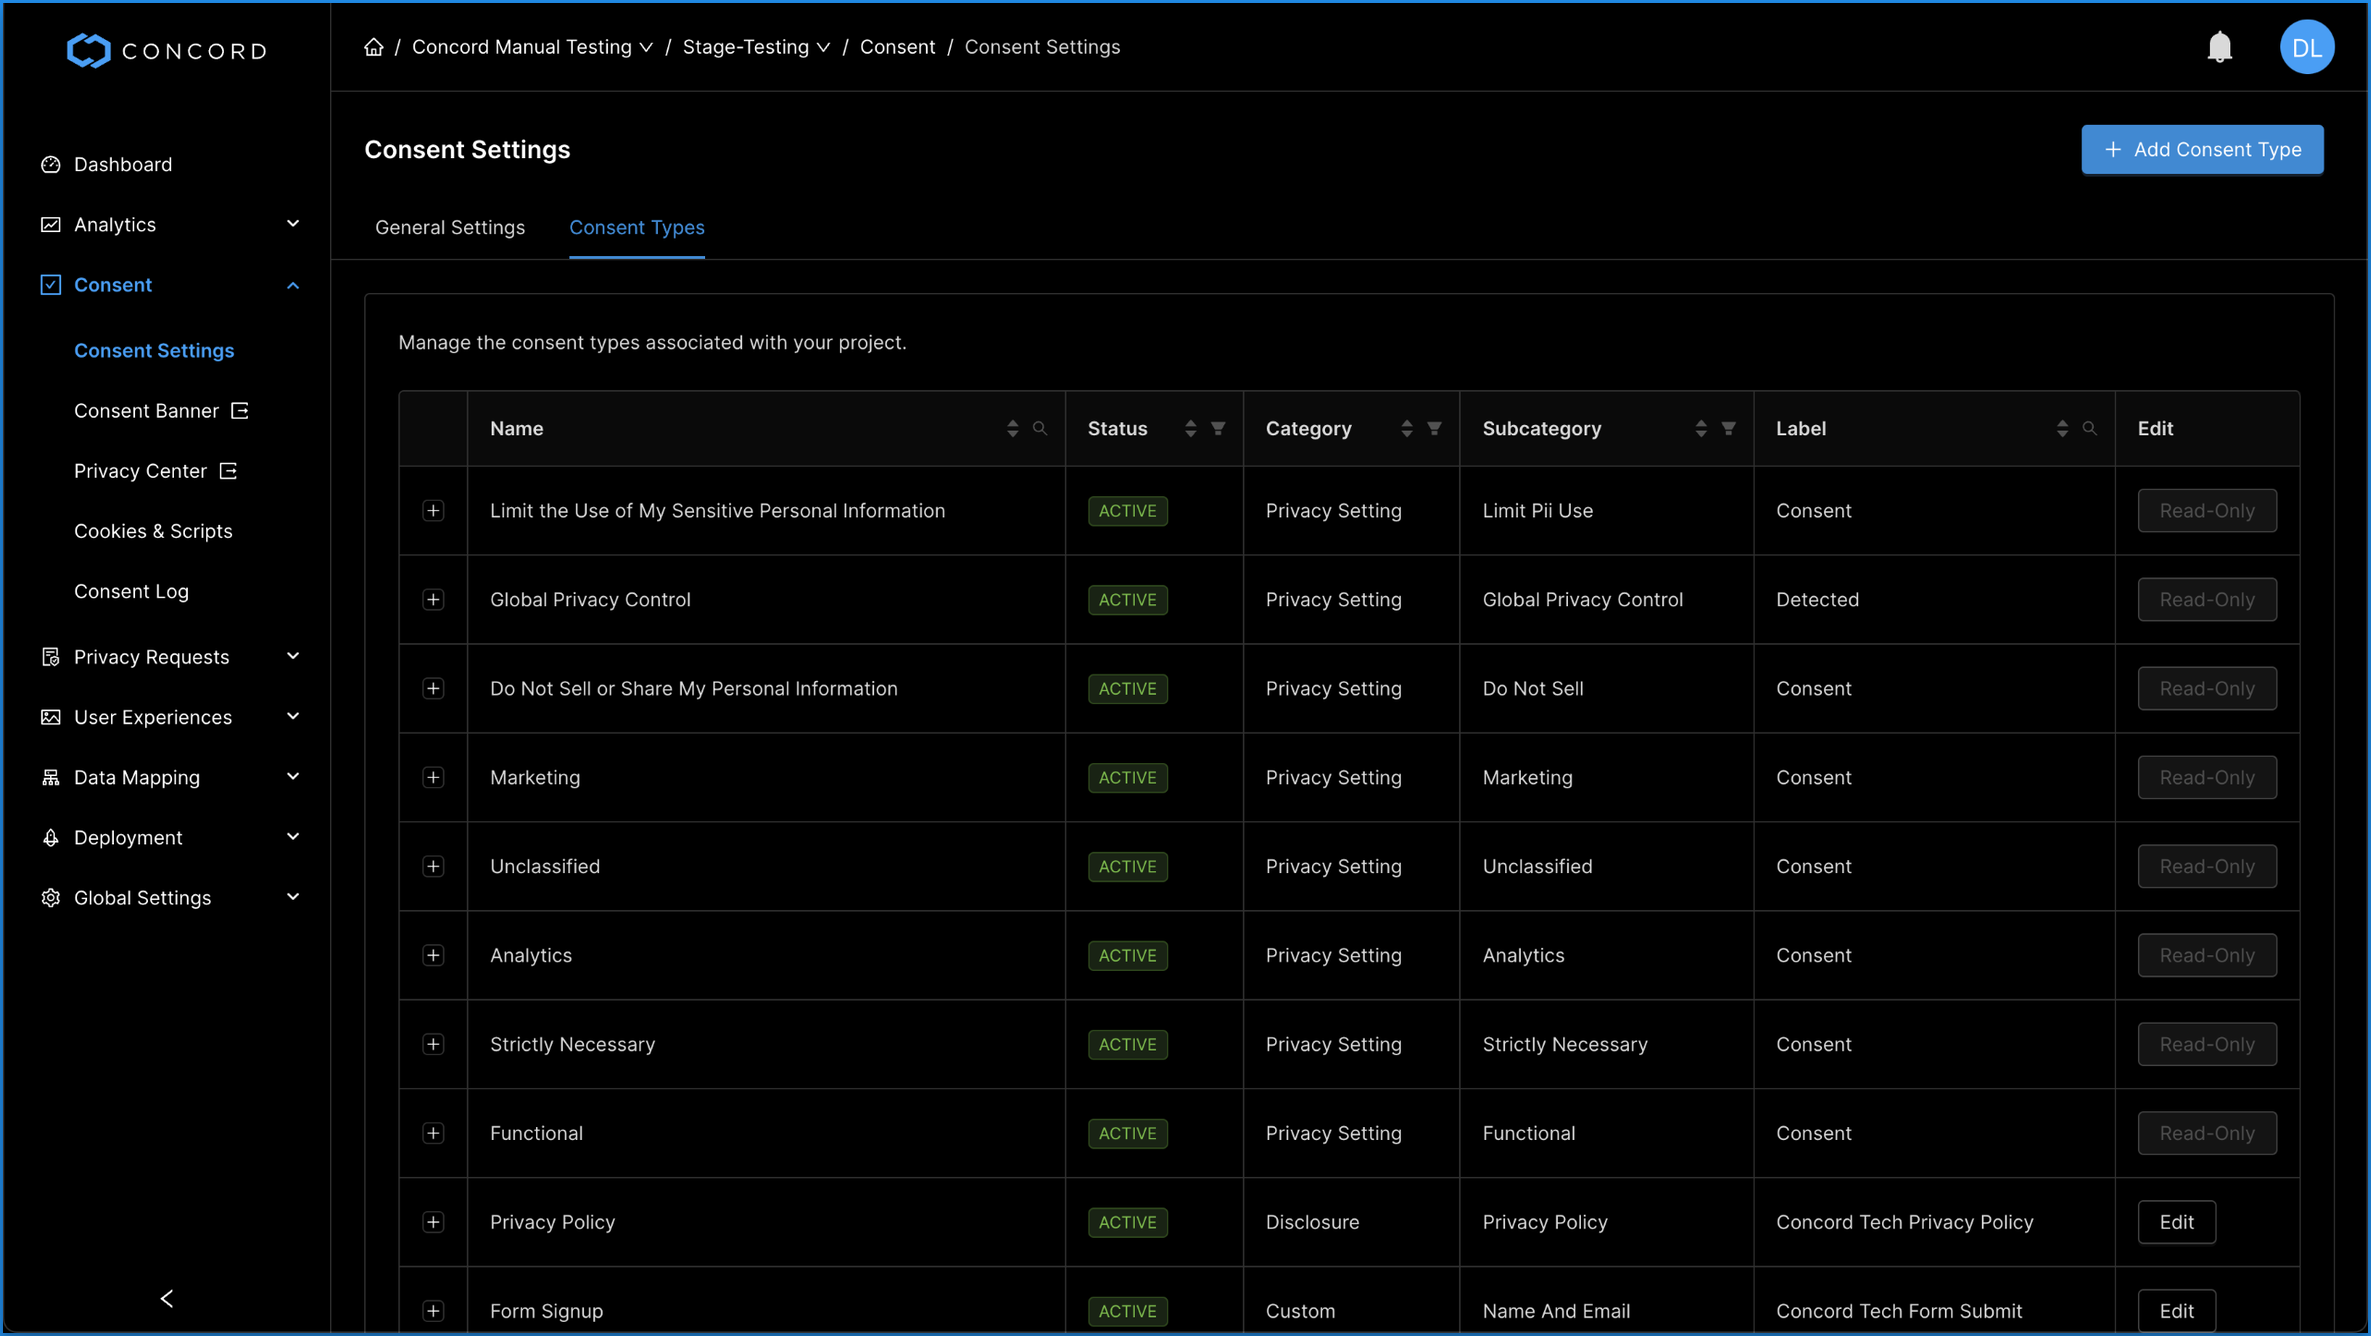
1. Click on the Consent drop-down menu, choose Consent Settings, and select the Consent Types tab.
2. Click Add Consent Type.
3. Choose the category for your Consent Type:
- Disclosure Consent: Preferences related to notices like privacy policies and terms of service.
- Communication Consent: Preferences related to the use of email, phone, and other types of communication.
- Privacy Setting Consent: Preferences related to the use of social media, analytics, personalization, etc.
- Custom Consent: Allows for optionally grouping and categorizing Consent Types by custom identifiers.
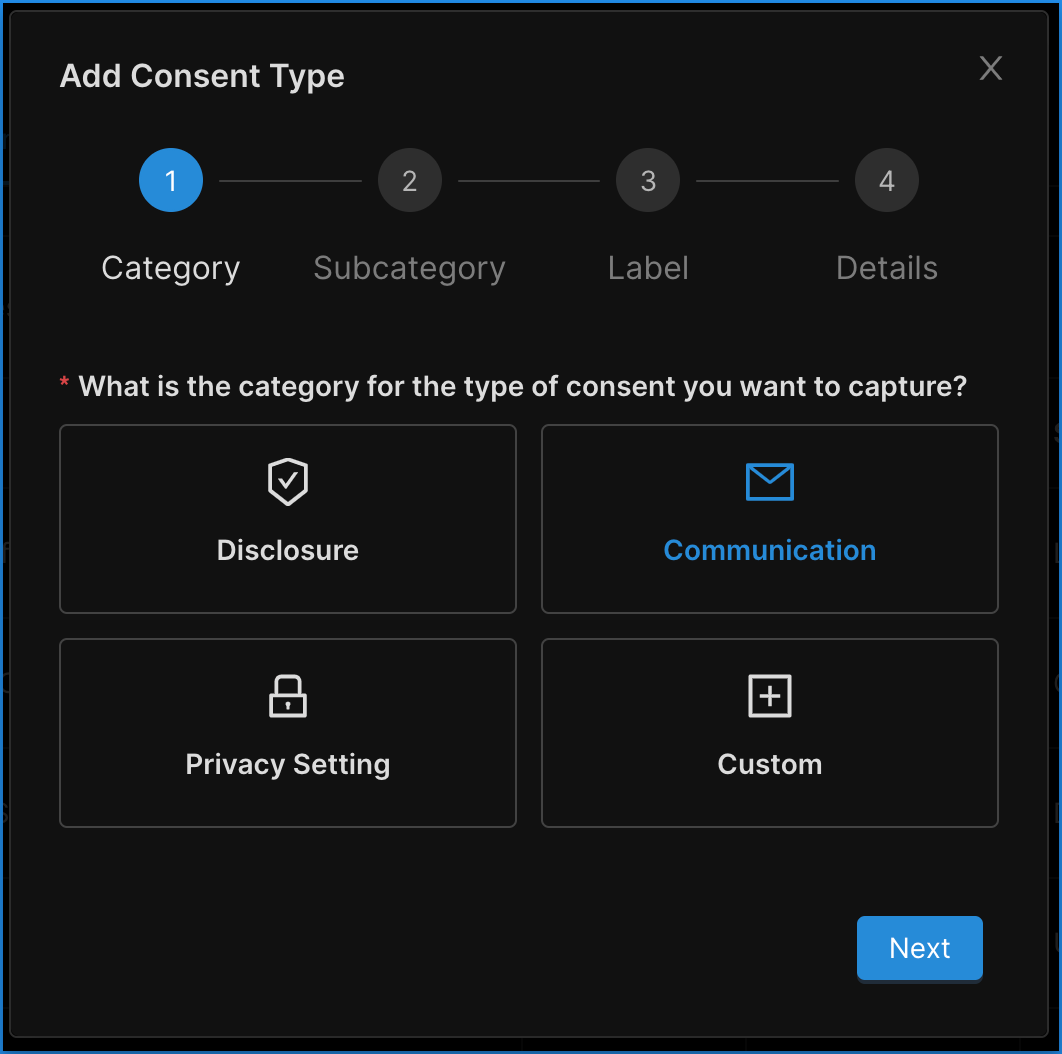
4. Click Next.
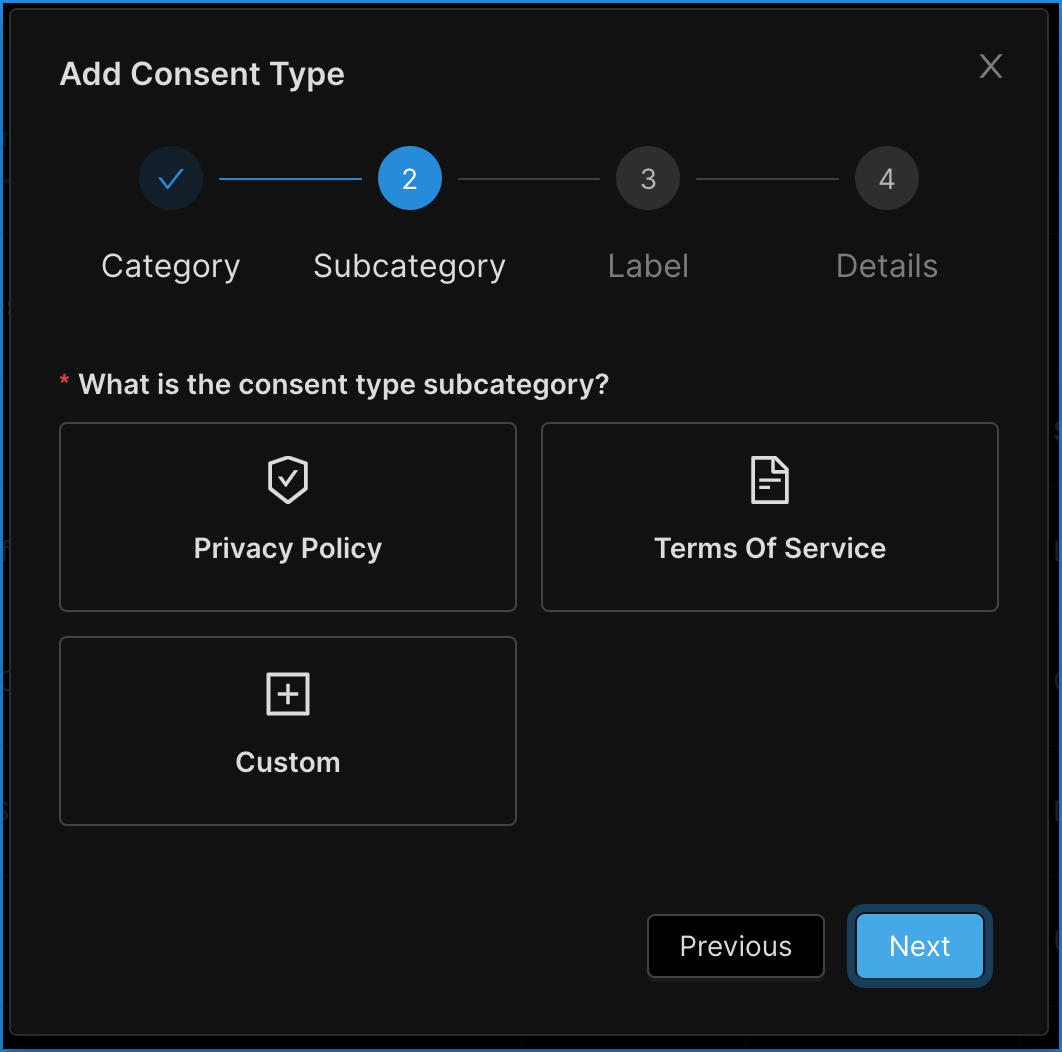
5. Choose the subcategory for your Consent Type.
Subcategory options will default based on Consent Type category:
- Communication: Email, Phone, Custom.
- Disclosure: Privacy Policy, Terms of Service, Custom.
- Privacy Setting: Advertising, Analytics, Device Location, Strictly Necessary, Personalization, Social Media, Unclassified, Custom
6. Click Next.
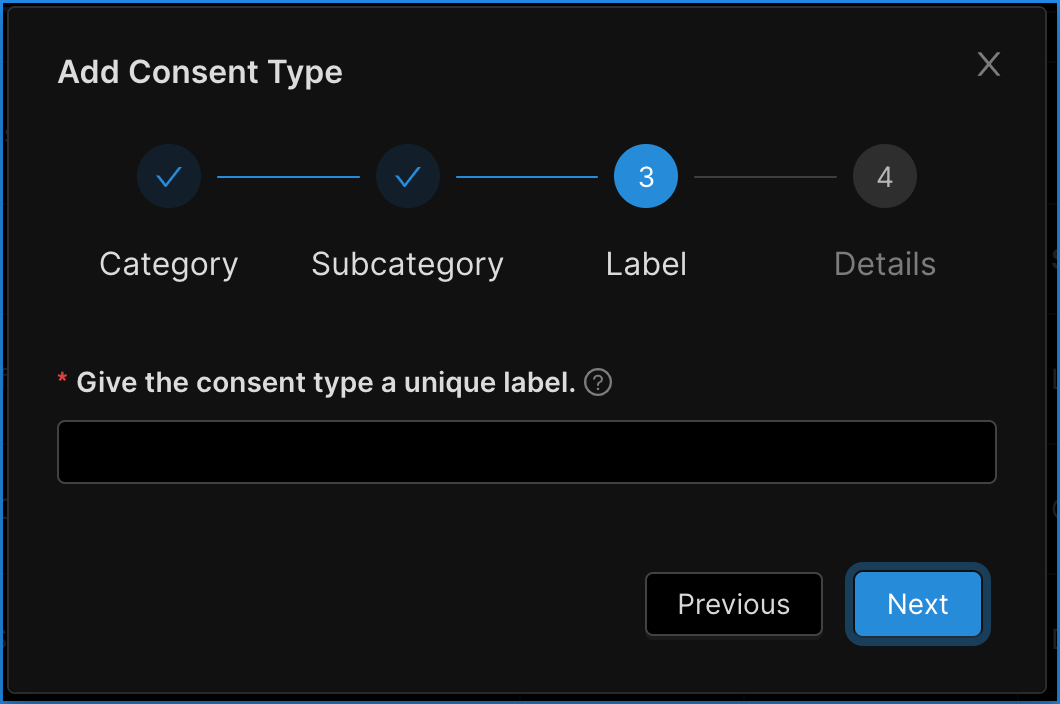
7. Add a label for your Consent Type.
Assign a label to your Consent Type for internal use. Labels are used with category and subcategory to create a unique Consent Type and are shown in reports to users.
8. Click Next.
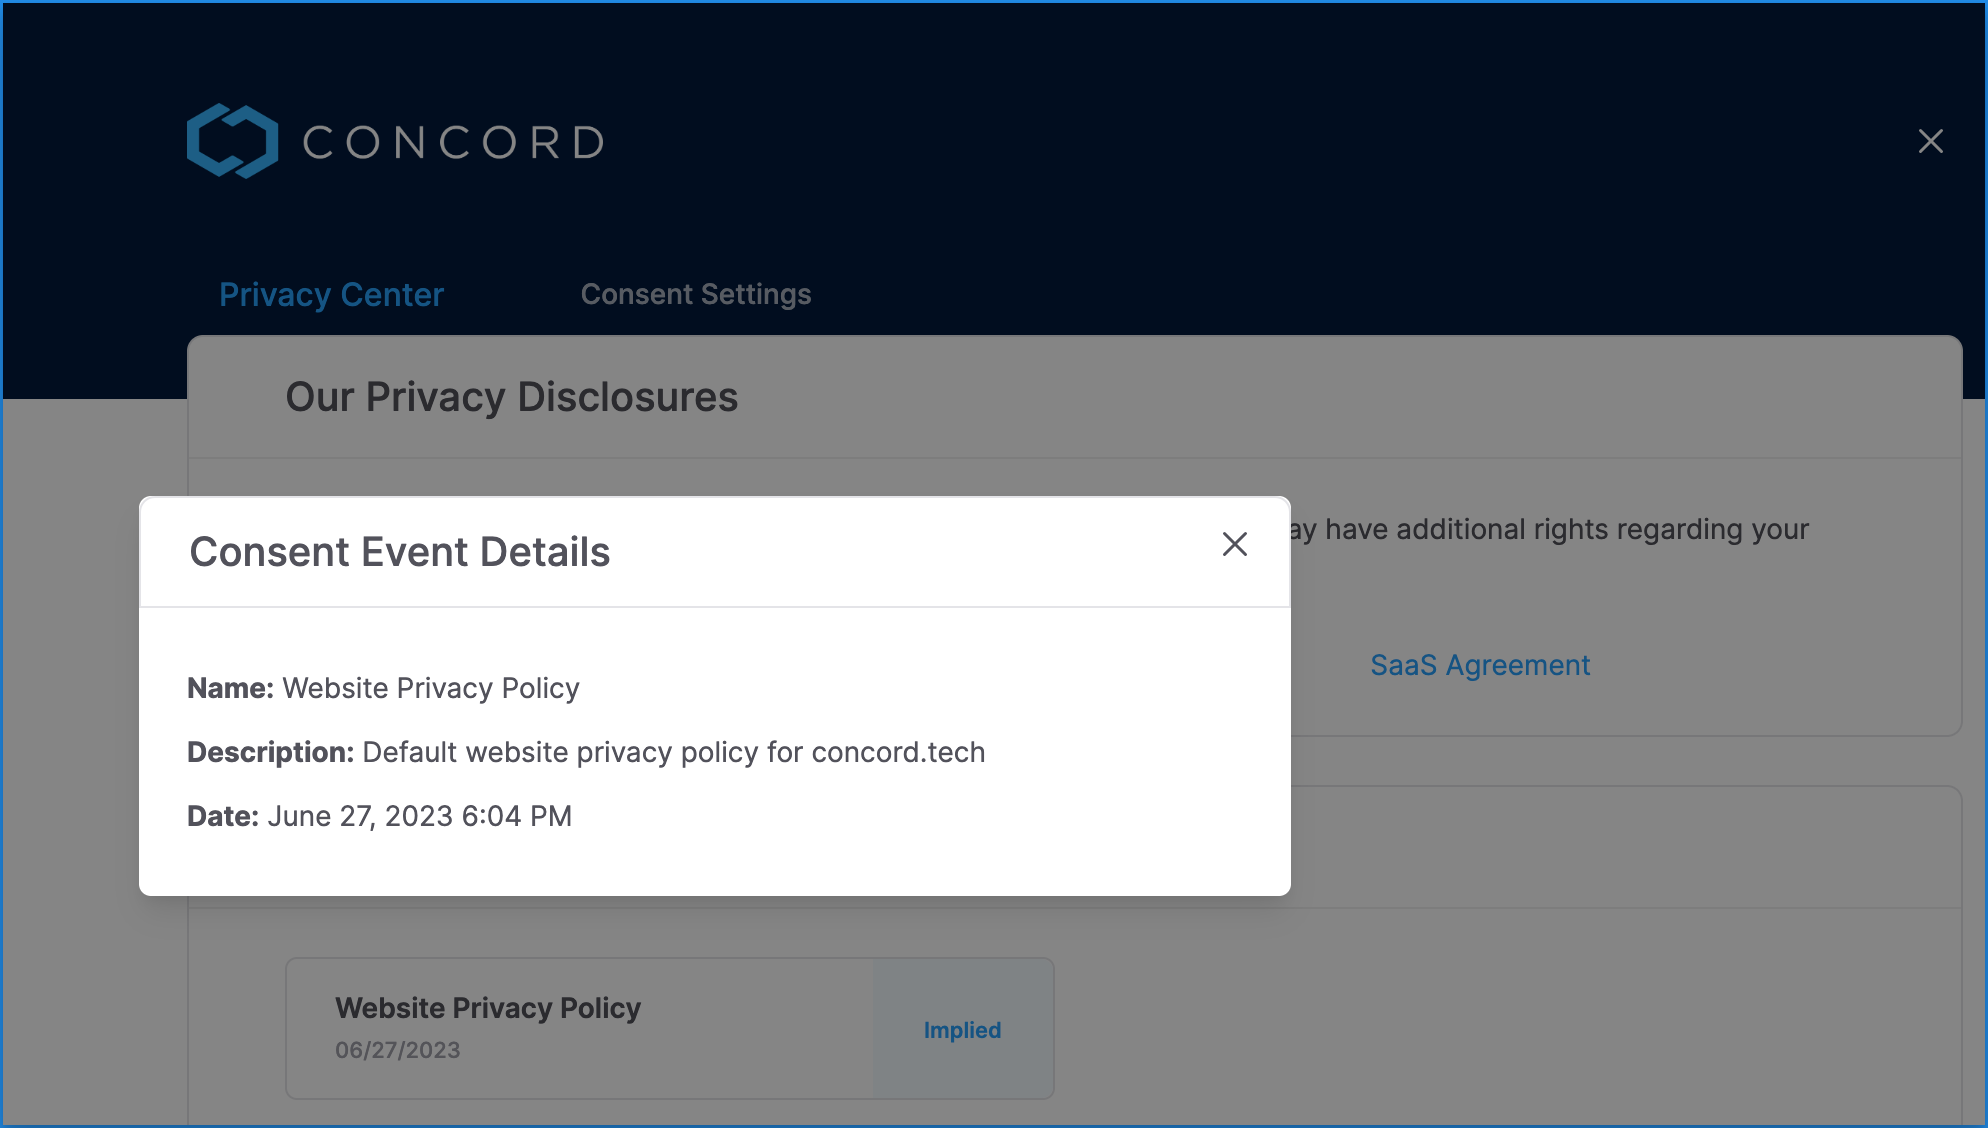
9. Enter details for your Consent Type:
- Name: The Consent Type name is used to identify your Consent Types in Concord and is the friendly name that is shown to your users in the Privacy Center.
- Description: This is a longer field allowing you to describe in more detail what the consent is for. This description is also visible to end users in the Privacy Center.
- States: The states of consent based on user actions.
- ~Accepted / Declined: The default consent states are “accepted” and “declined” as most cases will require the end user to accept or decline consent.
- ~Viewed: This is less common, but select “viewed” if this a Consent Type where you want to track views instead of or in addition to click activities like accepts or declines.
- ~Implied: Select “Implied” if the end user does not need to take positive action to consent, but consents by using your website or application, like with a privacy policy. Note that all Consent Types that include implied as an option are sent automatically when we first see a new visitor to your website or application.
- Duration: This determines how long a user’s consent will last for this specific Consent Type. The default duration is 12 months.
- Url: You may add a URL here to link to any associated documents for this Consent Type. Examples include links to cookie policies, privacy policies, terms of service, and EULAs.

10. Click Done.
We will display a message letting you know the Consent Type been successfully added. Once complete, the consent details will be displayed to your users in the Privacy Center under their Consent History.