Getting Started with Concord Trust
A quick overview of how to set up and launch your Concord Trust Center, including customizing your branding, adding documents, featuring documents, and publishing.
Overview
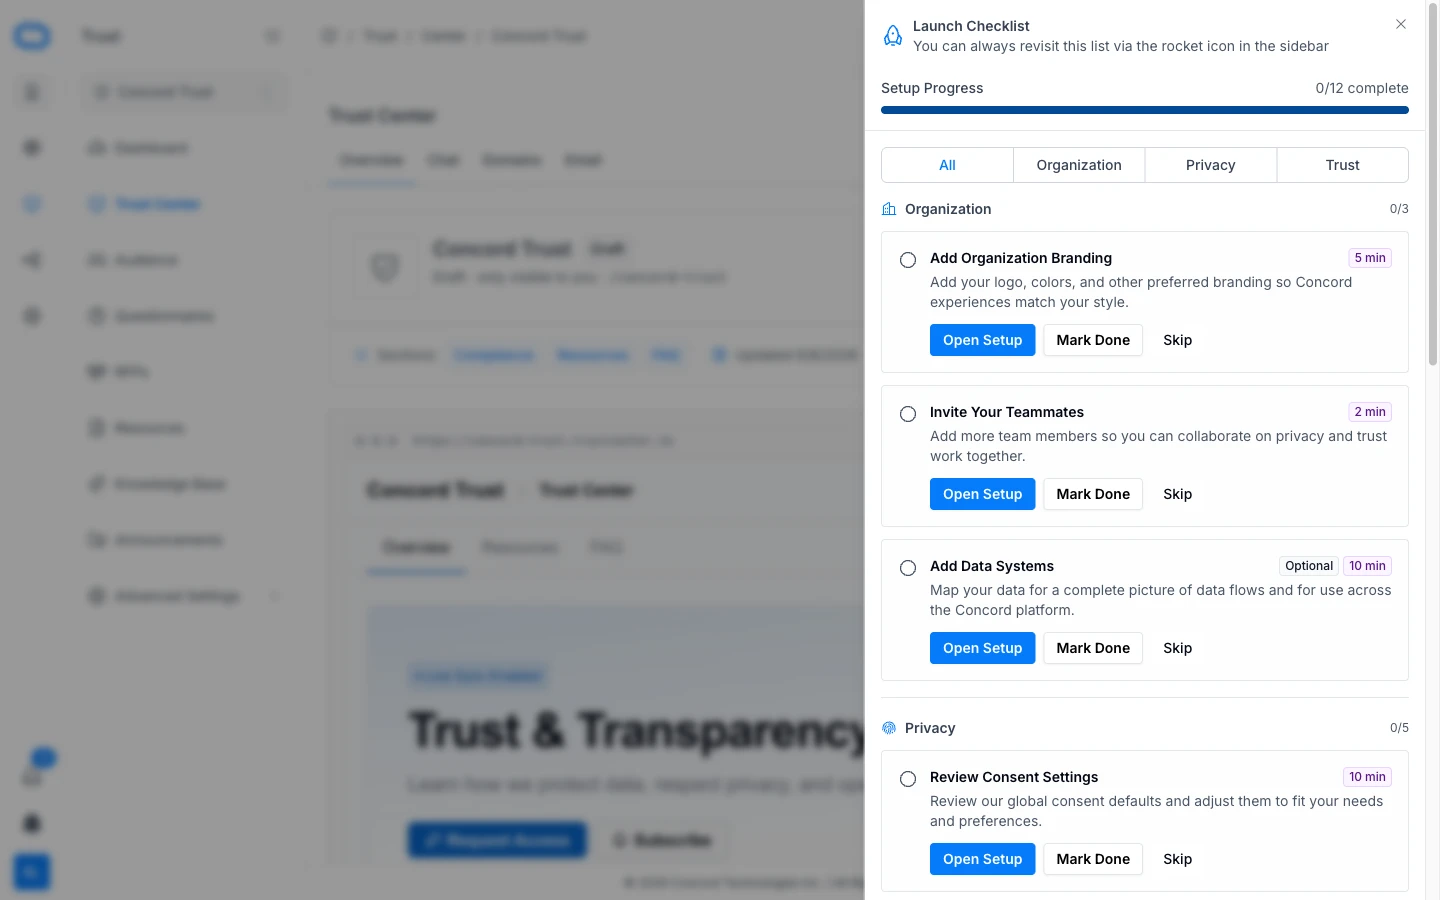
This guide walks you through setting up your Concord Trust Center from initial configuration to going live. When you first navigate to Trust in the Concord Admin UI, the Launch Checklist walks you through four steps:
- Customize Your Trust Center: tailor your branding and content
- Add Global Documents: upload policies, reports, and certifications
- Feature Documents in Your Trust Center: choose which documents are shown to visitors and used for AI-powered autofill and chat
- Publish Your Trust Center: review and publish so prospects and customers can start exploring
You can revisit the Launch Checklist at any time via the rocket icon in the sidebar.
If you haven't already signed up for Concord, you can do so through this form.
Step 1: Customize Your Trust Center
Tailor your Trust Center's branding and content to tell your trust and security story.
- Log in to the Concord Admin UI.
- Navigate to Trust → Trust Center in the sidebar.
- Open the Launch Checklist, select the Trust tab, and click Open Setup next to Customize Your Trust Center.
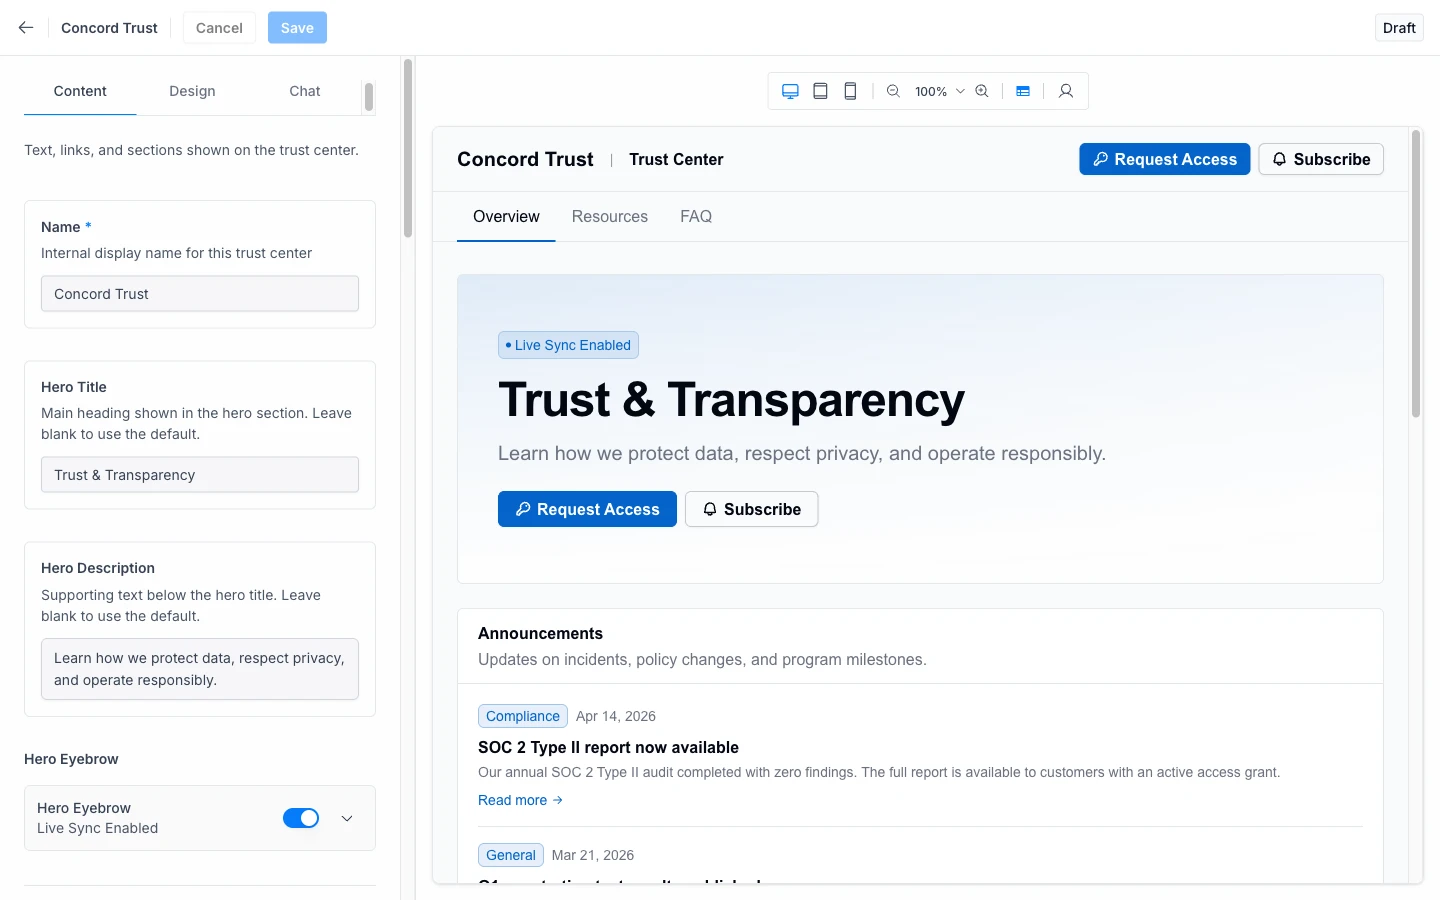
For detailed branding instructions, see Trust Center Branding & Customization.
Step 2: Add Global Documents
Upload policies, reports, and certifications to your shared global library for use in your Trust Center. Documents are managed in the Data Hub, which serves as a shared library across your organization.
- In the Launch Checklist, click Open Setup next to Add Global Documents (this takes you to Data Hub → Documents).
- Click + Add Document to upload your compliance documents: SOC 2 reports, penetration test summaries, certifications, insurance certificates, and similar artifacts.
- Configure the name, type, category, and access level for each document.
Documents added here go into your global document library. In the next step, you choose which of these documents to feature on your Trust Center.
For detailed instructions, see Adding & Managing Documents.
Step 3: Feature Documents in Your Trust Center
Choose which documents from your global library are shown to customers and prospects on your Trust Center. Featured documents are also used for AI-powered autofill and chat.
- In the Launch Checklist, click Open Setup next to Feature Documents in Your Trust Center.
- Select the documents you want to display on your Trust Center.
- Configure visibility for each document: public or gated.
Step 4: Publish Your Trust Center
Review your Trust Center and publish it so prospects and customers can start exploring.
- In the Launch Checklist, click Open Setup next to Publish Your Trust Center.
- Preview your Trust Center to verify that documents, branding, and content look correct.
- When ready, publish your Trust Center.
Your Trust Center is now publicly accessible at your trustcenter.to subdomain (e.g., yourcompany.trustcenter.to). You can also configure a custom domain. See Setting Up Your Trust Center Domain.
What's Next?
- Add FAQs to answer common security and compliance questions directly on your Trust Center. See Managing FAQs.
- Set up a custom domain to serve your Trust Center from your own URL. See Setting Up Your Trust Center Domain.
- Connect to Concord Privacy: add consent management, regional compliance, and a privacy request portal to your Trust Center. See Concord Privacy Integration.
- Handle security questionnaires: see Security Questionnaires Overview and AI Questionnaire Automation.
- Have questions? Reach out to our support team at support@concord.tech or visit our Support Commitment guide.