Managing Your Trust Center Audience
How to review and approve access requests, manage NDAs, and control who can view gated content on your Concord Trust Center from the Audience page.
Overview
The Audience page is where you manage who can access your Trust Center: the domains and individual emails allowed in, the incoming requests waiting on your decision, and the subscribers who receive your announcements. It's the control center for everything related to gated content.
- In the Concord Admin UI, go to Trust → Audience.
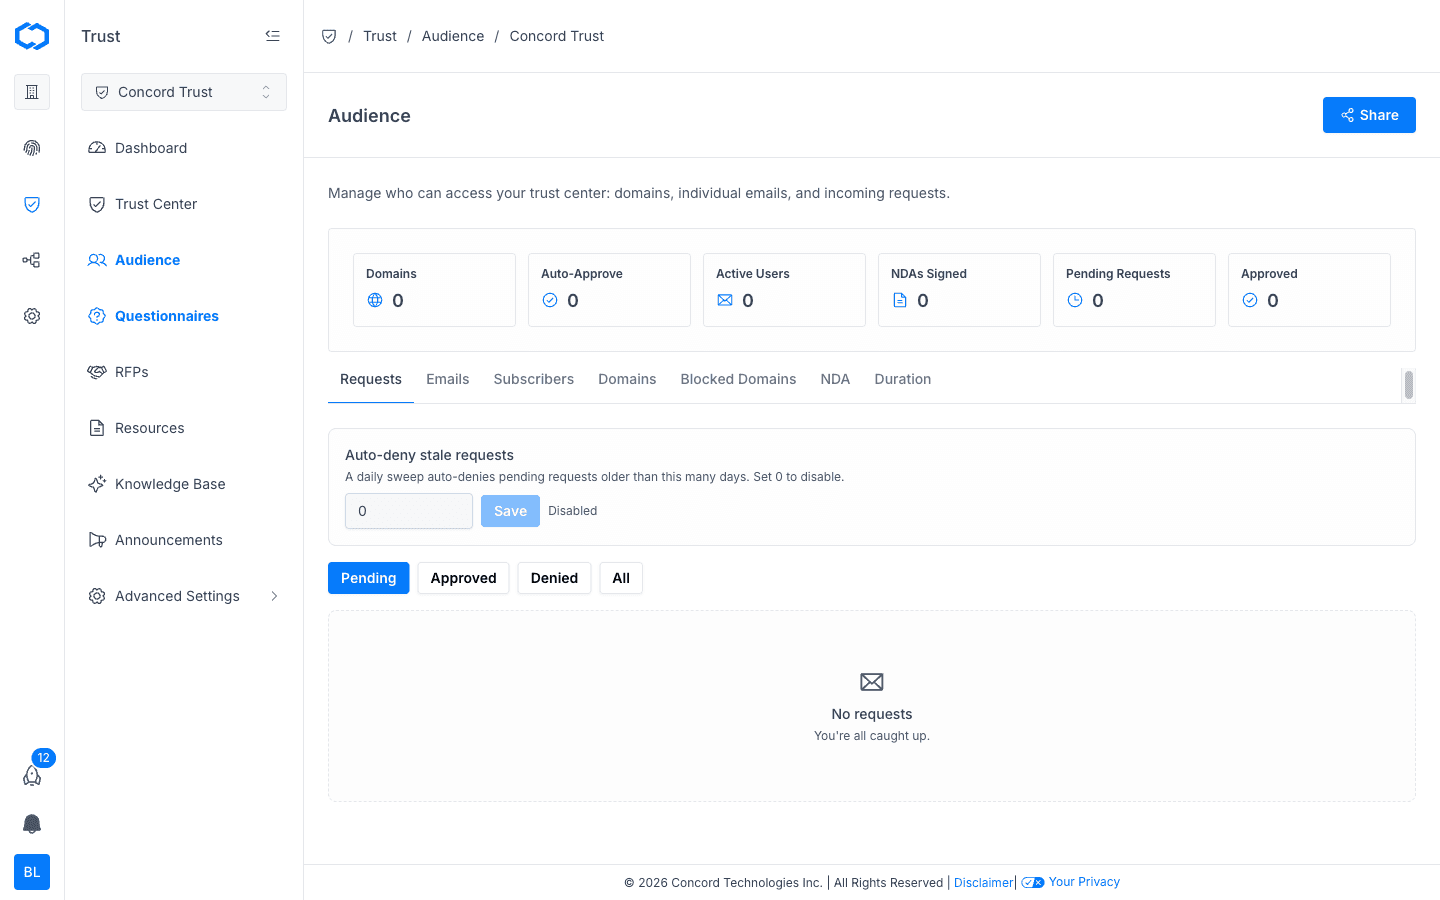
Summary Cards
The top of the Audience page shows six at-a-glance metrics:
| Card | Description |
|---|---|
| Domains | Number of domains configured for auto-approval. |
| Auto-Approve | Number of domains currently set to auto-approve incoming requests. |
| Active Users | Number of visitors with active, approved access. |
| NDAs Signed | Total NDAs signed by visitors to date. |
| Pending Requests | Requests awaiting your review. |
| Approved | Total approved requests to date. |
Managing Access Requests
The Requests tab lists everyone who has asked for access to gated documents on your Trust Center.
- Go to Trust → Audience and select the Requests tab.
- Use the Pending, Approved, Denied, and All filters to switch between request states.
- For a pending request, review the requester's name, email, and the document(s) they're asking to access.
- Click Approve to grant access, or Deny to reject the request.
Approving a request notifies the visitor by email and grants them access according to your configured access duration. Denying a request notifies the visitor that their request was not approved.
Auto-Deny Stale Requests
To keep your queue from filling up with abandoned requests, you can automatically deny requests that sit pending for too long.
- On the Requests tab, find the Auto-deny stale requests card.
- Enter the number of days a request can remain pending before it's automatically denied.
- Click Save.
Set the value to 0 to disable auto-deny. A daily sweep applies this rule across all pending requests.
Managing Individual Emails
The Emails tab lets you pre-approve or block access for specific email addresses, independent of the domain-level rules on the Domains tab. Use this when you want to grant or restrict access for a specific person rather than their entire organization.
- Go to the Emails tab.
- Add an email address and set it to Allow or Block.
- Save your changes.
Allowed emails skip the request queue entirely; blocked emails are prevented from submitting new requests.
Managing Subscribers
The Subscribers tab lists everyone who has subscribed to receive your Trust Center announcements. Visitors can subscribe from your public Trust Center, and their subscription status (confirmed or pending confirmation) is shown here.
From this tab you can:
- View and search your subscriber list.
- Remove a subscriber to stop sending them future announcements.
- Export your subscriber list.
Managing Domains
The Domains tab controls auto-approval by email domain. Add a domain to automatically approve access requests from anyone with a matching email address, skipping manual review entirely.
- Go to the Domains tab.
- Click Add Domain and enter the domain (e.g.,
acme.com). - Toggle Auto-Approve on for domains you trust to skip the request queue.
This is useful for existing customers or partners who should always have access without waiting on manual approval.
Blocking Domains
The Blocked Domains tab prevents visitors from specific domains from submitting access requests at all — useful for filtering out spam or competitor domains.
- Go to the Blocked Domains tab.
- Click Add Domain and enter the domain you want to block.
Requests from blocked domains are rejected automatically and never appear in your Requests queue.
Requiring an NDA
The NDA tab lets you require visitors to sign a non-disclosure agreement before they can access particularly sensitive documents.
- Go to the NDA tab.
- Upload or write your NDA content.
- Turn on the NDA requirement for the documents that need it (configured from each document's access level settings in Adding & Managing Documents).
Once required, visitors must sign the NDA before their access request for that document can be approved. Signed NDAs are counted in the NDAs Signed summary card and logged for your records.
Setting Access Duration
The Duration tab controls how long approved access lasts before a visitor needs to request access again.
- Go to the Duration tab.
- Set the number of days that approved access remains valid.
Once access expires, the visitor's status reverts and they'll need to submit a new request to regain access to gated content.
Related Articles
Trust Center Branding & Customization
How to customize the content and appearance of your Concord Trust Center, including hero text, logo, colors, and layout, so it matches your organization's brand.
Sharing Your Trust Center
How to share your Concord Trust Center with prospects, customers, and partners, including direct links, website embedding, email signatures, and sales outreach.