# Concord Support Commitment
URL: /docs/concord-support-commitment
***
title: Concord Support Commitment
description: This article outlines Concord's support commitment to our customers including support channels and response times available to customers across different plans.
-----------------------------------------------------------------------------------------------------------------------------------------------------------------------------
## Overview
At Concord, we are committed to providing excellent support to our customers. We understand the importance of timely and effective assistance, especially when it comes to navigating the complex landscape of data protection and privacy compliance.
Our support policy is designed to ensure that you receive prompt, reliable, and knowledgeable assistance whenever you need it. Here are the key aspects of our support commitment:
* Response Time: We strive to provide an initial response to all customer inquiries within 2 business days of receipt.
* Support Channels: Depending on your plan, we offer support through various channels including web, email, and chat, including an extensive knowledge base for self-service support.
* Expertise: Our dedicated support team is here to assist you with any questions or issues related to our privacy and compliance software.
This document outlines the details of our support services, including available channels, response times, and the types of assistance we provide. We're committed to your success and are here to support you as you implement our products.
| | Free | Essentials | Pro | Premium | Enterprise |
| ---------------------- | --------------- | --------------- | ------------------ | ---------------------------------- | ------------------------------------------ |
| Support Channels | Web | Web & Email | Web, Email, & Chat | Priority Web, Email, Chat, & Phone | Priority+ Web, Email, Chat, Phone, & Slack |
| Initial Response Times | 4 business days | 2 business days | 1 business day | Within 1 business day | Within 1 business day (priority queue) |
To ensure we can help you as quickly as possible, please include the following information when contacting Concord support:
* **Organization Name:** This allows us to link your request to your specific Concord organization.
* **Detailed Issue Description:** Provide a clear description of the problem you're experiencing. The more specific you are, the better we can understand and address your concern.
* **Steps to Reproduce:** If applicable, outline the exact steps that lead to the issue. This helps our team replicate and diagnose the problem more quickly.
* **Screenshots or Error Messages:** Please include any relevant screenshots or error messages you encounter.
Please note, Concord's business hours are Monday through Friday, 8:00am to 5:00pm Pacific Standard Time.
**Enterprise — Priority+:** Enterprise accounts receive Priority+ handling: a priority support queue ahead of standard Priority, a dedicated Slack channel for direct access to the Concord team, and expedited escalation for critical issues.
## Escalations
In accordance with our support commitment, escalations for critical issues follow a structured process to ensure swift and effective resolution. Critical issues, defined as incidents causing complete service outages, significant performance degradation, or major security concerns, are prioritized immediately upon detection or report. Our frontline support team will notify the appropriate technical specialists and escalate the issue to senior engineers or product teams within 60 minutes of confirmation. Updates will be provided to affected customers at regular intervals, and a dedicated escalation manager will oversee the resolution process to ensure adherence to service level agreements (SLAs).
## Google Consent Management Partner (CMP) Support
At Concord, our support team is dedicated to ensuring you are successful when it comes to integrating Concord’s CMP with Google. We offer comprehensive assistance for all aspects of our platform, including setting up Concord and integrating with Google via our Google Consent Mode V2 integration.
In addition to the above support policies, Concord offers dedicated support staff and account managers for support when troubleshooting Google CMP issues, and all support here should begin with our team as opposed to Google. We offer multiple ways to get the support you need including:
* Live chat via our in app chat at [https://admin.concord.tech/](https://admin.concord.tech/).
* Email support via [google@concord.tech](mailto:google@concord.tech) or [support@concord.tech](mailto:support@concord.tech).
* Self-service web support via comprehensive resources and guides via our [Help Center](/docs).
* [Understanding & Configuring Google Consent Mode](/docs/google-understanding-configuring-google-consent-mode-gcm-v2)
* Guided CMP setup calls with one of our knowledgeable support agents and account managers/executives including:
* Activating and configuring Consent Mode V2.
* Setting up your consent banner to comply with Google’s guideline.
# Concord Platform
URL: /docs/platform
***
title: 'Concord Platform'
description: 'Account-level guides shared across Concord Privacy and Concord Trust, including organization and user management, billing and credits, the Data Hub, data mapping, and your support options.'
icon: RocketIcon
----------------
## Overview
The **Platform** section covers the account-level features that are shared across both Concord Privacy and Concord Trust. These are the settings and tools that live at the organization level rather than inside a single product — how you manage projects and users, how billing and credits work, and how you catalog and map the systems that hold your data.
## Organization & Users
Manage the projects, users, roles, and sending domains for your Concord organization.
* [Projects Overview](/docs/projects-overview)
* [Managing Users](/docs/managing-users)
* [User Roles and Permissions](/docs/user-roles-permissions)
* [Managing Send-From Emails](/docs/managing-send-from-emails)
## My Profile
Configure your personal profile and notification preferences.
* [Managing Your Personal Profile](/docs/managing-personal-profile)
* [Notification Settings](/docs/notification-settings)
## Billing & Credits
Understand your plan, invoices, and how Actions and Data Credits are consumed.
* [Billing Overview](/docs/billing-overview)
* [Actions and Data Credits](/docs/actions-data-credits)
* [Billing FAQ](/docs/billing-faq)
## Data Hub & Data Mapping
Catalog the systems in your environment and map data to regulation-ready categories.
* [Data Hub Overview](/docs/data-hub-overview)
* [Data Mapping Overview](/docs/data-mapping-overview)
## Support
Have questions? Reach our support team at [support@concord.tech](mailto:support@concord.tech), or review our [Support Commitment](/docs/concord-support-commitment) for the full list of support options.
# Getting Started with Concord Trust
URL: /docs/trust
***
title: 'Getting Started with Concord Trust'
description: 'A quick overview of how to set up and launch your Concord Trust Center, including customizing your branding, adding documents, featuring documents, and publishing.'
icon: RocketIcon
----------------
## Overview
This guide walks you through setting up your Concord Trust Center from initial configuration to going live. When you first navigate to **Trust** in the Concord Admin UI, the Launch Checklist walks you through four steps:
1. **Customize Your Trust Center**: tailor your branding and content
2. **Add Global Documents**: upload policies, reports, and certifications
3. **Feature Documents in Your Trust Center**: choose which documents are shown to visitors and used for AI-powered autofill and chat
4. **Publish Your Trust Center**: review and publish so prospects and customers can start exploring
You can revisit the Launch Checklist at any time via the rocket icon in the sidebar.
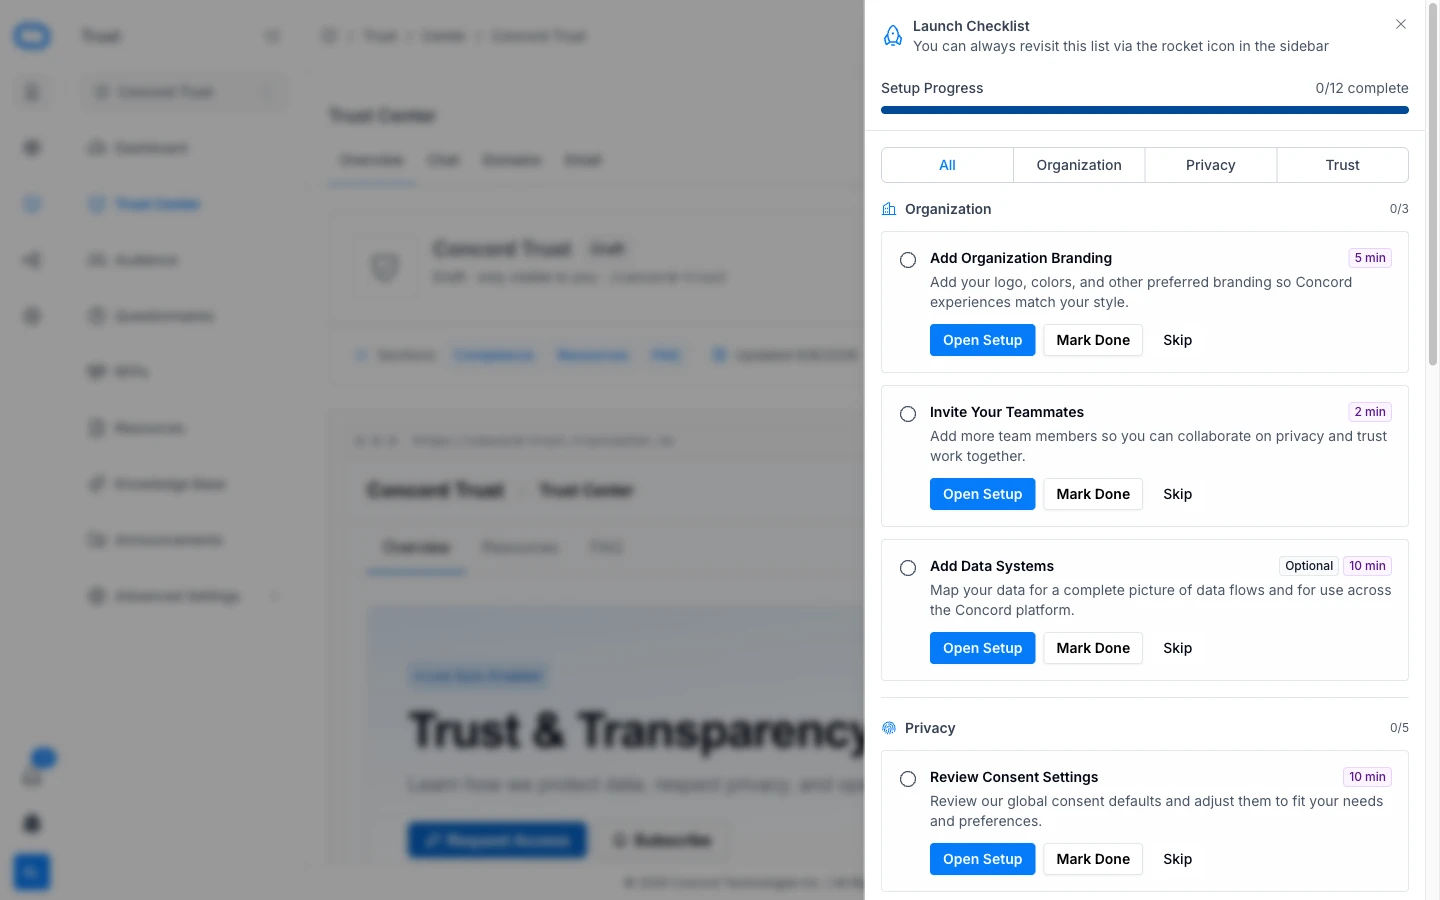
If you haven't already signed up for Concord, you can do so through [this form](https://admin.concord.tech/signup).
## Step 1: Customize Your Trust Center
Tailor your Trust Center's branding and content to tell your trust and security story.
1. Log in to the Concord Admin UI.
2. Navigate to **Trust → Trust Center** in the sidebar.
3. Open the Launch Checklist, select the Trust tab, and click **Open Setup** next to **Customize Your Trust Center**.
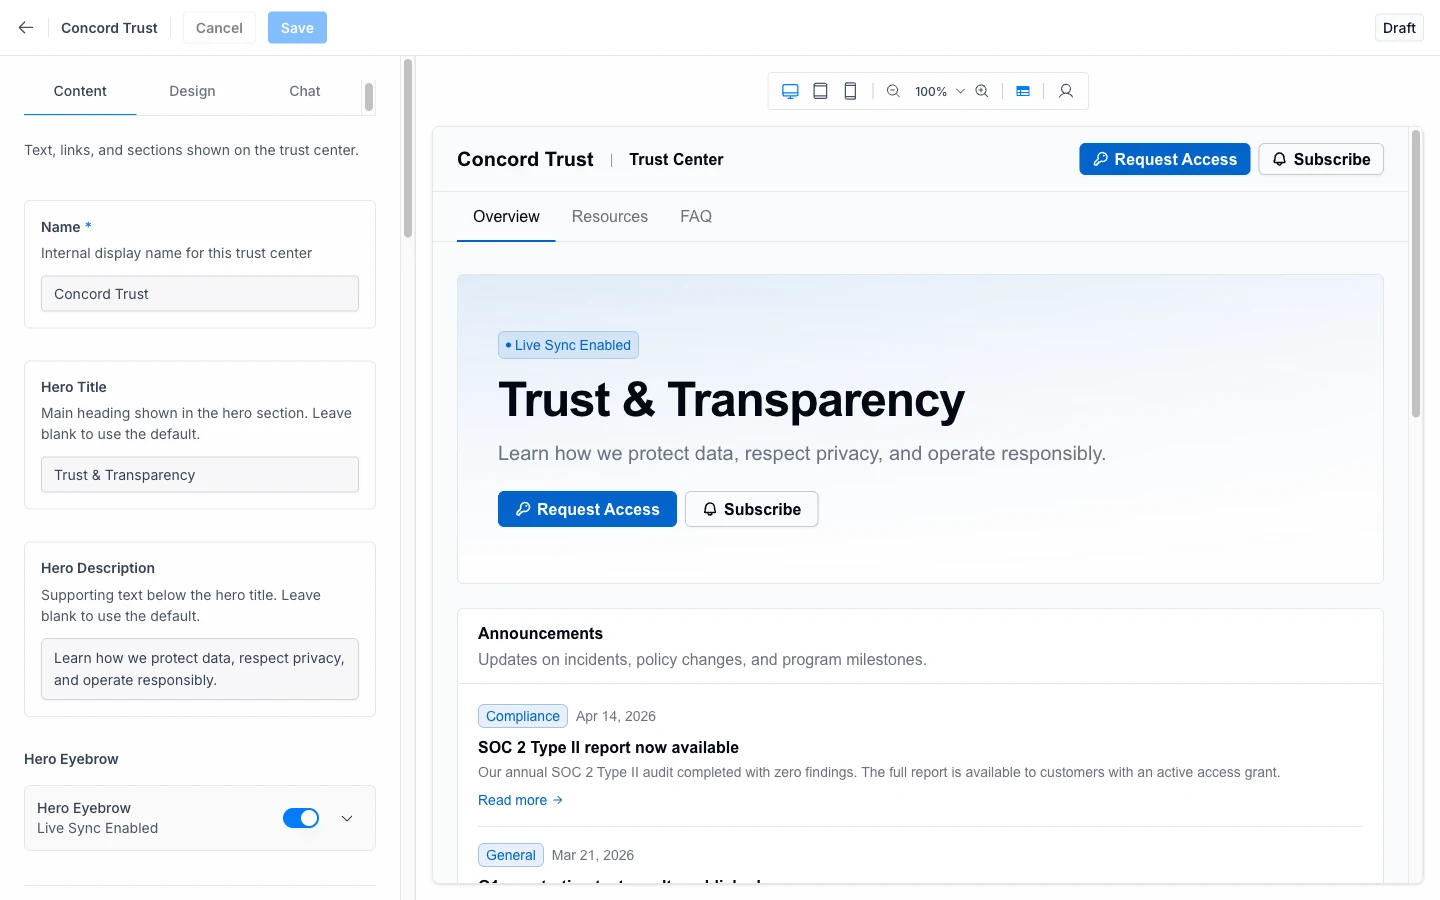
For detailed branding instructions, see [Trust Center Branding and Customization](/docs/trust-center-branding-customization).
## Step 2: Add Global Documents
Upload policies, reports, and certifications to your shared global library for use in your Trust Center. Documents are managed in the Data Hub, which serves as a shared library across your organization.
1. In the Launch Checklist, click **Open Setup** next to **Add Global Documents** (this takes you to **Data Hub → Documents**).
2. Click **+ Add Document** to upload your compliance documents: SOC 2 reports, penetration test summaries, certifications, insurance certificates, and similar artifacts.
3. Configure the name, type, category, and access level for each document.
Documents added here go into your global document library. In the next step, you choose which of these documents to feature on your Trust Center.
For detailed instructions, see [Adding and Managing Documents](/docs/adding-managing-documents).
## Step 3: Feature Documents in Your Trust Center
Choose which documents from your global library are shown to customers and prospects on your Trust Center. Featured documents are also used for AI-powered autofill and chat.
1. In the Launch Checklist, click **Open Setup** next to **Feature Documents in Your Trust Center**.
2. Select the documents you want to display on your Trust Center.
3. Configure visibility for each document: public or gated.
## Step 4: Publish Your Trust Center
Review your Trust Center and publish it so prospects and customers can start exploring.
1. In the Launch Checklist, click **Open Setup** next to **Publish Your Trust Center**.
2. Preview your Trust Center to verify that documents, branding, and content look correct.
3. When ready, publish your Trust Center.
Your Trust Center is now publicly accessible at your `trustcenter.to` subdomain (e.g., `yourcompany.trustcenter.to`). You can also configure a custom domain. See [Setting Up Your Trust Center Domain](/docs/setting-up-trust-center-domain).
## What's Next?
* **Add FAQs** to answer common security and compliance questions directly on your Trust Center. See [Managing FAQs](/docs/managing-faqs).
* **Set up a custom domain** to serve your Trust Center from your own URL. See [Setting Up Your Trust Center Domain](/docs/setting-up-trust-center-domain).
* **Connect to Concord Privacy**: add consent management, regional compliance, and a privacy request portal to your Trust Center. See [Concord Privacy Integration](/docs/concord-privacy-integration).
* **Handle security questionnaires**: see [Security Questionnaires Overview](/docs/questionnaires-overview) and [AI Questionnaire Automation](/docs/ai-questionnaire-automation).
* Have questions? Reach out to our support team at [support@concord.tech](mailto:support@concord.tech) or visit our [Support Commitment](/docs/concord-support-commitment) guide.
## Related Articles
* [Trust Center Overview](/docs/trust-center-overview)
* [Adding and Managing Documents](/docs/adding-managing-documents)
* [Managing FAQs](/docs/managing-faqs)
* [Trust Center Branding and Customization](/docs/trust-center-branding-customization)
* [Setting Up Your Trust Center Domain](/docs/setting-up-trust-center-domain)
# Getting Started with Concord Privacy
URL: /docs/privacy
***
title: 'Getting Started with Concord Privacy'
description: 'A quick overview of how to get started with Concord Privacy, with links to step-by-step instructions for setting up consent management, policies, privacy requests, and data mapping.'
icon: RocketIcon
----------------
## Overview
This guide walks you through the basics for setting up and deploying Concord’s Consent Banner and Privacy Center to your website. It includes three quick phases of setup (configuration in the Concord app, initial deployment and testing on your website, and finally going live in production). For single website rollouts, this can be completed in just a few hours end-to-end. If you have any questions, please reach out to us through our Help Center or at [support@concord.tech](mailto:support@concord.tech).
If you haven’t already signed up for Concord, you can do so through [this form](https://admin.concord.tech/signup).
## Organization Setup Wizard
When signing up for Concord, you will see the Concord Organization Setup Wizard. This wizard will guide you through setting up the following:
* **Company:** Add you company information including organization name, domain, URL for your Privacy Policy, and URL for your Terms of Service (optional). If you don’t have a live privacy policy link yet, you can enter a placeholder that matches where it will likely live in the future, ex. mydomain.com/privacy-policy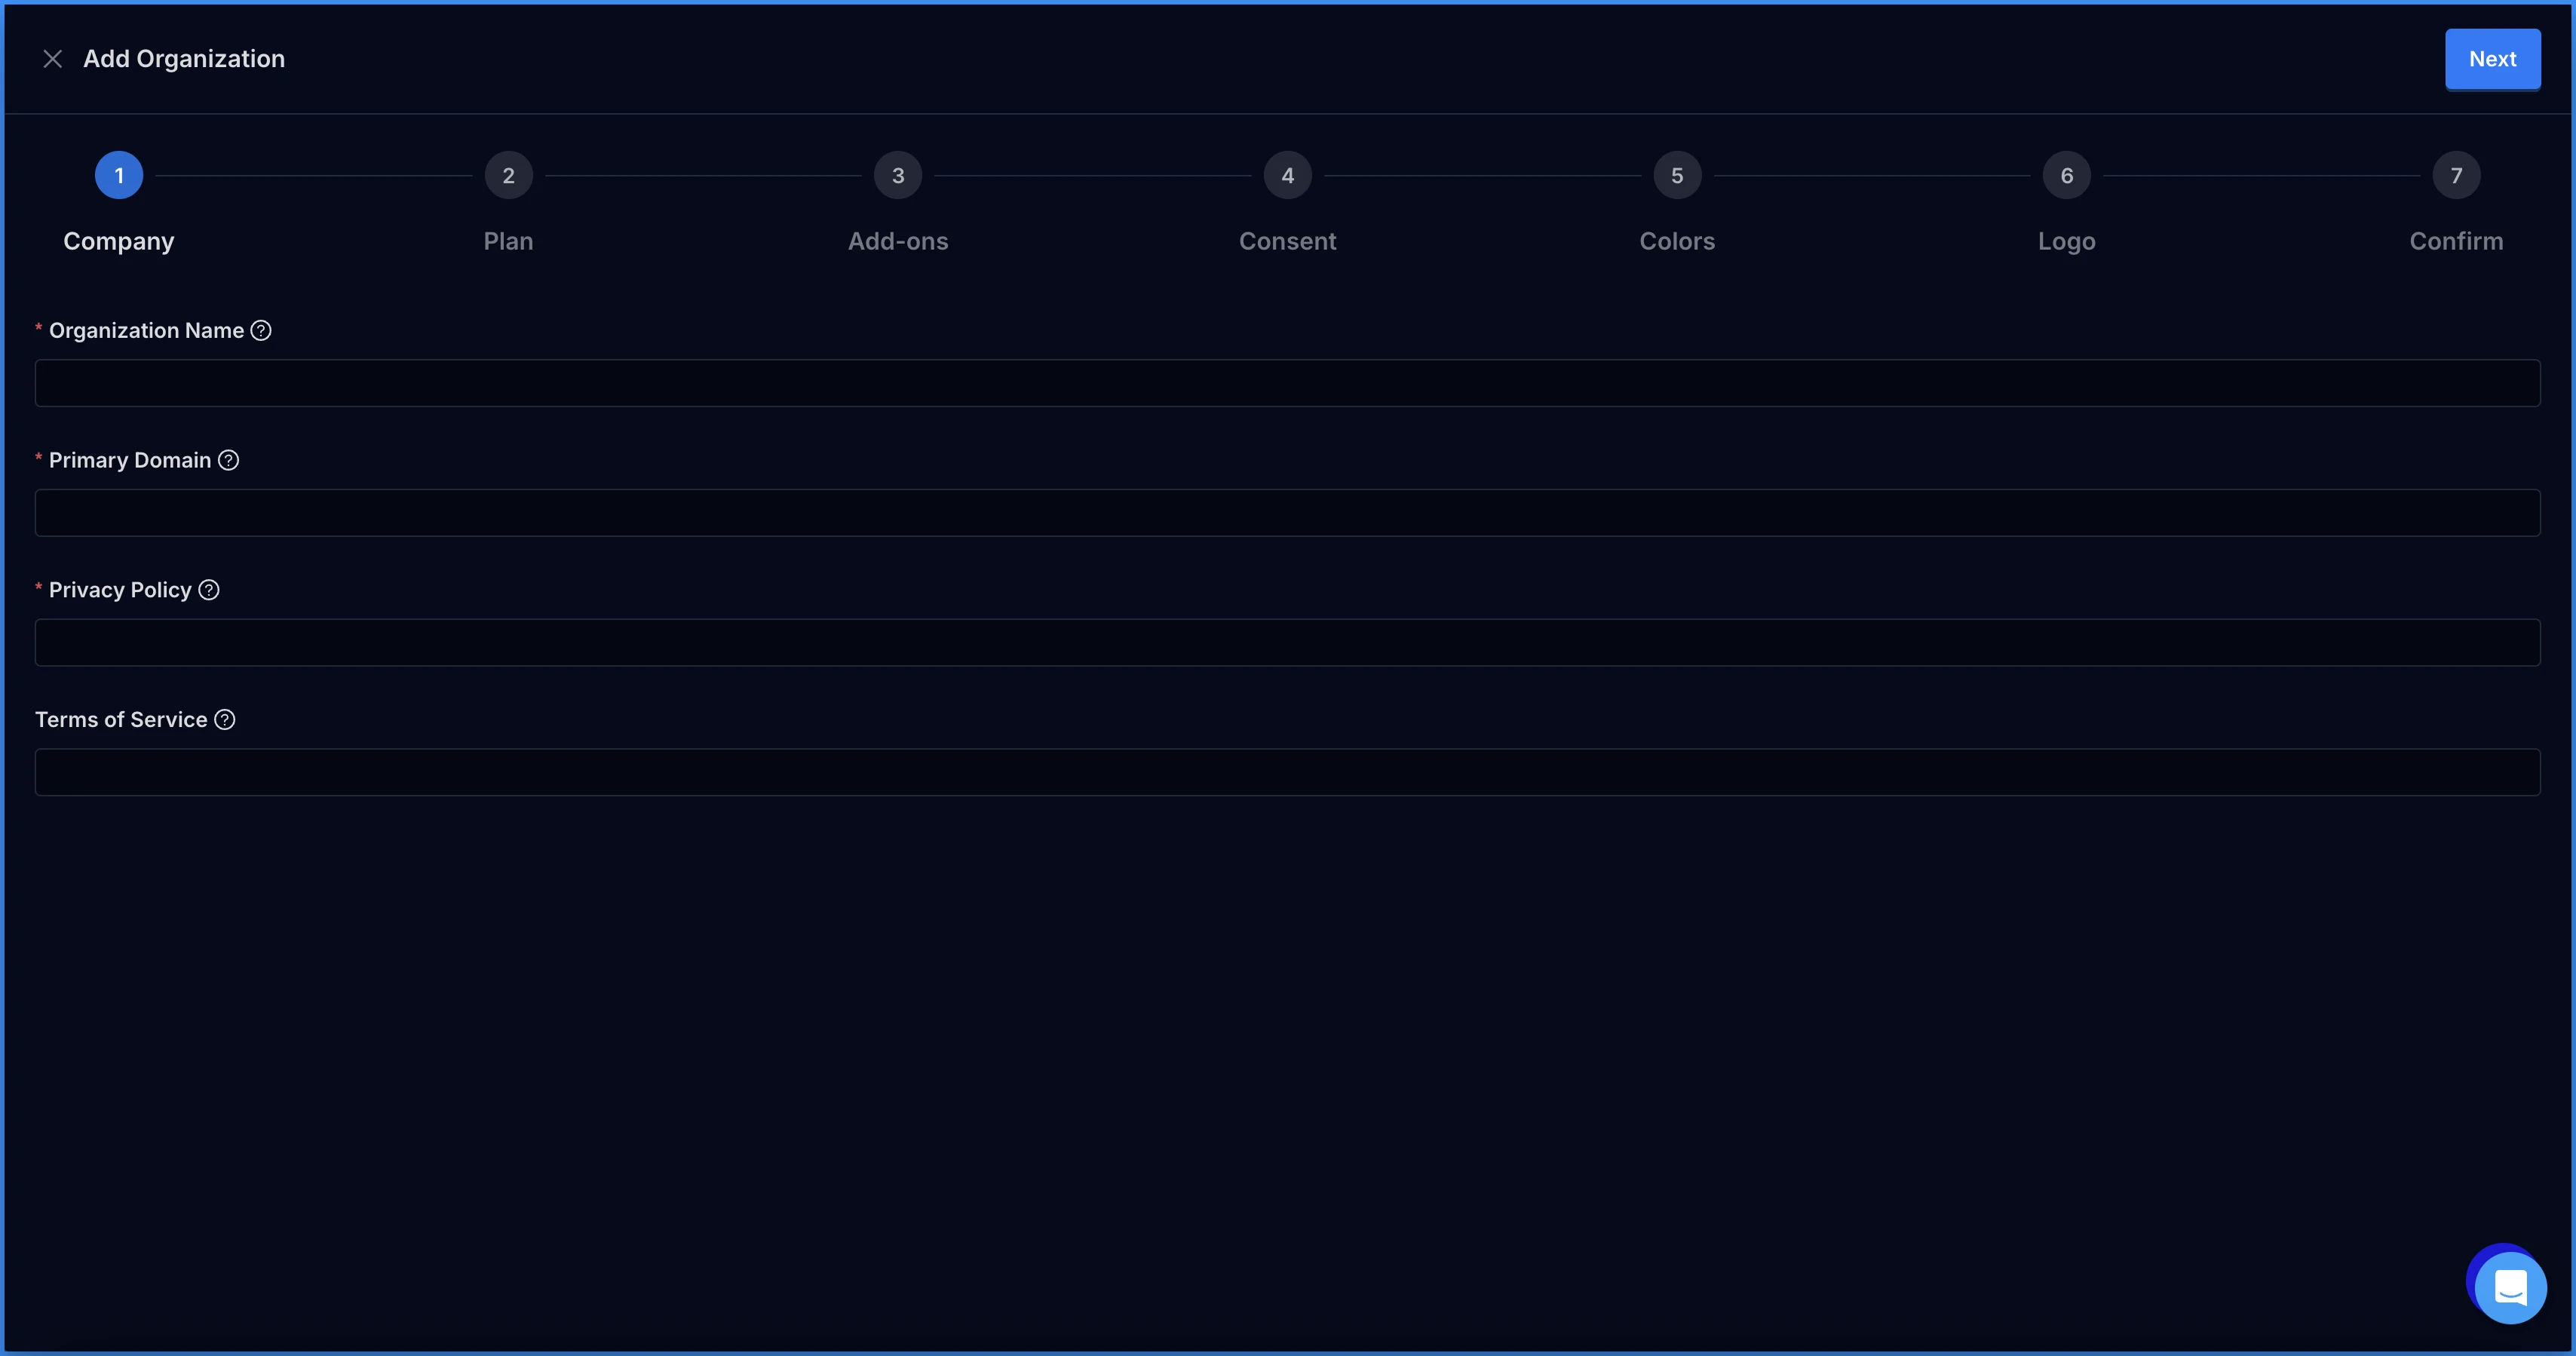
* **Plan:** Select the plan that best fits your company’s needs. Information on plan features are listed on this page and include monthly and annual payment options.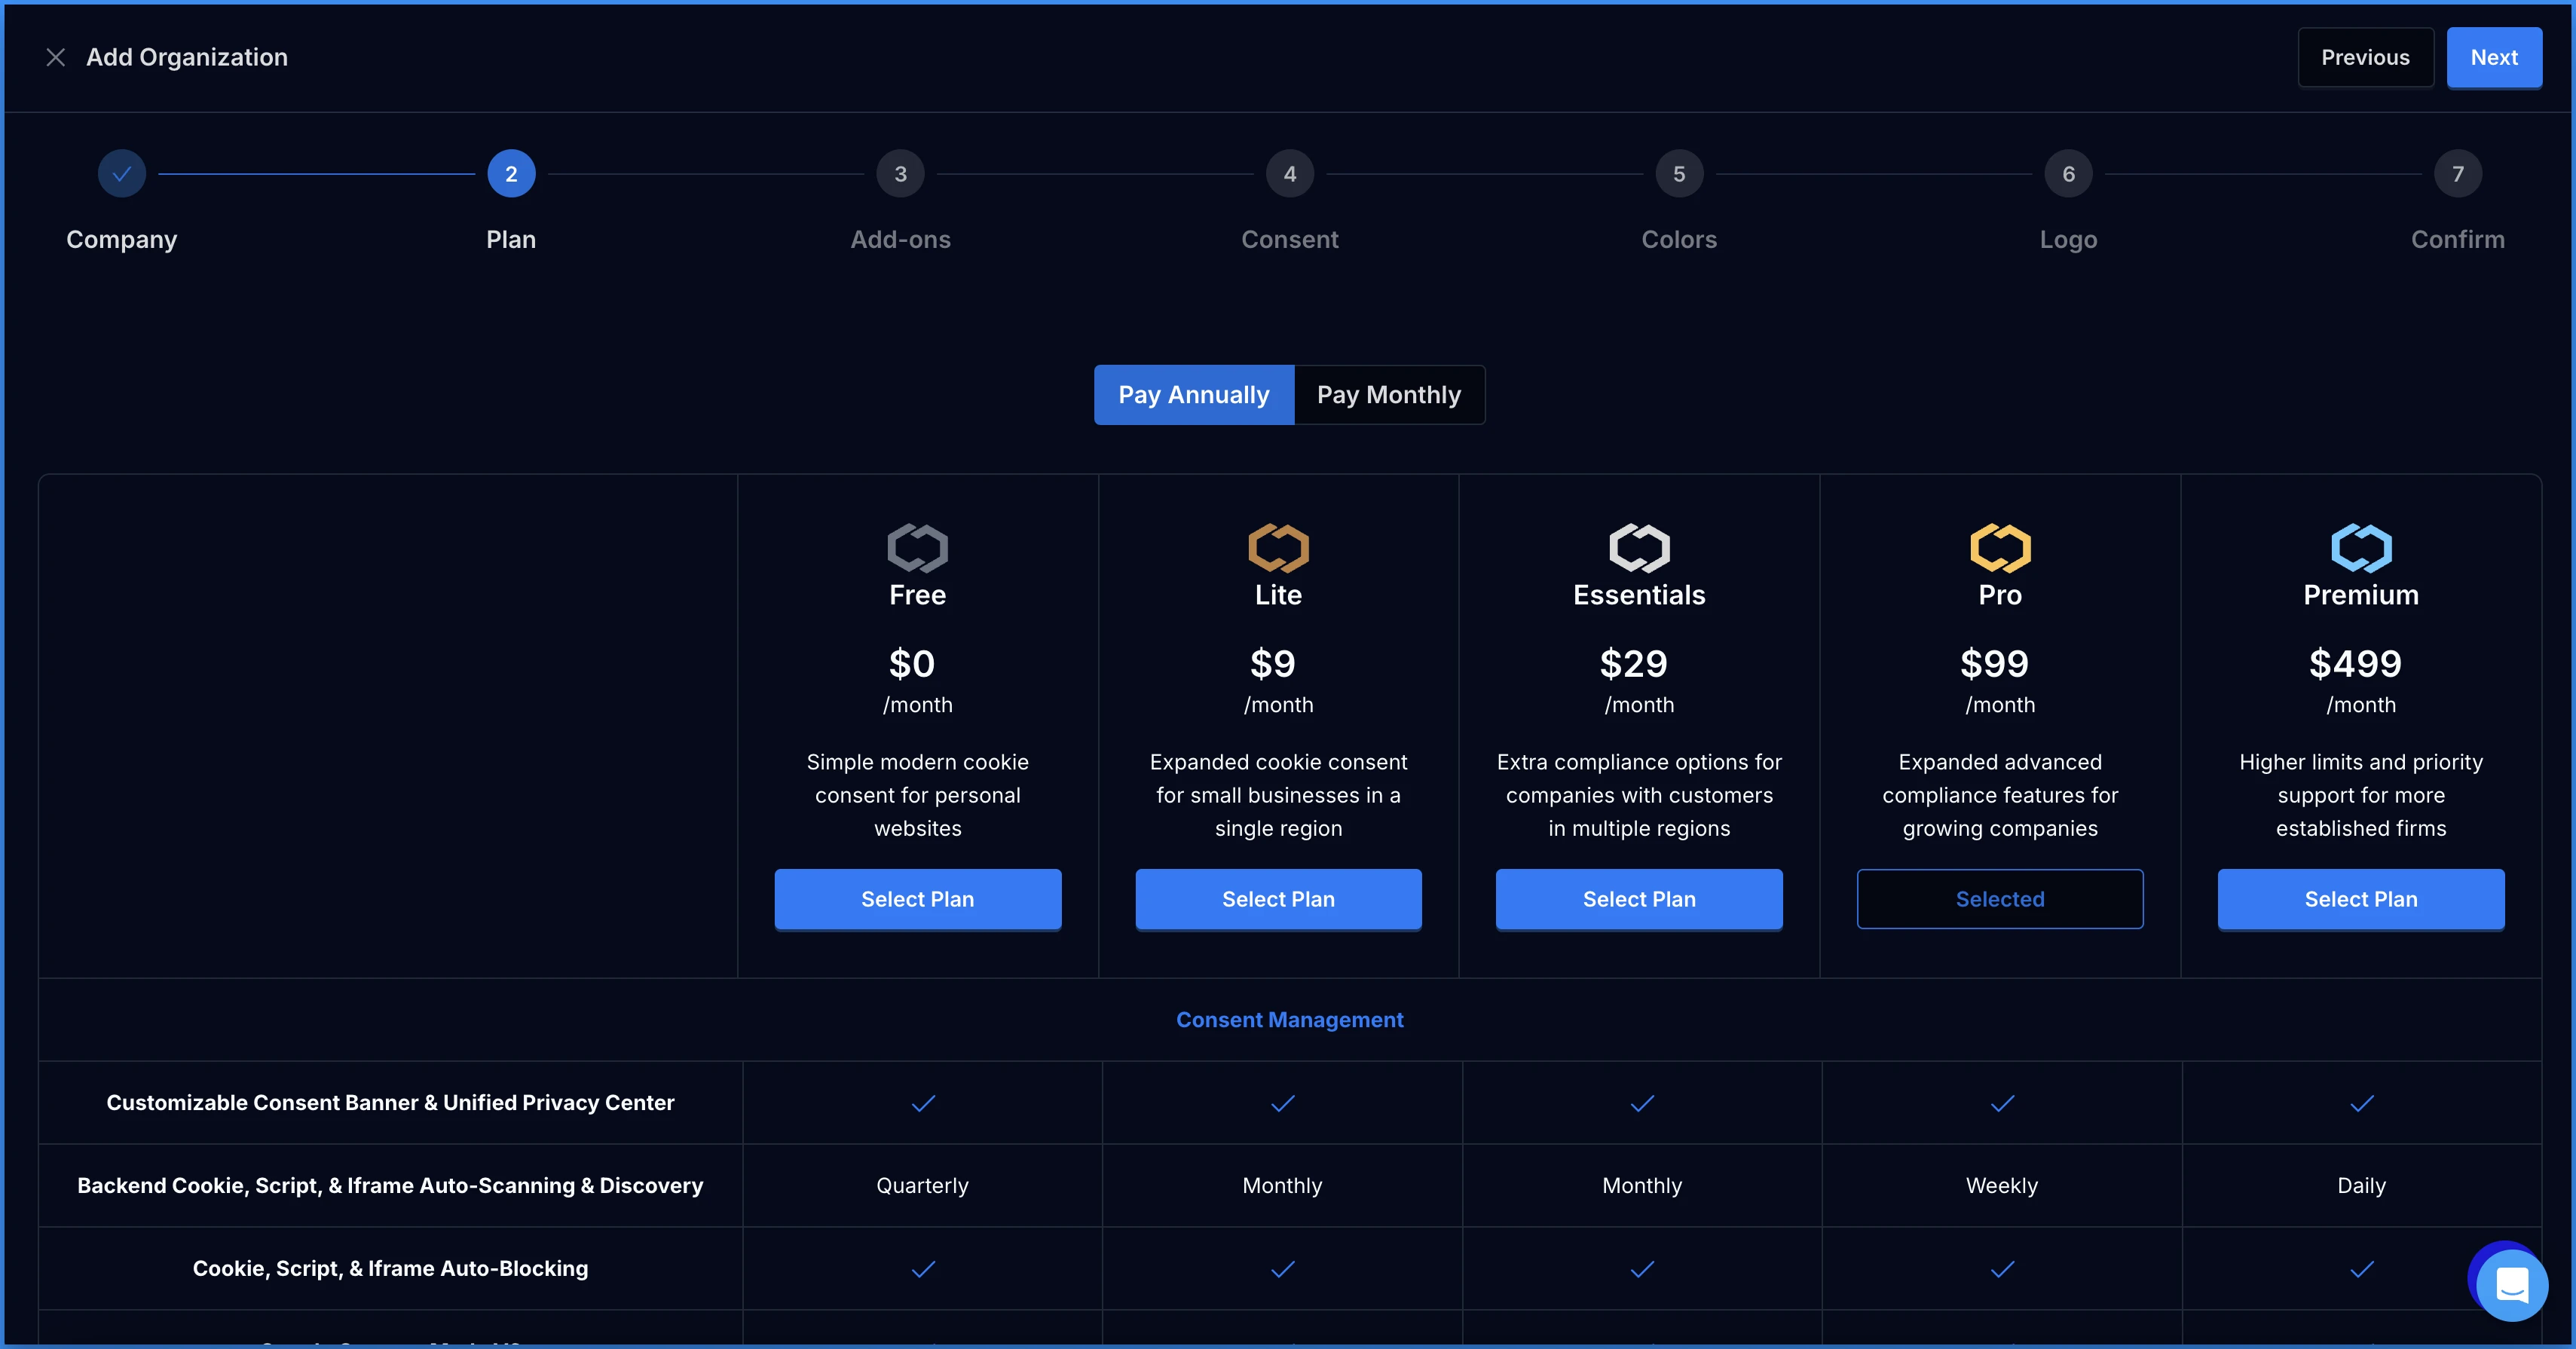
* **Add-ons:** Customize your plan to include additional domains, users, policies, and data systems. This can always be adjusted later in the Billing section of your account.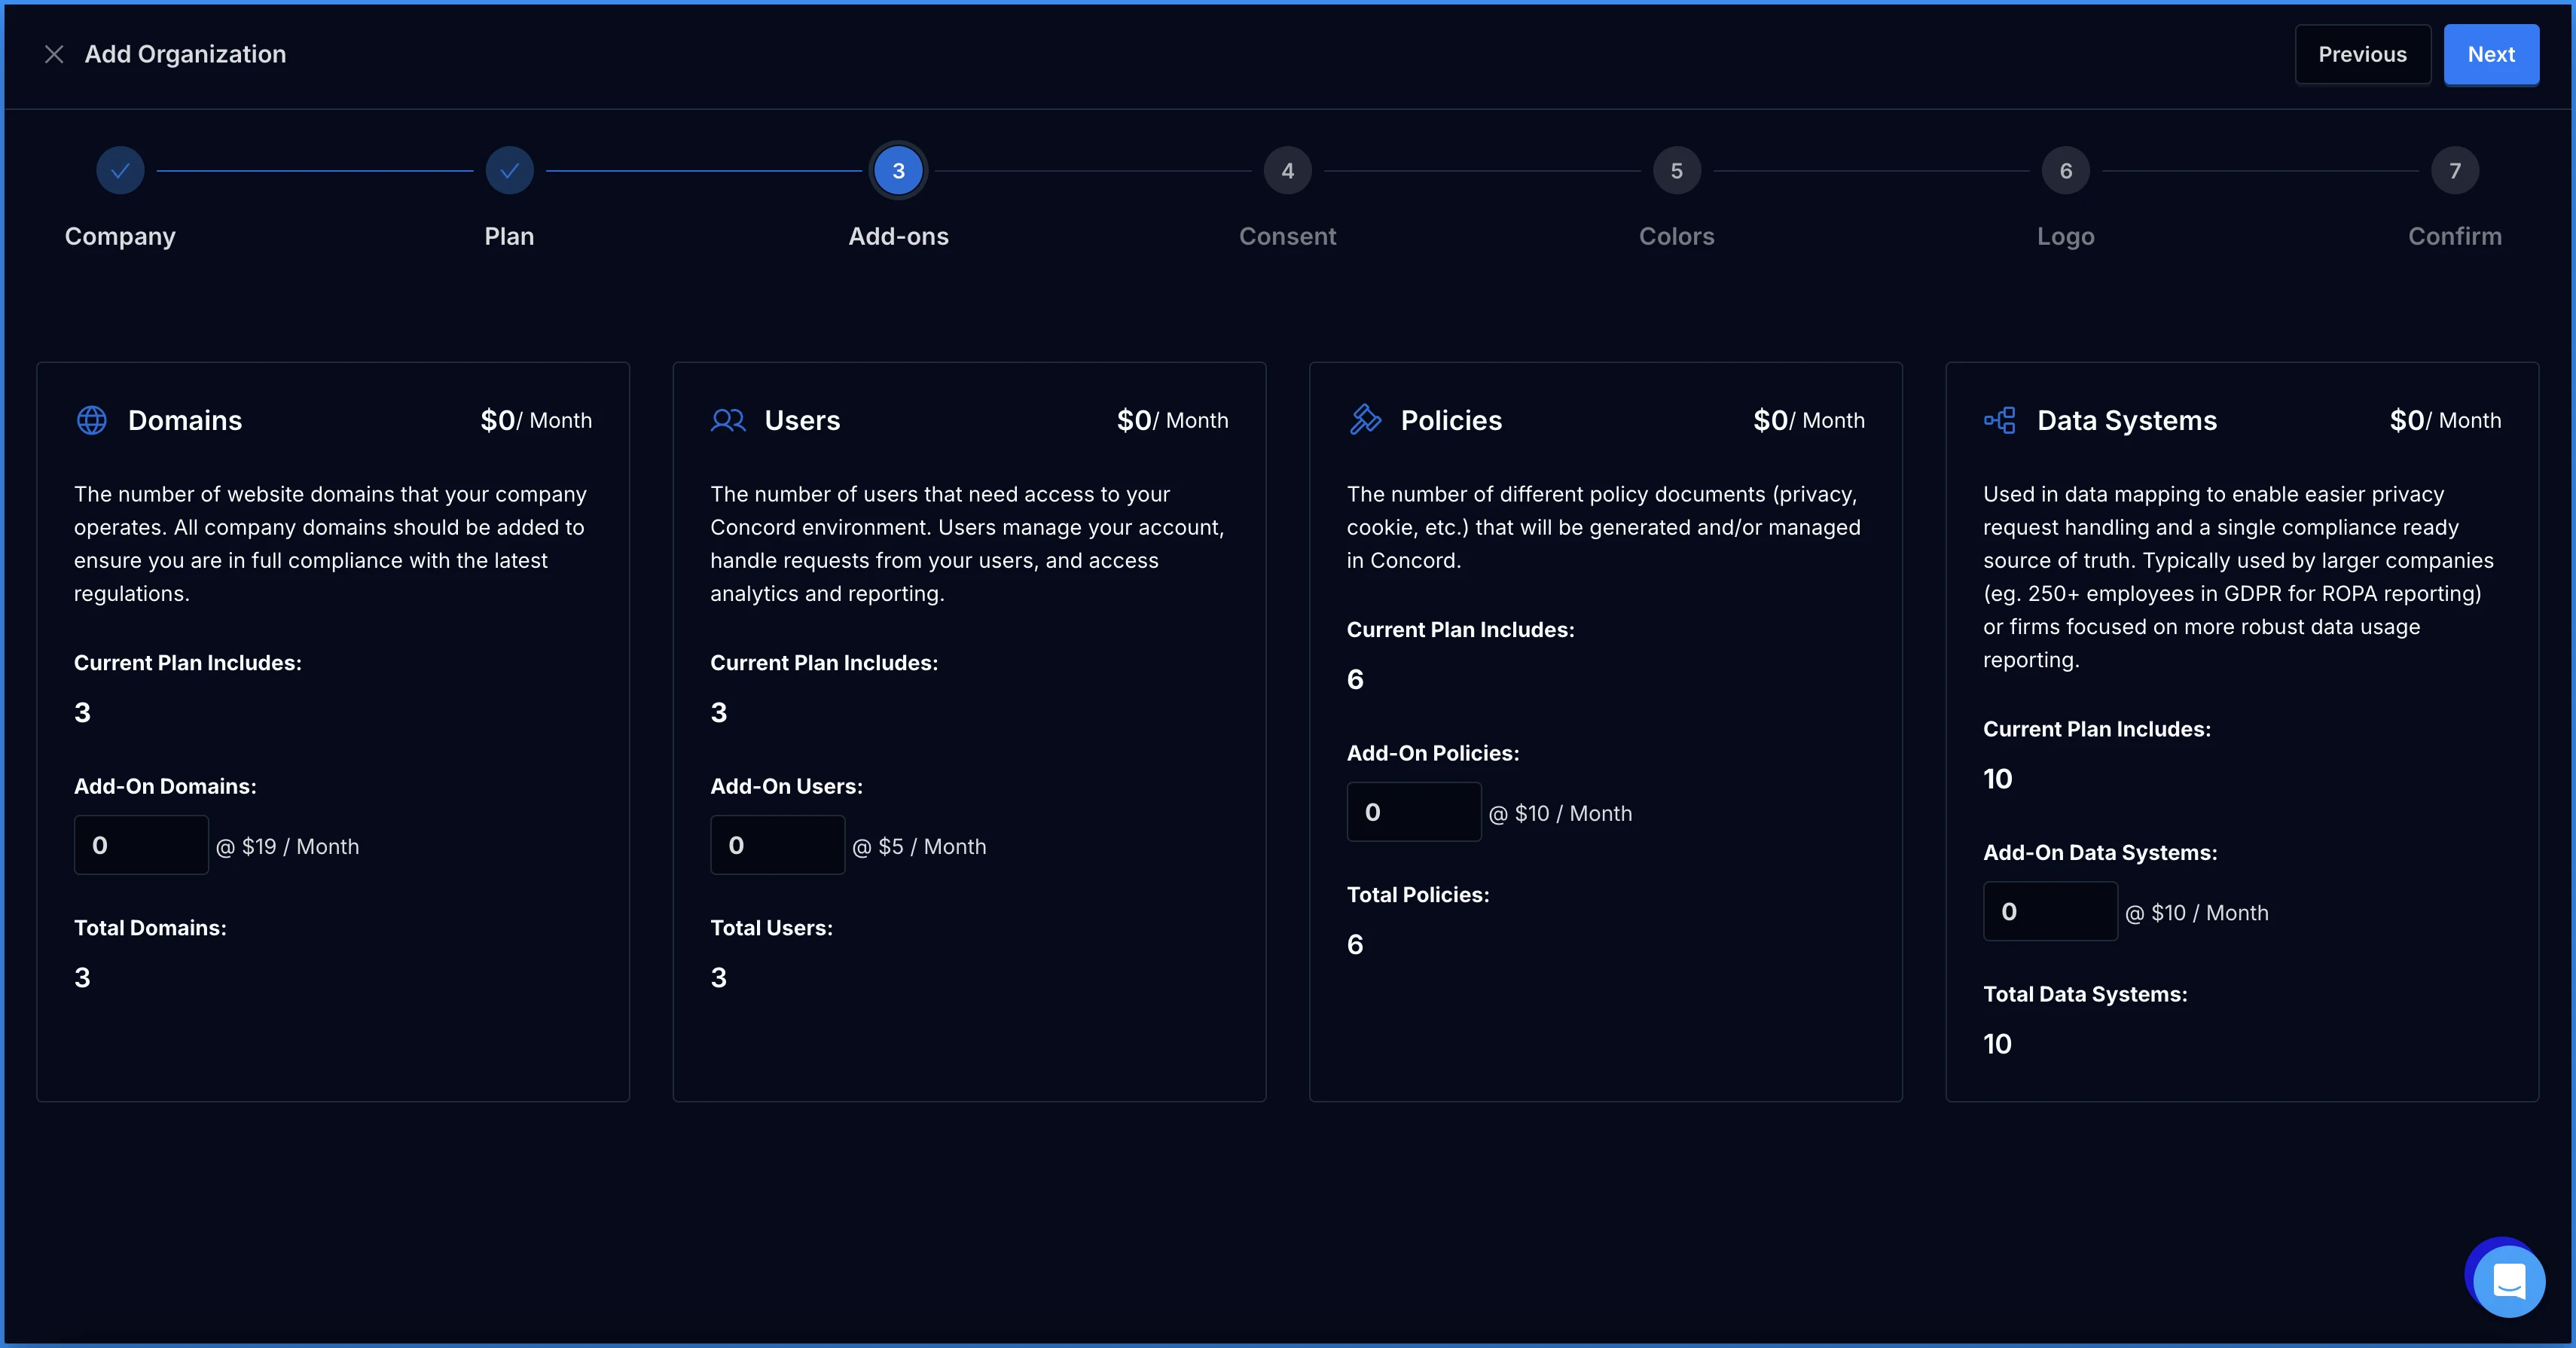
* **Consent:** Configure your organization’s consent settings.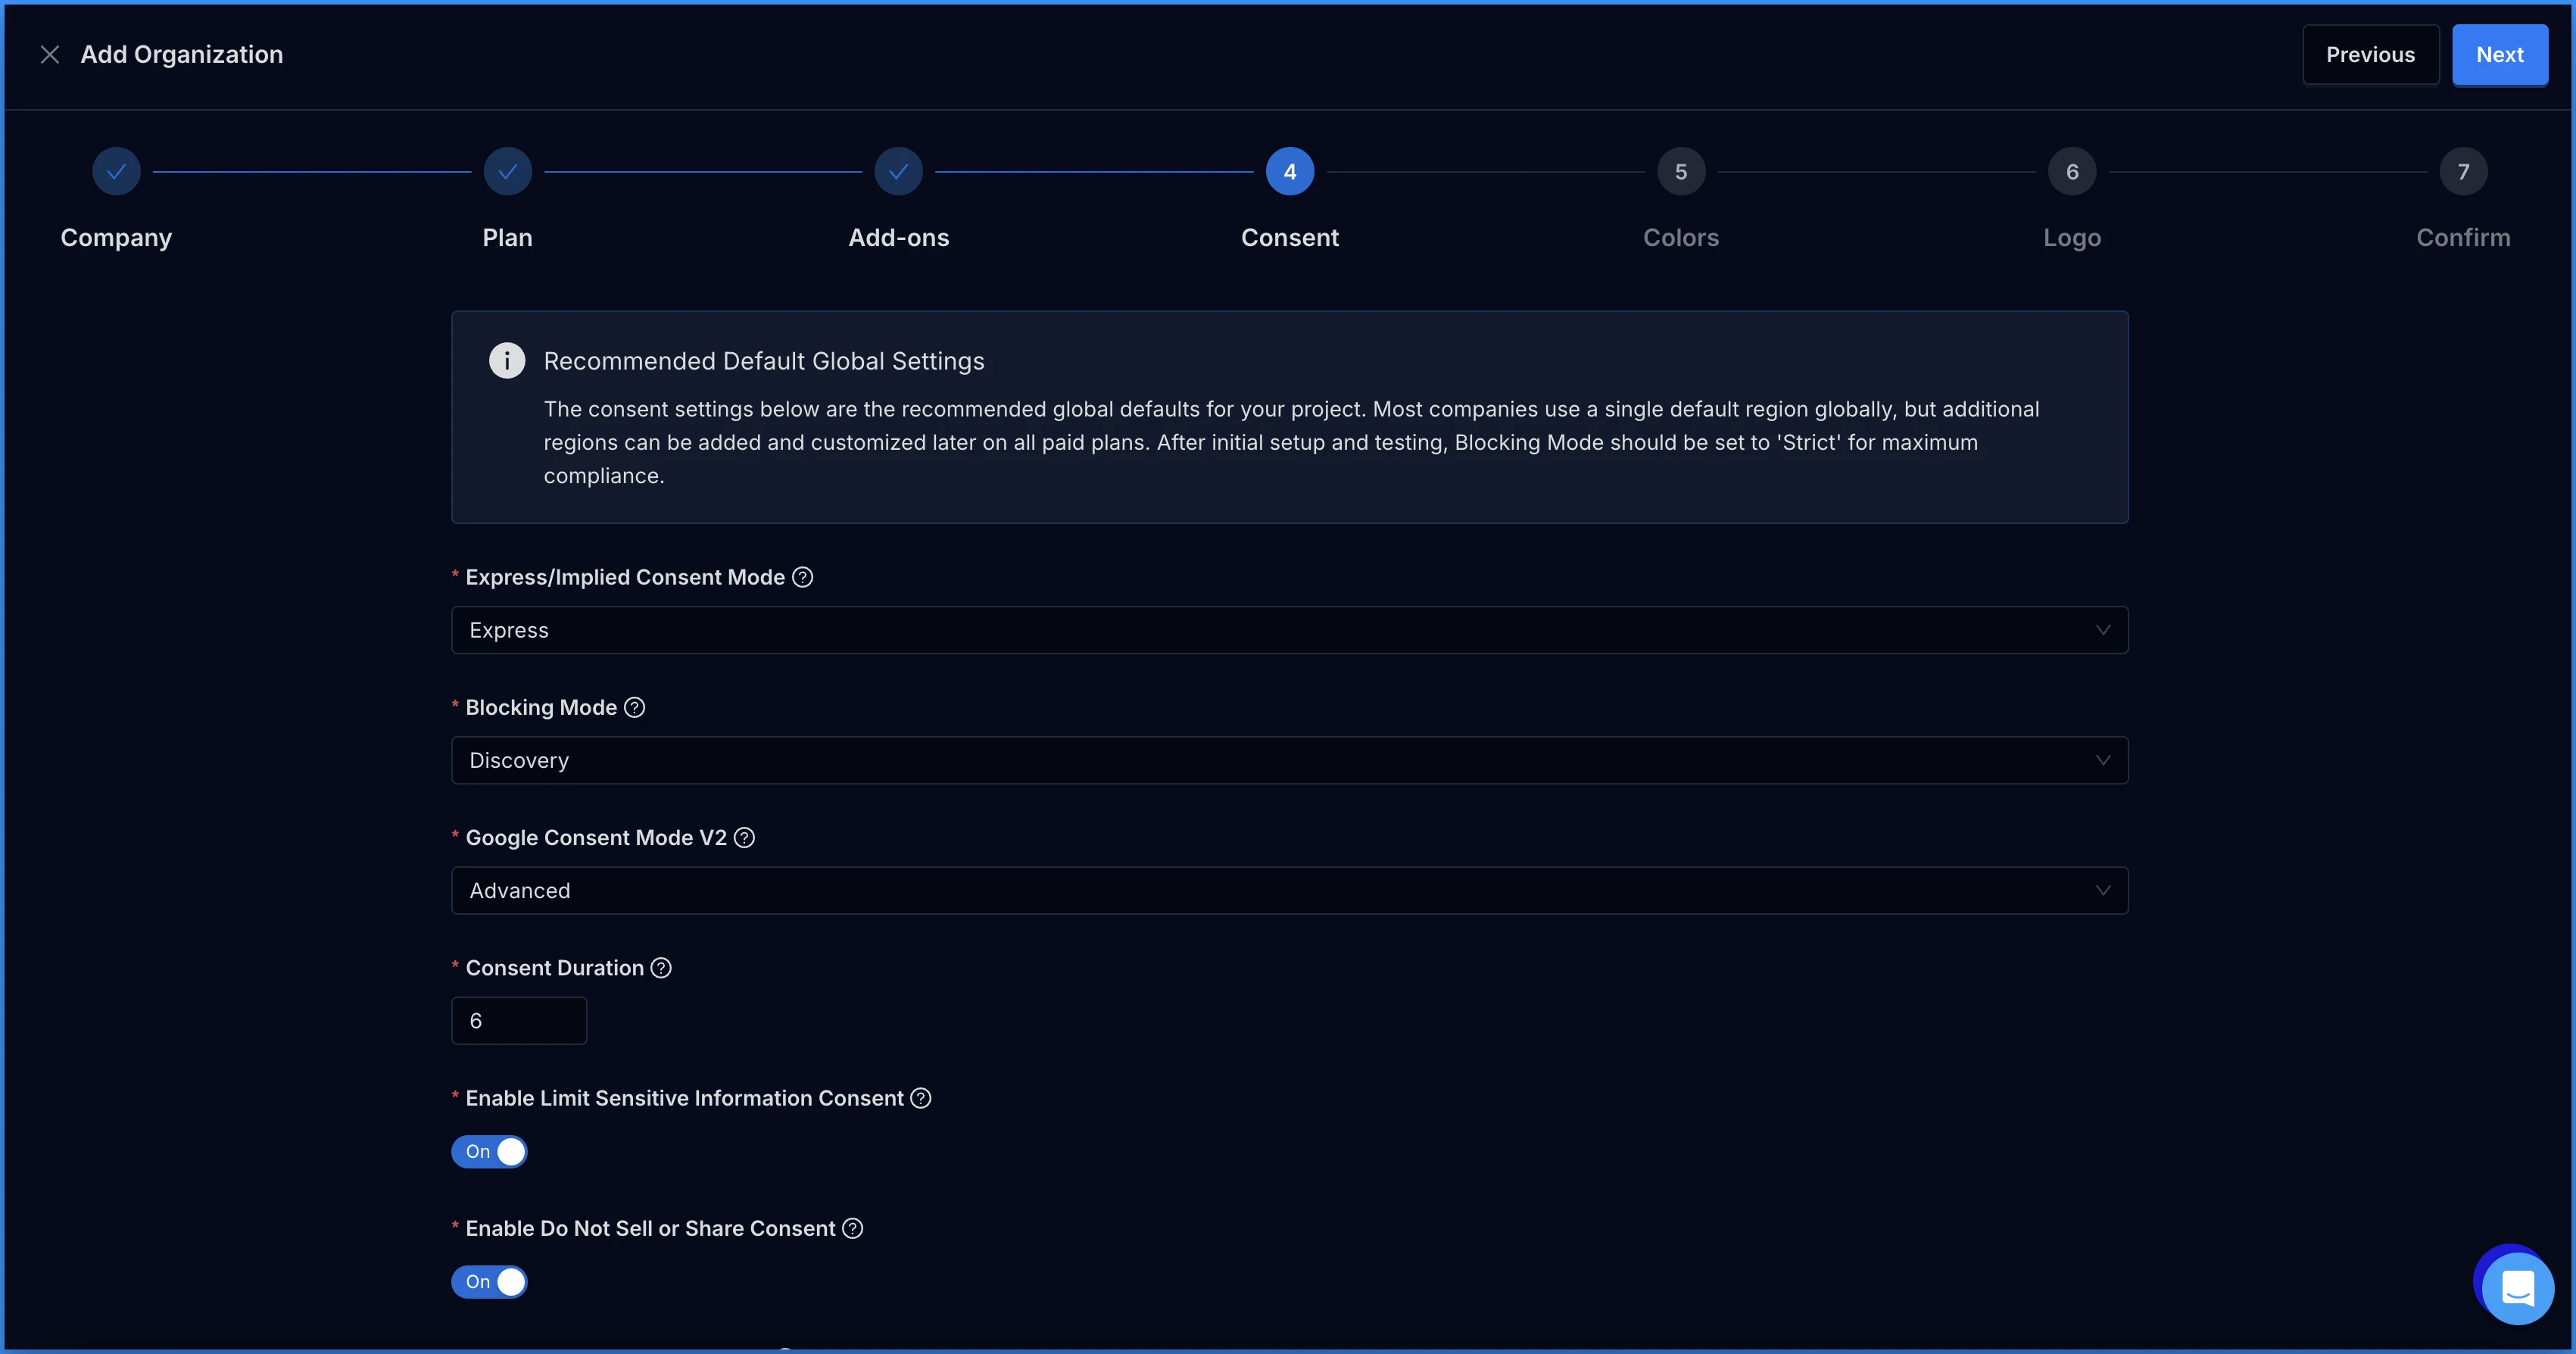
* Consent configuration options include:
* **Consent Mode** controls how user consent is received and can be set to **Express** or **Implied** mode (default = Express).
* **Express** is recommended for your default global setup as opt-in consent is required by laws like GDPR and it gives your users full control when it comes to consent. In **Express** mode, the user must interact with the banner or Privacy center to set their preference.
* **Implied** mode will generate implied consent events when the user first arrives on your website. This aligns with opt-out laws like CCPA/CPRA in the United States.
* **Blocking Mode** controls when cookies and tracking scripts are blocked or allowed by Concord (default = Discovery).
* During the setup process, we recommend that you initially set the blocking mode to **Discovery.** This mode collects information from your site which is used to classify tracking scripts and cookies without blocking them.
* This allows Concord to automatically classify the most common types of cookies and scripts, while giving you the flexibility to customize the categorization and blocking to your needs.
* You will keep this setting in place until you are ready to go-live on your production site.
* When deploying to production, you will set this to Strict or Permissive.
* **Strict** is recommended as all scripts and cookies that aren’t categorized as strictly necessary are blocked. This is required for full compliance with stricter privacy laws like GDPR.
* **Permissive** mode blocks categorized scripts and cookies, while unclassified cookies are still allowed.
* Note that in all modes, Ignored scripts, iFrames, images, and links will not be blocked. We capture a larger list of these items than most others tools to ensure true compliance by helping to make sure that nothing falls between the cracks. Ignored items should be regularly reviewed, but only need to be categorized if they touch customer data (including things like IP address in the case of stricter laws like GDPR).
* [**Google Consent Mode V2**](/docs/google-understanding-configuring-google-consent-mode-gcm-v2): When enabled, consent data is automatically synced with Google via the Consent Mode API and the Consent Banner text will be adjusted per Google's recommended standards. When enabled, Google Consent Mode V2 can be set to basic or advanced. Basic mode will block Google tags until consent is given, but automatically syncs consent data with Google after consent is received. Advanced mode is a more robust option that allows Google tags to run and control initial consent settings and data collection, while providing additional data insights like conversion modeling. Advanced mode is recommended for most companies.
* **Consent Duration:** Once the duration has expired, the user will be prompted to re-consent. The normal recommended duration is 6 months for the best coverage across different regions.
* **Enable Limit Sensitive Information:** This can be configured as desired or required by law. Laws like CCPA/CPRA in the United States require this, so we recommend setting it on by default.
* **Enable Do Not Sell Consent:** This setting can be configured as desired or required by law. Laws like CCPA/CPRA in the United States require this to be enabled, so we recommend setting it on by default.
* **Enable Global Privacy Control:** This can be configured as desired or required by law. Laws like CCPA/CPRA in the United States require this to be enabled, so we recommend setting it on by default.
* For more information on configuring consent settings, see this article on [consent settings.](/docs/understanding-configuring-auto-blocking-of-cookies-scripts)
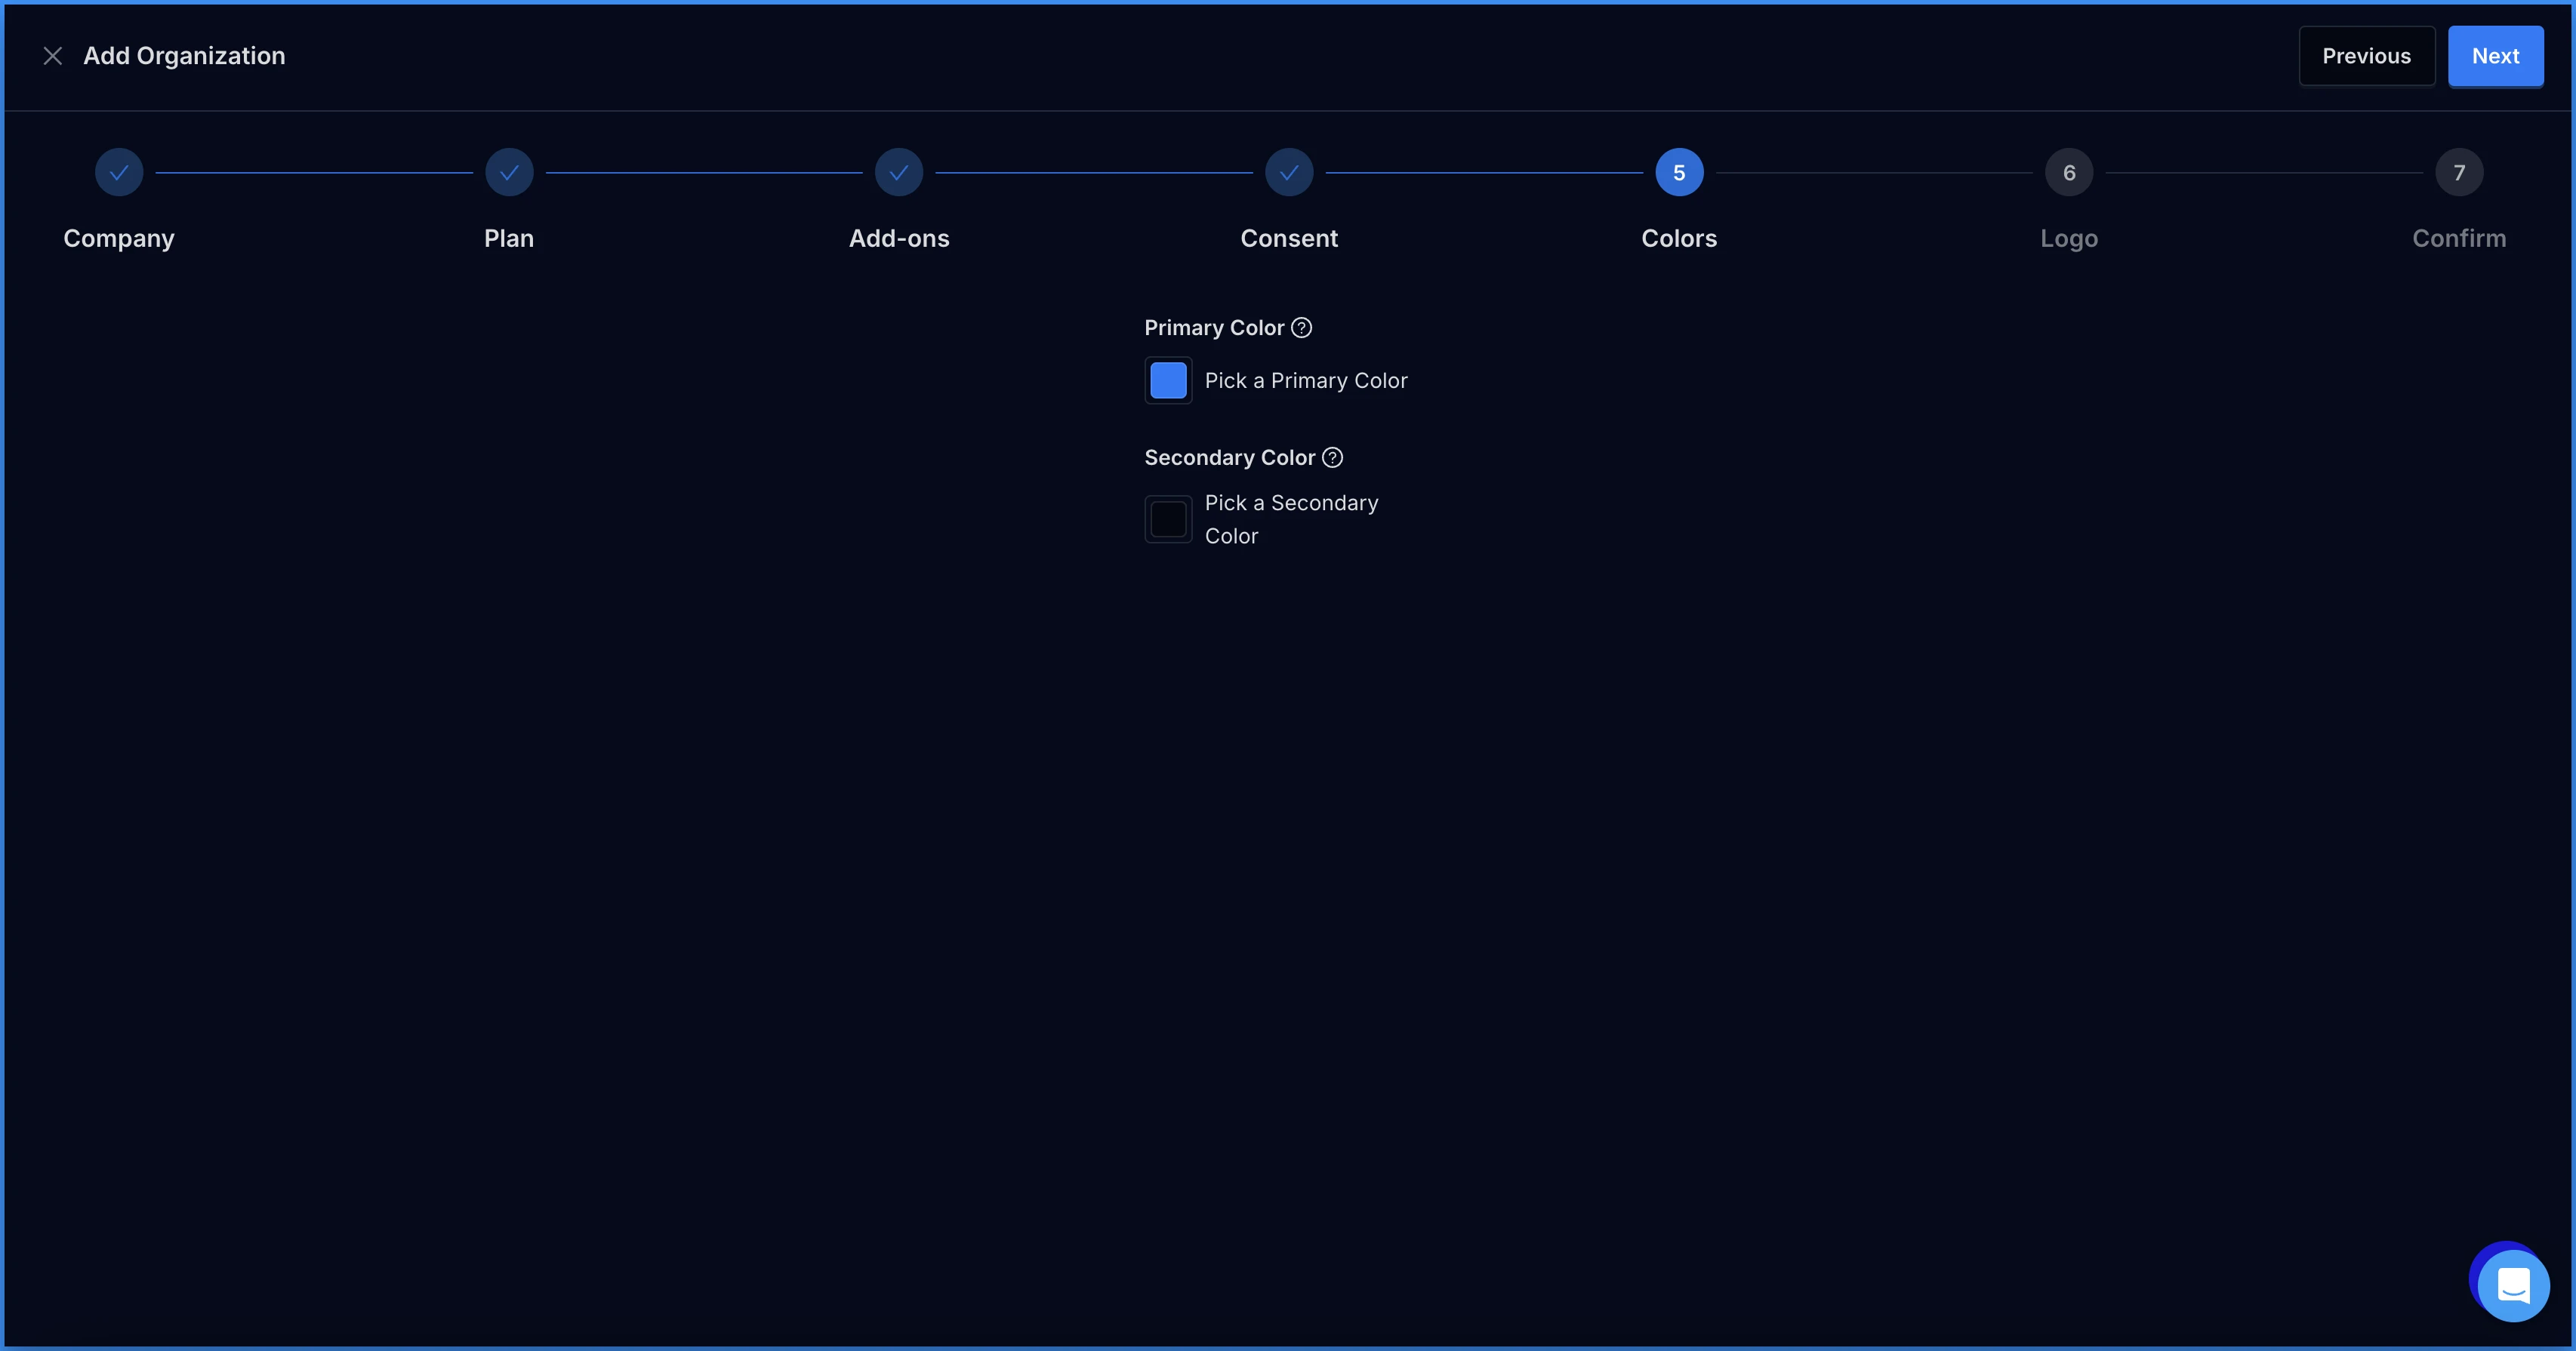
* **Colors:** Select your primary and secondary colors.
* **Primary:** The primary color is used in your Consent Banner, Privacy Center, and Floating Button for most of your custom branding (buttons, links, etc.).
* **Secondary:** Your secondary color is used for the background of the header in your Privacy Center.
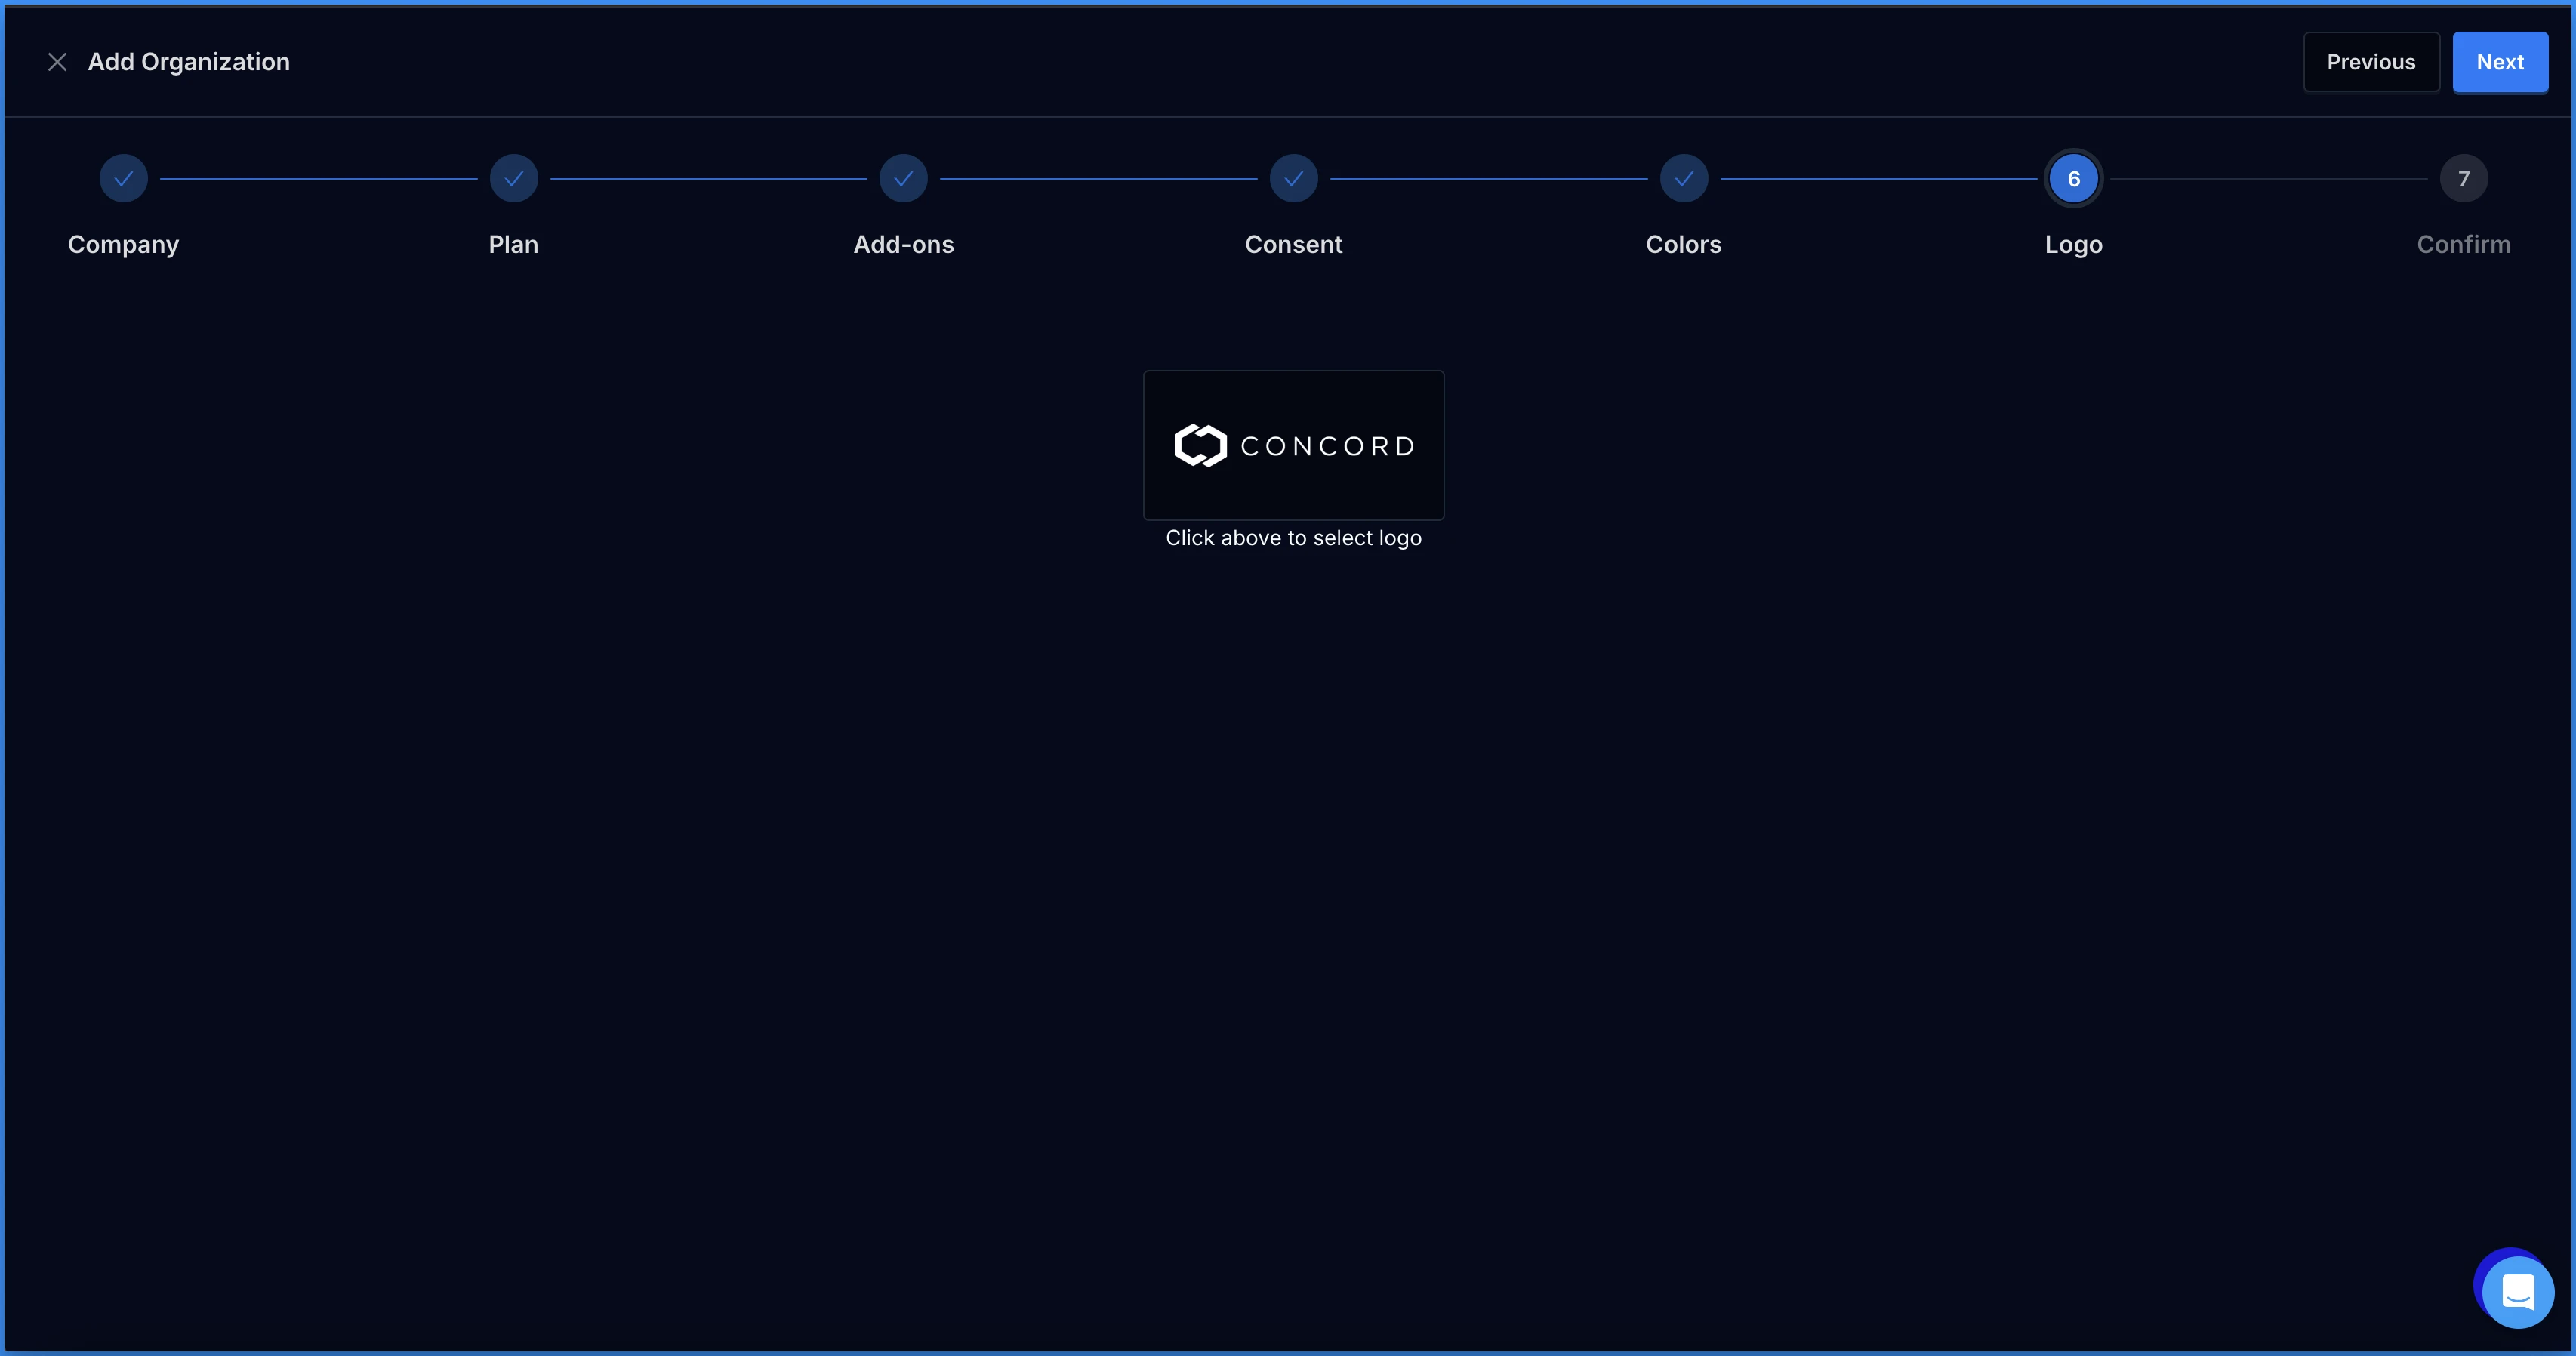
* **Logo:** Add the logo you want to use in your Privacy Center. Horizontal logos are recommended. There are no height or width restrictions, but logos are resized in the widget to a max-height of 40px so 40px is the preferred height.
* **Confirm:** Review and confirm your plan and add-ons. Once you click the **Confirm** button, for paid plans, you will be prompted to submit your payment information.
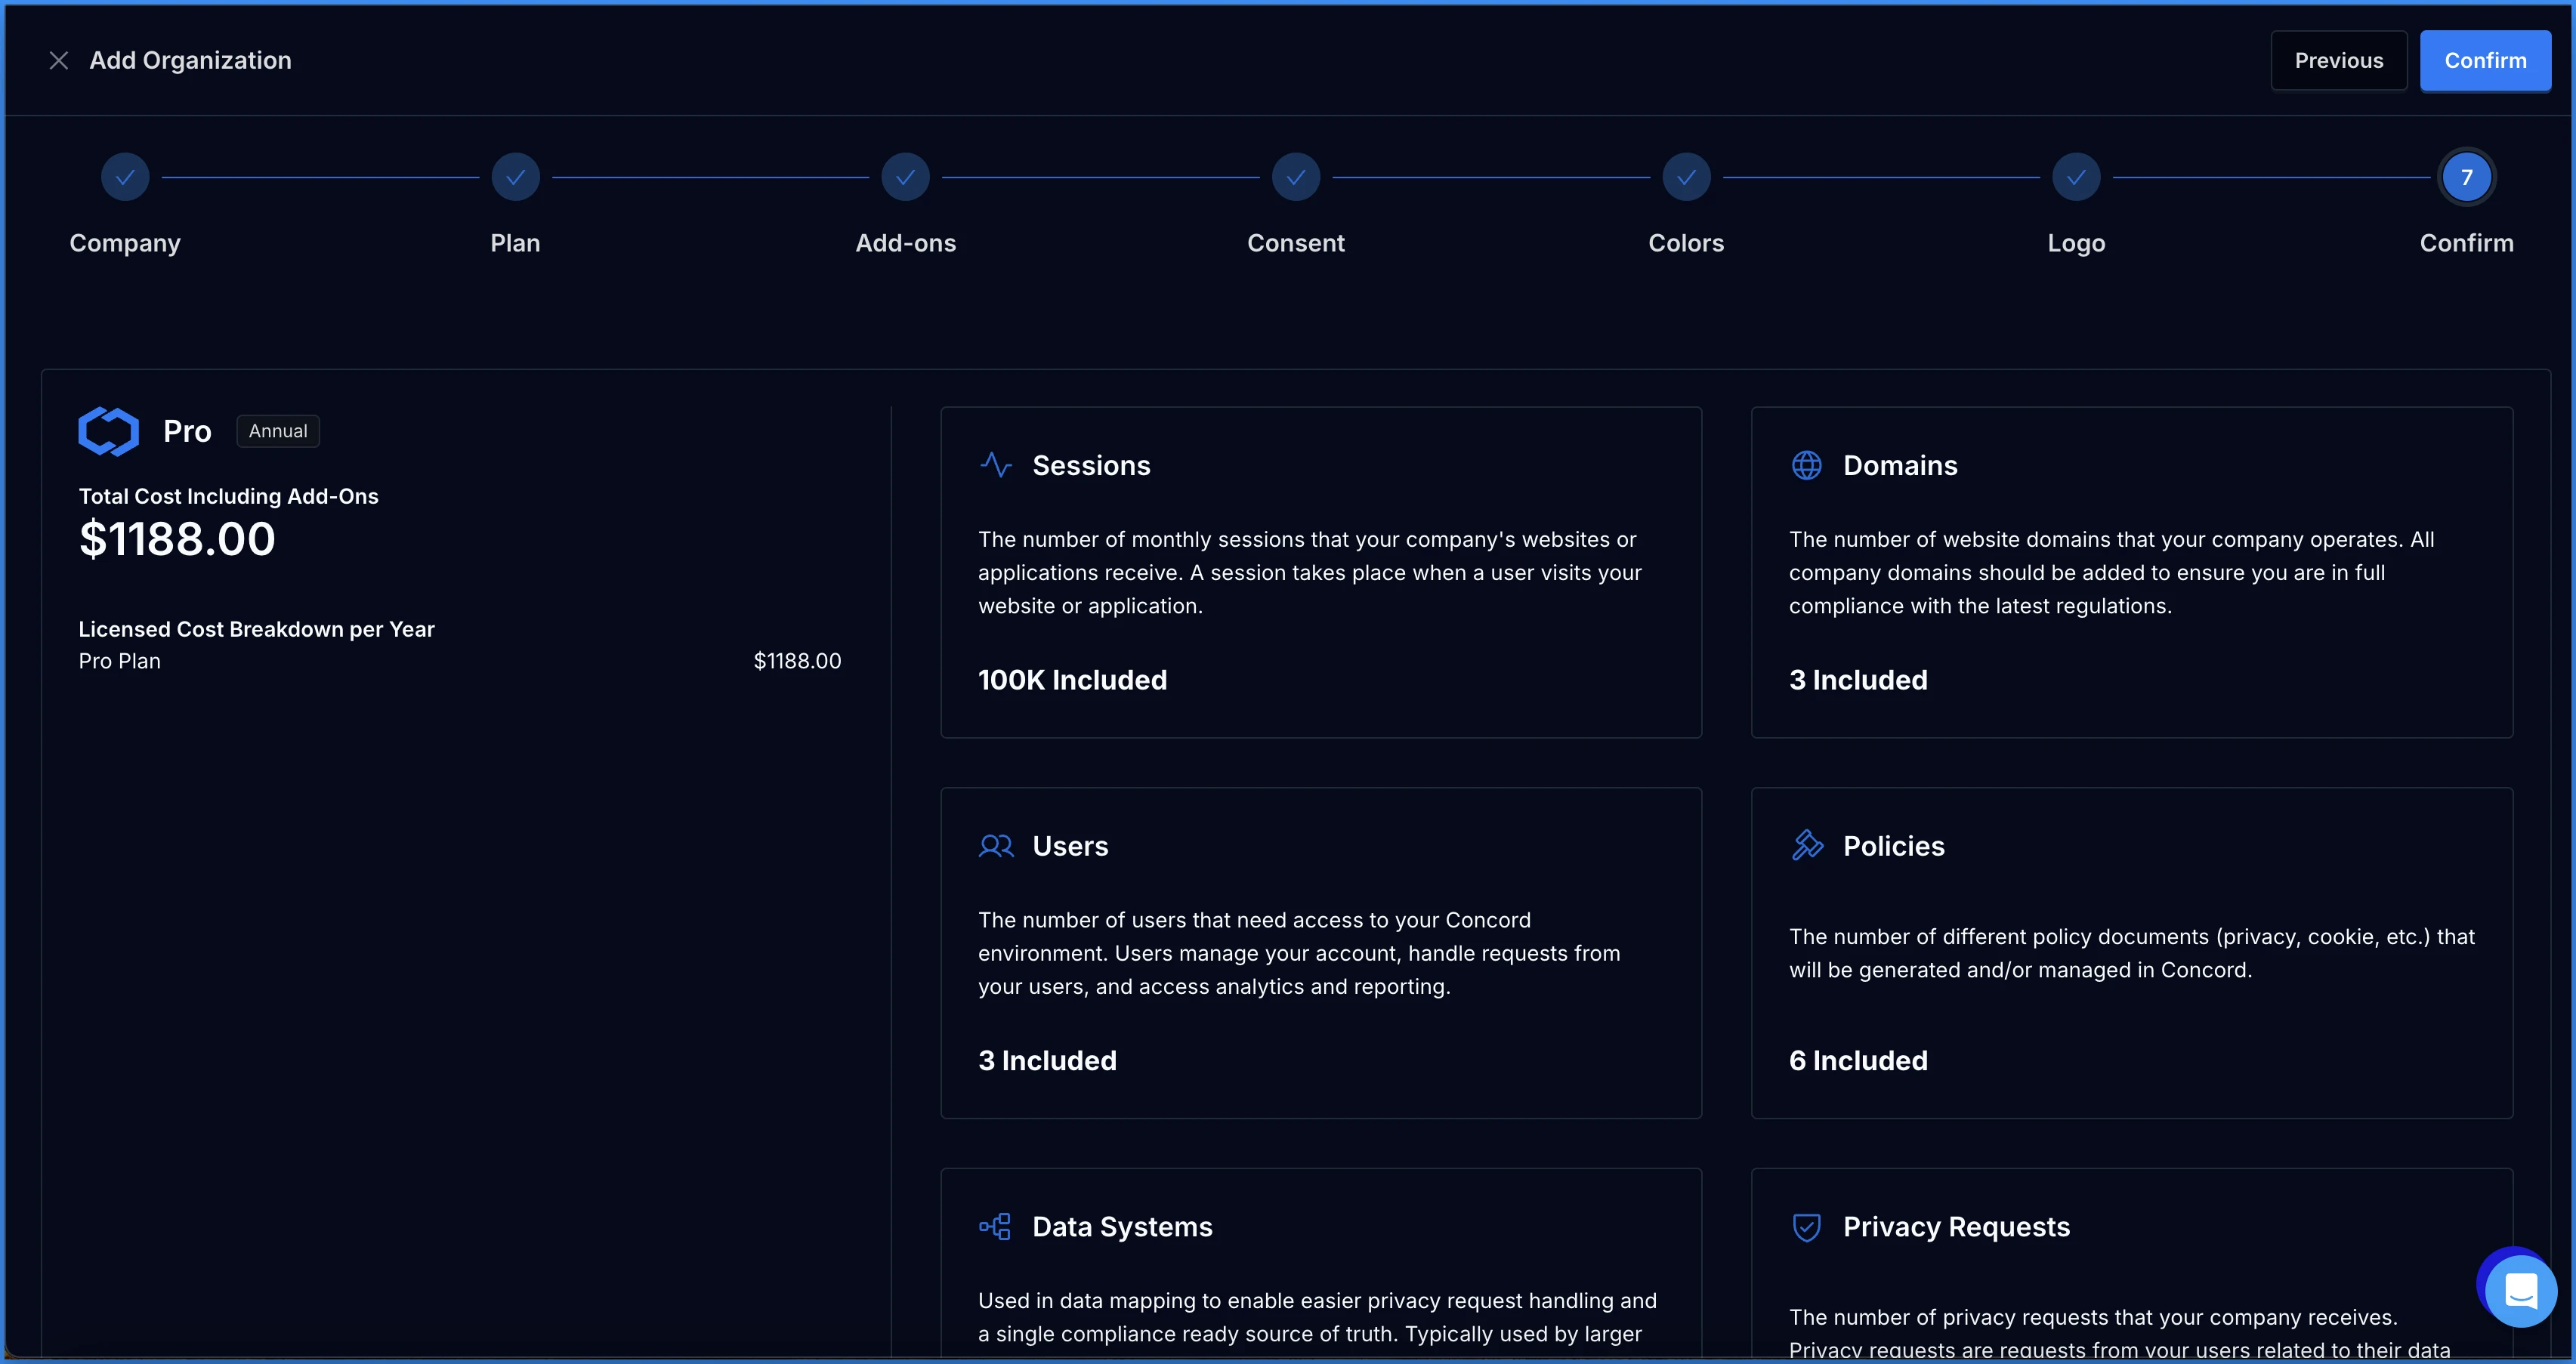
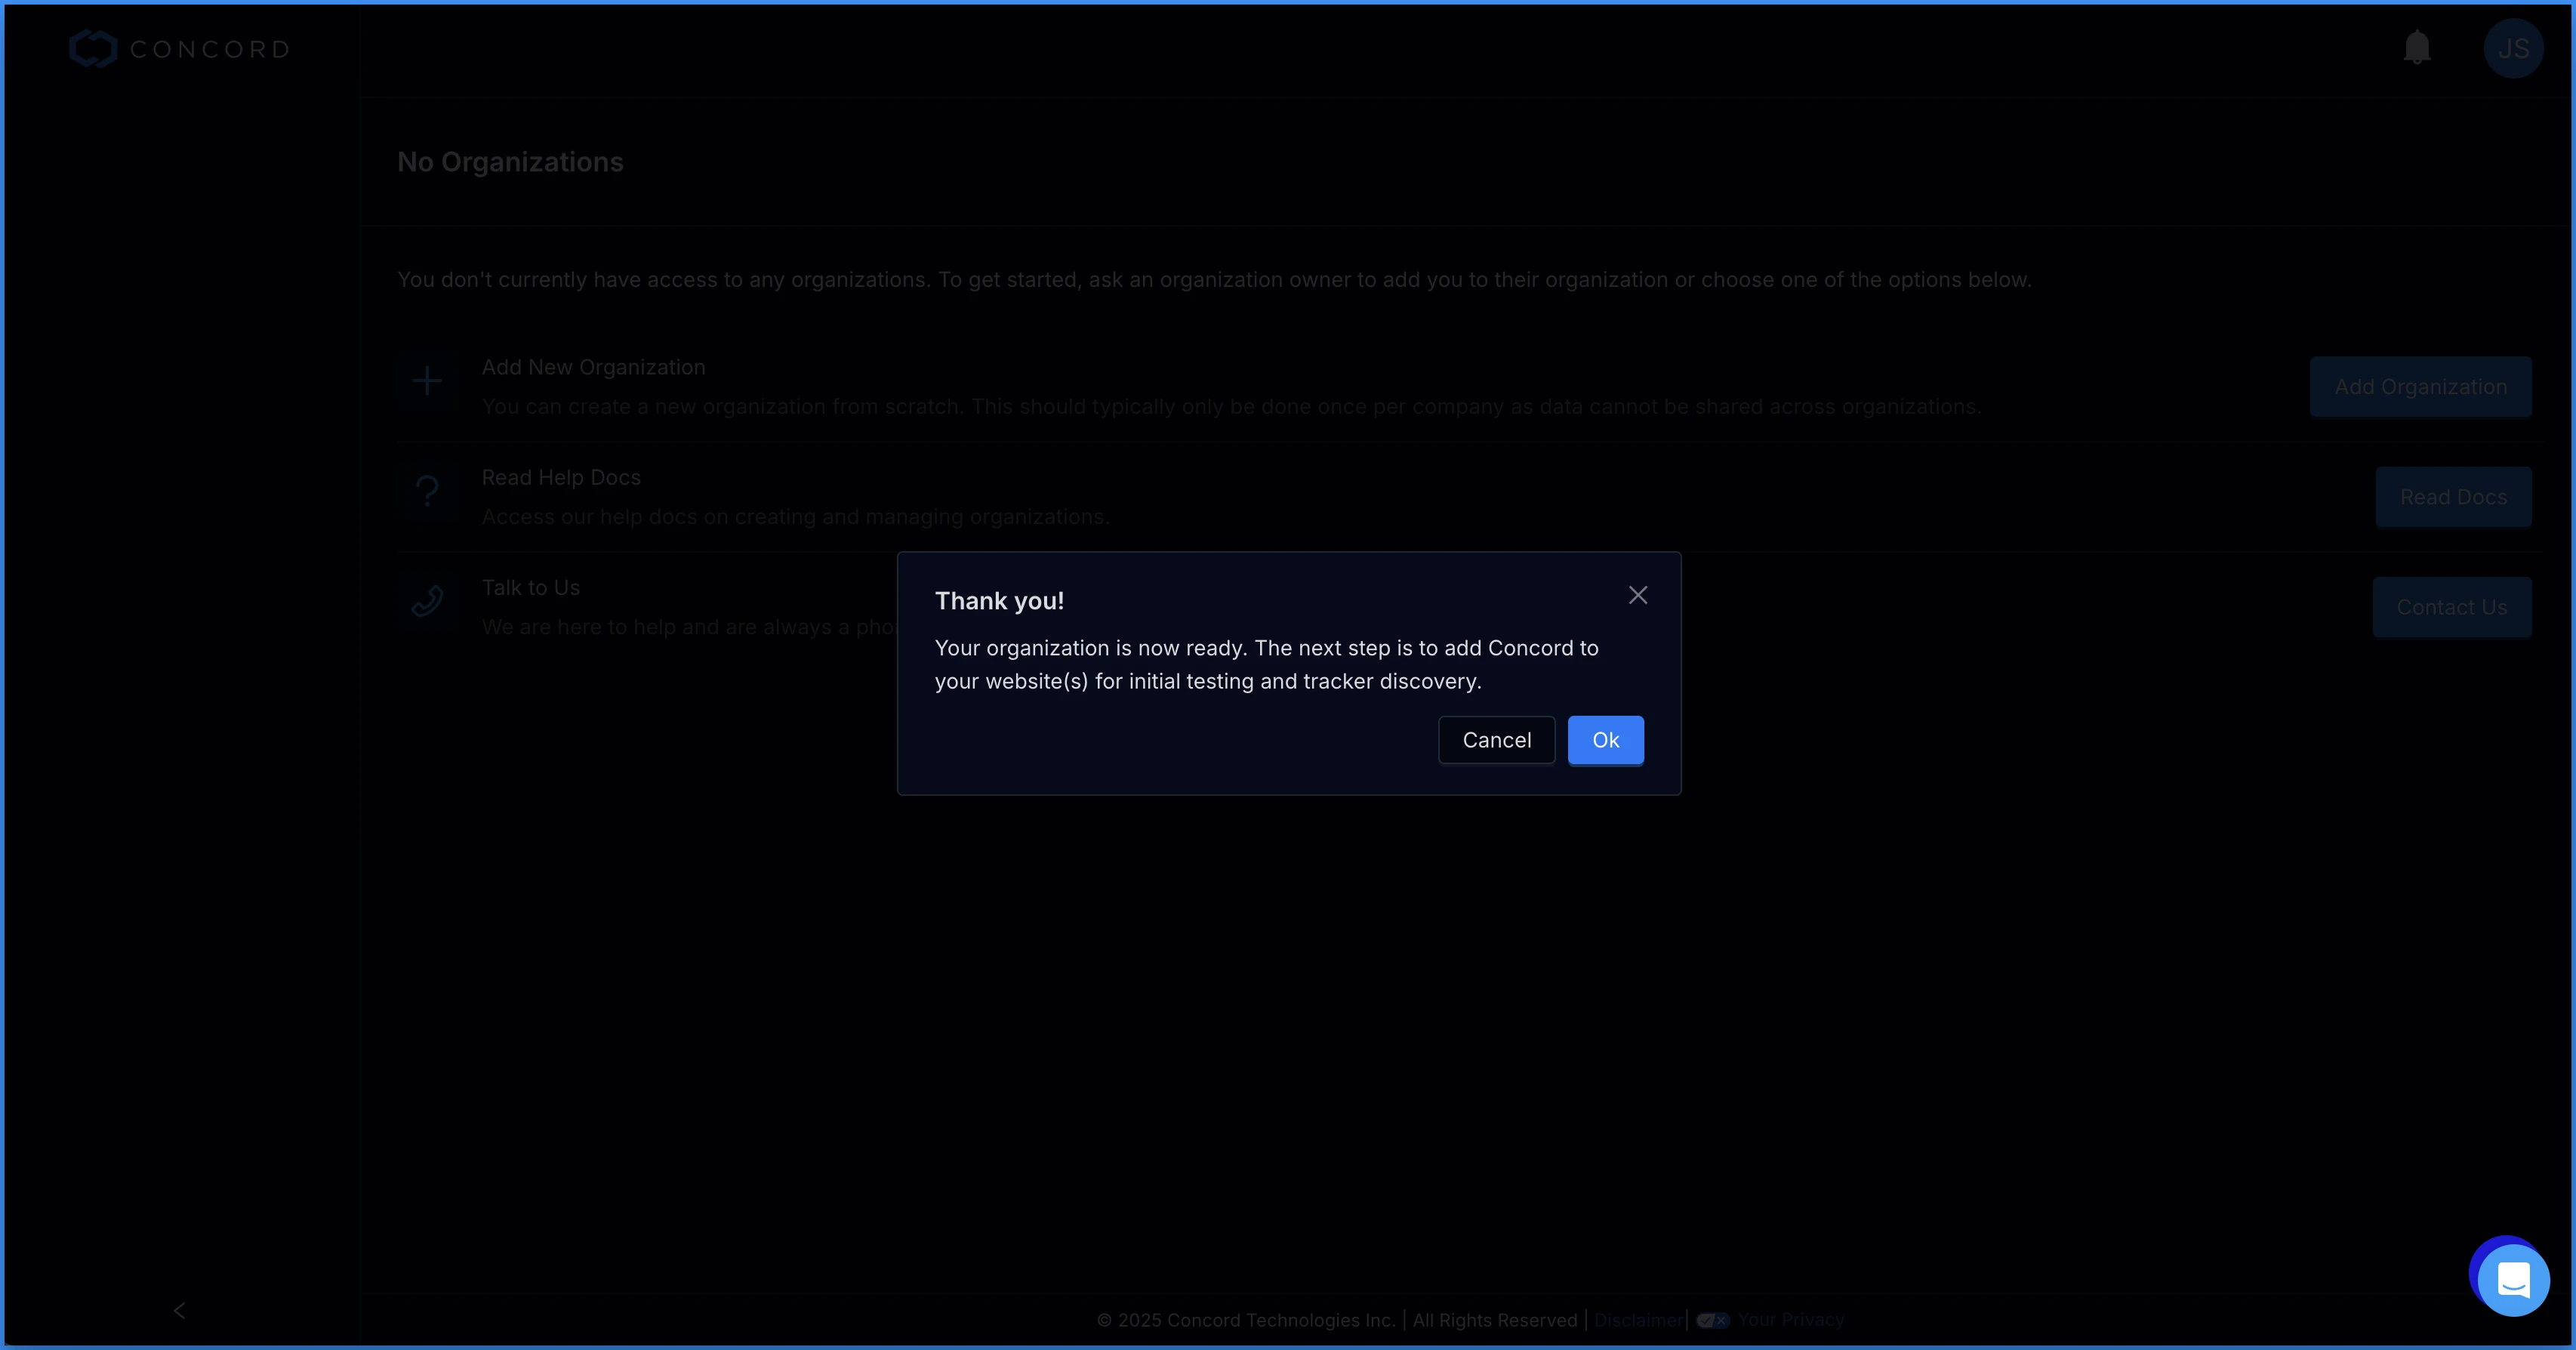
Upon completing the wizard you will see the below confirmation message. Click **Ok** to review your integration settings and view your direct embed code.
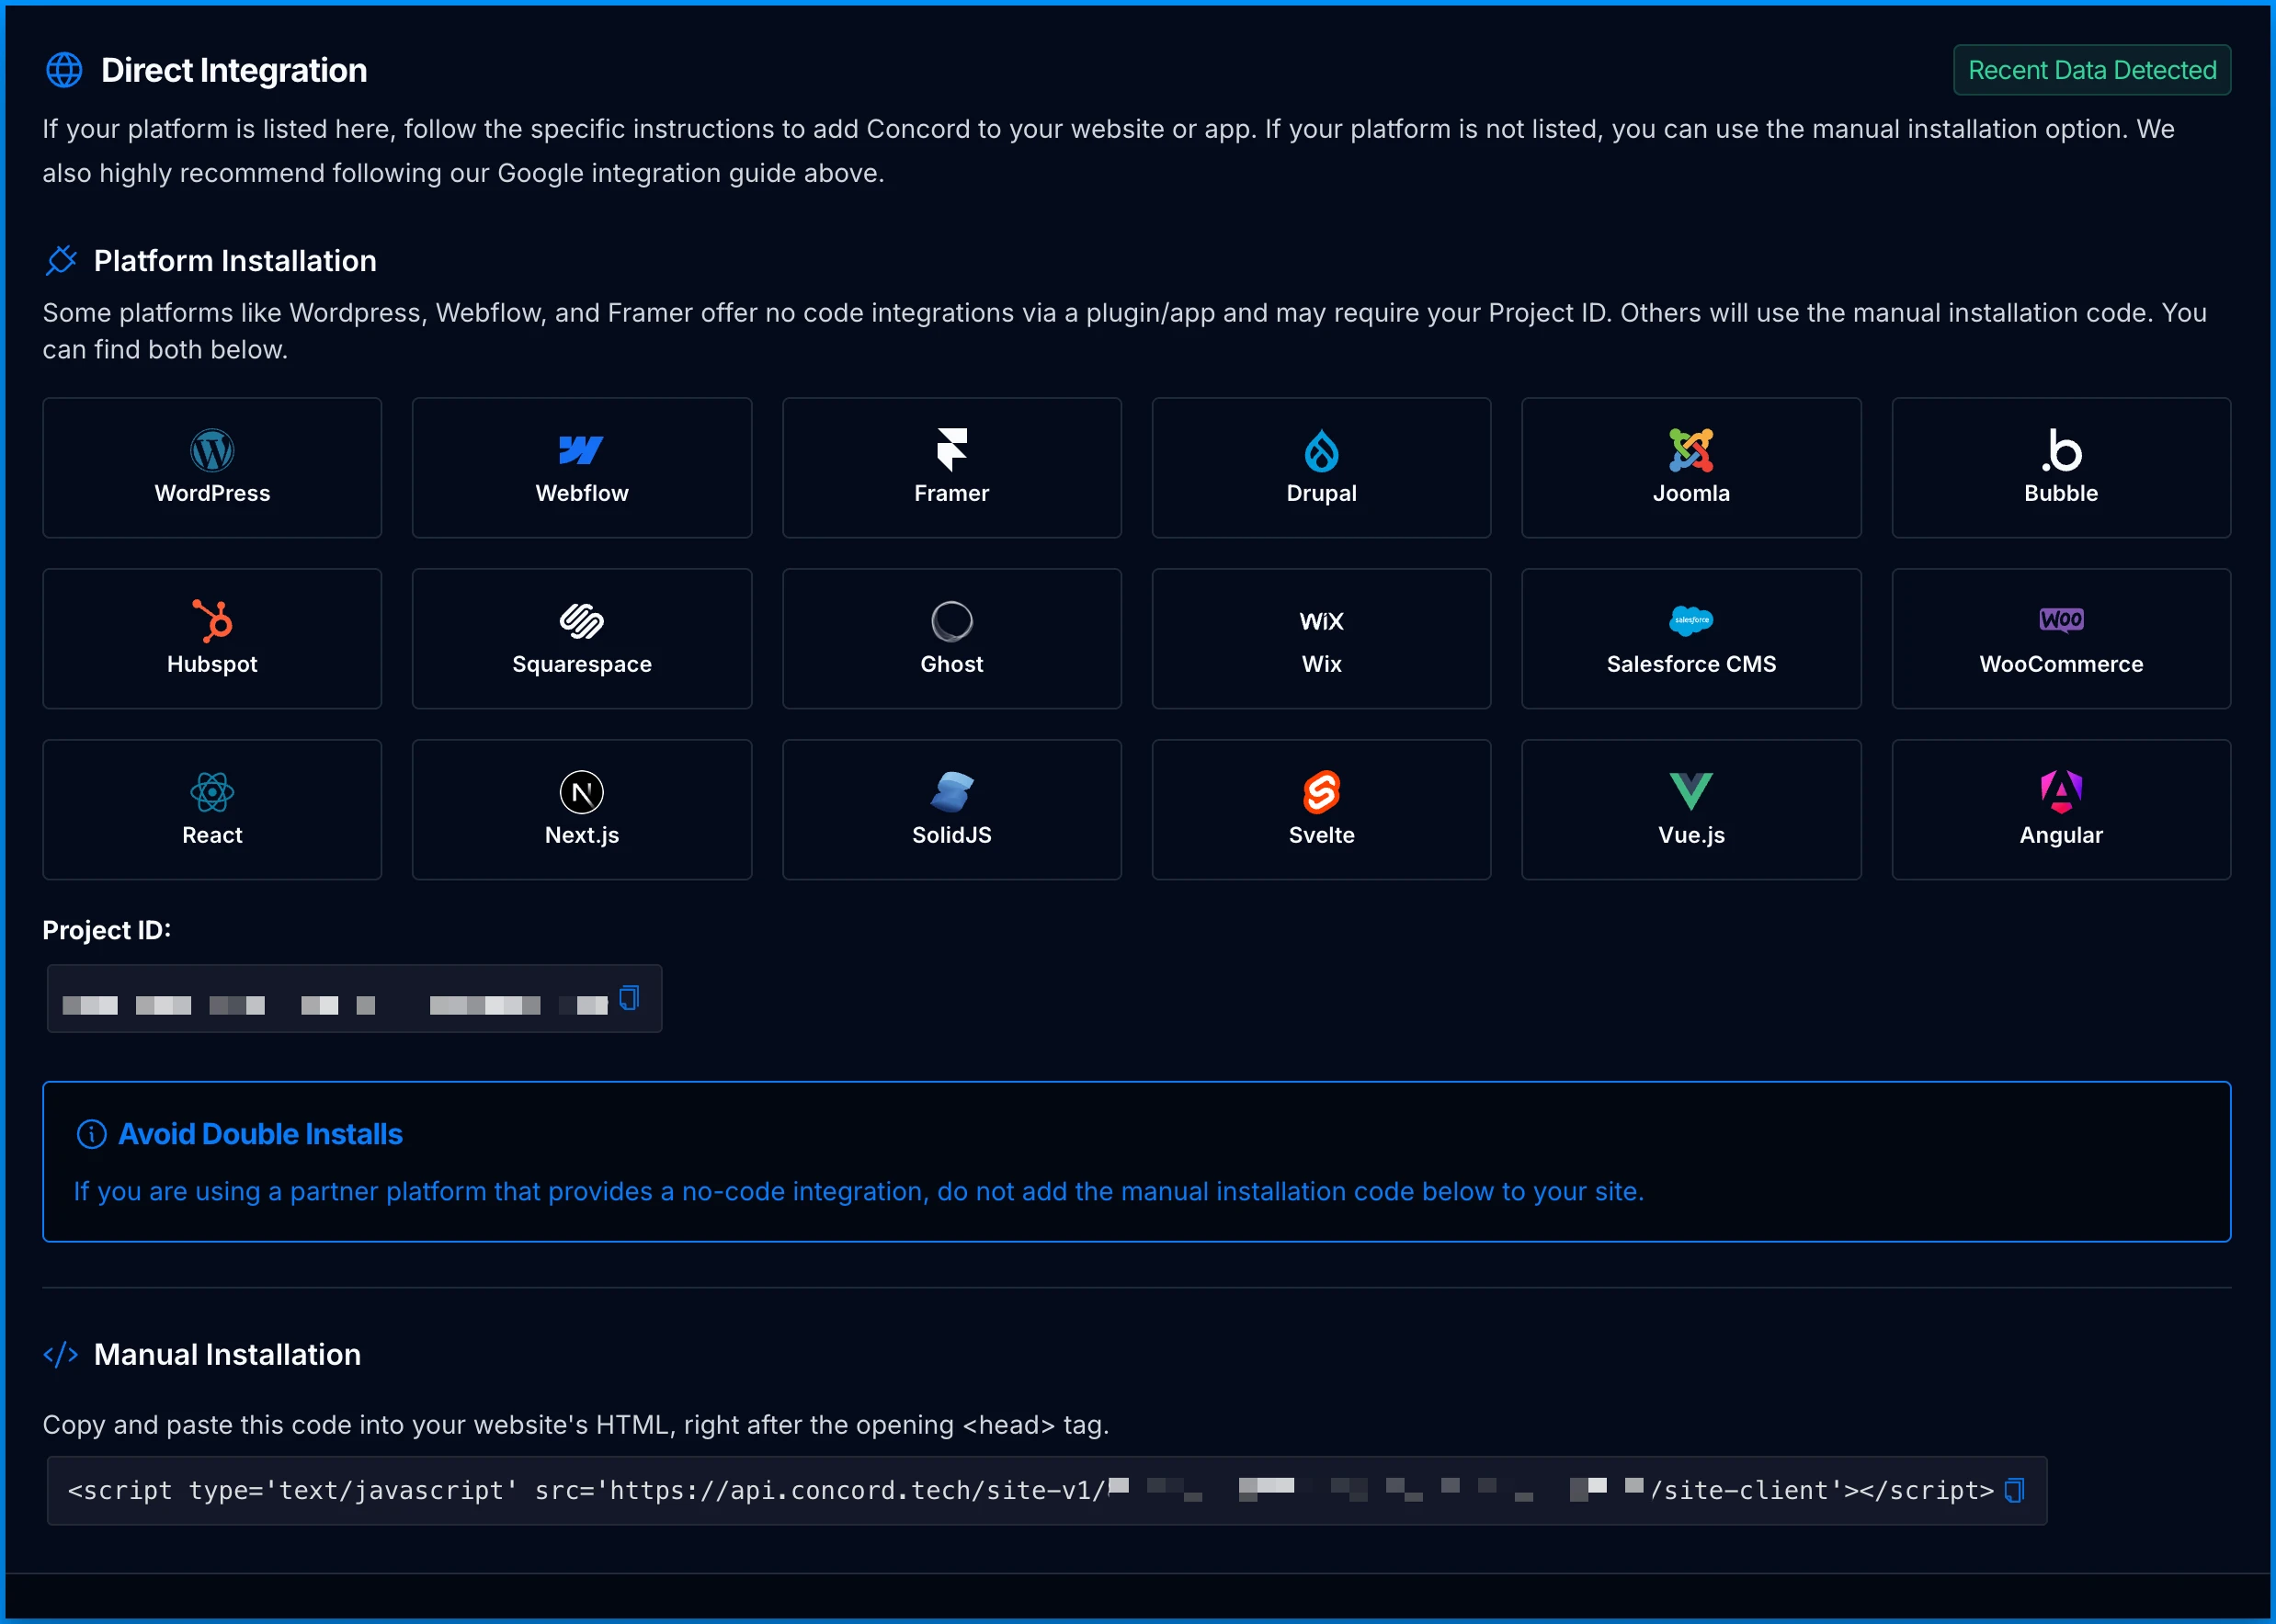
## Integrations & Installing Concord
On the **Installation → Install Concord** page, we provide a number of platform specific guides and integration options to make it easy to install Concord in your website or application.
To learn more about adding concord to your website, you can also refer to this document: [Adding Concord to Your Website](/docs/adding-concord-to-your-website)
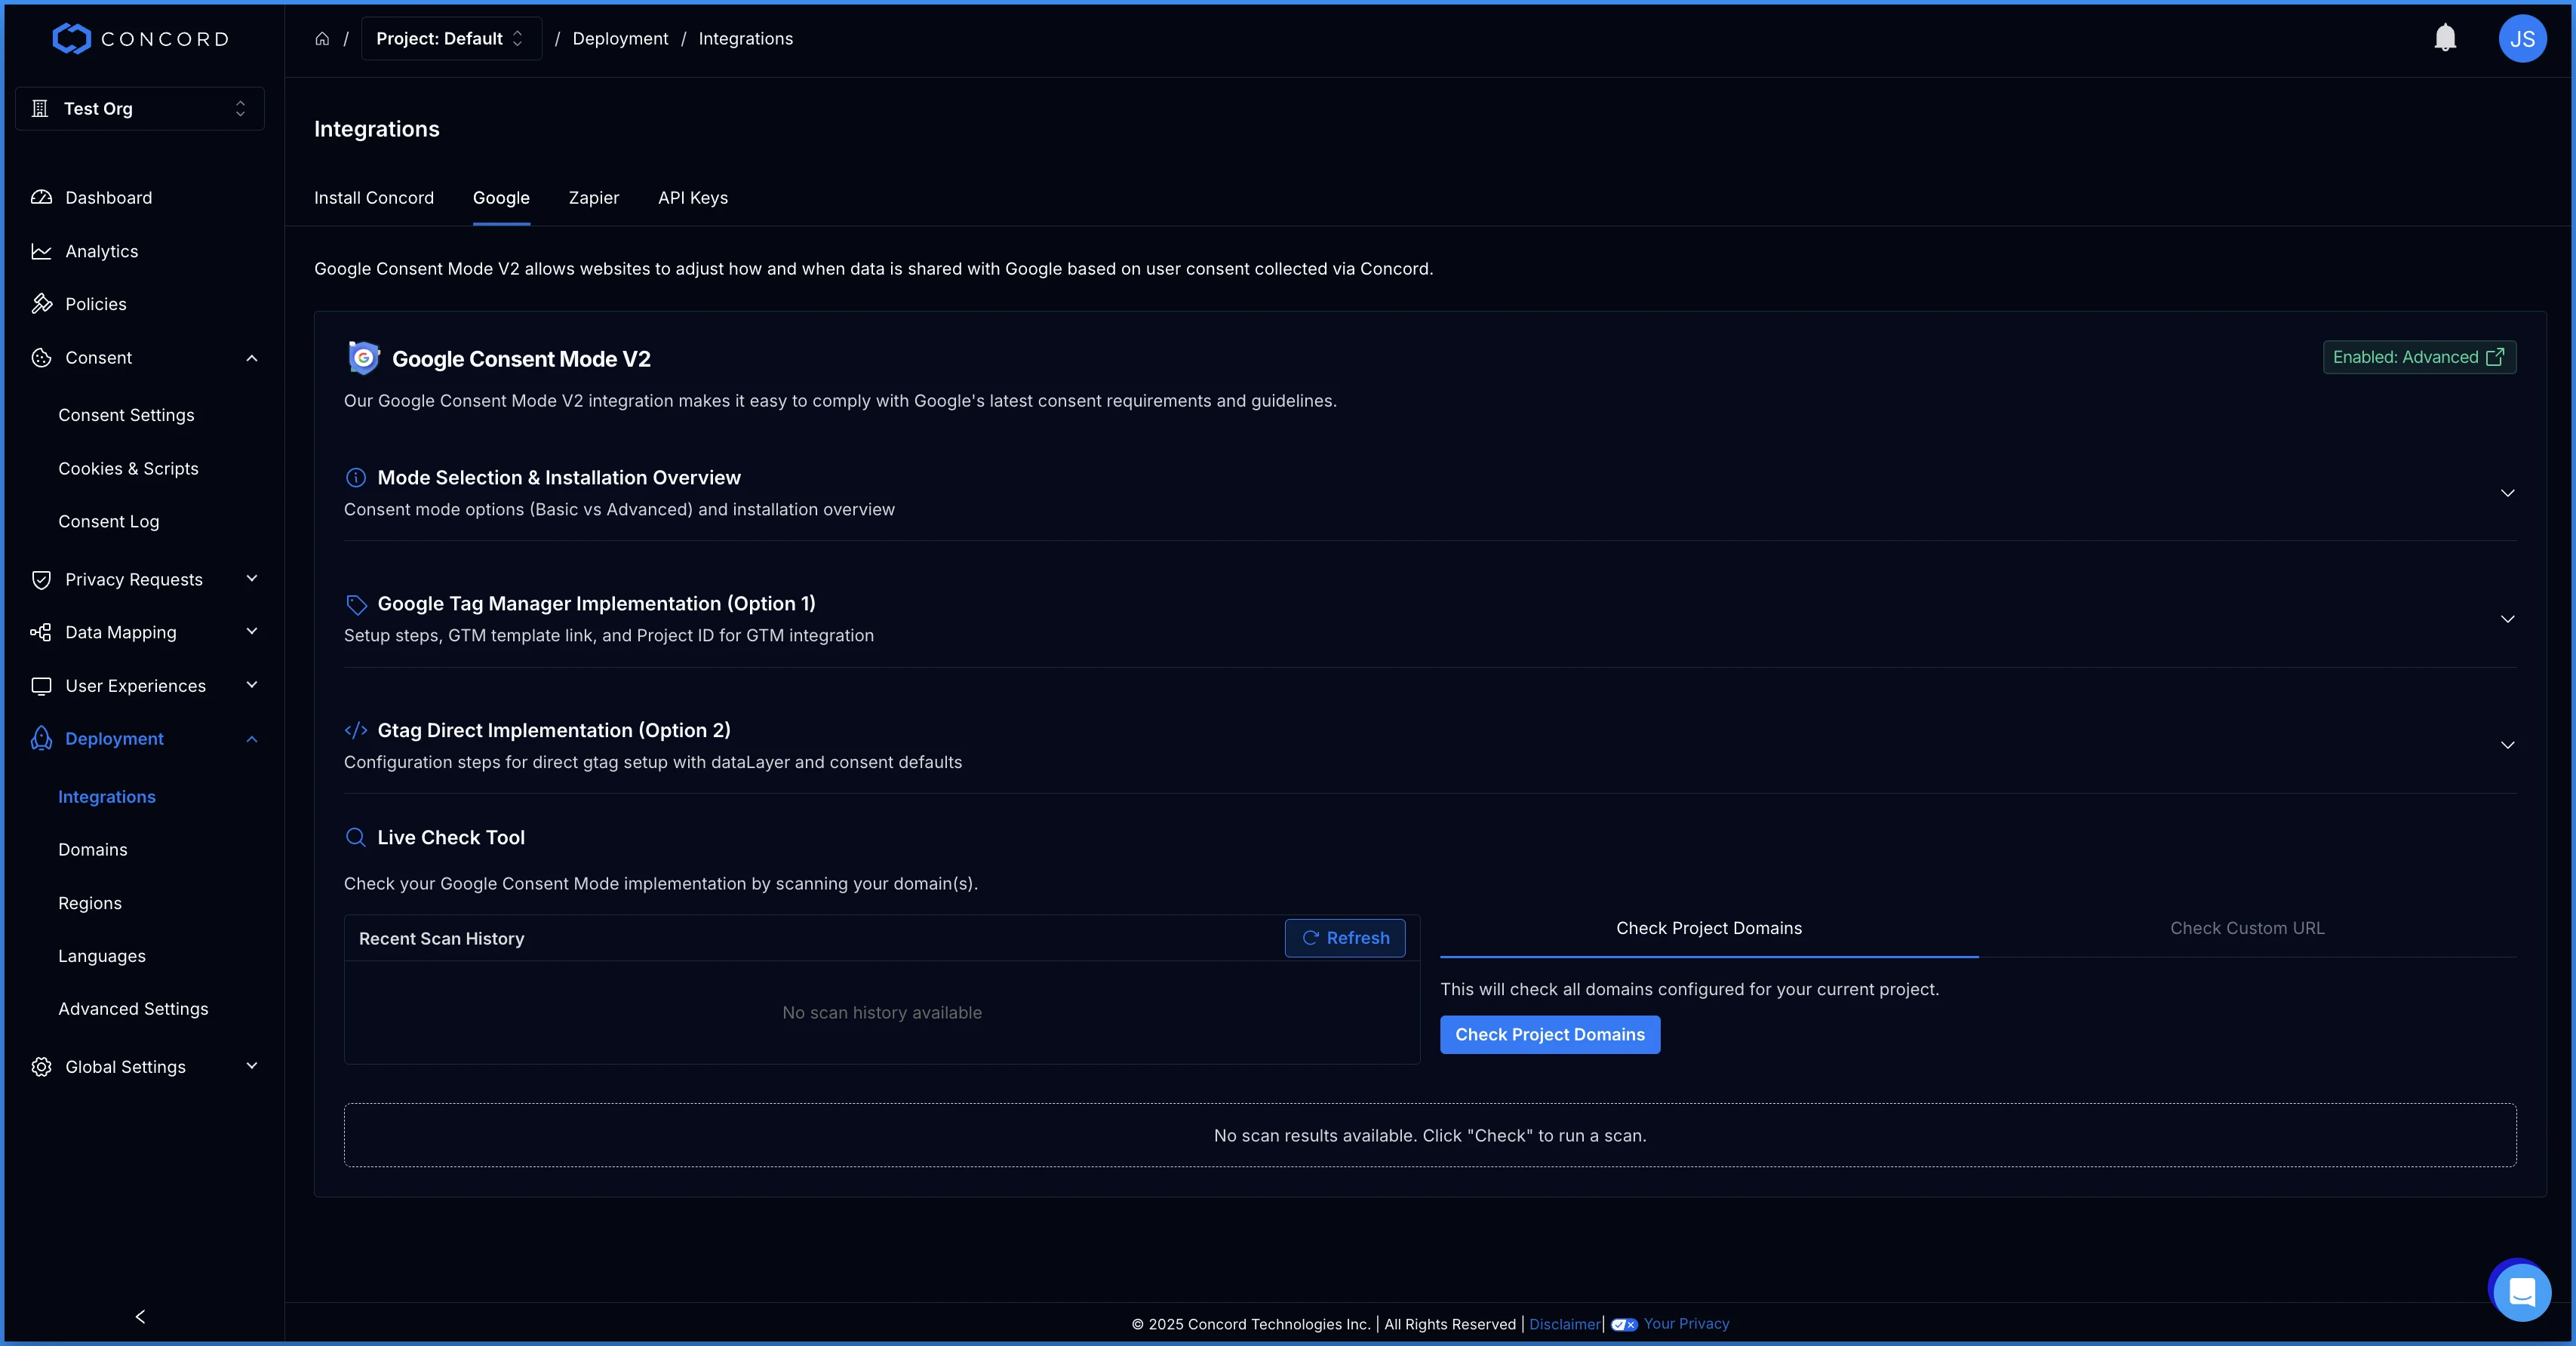
If you utilize Google services like Google Analytics, Google Tag Manager, or Google Ads, we also recommend configuring and verifying Google Consent Mode V2, which allows you to adjust how and when data is shared with Google based on user consent collected via the Concord Consent Banner & Privacy Center.
To learn more about Google Consent Mode V2 and the recommended settings, please refer to this document: [Understanding & Configuring Google Consent Mode GCM V2](/docs/google-understanding-configuring-google-consent-mode-gcm-v2)
## **User Experiences & Branding**
Next, navigate to the **User Experiences** section to configure the following items:
* **Branding** allows you to easily modify your preferred branding for Concord’s user experiences, including the **Consent Banner**, the **Privacy Center**, the **Floating Button,** and **Placeholders**. Branding settings are per project and are shared across user experiences. To adjust your settings go to the **User Experiences → Branding** section, upload your company logo, set the primary and secondary colors, select your font, and configure your preferred button and card radius settings to align with your own brand guidelines.
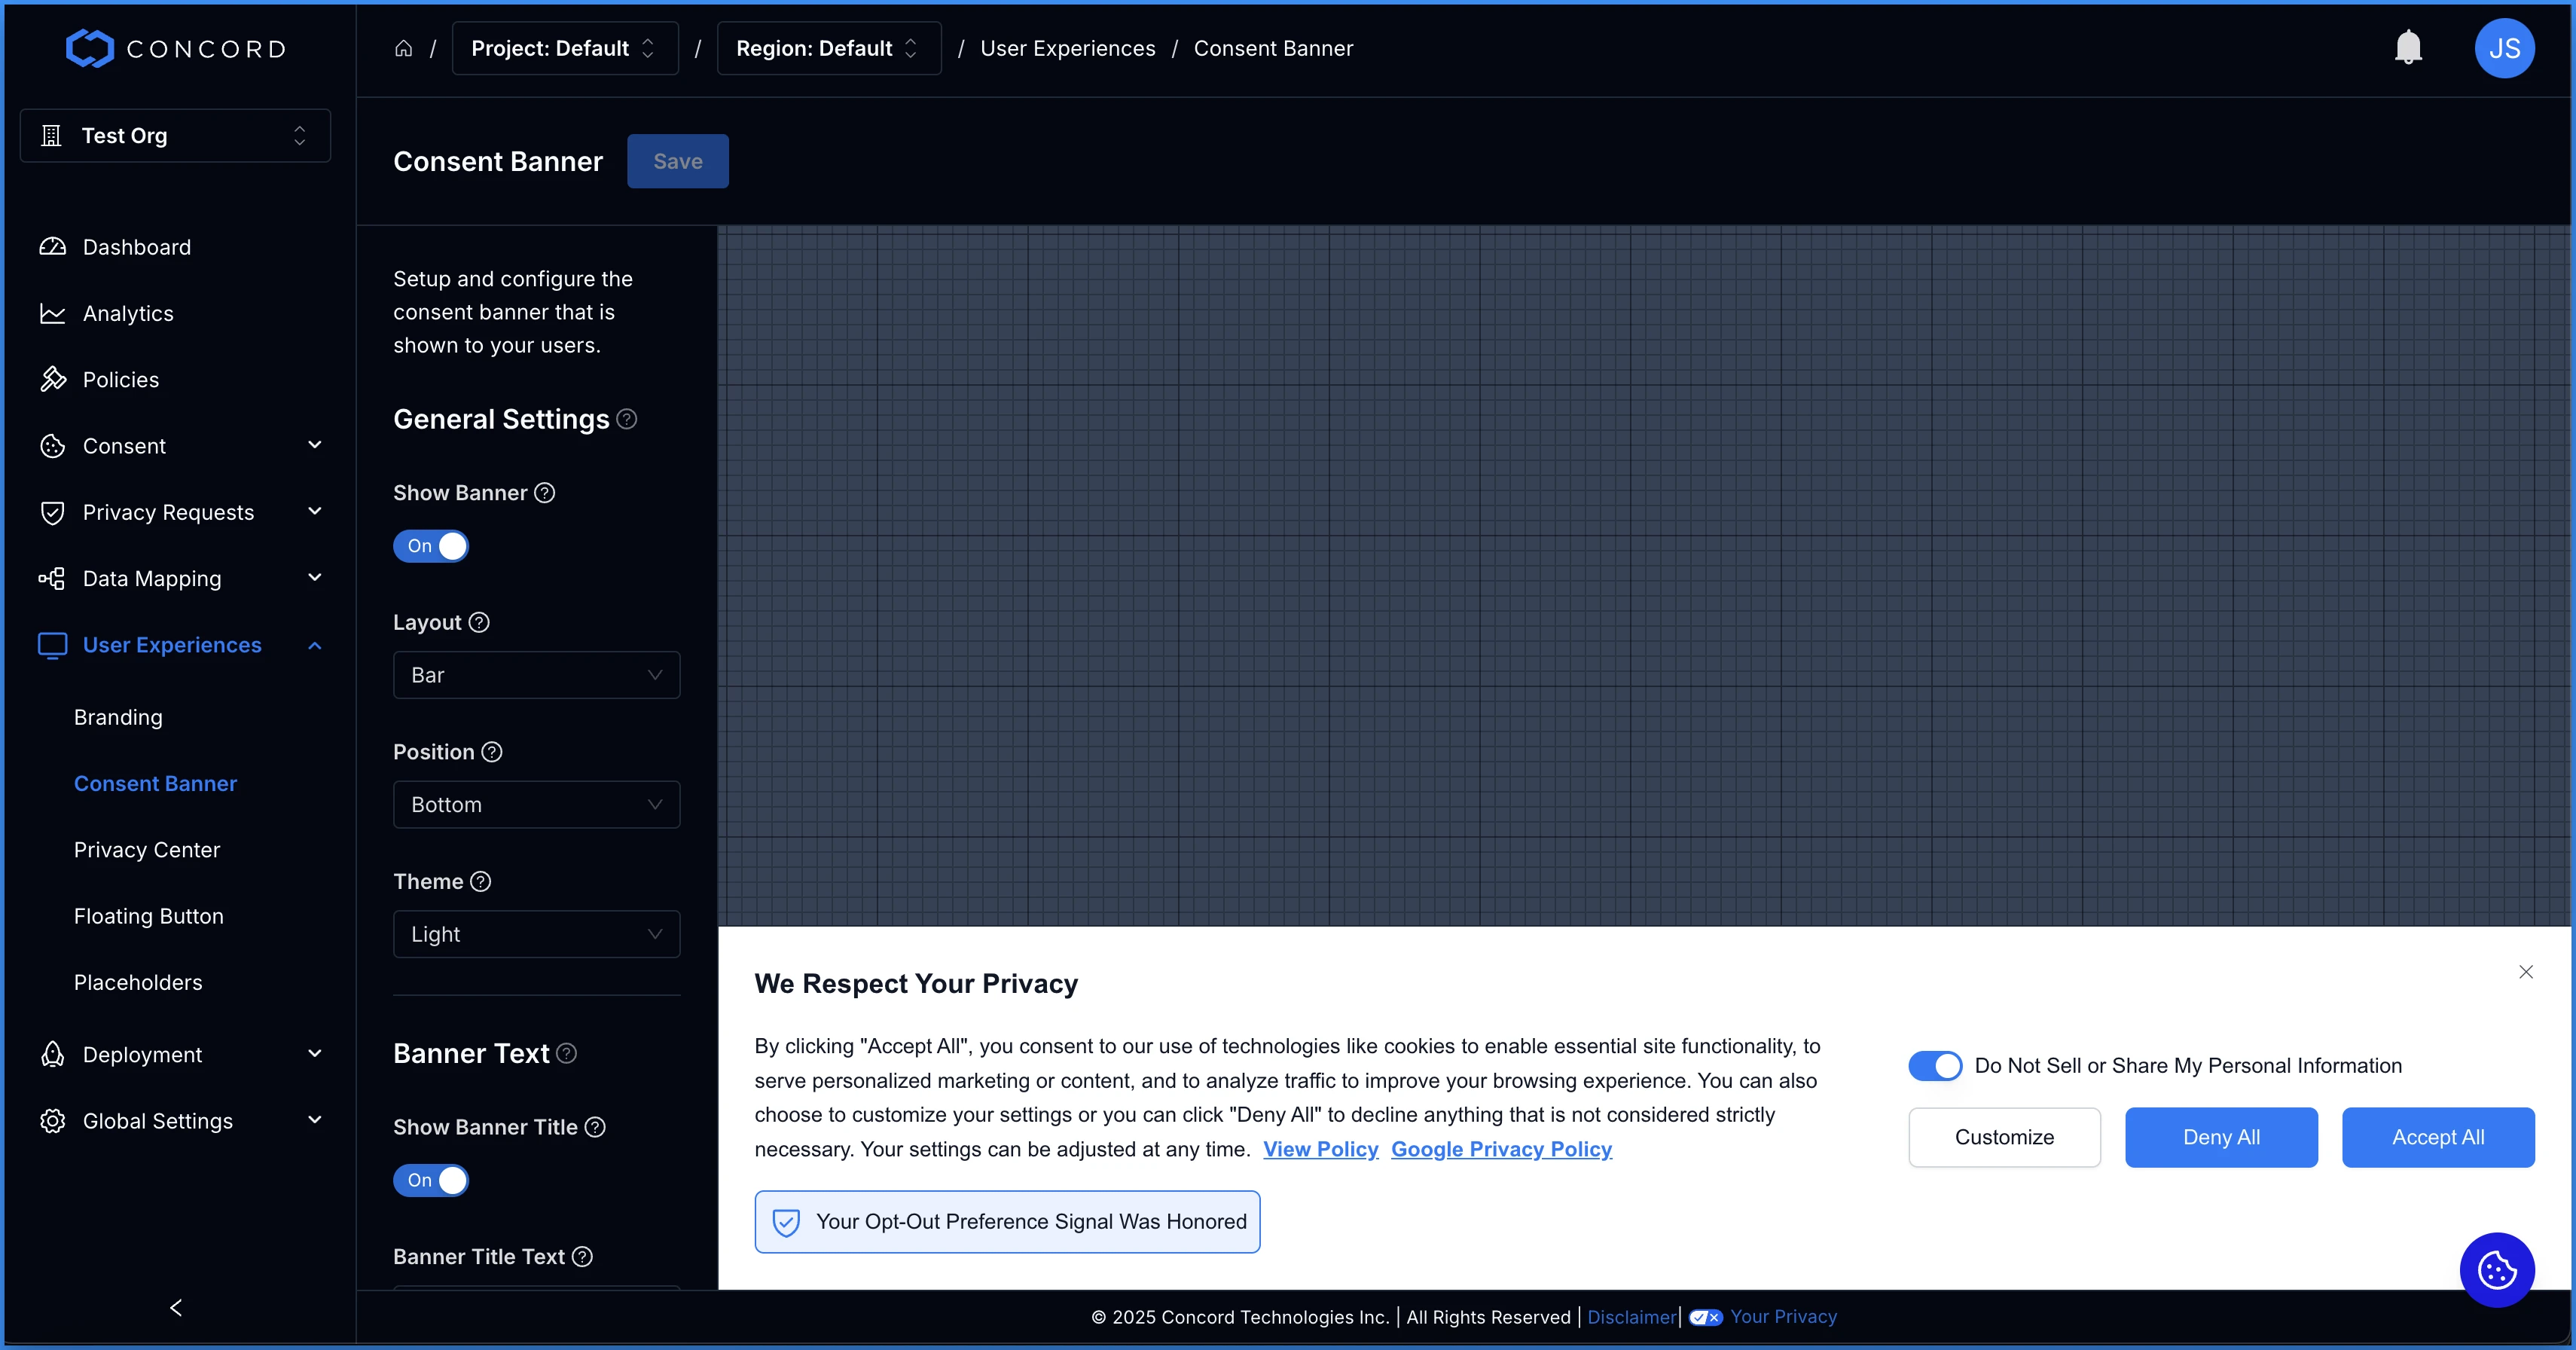
* The **Consent Banner** shows when a person first visits the site and it provides an interface for them to express their consent preferences. In the Concord app, you can choose if the banner is shown or not, where you want to display the banner on the webpage, the banner theme (light, dark, or a branded background using your secondary color), the buttons shown, and the desired copy for the different elements (e.g. header, body, link text, button names).
* **Privacy Center** is a branded experience where visitors can access privacy policies, view and edit the types of tracking they have provided consent for, and make certain privacy related requests (view, change, delete, and do not sell). Here you can show or hide various modules, including privacy disclosures and consent history, and you can customize the copy throughout the Privacy Center. Please note that Privacy Requests and Do Not Sell form requests are enabled by default. If you want to turn this functionality off, you can find these controls on the Privacy Settings page under the Privacy Requests section.
* The **Floating Button** appears in a convenient location on the site to quickly navigate to the Privacy Center. **Floating Button** settings include enablement of the button, the location of the button, the button theme (light, dark, or branded using your secondary color), the button type (tab with text or circle button), and button options (text for the tab option or icon for the circle button type. Alternatively, you might elect to hide the **Floating Button,** while providing a [direct link to the Privacy Center](/docs/privacy-center-direct-access-links) in your footer or other site navigation.
* The **Placeholders** section allows you to setup and configure the placeholders that are shown to your users when content is blocked without consent.
## Deployment & Testing
* Deploy Concord on your website for testing as outlined on the **Deployment → Installation → Install Concord** page.
* [Classify cookies and trackers](/docs/classifying-trackers-cookies-scripts) that are detected by Concord via our automatic tracker detection functionality. Review and edit the categories as needed on the **Consent → Cookies & Scripts** page.
* Unclassified cookies should be classified whenever possible and, as noted earlier, other ignored items (scripts, iFrames, links, images, etc.) should be reviewed and any items that interact or store customer data should be classified. Many ignored items can safely stay in the ignored category, but should be reviewed to ensure that nothing falls between the cracks.
## Go Live in Production
* Change **Blocking Mode** on the **Consent Settings** page from **Discovery** to **Strict** (recommended) or **Permissive** (allows Unclassified cookies without consent so this is not recommended in most cases). Note that when this change is made, Concord will begin blocking scripts and cookies based on user consent.
* If the previous deployment and testing was done on a separate testing/staging website, make any other desired production changes to your configuration and deploy the same code you used in testing to your production web site.
* Run through another check to make sure core visitor flows and branding look and function as expected.
* In the Concord app, navigate to **User Experiences → Consent Banner** and ensure that the **Show** **Banner** toggle switch is **ON**. The Concord Consent Banner will now be visible on your organization’s website.
* Do the same for the **Floating Button** if enabling it on your site (recommended).
* Review several pages to ensure the **Consent Banner**, **Privacy Center,** **Floating Button**, and **Placeholders** all work as expected. Verify that the colors, logo, and copy look correct. If your legal, privacy, or marketing team would like some changes made, updates can be quickly made in the Concord app without having to change any code on the site.
## What’s Next?
* Ready to start thinking about additional privacy compliance and governance? Check out [managing privacy requests](/docs/managing-privacy-requests) and [data mapping.](/docs/data-mapping-overview)
* Want to customize the consent settings and user experiences based on a user’s geographical location? Check out [this consent banner configuration](/docs/configure-consent-banner-different-regions) help document.
* Subscribe or follow our [Blog](/blog) to stay up to date on the latest industry trends and cool new Concord releases.
If you have any questions, please reach out to our support team at [support@concord.tech](mailto:support@concord.tech) or, for Google specific support, [google@concord.tech](mailto:google@concord.tech). You can also visit our [Support Commitment](/docs/concord-support-commitment) guide for a full list of support options including dedicated support with Google Consent Mode setup and troubleshooting.
## Related Articles
* [Understanding & Configuring Google Consent Mode (GCM) V2](/docs/google-understanding-configuring-google-consent-mode-gcm-v2)
* [Google Consent Mode V2 (GCM) Scanning User Guide](/docs/google-gcm-scanning-user-guide)
* [Scanning Your Site for Trackers and Cookies](/docs/scanning-trackers-cookies-scripts)
# Adding and Managing API Keys
URL: /docs/adding-managing-api-keys
***
title: 'Adding and Managing API Keys'
description: 'Learn how to generate and manage secure API keys for integration with other services like CRMs, CDPs, and your help desk software.'
created: '2021-05-13T20:50:56.000Z'
updated: '2026-10-17T00:00:00.000Z'
-----------------------------------
## Overview
* You can add, edit, and delete API keys by going to **Integrations → AI & API Access → API Keys**.
* You can change the API Key’s name and permissions.
* To connect an AI assistant such as Claude or ChatGPT, you don't need an API key. See [Connecting AI Assistants to Concord (MCP)](/docs/connecting-mcp-clients).
{/* Screenshot: adding-managing-api-keys-nav-ai-api-access.png (the API Keys tab under Integrations → AI & API Access) */}
## How to Add an API Key
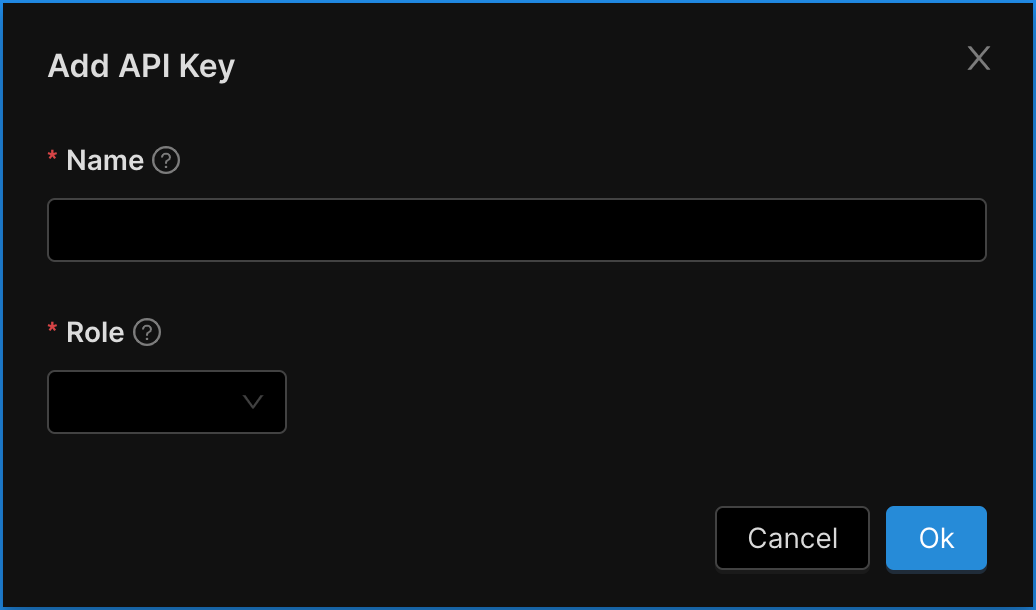
1. To add an API key, click on the **Add API Key** button.
2. Choose a friendly name for the API Key. Concord typically recommends you use the name of the application for which the API key will be created.
3. Select a permissions role for this API key for the Concord app. Your choices are:
* **Admin:** An Admin API key has full rights to everything in an Organization.
* **Limited:** A Limited API key has read only rights to all projects plus the ability to add or edit individual compliance requests.
* **Owner:** Shown only to Owners. An Owner API key has full rights to everything in an Organization, including billing.
## How to Edit an API Key
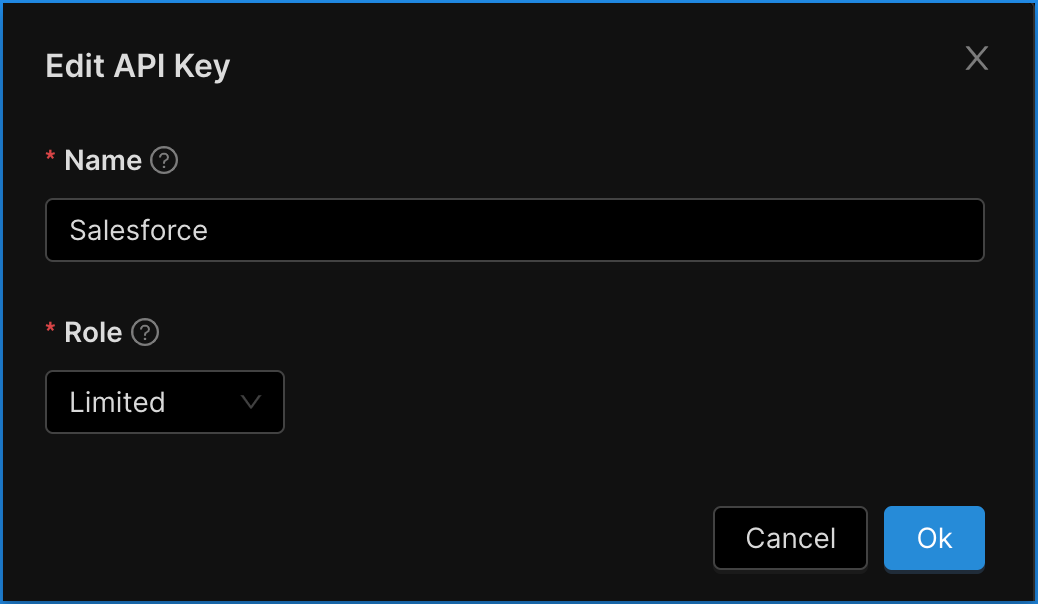
To edit an API key, click the **Edit** button for the specific API key you’d like to change.
## How to Delete an API Key
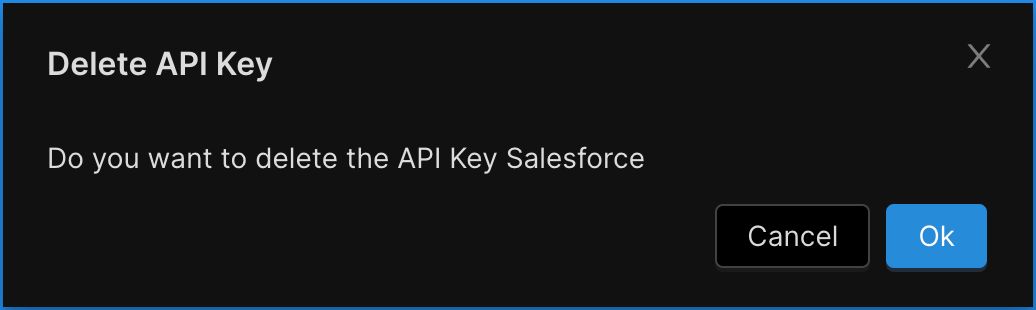
To delete an API key, click on the **Delete** button for the specific API key you’d like to remove.
**CAUTION:** Be certain no external applications require this API key for proper functionality.
# Connecting AI Assistants to Concord (MCP)
URL: /docs/connecting-mcp-clients
***
title: 'Connecting AI Assistants to Concord (MCP)'
description: 'Connect Claude, ChatGPT, Codex, Cursor, and other MCP clients to your Concord account with one server URL, then manage write access and connected applications.'
created: '2026-10-16T00:00:00.000Z'
updated: '2026-10-18T00:00:00.000Z'
-----------------------------------
## Overview
Concord's MCP server connects the AI assistants your team already uses to your Concord account. Once an assistant is connected, you can ask Claude, ChatGPT, Codex, Cursor, VS Code, or any other MCP client about your privacy and compliance program in plain language, and it answers from your live Concord data.
* **One URL, no API keys.** Every assistant connects to `https://api.concord.tech/mcp`. You sign in with your normal Concord login, approve the connection, and choose an organization.
* **Read access on every plan.** Assistants can read consent and tracker data, privacy requests, your data map, policies and documents, and tasks, plus risks, vendors, controls, and frameworks when your organization uses them.
* **Write access is opt-in.** On plans that include API access, an Owner or Admin can let assistants create and update records. Writing stays off until they turn it on.
* **Your permissions apply.** Every request is checked against your current Concord role, so a connection can never do more than you can do in the app. If your role changes, your connections change with it.
If you don't see **AI Assistants (MCP)** under **Integrations → AI & API Access**, contact [support@concord.tech](mailto:support@concord.tech) to turn it on for your organization.
## Before You Start
* **Who can connect:** any Concord user. An assistant can only see and do what your role allows. See [User Roles and Permissions](/docs/user-roles-permissions).
* **Read tools:** included on every plan.
* **Write tools:** available on Concord Privacy **Pro**, **Premium**, and **Enterprise**, and on Concord Trust **Pro**, **Premium**, and **Enterprise**. An Owner or Admin also has to turn them on. See [Turn On Write Tools](#turn-on-write-tools).
* **Module tools:** tools for risks, vendors, controls, and frameworks appear only when those modules are on for your organization.
## Find the Setup Steps in Concord
Go to **Integrations → AI & API Access → AI Assistants (MCP)**. The **Connect an Assistant** card shows the server URL with a copy button, and setup steps for each assistant under the **Claude**, **ChatGPT**, **Cursor**, and **Other** tabs.
{/* Screenshot: connecting-mcp-clients-connect-an-assistant.png (the Connect an Assistant card on the AI Assistants (MCP) tab, Claude tab selected) */}
The steps for each assistant are below as well.
## Connect Your Assistant
### Claude and Claude Desktop
1. In Claude, open **Settings → Connectors** and choose **Add custom connector**.
2. Paste the server URL, `https://api.concord.tech/mcp`. Leave the advanced fields (client ID and secret) empty.
3. Sign in to Concord when the browser prompt appears, then approve the connection. See [Sign In and Approve](#sign-in-and-approve).
Anthropic's guide to [custom connectors](https://support.claude.com/en/articles/11175166-getting-started-with-custom-connectors-using-remote-mcp) has more detail.
### Claude Code
Run this command in your terminal:
```bash
claude mcp add --transport http --scope user concord https://api.concord.tech/mcp
```
Then run `claude mcp login concord` in your terminal and approve the browser sign-in. `--scope user` makes Concord available in every project, not only the folder you ran the command in.
### ChatGPT
1. Turn on developer mode in ChatGPT.
2. Add a connector with the server URL, `https://api.concord.tech/mcp`.
3. Sign in to Concord when prompted, then approve the connection.
Connectors are available on paid ChatGPT plans on the web. OpenAI's [developer mode guide](https://developers.openai.com/api/docs/guides/developer-mode) has the steps.
### Codex
Run this command in your terminal:
```bash
codex mcp add concord --url https://api.concord.tech/mcp
```
Then run `codex mcp login concord` and approve the browser sign-in.
### Cursor
Click **Add to Cursor** on the **Cursor** tab in Concord, or add the server to `~/.cursor/mcp.json` (or `.cursor/mcp.json` in a project):
```json
{
"mcpServers": {
"concord": {
"url": "https://api.concord.tech/mcp"
}
}
}
```
Cursor asks you to sign in the first time you use it.
### VS Code and Other Clients
Any MCP client that supports remote servers over HTTP, such as VS Code, Windsurf, or Gemini CLI, can connect with the server URL. Add it in the client's MCP settings, then approve the sign-in.
In VS Code, add the server to `.vscode/mcp.json`, or use **MCP: Add Server** from the command palette:
```json
{
"servers": {
"concord": {
"type": "http",
"url": "https://api.concord.tech/mcp"
}
}
}
```
## Sign In and Approve
The first time an assistant connects, it opens your browser:
1. **Sign in** on the Concord login page the way you normally do. If you're already signed in, you go straight to the consent screen.
2. **Review the consent screen.** It names the assistant asking for access and what it's asking for: **Read your privacy and trust data**, and, if the assistant requests it, **Create and update records on your behalf**. Write access is optional and stays off unless you turn it on.
3. **Choose the organization** for this connection. Each connection works with one organization. To use another, connect again and choose it.
4. **Approve.** The browser hands control back to your assistant, and you can start asking questions.
{/* Screenshot: connecting-mcp-clients-consent-screen.png (the consent screen showing the assistant name, scopes, and organization picker) */}
## Turn On Write Tools
Write tools let an assistant make changes in Concord, such as logging a privacy request or adding a data system. They're off by default. To turn them on, you need the **Owner** or **Admin** role and a plan that includes API access.
1. Go to **Integrations → AI & API Access → AI Assistants (MCP)**.
2. In the **Write Tools** card, turn on **Allow Write Tools**. This makes every write tool available to connected assistants.
3. To limit what assistants can change, open **Customize Which Tools** and turn off the tools you don't want them to use.
If your plan doesn't include write tools, the card shows a note instead and the switch stays off.
{/* Screenshot: connecting-mcp-clients-write-tools.png (the Write Tools card with Allow Write Tools on and Customize Which Tools open) */}
| Tool | What It Does |
| -------------------------- | --------------------------------------------------------------------------------------------- |
| **Create Task** | Create a task and optionally assign it. |
| **Assign Task** | Assign a task to a user. |
| **Transition Task** | Move a task to a new status. |
| **Create Privacy Request** | Log a new privacy request (DSAR) on behalf of a data subject. |
| **Update Privacy Request** | Add notes, set a resolution status, or acknowledge a request. |
| **Add Data System** | Add a data system to your data map. |
| **Update Data System** | Update the fields on an existing data system. |
| **Classify Trackers** | Add discovered trackers to a project with a consent category. |
| **Run Tracker Scan** | Start a cookie and tracker scan. A scan uses Actions, as it does when you run one in the app. |
| **Create Risk** | Add a risk to your risk register. Requires the Risks module. |
| **Create Vendor** | Add a vendor from the catalog or as a custom record. Requires the Vendors module. |
| **Update Vendor** | Update a vendor and its linked data systems. Requires the Vendors module. |
| **Open Vendor Review** | Open a review for a vendor. Requires the Vendors module. |
| **Add Control Evidence** | Link a document or URL as evidence for a control. Requires the Controls module. |
Write tools add and update records. They don't delete anything, and an assistant can't resolve a privacy request: a person on your team still does that in Concord. For how a scan uses Actions, see [Actions and Data Credits](/docs/actions-data-credits).
### Approving Write Access on a Connection
Turning on write tools for your organization doesn't give existing connections write access. Each connection needs its own approval:
* If your assistant asks for write access when you connect, turn on **Create and update records on your behalf** on the consent screen.
* If you approved a connection as read-only and your assistant later tries a write tool, Concord asks it for write access, and your assistant shows a sign-in prompt where you can approve it.
## Example Prompts
Consent and trackers:
* "List the trackers our latest scan found that aren't in a project yet."
* "Summarize this month's consent opt-in and opt-out rates by region."
Privacy requests:
* "How many privacy requests are open right now, and which ones are past due?"
Data map and policies:
* "List our data systems and the processing activities they support."
* "Summarize our privacy policy and show its version history."
Controls and evidence, if your organization uses them:
* "Which controls are due for evaluation in the next 30 days?"
* "What evidence expires in the next 30 days?"
With write tools turned on:
* "Add our new Snowflake instance to the data map."
* "Create a task to review our cookie policy and assign it to me."
## Revoke a Connection
You can see and revoke the assistants connected to your account under **Connected Applications**, in two places:
* **My Profile**, which you open from the account icon in the upper right of Concord.
* **Integrations → AI & API Access → AI Assistants (MCP)**, below the setup steps.
Click **Revoke Access** next to an assistant and confirm. That assistant loses access to your Concord data on its next request, and it has to sign in and approve again to reconnect.
Removing Concord from an assistant's own settings stops that assistant from using the connection, but it doesn't revoke it. Use **Connected Applications** to revoke.
Because every request is checked against current permissions, removing a person from your organization or changing their role applies to their connections too.
## Troubleshooting
### The Browser Doesn't Open
Start the sign-in again from your assistant (run `claude mcp login concord` for Claude Code, or reconnect in the client's MCP settings) and check that a pop-up blocker didn't stop the window. Most command-line clients also print the sign-in link so you can copy it into your browser.
### The Connection Is Refused After Sign-In
Your organization may not have AI Assistants (MCP) turned on yet. Contact [support@concord.tech](mailto:support@concord.tech) to turn it on.
### Tools Are Listed but a Request Is Refused
Either the connection was approved as read-only, or your Concord role doesn't allow that action. The refusal message says which. For write access, approve it when your assistant asks. For a role change, ask an Owner or Admin.
### New Tools Don't Appear
Your assistant keeps the list of tools it received when it connected. If an Owner or Admin turned on write tools, or your organization turned on a module such as Controls after you connected, reconnect in the assistant's MCP settings to load the new list. Reconnecting doesn't add write access on its own; see [Approving Write Access on a Connection](#approving-write-access-on-a-connection).
### Answers Come From the Wrong Organization
Each connection is tied to the organization you chose when you approved it. Connect again and choose the right one.
### The Connection Stopped Working
Connections expire after a period of time. Reconnect in your assistant's MCP settings. If you're already signed in to Concord in your browser, it only takes a few seconds.
## Related
* [Adding and Managing API Keys](/docs/adding-managing-api-keys), for calling the Concord REST API directly.
* [User Roles and Permissions](/docs/user-roles-permissions)
* [Actions and Data Credits](/docs/actions-data-credits)
# Actions and Data Credits
URL: /docs/actions-data-credits
***
title: 'Actions and Data Credits'
description: 'How Actions and Data Credits work together to power advanced features in Concord, and how to manage each pool.'
-----------------------------------------------------------------------------------------------------------------------------
## Overview
Concord uses two separate consumption pools for advanced features: **Actions** and **Data Credits**. Core functionality (your public Trust Center, consent management, policy generation, and privacy request handling) does not require either.
Advanced workflows like questionnaire generation, RFP automation, AI chat, and document indexing consume both pools: Actions for the orchestration, Data Credits for the AI inference or external data lookup.
## Actions
Actions are an organization-level pool included with your plan. They cover orchestration and in-house processing for advanced features.
* **Included with your plan.** Every plan includes an allocation of Actions.
* **Resets each billing cycle.** Unused Actions do not roll over.
* **Add more as a recurring add-on.** If you need more than your plan includes, purchase additional Actions from the **Actions** tab in **Global Settings → Billing**.
## Data Credits
Data Credits are a separate pre-paid pool that covers costs passed through from third-party services. When an advanced feature calls an external AI model or third-party data source, the cost is metered against your Data Credit balance.
* **Not included in your plan.** You purchase Data Credits separately.
* **One-time packs.** Stripe charges your card and credits land within seconds.
* **Expire 12 months after purchase.**
## What Consumes Credits
Any advanced feature that goes beyond core platform functionality uses Actions. Features that also call an external AI model or third-party data source additionally draw from your Data Credit balance. Current examples include:
* **Questionnaire and RFP generation**: AI draft responses use LLM inference to match Knowledge Base documents against each question and produce answers.
* **AI chat on your Trust Center**: visitor questions answered by the AI chat agent consume credits for each inference call.
* **Document indexing in Knowledge Base**: processing and indexing uploaded documents for AI search and retrieval.
* **Scans and checks**: tracker scans, Google Consent Mode scans, Compliance Scans, and control checks against connected systems.
Some examples of what common operations use:
| Operation | Actions | Data Credits |
| -------------------------------------- | ----------------------------------- | ------------ |
| Compliance Scan (per jurisdiction) | 2,500 | Up to 50 |
| Cookie & Tracker Scan, on demand | 1,000 per domain | None |
| Cookie & Tracker Scan, extra subdomain | 1,000 per subdomain, every run | None |
| Google Consent Mode Scan, on demand | 500 per domain | None |
| Control check group run | 50 per group, per connected account | None |
| AI Evidence Collection | 200 | Up to 100 |
| Questionnaire or RFP row | 400 | Up to 20 |
| Regenerate one row | 200 | Up to 20 |
| ROPA report | 100 | None |
Some scans run at no cost: scheduled tracker scans of your registered project domains, and the weekly Google Consent Mode scan of all project domains. Where a Data Credit amount says "up to", you're charged for what's actually used.
## Checking Your Balance
Navigate to **Global Settings → Billing** and select the **Actions** or **Data Credits** tab.
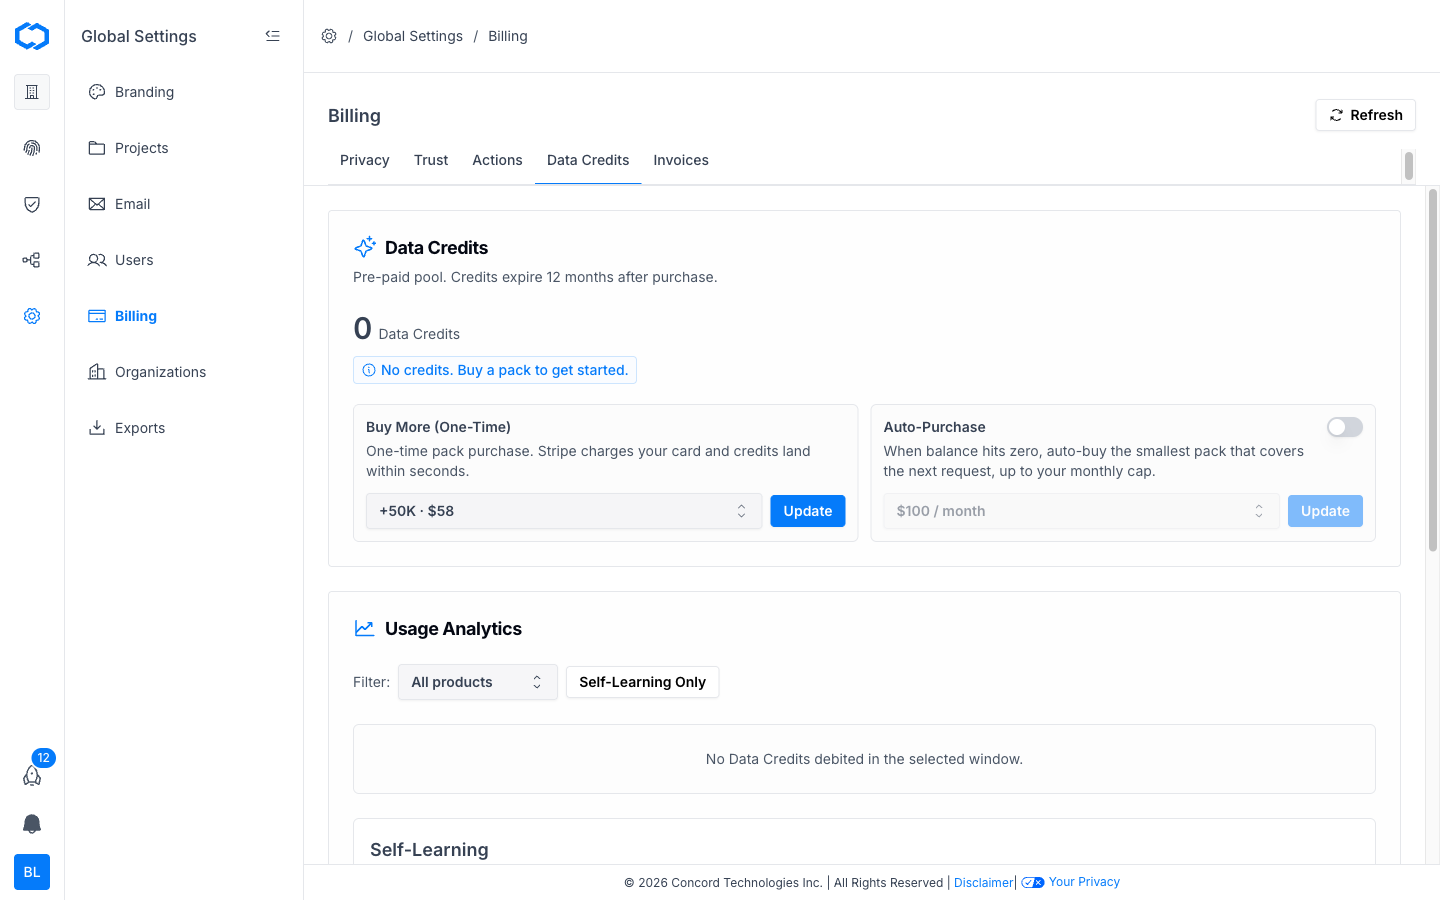
Each tab shows your current balance and usage analytics broken down by product, agent, reason, and Trust Center or Privacy project.
## Purchasing Data Credits
Data Credits are purchased as one-time packs:
1. Navigate to **Global Settings → Billing** and select the **Data Credits** tab.
2. Under **Buy More (One-Time)**, select a credit pack from the dropdown.
3. Click **Update** to complete your purchase.
## Auto-Purchase
You can enable auto-purchase so Concord automatically buys the smallest pack that covers the next request when your Data Credit balance hits zero. A monthly cap limits how much can be auto-purchased.
1. On the **Data Credits** tab, toggle **Auto-Purchase** on.
2. Select your monthly cap from the dropdown.
3. Click **Update**.
## Purchasing Additional Actions
If your plan's included Actions are not enough, you can add more as a recurring add-on:
1. Navigate to **Global Settings → Billing** and select the **Actions** tab.
2. Select an add-on pack.
3. Click **Update**. The add-on renews with your billing cycle.
## Bring Your Own Key (BYOK)
Bring Your Own Key support is on the roadmap and will be available on higher paid plans. Once available, you will be able to connect your own AI provider API key to use most AI features without consuming Concord Data Credits.
## Related Articles
* [Billing Overview](/docs/billing-overview)
* [Billing FAQ](/docs/billing-faq)
# Billing FAQ
URL: /docs/billing-faq
***
title: 'Billing FAQ'
description: 'Answers to common billing questions: plans, payment methods, credits, and trials.'
------------------------------------------------------------------------------------------------
## Overview
Answers to the most common billing and subscription questions. For a full walkthrough of billing features, see the [Billing Overview](/docs/billing-overview).
## How Do I Change My Plan?
Navigate to **Global Settings → Billing** and click **Manage Plan & Add-Ons**. From there, select the plan you want to switch to and confirm. Upgrades take effect immediately. Downgrades take effect at the end of your current billing cycle.
## How Do I Update My Payment Method?
Go to **Global Settings → Billing** and click **Billing Settings** under one of your licensed products. Enter your new card details and save. The updated payment method will be used for all future charges.
## What Is the Difference Between Actions and Data Credits?
**Actions** are included with your plan and cover orchestration and in-house processing for advanced features. Your allocation resets at the end of each billing cycle, and you can purchase more as a recurring add-on.
**Data Credits** are a separate pre-paid pool that covers AI inference (LLM passthrough) and third-party data source costs. Data Credits are not included in your plan. You purchase them as one-time packs, and they expire 12 months after purchase.
Advanced workflows like questionnaire generation, RFP automation, AI chat, and document indexing consume both Actions and Data Credits. See [Actions and Data Credits](/docs/actions-data-credits) for details.
## What Happens When I Run Out of Data Credits?
When your Data Credit balance reaches zero, features that require AI inference or third-party data (such as questionnaire generation, RFP automation, and AI chat) will pause until you purchase more credits or enable auto-purchase. Core platform features are not affected. Your Trust Center, consent management, and privacy request handling continue to work normally.
To purchase more, navigate to **Global Settings → Billing**, select the **Data Credits** tab, and choose a credit pack. You can also enable **Auto-Purchase** to automatically buy credits when your balance hits zero.
## What Happens When I Run Out of Actions?
If your Actions pool is exhausted before your billing cycle resets, advanced features that consume Actions will pause. You can purchase additional Actions as a recurring add-on from the **Actions** tab in **Global Settings → Billing**.
## How Does the 14-Day Free Trial Work?
When you sign up for Concord, you get full access to your selected products for 14 days at no cost. During the trial you can set up your Trust Center, configure Consent Management and your Privacy Center, and explore all features.
At the end of the trial, your subscription begins and billing starts on the plan you selected.
## How Do I Cancel My Subscription?
To cancel, navigate to **Global Settings → Billing** and click **Cancel Subscription** on the plan that you would like to cancel. Your access continues until the end of your current billing period.
If you need help, contact [support@concord.tech](mailto:support@concord.tech).
## Related Articles
* [Billing Overview](/docs/billing-overview)
* [Actions and Data Credits](/docs/actions-data-credits)
# Billing Overview
URL: /docs/billing-overview
***
title: 'Billing Overview'
description: 'How to view and manage your Concord subscription, payment methods, and invoices.'
-----------------------------------------------------------------------------------------------
## Overview
The Billing section in Concord lets you manage your subscription, update payment information, and access invoices. All billing settings are available to account administrators.
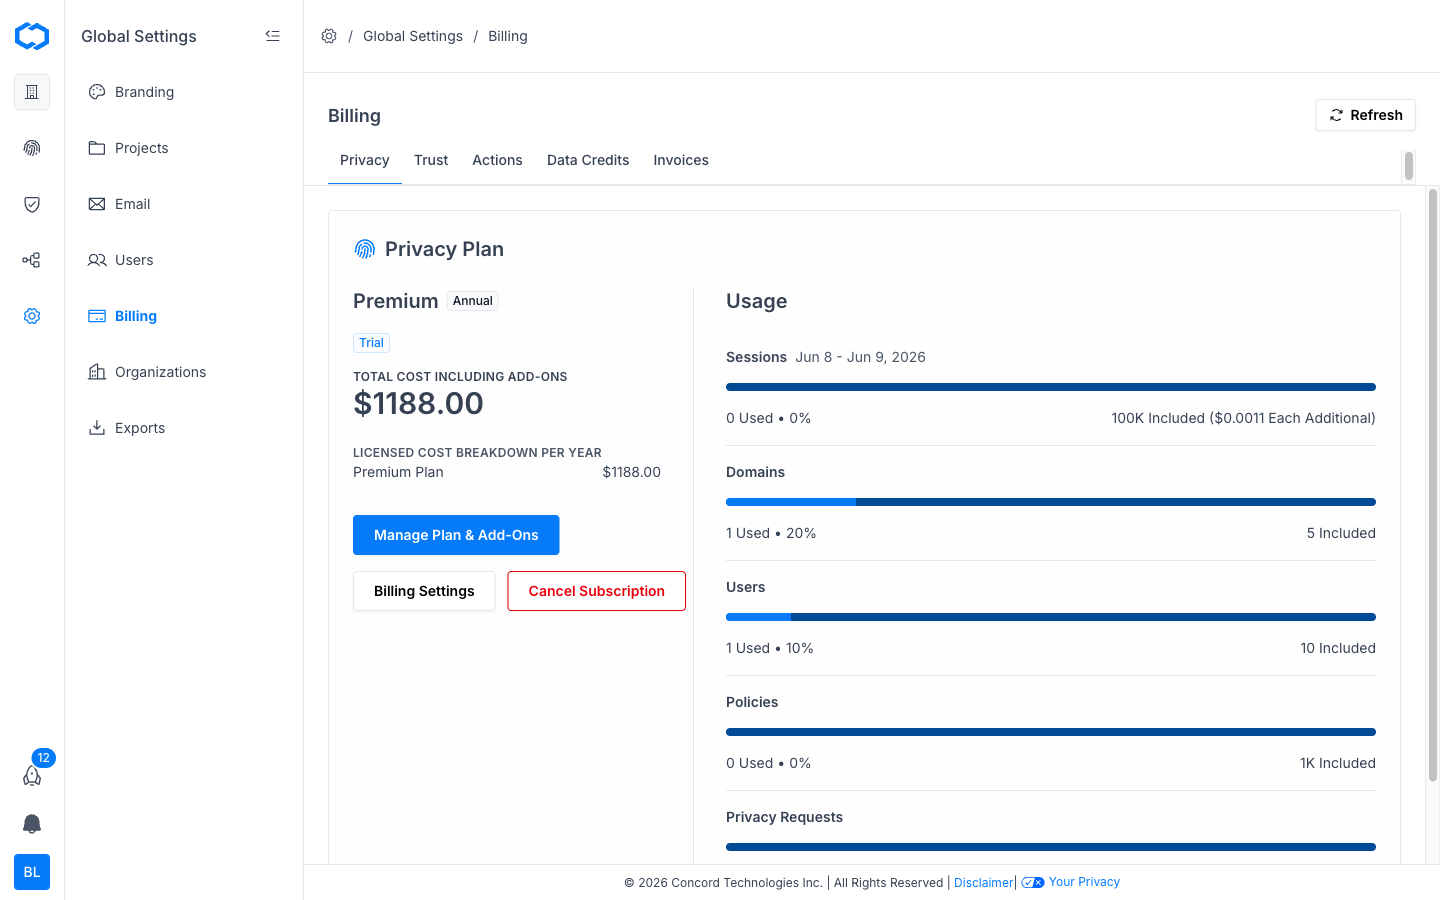
Navigate to **Global Settings → Billing** to access your billing dashboard.
## Billing Tabs
The Billing page is organized into five tabs:
* **Privacy**: your Concord Privacy plan, usage (sessions, domains, users, policies, privacy requests), and subscription management.
* **Trust**: your Concord Trust plan and subscription management. Premium and Enterprise Trust plans can also add framework packs here for compliance frameworks (see [Adopting frameworks](/docs/adopting-frameworks)).
* **Actions**: your organization's Actions pool. Actions are included with your plan and cover orchestration and in-house processing for advanced features. See [Actions and Data Credits](#actions-and-data-credits) below.
* **Data Credits**: your pre-paid Data Credits balance. Data Credits cover AI inference (LLM passthrough) and third-party data source costs. See [Actions and Data Credits](/docs/actions-data-credits).
* **Invoices**: past invoices available for download as PDFs.
## Actions and Data Credits
Concord uses two separate consumption pools for advanced features:
**Actions** are included with your plan and reset at the end of each billing cycle. They cover orchestration and in-house processing. Every plan includes an allocation of Actions, and you can purchase additional Actions as a recurring add-on.
**Data Credits** are a separate pre-paid pool that covers costs passed through from third-party services, primarily AI/LLM inference. Data Credits are not included in your plan. You purchase them as one-time packs, and they expire 12 months after purchase. You can also enable auto-purchase to automatically buy credits when your balance hits zero.
Advanced workflows consume both. For example, generating AI draft responses for a questionnaire or RFP uses Actions for orchestration and Data Credits for the underlying AI inference. The same applies to AI chat on your Trust Center, document indexing in the Knowledge Base, and other AI-powered features.
For details on managing Data Credits, see [Actions and Data Credits](/docs/actions-data-credits).
## Viewing Your Current Plan
Your billing dashboard displays your current plan, including:
* **Plan name** and billing cycle (monthly or annual)
* **Current usage** relative to your plan limits
## Changing Your Plan
To upgrade or downgrade your plan:
1. Navigate to **Global Settings → Billing**.
2. Click **Manage Plan & Add-Ons**.
3. Select the plan that fits your needs.
4. Confirm the change.
Plan upgrades take effect immediately. Downgrades take effect at the end of your current billing cycle. If you have questions about which plan is right for your organization, contact [support@concord.tech](mailto:support@concord.tech).
## Managing Payment Methods
To update your payment method:
1. Navigate to **Global Settings → Billing**.
2. Under one of your licensed products, click **Billing Settings**.
3. Enter your new card details and save.
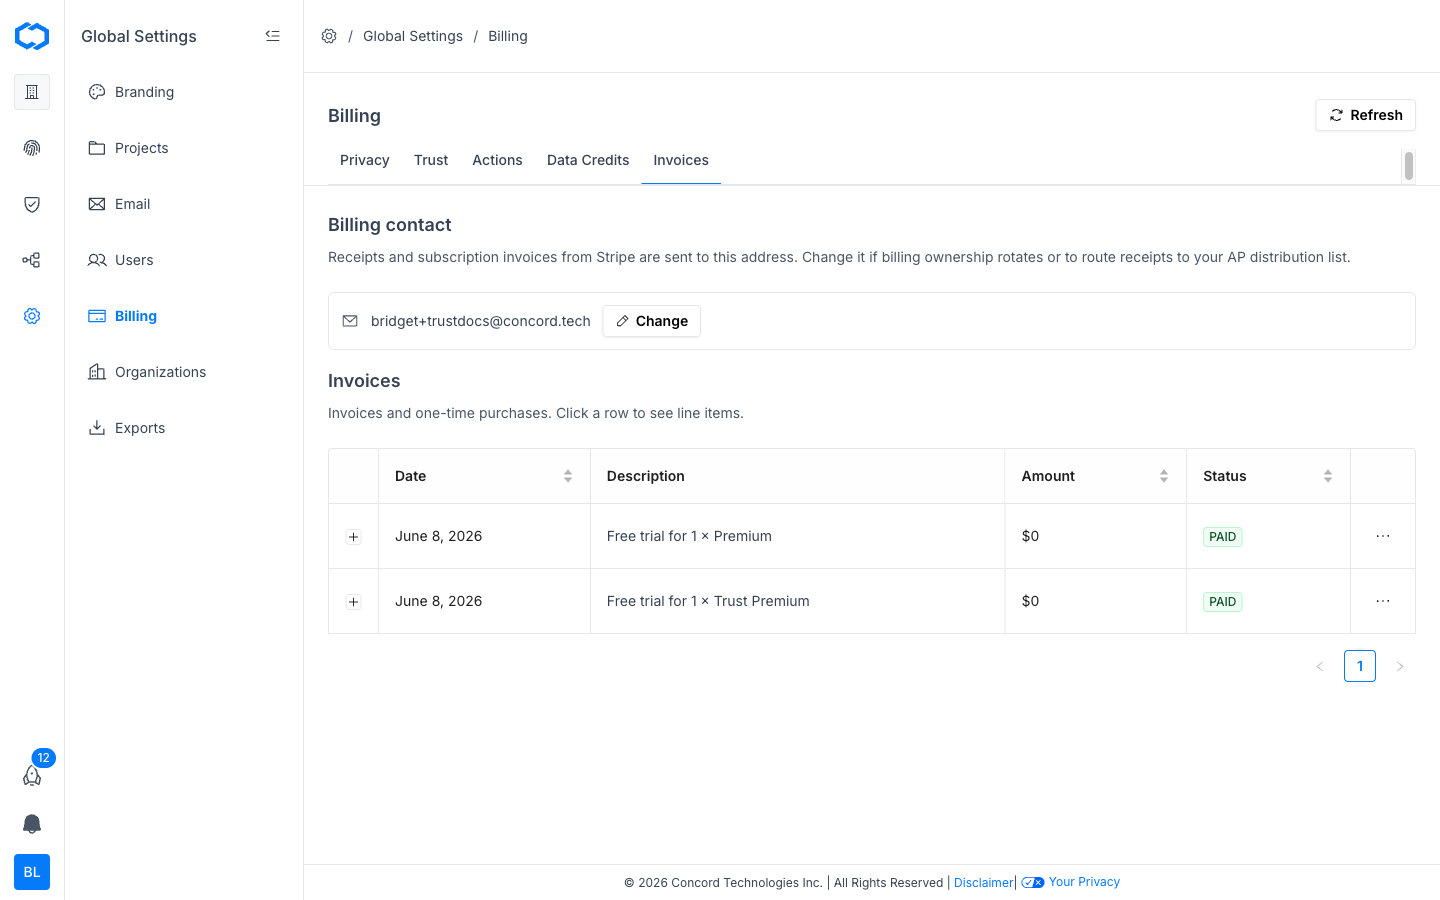
## Accessing Invoices
Past invoices are available in the Billing section. Click the **Invoices** tab to view and download invoices as PDFs. Each invoice includes the billing period, charges, and payment status.
## Related Articles
* [Actions and Data Credits](/docs/actions-data-credits)
* [Billing FAQ](/docs/billing-faq)
# Data Hub: Documents
URL: /docs/data-hub-documents
***
title: 'Data Hub: Documents'
description: 'How to add and manage documents in the Data Hub, including statements, FAQs, links, reports, and policies.'
created: '2026-06-14T00:00:00.000Z'
updated: '2026-06-14T00:00:00.000Z'
-----------------------------------
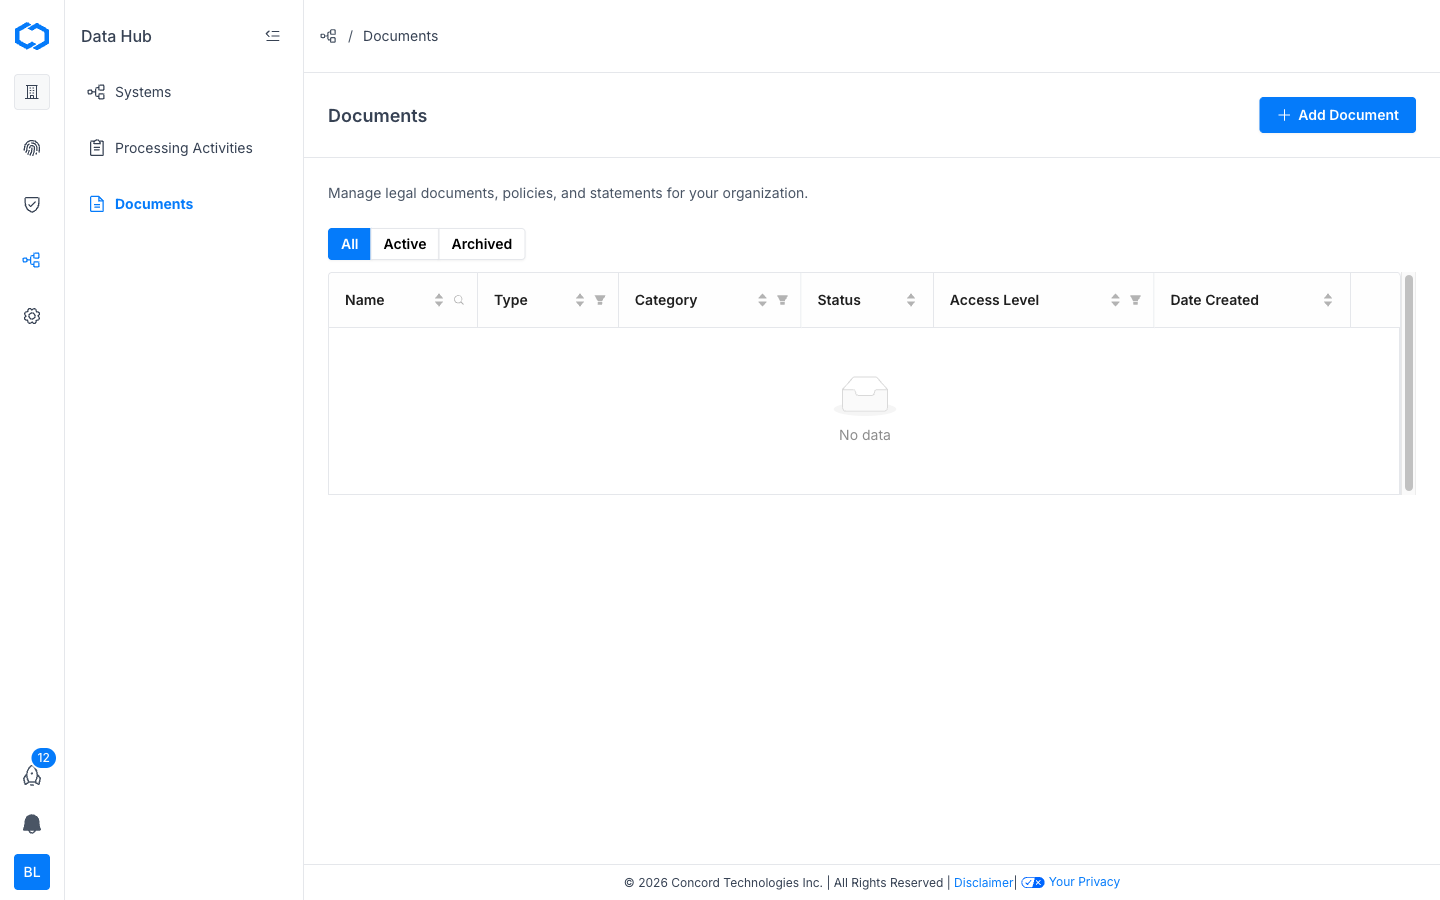
## Overview
The **Data Hub > Documents** page is a shared global library where you manage compliance-related documents for your organization. Documents you add here, including statements, FAQs, reports, policies, and links, can be featured on your Concord Trust Center for prospects, customers, and partners to review.
## Document Types
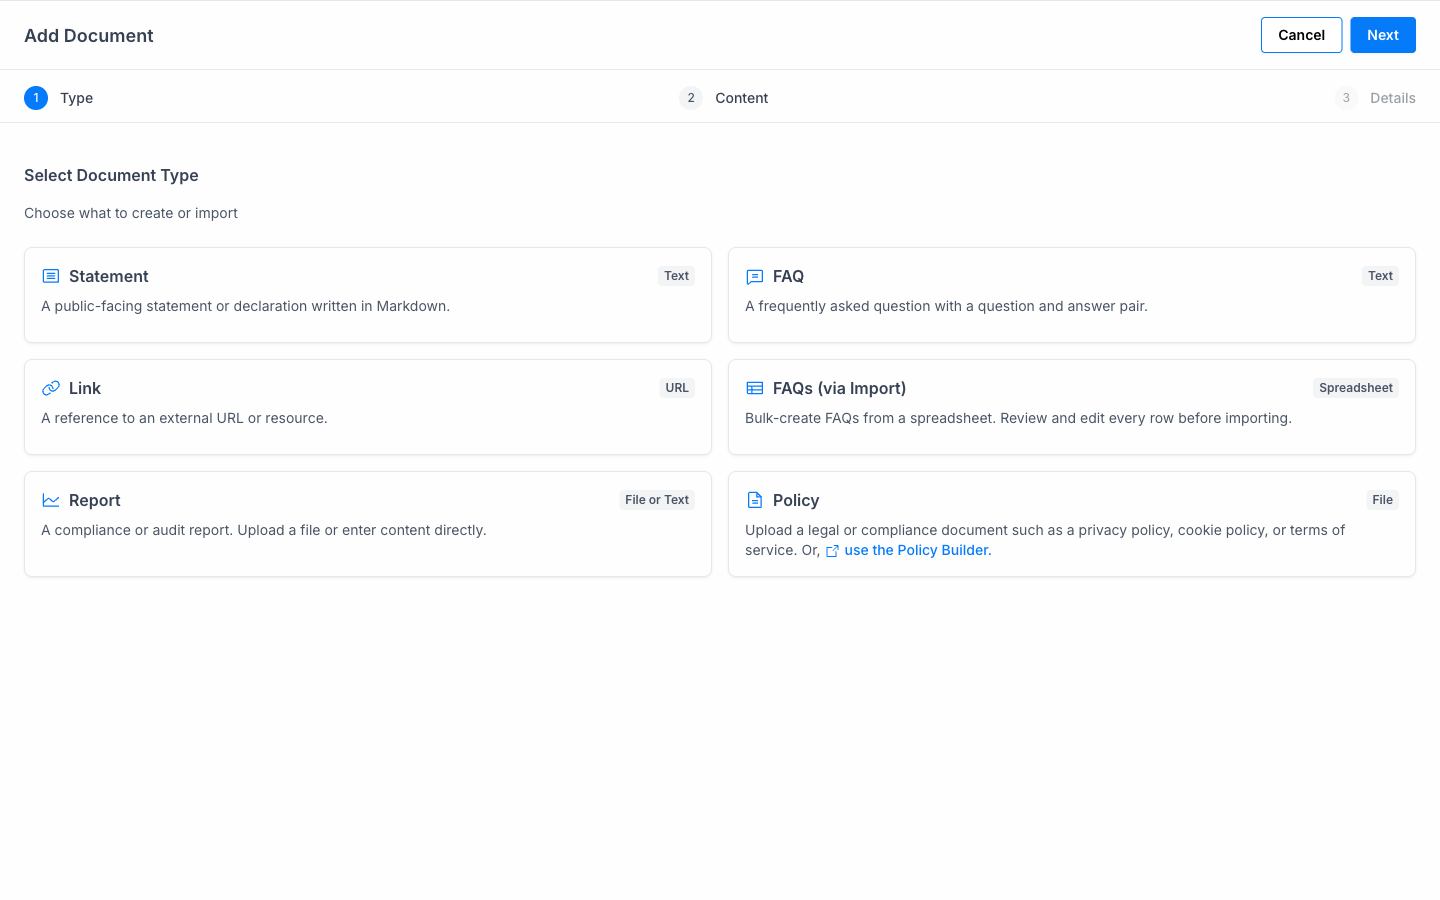
When you add a document, you first select a document type. Each type has a different content format:
| Type | Format | Description |
| --------------------- | ------------ | --------------------------------------------------------------------------------------------------------------------------------- |
| **Statement** | Text | A public-facing statement or declaration written in Markdown. |
| **FAQ** | Text | A frequently asked question with a question and answer pair. |
| **Link** | URL | A reference to an external URL or resource. |
| **FAQs (via Import)** | Spreadsheet | Bulk-create FAQs from a spreadsheet. Review and edit every row before importing. |
| **Report** | File or Text | A compliance or audit report. Upload a file or enter content directly. |
| **Policy** | File | A legal or compliance document such as a privacy policy, cookie policy, or terms of service. You can also use the Policy Builder. |
## Adding a Document
The Add Document flow is a three-step wizard: **Type, Content, Details**.
### Step 1: Select Document Type
1. In the Concord Admin UI, go to **Data Hub > Documents**.
2. Click **Add Document**.
3. Select the document type that matches what you want to add.
4. Click **Next**.
### Step 2: Add Content
The content step varies by document type:
* **Statement:** Write your statement content in Markdown.
* **FAQ:** Enter the question and answer.
* **Link:** Enter the external URL.
* **FAQs (via Import):** Upload a spreadsheet file. Review and edit each row before importing.
* **Report:** Upload a file or enter the report content directly as text.
* **Policy:** Upload a policy file, or use the Policy Builder to create one.
Click **Next** when your content is ready.
### Step 3: Configure Details
Configure the document metadata:
* **Name:** A display name for the document.
* **Description:** A description of the document.
* **Category:** The category the document belongs to.
* **Access Level:** Controls who can see this document when it is featured on your Trust Center.
Click **Save**. The document is now in your global document library.
## Featuring Documents on Your Trust Center
Adding a document to the Data Hub makes it available in your global library. To display it on your Trust Center for customers and prospects:
1. Go to **Trust > Trust Center**.
2. Select which documents from your global library to feature.
3. Featured documents appear on your Trust Center according to their access level setting.
This two-step approach (add globally, then feature selectively) lets you maintain a complete document library while controlling exactly what external visitors see.
## Viewing and Filtering Documents
The Documents table in **Data Hub > Documents** shows all documents in your library with the following columns:
* **Name:** The document name.
* **Type:** The document type (Statement, FAQ, Link, Report, or Policy).
* **Category:** The document category.
* **Status:** Active or Archived.
* **Access Level:** Who can access the document.
* **Date Created:** When the document was added.
Use the **All**, **Active**, and **Archived** tabs to filter by status. You can also sort and filter individual columns.
## Live Policy Sync
If you use Concord Privacy for policy management, your policies can be displayed on your Trust Center automatically through the shared Data Hub. When you update a policy in Concord Privacy (such as your Privacy Policy or Cookie Policy), the Trust Center reflects the current version without any manual re-upload.
Synced policies appear alongside your other documents in the Trust Center. This means your visitors always see the latest version.
## Editing a Document
1. Go to **Data Hub > Documents**.
2. Click on the document you want to edit.
3. Update the details as needed.
4. Click **Save**.
## Deleting a Document
1. Go to **Data Hub > Documents**.
2. Click on the document you want to delete.
3. Click **Delete**.
Deleting a document removes it from your global library and from your Trust Center if it was featured.
## Related Articles
* [Data Hub Overview](/docs/data-hub-overview)
* [Data Hub: Systems](/docs/data-hub-systems)
* [Data Hub: Processing Activities](/docs/data-hub-processing-activities)
# Data Hub Overview
URL: /docs/data-hub-overview
***
title: 'Data Hub Overview'
description: 'Overview of the Data Hub in Concord, including Systems, Processing Activities, Documents, Vendors, and Controls and Audits.'
created: '2026-06-14T00:00:00.000Z'
updated: '2026-09-28T00:00:00.000Z'
-----------------------------------
## Overview
The Data Hub is where you manage your organization's inventory of data systems, processing activities, vendors, and compliance documents, along with the controls and audits behind your compliance program. It provides a centralized view of the technology systems your organization uses, how data flows through them, and the documentation that supports your compliance posture.
Data Hub is available to all Concord customers with Concord Privacy, Concord Trust, or both. The features available depend on your plan.
## What's in the Data Hub
The Data Hub sidebar contains these sections:
* **Systems:** Add and manage the technology systems your organization uses (e.g., CRM, cloud storage, analytics platforms). Every Data Hub plan includes the ability to add, edit, archive, and delete systems with basic details. Customers on plans that include Data Mapping can also configure processing info, data flow, security measures, and contacts for each system.
* **Processing Activities:** Define and document how your organization processes personal data across systems. Available on plans that include Data Mapping.
* **Documents:** Upload and organize compliance-related documents such as DPAs, DPIAs, and vendor agreements. Available on plans that include Data Mapping.
* **Vendors:** Keep an inventory of the third parties that process data for you, link them to the data systems they provide, and publish them as sub-processors on your Trust Center. See [Managing Vendors and Sub-Processors](/docs/managing-vendors).
* **Controls & Audits:** Controls, Frameworks, Evidence, and Audits for your compliance program, on Concord Trust **Premium** and **Enterprise**. See [Controls and Evidence](/docs/controls-overview).
Connections to outside systems, such as cloud accounts, live under **Integrations**, a separate section of the sidebar. See [Automated Control Checks](/docs/automated-control-checks).
## Feature Availability by Plan
| Feature | Privacy with Data Mapping | Privacy without Data Mapping | Trust Only |
| ------------------------------------------------------------------------ | :-----------------------: | :--------------------------: | :--------: |
| Documents | Yes | Yes | Yes |
| Data Systems (Name, Status, Relationship, Notes) | Yes | Yes | Yes |
| Associate Data Systems w/ Privacy Projects | Yes | No | No |
| Data System Attributes (Processing, Data Flow, Security, Contacts, etc.) | Yes | No | No |
| Processing Activities | Yes | No | No |
Customers on plans without Data Mapping will see a simplified Add Data System wizard with two steps (Type and Details). The system detail view will show the basic fields only.
## Getting Started
* To add and manage systems, see [Data Hub: Systems](/docs/data-hub-systems).
* To configure processing, data flow, security, and contact attributes (Data Mapping required), see [Data Hub: System Attributes](/docs/data-hub-system-attributes).
* To document your organization's processing activities (Concord Privacy required), see [Data Hub: Processing Activities](/docs/data-hub-processing-activities).
* To manage compliance documents, policies, and reports, see [Data Hub: Documents](/docs/data-hub-documents).
# Data Hub: Processing Activities
URL: /docs/data-hub-processing-activities
***
title: 'Data Hub: Processing Activities'
description: 'How to add, view, edit, and manage processing activities in the Concord Data Hub.'
created: '2026-06-14T00:00:00.000Z'
updated: '2026-06-14T00:00:00.000Z'
-----------------------------------
## Overview
The **Data Hub > Processing Activities** page is where you define and document how your organization processes personal data. Processing activities describe specific business operations that involve collecting, storing, or using personal data, such as "Customer Onboarding," "Marketing Email Campaigns," or "Employee Payroll."
Documenting your processing activities is a key requirement for GDPR compliance (Article 30 requires a Record of Processing Activities, or ROPA) and helps demonstrate accountability across other privacy regulations.
> Processing Activities is only visible in the Admin UI for customers subscribed to Concord Privacy. If your organization has Concord Trust but not Concord Privacy, this section will not appear in the Data Hub sidebar.
## Viewing Processing Activities
1. In the Concord Admin UI, go to **Data Hub > Processing Activities**.
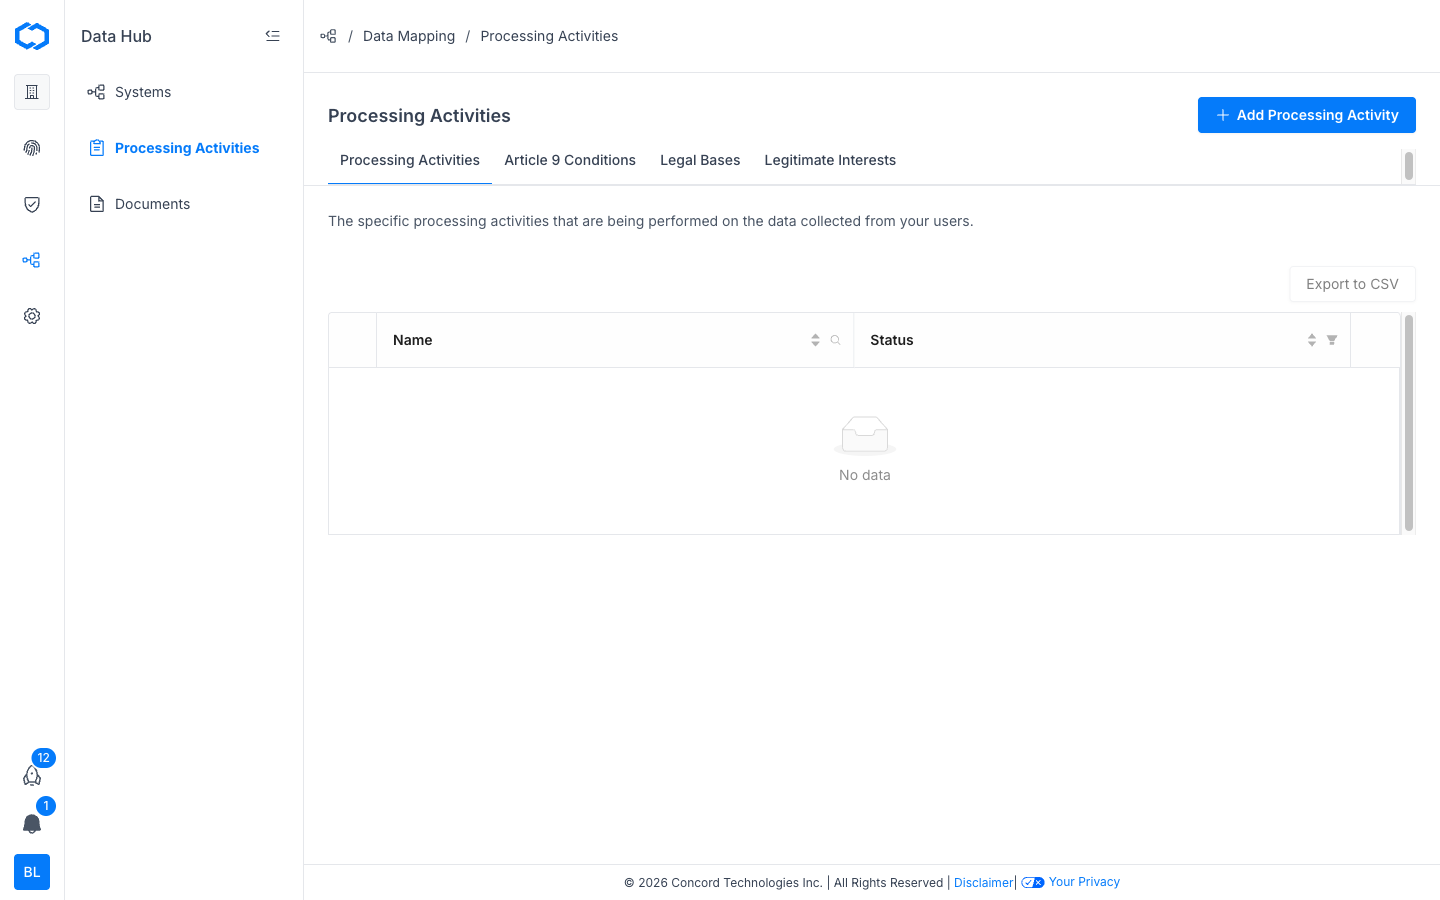
The Processing Activities table shows all activities in your organization with the following columns:
| Column | Description |
| ---------- | ------------------------------------------------------------ |
| **Name** | The name of the processing activity. |
| **Status** | Active or Test. Active activities are included in your ROPA. |
Use the tab bar to switch between the main list and related configuration pages:
* **Processing Activities:** The main list of all processing activities.
* **Article 9 Conditions:** Special category processing conditions under GDPR Article 9.
* **Legal Bases:** The legal bases that apply to your data processing (e.g., consent, legitimate interest, contractual necessity).
* **Legitimate Interests:** Documented legitimate interest assessments.
## Adding a Processing Activity
1. Go to **Data Hub > Processing Activities**.
2. Click **Add Processing Activity** in the upper right corner.
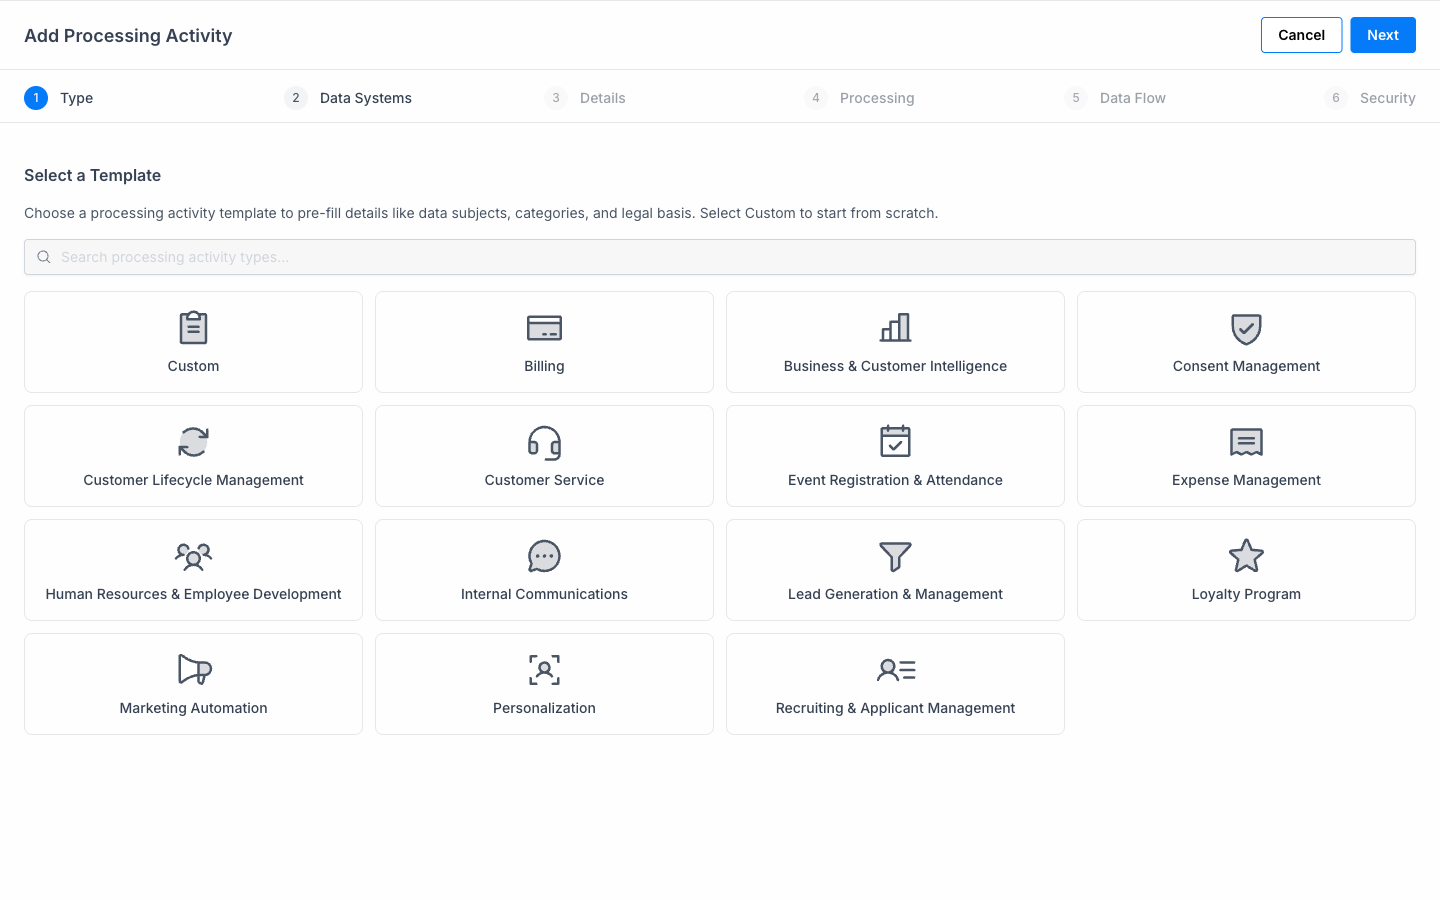
3. **Select a template.** Choose a pre-built template to pre-fill details like data subjects, categories, and legal basis. Select **Custom** to start from scratch. Available templates include:
* Billing
* Business & Customer Intelligence
* Consent Management
* Customer Lifecycle Management
* Customer Service
* Event Registration & Attendance
* Expense Management
* Human Resources & Employee Development
* Internal Communications
* Lead Generation & Management
* Loyalty Program
* Marketing Automation
* Personalization
* Recruiting & Applicant Management
4. Click **Next** and select the **Data Systems** associated with this processing activity. You can select any systems already added to your organization in the Data Hub.
5. Click **Next** and fill in the **Details**:
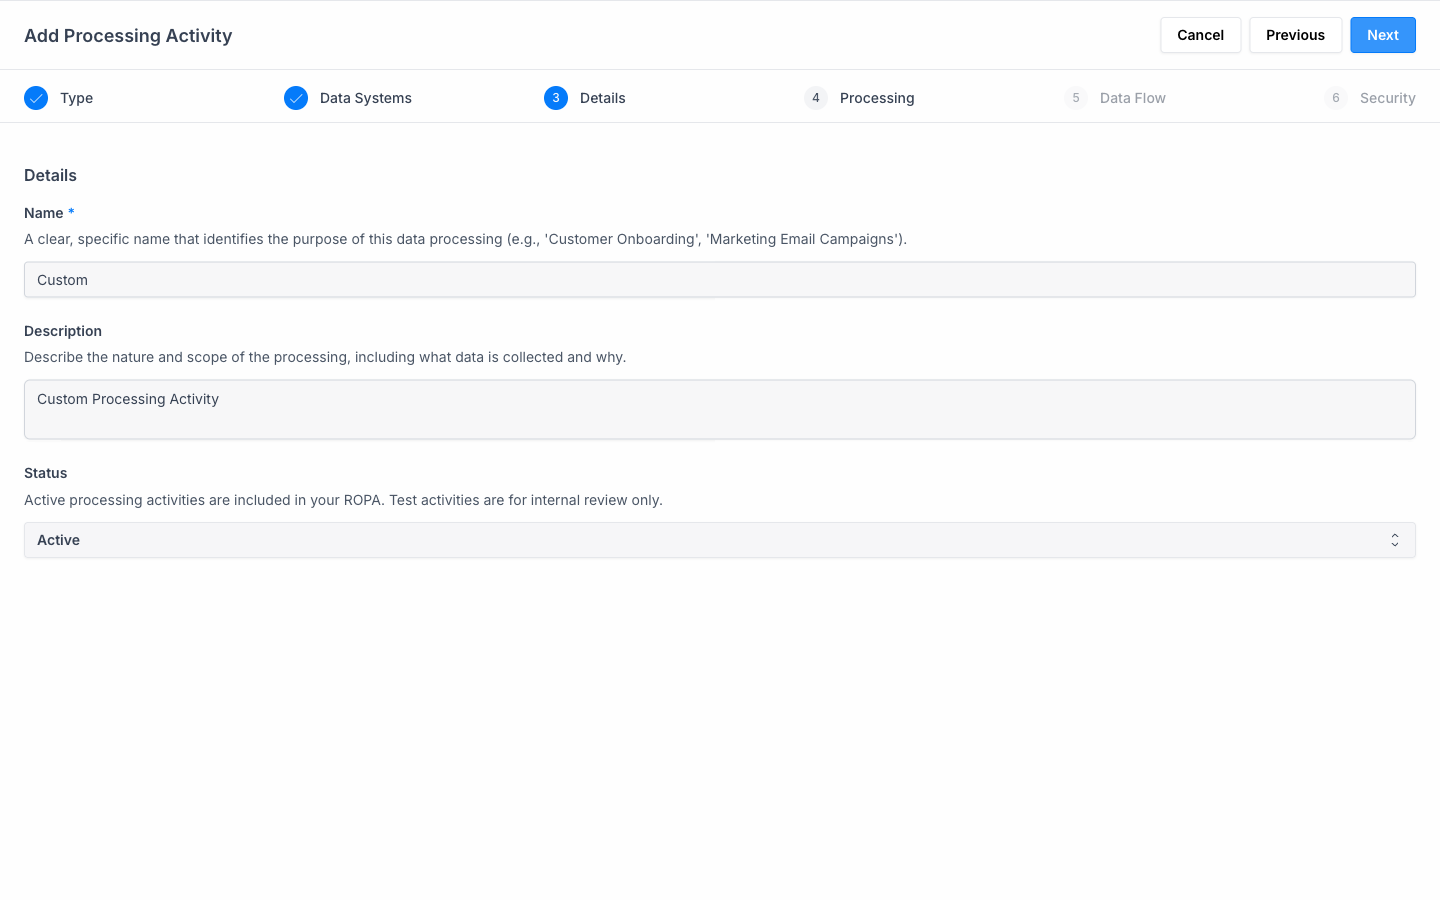
* **Name** (required): A clear, specific name that identifies the purpose of the processing.
* **Description:** The nature and scope of the processing, including what data is collected and why.
* **Status:** Set to **Active** (included in your ROPA) or **Test** (for internal review only).
6. Click **Next** and configure **Processing** attributes:
* **Data Categories:** The types of personal data processed in this activity.
* **Data Subjects:** The types of individuals whose data is processed.
* **Processing Purposes:** The purposes for processing the data.
* **Legal Basis:** The legal justification for processing (e.g., consent, legitimate interest, contractual necessity).
* **Article 9 Conditions:** If special category data is processed, the applicable Article 9 condition.
7. Click **Next** and configure **Data Flow** attributes:
* **Data Origins:** Where the data originates from.
* **Data Destinations:** Where the data is sent to and who it is shared with.
* **Data Retention Period:** How long data is retained for this activity.
* **Cross-Border Transfer:** Whether data is transferred across international borders.
8. Click **Next** and configure **Security** measures, then click **Done**:
* **Security Measures:** The security measures in place for this processing activity.
The processing activity appears in the table immediately.
## Editing a Processing Activity
1. Go to **Data Hub > Processing Activities**.
2. Click the name of the activity you want to edit, or click the **Actions** menu (three dots) and select **Edit**.
3. Update the fields as needed and click **Save**.
## Deleting a Processing Activity
1. Go to **Data Hub > Processing Activities**.
2. Click the **Actions** menu (three dots) for the activity you want to remove.
3. Select **Delete** and confirm.
## Managing Article 9 Conditions, Legal Bases, and Legitimate Interests
Use the tabs on the Processing Activities page to manage the configuration options used across your processing activities:
* **Article 9 Conditions:** Add, edit, or delete the special category conditions available when configuring processing activities that involve sensitive data (e.g., health, biometrics, political opinions).
* **Legal Bases:** Add, edit, or delete the legal basis options used to justify processing. Predefined options include Consent, Legitimate Interest, Contractual Necessity, Legal Obligation, Vital Interest, and Public Interest.
* **Legitimate Interests:** Document legitimate interest assessments that support your use of legitimate interest as a legal basis.
## Related Articles
* [Data Hub Overview](/docs/data-hub-overview)
* [Data Hub: Systems](/docs/data-hub-systems)
* [Data Hub: Documents](/docs/data-hub-documents)
# Data Hub: System Attributes
URL: /docs/data-hub-system-attributes
***
title: 'Data Hub: System Attributes'
description: 'How to add, edit, and delete data system attribute types such as Relationships, Origins, Destinations, and more.'
created: '2026-06-14T00:00:00.000Z'
updated: '2026-06-14T00:00:00.000Z'
-----------------------------------
## Overview
Data system attributes let you categorize and describe the data flowing through your systems. You can manage attribute types from the **Data Systems** tab bar or directly within an individual system's detail page.
> This feature requires a Concord Privacy plan that includes Data Mapping. Customers without Data Mapping can add systems with basic details (Name, Status, Relationship, Notes) but cannot configure attribute types.
## Attribute Types
The Data Systems page includes tabs for managing each attribute type. You can view, add, edit, and delete entries for:
* **Relationships:** The relationship your organization has with a data system. Predefined options: Controller, Joint Controller, Processor, Sub-Processor. You can also create custom relationship types.
* **Origins:** Where the data in a system originates from. Predefined options include Legacy Data Systems, 3rd Party Data Provider(s), Integrated Data System(s), Built-In Data Collection, and User Submitted Forms.
* **Destinations:** Where the data is sent to and who it is shared with. Predefined options include Data Partners, Payment Processors, Analytics Providers, Security & Fraud Vendors, Auditors & Compliance Vendors, Researchers & Academic Institutions, Law Enforcement & Government, and Advertisers & Advertising Platforms.
* **Processing Purposes:** What the data is used for. Predefined options include Business Operations, Sales & Account Management, Customer Support, Security & Fraud, Analytics, and Advertising.
* **Data Subjects:** The types of individuals whose data is processed.
* **Data Categories:** The types of personal data stored. Predefined options include Military Status, Location, Demographics, Business/Company, Employment, Education, Device, IP Address, User Generated Content, and Credit/Payment Card Number.
* **Security Measures:** The measures in place to protect data. Predefined options include Reviews & Audits, Training & Awareness, Risk Management, Information Security Program, ISO 27001 Compliance, SOC 2 Compliance, and Multi-Factor Authentication.
* **Contacts:** The people at your company or partner companies associated with a data system.
In addition to the predefined options, you can create custom entries for all of the above categories.
## Adding an Attribute Type
The process is the same for all attribute types. This example walks through adding a new Destination.
1. Go to **Data Hub > Systems**.
2. Navigate to the **Destinations** tab.
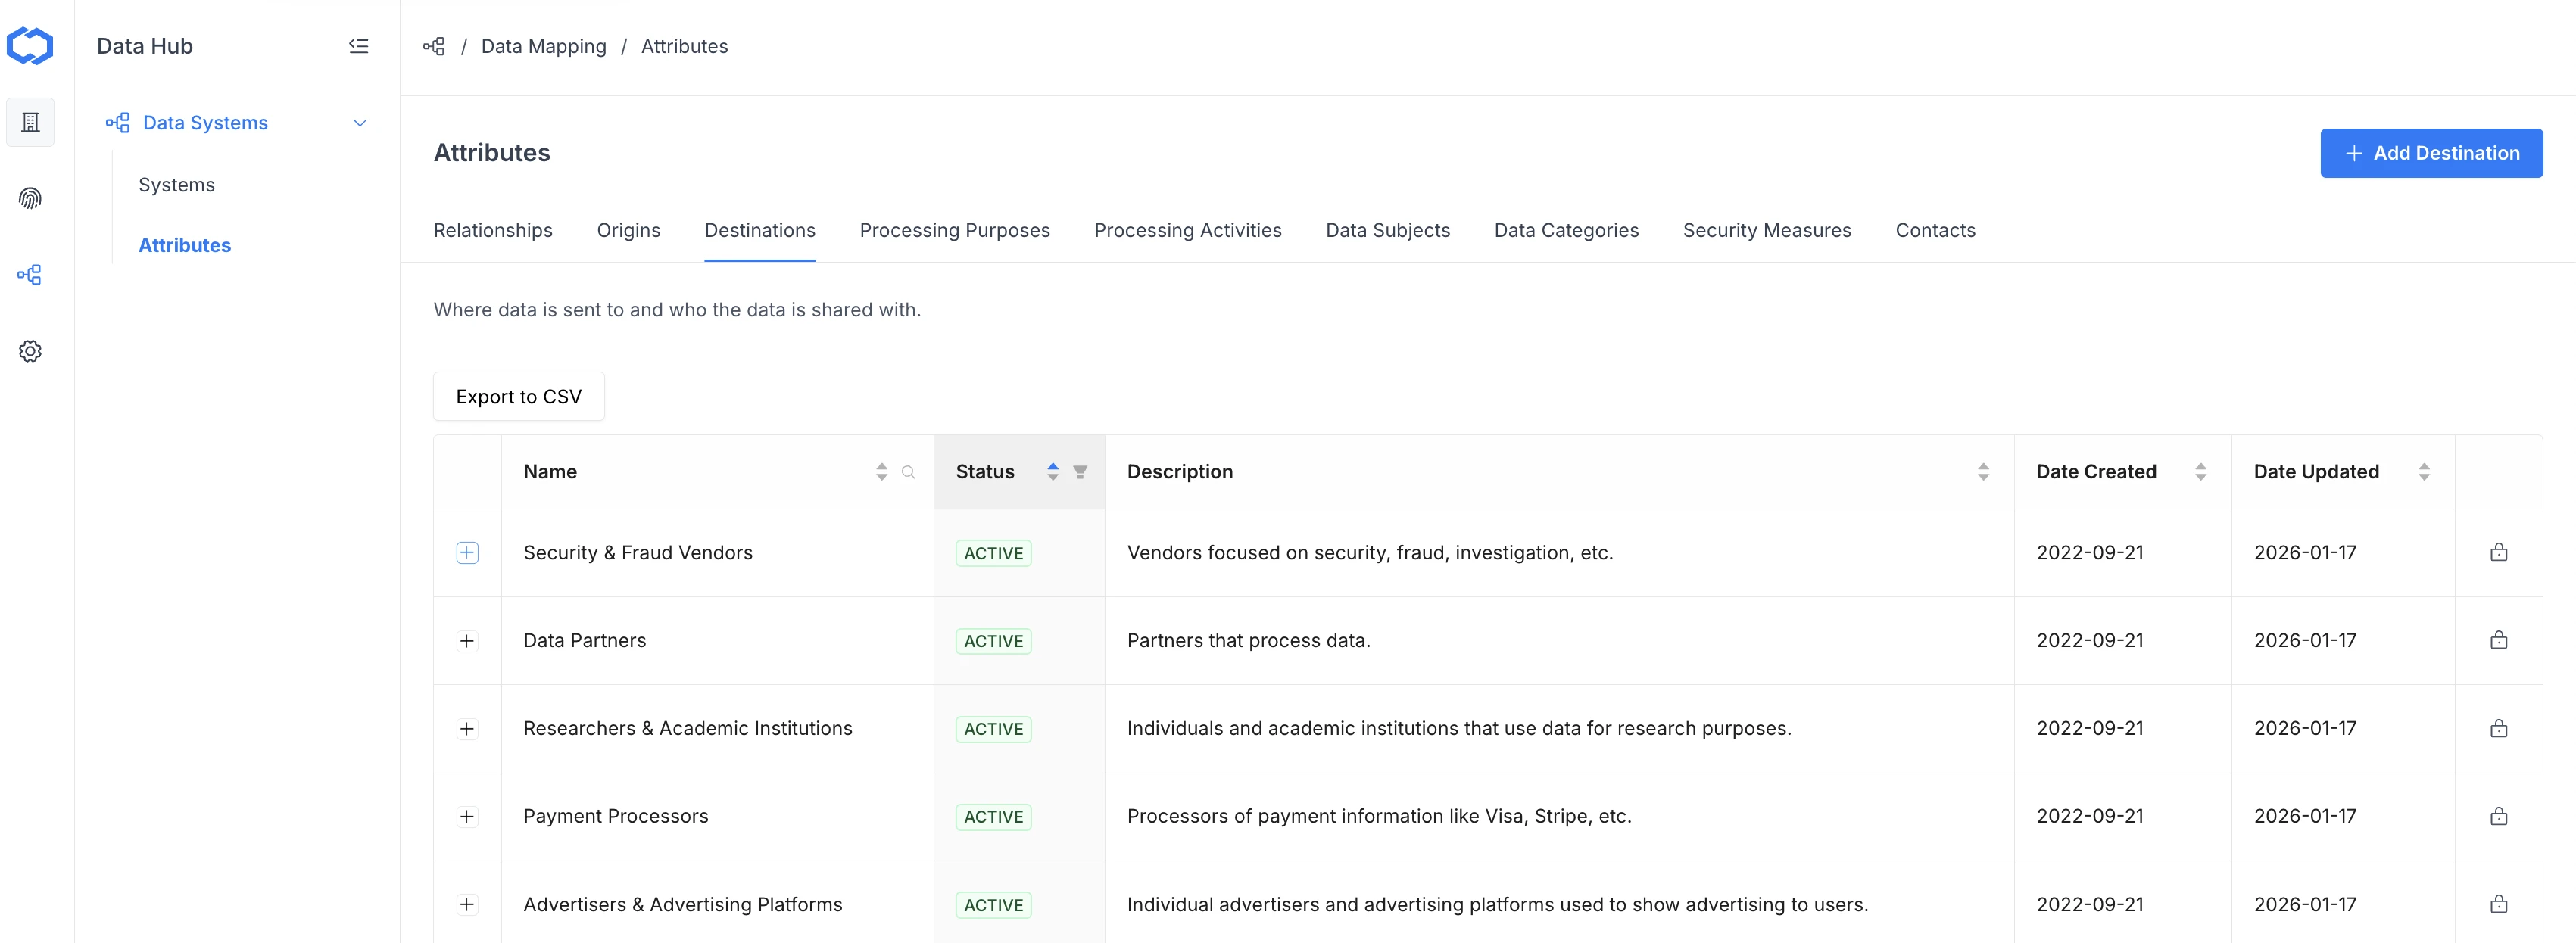
3. Click **Add Destination** in the upper right corner.
4. Enter a **Name** (required) and **Description** (optional), then click **OK**.
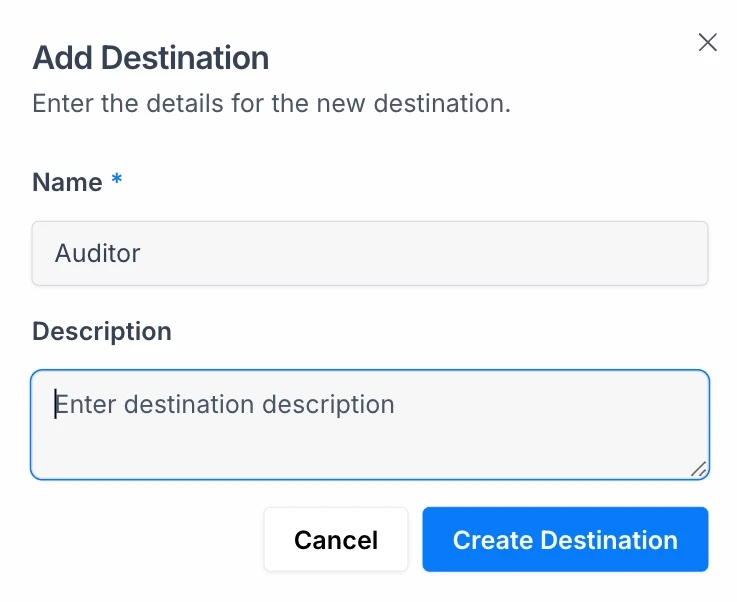
The new entry appears in the list and is immediately available for use when adding or editing data systems.
## Editing an Attribute Type
1. Go to the relevant attribute tab on the Data Systems page.
2. Click the **Actions** menu (three dots) for the entry you want to update.
3. Select **Edit**, update the fields, and click **OK**.
## Deleting an Attribute Type
1. Go to the relevant attribute tab on the Data Systems page.
2. Click the **Actions** menu (three dots) for the entry you want to remove.
3. Select **Delete** and confirm.
Deleting an attribute type removes it from the list of available options. Existing data systems that reference the deleted attribute will retain the association until the system is edited.
> Attributes can also be added directly from the Add Data System wizard or from within an individual system's detail page. Any attribute you create in-line is saved to the organization-wide attribute list.
## Related Articles
* [Data Hub Overview](/docs/data-hub-overview)
* [Data Hub: Systems](/docs/data-hub-systems)
# Data Hub: Systems
URL: /docs/data-hub-systems
***
title: 'Data Hub: Systems'
description: 'How to add, view, edit, archive, and delete data systems in the Concord Data Hub.'
created: '2026-06-14T00:00:00.000Z'
updated: '2026-06-14T00:00:00.000Z'
-----------------------------------
## Overview
The **Data Hub > Systems** page is where you catalog the technology systems your organization uses. Adding your data systems gives you a structured inventory of the vendors, tools, and internal applications in your environment, which is foundational to demonstrating your security and compliance posture.
Systems you add in the Data Hub can be referenced across Concord as part of your compliance documentation, vendor management program, and privacy request fulfillment.
## Viewing Your Data Systems
1. In the Concord Admin UI, go to **Data Hub > Systems**.
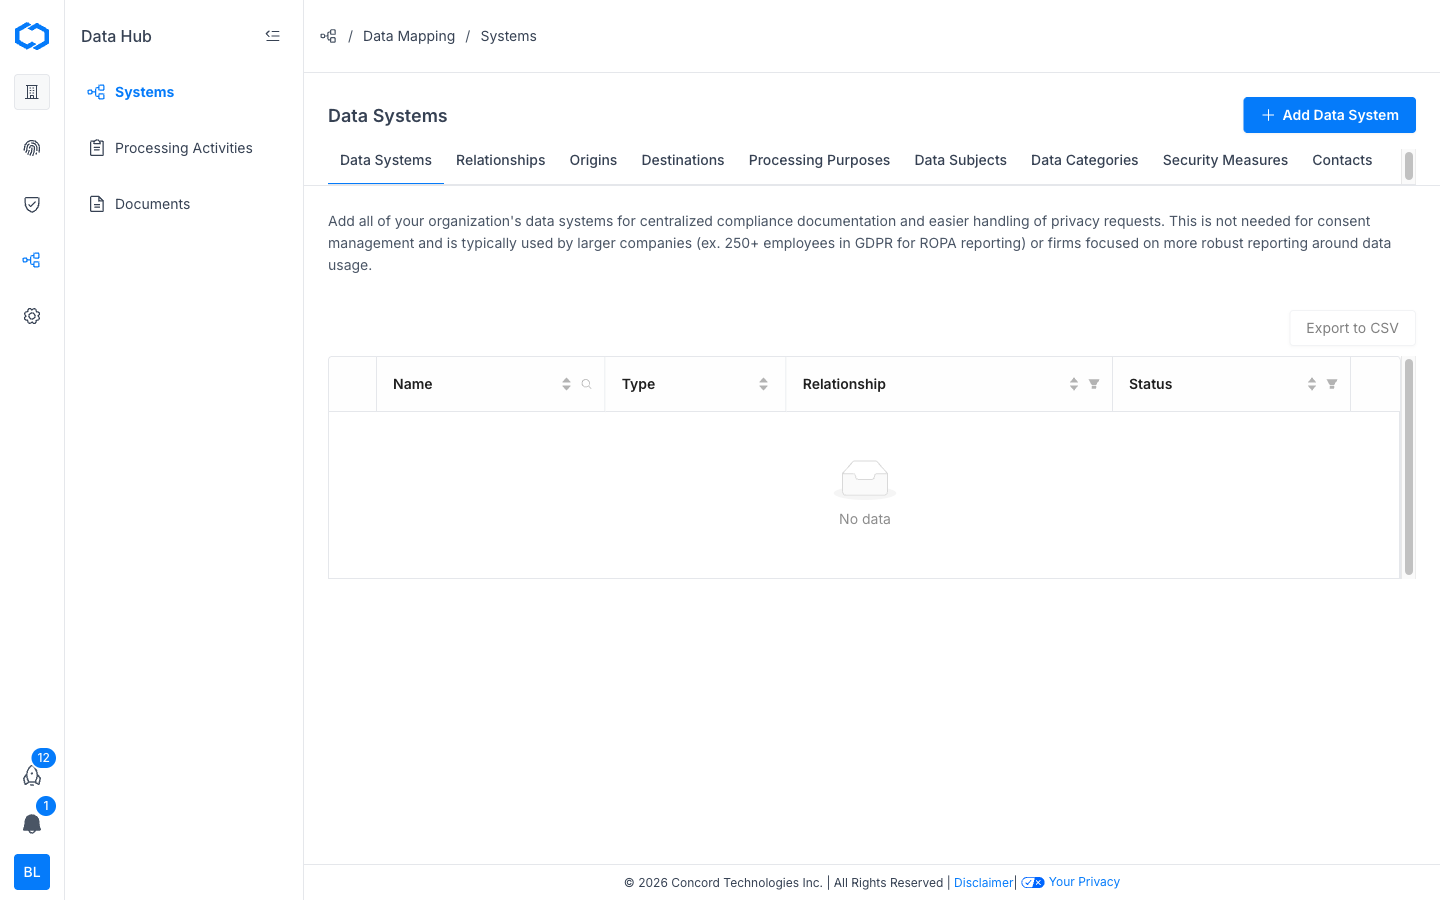
The Systems table shows all data systems in your organization with the following columns:
| Column | Description |
| ---------------- | ------------------------------------------------------------------------------ |
| **Name** | The display name of the system. |
| **Type** | The category of system (e.g., CRM, Cloud Storage, HR). |
| **Relationship** | Your organization's relationship to this system (Controller, Processor, etc.). |
| **Status** | Active, Test, or Archived. |
| **Actions** | Options to edit, archive, or delete the system. |
Click the **+** icon to the left of any row to expand it and see additional details such as the Data System ID, Origins, Destinations, Processing Purposes, Data Categories, Security Measures, Contacts, and more.
Click the system name to open the full detail view.
## Adding a Data System
1. Go to **Data Hub > Systems**.
2. Click **Add Data System** in the upper right corner.

3. **Select the system type.** Start typing to search, or scroll to browse available system types. Concord provides 100+ pre-built templates. If your system is not listed, select **Custom**.
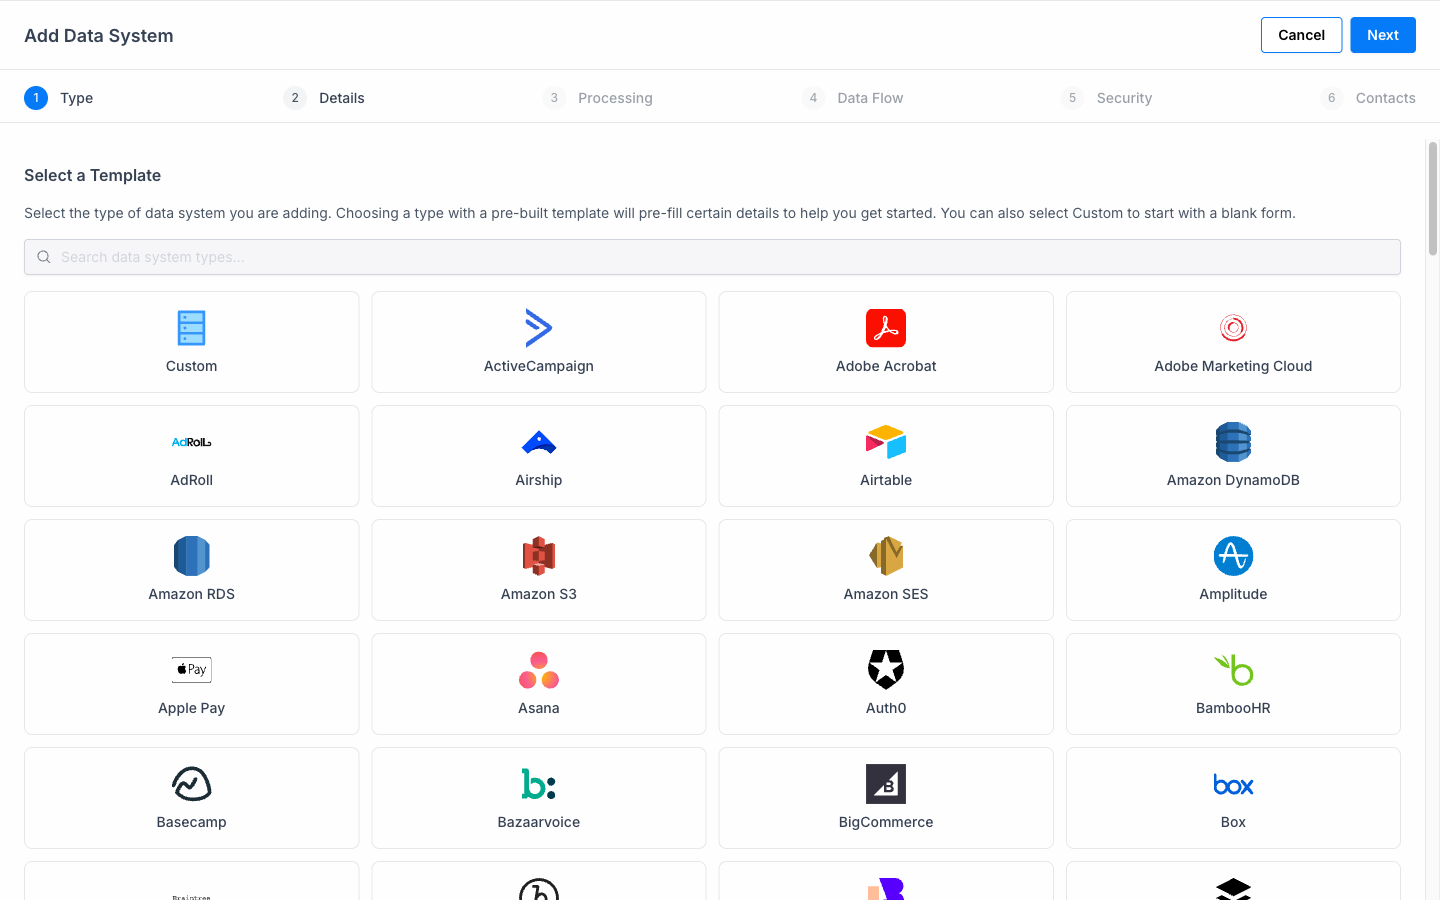
4. Click **Next** and fill in the system details:
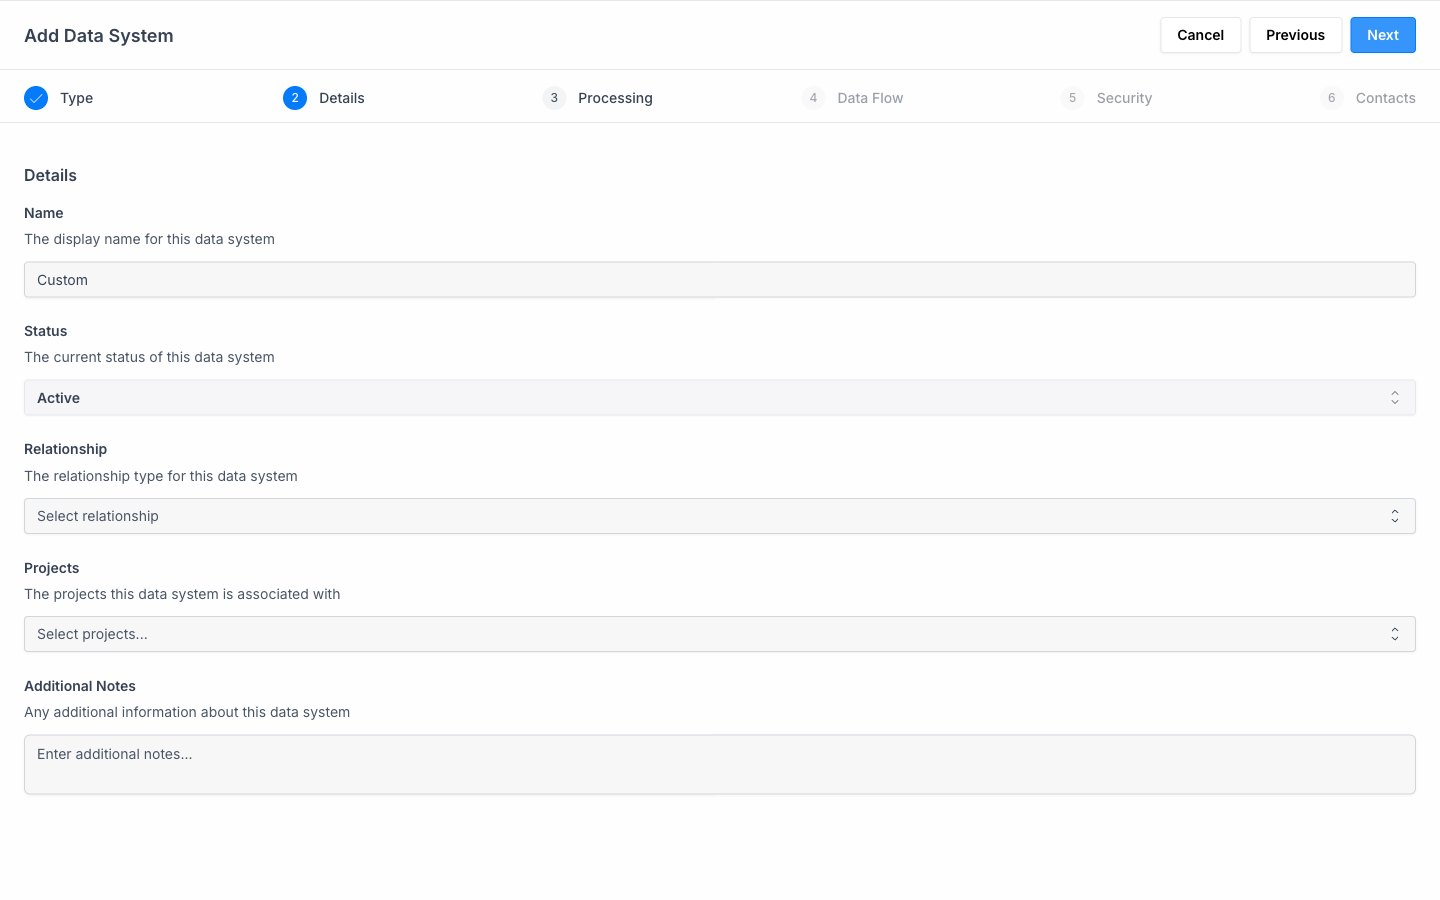
* **Name:** The display name for the system in Concord.
* **Status:** Set to **Active**, **Test**, or **Archived**.
* **Relationship:** Your organization's role with respect to this system:
* **Controller:** Your organization determines the purpose and means of processing data in this system.
* **Processor:** This system processes data on behalf of a controller (e.g., a SaaS vendor). Internally managed systems are usually a Controller; external SaaS products are usually a Processor.
* **Joint Controller:** Two or more parties jointly determine how data is processed.
* **Sub-Processor:** A third party engaged by a processor who also accesses the data.
* **Projects:** Associate this system with one or more of your Concord projects.
* **Additional Notes:** Any context about this system you want to record.
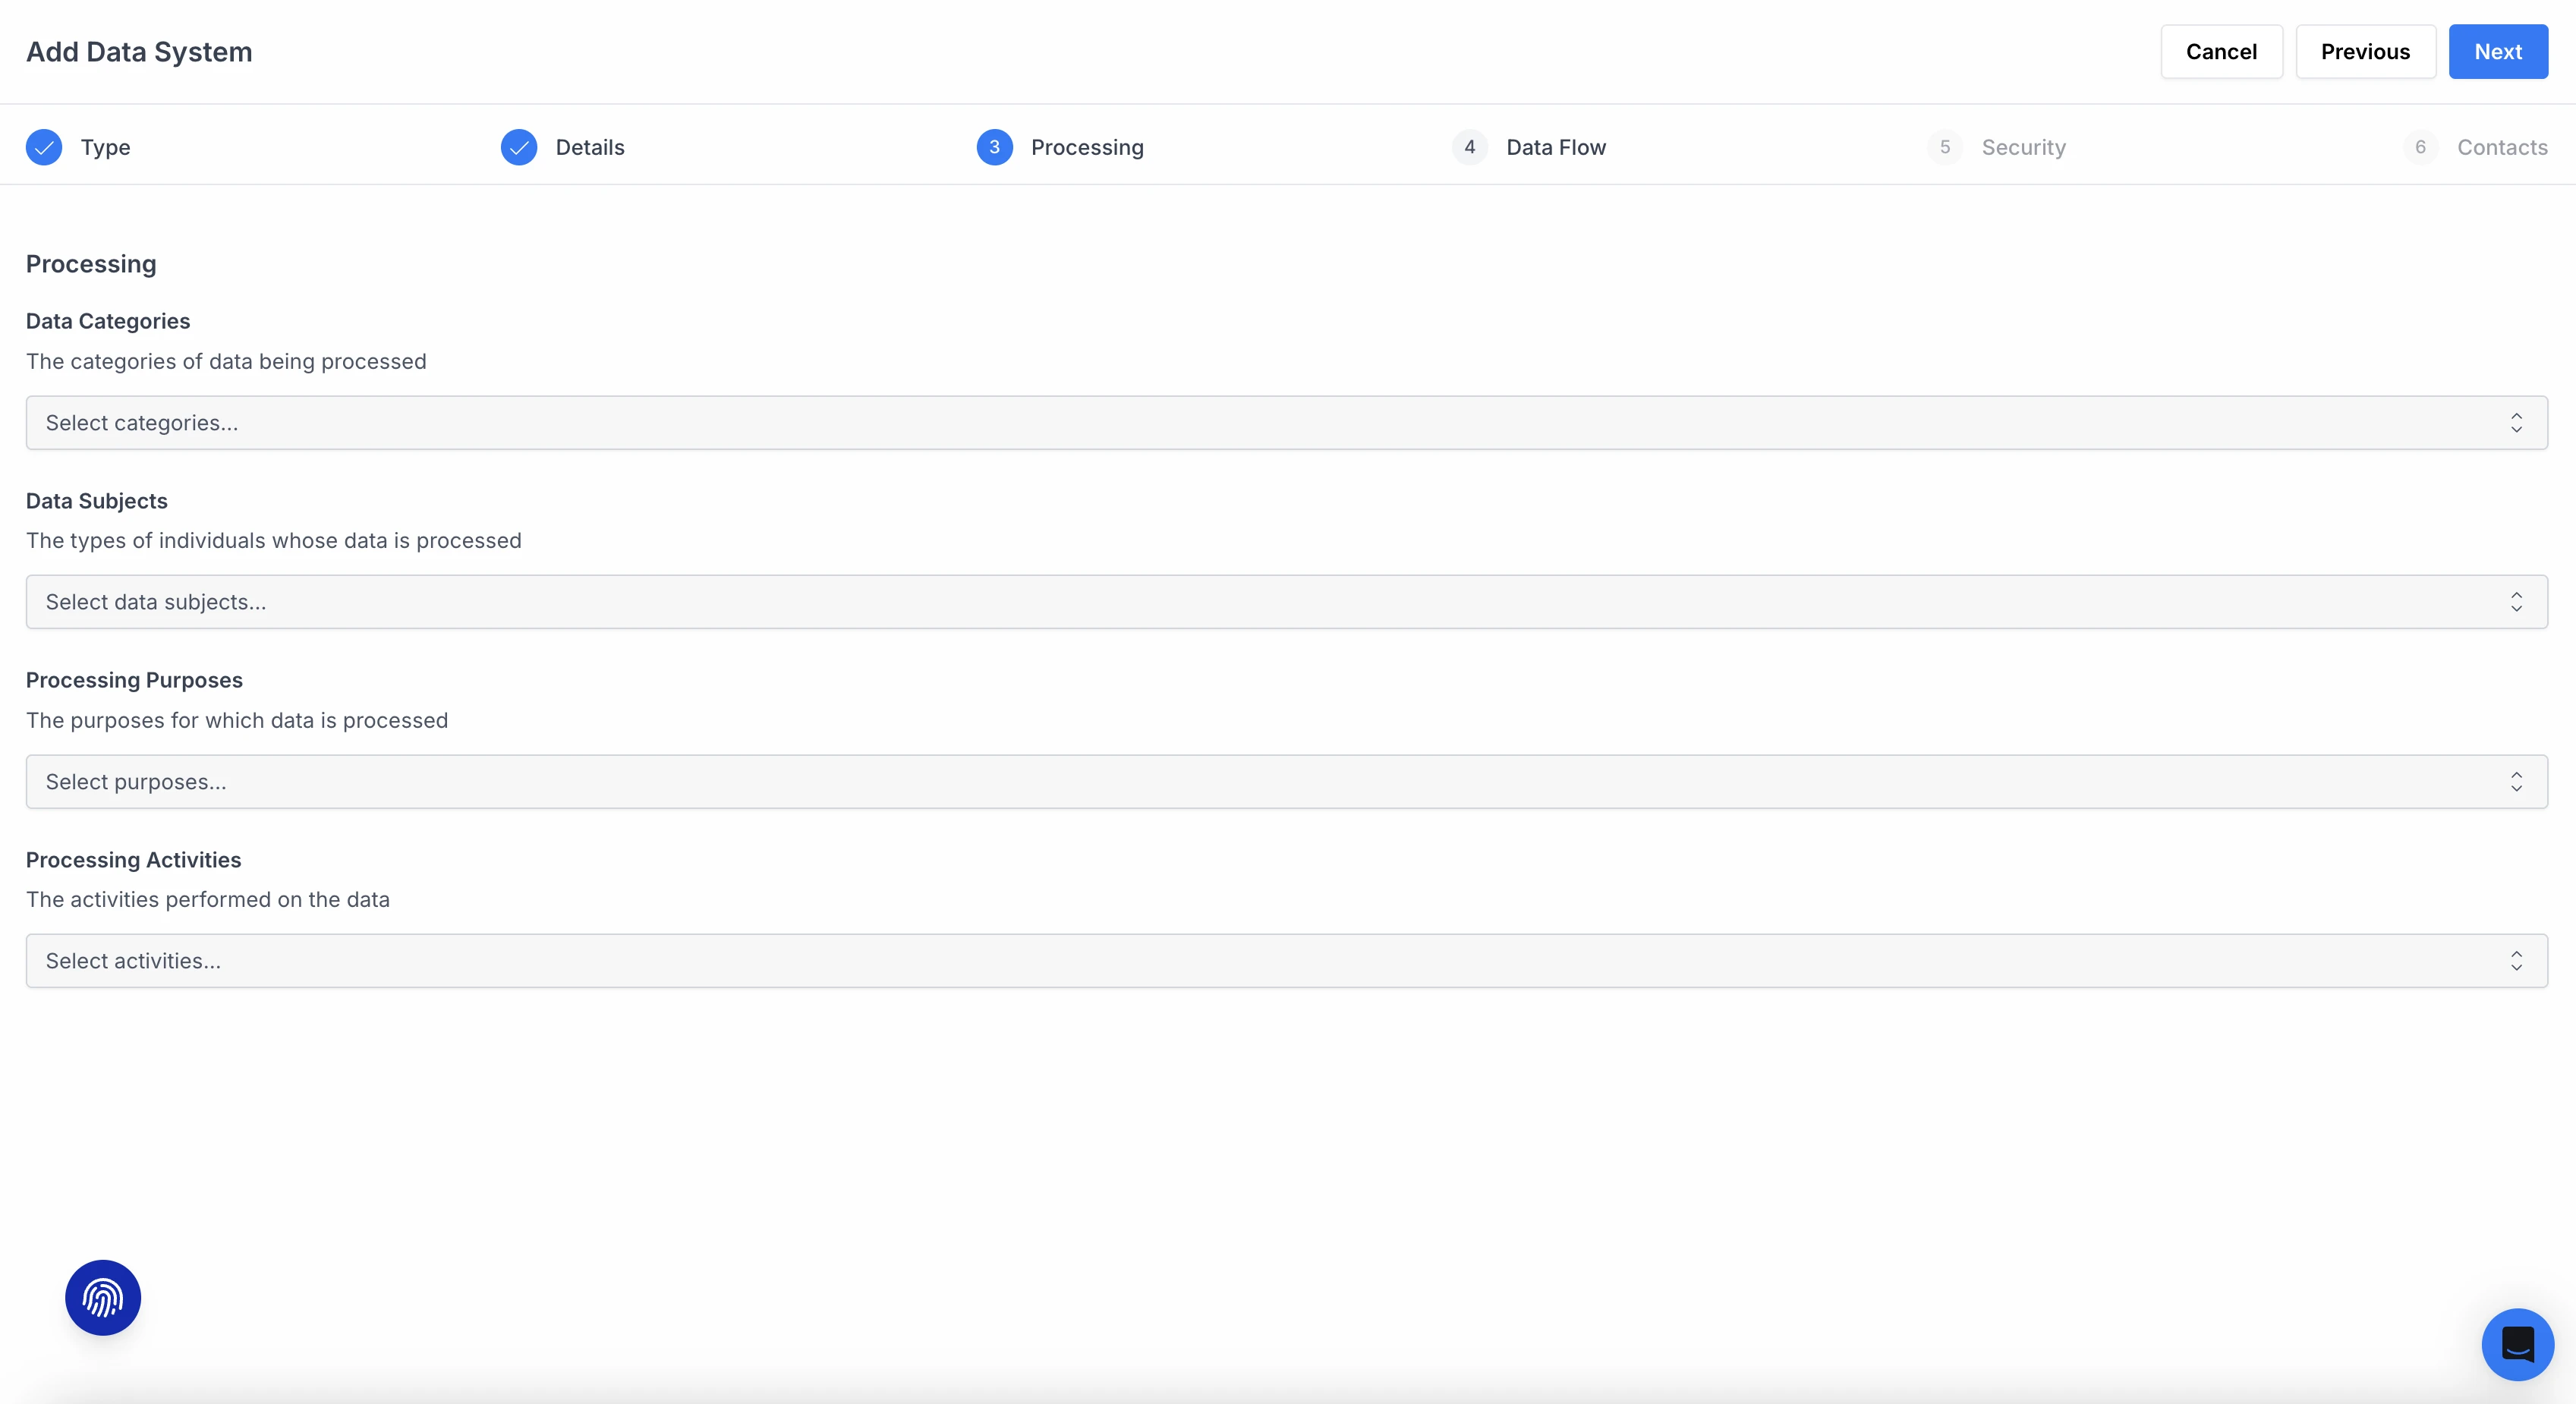
5. Add **Processing** attributes (optional) and click **Next**:
* **Data Categories:** The categories of data being processed.
* **Data Subjects:** The types of individuals whose data is processed.
* **Processing Purposes:** The purposes for which data is processed.
* **Processing Activities:** The activities performed on the data.
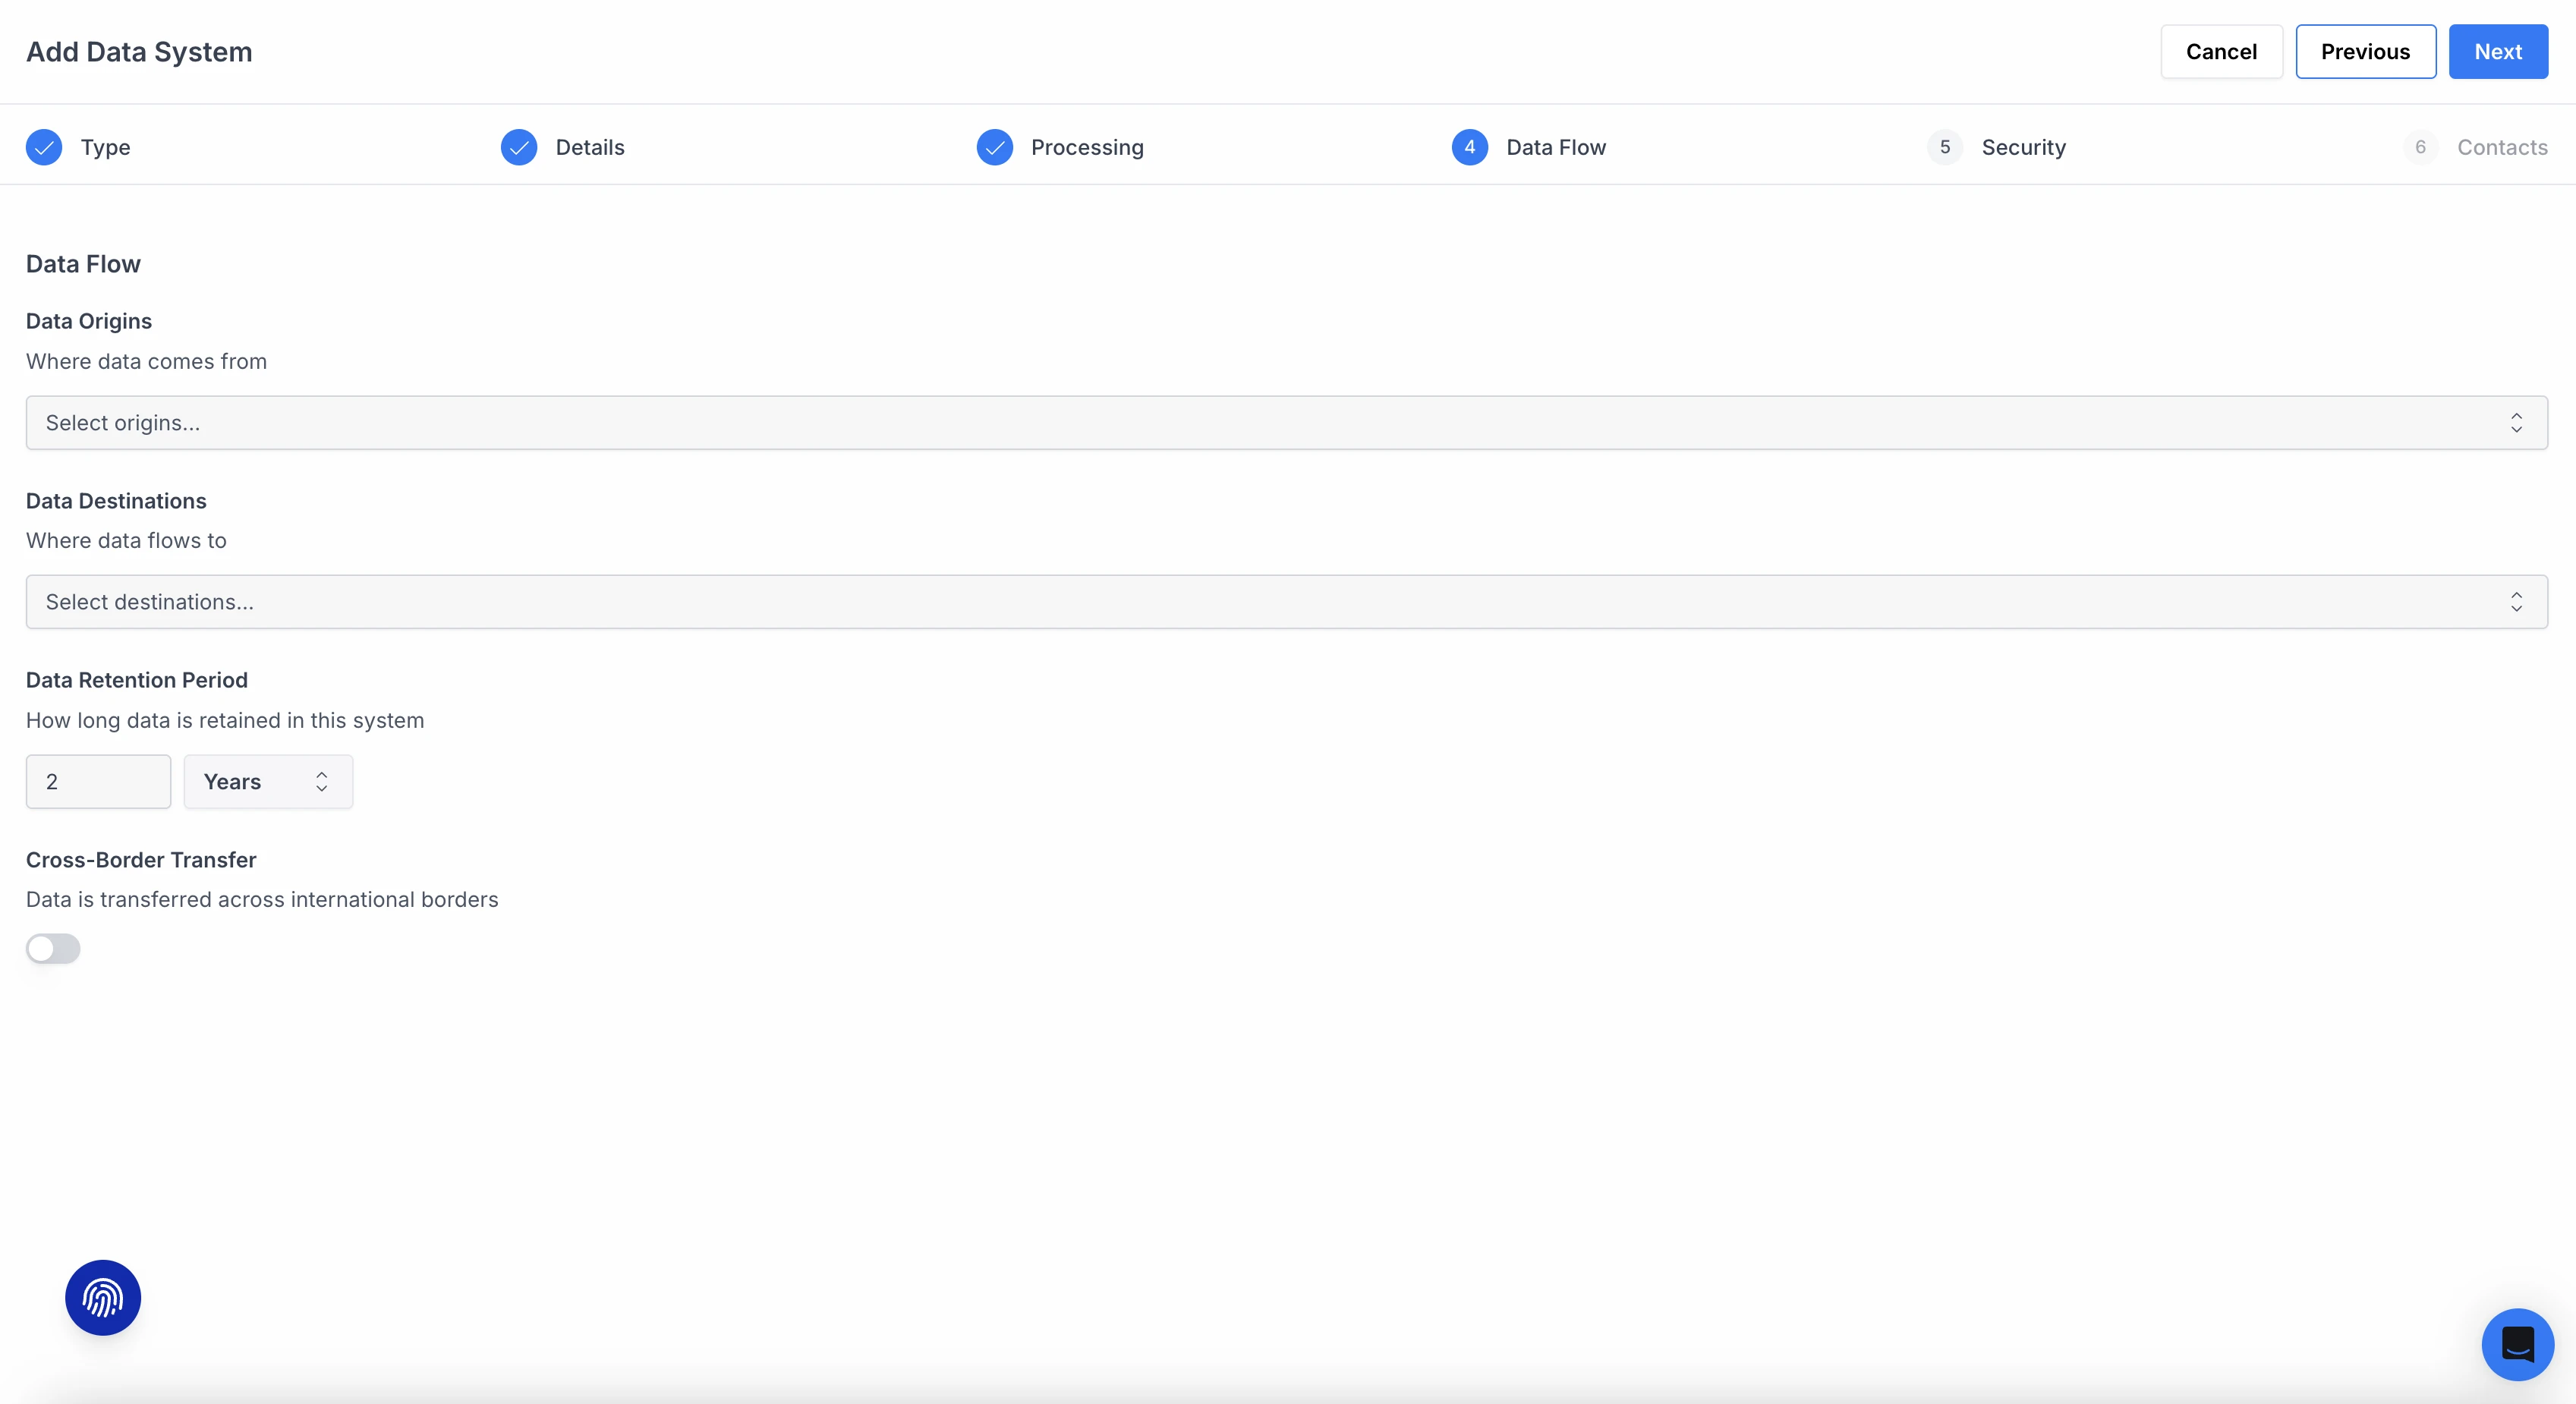
6. Add **Data Flow** attributes (optional) and click **Next**:
* **Data Origins:** Where the data in this system originates from.
* **Data Destinations:** Where the data is sent to and who it is shared with.
* **Data Retention Period:** How long data is held in this system. The default is 12 months.
* **Cross-Border Transfer:** Whether data is transferred across international borders.
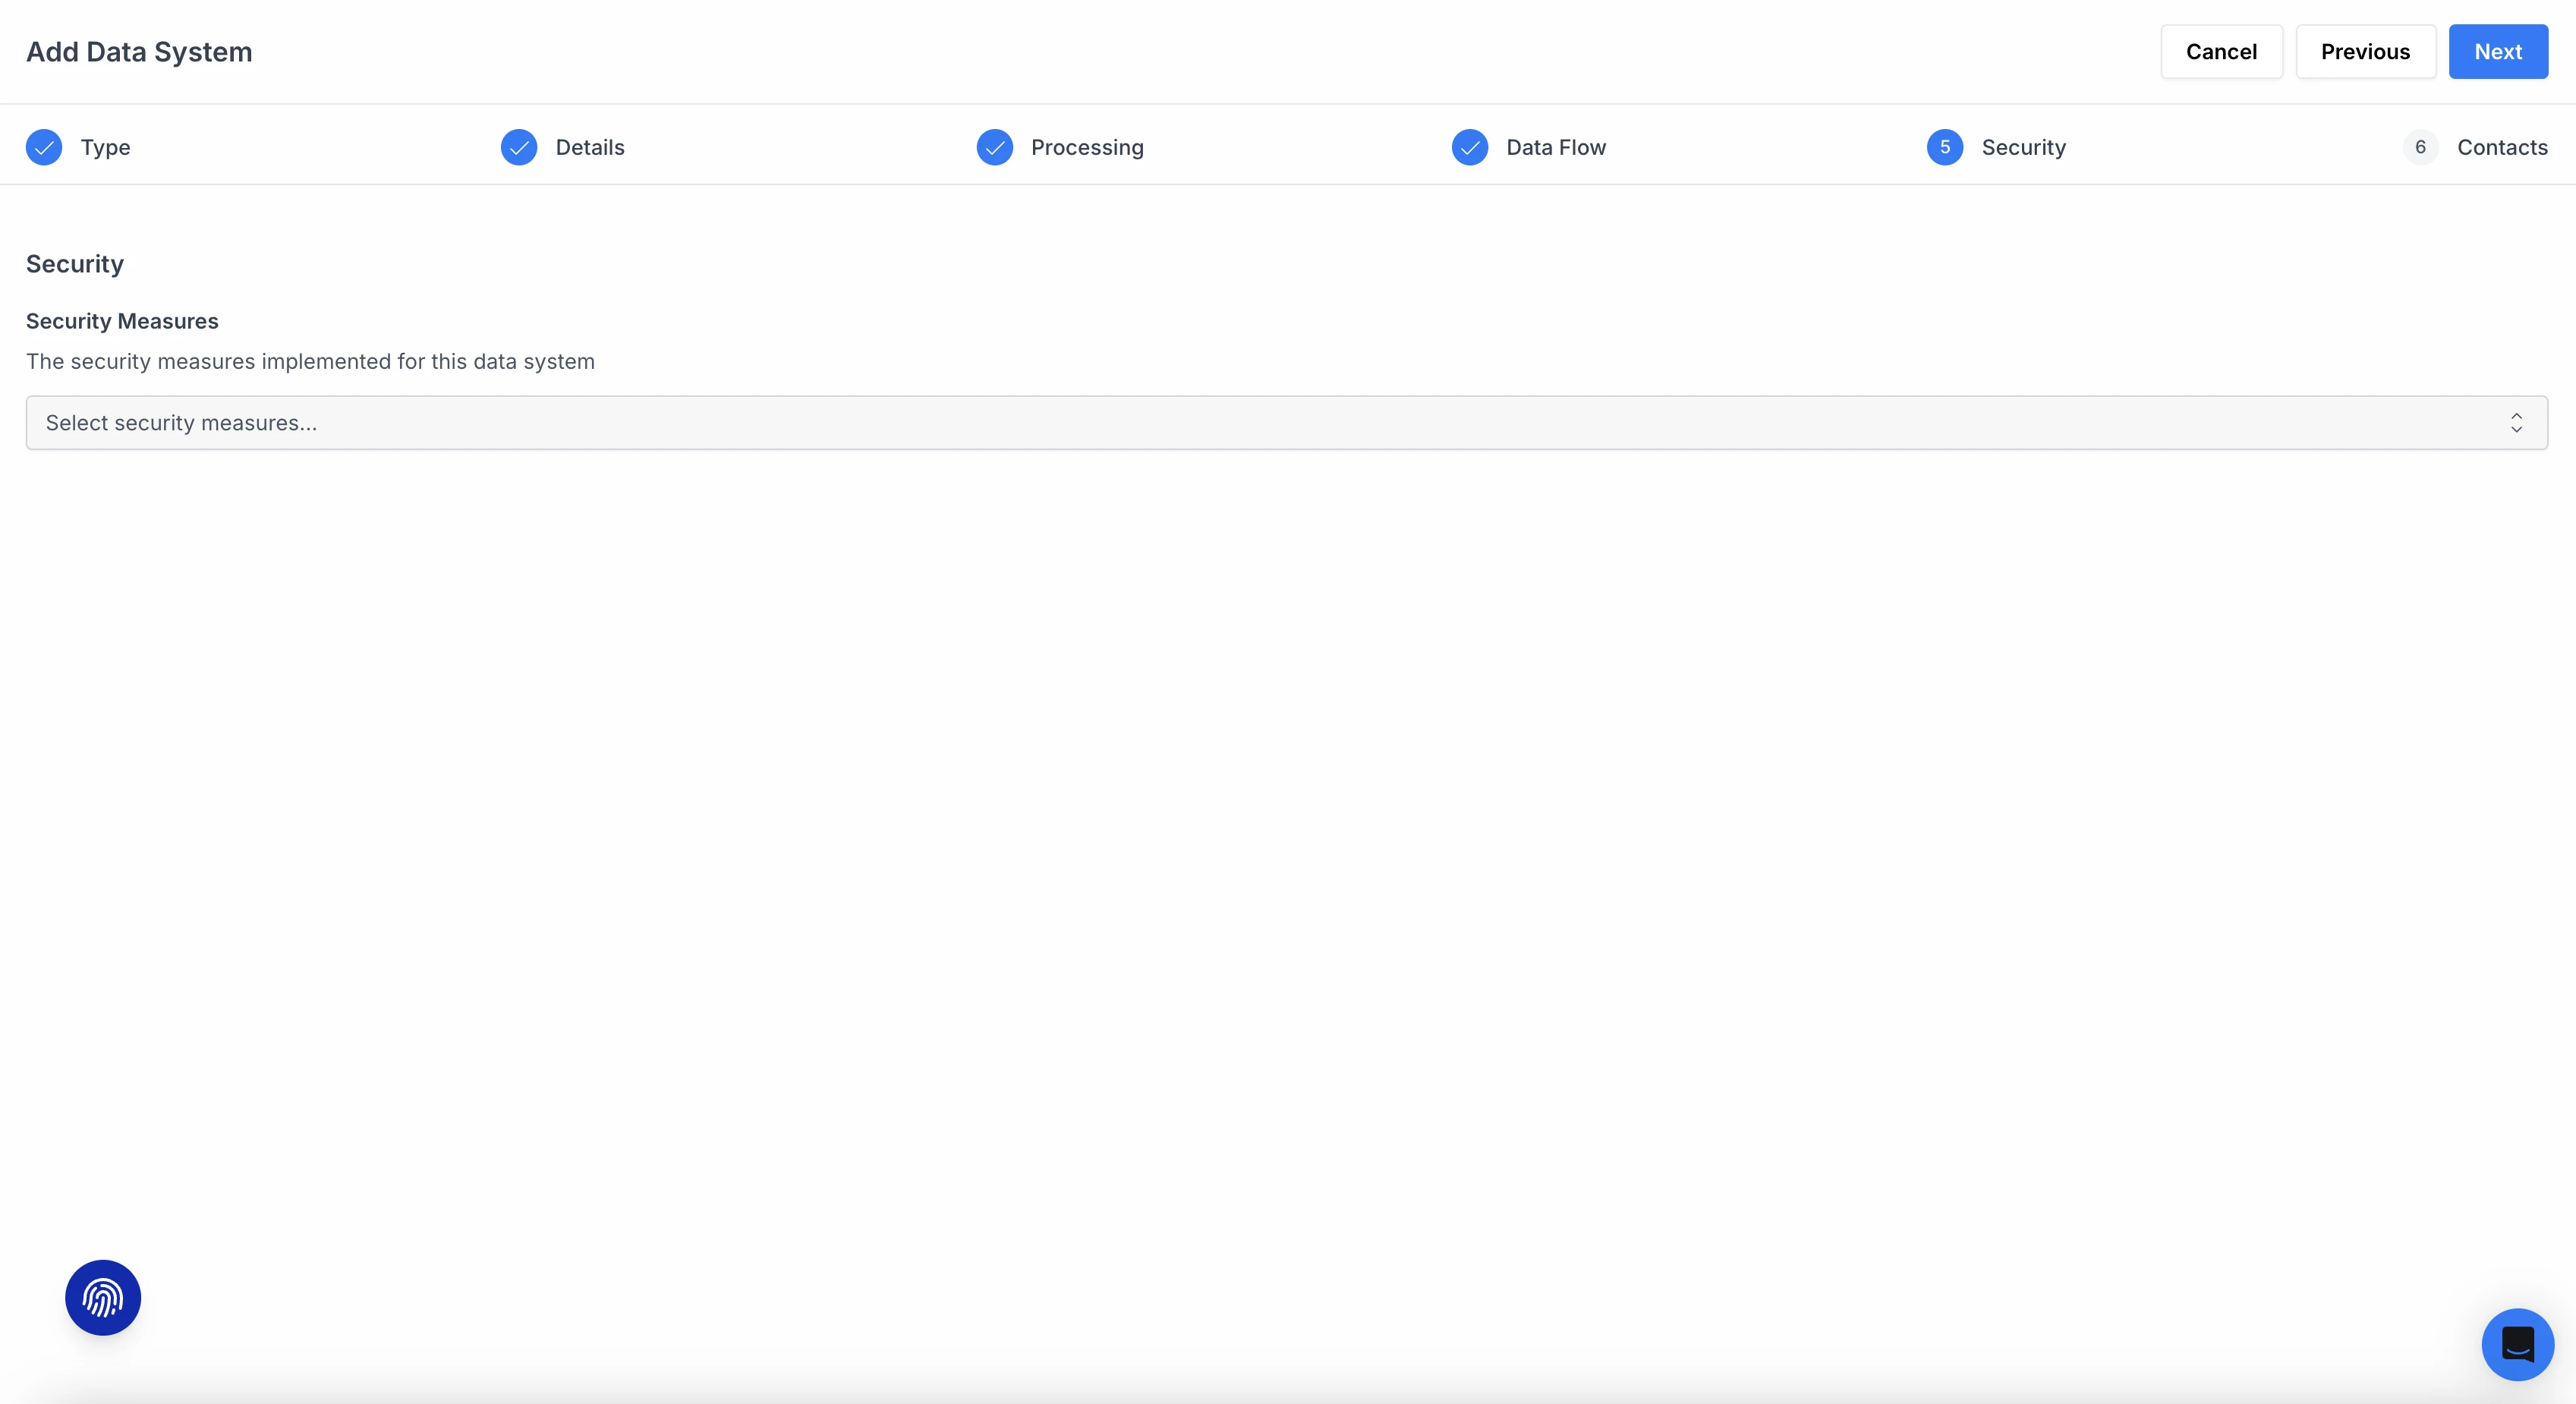
7. Add **Security** measures (optional) and click **Next**:
* **Security Measures:** The security measures implemented for this data system such as audits, MFA, training, SOC 2 Compliance, etc.
8. Add **Contacts** (optional) and click **Done**:
* **Contacts:** Select the contact(s) responsible for this data system.
The data system appears in the Systems table immediately.
> **Plans without Data Mapping:** If your plan does not include Data Mapping, the Add Data System wizard has two steps: Type and Details. The Details step includes Name, Status, Relationship, and Additional Notes. The Projects field and the Processing, Data Flow, Security, and Contacts steps are not available.
## Viewing a System's Detail Page
Click on a system name in the table to open its detail page.
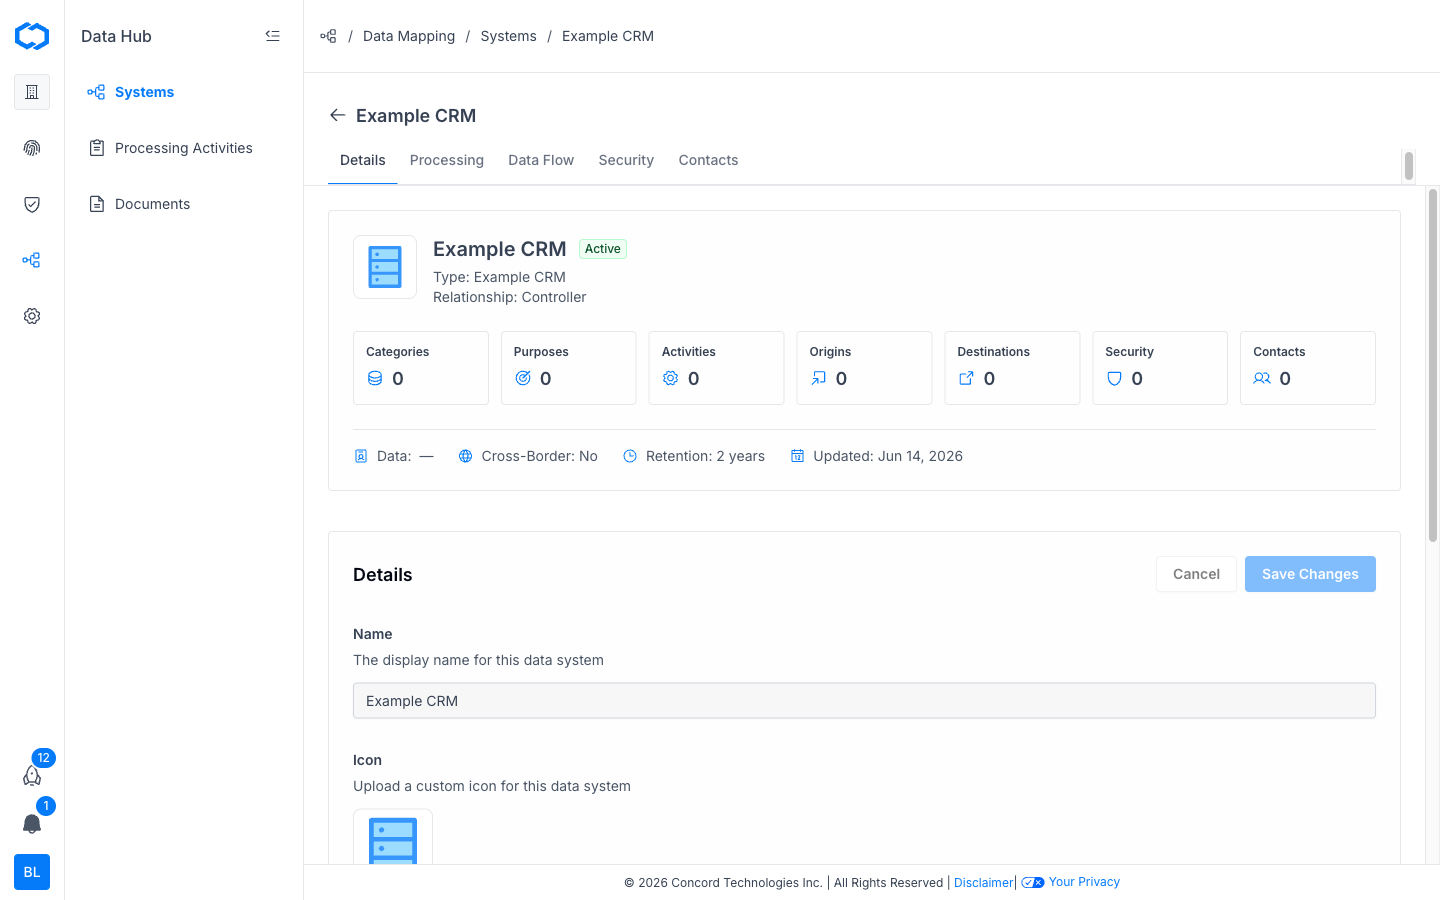
The detail page displays:
* The system name, type, status, and relationship at the top.
* Summary cards for Categories, Purposes, Activities, Origins, Destinations, Security, and Contacts.
* Metadata: data retention period, cross-border transfer status, and last updated date.
* Tabbed sections for **Details**, **Processing**, **Data Flow**, **Security**, and **Contacts** where you can edit each area.
> **Plans without Data Mapping:** The detail page shows the Details tab with Name, Status, Relationship, and Additional Notes. The Processing, Data Flow, Security, and Contacts tabs and the summary cards are not displayed.
## Editing a Data System
1. Go to **Data Hub > Systems**.
2. Find the system you want to update.
3. Click the system name to open the detail view, or click the **Actions** menu (three dots) on the right side of the row and select **Edit**.
4. Update the fields as needed and click **Save Changes**.
## Archiving a Data System
Archiving removes a system from your active inventory without permanently deleting it. Use this when a system is no longer in use but you want to retain its history.
1. Go to **Data Hub > Systems**.
2. Click the **Actions** menu (three dots) for the system you want to archive.
3. Select **Archive**.
Archived systems move to the **Archived** tab. You can restore an archived system at any time by going to the Archived tab, opening the Actions menu, and selecting **Restore**.
## Deleting a Data System
Deleting a system permanently removes it from Concord. This action cannot be undone.
1. Go to **Data Hub > Systems**.
2. Click the **Actions** menu (three dots) for the system you want to delete.
3. Select **Delete** and confirm the action.
If you are unsure whether you need the system record in the future, archive it instead of deleting it.
## Connecting Data Systems to a Project
You can associate data systems with specific Concord projects from two places:
* **From the Add Data System wizard or system detail page:** Use the **Projects** field to select one or more projects. This field is available on plans that include Data Mapping.
* **From Global Settings:** Go to **Global Settings > Projects**, click the Actions menu for a project, and select **Edit Project**. Use the Data Systems selector to add or remove systems.
## Related Articles
* [Data Hub Overview](/docs/data-hub-overview)
* [Data Hub: System Attributes](/docs/data-hub-system-attributes)
# Adding Projects
URL: /docs/adding-projects
***
title: 'Adding Projects'
description: 'How to add new Projects to your Organization.'
created: '2021-05-13T20:44:47.000Z'
updated: '2024-10-18T16:45:58.000Z'
-----------------------------------
## Overview
* Concord uses Projects as the basic unit of deployment and configuration.
* This article provides instructions on adding a new project to your Organization.
* To learn more about how projects work, refer to this article: [Projects Overview](/docs/projects-overview)
## Step 1: Add a Project
* Login to Concord’s Admin UI.
* If this is your first login, a website project setup wizard will automatically start.
Otherwise, click on **Global Settings -> Projects** and **click the** +Add Project \*\*button. This will launch the Project Wizard.
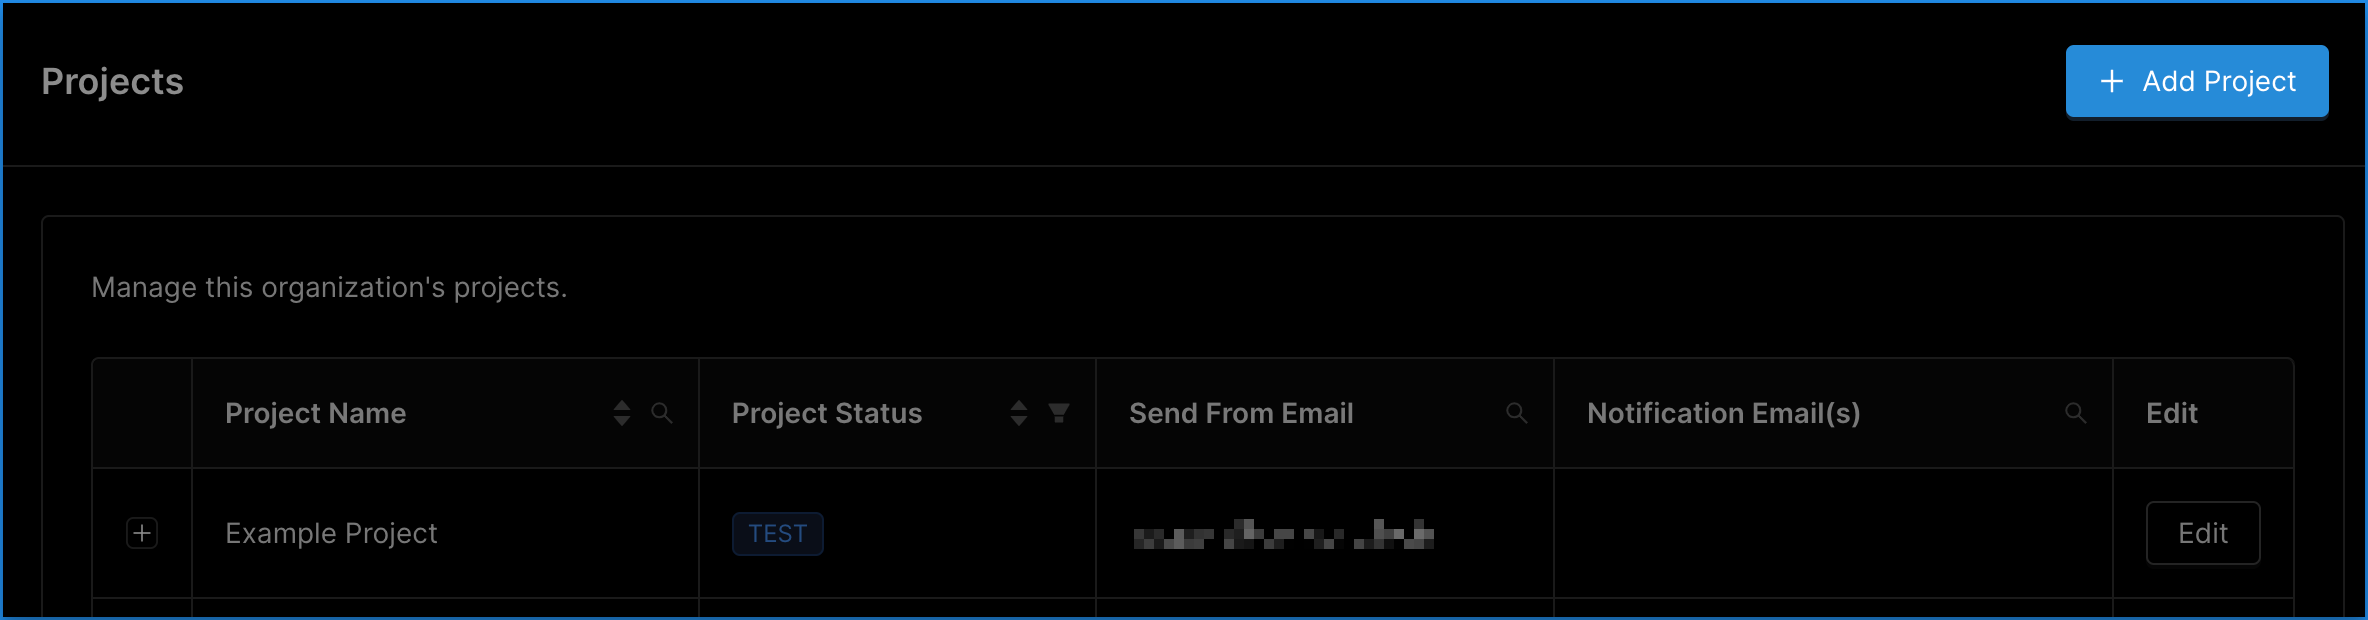
## Step 2: Name the Project and Add the Domain
* Give your **Project** a descriptive name. Should you believe you will need multiple Projects (for example, because you have many different websites that may require different configurations) it is advisable to establish a systematic naming convention.
* List the domain with which the Project will be associated. The UI will confirm if you have entered a properly formatted domain. It is not necessary to prepend “http\://” or “https\://” to your domain.
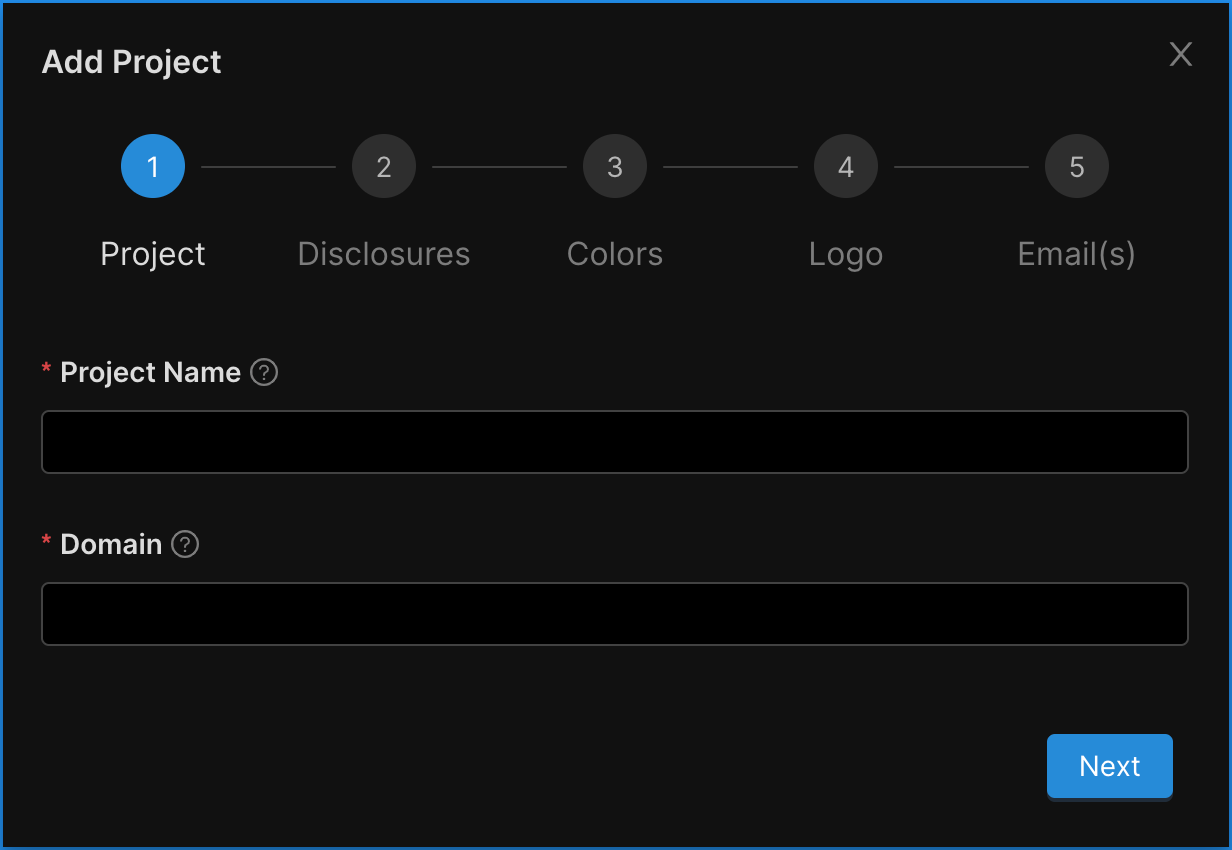
## Step 3: Link to your Privacy Policy and Terms of Service
* Input a valid URL that links to your online Privacy Policy. Note that in this case, you will have to prepend “http\://” or “https\://”.
* (Optional) Input a valid URL that links to your Terms of Service if your site has one. Note that in this case, you will have to prepend “http\://” or “https\://”.
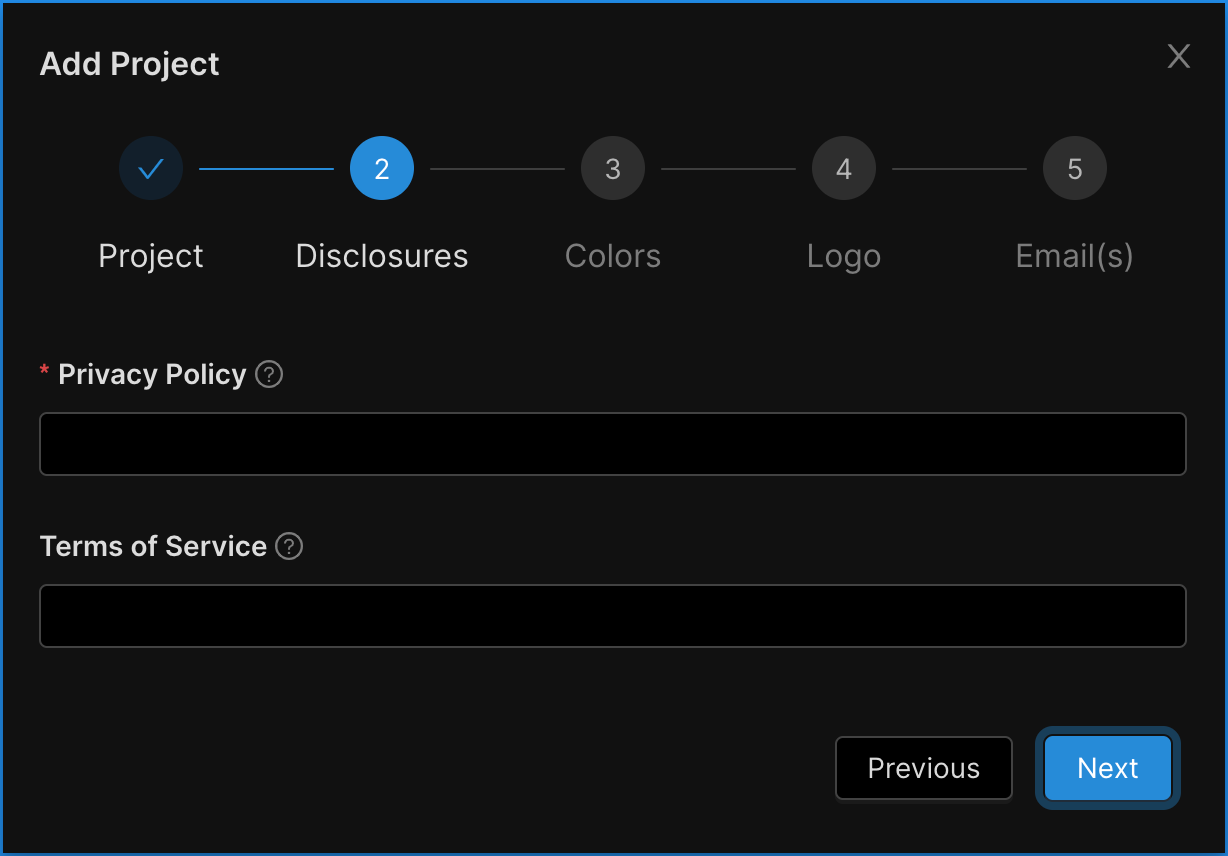
## Step 4: Choose the Color for Your Privacy Center Widget (Optional)
* Choose a color that will be used for your Privacy Center website widget.
* You can either choose a new pre-existing color by clicking on any of the default colors shown or you can input a Hexadecimal color value (for example: “#22194D”).
* If you do not know the proper Hexadecimal color value for your desired branding, you may search online for “hexadecimal color picker” to find free tools for choosing a color and finding its hexadecimal value.
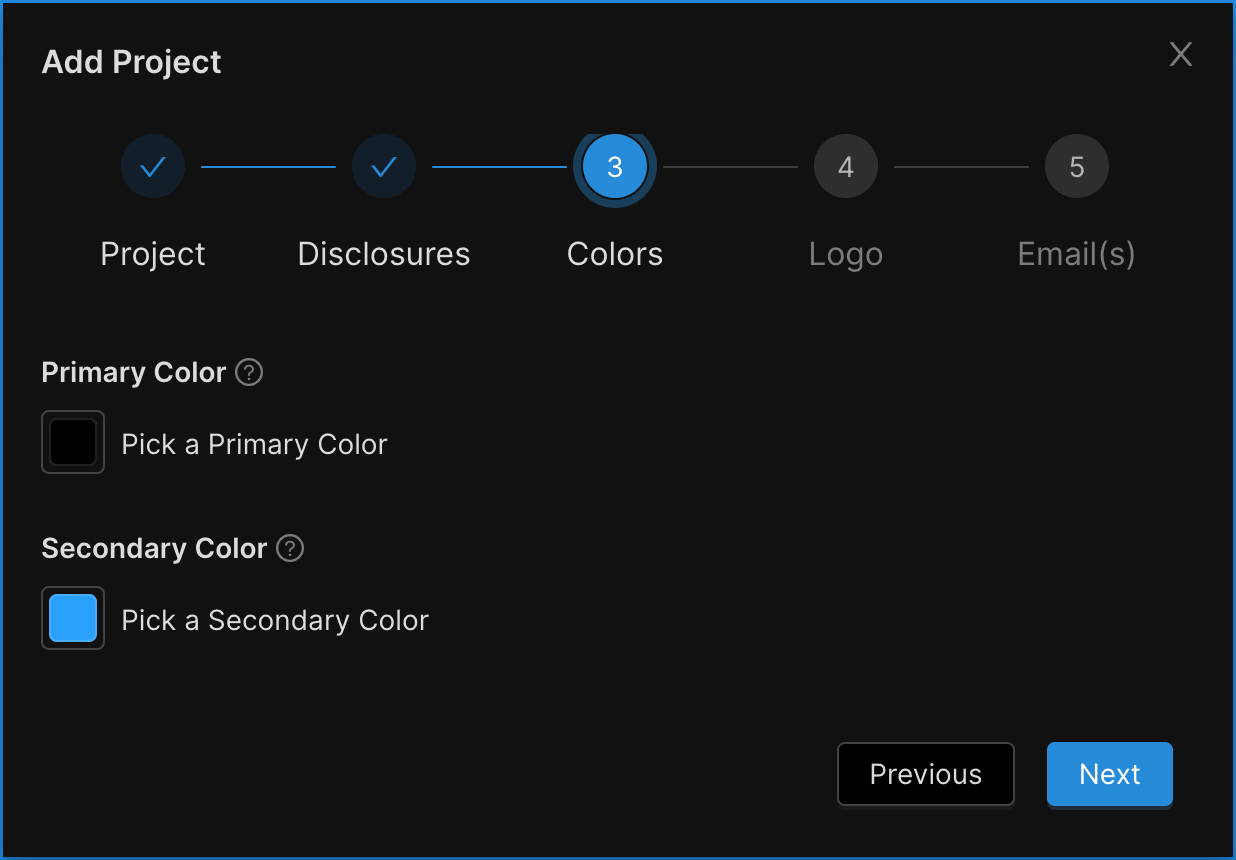
## Step 5: Upload a Logo (Optional)
* Click on the logo icon and navigate to your saved logo file.
* Logo file size is limited 512KB.
* Logos are restricted to .png formats.
* There are no height or width restrictions, but logos are resized in the widget to a max-height of 40px so 40px is the preferred height.
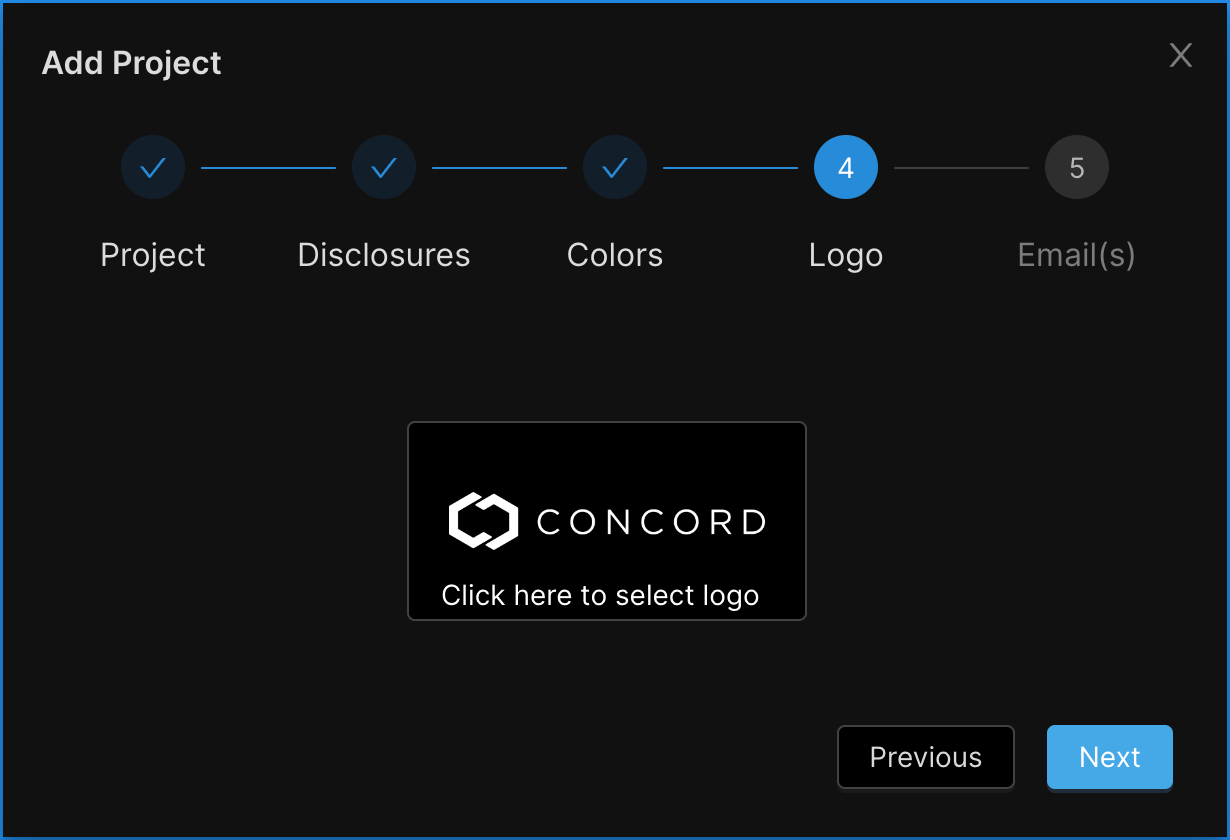
## Step 6: Input Email Addresses for Project Notifications (Optional)
* Emails can be added to your Project under Additional Notification Email(s). Those emails receive notifications for that Project and should typically be used for catch-all emails vs. notifications for specific users (as all users added to a project can instead manage their own notification settings without being added to the Additional Notification Email(s) section).
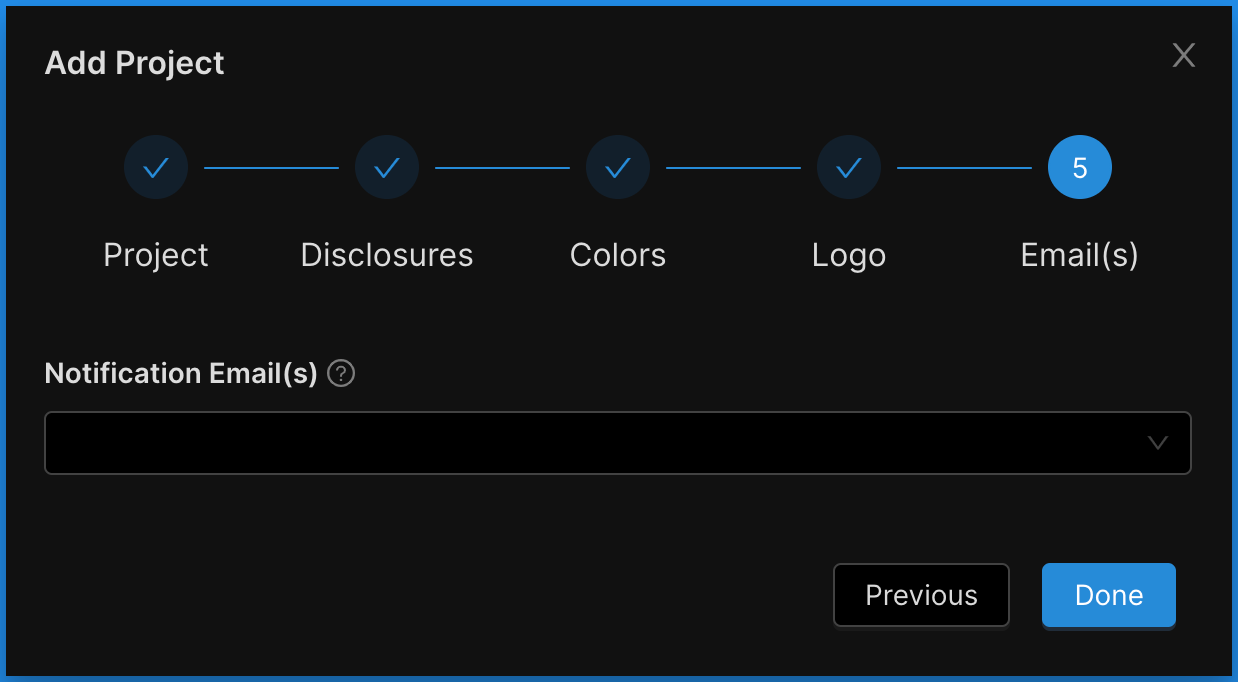
* Click **Done** when complete. You have configured your Project.
# Assigning Send From Emails to Projects
URL: /docs/assigning-send-from-emails
***
title: 'Assigning Send From Emails to Projects'
description: 'Step-by-step guide to assigning Send From Emails to Projects.'
created: '2021-10-05T00:15:12.000Z'
updated: '2024-10-18T16:50:59.000Z'
-----------------------------------
## Overview
Assigning a Send From Email to your Project allows you to choose what address and sender your customers see when receiving email communications related to their compliance requests for that specific project. The default Send From Email for Projects is [support@concord.tech](mailto:support@concord.tech), but can easily be changed by following the steps below.
\*\*Note: \*\*Before changing a Project’s Send From Email, one must be created first under the **Global Settings -> Email** section. For more information on adding Send From Emails, see [Managing Send From Emails](/docs/managing-send-from-emails)
1. Go to **Global Settings -> Projects** and click **Edit** next to the desired Project.
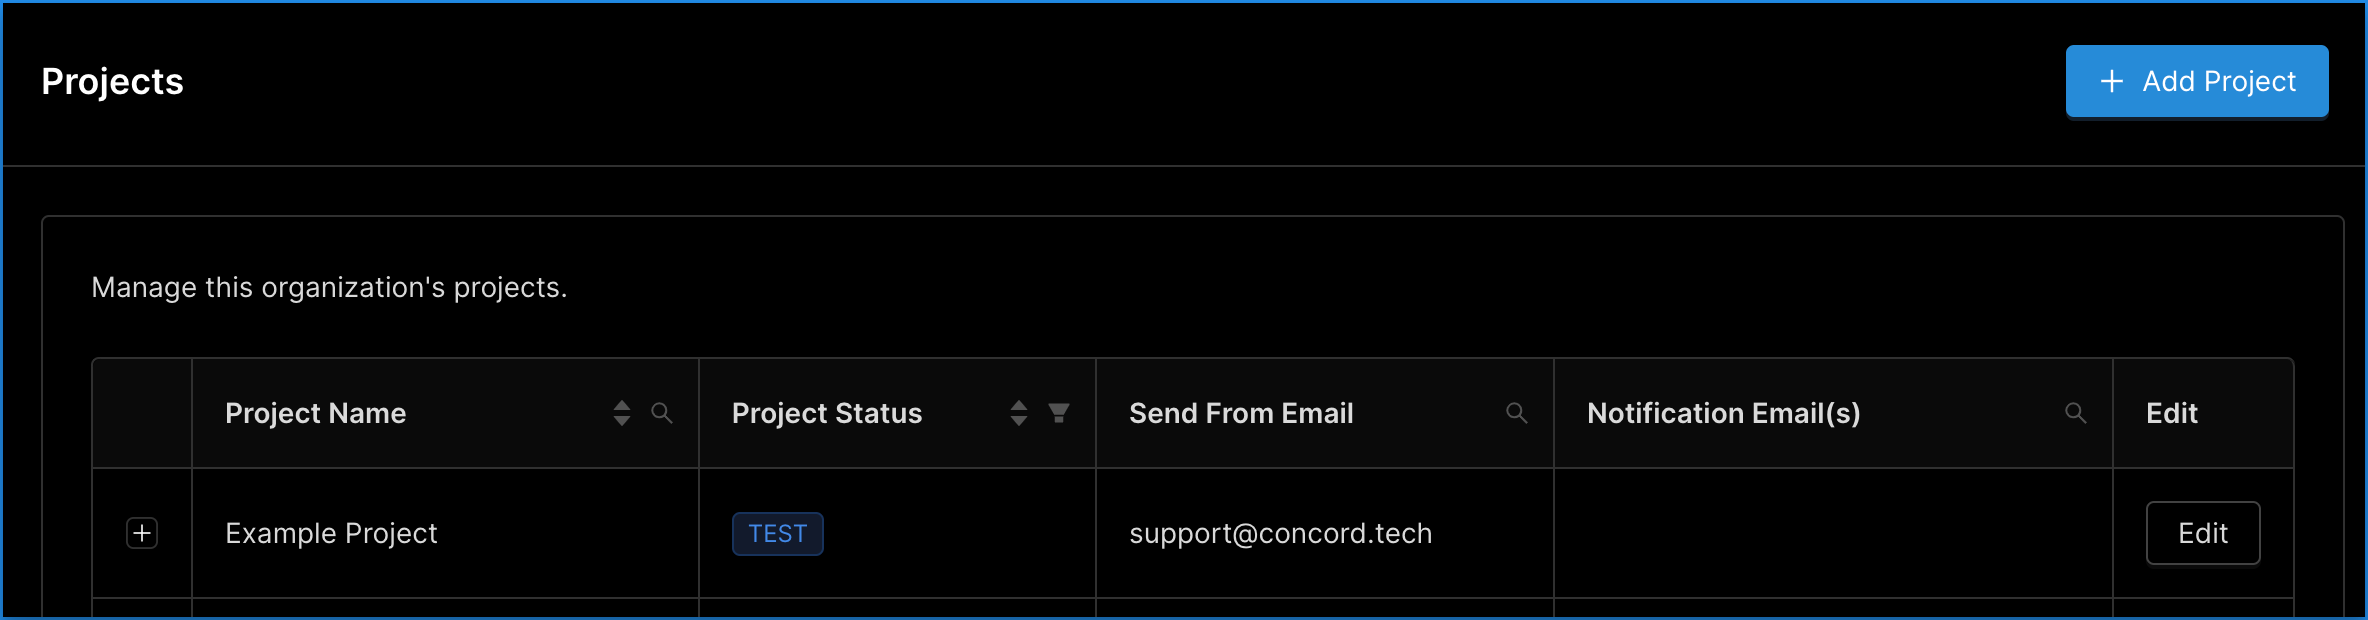
2. In the **Edit Projects** window, click the **Send From Email** drop-down menu.
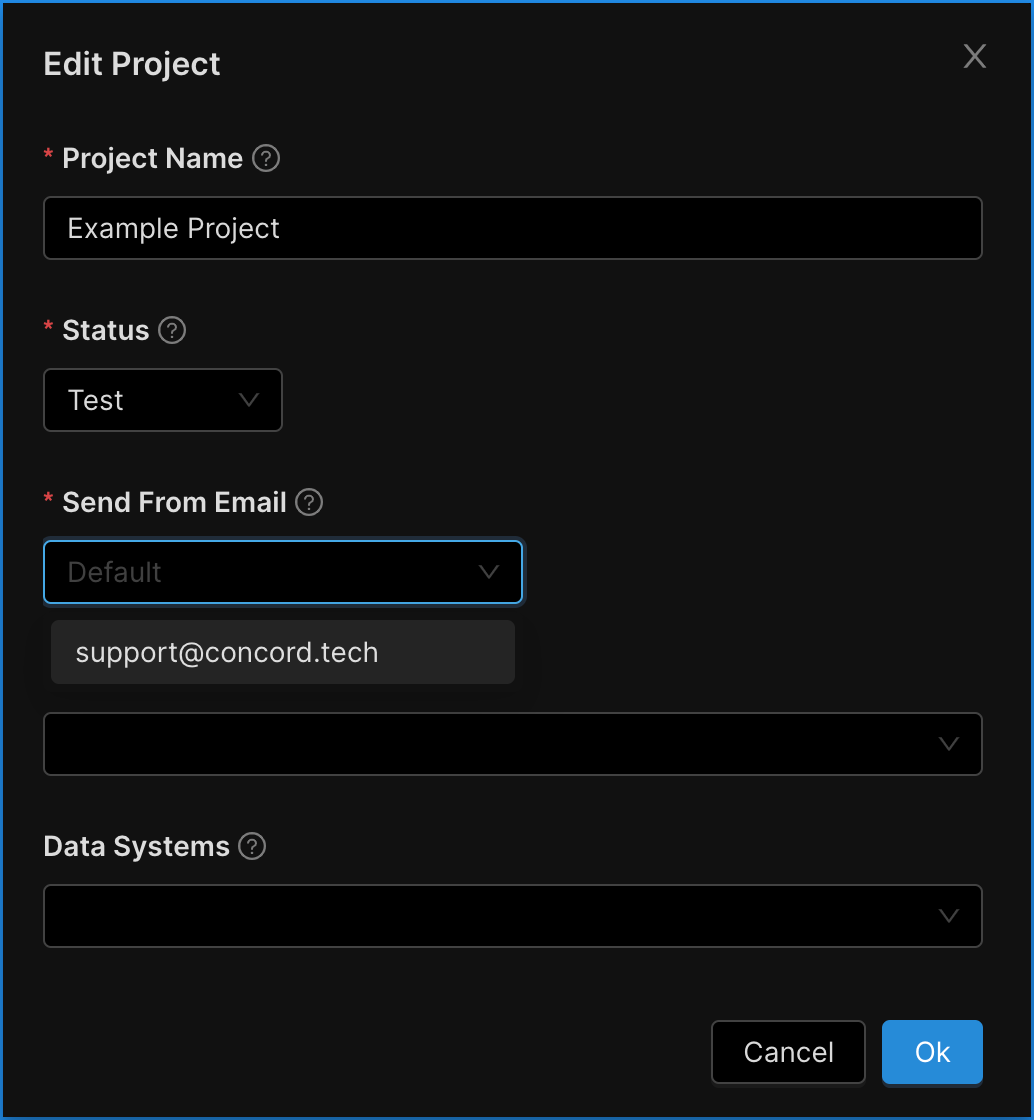
3. Select the email address you would like users to receive emails from.
4. Click **OK**.
# Managing Projects: Add, Edit, Archive, and Clone
URL: /docs/managing-projects
***
title: "Managing Projects: Add, Edit, Archive, and Clone"
description: 'This article provides instructions on how to add, edit, archive, and clone your Projects.'
created: '2021-05-13T20:53:28.000Z'
updated: '2025-07-25T04:35:17.000Z'
-----------------------------------
## Overview
Concord uses Projects as the basic unit of deployment and configuration. This article provides instructions on managing existing Projects. To learn more about how projects work, refer to this article: [Projects Overview](/docs/projects-overview)
From the **Global Settings → Projects** section in the Admin UI, you will be able to:
* Add new projects.
* Edit existing projects.
* Archive projects.
* Clone existing projects.
## How to Add a New Project Domain
1. Click on the **Global Settings** drop-down menu and choose **Projects**.
2. Click **Add Project** to open the Add Project wizard.
3. On the **Project** step, enter your **Project Name** and **Domain** URL and click **Next**.
* The UI will confirm if you have entered a properly formatted domain. Do not prepend “http\://” or “https\://” to your domain.
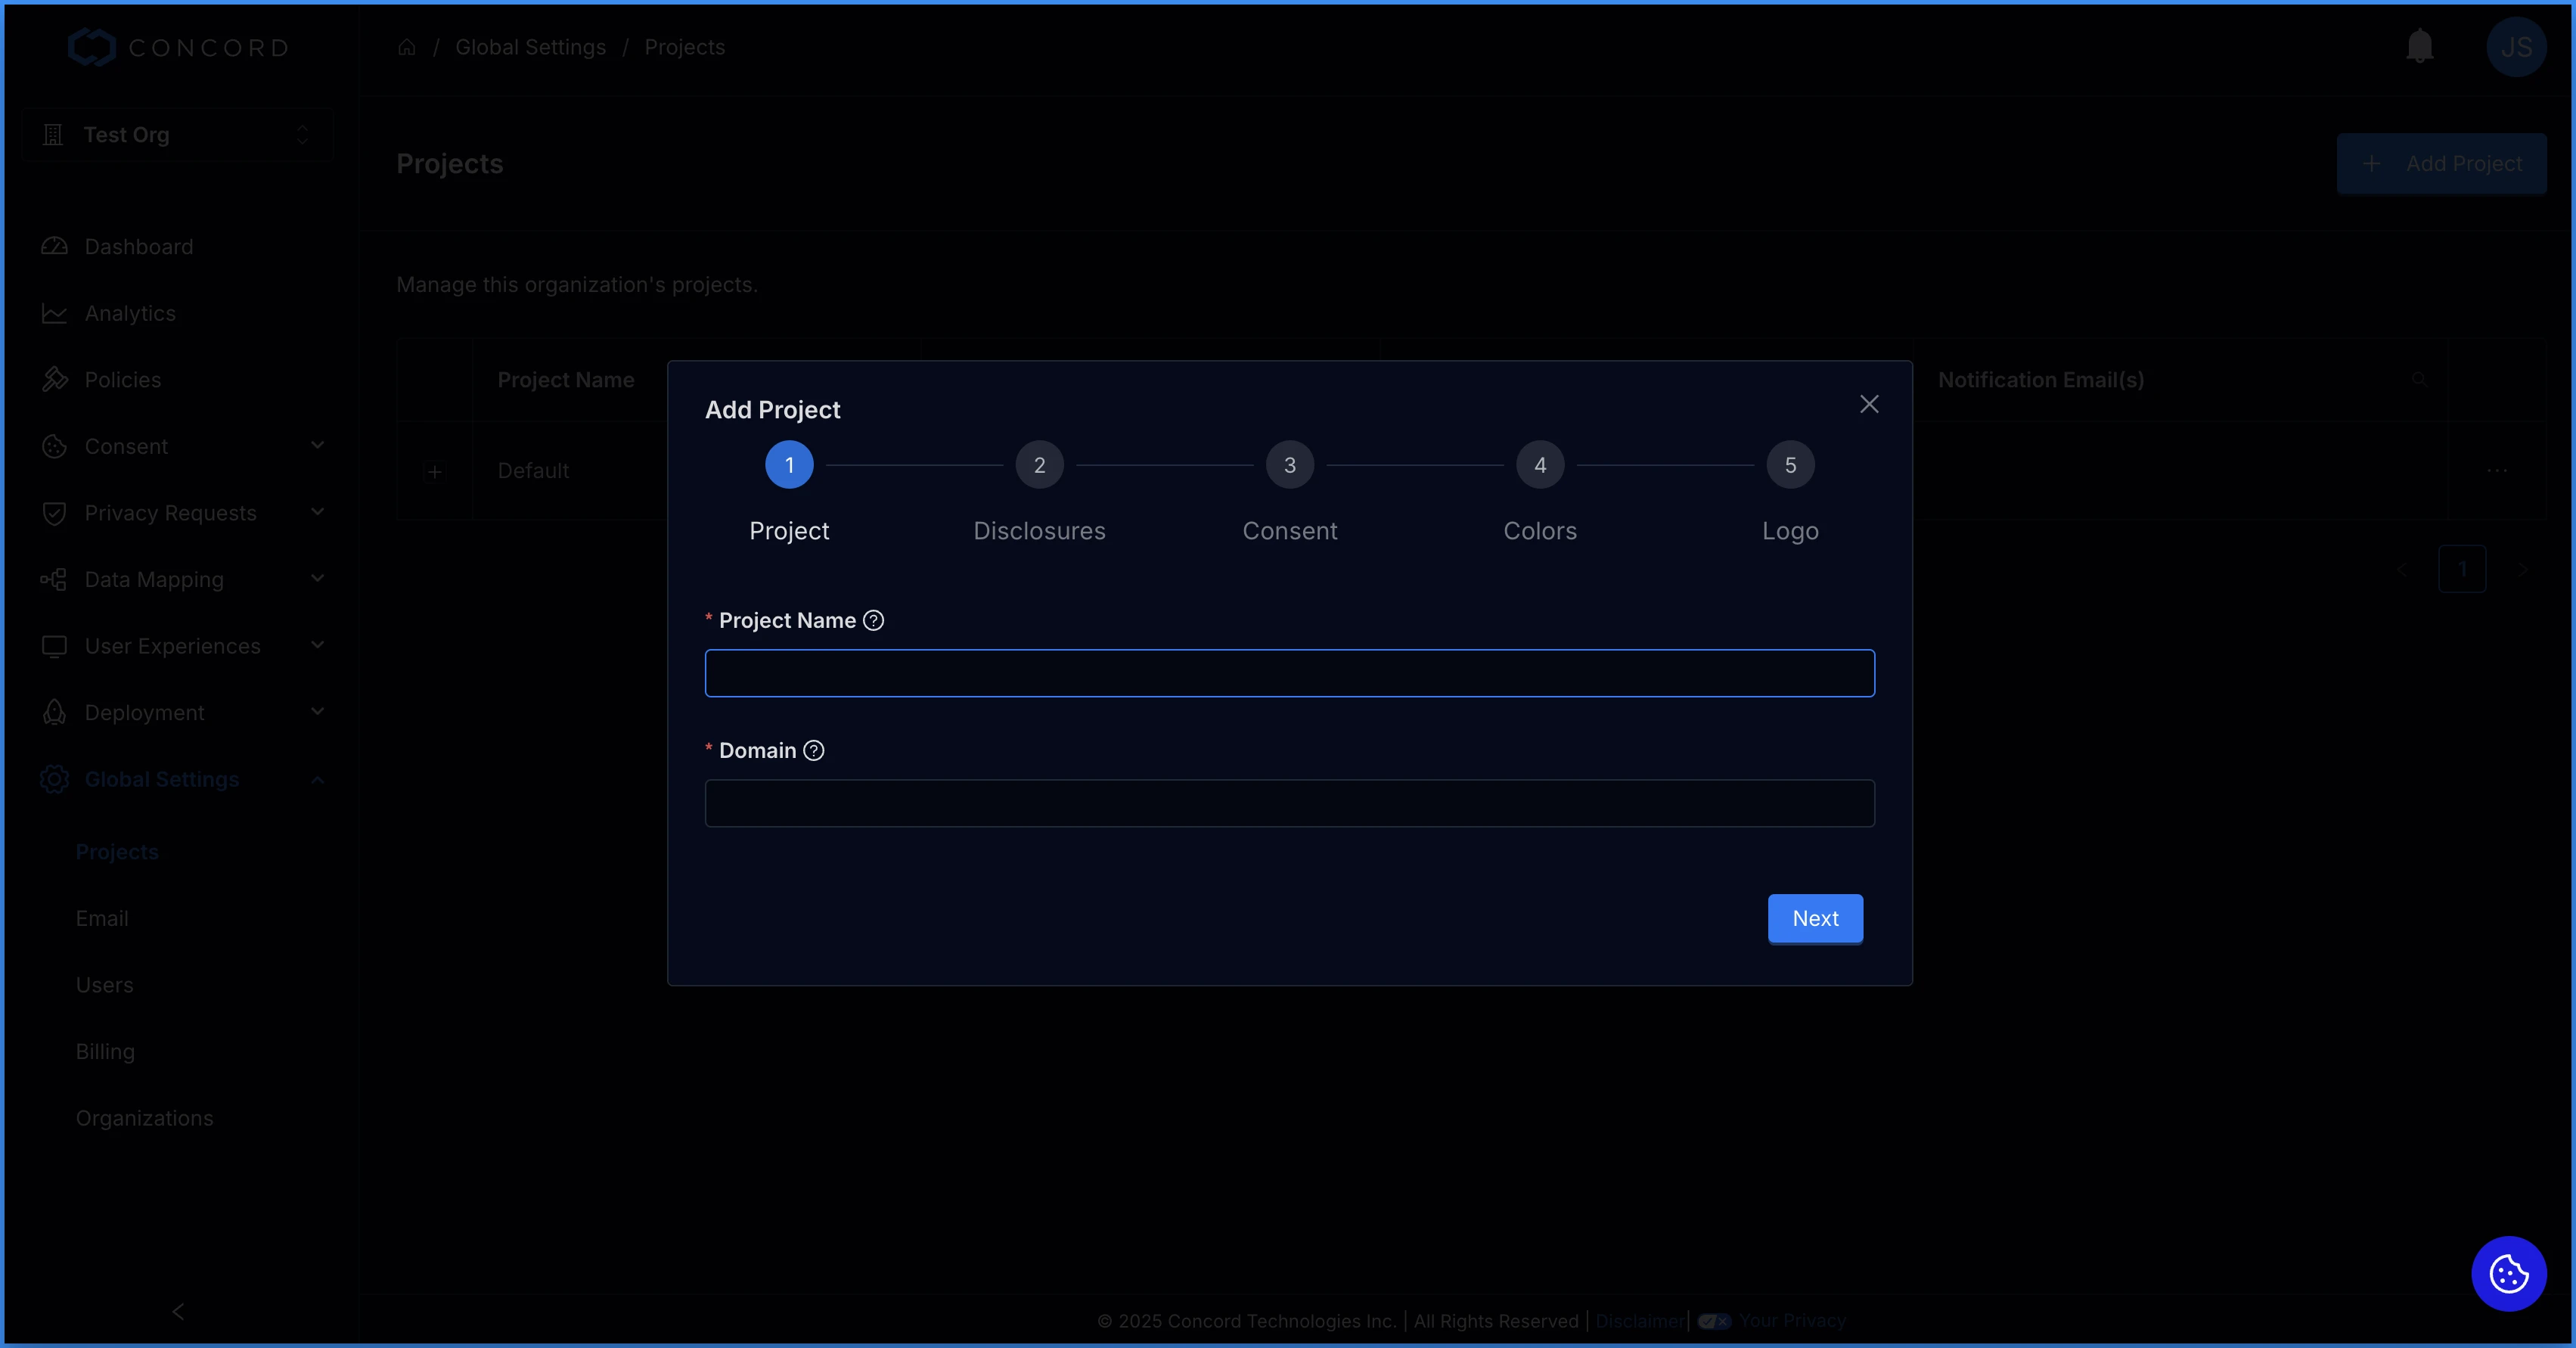
4. On the **Disclosure** step, add the URL for your organization’s **Privacy Policy** (required) and **Terms of Service** (optional but recommended if you have a terms of service page).
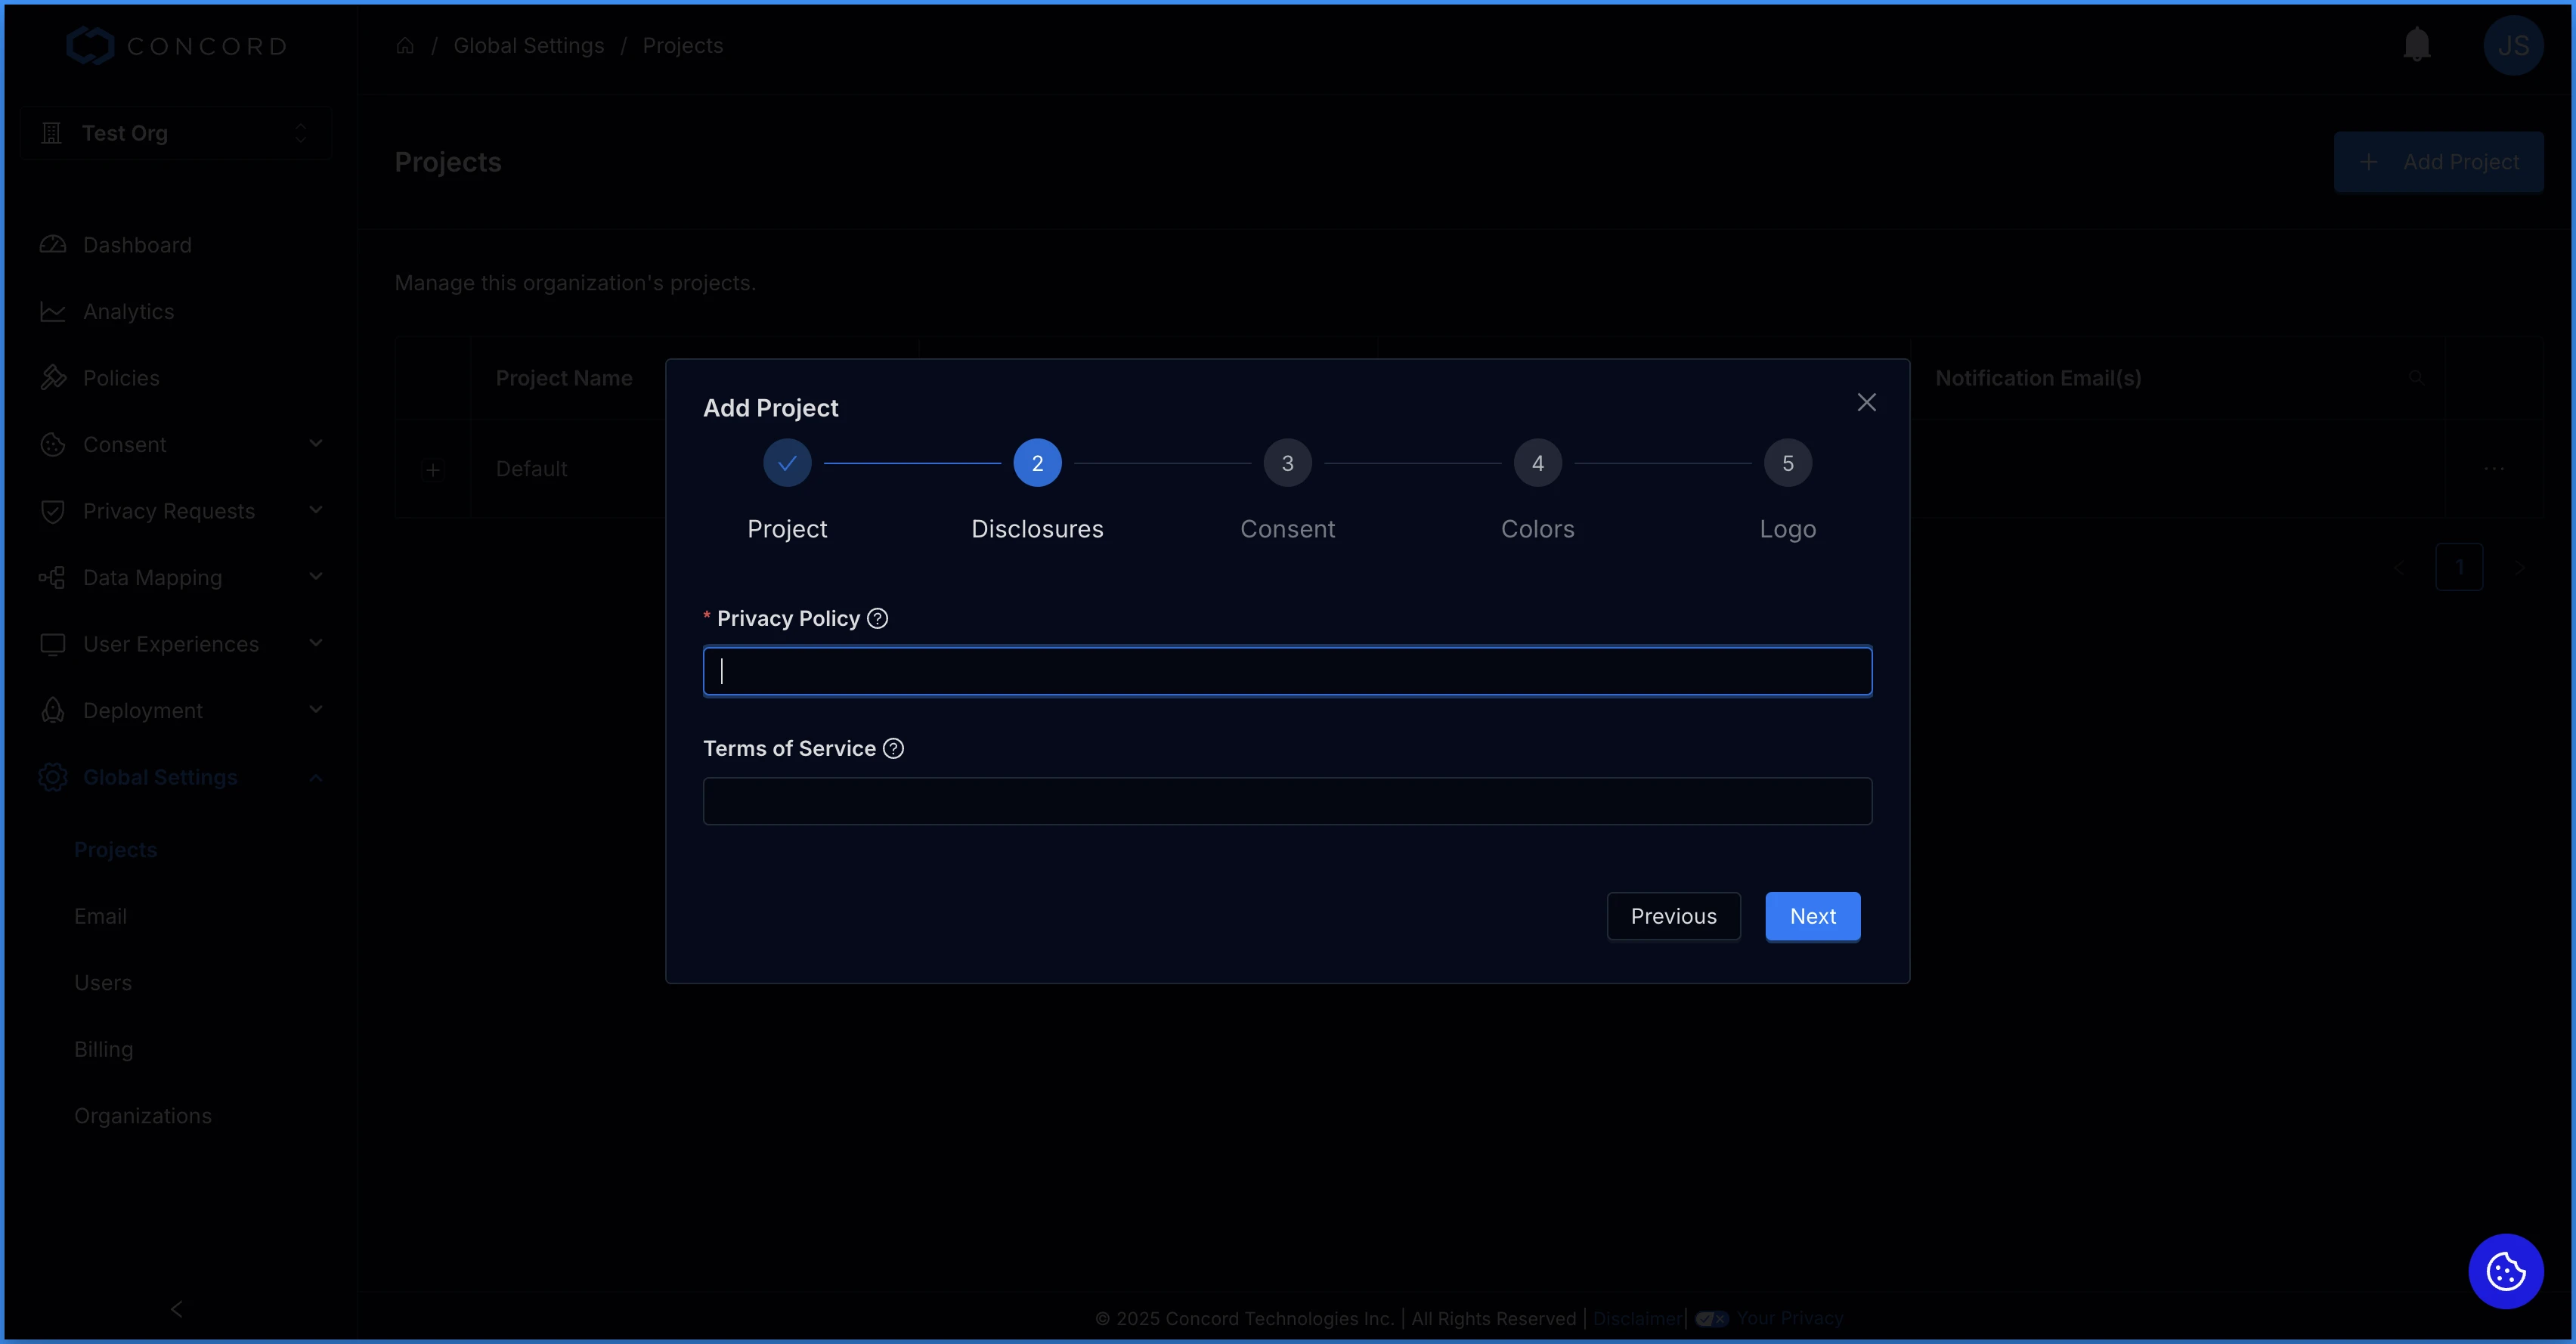
5. On the **Consent** step, configure your organization’s consent settings. For more information on how to configure your consent settings, see this article: [Configuring Auto-Blocking of Cookies and Scripts](/docs/understanding-configuring-auto-blocking-of-cookies-scripts)
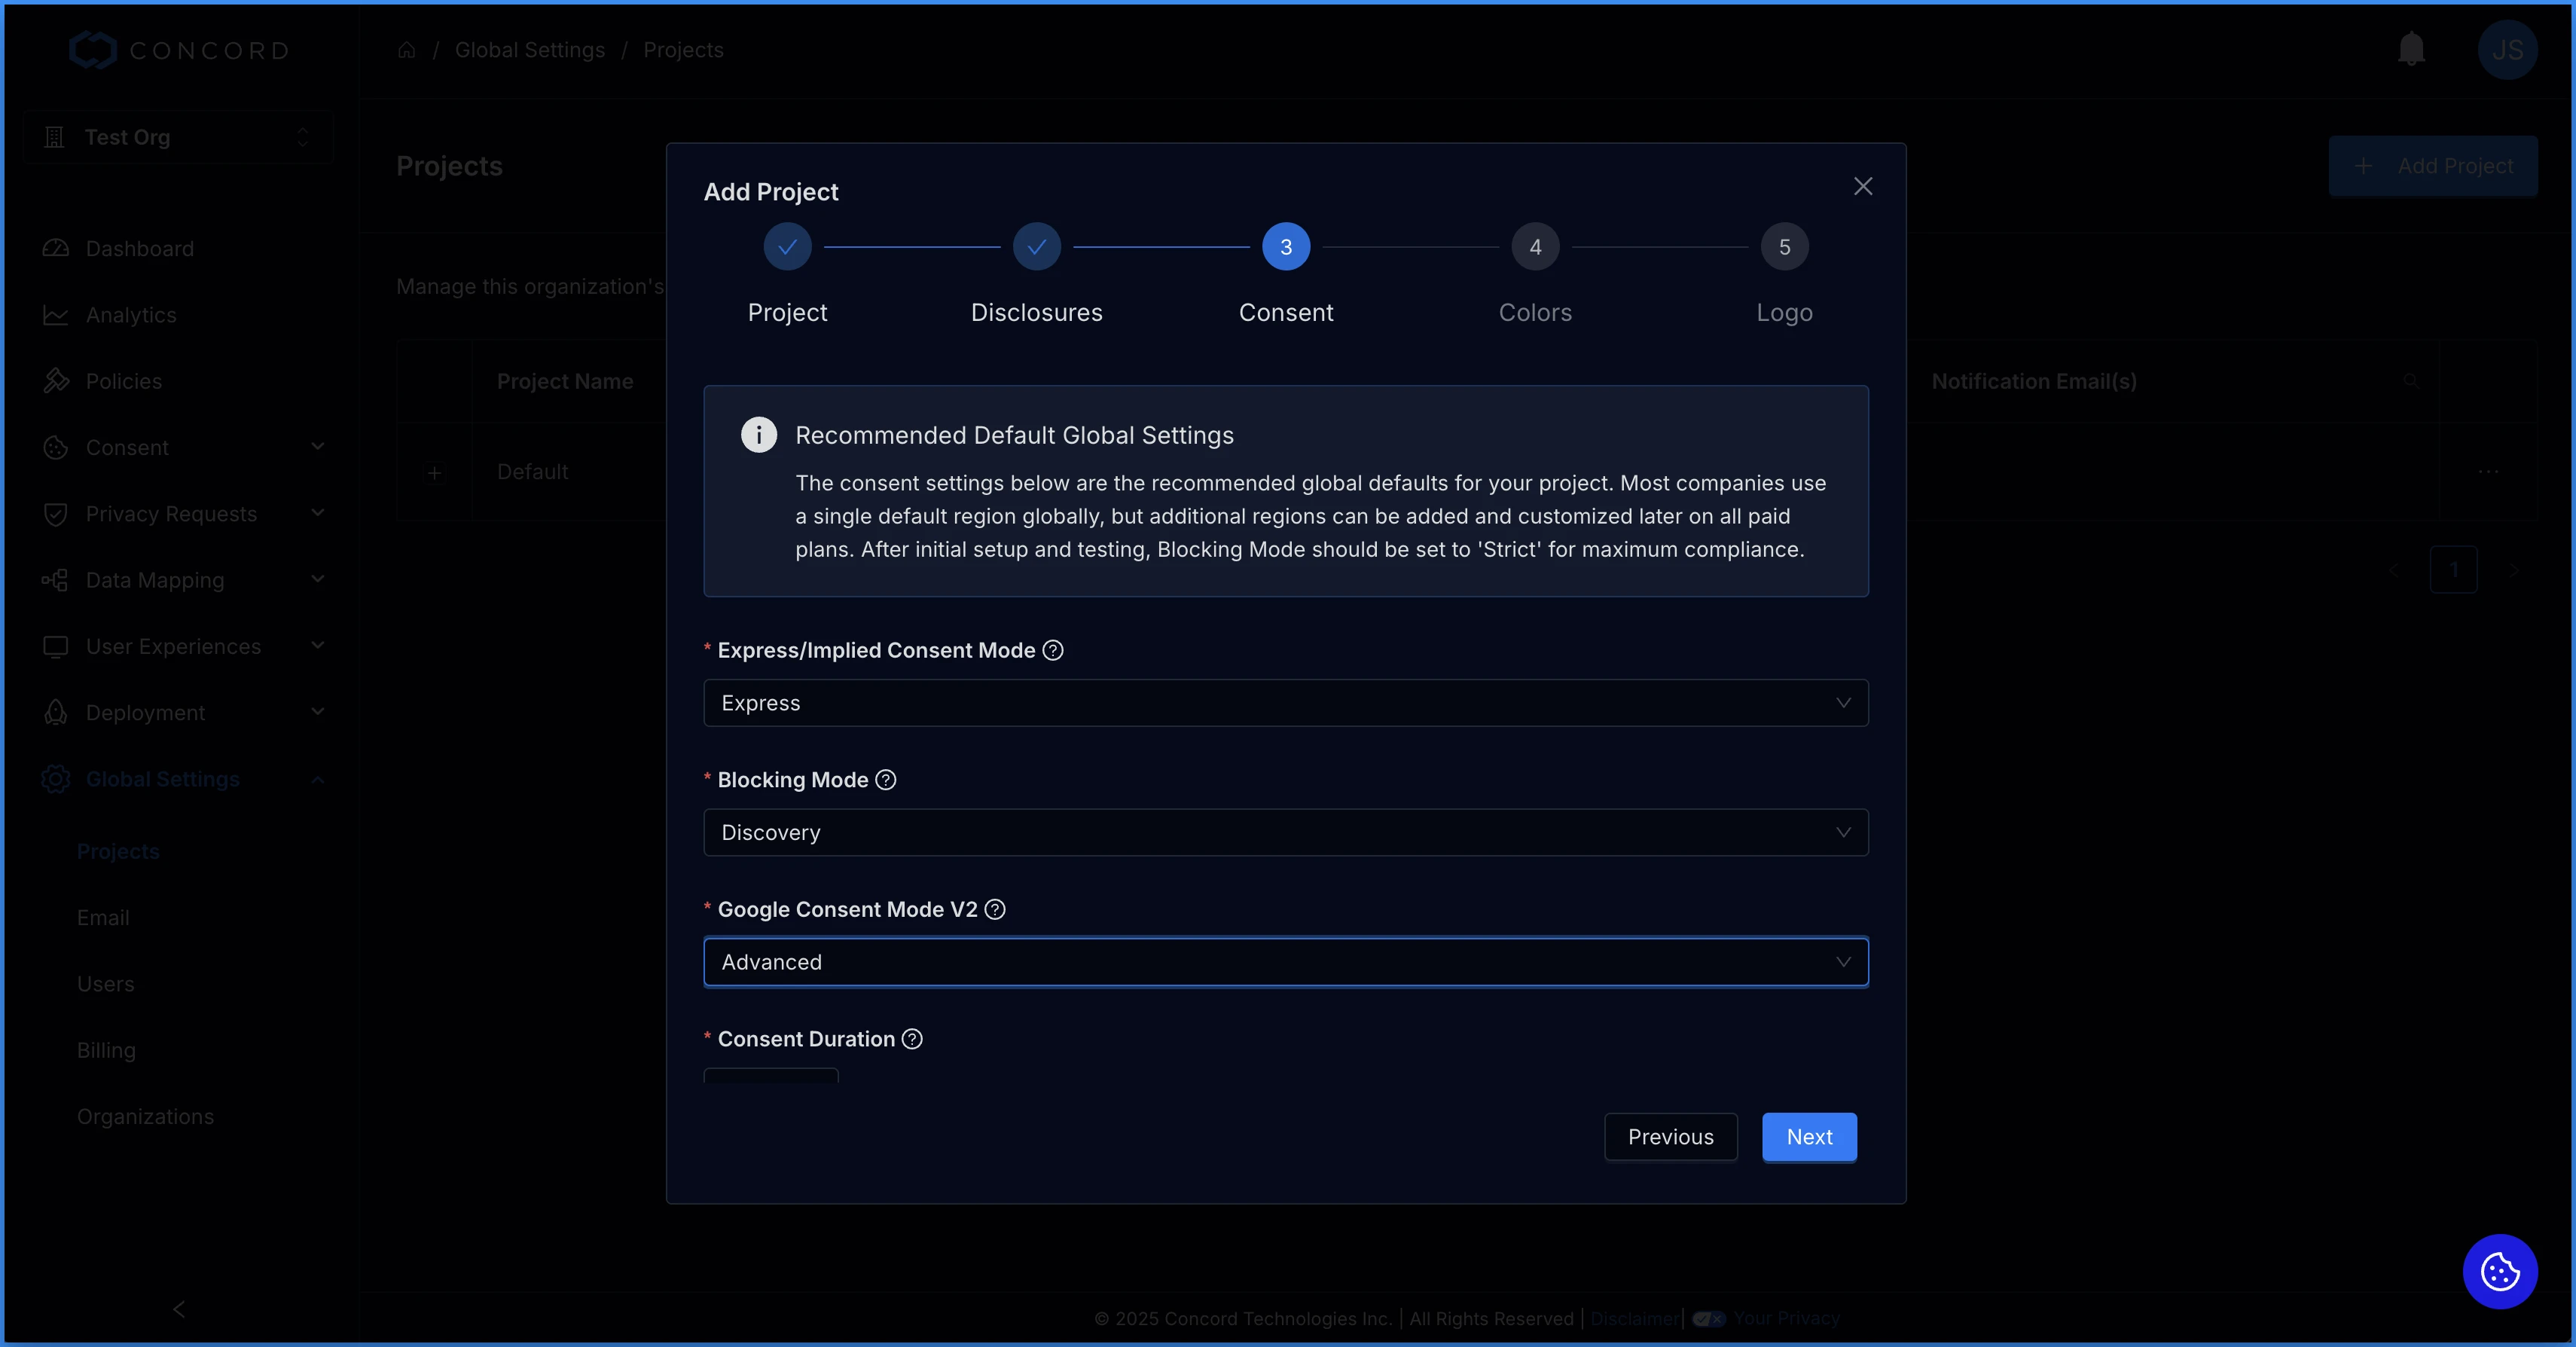
6. On the **Colors** step, select your primary and secondary colors.
* **Primary:** The primary color is used in your Consent Banner, Privacy Center, and Floating Button for most of your custom branding (buttons, links, etc.).
* **Secondary:** Your secondary color is used for the background of the header in your Privacy Center.
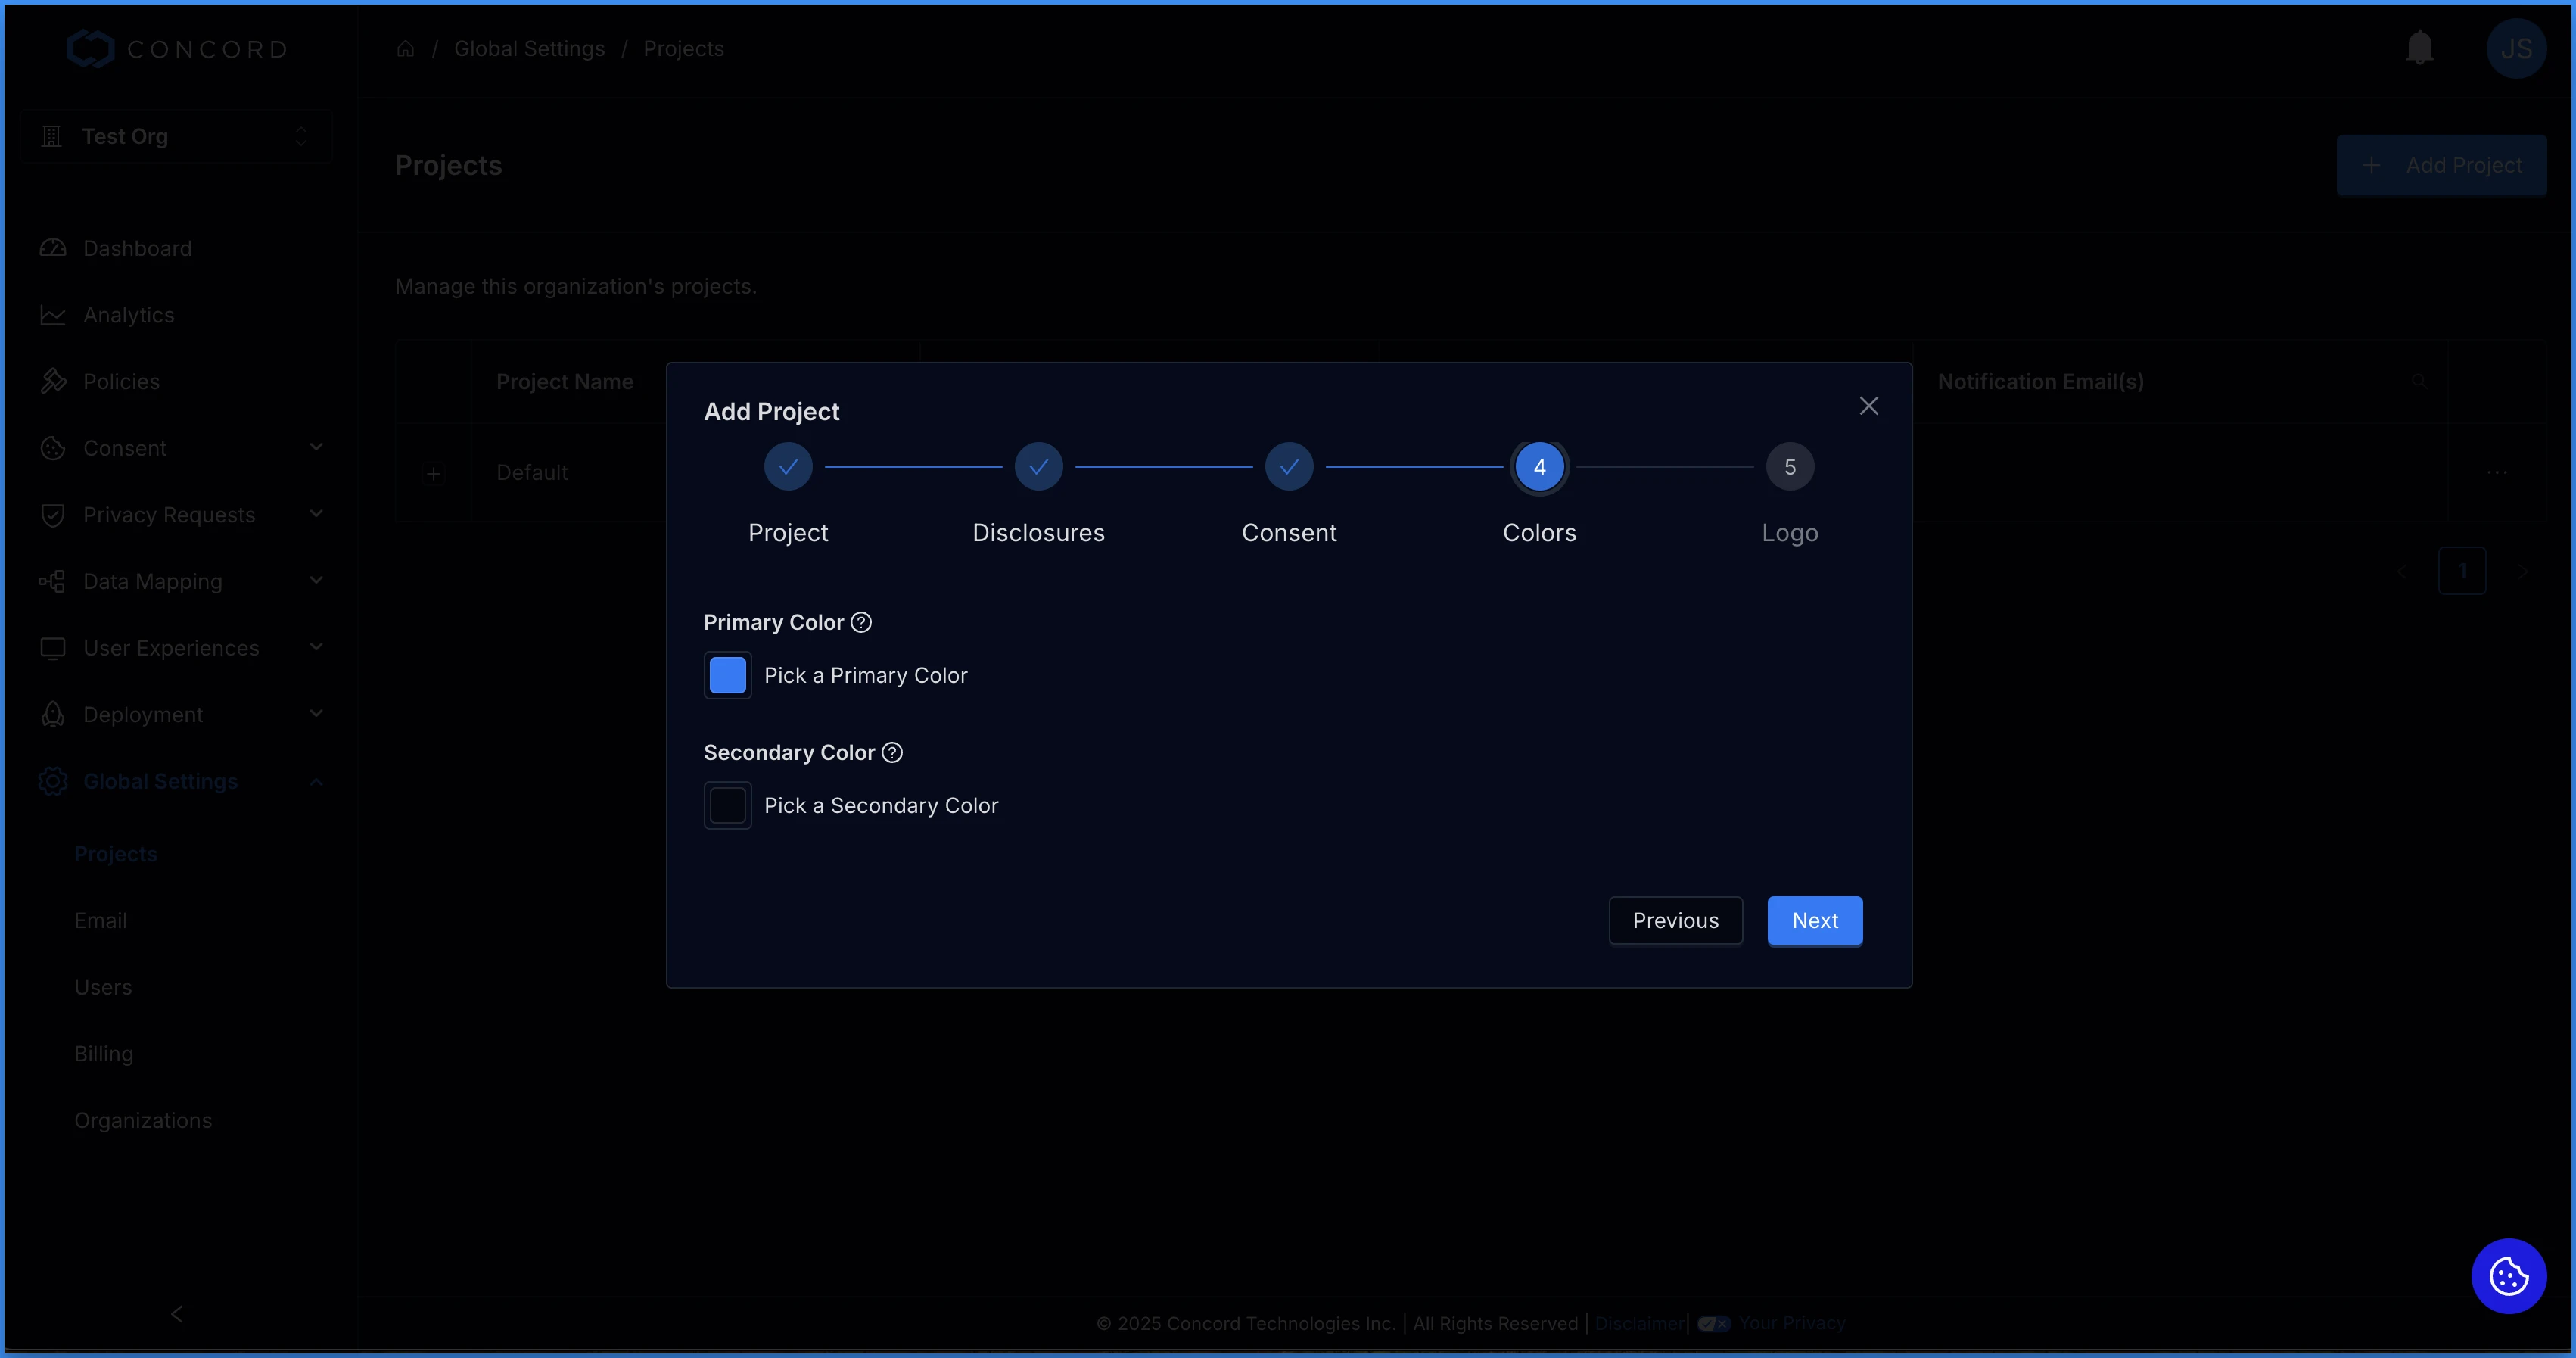
7. On the **Logo** step, add the logo you want to use in your Privacy Center. Horizontal logos are recommended. There are no height or width restrictions, but logos are resized in the widget to a max-height of 40px so 40px is the preferred height.
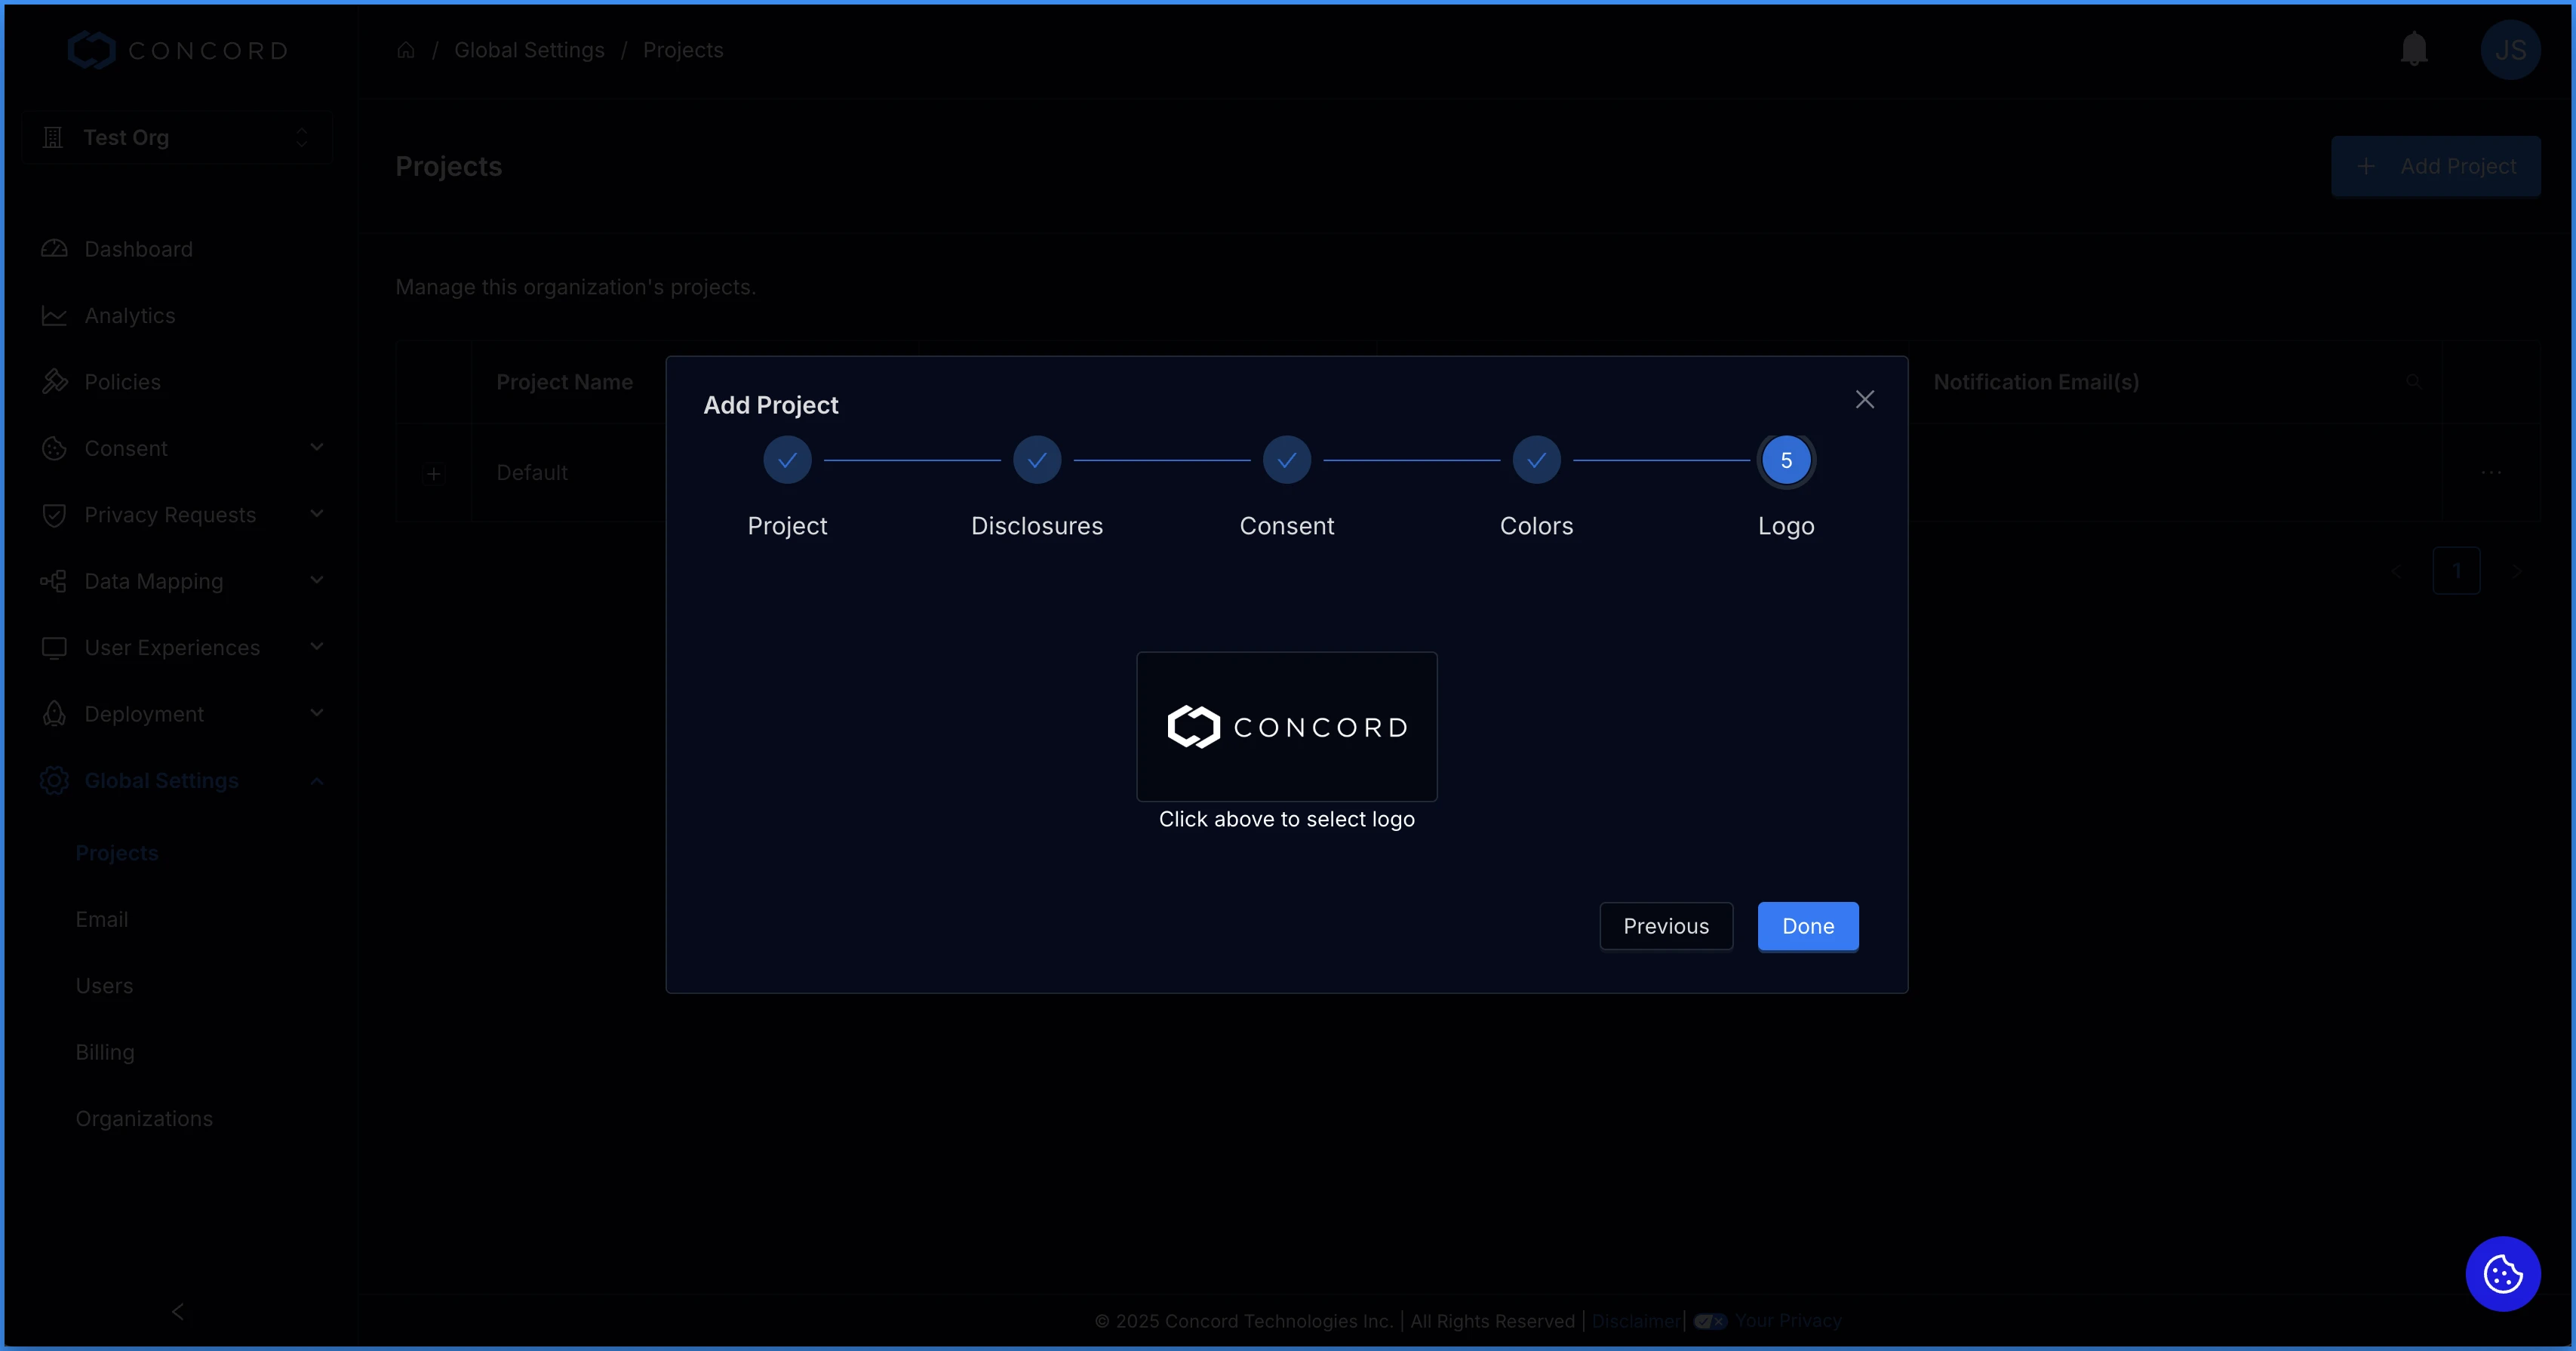
8. We will display a message letting you know the project has successfully been added and is now ready for use.
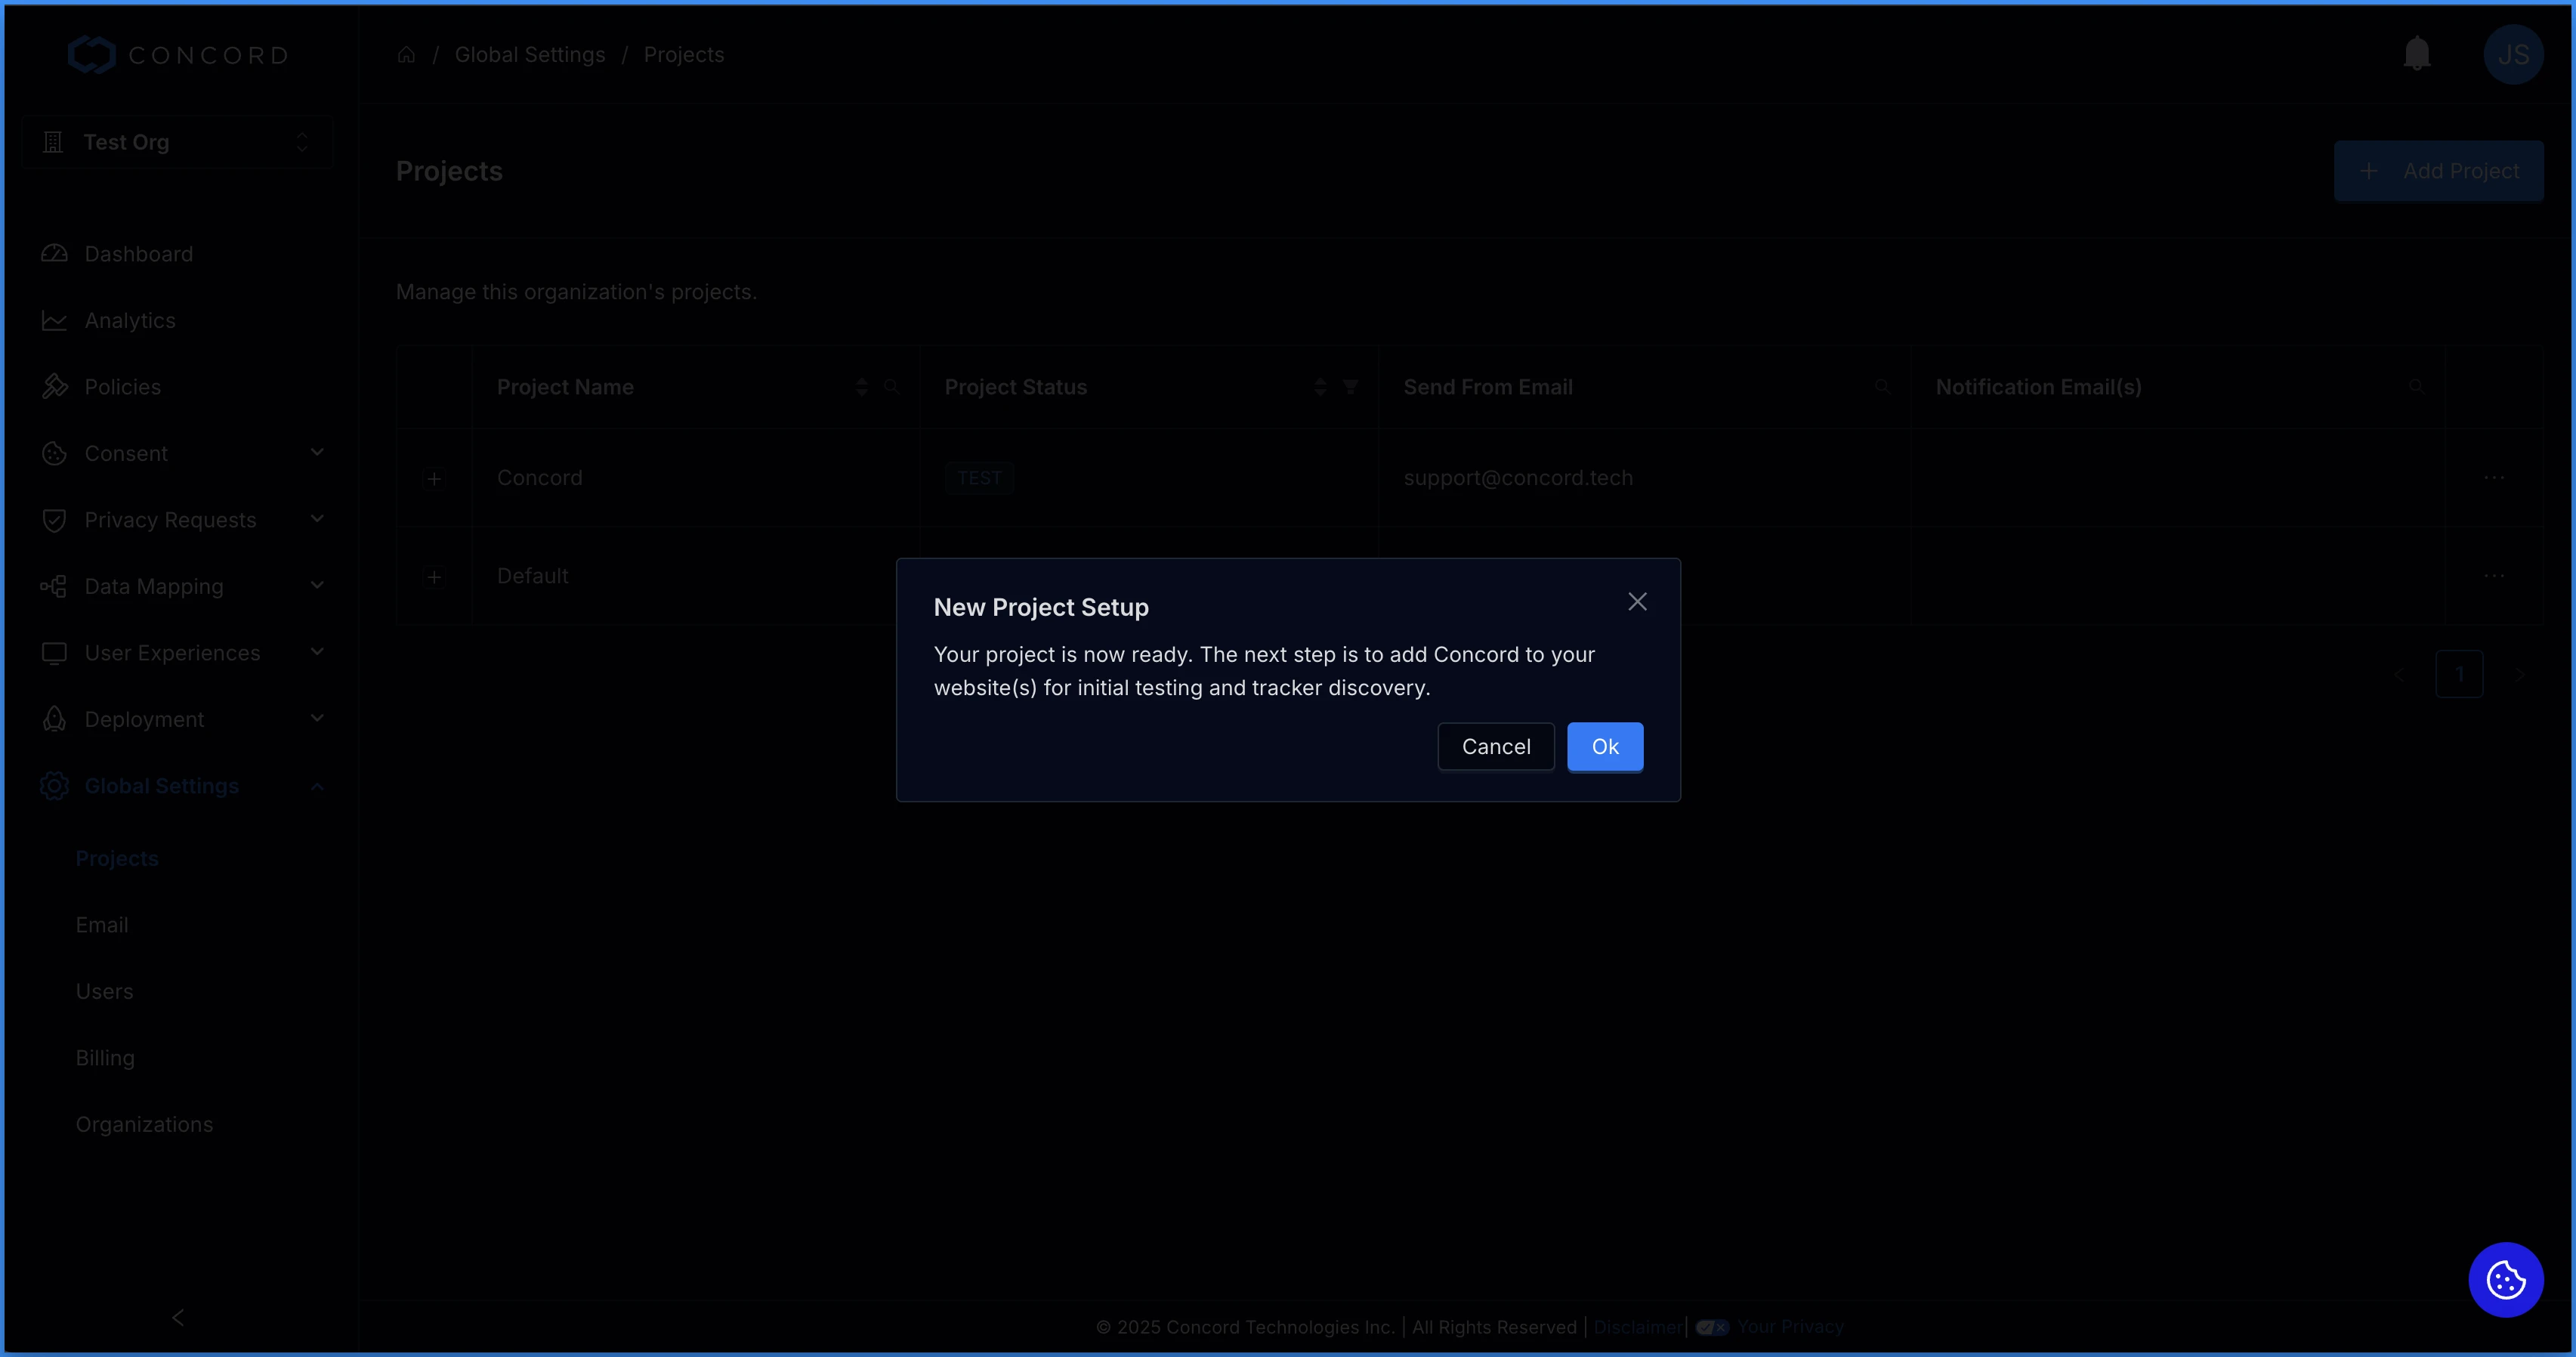
## How to Edit a Project
The options to edit a project located on the right-hand side of the domain list in the **Actions** menu.
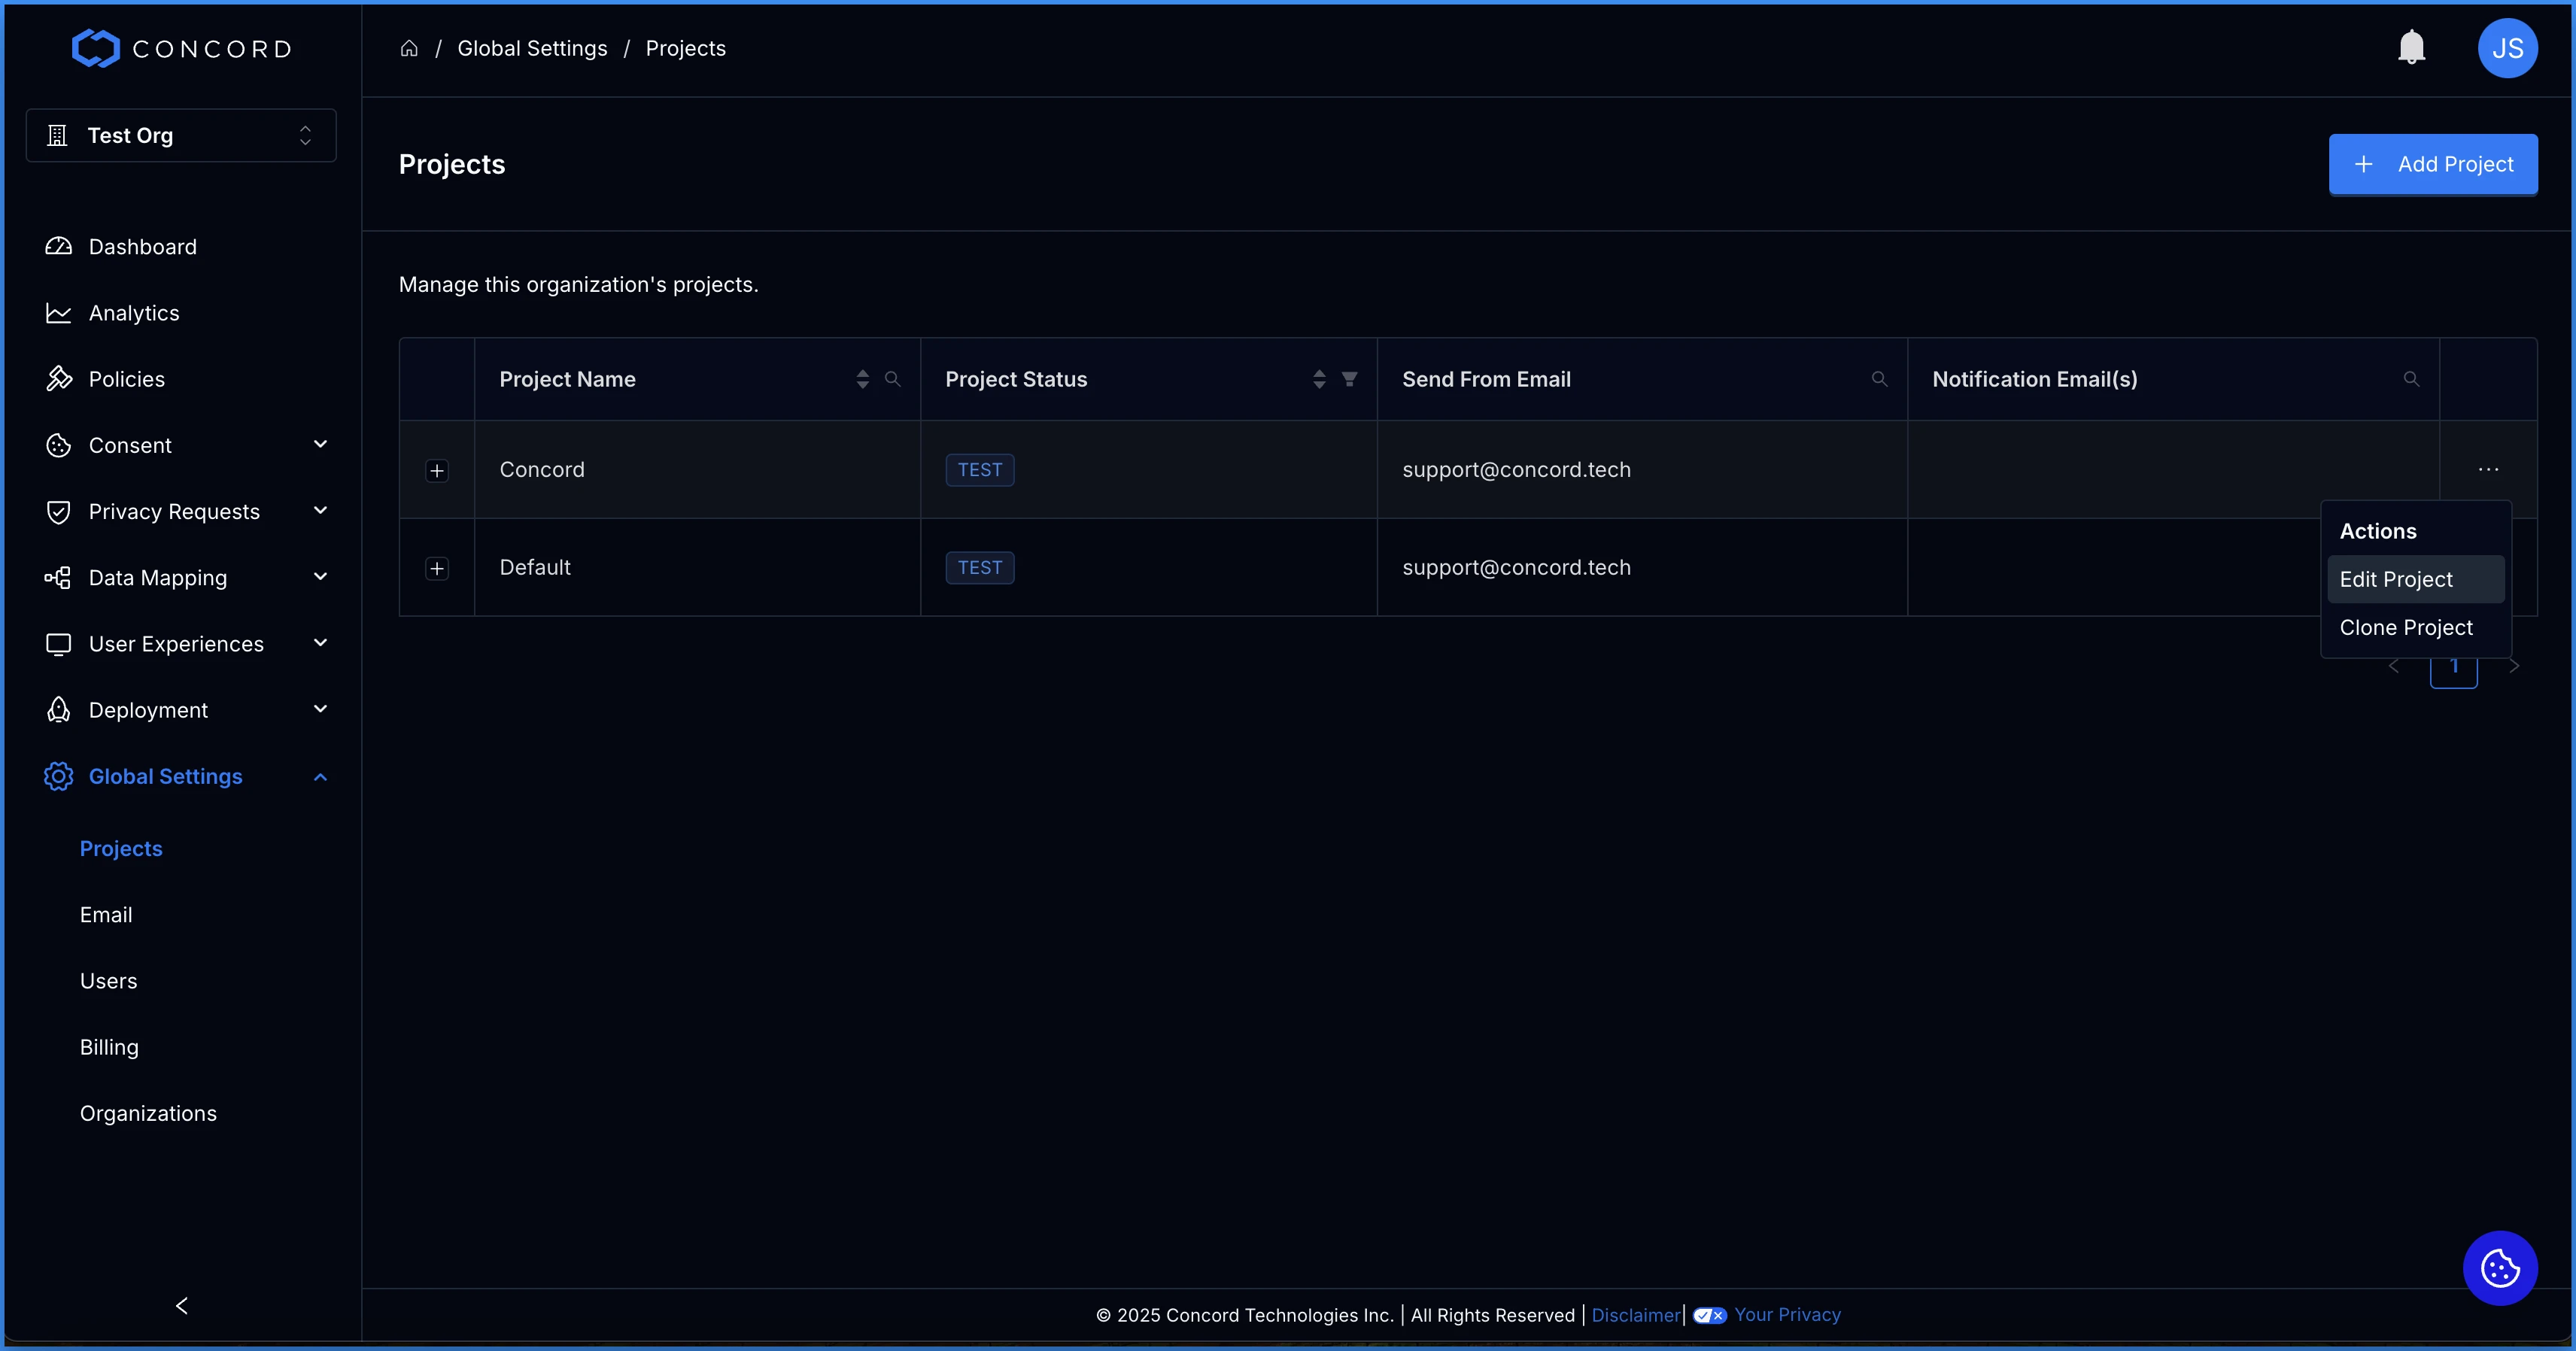
Select **Edit** to change an existing domain’s name or URL. You’ll be able to edit:
* Project Name
* Status
* Send From Email
* Notification Email(s)
* Data Systems

## How to Archive and Unarchive Projects
You can archive a project by clicking the “+” to the right of the project name to view the project details. Click the **Archive** button and you will be prompted to confirm you want to archive the project.
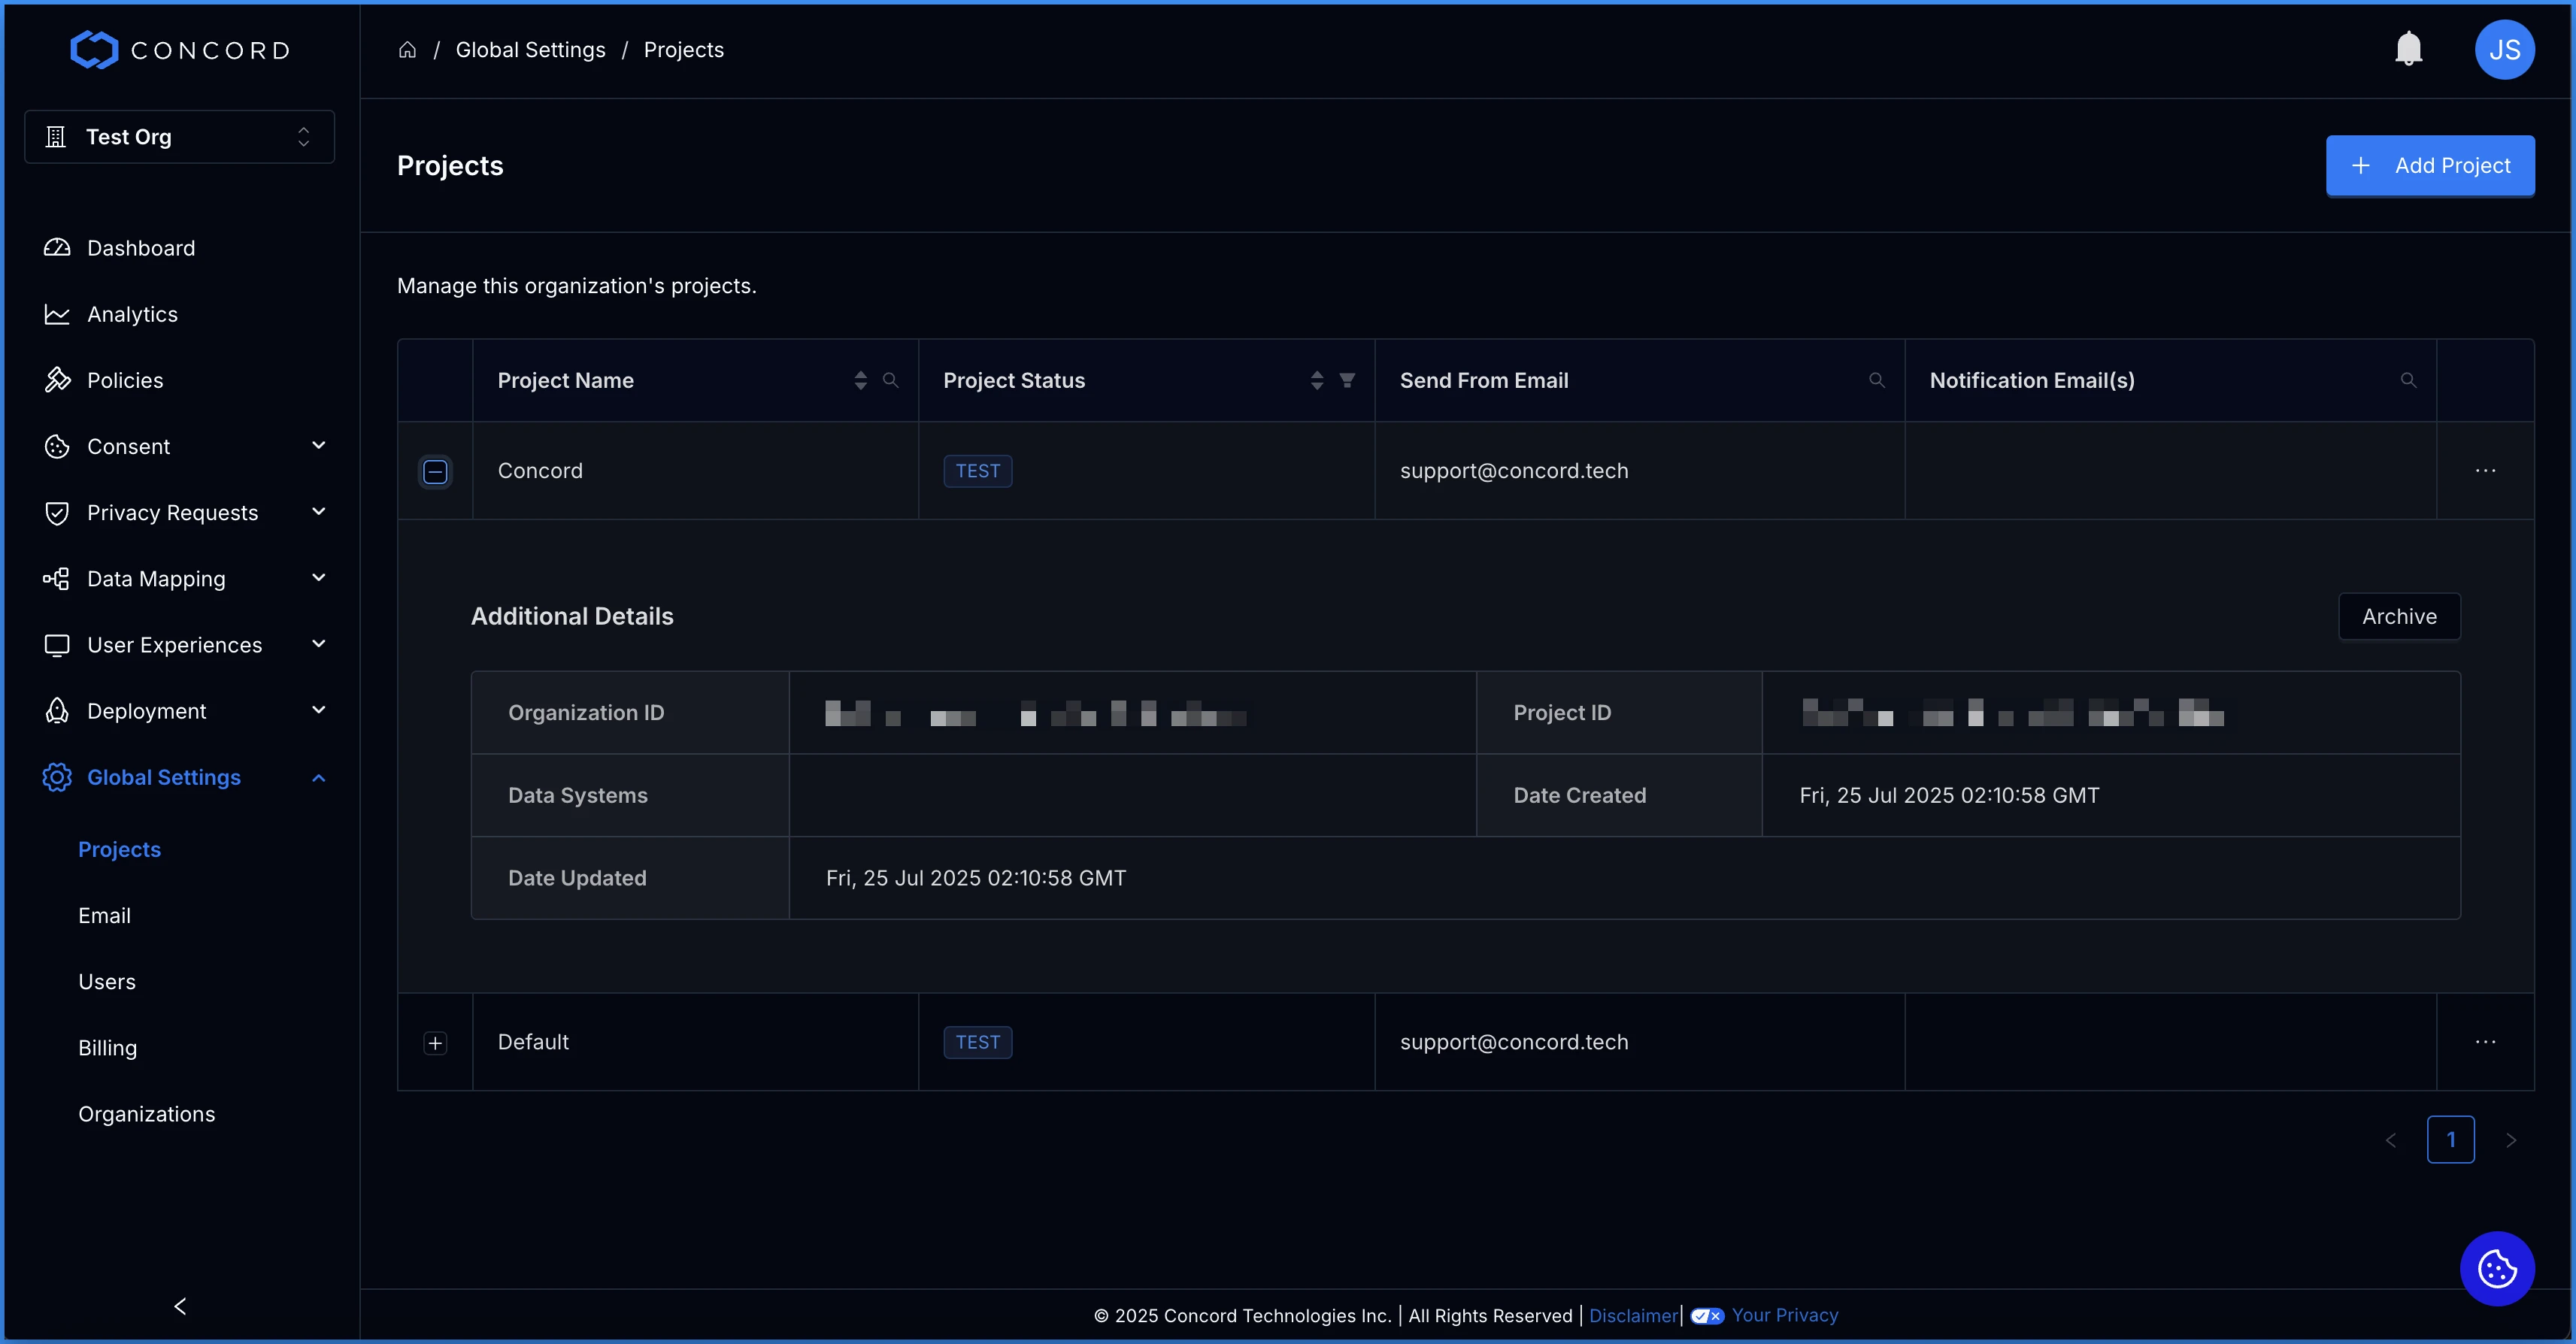
To view and restore archived projects. Login to your Concord account, navigate to Global Settings, and Projects. Click the filter option to the right of the Project Status column, select Archived and click OK. You'll now see a list of your archived projects. Click the Actions Menu to the right of the project you want to change, select Edit Project, and change the project status.
## How to Clone a Project
The options to clone a project located on the right-hand side of the domain list in the **Actions** menu. When cloning a project, the core configuration settings will be copied to the new project (branding, consent settings, privacy request settings, etc.).
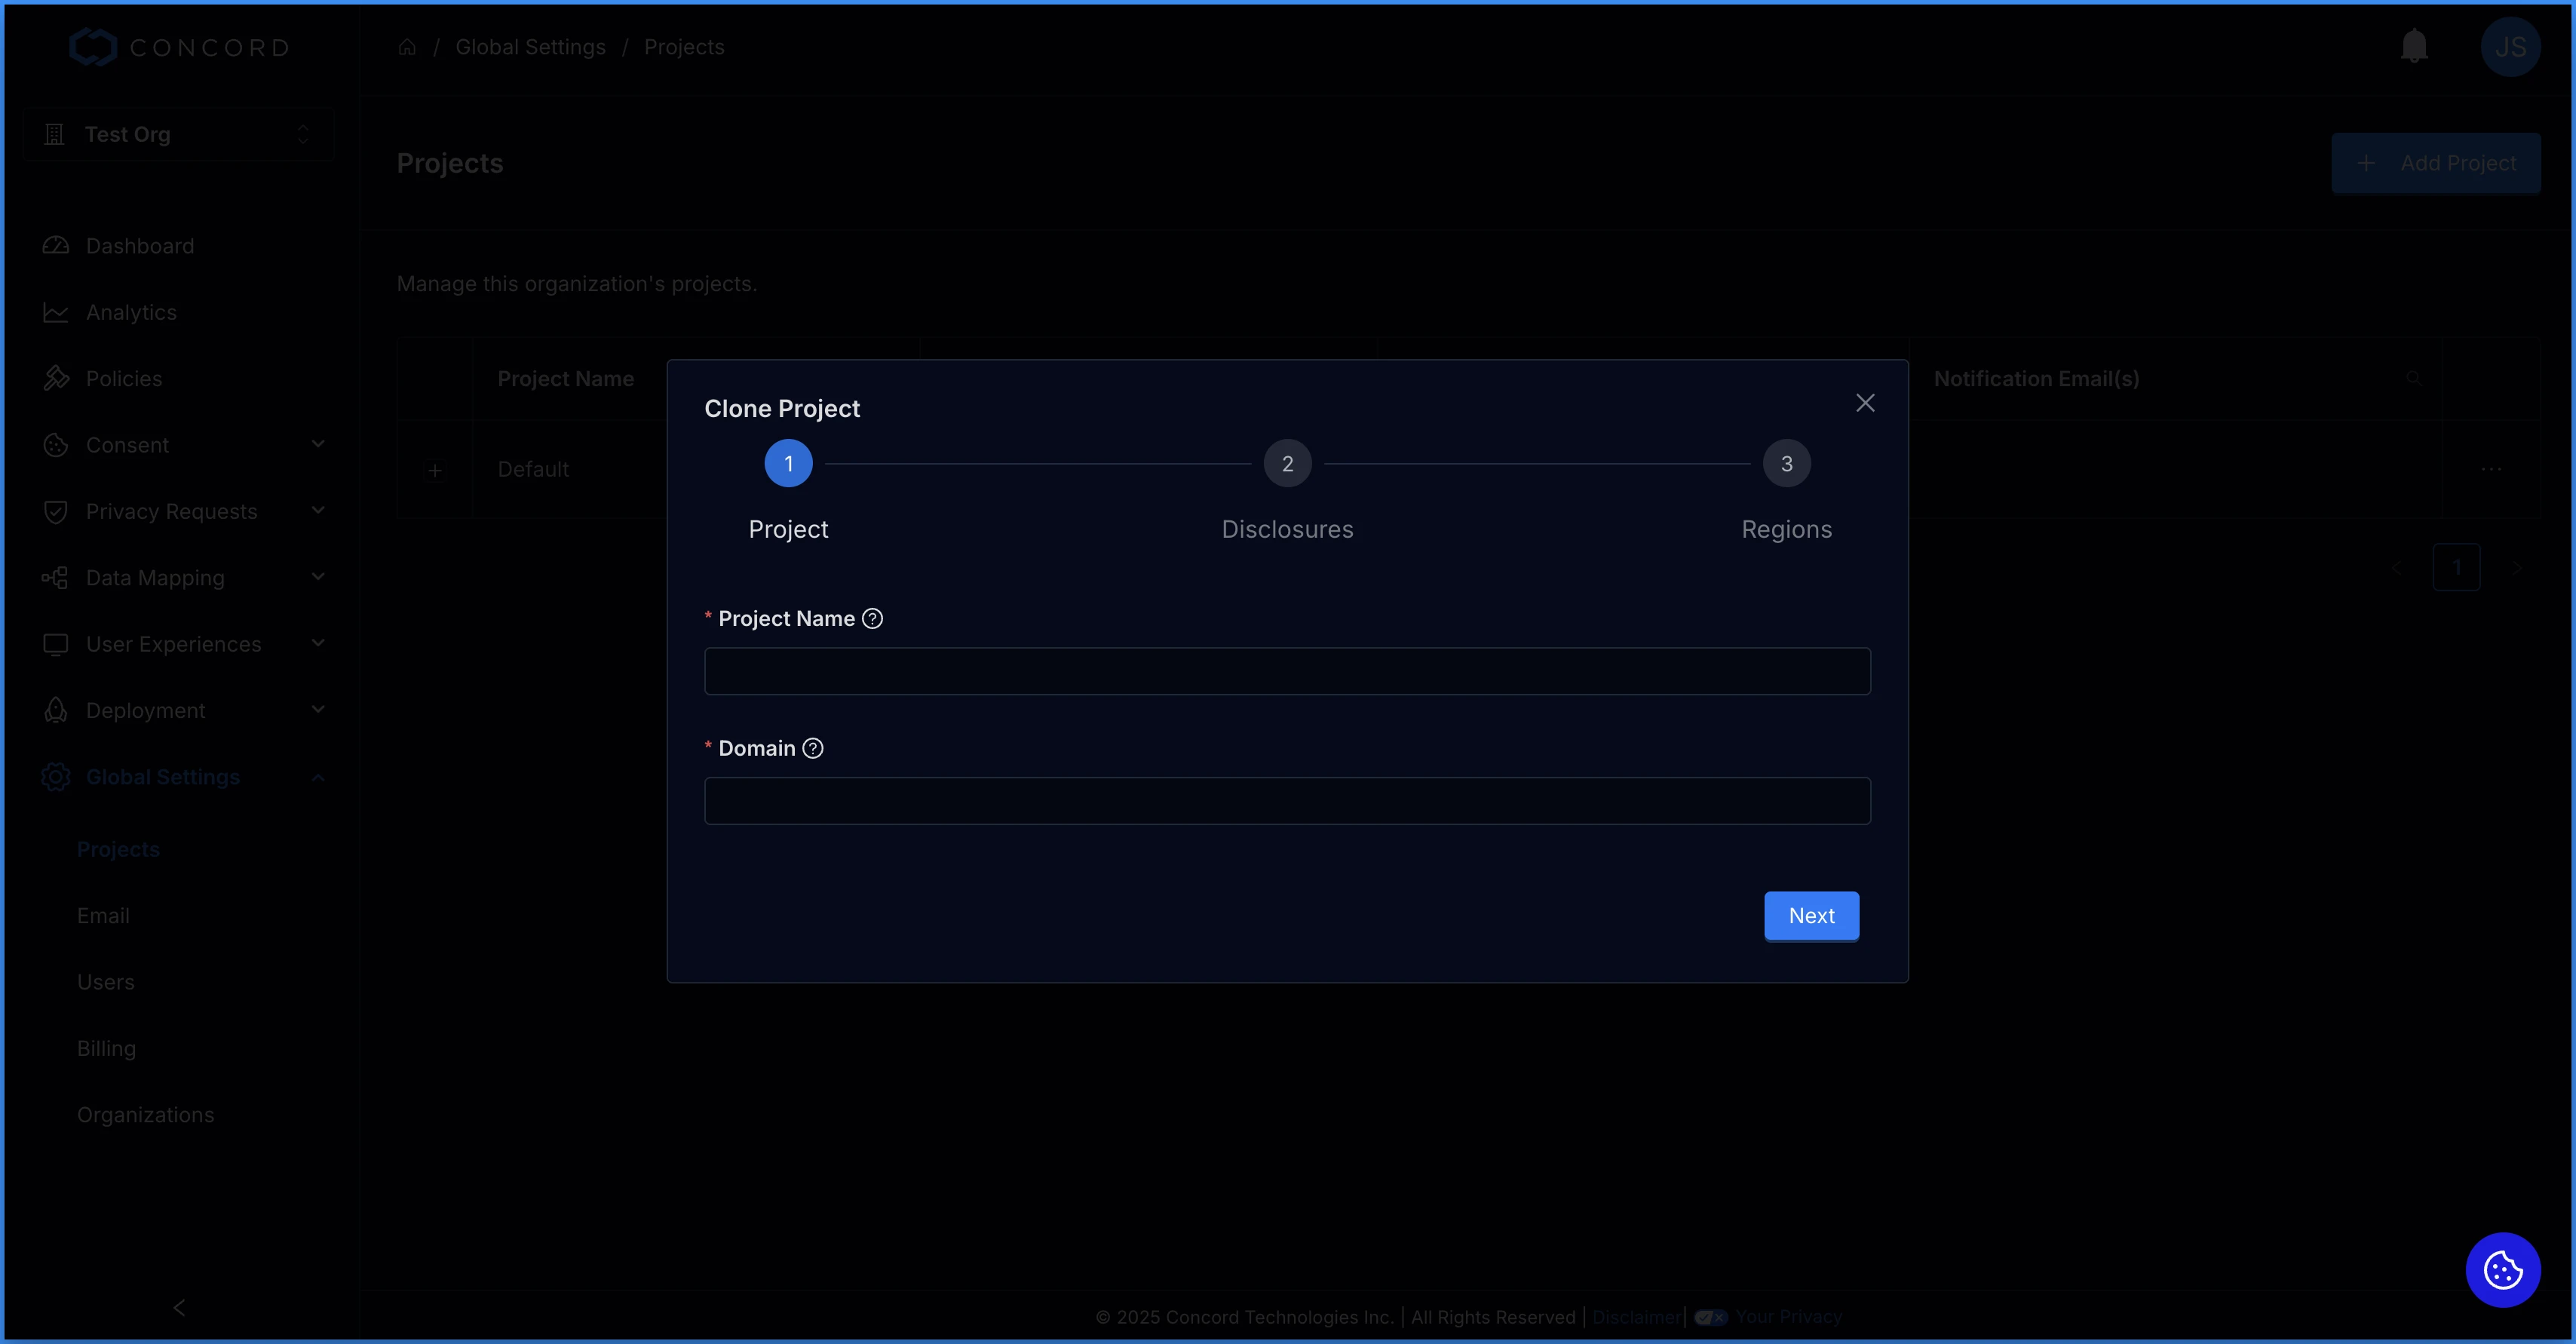
1. In the Clone Project wizard, on the **Project** step, enter your **Project Name** and **Domain** URL and click **Next.**
* The UI will confirm if you have entered a properly formatted domain. Do not prepend “http\://” or “https\://” to your domain.

2. On the **Disclosure** screen, add the URL for your organization’s **Privacy Policy** (required) and **Terms of Service**. If the Project you are cloning has no additional regions, this is the final step and you can click **Done**. You will now see your new project in the list of projects. If the project being cloned has additional regions, click **Next** to continue to the final step.

3. If you are cloning a project that has additional regions, you will see a **Regions** step, where you can select the additional regions you would like copied to the new project. Please note that this section will not show in the wizard if you only have a default region configured. Click **Done** and you will see the new project in your list of projects.

# Managing Send From Emails
URL: /docs/managing-send-from-emails
***
title: 'Managing Send From Emails'
description: 'Step-by-step guide to adding and managing Send From Emails in Concord.'
created: '2021-10-05T00:10:33.000Z'
updated: '2023-10-03T08:43:21.000Z'
-----------------------------------
## Overview
When your customers take certain actions within the Privacy Center, such as submitting compliance requests, they will receive communications generated by Concord, such as emails providing verification codes or confirming a received request.
* The default address for each newly created Project is **[support@concord.tech](mailto:support@concord.tech) (Concord Support).** You may want to choose a different address and sender name that is in line with your company’s customer support or privacy teams. This can be accomplished by configuring Send From Emails.
Adding and using a new Send From Email is an easy two step process:
1. Add a new Send From Email (instructions below).
2. Assign a Send From Email to a specific project. For information on assigning Send From Emails to a Project, see [Assigning Send From Emails to Projects](/docs/assigning-send-from-emails)
3. (Optional) DMARC/DKIM Setup. If you use strict email security policies, you may need to configure DKIM and DMARC.
For detailed instructions on configuring email authentication, see our guide
on [Send From Email Authentication (DKIM &
DMARC)](/docs/send-from-email-authentication-dkim-dmarc).
## Adding Send From Emails
1. You can add, edit, and delete Send From Emails in the **Email** section under **Global** **Settings**.
2. To add a send from email, click on the **Add Email** button on the top right.
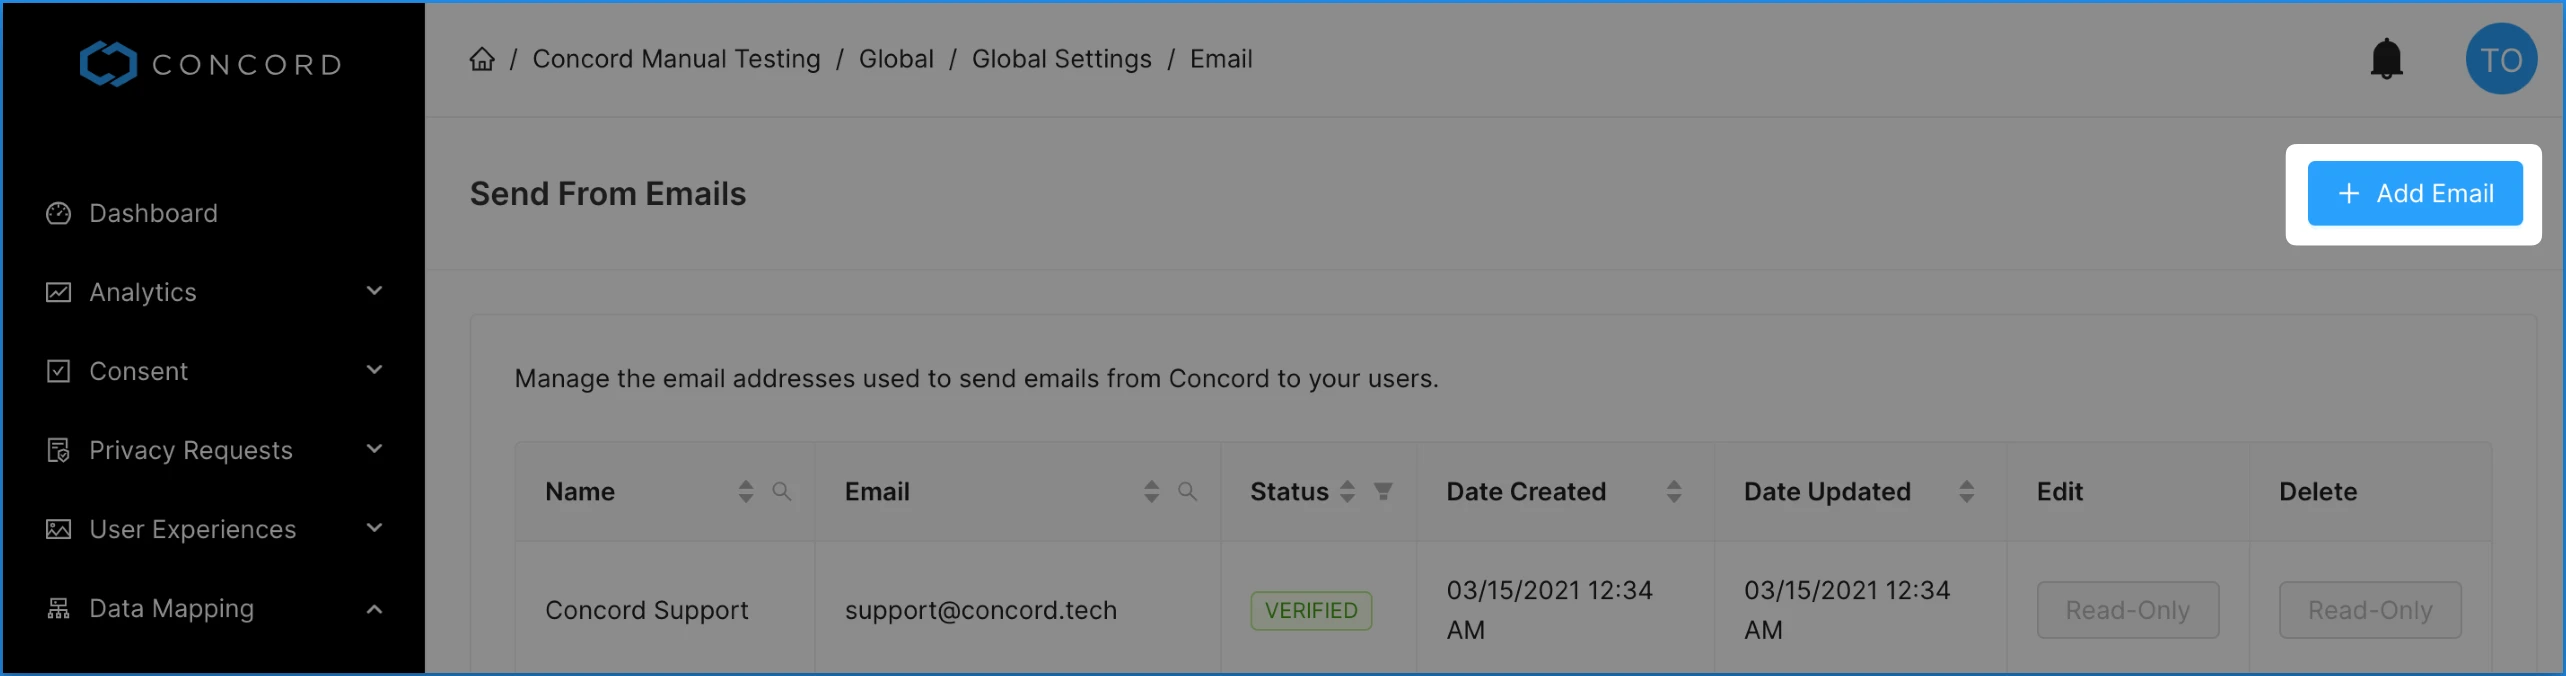
3. Enter a name. This is the sender name your end users will see attached to email communications.
4. Enter an email address. This is the address that your end users will receive email communications from.
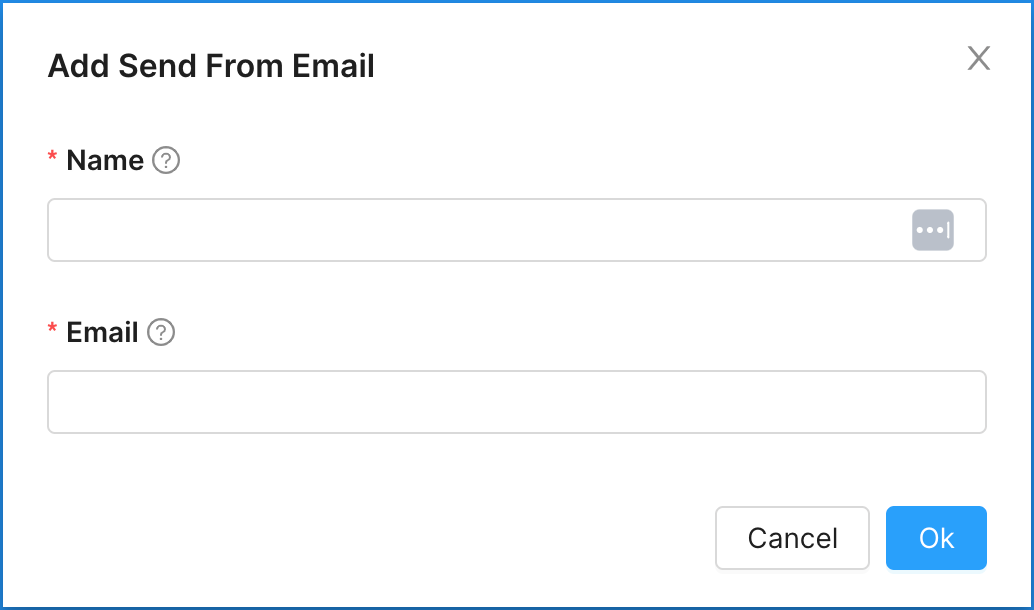
5. Click **Ok**. Your new Send From Email will now show a “Pending” status in the Send From Emails table.
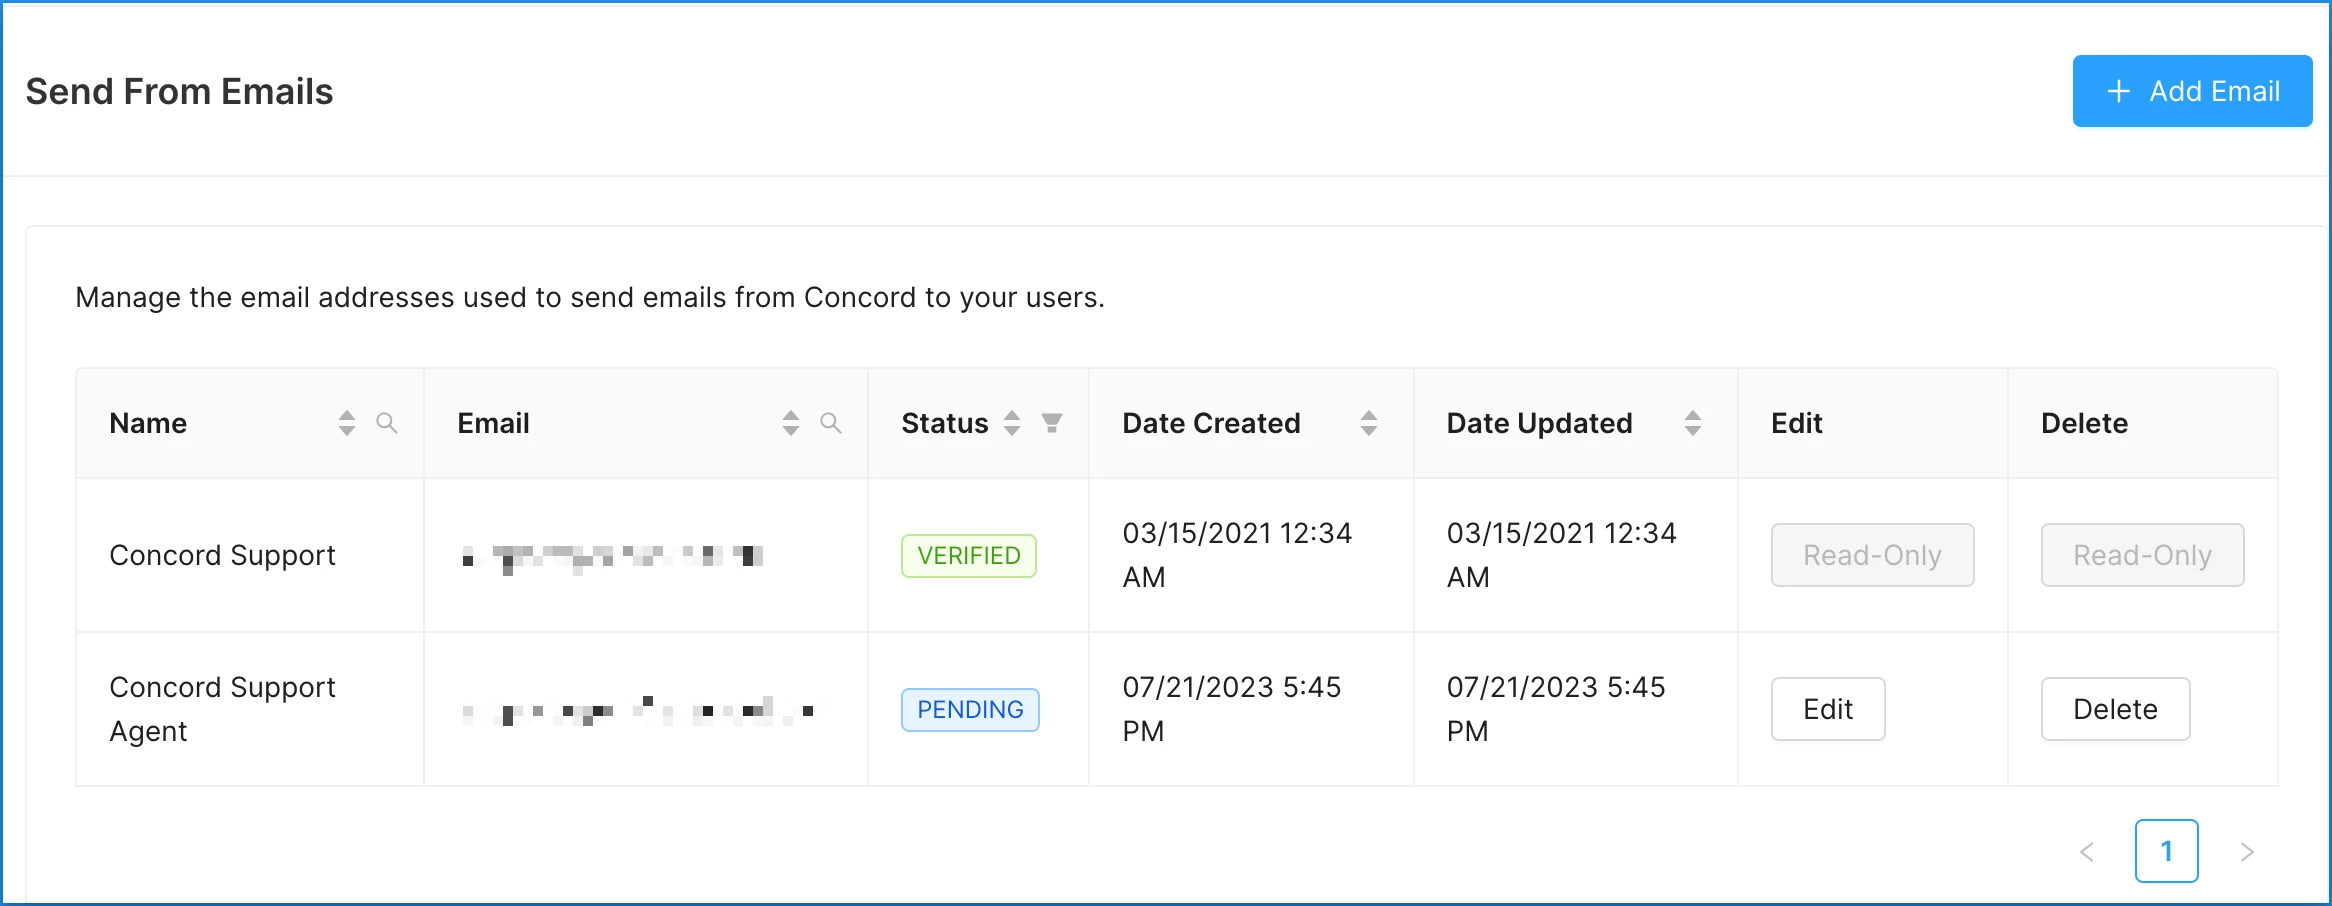
6. Check the corresponding email account for your verification link. Click the link to verify your email address.
7. You will be brought back to the Admin UI with a notice that your email has been successfully verified. Click the **Back Home** button to return to the project dashboard. You are now able to assign your new Send From Email to a Project.
## Editing Send From Emails
To edit a Send From Email, click on the **Edit** button to the right of the desired email. Update the **Name** and click the **Ok** button.
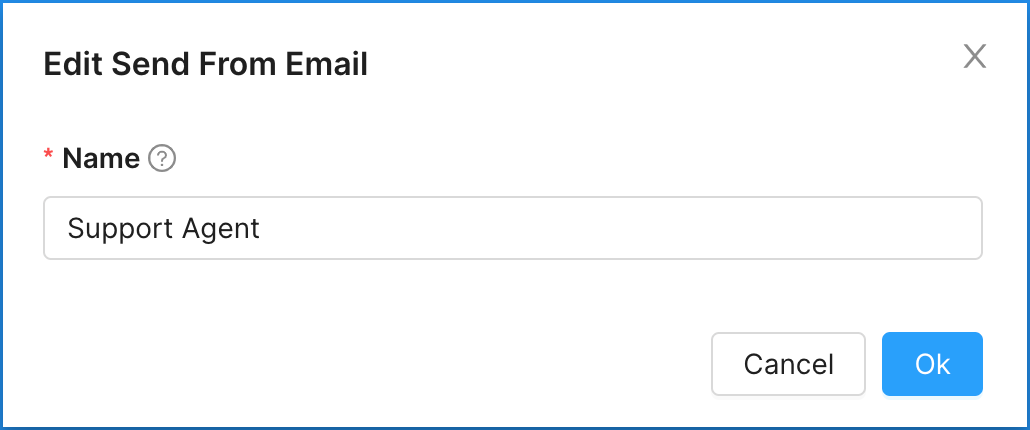
Any changes made to the Send From Email will appear across all associated Projects.
## Deleting Send From Emails
To delete a Send From Email, click the **Delete** button to the right of the desired email. You will be asked to confirm the deletion.
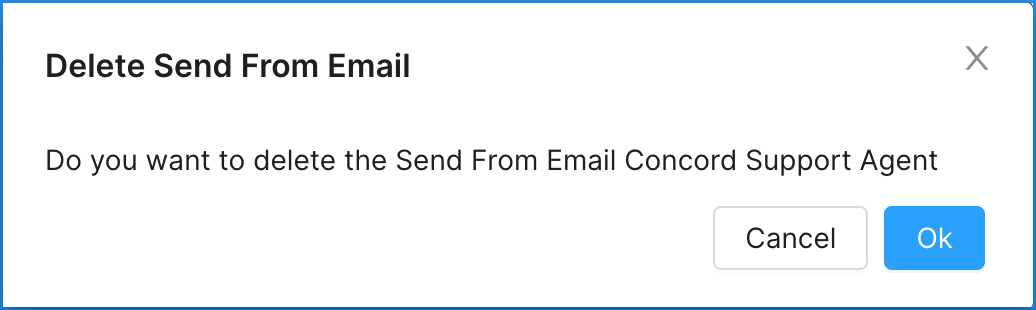
After deleting a Send From Email, any Projects associated with that email will revert back to using **[support@concord.tech](mailto:support@concord.tech)** as the Send From Email.
# Managing Users
URL: /docs/managing-users
***
title: 'Managing Users'
description: 'Step-by-step guide to managing users in Concord.'
created: '2021-05-13T20:51:29.000Z'
updated: '2023-10-03T08:44:45.000Z'
-----------------------------------
## Overview
You can add, edit, and delete Concord users from the **Users** section under **Global Settings**.
## Adding Users
To add a user, click on the **+ Add User** button on the top right.
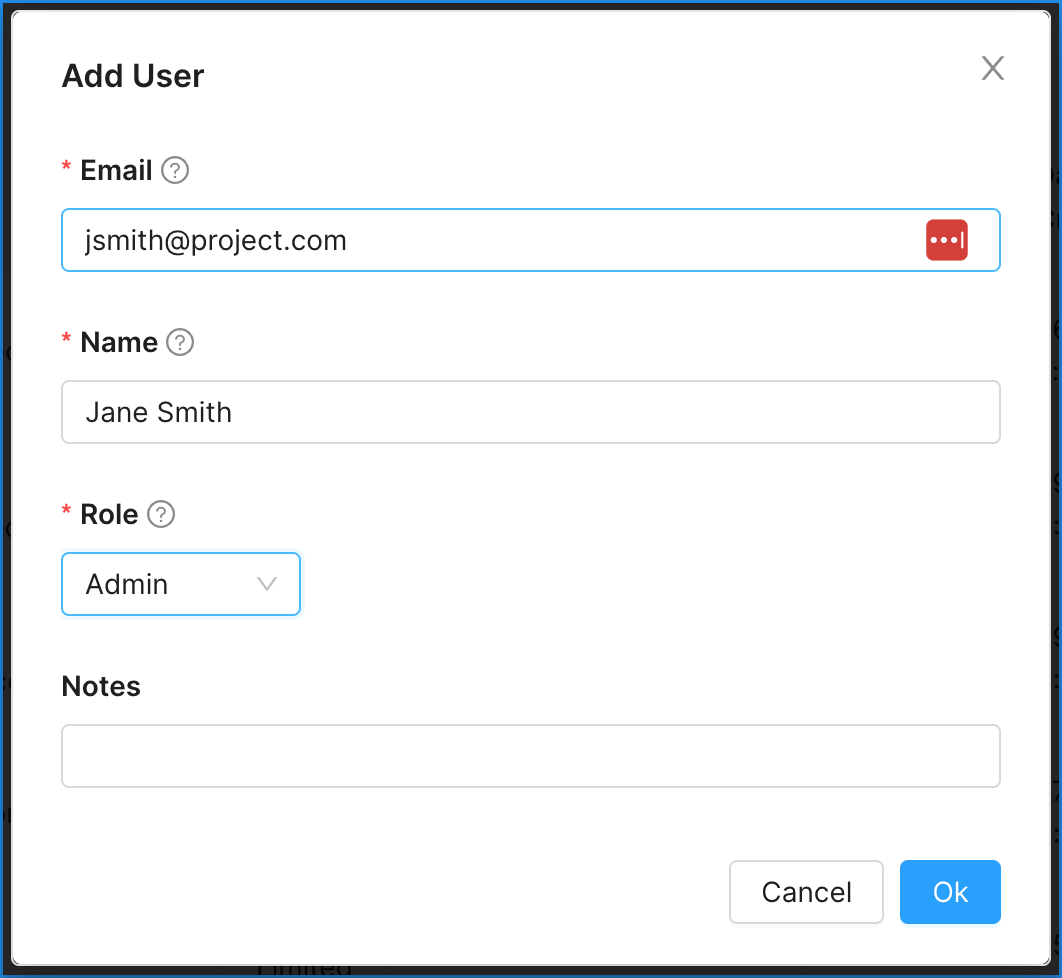
See also: [User Roles and Permissions](/docs/user-roles-permissions)
## Confirming User Accounts
New users must first confirm their account to access projects. When initially added in the Admin UI, users will receive an email invitation to join your organization. The user will need to follow the provided link to confirm their account.
* To resend the invite link to a user, click **Resend** next to their pending account.
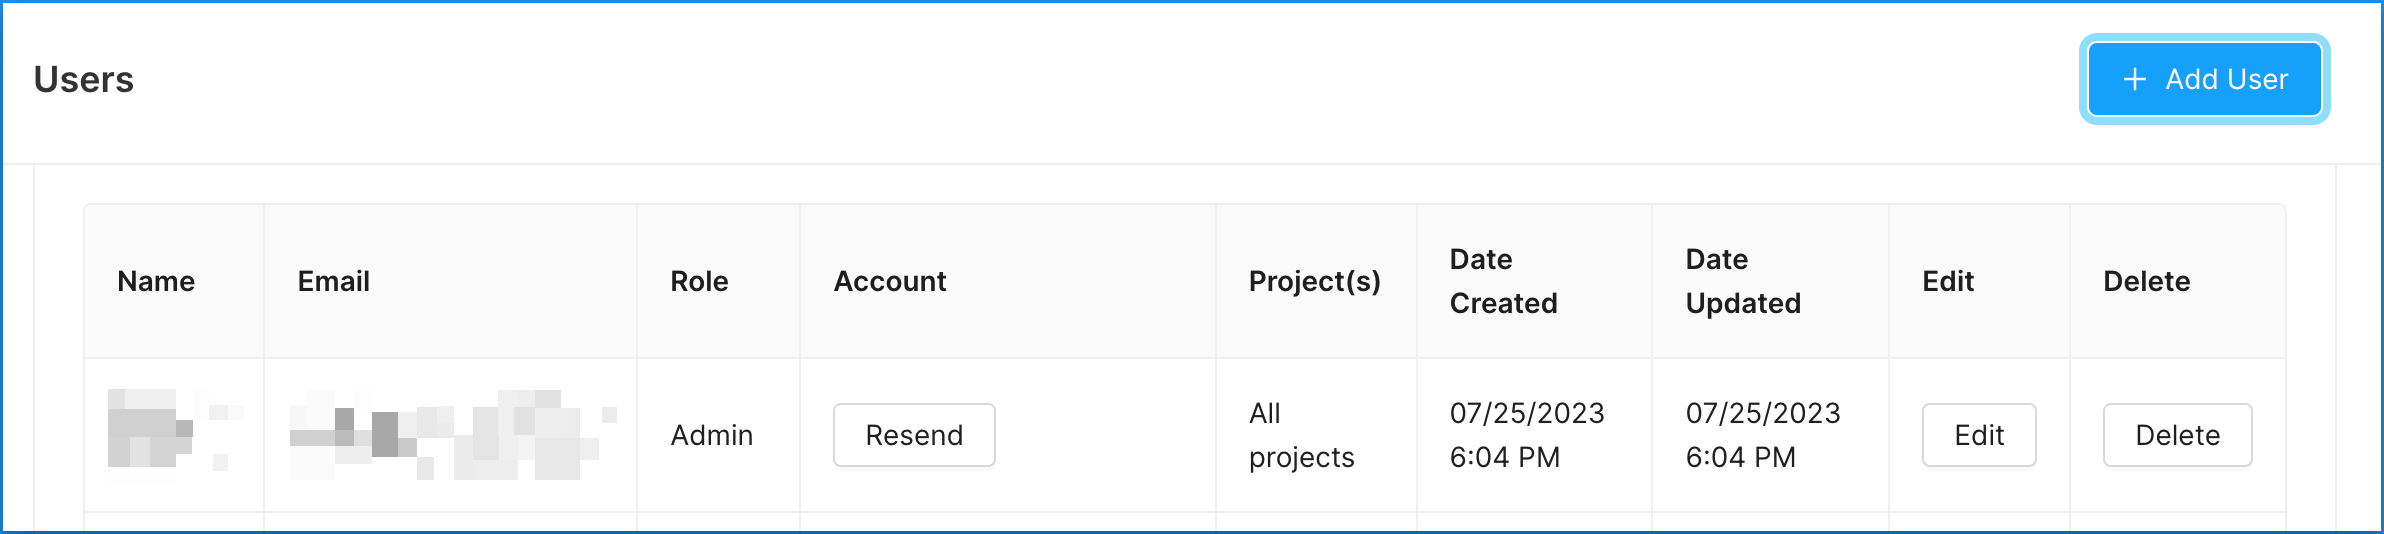
## Editing Users
To edit a user, click on the **Edit** button to the right of the row displaying the user’s information.
* You can edit the user name, role, and user notes from here.
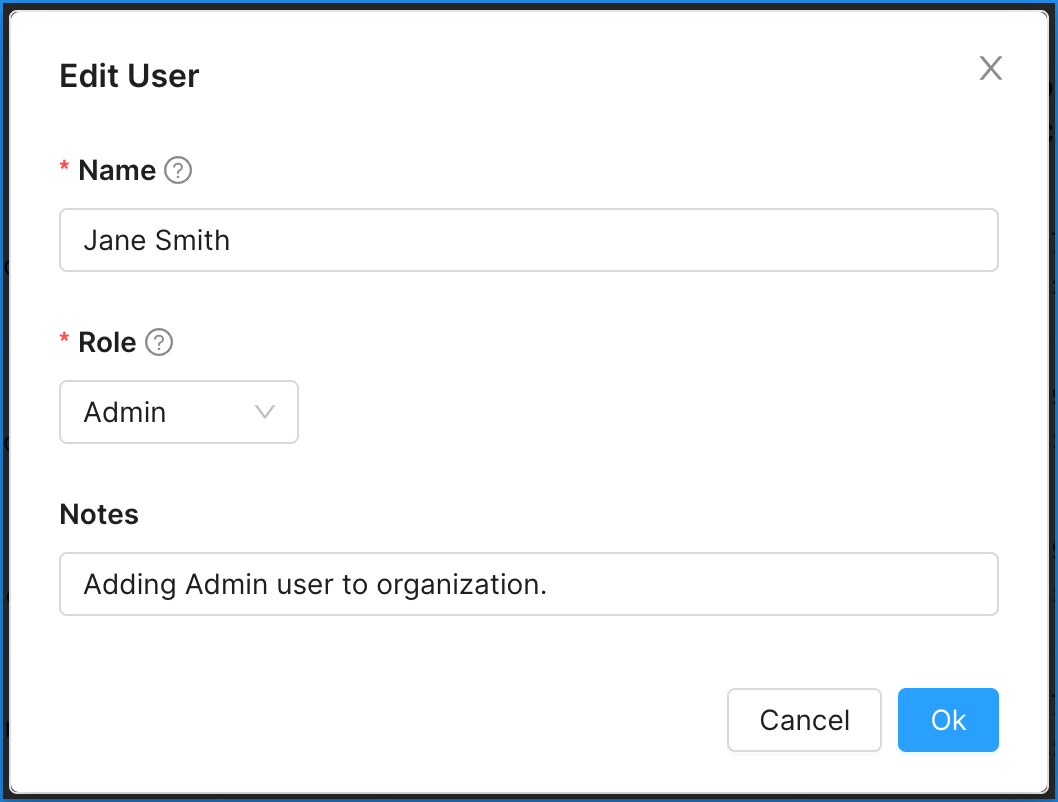
## Deleting Users
To delete a user, click the **Delete** button to the right of the row displaying that user’s information. You will be asked to confirm the user deletion.
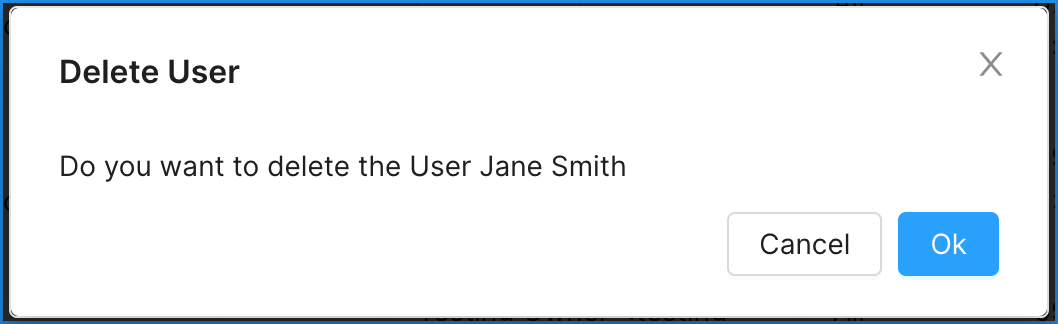
# Projects Overview
URL: /docs/projects-overview
***
title: 'Projects Overview'
description: 'Guide to understanding projects and viewing project details.'
createdAt: '2021-05-13T20:53:18.475Z'
updatedAt: '2023-10-03T06:43:36.997Z'
publishedAt: '2024-11-29T06:37:44.074Z'
---------------------------------------
## Understanding Projects
* Concord uses Projects as the basic unit of deployment and configuration.
* Most organizations will create a Project for each unique website or application they own.
* Most companies will generally use a single domain per Project, although it's possible you will have several different websites that require similar Consent and Compliance configurations.
* When logging into Concord's Admin User Interface (UI) for the first time, you will be guided through a Project Setup Wizard where you will create your organization's first Project.
* If you have a test, development, and/or QA version of your site, you may wish to create a project for each of these site versions.
* You can switch Projects from any screen within the Project Setup module via a drop-down Project selector box on the top left of the window.
* From the **Global Settings** and **Projects** section in the Admin UI you will be able to:
* Add additional Projects.
* View Project details.
* Edit existing Projects.
* Archive Projects.
* Export the list of Projects to a CSV file for internal auditing and workflow processes.
* For more information on adding or editing Projects, see these articles:
* **[Adding Projects](/docs/adding-projects)**
* **[Managing Projects](/docs/managing-projects)**
## Viewing Project Details
1. Click on the **Global Settings** drop-down menu and choose **Projects**.
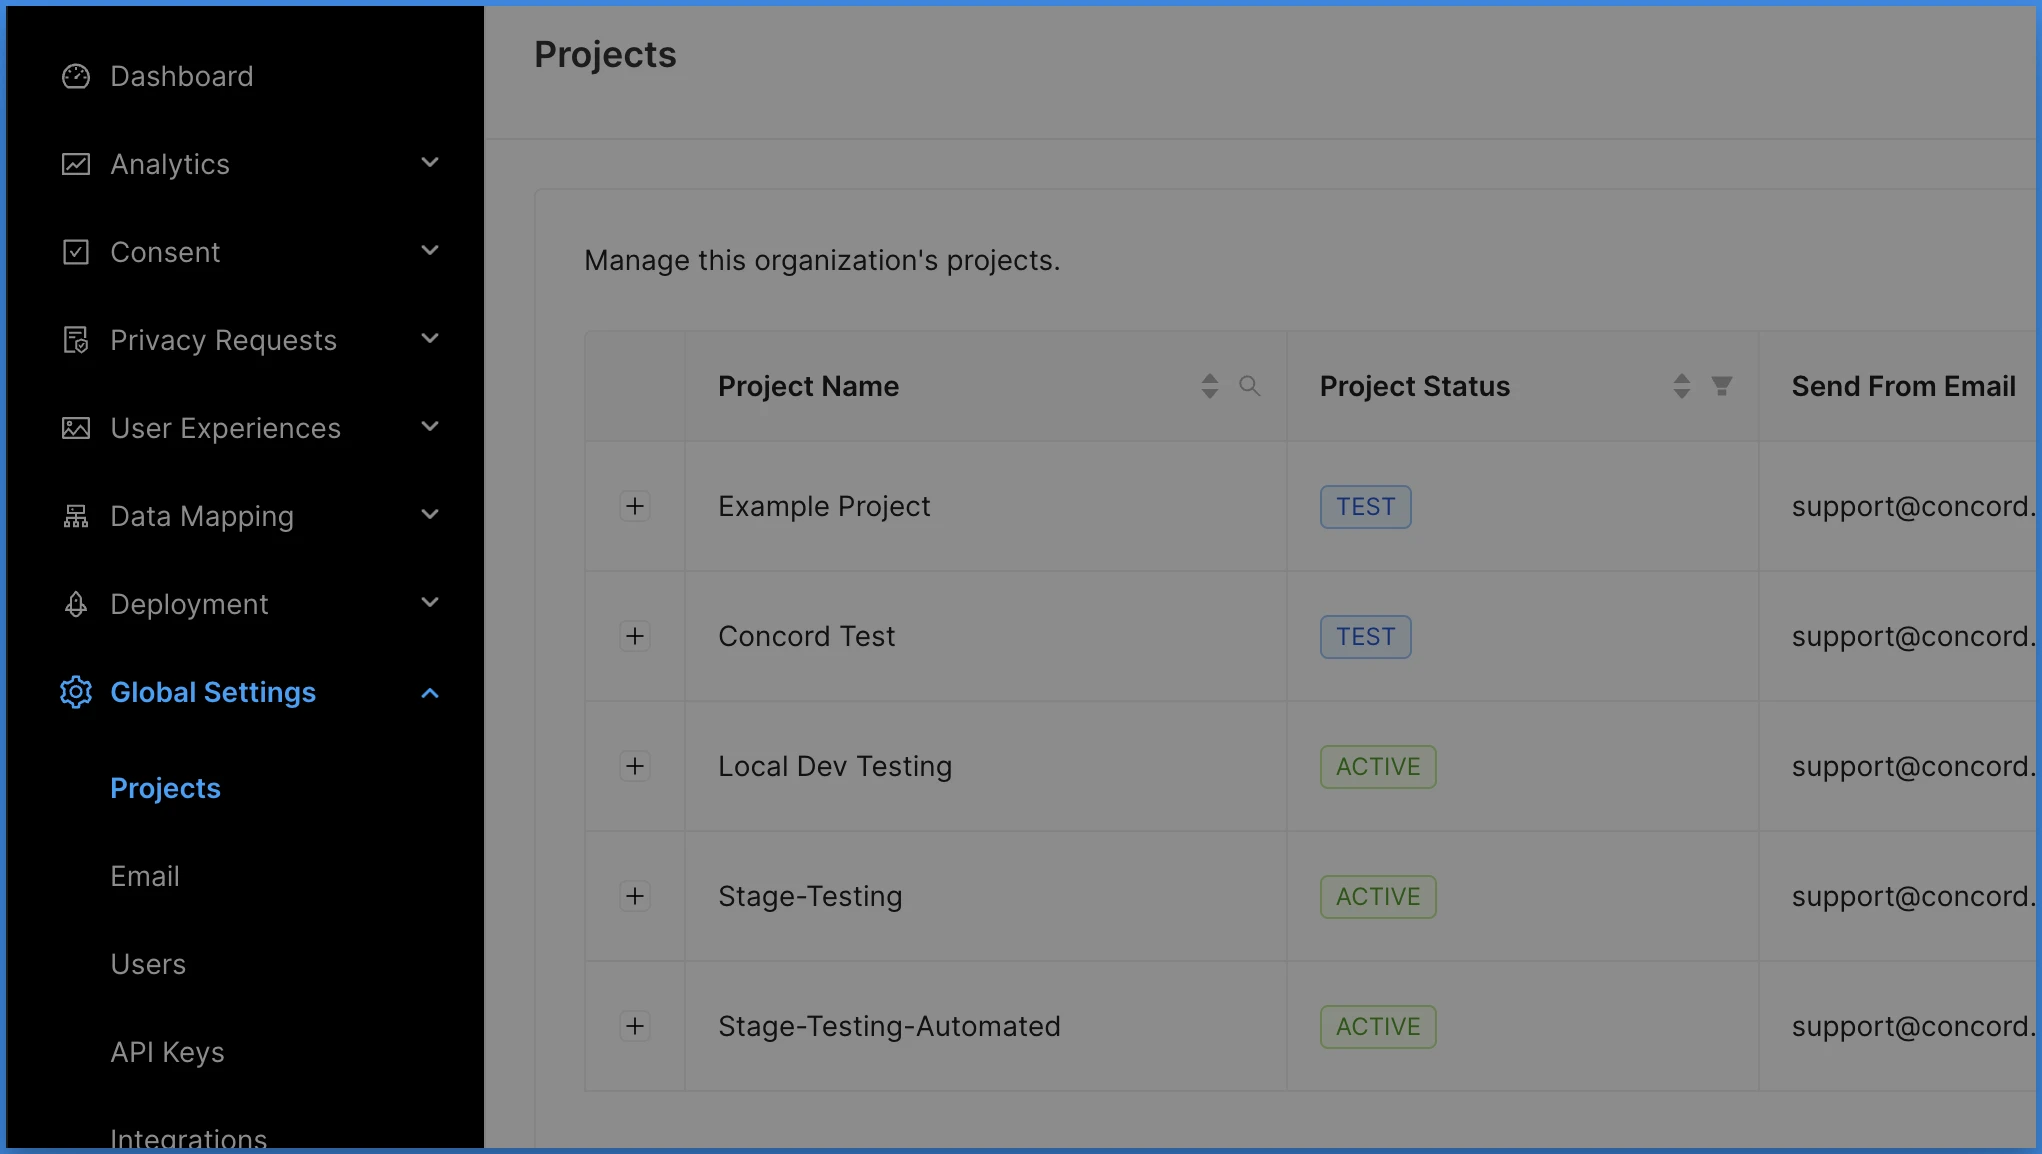
From this screen you will be able to view Project details such as:
* Project Name
* Status
* Send From Email
* Notification Email(s)
2. To view additional Project details, click on the **+** to the left of your desired Project.
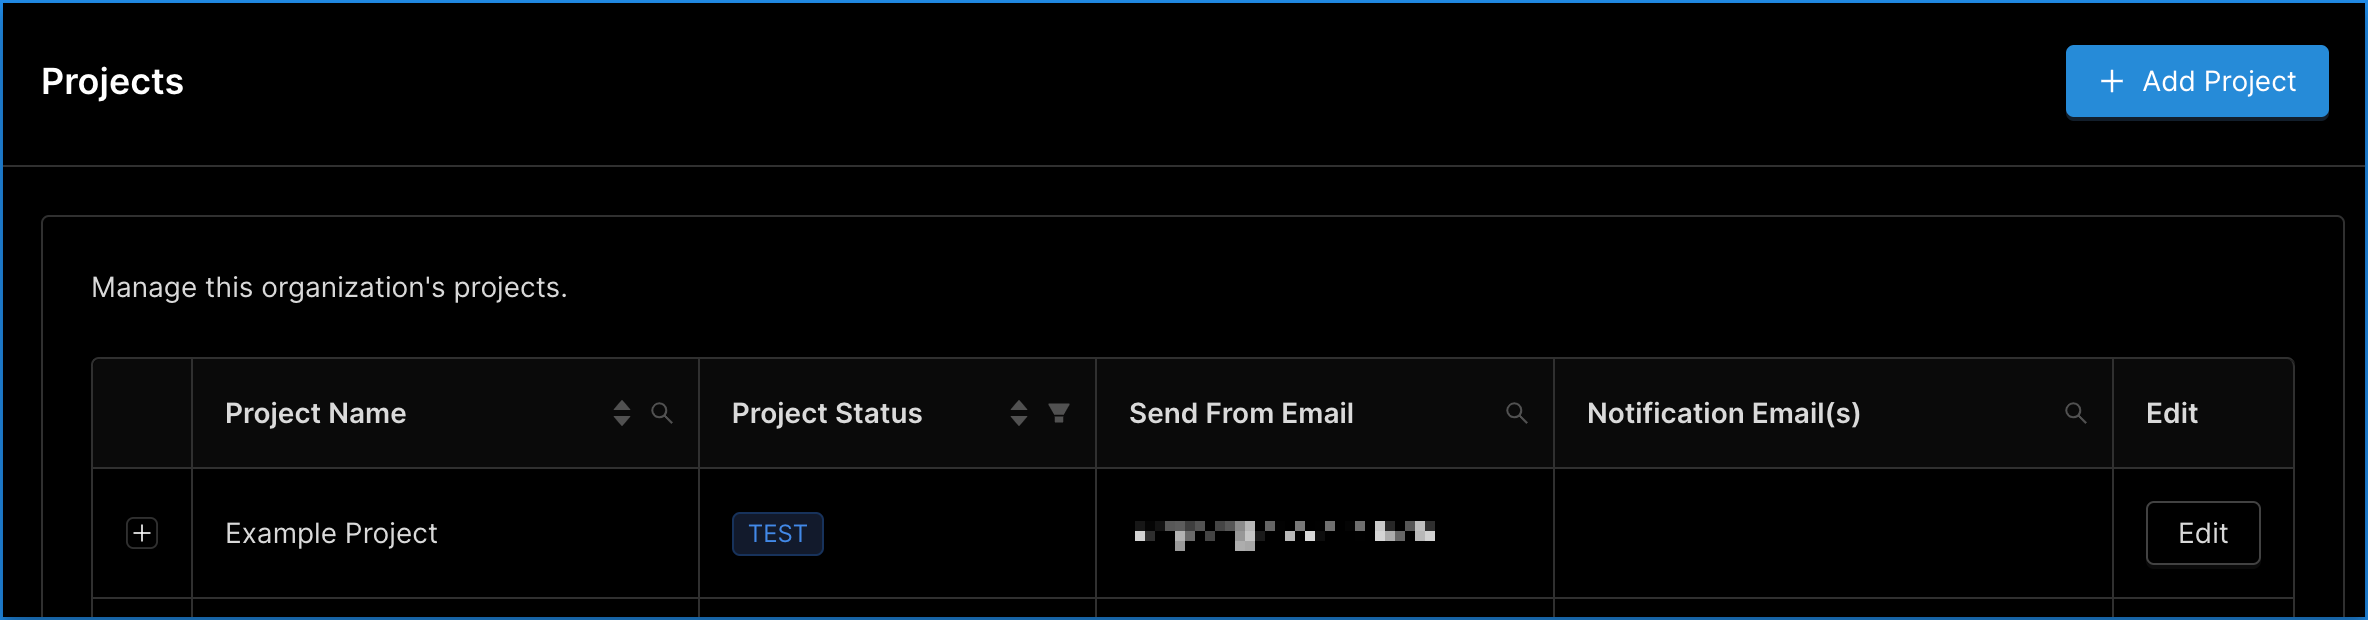
This expanded view will display Project details such as:
* Organization ID
* Project ID
* Date Created
* Date Updated
* Data Systems
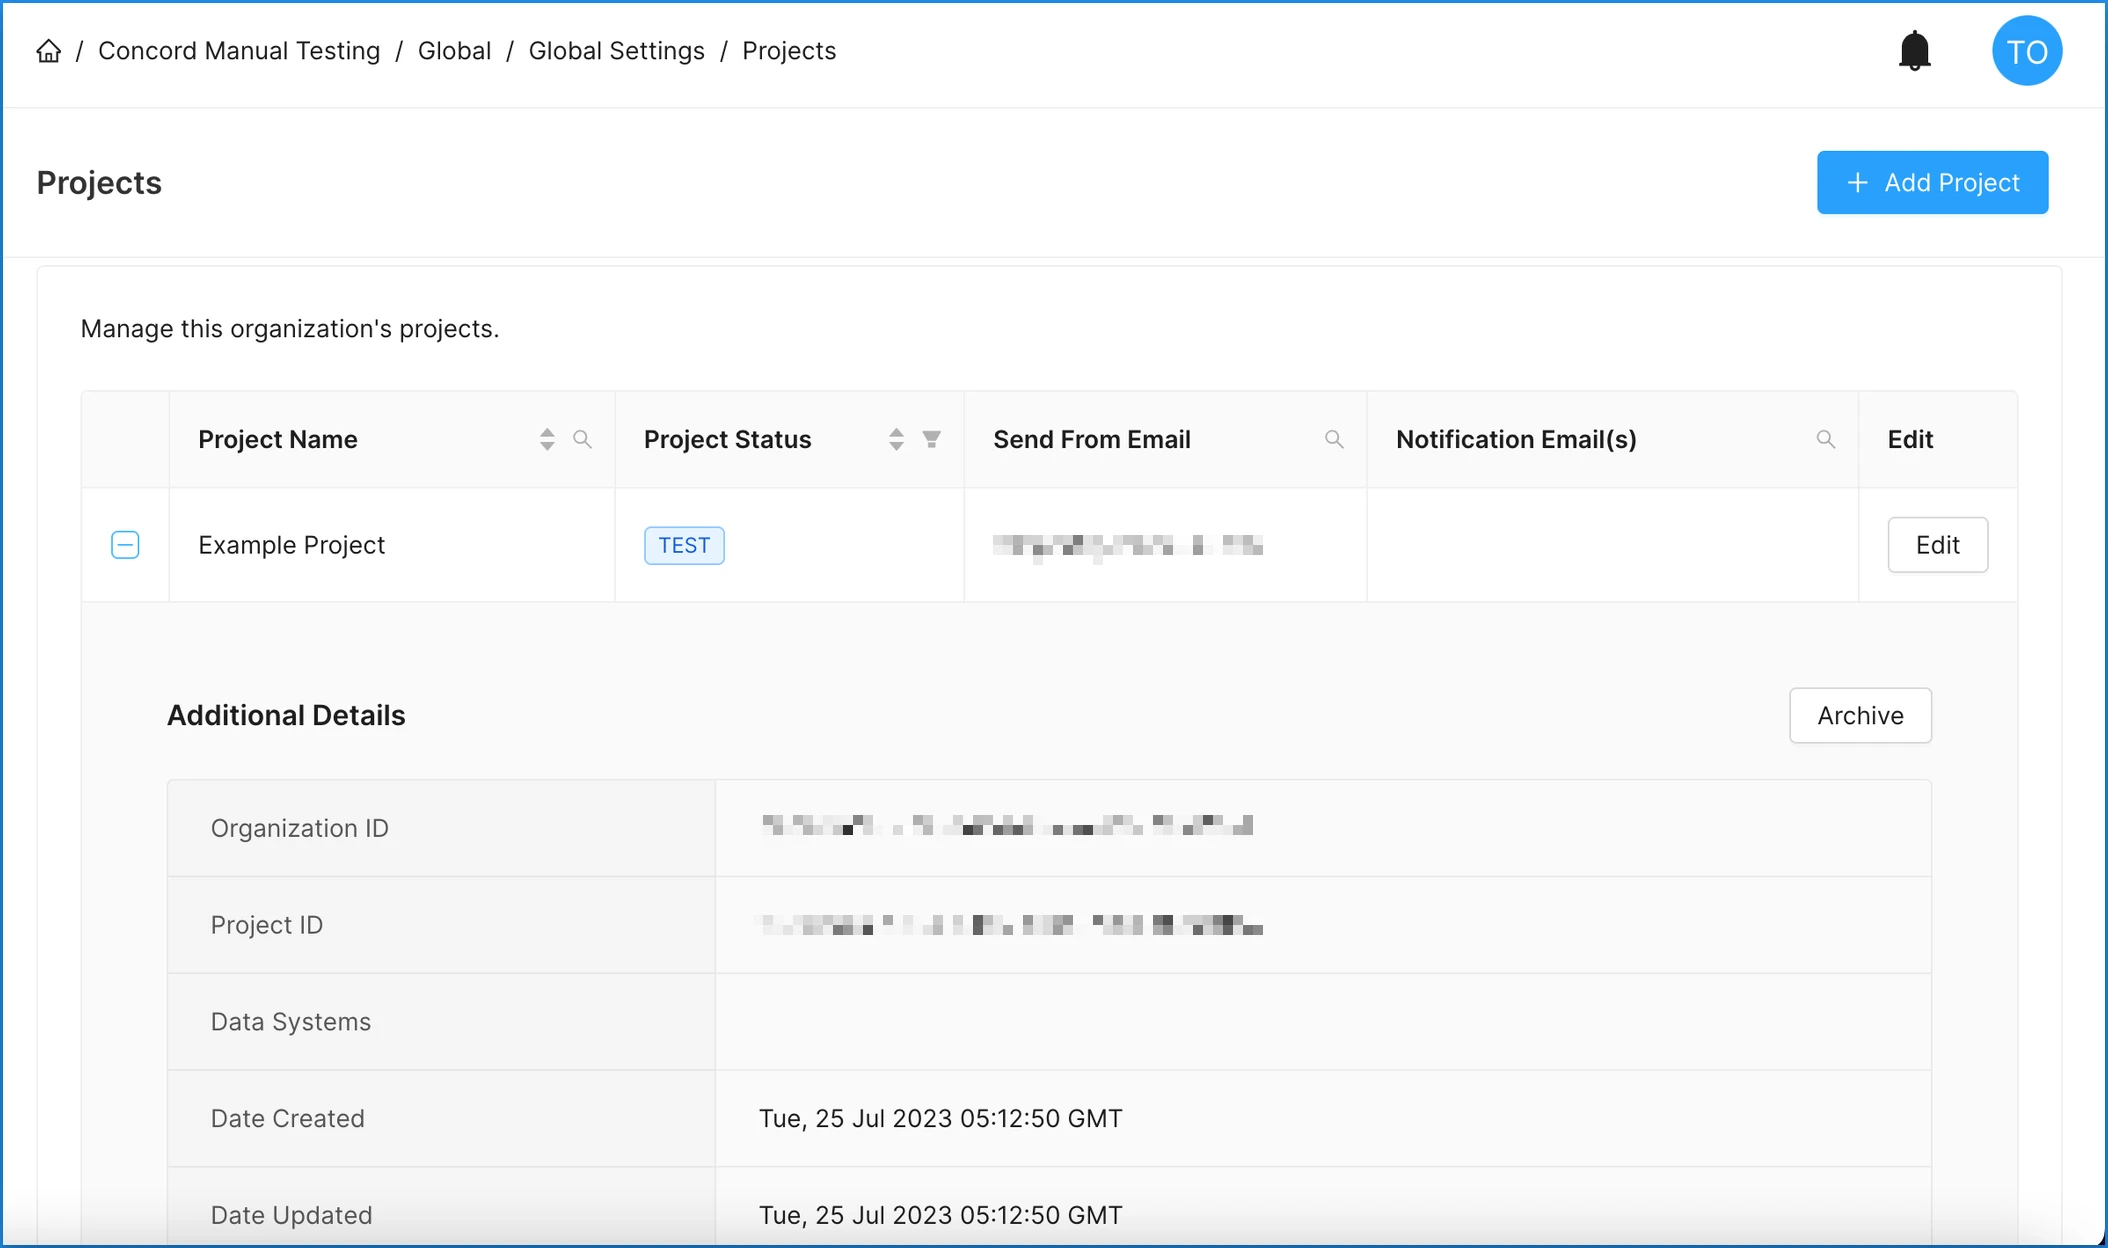
# Send From Email Authentication (DKIM and DMARC)
URL: /docs/send-from-email-authentication-dkim-dmarc
***
title: Send From Email Authentication (DKIM and DMARC)
description: How to configure DKIM and DMARC for emails sent by Concord, and when stricter email security settings are required.
--------------------------------------------------------------------------------------------------------------------------------
## Overview
Concord sends certain system and product emails on your behalf (for example: notifications, consent or privacy-related messages, and account communications).
To ensure reliable delivery and alignment with modern email security best practices, you may optionally configure **DKIM** and **DMARC** for your domain.
Before configuring authentication, you must first add your sender email
address in the Concord app. See [Managing Send From
Emails](/docs/managing-send-from-emails) for step-by-step instructions.
This is **typically only required** if you use **stricter DMARC policies** (such as `p=quarantine` or `p=reject`), or if your internal security policies require authenticated sending.
***
## What Are DKIM and DMARC?
### DKIM (DomainKeys Identified Mail)
DKIM cryptographically signs outgoing emails and allows receiving mail servers to verify that:
* The email was authorized by your domain
* The message was not altered in transit
DKIM is configured using **DNS records** and requires no ongoing maintenance once set up.
***
### DMARC (Domain-based Message Authentication, Reporting & Conformance)
DMARC tells receiving mail servers what to do **if authentication fails**.
Common DMARC policies include:
| Policy | Meaning |
| -------------- | ------------------------------------------------- |
| `p=none` | Monitor only (no enforcement) |
| `p=quarantine` | Suspicious emails may be filtered or sent to spam |
| `p=reject` | Emails that fail authentication are rejected |
**Important:** If your domain uses `p=quarantine` or `p=reject`, DKIM **must**
be configured or emails sent by Concord may fail to deliver.
***
## Do I Need to Set This Up?
You **do not need to configure DKIM** if:
* You do not have a DMARC policy
* Your DMARC policy is `p=none`
* You are not enforcing strict outbound email controls
You **should configure DKIM** if:
* You use `p=quarantine` or `p=reject`
* Your security team requires authenticated email
* You want maximum email deliverability and trust
***
## Recommended Setup (Easy DKIM via CNAME)
For most customers, Concord recommends **Easy DKIM** using DNS **CNAME records**.
This method:
* Does **not** require managing keys
* Does **not** require sharing sensitive material
* Is fast to set up
* Is fully compatible with strict DMARC policies
***
## How to Configure DKIM (CNAME Method)
### Step 1: Request DKIM Records from Concord
Contact Concord support and let us know:
* The domain you send email from (for example: `example.com`)
We will generate **three DKIM CNAME records** for your domain.
***
### Step 2: Add the CNAME Records to Your DNS
Add the provided CNAME records to your domain’s DNS provider.
#### Example
```txt
Type: CNAME
Name: abc123._domainkey.example.com
Value: abc123.dkim.amazonses.com
Type: CNAME
Name: def456._domainkey.example.com
Value: def456.dkim.amazonses.com
Type: CNAME
Name: ghi789._domainkey.example.com
Value: ghi789.dkim.amazonses.com
```
The exact record names and values will be unique to your domain.
***
### Step 3: DNS Propagation & Verification
* DNS changes typically propagate within minutes, but may take up to 24 hours
* Concord will automatically verify DKIM once records are visible
* No further action is required on your side
***
## About BYODKIM (Bring Your Own DKIM)
Some organizations require full control over DKIM private keys.
In these cases, Concord **can** support BYODKIM, but it:
* Requires generating and managing DKIM keys on your side
* Requires securely sharing public key details for verification
* Adds operational complexity
For most customers, **CNAME-based DKIM is strongly recommended** and provides
equivalent security and deliverability.
If you believe BYODKIM is required due to internal policy, please contact Concord support to discuss next steps.
***
## Updating or Enforcing DMARC
Once DKIM is configured, you may safely enforce stricter DMARC policies such as:
```txt
v=DMARC1; p=quarantine; adkim=s; aspf=s;
```
or
```txt
v=DMARC1; p=reject; adkim=s; aspf=s;
```
If you are unsure what policy to use, we recommend starting with `p=none` and monitoring DMARC reports before enforcing.
***
## Need Help?
If you’re unsure whether DKIM or DMARC is required for your setup, or want help validating your DNS records, contact Concord support and we’ll be happy to assist.
# Single Sign-On (SSO)
URL: /docs/single-sign-on
***
title: 'Single Sign-On (SSO)'
description: 'Connect your identity provider to Concord so your team signs in through it, with domain verification, role mapping, and break-glass access. Available on the Enterprise plan.'
created: '2026-09-15T00:00:00.000Z'
updated: '2026-09-15T00:00:00.000Z'
-----------------------------------
## Overview
Single sign-on lets your team sign in to Concord through your own identity provider instead of a Concord password. Concord speaks OpenID Connect, so any OIDC provider works, including Okta, Microsoft Entra ID, Google Workspace, Auth0, and Ping Identity. If your provider or security team requires SAML, Concord supports SAML 2.0 as well. SSO is available on the **Enterprise** plan, and only an **Owner** can set it up.
You will move through five steps: verify your email domain, create an application in your provider, configure the connection in Concord, optionally require SSO, and optionally map roles from your provider's groups.
## Before you start
* You are an **Owner** of your Concord organization.
* You can create applications in your identity provider.
* You can add a DNS TXT record for your company's email domain.
## Step 1: Verify your email domain
1. Go to **Global Settings → Single sign-on**.
2. Under **Email Domains**, add your company domain (for example `acme.com`). Public domains such as gmail.com cannot be used.
3. Concord shows a TXT record. Add it with your DNS provider, then click **Verify** once it propagates.
Add every domain your people use — a user whose email is on an unverified domain is refused.
## Step 2: Create the application
In your identity provider, create a **web application** using the **authorization code** flow, set its sign-in redirect URI to the value shown in Concord's SSO settings, and copy the **Issuer**, **Client ID**, and **Client secret**. Follow your provider's own documentation for the exact screens.
### If your provider uses SAML 2.0
Concord also federates SAML 2.0 (through AWS Cognito). Pick **SAML 2.0 provider** in Step 3. The named options above (Okta, Entra ID, and so on) use OpenID Connect. The SAML flow differs in a few places:
* **In your provider,** create a **SAML 2.0 application** and set its **ACS / Reply URL** and **Audience URI / Entity ID** to the two values Concord shows in the connection settings.
* **Email (required):** your provider must send the user's email in a SAML attribute named `http://schemas.xmlsoap.org/ws/2005/05/identity/claims/emailaddress`. Concord matches users by email.
* **In Concord,** instead of an Issuer, Client ID, and Client secret, you provide your provider's **SAML metadata URL**. For role mapping, send group membership as a SAML attribute and enter that attribute's name in Concord's **groups attribute** field.
OpenID Connect is the simpler path and the one we recommend; use SAML 2.0 when your provider or security team requires it.
## Step 3: Configure the connection
1. In **Global Settings → Single sign-on → Connection**, choose your provider and enter the Issuer, Client ID, and Client secret.
2. Pick the **default role** for new users. Limited is recommended; you can promote people afterward.
3. Click **Test sign-in** and complete the login. The result reports what happened, including the reason if it failed. You stay signed in as yourself throughout.
4. Click **Activate**. Users entering an email on a verified domain are now sent to your provider automatically.
{/* Screenshot pending: Single sign-on connection -> /docs/single-sign-on-connection.png. See docs-screenshot-backfill plan. */}
## Step 4 (optional): Require SSO
Once logins work, turn on **Require SSO** to block password sign-in for everyone on your verified domains. Concord requires two things first: at least one break-glass owner, and one sign-in that has already succeeded through the connection.
Once SSO is required, **your provider enforces multi-factor authentication** — Concord no longer challenges an authenticator app at sign-in, because your provider has already decided how people authenticate. If you rely on MFA, make sure it is required in your provider.
### Break-glass owners
A break-glass owner keeps password and MFA sign-in while everyone else is sent to your provider — your way back in if the provider is ever unavailable. To qualify, someone must be an **Owner** with an authenticator app enrolled (set up under **My profile → Security**), and then have **Break-glass access** turned on from **Global Settings → Users**. Designate **two**, so one lost phone is not a lockout.
## Step 5 (optional): Map roles from your provider
By default, every SSO user gets the connection's default role. **Role Mapping** reads a claim from your provider and assigns roles from it instead, re-applied on every sign-in — so removing someone from a group takes effect the next time they log in. Owner is never mappable, and while mapping is on, SSO users' roles cannot be edited in Concord.
1. Create groups for Concord (usually two are enough, one per access level — for example `concord-admins` and `concord-limited`). Concord has two mappable roles, so map by access level, not by team.
2. Have your provider send the group claim in the ID token, and confirm it arrives before configuring anything in Concord.
3. In **Role Mapping**, set the **Claim name**, add a rule per group (name to role), and choose what happens **When nothing matches**.
4. **Save**, then **Test sign-in** — a result naming the role confirms the rules resolve.
## Launching from your provider's dashboard
Sign-in must **start at Concord**. Concord generates a request it recognizes on the way back, so a login launched from your provider's app tile arrives unsolicited and is rejected before Concord ever sees it.
Every active connection has a **direct sign-in link**, `https://admin.concord.tech/sso/your-org`, shown in the connection settings. Bookmark it, and make it what your dashboard tile opens:
* **OpenID Connect (Okta):** on the app, set **General → Initiate login URI** to the direct link and **Login initiated by** to **Either Okta or App**.
* **SAML 2.0 (Okta):** a SAML app tile always performs provider-initiated sign-on, which Concord rejects. No setting on the SAML app changes this, and **Default Relay State** does not help. Instead create an Okta **Bookmark App** whose URL is the direct link, assign it to the same people, and hide the SAML app's own tile. Keep the SAML app assigned, since it answers the sign-in request; users just should not click it directly.
* **Other providers:** point the dashboard tile at the direct link the same way.
## How users are created
* Anyone assigned to the application who signs in gets a Concord user automatically, with the default role (unless they were invited first, in which case the invite's role wins). Each new user consumes a seat.
* Users created through SSO sign in **only** through your provider — they never have a Concord password, which is what makes removing them in your provider actually remove their access.
* Removing a user in your provider blocks new sign-ins immediately; an open session can remain valid for up to 12 hours.
## Troubleshooting
| Symptom | Likely cause |
| ---------------------------------------------------------------------------- | ------------------------------------------------------------------------------------------------------------------------------------------------------- |
| "Single sign-on is not configured for this email domain" | Domain not verified, or the connection is not active |
| "TXT record not found" during verification | DNS has not propagated, or the host/value does not match exactly |
| `redirect_uri` mismatch from your provider | The application's redirect URI does not exactly match the value Concord shows |
| Role mapping shows no groups after a successful test | Your provider is not putting the group claim in the ID token |
| Sign-in refused with a seat-limit note in the audit trail | Your plan's user limit is exhausted; remove users or upgrade |
| `Invalid samlResponse or relayState from identity provider` | The user launched Concord from your provider's SAML app tile (provider-initiated). Give them a Bookmark App that opens the direct sign-in link instead. |
| Your provider reports a successful login but Concord never signs the user in | Same cause: the sign-in did not start at Concord. Use the direct sign-in link, or a dashboard tile that opens it. |
See also [User Roles and Permissions](/docs/user-roles-permissions) for what each mapped role can do.
# User Roles and Permissions
URL: /docs/user-roles-permissions
***
title: 'User Roles and Permissions'
description: 'An overview of the roles you can assign in Concord and what each one can do.'
created: '2021-05-13T20:51:43.000Z'
updated: '2026-09-15T00:00:00.000Z'
-----------------------------------
## Overview
Concord has four roles you can assign to people in your organization. You set a person's role when you invite them under **Settings → Users** (Owners and Admins can invite).
* **Owner** — Full access to everything, including billing. Owners can view and update the organization's billing details (billing address, payment method, invoices, plan, and add-ons) and can add or remove other Owners. The person who first sets up an organization is its Owner, and every organization must always have at least one. If an organization is ever suspended over a billing issue, only an Owner can resolve it.
* **Admin** — The same access as an Owner, with one exception: billing. Admins manage users, settings, and every product area, but cannot view or change billing details.
* **Limited** — A contributor role for people who work in Concord day to day without managing configuration. A Limited user can view the dashboards and the work assigned to them, handle privacy requests (DSARs), complete tasks, and add evidence to controls. They cannot change consent configuration, deployment, branding, framework setup, or organization settings.
* **Auditor** — A scoped, read-only role for external auditors. An Auditor has no standing access on their own. You grant them time-boxed access to specific frameworks through the [Auditor Portal](/docs/auditor-access), and that grant is the only thing they can see.
What a Limited user can reach depends on which products your organization uses: in a privacy-focused organization they act as a privacy contributor, and in one using Concord Trust's compliance tools they act as a controls contributor. Owners and Admins always have full access across every product your organization has enabled.
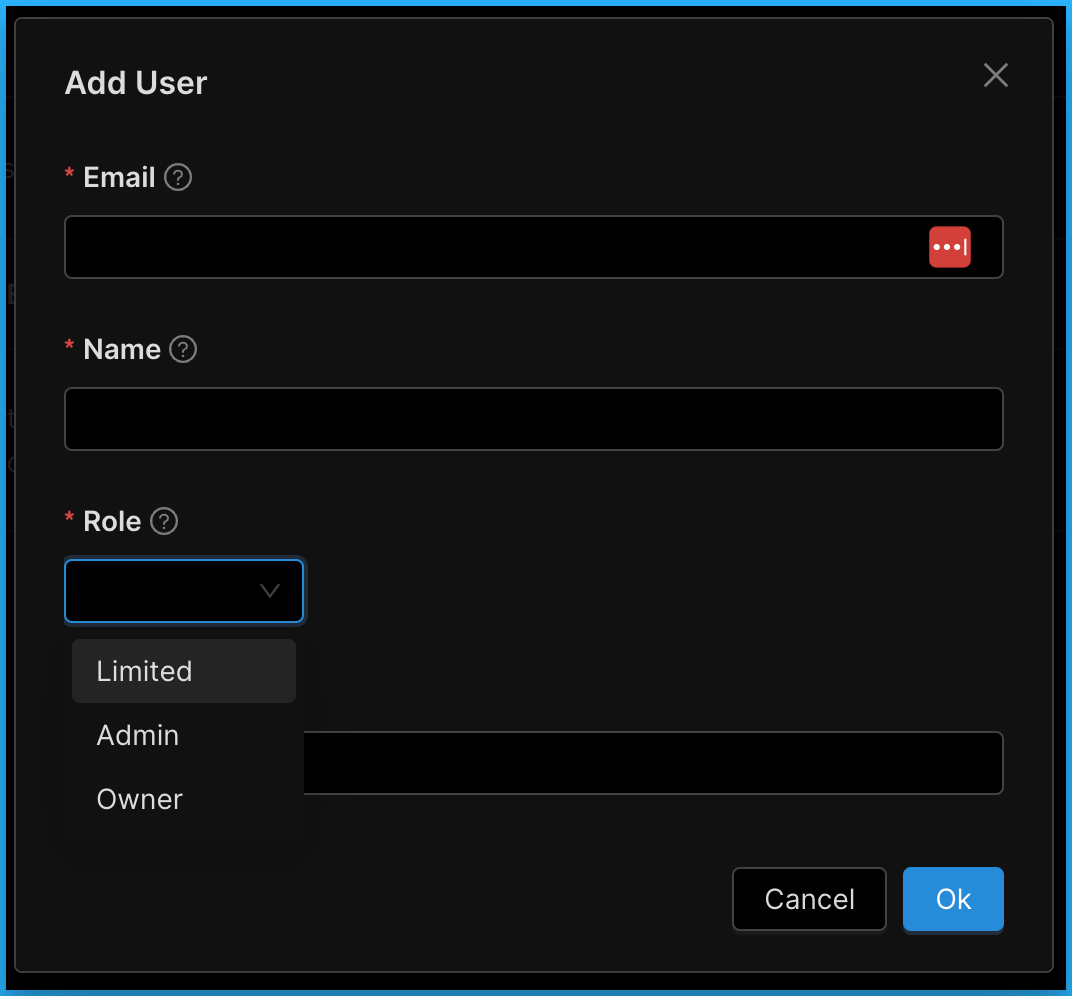
# Managing Your Personal Account Profile
URL: /docs/managing-personal-profile
***
title: 'Managing Your Personal Account Profile'
description: 'A step-by-step guide to accessing and updating your personal account profile details and security options.'
created: '2021-10-04T23:54:35.000Z'
updated: '2026-10-17T00:00:00.000Z'
-----------------------------------
## Access Your Personal Profile
To access your personal profile, click the account profile icon in the upper right of the Admin UI.
From here you are able to access and update your profile settings and notification settings, browse Concord’s help documentation, change between light and dark mode, see details about our latest releases, and logout.
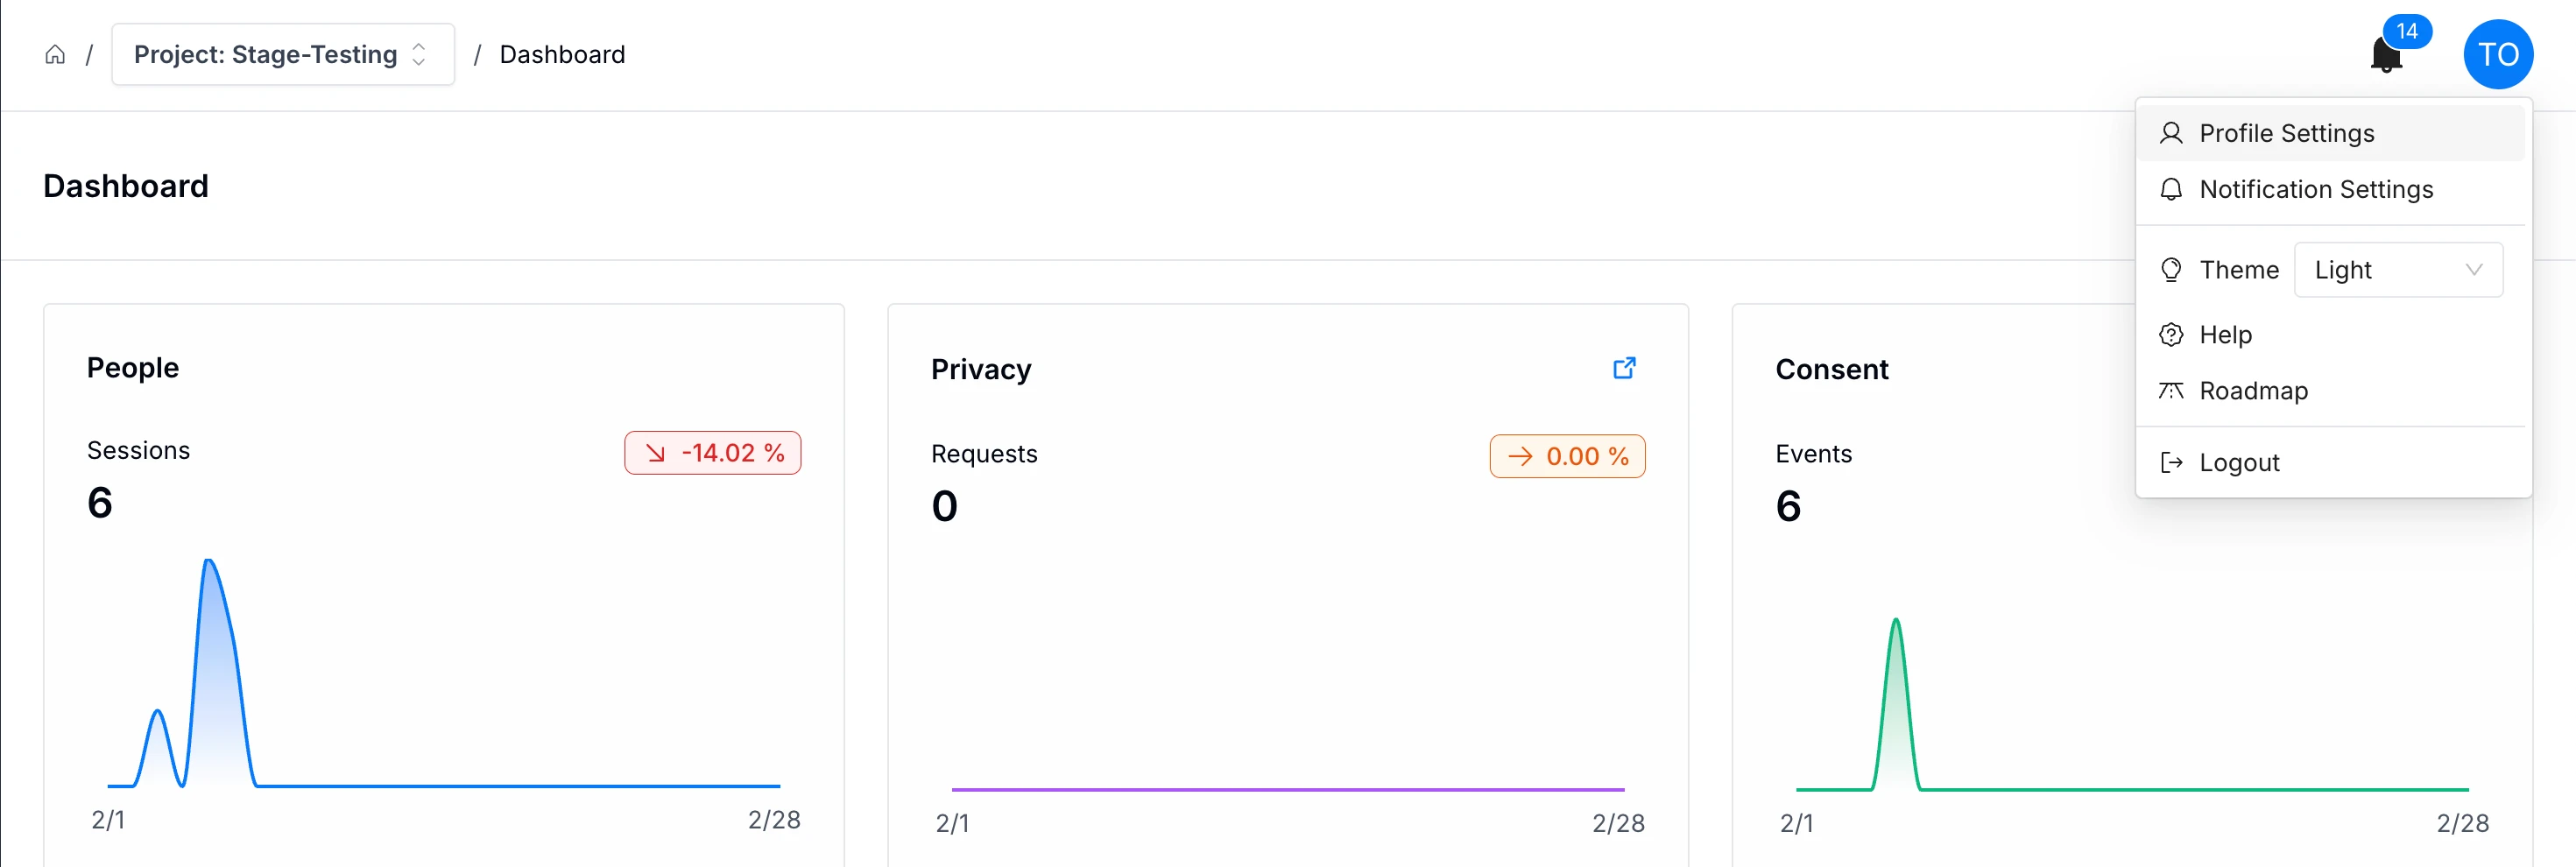
## My Profile Settings
From the My Profile page, you can do things like:
* Update your **Profile Details**
* Update **Account Settings** include your email and password
* Setup and update **Multi-Factor Authentication** settings
* See and revoke **Connected Applications**, the AI assistants you've connected to Concord. See [Revoke a Connection](/docs/connecting-mcp-clients#revoke-a-connection).
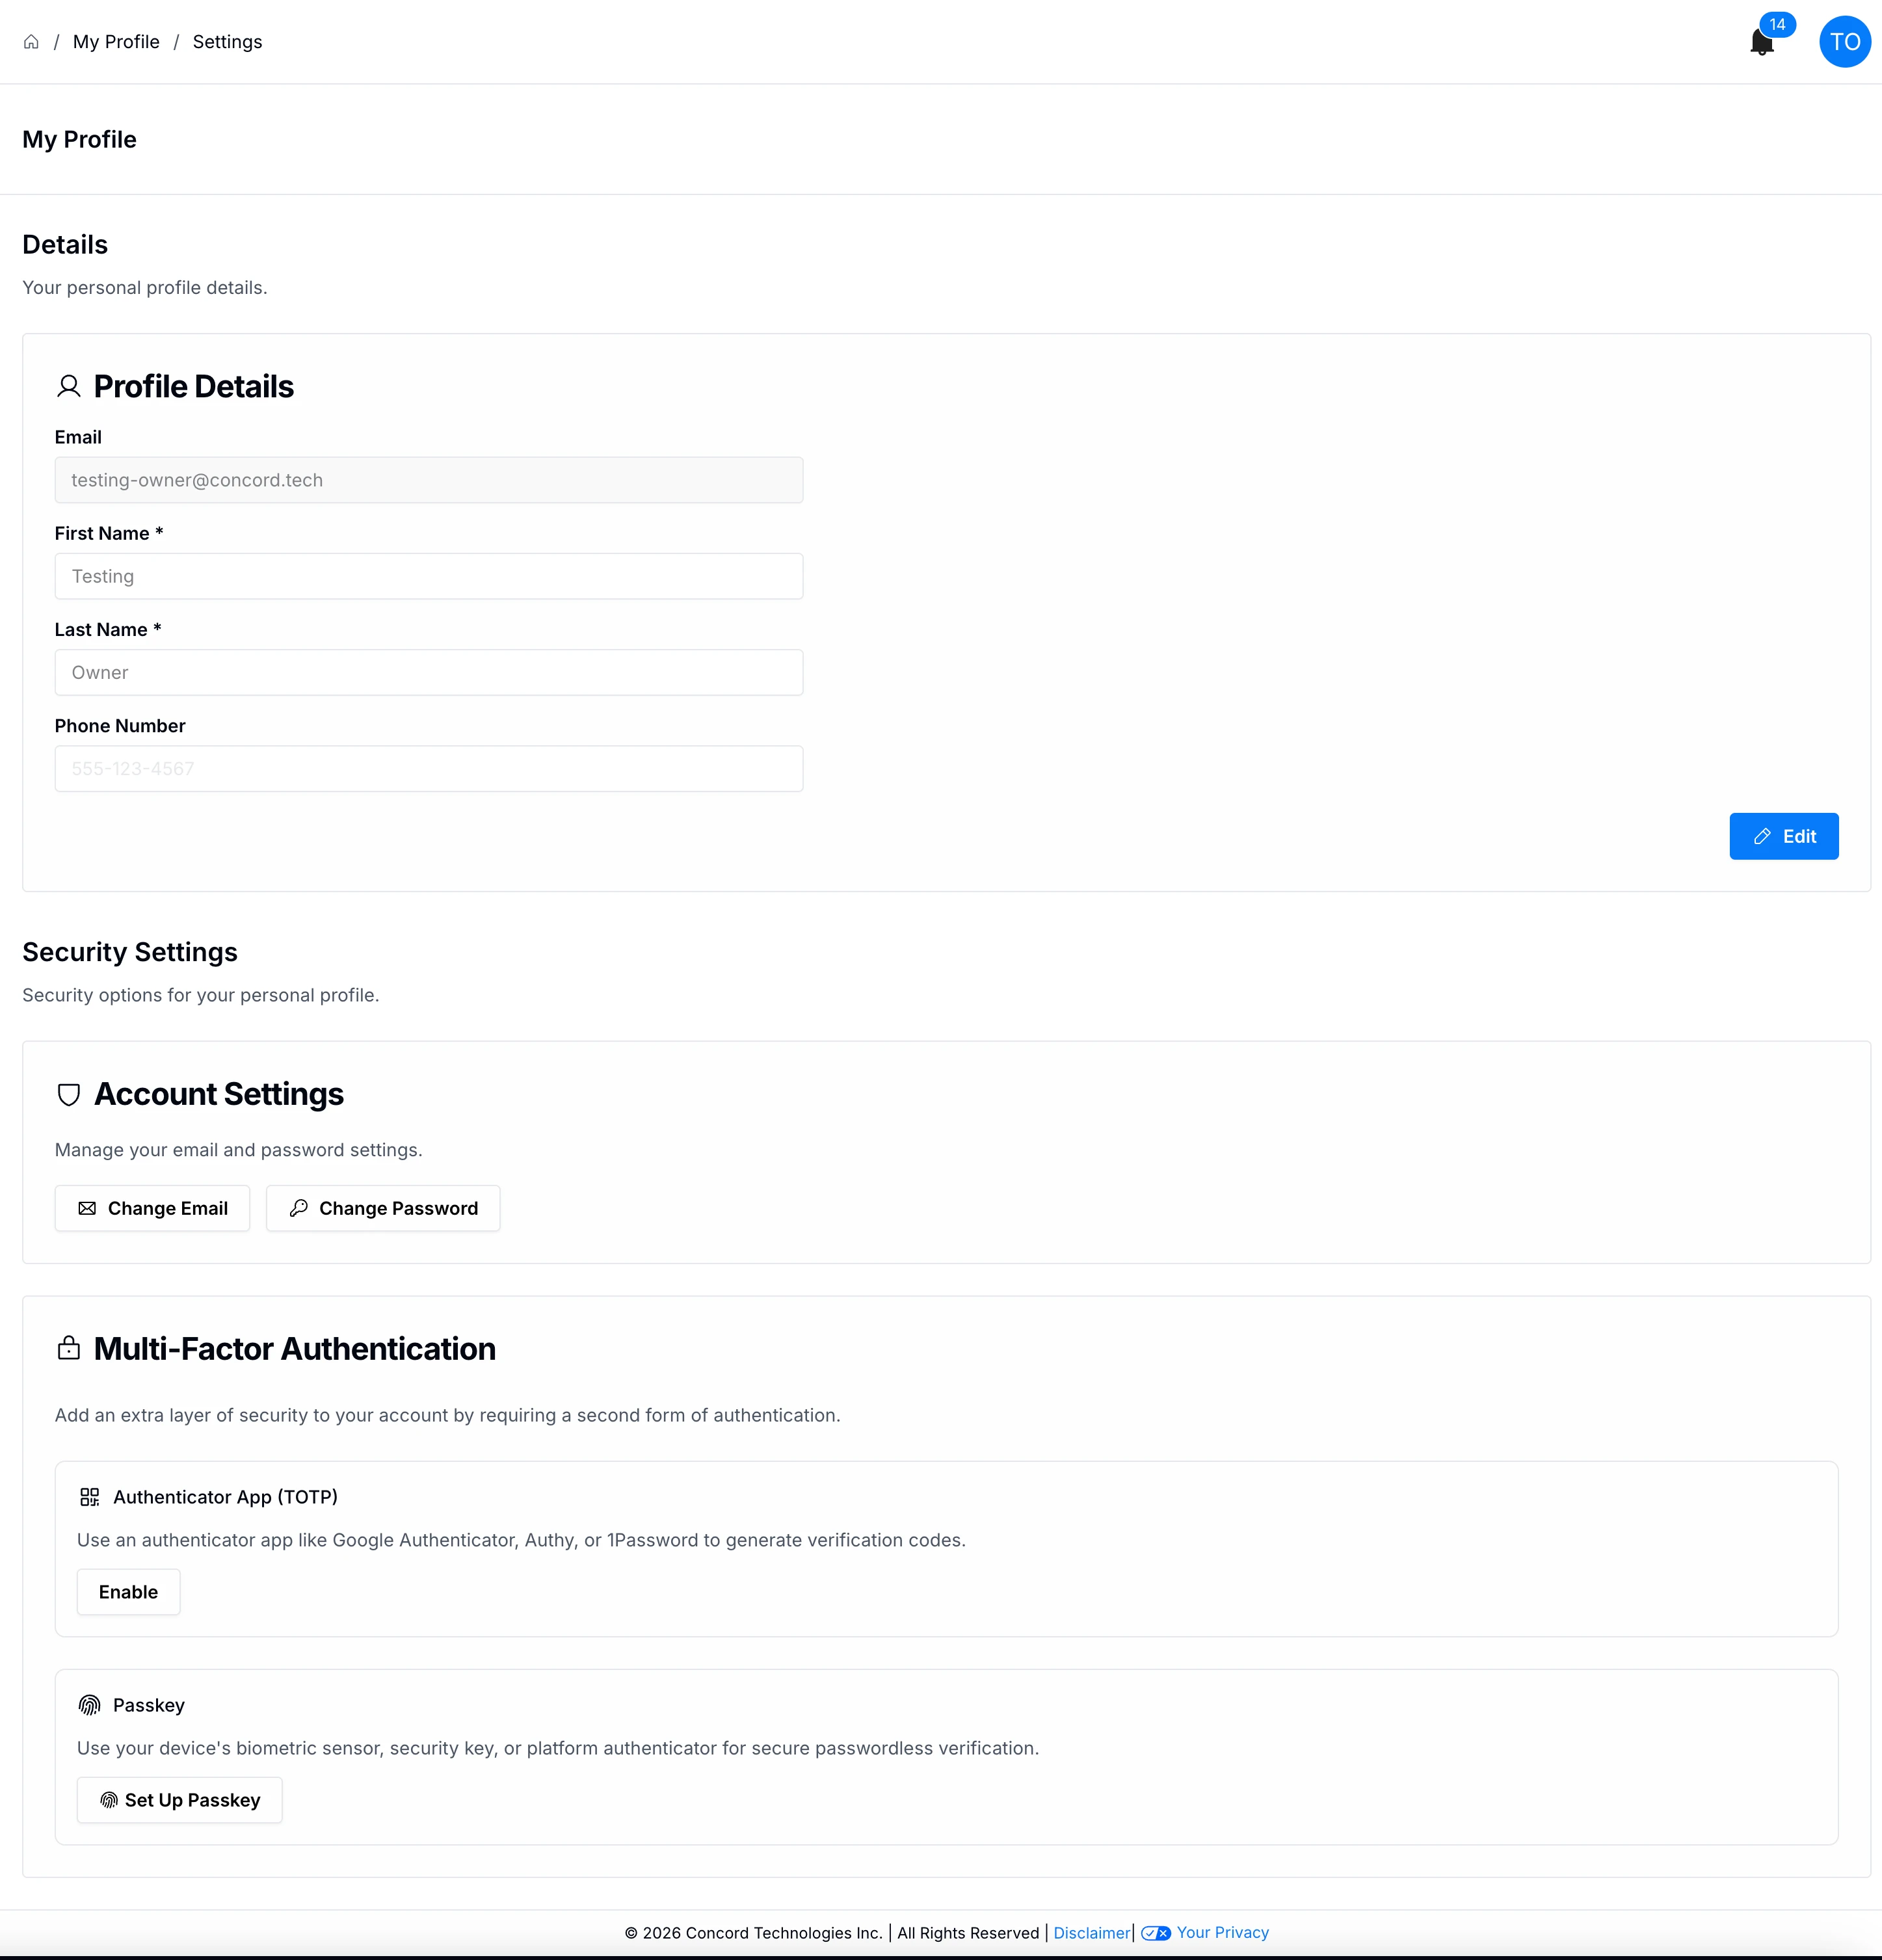
## Updating Your Personal Profile Details
To change your personal profile details:
1. In **My Profile**, navigate to **Profile Settings**.
2. From here you can change your profile details, such as first name, last name, and phone number. Click **Edit** to update a field and click **Save** to save changes.
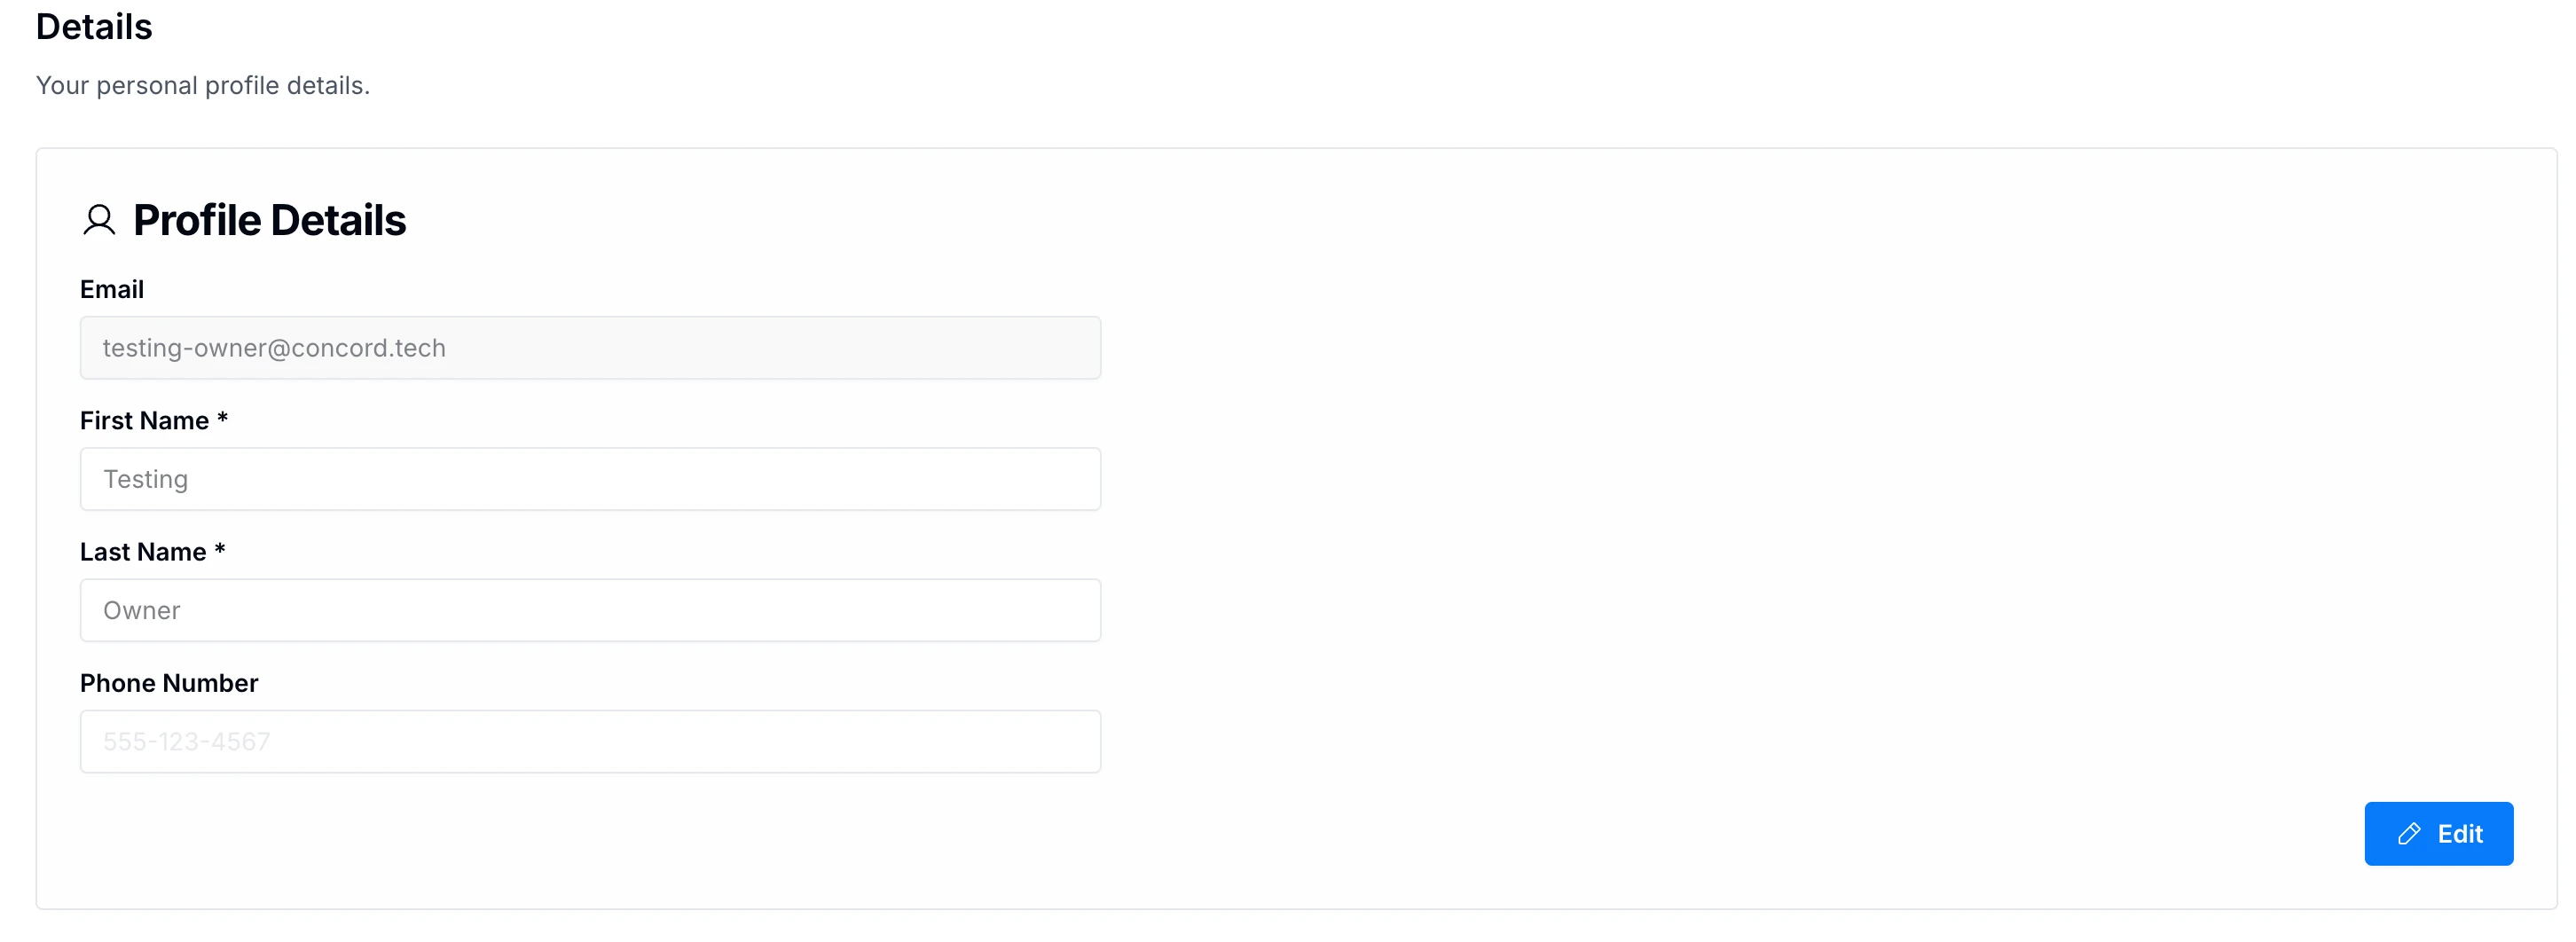
## Changing Your Email
To change your email address in your personal profile:
1. In **My Profile**, navigate to **Security Settings,** and **Account Settings**.
2. Click the **Change Email** button. To change your email address, you must enter your current password along with your updated email address.
3. Click **Ok** to save the changes or **Cancel** to cancel the changes and return to My Profile.
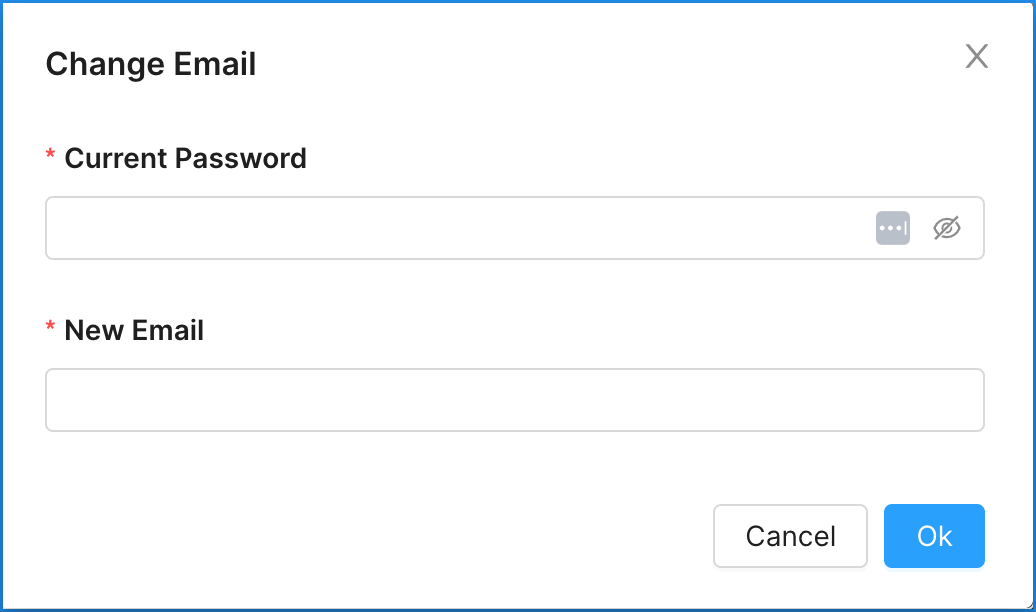
## Changing Your Password
To change your security settings in your personal profile:
1. In **My Profile**, navigate to **Security Settings,** and **Account Settings**.
2. Under **Security Settings**, click the **Change Password** button to update your password. To change your password, you’ll be asked to enter your current password, as well as confirm your desired new password.
3. Click **Ok** to save the changes or **Cancel** to cancel the changes and return to My Profile.
New passwords must:
* Contain at least one number
* Contain at least one special character: ^$\*.[]()?&"!@#- Contain at least one uppercase letter
* Contain at least one lowercase letter
* Contain at least 8 characters
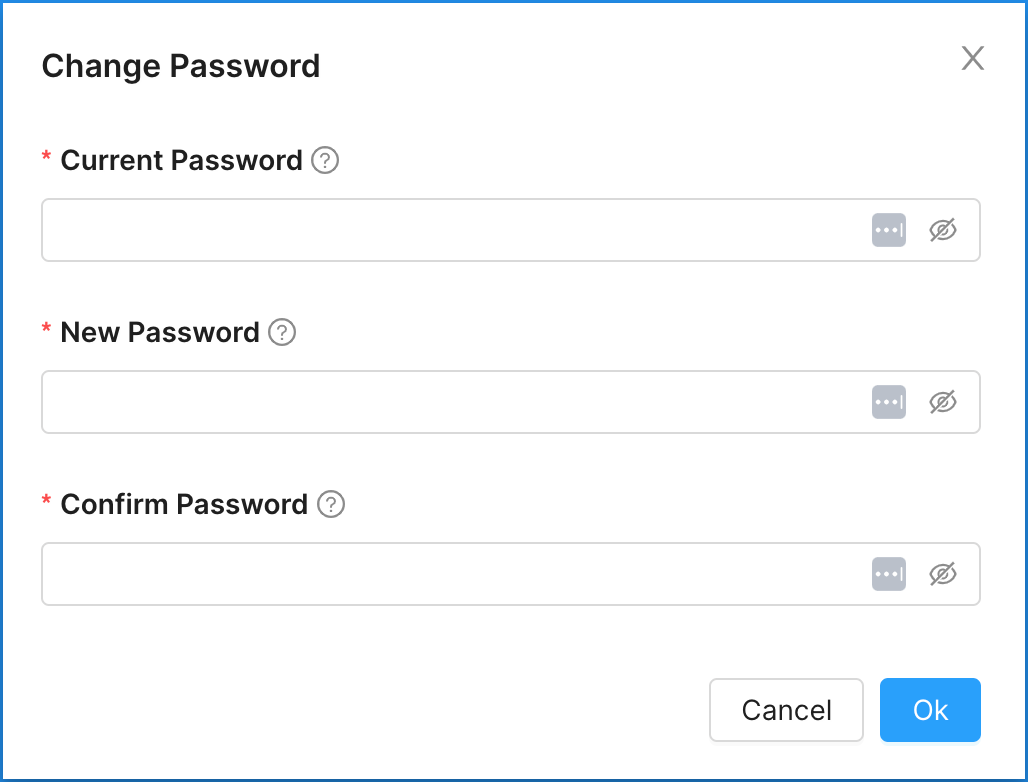
## Multi-Factor Authentication
To setup an extra layer of security you can setup a second form of authentication. Concord offers the following options:
* Authenticator App (TOTP)
* Passkey
### How to Configure an Authenticator App in Concord
To configure an Authenticator app like Google Authenticator, Authy, or 1Password with Concord:
* Navigate to the **My Profile**, **Security Settings,** and **Account Settings.**
* Under the **Authenticator App (TOTP), c**lick the **Enable** button to open the setup window.
* Using your chosen Authenticator app, scan the QR code or enter the secret key manually in your authenticator app.
* Enter the **Device Name** (optional) and **Verification Code** from your authenticator app and click the **Verify & Enable** button.
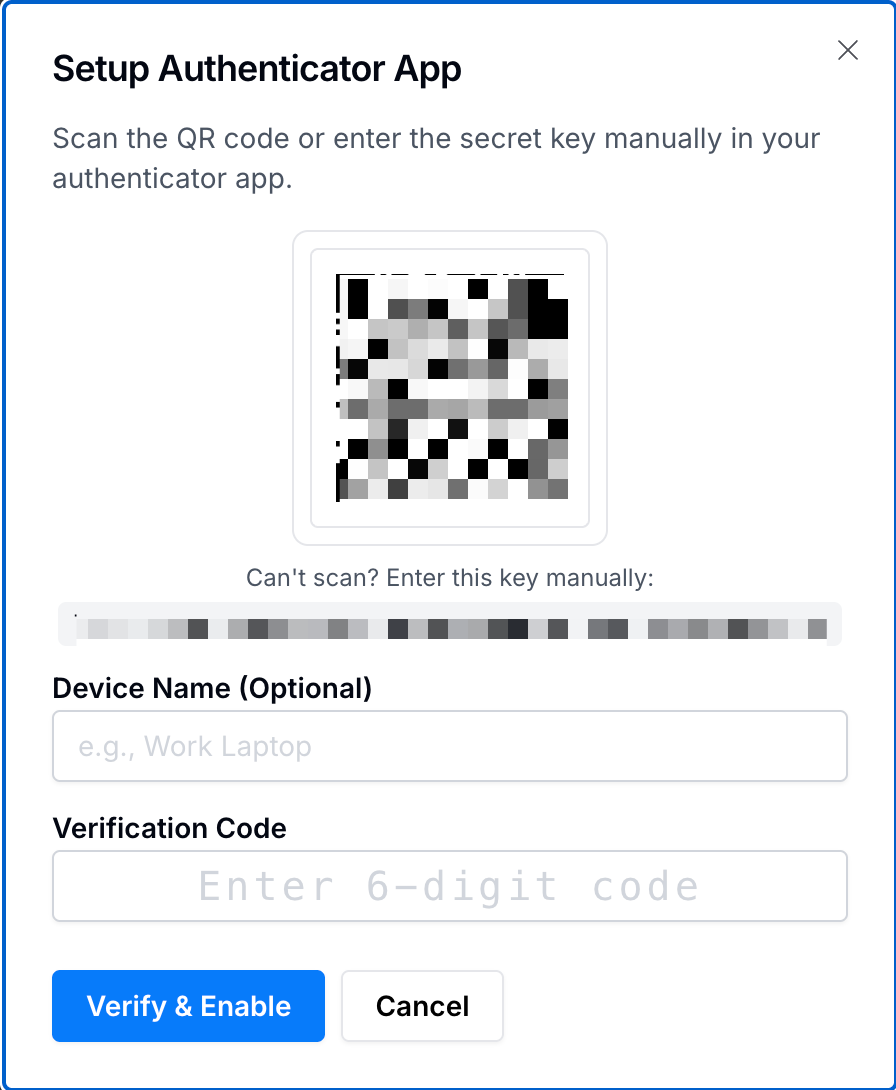
You’ll now see **MFA Enabled** in the Multi-Factor Authentication section and **Enabled** by the Authenticator App (TOTP) option.
### How to Login to Concord with Your Authenticator App
Once you’ve configured your preferred Authenticator app with Concord:
* Login to Concord ([https://admin.concord.tech/signin](https://admin.concord.tech/signin)).
* Enter your **Email** address and click **Continue**.
* Enter your **Password** and click **Sign In**.
* You will be prompted to enter the **Verification Code** from your Authenticator App. Enter the code and click **Verify**.
### How to Disable Multi-Factor Authentication
To remove multi-factor authentication protection from your Concord account:
* Navigate to the **My Profile**, **Security Settings,** and **Account Settings.**
* Click the delete \*\*\*\*button icon to the left of the Authenticator App (TOTP) section.
* In the Disable Multi-Factor Authentication window, enter your **Current Password** and click the **Disable MFA** button.
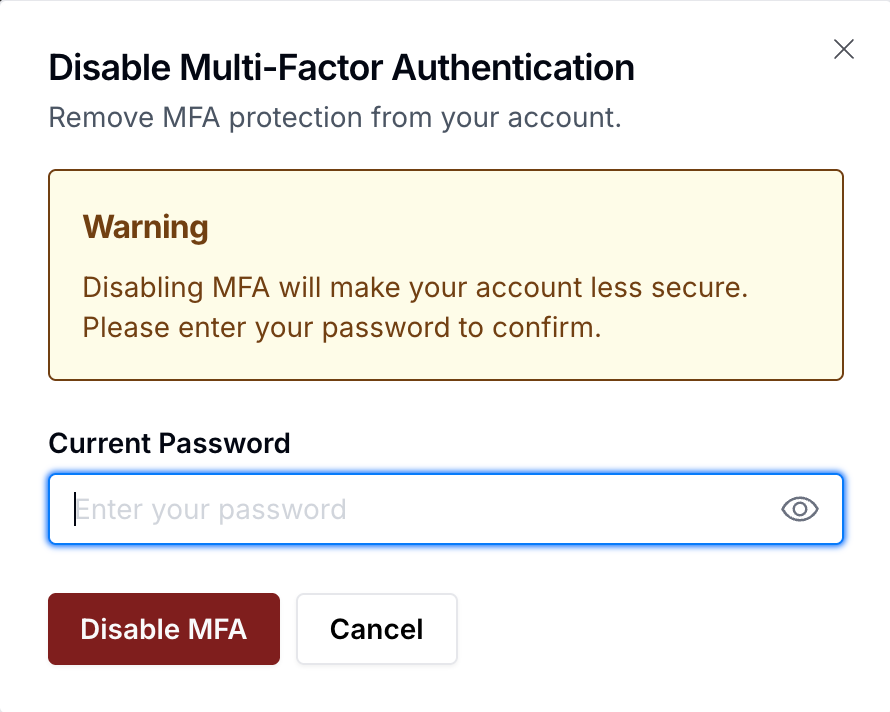
### How to Configure a Passkey in Concord
For additional security, you can configure a Passkey in Concord. Passkey uses your device's biometric sensor, security key, or platform authenticator for secure passwordless verification.
* Navigate to the **My Profile**, **Security Settings,** and **Account Settings.**
* Under **Passkey** section\*\*, c\*\*lick the **Register Passkey** button to open the setup window.
* In the **Register a Passkey** window, enter a **Passkey Name** and click the **Register Passkey** button.
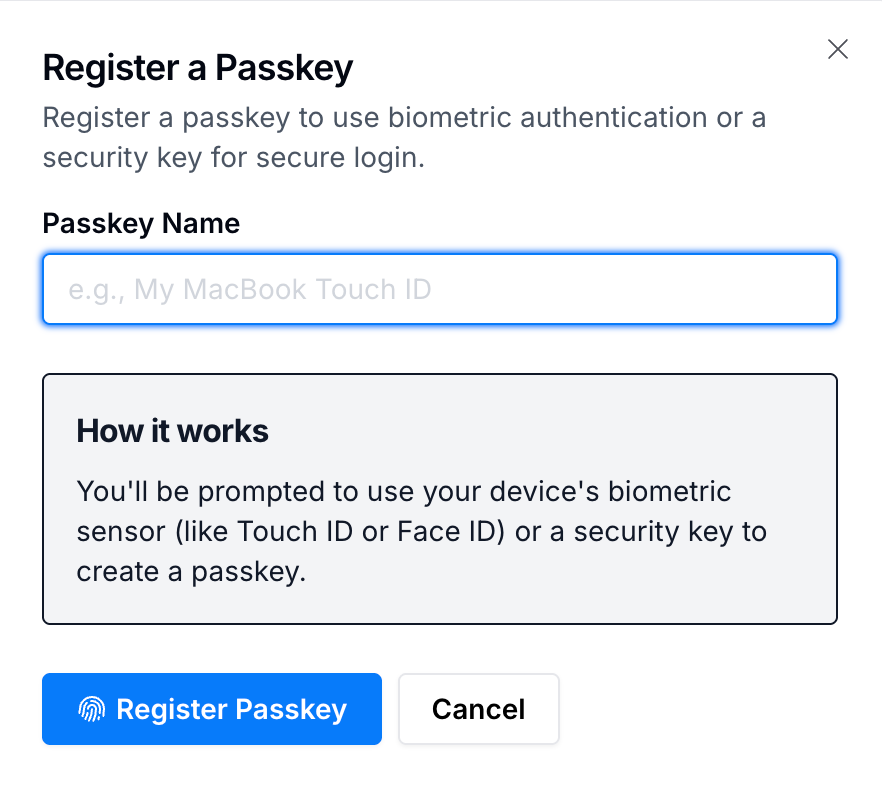
* Select the login to associate to the passkey. Once the registration, you will see Enable next to the Passkey section.
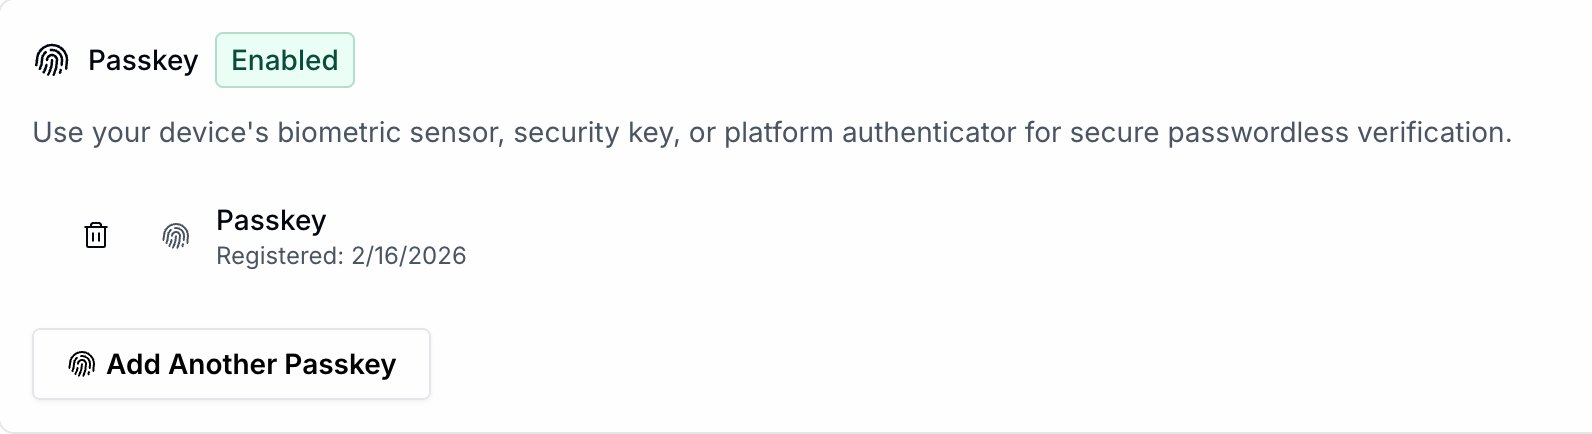
When you login to Concord in the future, you can enter your can click the Passkey button. You will be prompted to select the associated account/passkey at login.
### How to Disable Passkey Authentication
To remove Passkey protection from your Concord account:
* Navigate to the **My Profile**, **Security Settings,** and **Account Settings.**
* Click the delete \*\*\*\*button icon to the left of the \*\*Passkey\*\* section.
* In the Disable Passkey window, enter your **Current Password** and click the **Delete Passkey** button.
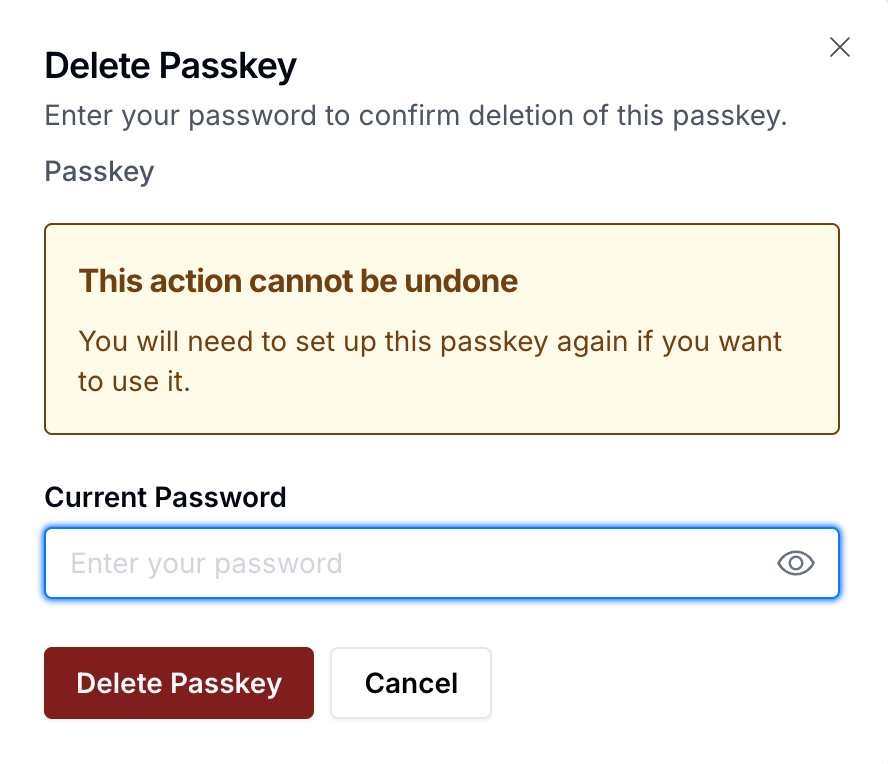
# Notification Settings
URL: /docs/notification-settings
***
title: 'Notification Settings'
description: 'A step-by-step guide to configuring your personal notification settings.'
created: '2021-05-13T20:52:05.000Z'
updated: '2023-10-03T08:49:09.000Z'
-----------------------------------
Users can configure their personal notification settings here. You have the option of toggling each notification type on or off, and selecting if notifications are available via in-app messages, via email, or both.

## Choosing Your Notifications
To enable or disable any particular notification type, simply slide the toggle switch to **On** or **Off** for your choice of in-app and/or email notifications.
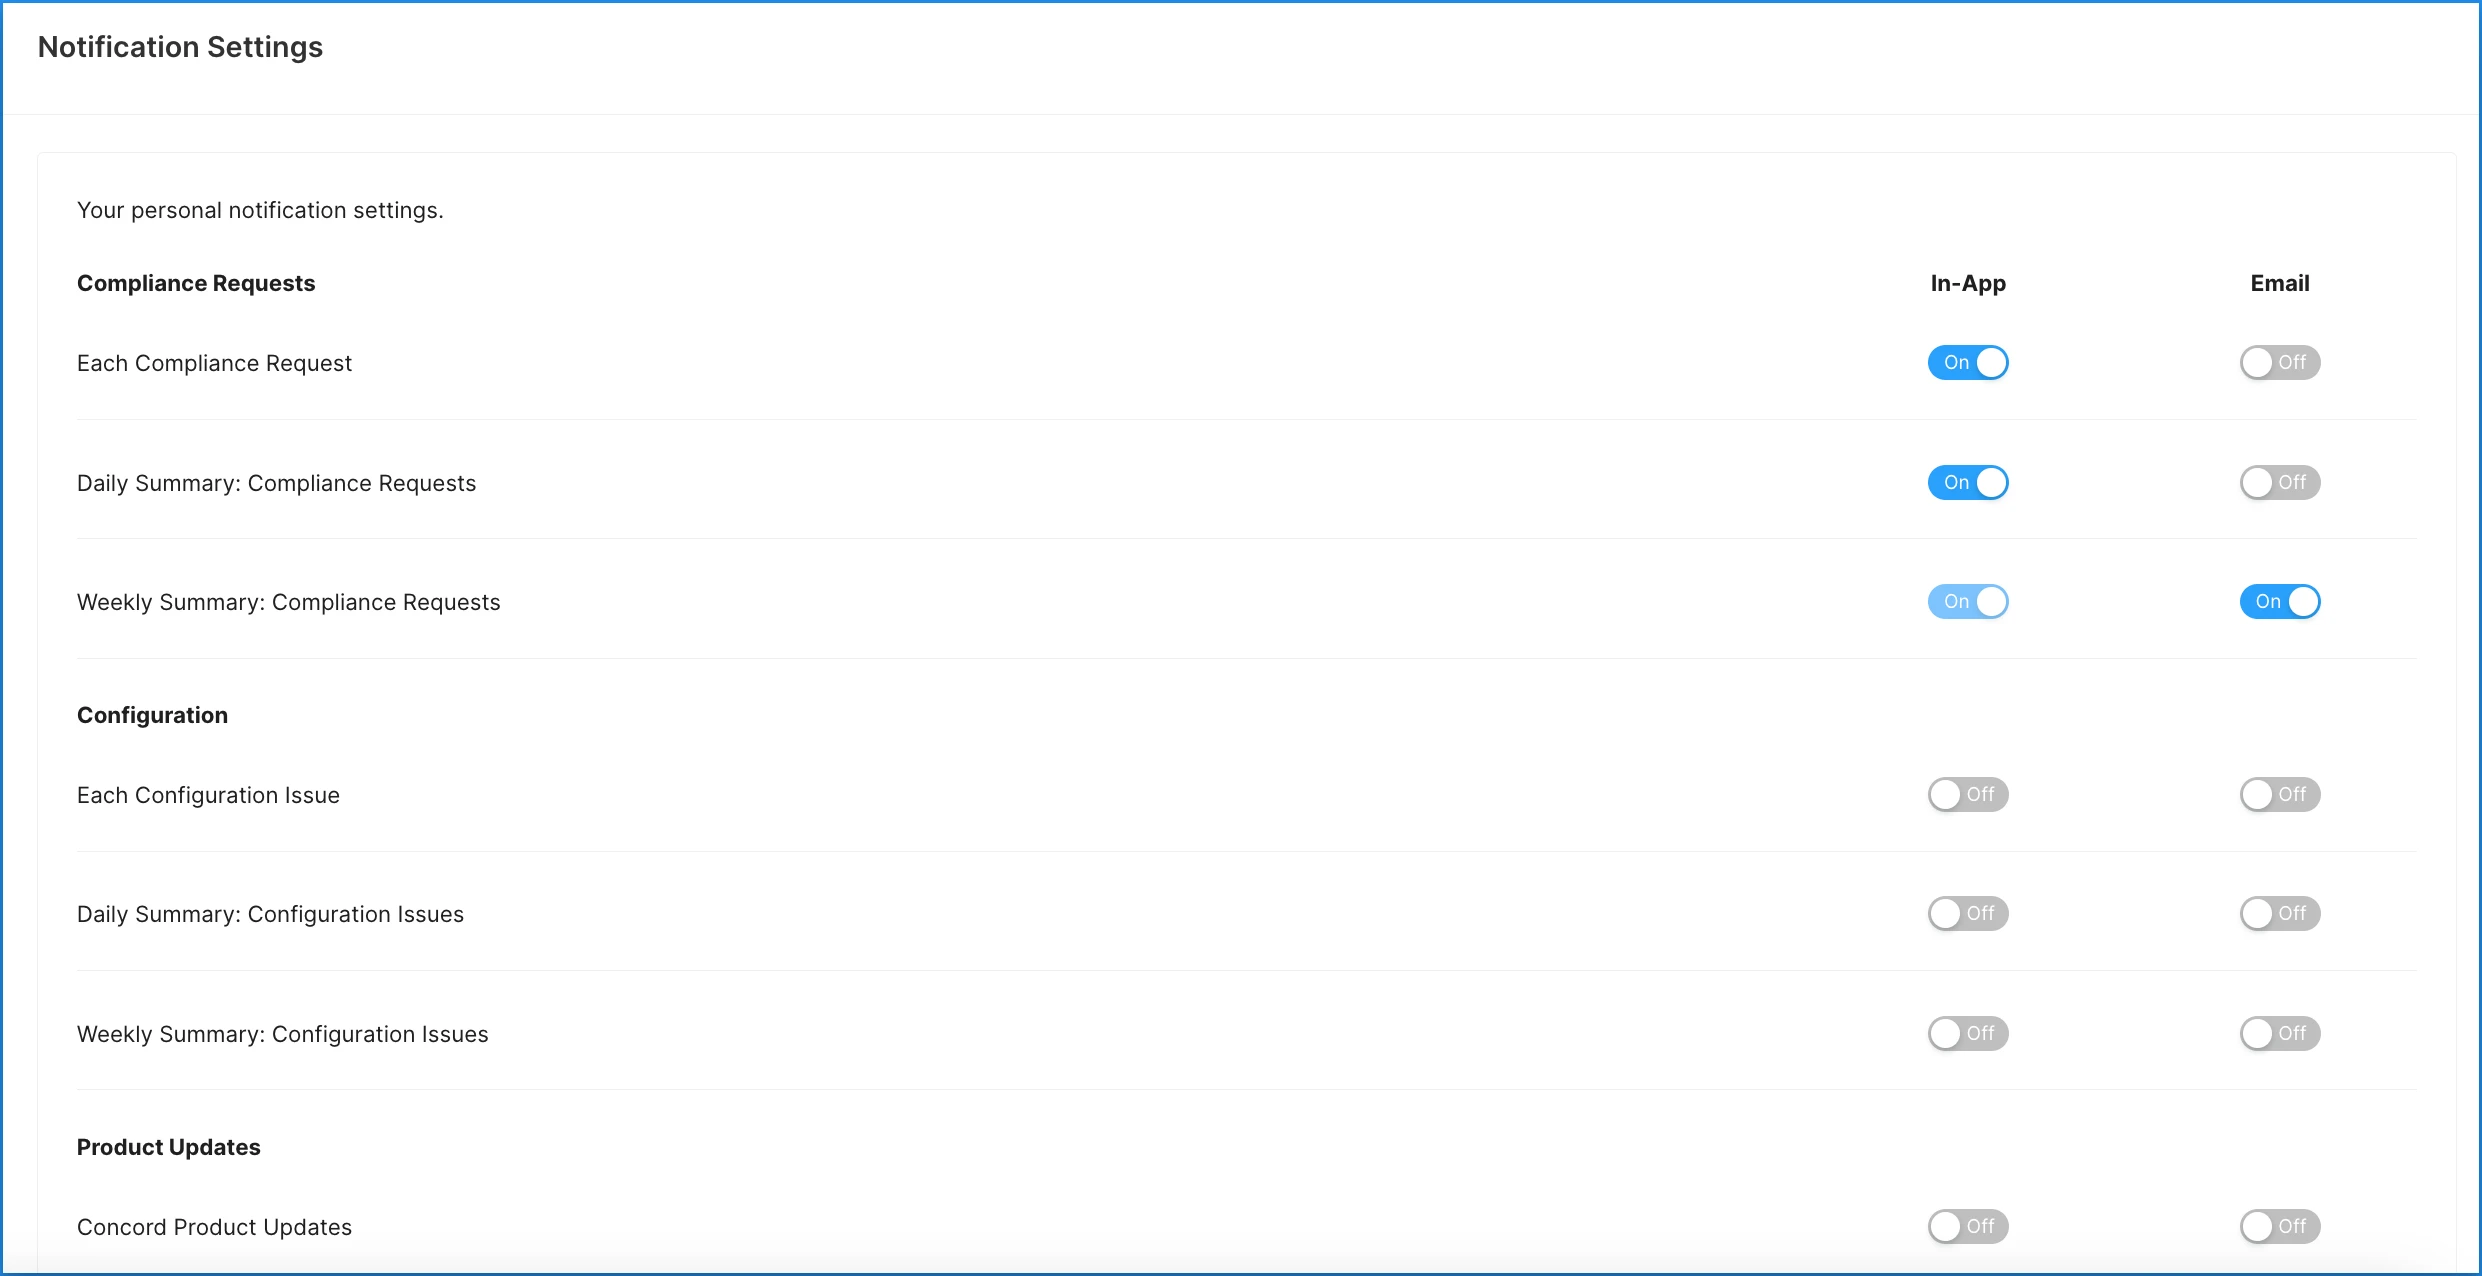
Note that in addition to your personal notification settings, emails can be added to Projects under Additional Notification Email(s). Those emails also receive notifications for that Project and that feature should typically be used for catch-all emails vs. notifications for specific users (as all users added to a project can instead manage their own notification settings without being added to the Additional Notification Email(s) section).
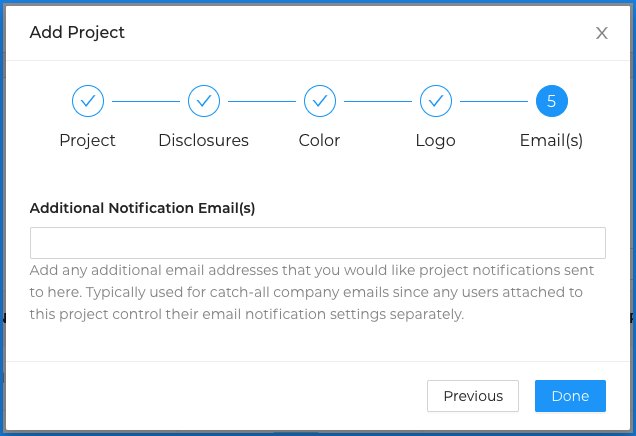
### Compliance Request Notification Types
* **Each Compliance Request.** Enables in-app or email notification for every individual compliance request as they occur.
* **Daily Summary: Compliance Requests.** A collected daily summary of all that day’s requests.
* **Weekly Summary: Compliance Requests.** A collected weekly summary of all that week’s compliance requests.
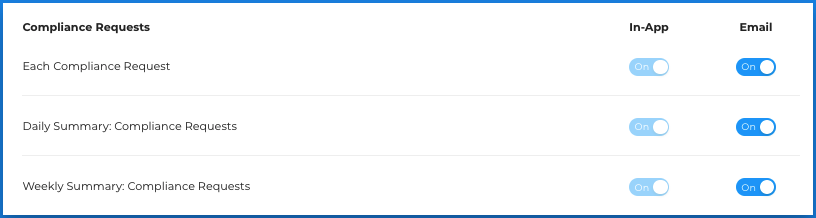
### Configuration Notification Types
* **Each Configuration Issue.** Enables in-app or email notification when a configuration issue occurs.
* **Daily Summary: Configuration Issues.** A collected daily summary of all that day’s configuration issues.
* **Weekly Summary: Configuration Issues.** A collected weekly summary of all that week’s configuration issues.
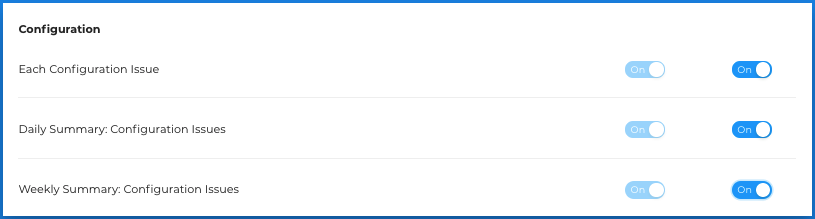
### Product Update Notification Types
* **Concord Product Updates.** Use this notification type to receive notifications regarding new and important Concord product updates.

# Creating Trust Center Announcements
URL: /docs/creating-trust-center-announcements
***
title: 'Creating Trust Center Announcements'
description: 'How to create, publish, and track announcements on your Concord Trust Center, including compliance attestations, vulnerability disclosures, and subscriber notifications.'
created: '2026-07-06T00:00:00.000Z'
updated: '2026-07-06T00:00:00.000Z'
-----------------------------------
## Overview
Announcements let you post compliance attestations, vulnerability disclosures, and other security or trust-related updates directly to your Trust Center. Drafts are private until you publish. Publishing an announcement posts it to your public Trust Center and emails your confirmed [subscribers](/docs/managing-trust-center-audience#managing-subscribers).
1. In the Concord Admin UI, go to **Trust → Announcements**.
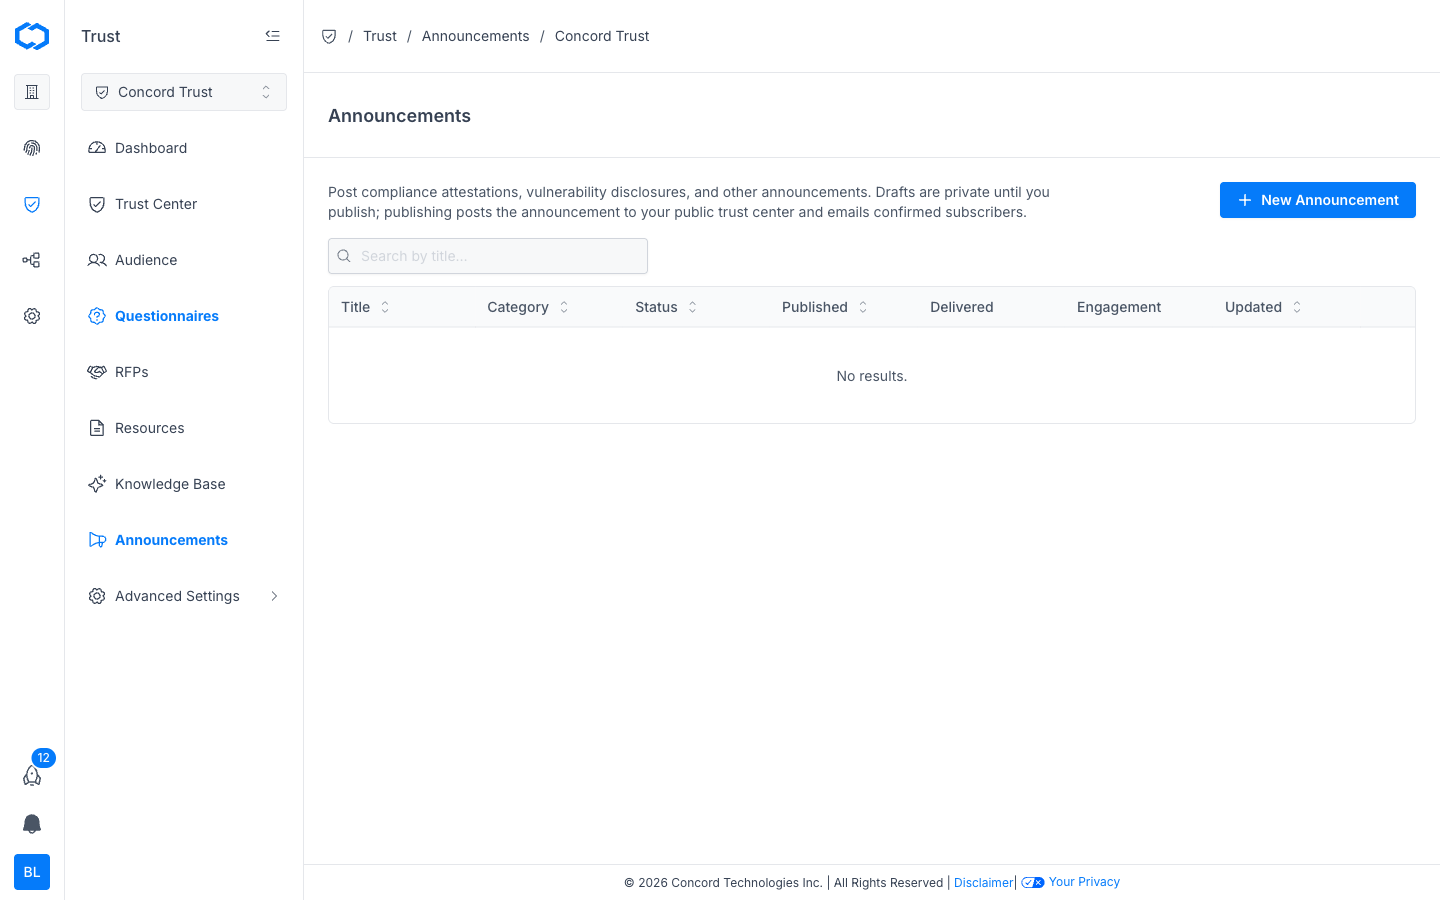
## Viewing Announcements
The Announcements table shows every announcement you've created, with the following columns:
| Column | Description |
| -------------- | ---------------------------------------------------------------------------------- |
| **Title** | The announcement's title. |
| **Category** | The type of announcement (e.g., compliance attestation, vulnerability disclosure). |
| **Status** | Draft or Published. |
| **Published** | When the announcement was published, if applicable. |
| **Delivered** | How many subscriber emails were successfully delivered. |
| **Engagement** | Open and click activity for the announcement email. |
| **Updated** | When the announcement was last edited. |
Use the search bar to find an announcement by title.
## Creating a New Announcement
1. Go to **Trust → Announcements**.
2. Click **+ New Announcement**.
3. Enter a **Title** for the announcement.
4. Select a **Category** that best describes the announcement (e.g., compliance attestation, vulnerability disclosure, product update).
5. Write the announcement content.
6. Click **Save Draft**.
New announcements are created as drafts and are not visible to visitors or subscribers until you publish them.
## Publishing an Announcement
1. Open the draft announcement you want to publish.
2. Review the title, category, and content.
3. Click **Publish**.
Publishing does two things at once:
* Posts the announcement to your public Trust Center, where visitors can view it.
* Sends an email to every confirmed subscriber on your [Subscribers list](/docs/managing-trust-center-audience#managing-subscribers).
Once published, an announcement can still be edited, but subscribers will not be re-notified of edits unless you republish it.
## Tracking Delivery & Engagement
After publishing, the **Delivered** and **Engagement** columns update to reflect how your announcement performed. For a more detailed breakdown — including bounces, unsubscribes, and a send-to-open-to-click engagement funnel — see the **Announcements** section of the [Trust Dashboard Overview](/docs/trust-dashboard-overview) and [Trust Center Analytics](/docs/trust-center-analytics).
## Editing or Unpublishing an Announcement
1. Go to **Trust → Announcements**.
2. Click the announcement you want to change.
3. Update the content and click **Save**, or change its status back to **Draft** to remove it from your public Trust Center.
Unpublishing an announcement removes it from your public Trust Center but does not retract emails already delivered to subscribers.
## Related Articles
* [Managing Your Trust Center Audience](/docs/managing-trust-center-audience)
* [Trust Center Overview](/docs/trust-center-overview)
* [Trust Dashboard Overview](/docs/trust-dashboard-overview)
* [Trust Center Analytics](/docs/trust-center-analytics)
# Managing Your Trust Center Audience
URL: /docs/managing-trust-center-audience
***
title: 'Managing Your Trust Center Audience'
description: 'How to review and approve access requests, manage NDAs, and control who can view gated content on your Concord Trust Center from the Audience page.'
created: '2026-07-06T00:00:00.000Z'
updated: '2026-07-06T00:00:00.000Z'
-----------------------------------
## Overview
The **Audience** page is where you manage who can access your Trust Center: the domains and individual emails allowed in, the incoming requests waiting on your decision, and the subscribers who receive your announcements. It's the control center for everything related to gated content.
1. In the Concord Admin UI, go to **Trust → Audience**.
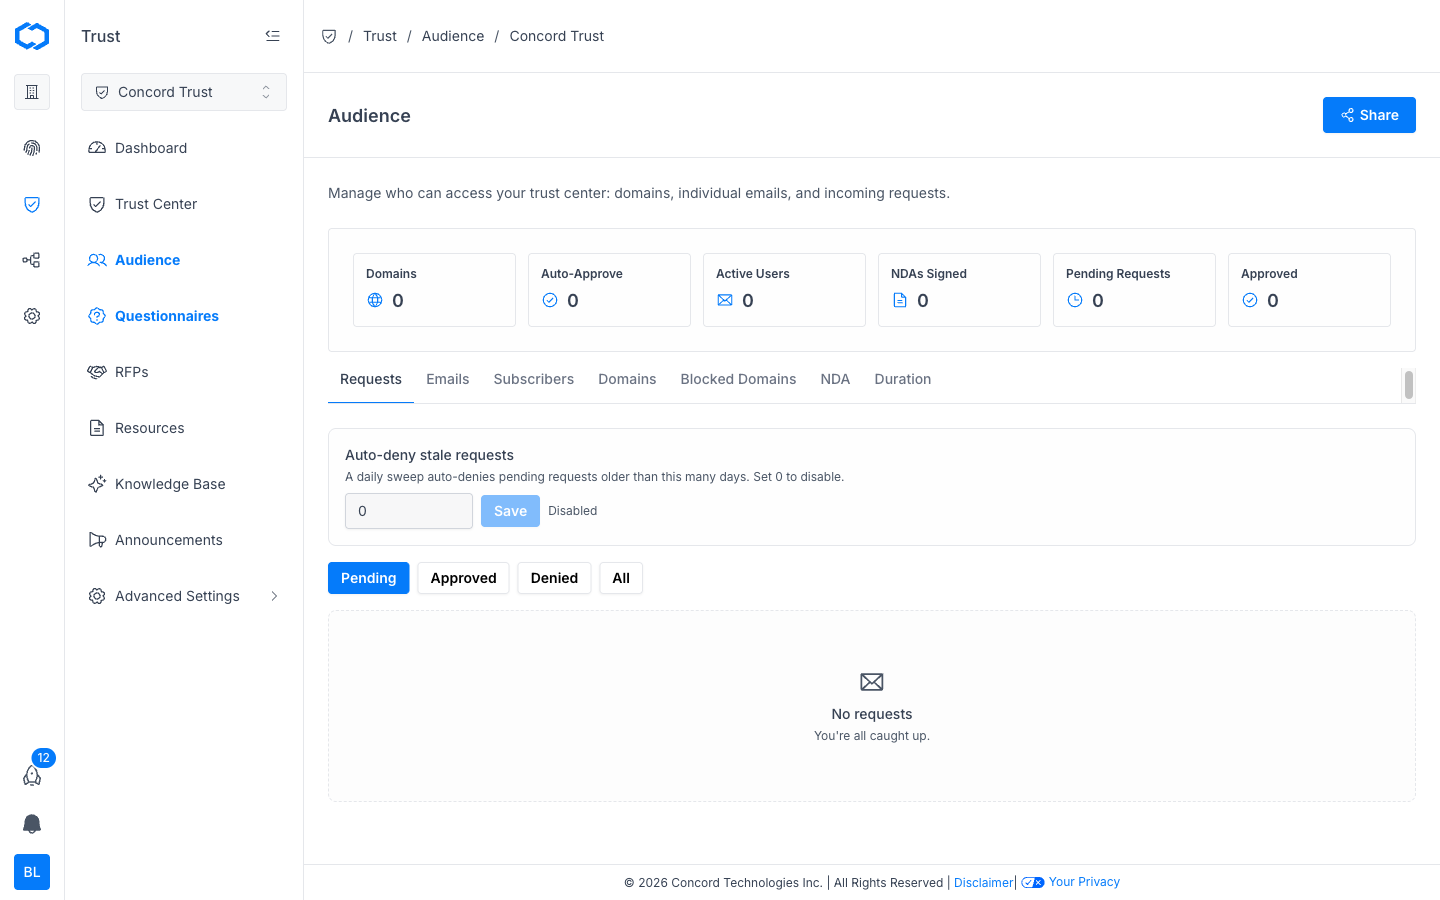
## Summary Cards
The top of the Audience page shows six at-a-glance metrics:
| Card | Description |
| -------------------- | ------------------------------------------------------------------ |
| **Domains** | Number of domains configured for auto-approval. |
| **Auto-Approve** | Number of domains currently set to auto-approve incoming requests. |
| **Active Users** | Number of visitors with active, approved access. |
| **NDAs Signed** | Total NDAs signed by visitors to date. |
| **Pending Requests** | Requests awaiting your review. |
| **Approved** | Total approved requests to date. |
## Managing Access Requests
The **Requests** tab lists everyone who has asked for access to gated documents on your Trust Center.
1. Go to **Trust → Audience** and select the **Requests** tab.
2. Use the **Pending**, **Approved**, **Denied**, and **All** filters to switch between request states.
3. For a pending request, review the requester's name, email, and the document(s) they're asking to access.
4. Click **Approve** to grant access, or **Deny** to reject the request.
Approving a request notifies the visitor by email and grants them access according to your configured [access duration](#setting-access-duration). Denying a request notifies the visitor that their request was not approved.
### Auto-Deny Stale Requests
To keep your queue from filling up with abandoned requests, you can automatically deny requests that sit pending for too long.
1. On the **Requests** tab, find the **Auto-deny stale requests** card.
2. Enter the number of days a request can remain pending before it's automatically denied.
3. Click **Save**.
Set the value to **0** to disable auto-deny. A daily sweep applies this rule across all pending requests.
## Managing Individual Emails
The **Emails** tab lets you pre-approve or block access for specific email addresses, independent of the domain-level rules on the **Domains** tab. Use this when you want to grant or restrict access for a specific person rather than their entire organization.
1. Go to the **Emails** tab.
2. Add an email address and set it to **Allow** or **Block**.
3. Save your changes.
Allowed emails skip the request queue entirely; blocked emails are prevented from submitting new requests.
## Managing Subscribers
The **Subscribers** tab lists everyone who has subscribed to receive your [Trust Center announcements](/docs/creating-trust-center-announcements). Visitors can subscribe from your public Trust Center, and their subscription status (confirmed or pending confirmation) is shown here.
From this tab you can:
* View and search your subscriber list.
* Remove a subscriber to stop sending them future announcements.
* Export your subscriber list.
## Managing Domains
The **Domains** tab controls auto-approval by email domain. Add a domain to automatically approve access requests from anyone with a matching email address, skipping manual review entirely.
1. Go to the **Domains** tab.
2. Click **Add Domain** and enter the domain (e.g., `acme.com`).
3. Toggle **Auto-Approve** on for domains you trust to skip the request queue.
This is useful for existing customers or partners who should always have access without waiting on manual approval.
## Blocking Domains
The **Blocked Domains** tab prevents visitors from specific domains from submitting access requests at all — useful for filtering out spam or competitor domains.
1. Go to the **Blocked Domains** tab.
2. Click **Add Domain** and enter the domain you want to block.
Requests from blocked domains are rejected automatically and never appear in your Requests queue.
## Requiring an NDA
The **NDA** tab lets you require visitors to sign a non-disclosure agreement before they can access particularly sensitive documents.
1. Go to the **NDA** tab.
2. Upload or write your NDA content.
3. Turn on the NDA requirement for the documents that need it (configured from each document's access level settings in [Adding and Managing Documents](/docs/adding-managing-documents)).
Once required, visitors must sign the NDA before their access request for that document can be approved. Signed NDAs are counted in the **NDAs Signed** summary card and logged for your records.
## Setting Access Duration
The **Duration** tab controls how long approved access lasts before a visitor needs to request access again.
1. Go to the **Duration** tab.
2. Set the number of days that approved access remains valid.
Once access expires, the visitor's status reverts and they'll need to submit a new request to regain access to gated content.
## Related Articles
* [Trust Center Overview](/docs/trust-center-overview)
* [Adding and Managing Documents](/docs/adding-managing-documents)
* [Creating Trust Center Announcements](/docs/creating-trust-center-announcements)
* [Trust Dashboard Overview](/docs/trust-dashboard-overview)
# Sharing Your Trust Center
URL: /docs/sharing-your-trust-center
***
title: 'Sharing Your Trust Center'
description: 'How to share your Concord Trust Center with prospects, customers, and partners, including direct links, website embedding, email signatures, and sales outreach.'
-------------------------------------------------------------------------------------------------------------------------------------------------------------------------------
## Overview
Once your Trust Center is live, the next step is getting it in front of the right people. You can share your Trust Center through direct links, embed it on your website, add it to email signatures, or include it in sales outreach. The more visible your Trust Center is, the fewer inbound security questionnaires and document requests your team needs to handle manually.
Your Trust Center URL is either your `trustcenter.to` subdomain (e.g., `yourcompany.trustcenter.to`) or a custom domain you have configured. For domain setup, see [Setting Up Your Trust Center Domain](/docs/setting-up-trust-center-domain).
## Finding Your Trust Center URL
1. In the Concord Admin UI, go to **Trust → Trust Center**.
2. Select the **Domains** tab.
3. Your active Trust Center URL is displayed at the top of the page.
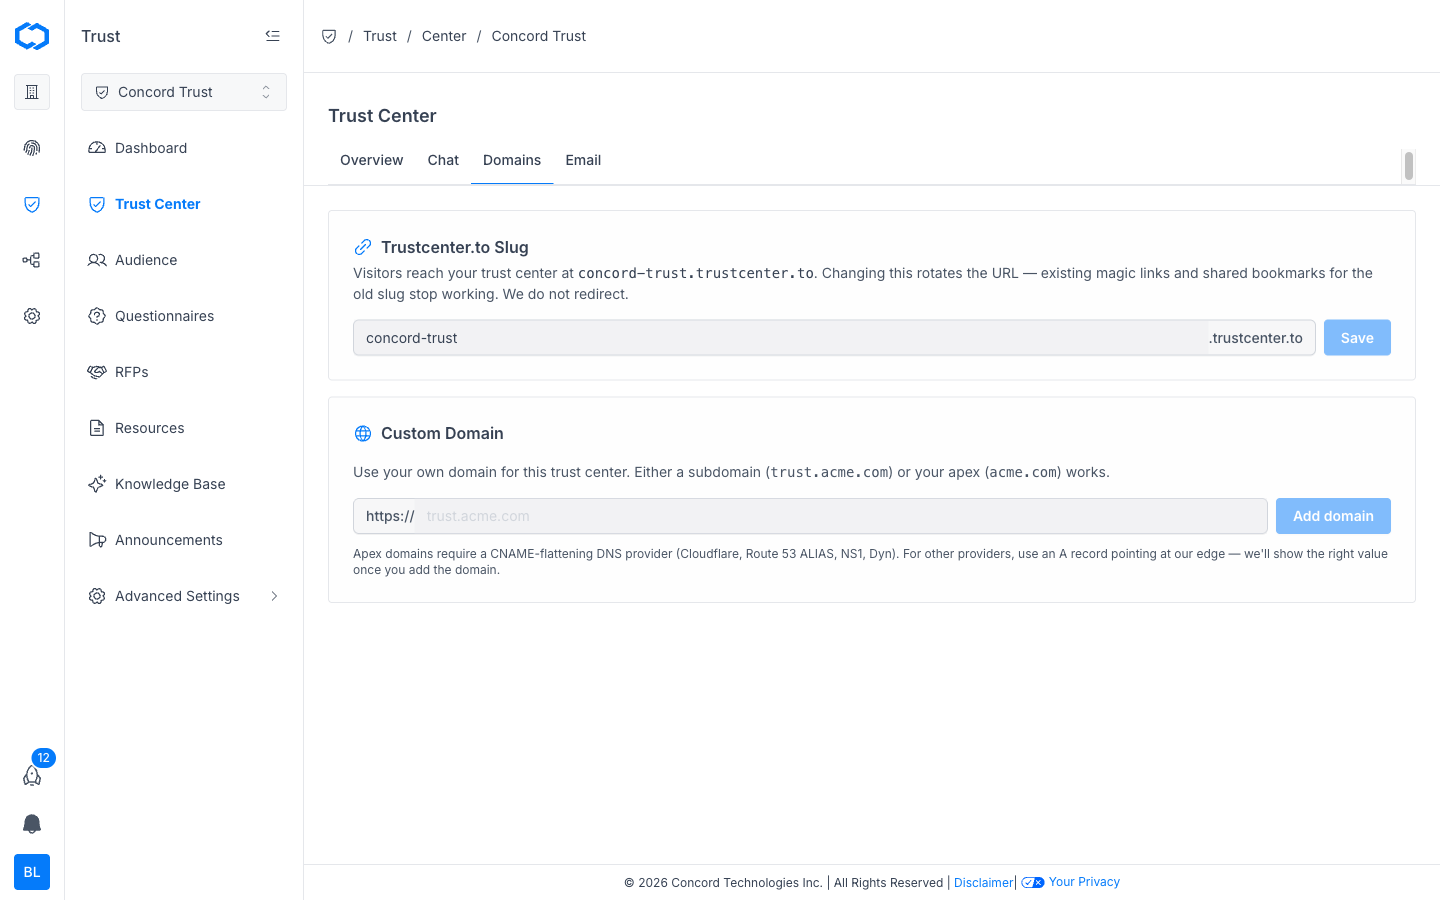
You can copy the URL directly from this screen.
## Direct Links
The simplest way to share your Trust Center is by sending the URL directly. Use direct links when:
* A prospect asks for your security posture or compliance documentation.
* A customer requests access to your SOC 2 report or privacy policy.
* A partner needs to review your data handling practices during due diligence.
For documents that require gated access, visitors will be prompted to request access through the Trust Center. You approve or deny requests from the Audience section in the Trust Center Admin UI.
## Adding Your Trust Center to Your Website
Link to your Trust Center from your company website so visitors can find it on their own. Common placements include:
* **Footer**: add a "Trust Center" link alongside your Privacy Policy and Terms of Service links.
* **Security page**: if you have a dedicated security page, link to your Trust Center as the primary destination for compliance documentation.
* **Navigation**: add a top-level "Trust" link in your site navigation for maximum visibility.
Use your Trust Center URL as a standard link. No embed code or JavaScript snippet is required.
## Email Signatures
Adding your Trust Center to employee email signatures puts it in front of prospects and customers during routine communication. This is especially effective for sales, customer success, and legal teams who regularly field security questions.
Example signature line:
> **Trust Center:** yourcompany.trustcenter.to
## Sales Outreach
Include your Trust Center link in sales materials to address security and compliance questions proactively. Effective placements include:
* **Proposal documents**: add a Trust Center link in the security or compliance section of your proposals.
* **Follow-up emails**: after a security-related question, send the Trust Center link instead of attaching individual documents.
* **Sales decks**: include a Trust Center slide or link so prospects can self-serve compliance documentation after the meeting.
* **CRM templates**: add your Trust Center URL to email templates in your CRM so reps include it consistently.
Sharing the Trust Center early in the sales process can shorten deal cycles by reducing churn around security reviews.
## Tracking Engagement
The [Trust Dashboard](/docs/trust-dashboard-overview) tracks page views, document downloads, access requests, and visitor domains out of the box. For additional third-party analytics, you can add tracking scripts through the [Custom Scripts integration](/docs/custom-scripts-integration).
## Related Articles
* [Setting Up Your Trust Center Domain](/docs/setting-up-trust-center-domain)
* [Trust Center Overview](/docs/trust-center-overview)
* [Trust Center Branding and Customization](/docs/trust-center-branding-customization)
* [Custom Scripts Integration](/docs/custom-scripts-integration)
# Adopting Frameworks
URL: /docs/adopting-frameworks
***
title: 'Adopting Frameworks'
description: 'Adopt a compliance framework to map your controls to its requirements, see coverage, and prepare for an audit, from SOC 2 and ISO 27001 to CCPA/CPRA and SOX.'
created: '2026-09-15T00:00:00.000Z'
updated: '2026-09-28T00:00:00.000Z'
-----------------------------------
## Overview
Once you are running [Controls](/docs/controls-overview), a **framework** organizes them against a specific standard. Adopting a framework maps your controls to that standard's requirements, shows you where you are covered and where you have gaps, and lets you run an audit with outside auditors.
Concord supports these frameworks:
* SOC 2
* ISO/IEC 27001
* ISO/IEC 27701
* ISO/IEC 42001
* NIST AI Risk Management Framework
* NIST Privacy Framework
* GDPR
* CCPA/CPRA
* HIPAA Security Rule
* PCI DSS
* CMMC 2.0 Level 1
* SOX
Frameworks are a paid add-on to a **Premium** or **Enterprise** Trust plan. You buy them as **framework packs** sized to how many frameworks you want to run at once. See [pricing](/pricing/trust).
## Adopting a Framework
1. Go to **Data Hub → Controls & Audits → Frameworks** and choose **Add Framework**.
2. Pick the framework, and choose how many of its controls to bring in: **Recommended**, **Advanced**, or **Custom**.
3. Choose **Adopt Framework**. If you need a framework pack first, choose **Buy & Adopt** to buy it and adopt in one step. If you don't manage billing, you'll see **Go to Billing** instead.
Adopting a framework brings in the standard's requirements and computes coverage, so controls you already maintain immediately count toward the new framework.
{/* Screenshot pending: Framework requirement coverage -> /docs/adopting-frameworks-coverage.png. See docs-screenshot-backfill plan. */}
## Buying or Changing a Framework Pack From Billing
You can also manage your pack from **Global Settings → Billing**: on your Trust plan, choose **Manage Add-Ons**, and pick a pack size under **Framework Packs**. When you change pack sizes, the difference is prorated and applied to your next invoice.
## Reading Coverage
Open an adopted framework and go to **Coverage** to see its requirements and the controls mapped to each one. Each requirement is **Covered**, **Partial**, **Not Covered**, or **N/A**, and you can filter by status. Work the gaps by adding or fixing the underlying controls and their evidence; coverage updates as your controls do.
## Framework Status
Each adopted framework has a status you set on its **Details** tab: **Planning**, **Active**, **Audit In Progress**, **Attested**, or **Archived**.
## Archiving a Framework
To stop running a framework, set its status to **Archived** on the **Details** tab. Archiving keeps your history and evidence. If you adopt the framework again later, it comes back with that work intact.
If you remove your framework pack entirely, framework pages are locked until you add a pack again.
## Next Steps
* [Auditor Access](/docs/auditor-access): set up an audit and invite your auditor.
* [Controls and Evidence](/docs/controls-overview): the controls that satisfy these requirements.
# Auditor Access
URL: /docs/auditor-access
***
title: 'Auditor Access'
description: 'Set up an audit, invite your external auditors with scoped, time-boxed access, and work through their reviews and evidence requests, without adding them as full team members.'
created: '2026-09-15T00:00:00.000Z'
updated: '2026-09-28T00:00:00.000Z'
-----------------------------------
## Overview
When it's time for an audit, you don't have to hand an auditor a full account or email evidence around. Set up an **audit** in Concord, invite the firm's auditors into it, and they work in their own **Auditor Portal**: they see only the frameworks in that audit, record their review of each control, comment, and request evidence. Access is time-boxed, and you can revoke it at any time.
An invited auditor has no standing access to anything else in your organization, so adding one never exposes the rest of your account.
Auditor access comes with the frameworks add-on. See [Adopting Frameworks](/docs/adopting-frameworks) to set that up first.
## Setting Up an Audit
Go to **Data Hub → Controls & Audits → Audits** and choose **Add Audit**. An audit records:
* The audit firm
* The frameworks being audited (one or more)
* The audit period
The **Audits** tab shows each audit with its frameworks, period, status, auditors, and open evidence requests.
## Inviting an Auditor
Owners and Admins can invite auditors. Choose **Invite Auditor** from the audit, or from the **Auditors** tab.
1. Choose the **Audit**, if it isn't already selected.
2. Enter the auditor's **Email**.
3. Choose their **Permissions**: **View Documents** and **Comment**.
4. Set when access **Expires**. It defaults to 90 days from today.
5. Choose **Send Invite**.
The auditor receives an email invite to sign in, and lands in the Auditor Portal for that audit.
{/* Screenshot pending: Invite an Auditor dialog -> /docs/auditor-access-invite.png. See docs-screenshot-backfill plan. */}
## What the Auditor Sees
In the Auditor Portal, the auditor sees the **Controls** and **Requirements** in the audit's scope. Opening a control shows:
* **Review:** their own review of the control, with a status of **Not Reviewed**, **In Review**, **Accepted**, **Needs More Info**, or **Exception**, and a discussion thread shared with your team. Their review is separate from your control's own status.
* **Evidence:** the evidence attached to the control.
* **Tests:** the control's tests and results.
* **Requirements:** the framework requirements the control maps to.
The auditor's access is read-only. They can review, comment, and request evidence, but can't change controls, evidence, or settings.
## Evidence Requests
When an auditor needs more, they choose **Request Evidence** on a control's **Evidence** tab and describe what they need. The request becomes a task on that control's **Tasks** tab for your team to work, and open requests show on the audit. Once you attach the evidence, it appears under the request for the auditor.
## Managing and Revoking Access
Manage auditors on the **Auditors** tab:
* **Edit access** to change an auditor's audit, permissions, or expiry date, including extending or shortening their access.
* **Revoke access** to end it immediately.
* **Reinstate access** to restore a revoked auditor, with a new 90-day expiry.
When the expiry date passes, access closes on its own. There's no separate cleanup step.
## Next Steps
* [Adopting Frameworks](/docs/adopting-frameworks): adopt the frameworks the audit covers.
* [Controls and Evidence](/docs/controls-overview): the controls and evidence the auditor reviews.
# Automated Control Checks
URL: /docs/automated-control-checks
***
title: 'Automated Control Checks'
description: 'Connect AWS, Microsoft Azure, or Google Cloud so Concord checks your accounts and records the results as evidence on your controls, and use AI Evidence Collection to review a control against connected systems.'
created: '2026-09-28T00:00:00.000Z'
updated: '2026-09-28T00:00:00.000Z'
-----------------------------------
## Overview
Many controls depend on how your cloud infrastructure is configured: encryption, logging, access, and network settings. Instead of exporting screenshots every cycle, connect your cloud accounts and Concord checks them for you, then records the results as evidence on the [controls](/docs/controls-overview) they map to.
Automated control checks and integrations are available now. If you don't see **Integrations** in your sidebar, [contact us](/contact?subject=demo) to turn them on for your organization.
{/* Screenshot pending: Integrations > Browse Catalog -> /docs/integrations-browse-catalog.png */}
## Connecting a Cloud Account
1. Go to **Integrations → Browse Catalog**. The **Recommended** tab shows the most common connections, and **All Integrations** shows everything.
2. Choose **AWS**, **Microsoft Azure**, or **Google Cloud**, and follow the connection steps:
* **AWS:** connect with an IAM role that Concord assumes, using the external ID Concord provides.
* **Microsoft Azure:** connect with a service principal.
* **Google Cloud:** connect with Workload Identity Federation, so there's no key file to download or store.
3. Choose which groups of checks to run.
Your connections are listed under **Integrations → Your Integrations**. Credentials are stored encrypted.
## What Gets Checked
Checks are grouped by area, such as identity and access, logging and monitoring, storage and data, networking, and databases, and they're mapped to CIS benchmark criteria for each cloud.
Checks run every night for each connection, and you can also run them on demand. Each check group run uses 50 Actions for each connected account. See [Actions and Data Credits](/docs/actions-data-credits).
## How Results Become Evidence
Each check that maps to a control records its result as evidence on that control's tests. Not every check maps to a control.
A check can only pass on complete information. When a check can't reach an answer, for example because there's nothing in scope, a credential stops working, or the results are incomplete, it's recorded as **Not Checked** rather than as a pass or a fail.
If an automated check fails twice in a row on a required test, Concord opens a task for the fix, and the task is resolved when the check passes again.
## AI Evidence Collection
For a control that doesn't map neatly to a single check, set up an **AI Review** on the control:
1. Open the control and set up **AI Review**.
2. Choose the **Control to Prove** and the **Connected Systems** to check.
3. Optionally, add **Context for the Agent** and a Slack webhook to **Post Results to Slack**.
4. Save, and turn the review on to run it.
An AI agent chooses and runs read-only checks against the systems you picked, then records a pass, a fail, or an inconclusive result on the control, with its reasoning and a summary of the evidence. Each review uses 200 Actions plus up to 100 Data Credits, and the checks it runs use their own Actions.
## Next Steps
* [Controls and Evidence](/docs/controls-overview): the controls these checks prove.
* [Adopting Frameworks](/docs/adopting-frameworks): see how check results count toward framework coverage.
# Controls and Evidence
URL: /docs/controls-overview
***
title: 'Controls and Evidence'
description: 'Add security and privacy controls, assign owners, and prove them with evidence that stays current, the foundation of a compliance program in Concord Trust.'
created: '2026-09-15T00:00:00.000Z'
updated: '2026-09-28T00:00:00.000Z'
-----------------------------------
## Overview
A Trust Center starts as a place to answer buyers' security questions. **Controls** turn it into a place to run your compliance program: you add a set of security and privacy controls, give each one an owner, and prove it with evidence that stays current. When you later adopt a framework such as SOC 2 or ISO 27001, the controls you already maintain show which requirements they cover.
Controls are available on the **Premium** and **Enterprise** Trust plans. Find them under **Data Hub → Controls & Audits → Controls**.
{/* Screenshot pending: Controls dashboard -> /docs/controls-overview-dashboard.png. See docs-screenshot-backfill plan. */}
## What a Control Is
A control is a named requirement you commit to and keep proving. Each control has:
* **An owner:** the person accountable for keeping it in good standing.
* **One or more tests:** each test is a single check, the specific thing being proved. A test has a cadence, which is how often its evidence needs refreshing: **Continuous**, **Monthly**, **Quarterly**, **Semi Annual**, or **Annual**.
* **Evidence:** what shows a test is passing. You attach it yourself, or it's collected automatically from connected systems (see [Automated Control Checks](/docs/automated-control-checks)).
* **Two statuses:**
* **Implementation status**, which you set: **Not Started**, **In Progress**, or **Implemented**.
* **Evaluation status**, computed from its tests: **Pass** when every required test has fresh, passing evidence, **Needs Review** when evidence is missing or has gone stale, **Fail** when a test fails, **Not Evaluated** before any test has run, or **N/A**.
## Adding Controls
Go to **Data Hub → Controls & Audits → Controls** and open **Add Controls** to browse the library. Switch between **Recommended**, **Advanced**, and **All** to see more or fewer controls, then choose **Add Control** on the ones that fit your program, or select several and add them together. If a broader control you've already added covers one, you'll see **Add Anyway**.
You can run Controls on their own, before adopting any framework. They document your posture and can be published to your public Trust Center.
## Adding Evidence
Open a control, go to its **Evidence** tab, and choose **Add Evidence**. You can:
* **Document:** attach a document from your library.
* **Upload File:** upload a file.
* **External Link:** link to evidence that lives somewhere else.
For controls that depend on your cloud infrastructure, connect your accounts and Concord records check results as evidence automatically. See [Automated Control Checks](/docs/automated-control-checks).
Team members with a **Limited** role can add evidence to controls and comment on them, without being able to change the control itself. See [User Roles and Permissions](/docs/user-roles-permissions).
## When a Test Fails
When a required test fails, Concord opens a task for the fix. A failure someone records by hand opens a task right away. An automated check has to fail twice in a row before it opens a task, so a one-off blip doesn't create noise. When the test passes again, the task is resolved.
## Recording an Exception
When a control has a deficiency you're handling another way, choose **Add Exception** and record how it's being handled. An exception is **Open**, **Remediated**, or **Accepted**. Exceptions annotate a control's status for auditors; they never hide a failing result. An open exception on a single test closes itself when that test next passes. Accepted exceptions, and exceptions that cover the whole control, are closed by hand.
## The Controls Dashboard
The Controls dashboard shows your program at a glance: how many frameworks and controls you have, the share of controls implemented, your pass rate, charts of control status and evaluation results, and the controls due for review soon. Use it to see where evidence has gone stale before an auditor or a buyer does.
## Publishing Controls to Your Trust Center
You can publish controls to your public Trust Center so buyers can see the posture you maintain, not just the certifications you hold.
1. Open your Trust Center and go to its **Controls** settings.
2. Choose which controls are **Public**. You can separately choose which ones feed AI answers to questionnaires and RFPs.
3. Optionally turn on **Show In-Progress Controls**.
By default, only implemented controls with a passing check appear. With **Show In-Progress Controls** on, controls you're actively working on also appear, marked **In Progress**. Failing, unverified, and not-yet-implemented controls never appear. Each published control shows when it was last updated.
## Next Steps
* [Adopting Frameworks](/docs/adopting-frameworks): map your controls to SOC 2, ISO 27001, and other frameworks, and see requirement coverage.
* [Automated Control Checks](/docs/automated-control-checks): connect AWS, Microsoft Azure, or Google Cloud to test controls automatically.
* [Auditor Access](/docs/auditor-access): give an auditor scoped, time-boxed access to review an audit.
# Trust Center Analytics
URL: /docs/trust-center-analytics
***
title: 'Trust Center Analytics'
description: 'How to interpret Trust Dashboard metrics to understand visitor behavior, document engagement, and announcement performance.'
------------------------------------------------------------------------------------------------------------------------------------------
## Overview
Trust Center analytics live on the [Trust Dashboard](/docs/trust-dashboard-overview). The Dashboard surfaces all visitor, document, workflow, and engagement metrics in one view.
Navigate to **Trust > Dashboard** and use the date range picker to select the reporting window.
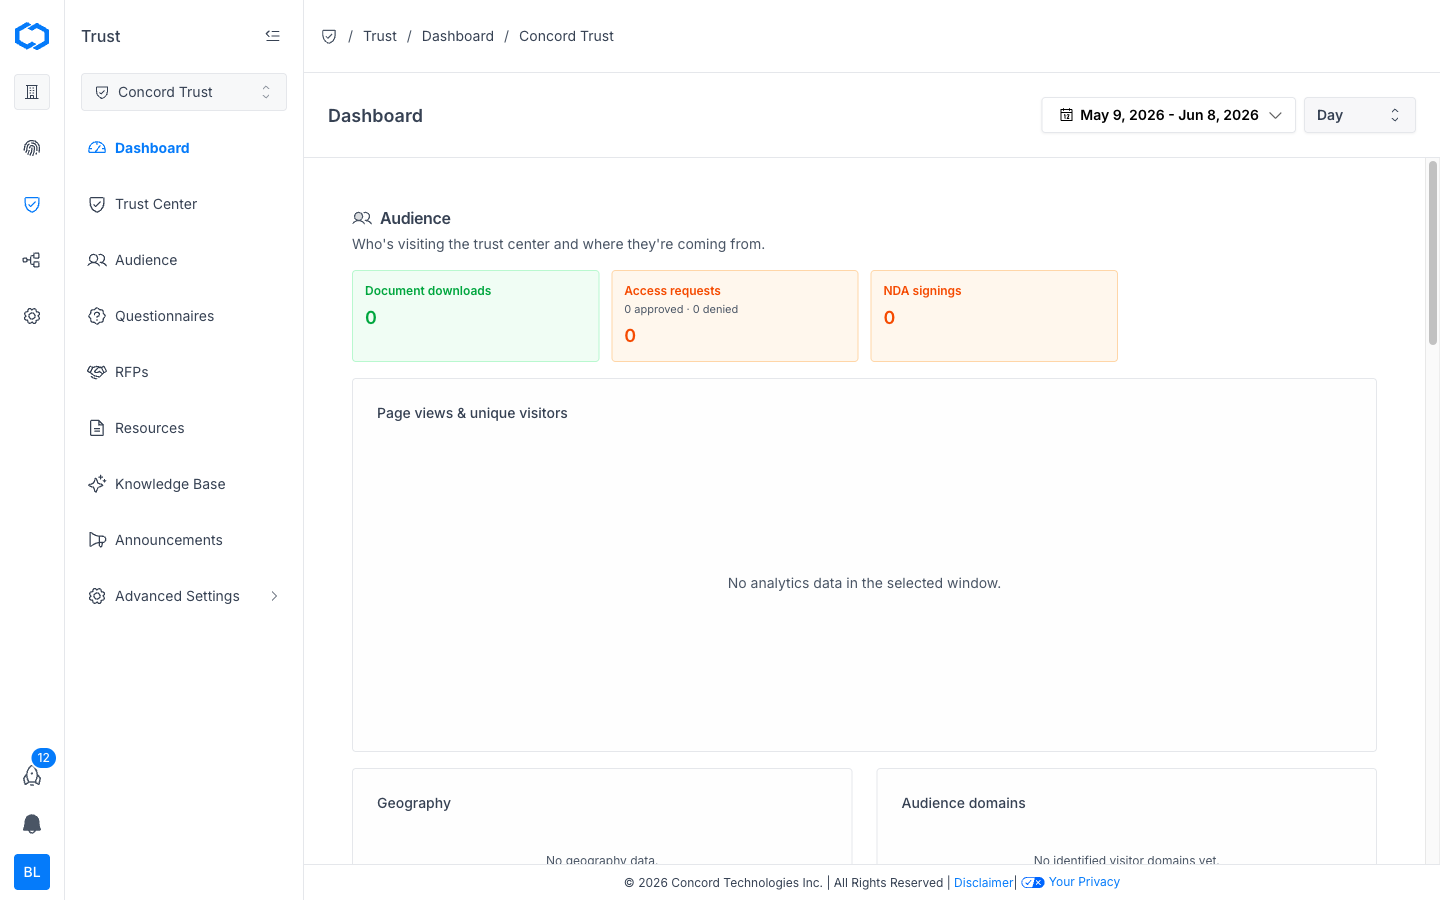
## Tracking Visitor Behavior
The **Audience** section of the Dashboard shows who is visiting your Trust Center:
* **Page views & unique visitors** charts traffic over time. Use this to spot spikes after you shares your Trust Center link or after you publish a new announcement.
* **Geography** breaks down visitors by region. This helps you understand where interest is concentrated and whether your Trust Center content aligns with the regulatory frameworks your audience cares about.
* **Audience domains** shows which organizations are reviewing your Trust Center based on visitor email domains.
## Monitoring Document Engagement
Two metrics help you understand which documents get the most attention:
* **Document downloads** (Audience section) shows total downloads across all documents.
* **Top documents downloaded** (Knowledge & Engagement section) ranks documents by download count for the period.
If a specific document (your SOC 2 report, penetration test summary, or DPA) consistently ranks high, that signals what your audience prioritizes during security reviews. Use this to decide which documents to feature prominently.
## Tracking Access Requests
The **Access requests** card in the Audience section shows total gated access requests with approved and denied counts. For detailed request management (approving, denying, and filtering requests by status), go to **Trust > Audience**.
## Understanding Questionnaire Workflow
The **Workflow** section tracks:
* **Avg days to complete** measures cycle time from creation to completion.
* **Questionnaires created vs. completed** compares intake volume against completion rate over time.
## Measuring Announcement Engagement
The **Announcements** section tracks delivery and engagement for subscriber announcements:
* **Engagement funnel** visualizes the send-to-open-to-click conversion path.
* **Deliverability issues** surfaces bounces, complaints, and rejected messages so you can clean your subscriber list.
* **Top engaged subscribers** identifies your most active readers.
## AI and Knowledge Base Usage
The **Knowledge & Engagement** section shows how the AI chat agent and visitors interact with your Knowledge Base:
* **AI answers & Q\&A card interactions** tracks usage of the AI-powered chat on your Trust Center.
## Related Articles
* [Trust Dashboard Overview](/docs/trust-dashboard-overview)
* [Trust Center Overview](/docs/trust-center-overview)
* [Adding and Managing Documents](/docs/adding-managing-documents)
# Trust Dashboard Overview
URL: /docs/trust-dashboard-overview
***
title: 'Trust Dashboard Overview'
description: 'Overview of the Concord Trust Dashboard, covering audience metrics, questionnaire workflow, announcement engagement, and knowledge base usage.'
-------------------------------------------------------------------------------------------------------------------------------------------------------------
## Overview
The Trust Dashboard gives you a centralized view of how prospects, customers, and partners interact with your Trust Center. It is organized into four sections: Audience, Workflow, Announcements, and Knowledge & Engagement.
Navigate to **Trust > Dashboard** to access the dashboard.

## Date Range and Granularity
Use the date range picker at the top of the dashboard to select the reporting window. The granularity dropdown lets you switch between **Day**, **Week**, and **Month** views. All metrics and charts update to reflect the selected range.
## Audience
Tracks who is visiting your Trust Center and where they are coming from.
**Summary cards:**
* **Document downloads**: total downloads across all featured documents.
* **Access requests**: total gated access requests, with approved and denied counts.
* **NDA signings**: total NDAs signed by visitors.
**Charts and breakdowns:**
* **Page views & unique visitors**: a time-series chart of traffic over the selected range.
* **Geography**: visitor location breakdown by region.
* **Audience domains**: identified visitor email domains, showing which organizations are reviewing your Trust Center.
## Workflow
Tracks questionnaire throughput and cycle time.
**Summary cards:**
* **Avg days to complete**: average time from questionnaire creation to completion.
* **Questionnaire exports**: total questionnaires exported during the period.
**Charts:**
* **Questionnaires created vs. completed**: a time-series comparison showing intake volume against completion rate.
## Announcements
Tracks subscriber announcement delivery and engagement. Metrics are populated by the hourly aggregator.
**Summary cards:**
* **Announcements sent**: total announcements delivered, with opened and clicked counts.
* **Deliverability issues**: bounced, complaint, and rejected counts.
* **Unsubscribes**: recipients who opted out during the period.
**Charts and breakdowns:**
* **Engagement funnel**: visualization of send-to-open-to-click conversion.
* **Top engaged subscribers**: leaderboard of subscribers with the highest engagement signals.
## Knowledge & Engagement
Tracks how your Knowledge Base content is being used by visitors and the AI chat agent.
**Charts:**
* **AI answers & Q\&A card interactions**: usage of the AI-powered chat and Q\&A features on your Trust Center.
* **Top documents downloaded**: ranked list of the most-downloaded documents during the period.
## Related Articles
* [Trust Center Overview](/docs/trust-center-overview)
* [Adding and Managing Documents](/docs/adding-managing-documents)
* [Security Questionnaires Overview](/docs/questionnaires-overview)
# Concord Privacy Integration
URL: /docs/concord-privacy-integration
***
title: 'Concord Privacy Integration'
description: 'How to connect Concord Privacy to your Trust Center to add cookie consent, regional privacy compliance, and a privacy request portal for visitors.'
-----------------------------------------------------------------------------------------------------------------------------------------------------------------
## Overview
The Concord Privacy integration adds your consent management platform (CMP) directly to your Trust Center. When enabled, visitors see a region-aware consent banner, privacy compliance controls, and the ability to submit privacy requests, all powered by Concord Privacy.
This integration does not sync data between products. It injects the Concord Privacy consent script into your Trust Center page so that visitor consent is settled before any other code runs.
## What Gets Added
When a Concord Privacy project is linked, three features are activated on your Trust Center:
### Consent Management
A region-aware consent banner that blocks non-essential cookies and scripts based on visitor consent. The banner styling and consent categories are managed in the linked Concord Privacy project.
### Global Compliance
GDPR, CCPA/CPRA, LGPD, and other regional rules are applied automatically based on the visitor's location. Opt-out signals like Global Privacy Control are honored.
### Privacy Requests
Visitors can submit access, deletion, and opt-out requests directly from your trust page. Submitted requests flow into Concord Privacy for review and fulfillment.
## Linking a Privacy Project
1. In the Concord Admin UI, go to **Trust > Advanced Settings > Concord Privacy**.
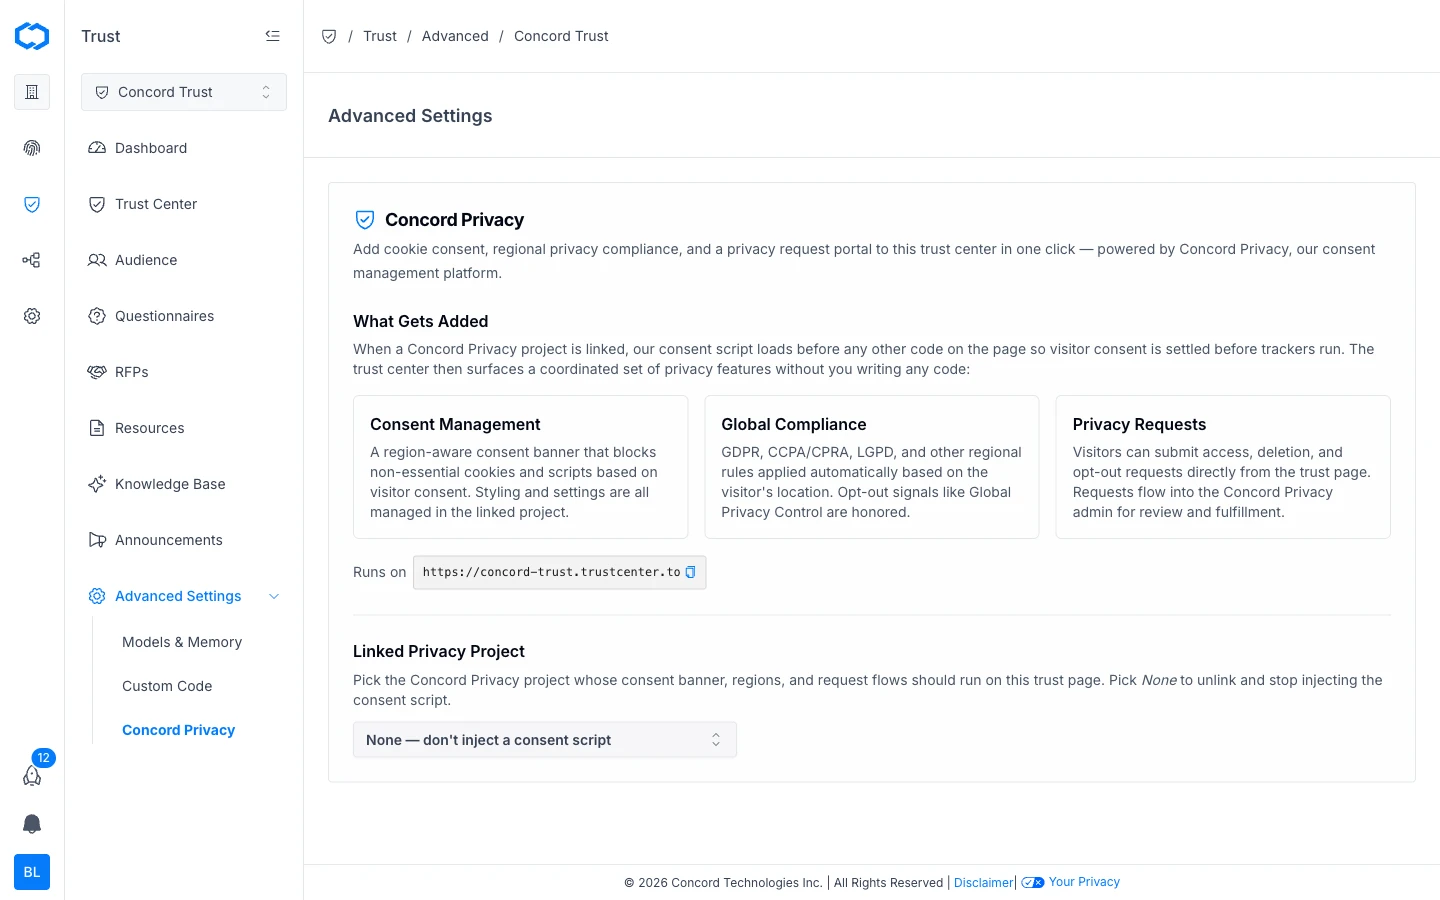
2. Open the **Linked Privacy Project** dropdown.
3. Select the Concord Privacy project whose consent banner, regions, and request flows should run on this trust page.
4. The Concord consent banner will be visible on your Trust Center.
Your Trust Center URL (e.g., `yourcompany.trustcenter.to`) is displayed on the page for reference.
## Unlinking a Privacy Project
1. Go to **Trust > Advanced Settings > Concord Privacy**.
2. Open the **Linked Privacy Project** dropdown.
3. Select **None** to stop injecting the consent script.
Unlinking removes the consent banner, compliance controls, and privacy request portal from your Trust Center. No data is deleted from either product.
## Related Articles
* [Trust Center Overview](/docs/trust-center-overview)
* [Custom Scripts Integration](/docs/custom-scripts-integration)
* [Sharing Your Trust Center](/docs/sharing-your-trust-center)
# Custom Scripts Integration
URL: /docs/custom-scripts-integration
***
title: 'Custom Scripts Integration'
description: 'How to add custom scripts to your Concord Trust Center for analytics, chat widgets, tracking pixels, and other third-party tools.'
------------------------------------------------------------------------------------------------------------------------------------------------
## Overview
Custom Scripts lets you inject JavaScript or HTML snippets into your Trust Center. Use this to for analytics tools, live chat widgets, conversion tracking pixels, or any other third-party script your team needs on your Trust Center pages.
Scripts are added through **Advanced Settings > Custom Code** and load on every page of your Trust Center.
## Use Cases
Common reasons to add custom scripts:
* **Analytics**: Google Analytics, Plausible, PostHog, or other tracking tools to measure Trust Center traffic and engagement.
* **Chat widgets**: Intercom, Drift, HubSpot chat, or similar tools so visitors can ask questions directly.
* **Tracking pixels**: Meta Pixel, LinkedIn Insight Tag, or conversion tracking for ad campaigns that link to your Trust Center.
* **Custom styling**: additional CSS snippets to fine-tune Trust Center appearance beyond the built-in branding options.
## Adding a Custom Script
1. In the Concord Admin UI, go to **Trust > Advanced Settings > Custom Code**.
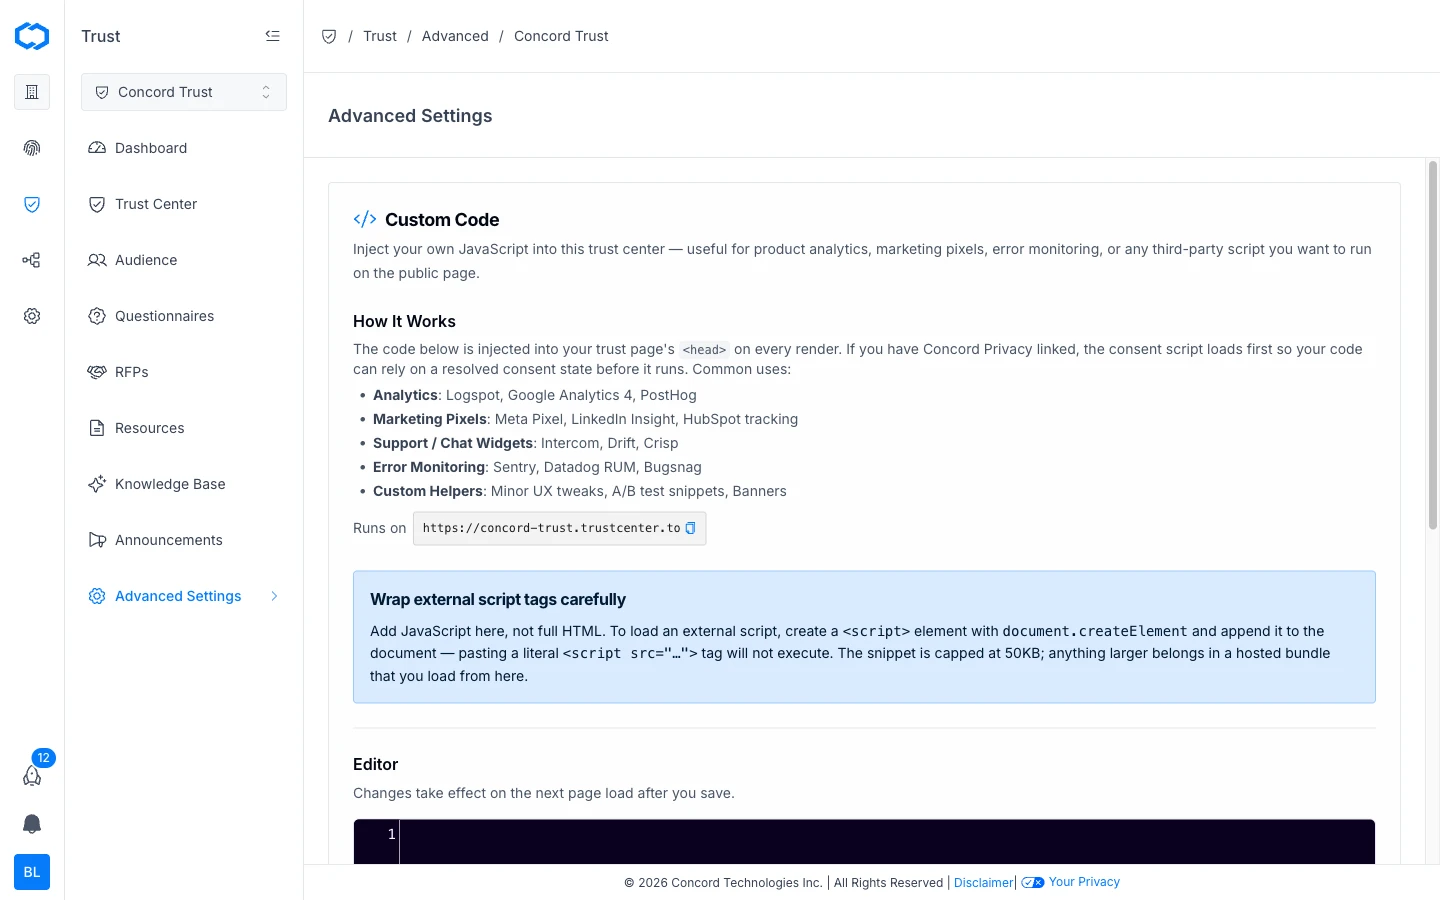
2. Paste your JavaScript into the code editor. The code is injected into your trust page's `` on every render.
3. Click **Save**.
## Managing Scripts
You can add multiple scripts. Each script appears as a separate entry in the Custom Scripts configuration.
To edit a script, return to **Trust > Advanced Settings > Custom Code**, make your changes, and click **Save**.
To remove a script, select it and click **Delete**. The script stops loading on your Trust Center immediately.
## Testing Your Script
After saving a script:
1. Open your Trust Center in a browser (use your `trustcenter.to` subdomain or custom domain).
2. Use your browser's developer tools to verify the script loaded correctly.
3. For analytics tools, confirm that page views or events are being recorded in the third-party dashboard.
## Security Considerations
Custom scripts run in the context of your Trust Center and are visible to all visitors. Keep the following in mind:
* Only add scripts from sources you trust.
* Avoid scripts that modify page content in ways that could conflict with Trust Center functionality.
* Scripts that collect visitor data should align with your organization's privacy policy and consent practices.
## Related Articles
* [Trust Center Overview](/docs/trust-center-overview)
* [Trust Center Branding and Customization](/docs/trust-center-branding-customization)
* [Concord Privacy Integration](/docs/concord-privacy-integration)
# AI Questionnaire Automation
URL: /docs/ai-questionnaire-automation
***
title: 'AI Questionnaire Automation'
description: 'How Concord Trust uses AI to auto-fill security questionnaire responses by referencing your Knowledge Base and Data Hub, including how answers are generated, reviewed, and when AI credits are consumed.'
------------------------------------------------------------------------------------------------------------------------------------------------------------------------------------------------------------------------
## Overview
Concord Trust includes AI-powered auto-fill that generates draft responses to security questionnaire questions. The AI references your organization's documents, policies, prior questionnaire responses, and FAQs through the Knowledge Base and Data Hub to produce answers grounded in your actual security posture.
Every AI-generated answer requires human review before it is finalized. The AI assists with the first draft. Your team owns the final response.
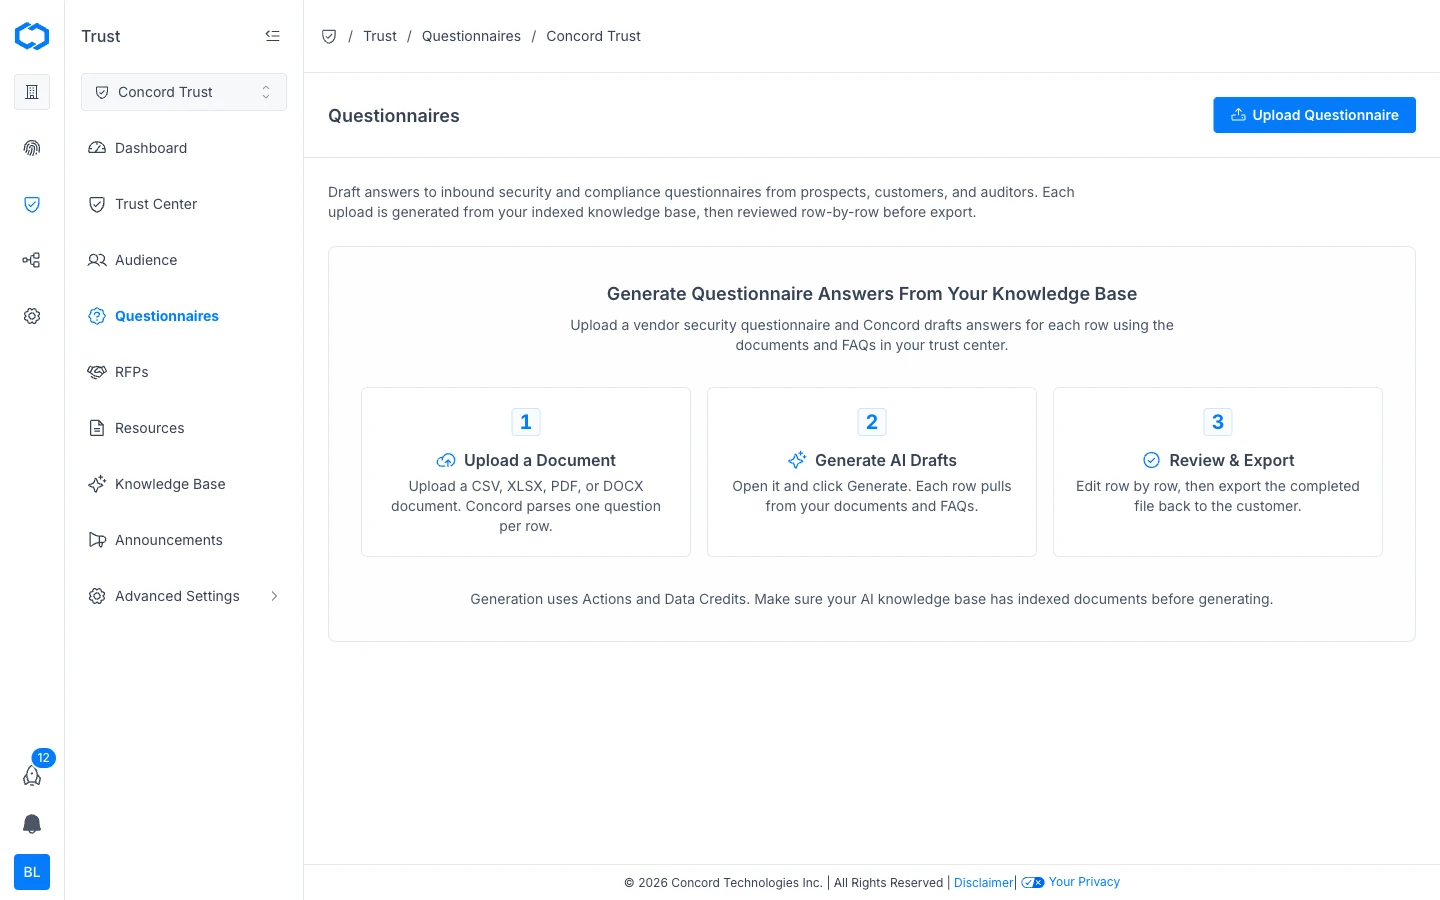
## How AI Auto-Fill Works
When you run AI auto-fill on a questionnaire:
1. **Parsing**: Concord reads each question in the uploaded questionnaire and identifies what is being asked.
2. **Knowledge Base search**: for each question, the AI searches your Knowledge Base for relevant source material. This includes:
* Documents in **Data Hub → Documents** (SOC 2 reports, certifications, policies, statements).
* Policies managed in Concord Privacy (synced through the shared Data Hub).
* FAQs from your Trust Center.
* Approved responses from previously completed questionnaires.
3. **Answer generation**: the AI produces a draft response for each question, citing the source documents it referenced.
4. **Confidence scoring**: each response receives a confidence indicator (High, Medium, or Low) based on how closely the available source material matches the question.
## Running AI Auto-Fill
1. Open a questionnaire from **Trust → Questionnaires**.
2. Click **Generate**. The AI drafts answers for each row using the documents and FAQs in your Knowledge Base.
3. Depending on the length of the questionnaire, this may take a few moments.
4. When complete, each question displays the AI-generated draft response alongside its confidence level and source references.
## Reviewing AI-Generated Answers
AI-generated responses are drafts. Review each one before marking the questionnaire as complete:
* **High confidence**: the AI found strong matches in your Knowledge Base. Review for accuracy and tone, but these typically need minimal editing.
* **Medium confidence**: partial matches were found. Read carefully and supplement with additional detail where needed.
* **Low confidence**: limited or no relevant source material was found. Write or substantially rewrite these responses manually.
### Tips for Effective Review
* **Check source citations.** Each AI answer links to the documents it referenced. Verify that the cited material supports the response.
* **Watch for stale information.** If a referenced document is outdated, update it in the Data Hub so future questionnaires benefit from current information.
* **Edit in place.** Click into any AI-generated answer to modify it. Your edits are saved as the final response.
## Improving AI Accuracy Over Time
The AI gets better as your Knowledge Base grows. To improve answer quality:
* **Keep your Data Hub current.** Upload new certifications, reports, and policies as they become available. See [Adding and Managing Documents](/docs/adding-managing-documents).
* **Approve completed questionnaires.** When you complete a questionnaire, the approved responses are added to the Knowledge Base for future reference.
* **Maintain your FAQs.** Well-written FAQs provide clear, concise source material for common questions. See [Managing FAQs](/docs/managing-faqs).
* **Connect Concord Privacy.** Policies managed in Concord Privacy sync automatically through the Data Hub, keeping your AI source material in sync with your privacy program.
## Actions and Data Credits
AI generation consumes both Actions and Data Credits. Actions cover orchestration and are included with your plan. Data Credits cover the underlying AI inference costs and are purchased separately.
Credits are consumed when you:
* Generate draft responses for an entire questionnaire.
* Generate a draft response for an individual question.
Usage scales with the number of questions processed. You can view your remaining balances and usage breakdown on the **Actions** and **Data Credits** tabs in **Global Settings → Billing**. See [Actions and Data Credits](/docs/actions-data-credits) for details on purchasing and auto-purchase.
## Related Articles
* [Security Questionnaires Overview](/docs/questionnaires-overview)
* [Managing Questionnaires](/docs/managing-questionnaires)
* [RFP Automation Overview](/docs/rfp-automation-overview)
* [Adding and Managing Documents](/docs/adding-managing-documents)
* [Managing FAQs](/docs/managing-faqs)
# Managing Questionnaires
URL: /docs/managing-questionnaires
***
title: 'Managing Questionnaires'
description: 'How to receive, manage, and respond to security questionnaires in Concord Trust, including manual intake, reviewing responses, editing answers, and submitting completed questionnaires.'
-------------------------------------------------------------------------------------------------------------------------------------------------------------------------------------------------------
## Overview
The **Trust → Questionnaires** workspace is where you manage the full lifecycle of incoming security questionnaires. This guide covers the manual workflow: receiving questionnaires, responding to questions, reviewing answers, and sending completed responses back to the requester.
For AI-powered auto-fill, see [AI Questionnaire Automation](/docs/ai-questionnaire-automation).

## Receiving a Questionnaire
Questionnaires can arrive in two ways:
* **Via your Trust Center**: a prospect or customer submits a questionnaire through your published Trust Center.
* **Manual upload**: your team uploads a questionnaire file directly.
### Uploading a Questionnaire Manually
1. Navigate to **Trust → Questionnaires**.
2. Click **Upload Questionnaire**.
3. Upload the questionnaire file. Supported formats: CSV, XLSX, PDF, or DOCX. Concord parses one question per row.
The questionnaire appears in your workspace ready for AI draft generation.
## Viewing Your Questionnaire Inbox
The questionnaire inbox at **Trust → Questionnaires** displays all questionnaires with the following information:
* **Requester**: who sent the questionnaire.
* **Company**: the requesting organization.
* **Status**: current stage (New, In Progress, In Review, Completed, Archived).
* **Date Received**: when the questionnaire was submitted or uploaded.
* **Questions**: total number of questions.
* **Answered**: number of questions with responses.
Use the status tabs to filter between active and completed questionnaires.
## Responding to Questions
1. Click on a questionnaire to open it.
2. Click **Generate** to have the AI draft answers for each row using the documents and FAQs in your Knowledge Base.
3. Each question is displayed with a response field. You can also edit any row manually.
4. Review each response row by row.
## Reviewing and Editing Responses
Before exporting, review each response for accuracy:
1. Open the questionnaire and review responses row by row.
2. Edit any response by clicking into the answer field.
3. When all responses are reviewed, the questionnaire is ready to export.
## Submitting a Completed Questionnaire
Once all responses are finalized, export the completed questionnaire file and send it back to the requester.
## Archiving Questionnaires
To archive a completed questionnaire:
1. Open the questionnaire or select it from the list.
2. Click **Archive**.
Archived questionnaires remain in the system and their responses continue to feed the Knowledge Base for future AI auto-fill.
## Related Articles
* [Security Questionnaires Overview](/docs/questionnaires-overview)
* [AI Questionnaire Automation](/docs/ai-questionnaire-automation)
* [RFP Automation Overview](/docs/rfp-automation-overview)
* [Adding and Managing Documents](/docs/adding-managing-documents)
# Security Questionnaires Overview
URL: /docs/questionnaires-overview
***
title: 'Security Questionnaires Overview'
description: 'Overview of security questionnaire automation in Concord Trust: how intake, AI-powered answering, and the Data Hub work together to streamline questionnaire response.'
-------------------------------------------------------------------------------------------------------------------------------------------------------------------------------------
## Overview
Security questionnaires are a routine part of vendor evaluations, customer due diligence, and compliance reviews. Concord Trust provides a dedicated workflow for receiving, responding to, and tracking security questionnaires, with optional AI-powered auto-fill that references your existing policies, documents, and knowledge base through the Data Hub.
Navigate to **Trust → Questionnaires** to access the questionnaire workspace.

## How Questionnaire Response Works
The questionnaire workflow in Concord follows three stages:
### 1. Upload a Document
Upload a CSV, XLSX, PDF, or DOCX questionnaire file. Concord parses one question per row.
### 2. Generate AI Drafts
Click **Generate** and Concord drafts answers for each row using the documents and FAQs in your Knowledge Base. The AI references uploaded documents, policies, prior questionnaire responses, and FAQs to produce draft answers grounded in your actual security posture.
### 3. Review & Export
Edit responses row by row, then export the completed file back to the requester. Every AI-generated answer requires human review before it is finalized.
## The Data Hub Connection
Concord Trust's questionnaire AI references the same shared Data Hub that powers your Trust Center and privacy program. This means:
* **Policies** managed in Concord Privacy are available as source material for AI answers.
* **Documents** uploaded to **Data Hub → Documents** (SOC 2 reports, certifications, penetration test summaries) are indexed and referenced.
* **FAQs** you have written for your Trust Center are used as prior answers.
* **Prior questionnaire responses** that you have approved build up your Knowledge Base over time, improving future answer accuracy.
The more complete your Data Hub, the better the AI performs. For details on adding documents, see [Adding and Managing Documents](/docs/adding-managing-documents).
## Questionnaire Statuses
| Status | Meaning |
| --------------- | --------------------------------------------------- |
| **New** | Received but not yet started. |
| **In Progress** | AI auto-fill has run or manual answering has begun. |
| **In Review** | Responses are complete and awaiting final review. |
| **Completed** | Reviewed, finalized, and ready to send or export. |
| **Archived** | Completed and moved out of the active queue. |
## Actions and Data Credits
Generation uses Actions and Data Credits. Actions cover orchestration and are included with your plan. Data Credits cover AI inference costs and are purchased separately. See [Actions and Data Credits](/docs/actions-data-credits) for details.
## Getting Started
To start responding to your first questionnaire, see [Managing Questionnaires](/docs/managing-questionnaires).
To learn how the AI auto-fill works in detail, see [AI Questionnaire Automation](/docs/ai-questionnaire-automation).
For RFP and RFX automation, see [RFP Automation Overview](/docs/rfp-automation-overview).
## Related Articles
* [Managing Questionnaires](/docs/managing-questionnaires)
* [AI Questionnaire Automation](/docs/ai-questionnaire-automation)
* [RFP Automation Overview](/docs/rfp-automation-overview)
* [Adding and Managing Documents](/docs/adding-managing-documents)
* [Trust Center Overview](/docs/trust-center-overview)
# RFP Automation Overview
URL: /docs/rfp-automation-overview
***
title: 'RFP Automation Overview'
description: 'Overview of RFP and RFX automation in Concord Trust: how to process incoming RFPs, generate AI-powered responses, and manage the review workflow.'
----------------------------------------------------------------------------------------------------------------------------------------------------------------
## Overview
Concord Trust includes a dedicated workspace for responding to Requests for Proposal (RFPs), Requests for Information (RFIs), and other RFX documents. The RFP workflow follows the same three-step process as questionnaires (Upload, Generate, Review & Export) but the AI uses a sales-oriented voice that leads with value to the prospect, rather than the security-audit voice used for questionnaires.
Navigate to **Trust → RFPs** to access the RFP workspace.
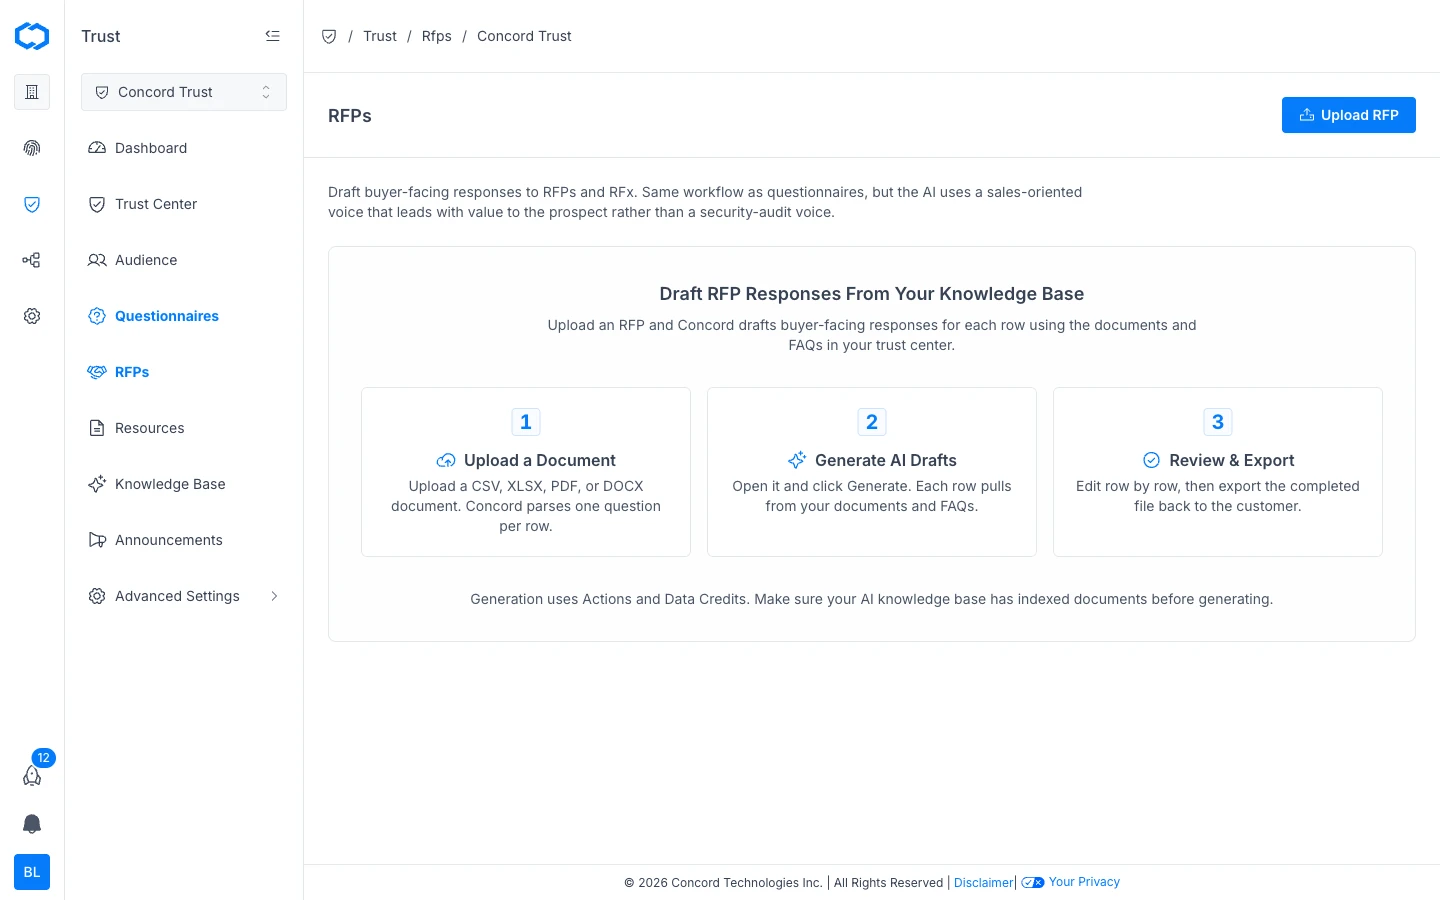
## How RFP Automation Works
The RFP workflow follows three stages:
### 1. Upload and Parse
Upload an RFP document and Concord parses it into individual requirements, questions, and sections. Supported formats include XLSX, CSV, PDF, and DOCX.
1. Navigate to **Trust → RFPs**.
2. Click **Upload RFP**.
3. Upload the RFP document. Supported formats: CSV, XLSX, PDF, or DOCX. Concord parses one question per row.
### 2. AI-Powered Response Generation
Once the RFP is uploaded, generate AI draft responses:
1. Open the RFP from **Trust → RFPs**.
2. Click **Generate**. Each row pulls from your documents and FAQs in the Knowledge Base.
3. The AI generates a buyer-facing draft response for each requirement, citing the source documents it referenced.
The AI uses the same Knowledge Base and Data Hub as questionnaire automation. Prior RFP responses that you approve also feed back into the Knowledge Base, improving accuracy for future RFPs.
### 3. Review and Finalize
Review each AI-generated response before submitting:
* **High confidence** responses typically need a quick review for accuracy and tone.
* **Medium confidence** responses may need supplemental detail.
* **Low confidence** responses should be written or substantially revised manually.
Click into any response to edit it row by row.
## RFP Statuses
| Status | Meaning |
| --------------- | ---------------------------------------------------- |
| **New** | Uploaded but response work has not started. |
| **In Progress** | AI auto-fill has run or manual responses have begun. |
| **In Review** | All responses are drafted and awaiting final review. |
| **Completed** | Finalized and ready to send to the requester. |
| **Archived** | Completed and moved out of the active queue. |
## Exporting Completed RFPs
Once all responses are finalized:
1. Click **Complete** to mark the RFP as done.
2. Click **Export** to download the completed RFP in its original format or as a PDF.
## Differences from Questionnaire Automation
While RFPs and questionnaires share the same AI engine, Knowledge Base, and three-step workflow, the key difference is voice:
| | Questionnaires | RFPs |
| --------------------- | -------------------------------------------------- | ------------------------------------------------------- |
| **Navigation** | **Trust → Questionnaires** | **Trust → RFPs** |
| **AI voice** | Security-audit voice (factual, compliance-focused) | Sales-oriented voice (leads with value to the prospect) |
| **Supported formats** | CSV, XLSX, PDF, DOCX | CSV, XLSX, PDF, DOCX |
## Actions and Data Credits
Generation uses Actions and Data Credits. Actions cover orchestration and are included with your plan. Data Credits cover AI inference costs and are purchased separately. See [Actions and Data Credits](/docs/actions-data-credits) for details.
## Building Your Knowledge Base
The same practices that improve questionnaire AI accuracy apply to RFPs:
* Keep documents in the Data Hub current. See [Adding and Managing Documents](/docs/adding-managing-documents).
* Approve completed RFPs so their responses feed back into the Knowledge Base.
* Maintain FAQs for common security and compliance questions. See [Managing FAQs](/docs/managing-faqs).
* Connect Concord Privacy so policies sync automatically through the Data Hub.
## Related Articles
* [Security Questionnaires Overview](/docs/questionnaires-overview)
* [Managing Questionnaires](/docs/managing-questionnaires)
* [AI Questionnaire Automation](/docs/ai-questionnaire-automation)
* [Adding and Managing Documents](/docs/adding-managing-documents)
* [Trust Center Overview](/docs/trust-center-overview)
# Adding and Managing Documents
URL: /docs/adding-managing-documents
***
title: 'Adding and Managing Documents'
description: 'How to add and manage documents in the Data Hub for use in your Concord Trust Center, including statements, FAQs, links, reports, and policies.'
created: '2026-06-07T00:00:00.000Z'
updated: '2026-06-07T00:00:00.000Z'
-----------------------------------
## Overview
Documents in Concord are managed through the **Data Hub → Documents** area in the Admin UI, which serves as a shared global library across your organization. Documents you add here including statements, FAQs, reports, policies, and links can then be featured on your Trust Center for prospects, customers, and partners to review.

## Document Types
When you add a document, you first select a document type. Each type has a different content format:
| Type | Format | Description |
| --------------------- | ------------ | --------------------------------------------------------------------------------------------------------------------------------- |
| **Statement** | Text | A public-facing statement or declaration written in Markdown. |
| **FAQ** | Text | A frequently asked question with a question and answer pair. |
| **Link** | URL | A reference to an external URL or resource. |
| **FAQs (via Import)** | Spreadsheet | Bulk-create FAQs from a spreadsheet. Review and edit every row before importing. |
| **Report** | File or Text | A compliance or audit report. Upload a file or enter content directly. |
| **Policy** | File | A legal or compliance document such as a privacy policy, cookie policy, or terms of service. You can also use the Policy Builder. |
## Adding a Document
The Add Document flow is a three-step wizard: **Type → Content → Details**.
### Step 1: Select Document Type
1. In the Concord Admin UI, go to **Data Hub → Documents**.
2. Click the \*\* Add Document\*\* button.
3. Select the document type that matches what you want to add (Statement, FAQ, Link, Report, or Policy).
4. Click **Next**.

### Step 2: Add Content
The content step varies by document type:
* **Statement**: write your statement content in Markdown.
* **FAQ**: enter the question and answer.
* **Link**: enter the external URL.
* **FAQs (via Import)**: upload a spreadsheet file. Review and edit each row before importing.
* **Report**: upload a file or enter the report content directly as text.
* **Policy**: upload a policy file, or use the Policy Builder to create one.
Click **Next** when your content is ready.
### Step 3: Configure Details
Configure the document metadata:
* **Name**: a display name for the document.
* **Description**: a description of the document.
* **Category**: the category the document belongs to.
* **Access Level**: controls who can see this document when it is featured on your Trust Center.
Click **Save**. The document is now in your global document library and is automatically published as version 1.
## Featuring Documents on Your Trust Center
Adding a document to the Data Hub makes it available in your global library. To display it on your Trust Center for customers and prospects:
1. Go to **Trust → Resources**.
2. Select which documents from your global library to include on this Trust Center.
3. Included documents appear on your Trust Center according to their access level setting.
This two-step approach (add globally, then include selectively) lets you maintain a complete document library while controlling exactly what external visitors see. See [Managing Your Trust Center Resources](/docs/managing-trust-center-resources) for the full walkthrough.
## Viewing and Filtering Documents
The Documents table in **Data Hub → Documents** shows all documents in your library with the following columns:
* **Name**: the document name.
* **Type**: the document type (Statement, FAQ, Link, Report, or Policy).
* **Category**: the document category.
* **Status**: Active or Archived.
* **Access Level**: who can access the document.
* **Date Created**: when the document was added.
Use the **All**, **Active**, and **Archived** tabs to filter by status. You can also sort and filter individual columns.
## Live Policy Sync
If you use Concord Privacy for policy management, your policies can be displayed on your Trust Center automatically through the shared Data Hub. When you update a policy in Concord Privacy (such as your Privacy Policy or Cookie Policy), the Trust Center reflects the current version without any manual re-upload.
Synced policies appear alongside your other documents in the Trust Center. This means your visitors always see the latest version.
## Editing a Document
1. Go to **Data Hub → Documents**.
2. Click the name of the document you want to edit.
This opens the document's detail view, which has three tabs: **Content**, **Settings**, and **History**. The header shows the document's current version (e.g., `v1`) and status (**Published** or **Draft**).
### Content Tab
The Content tab is where you edit the document's actual content — the same editor used when you first added the document.
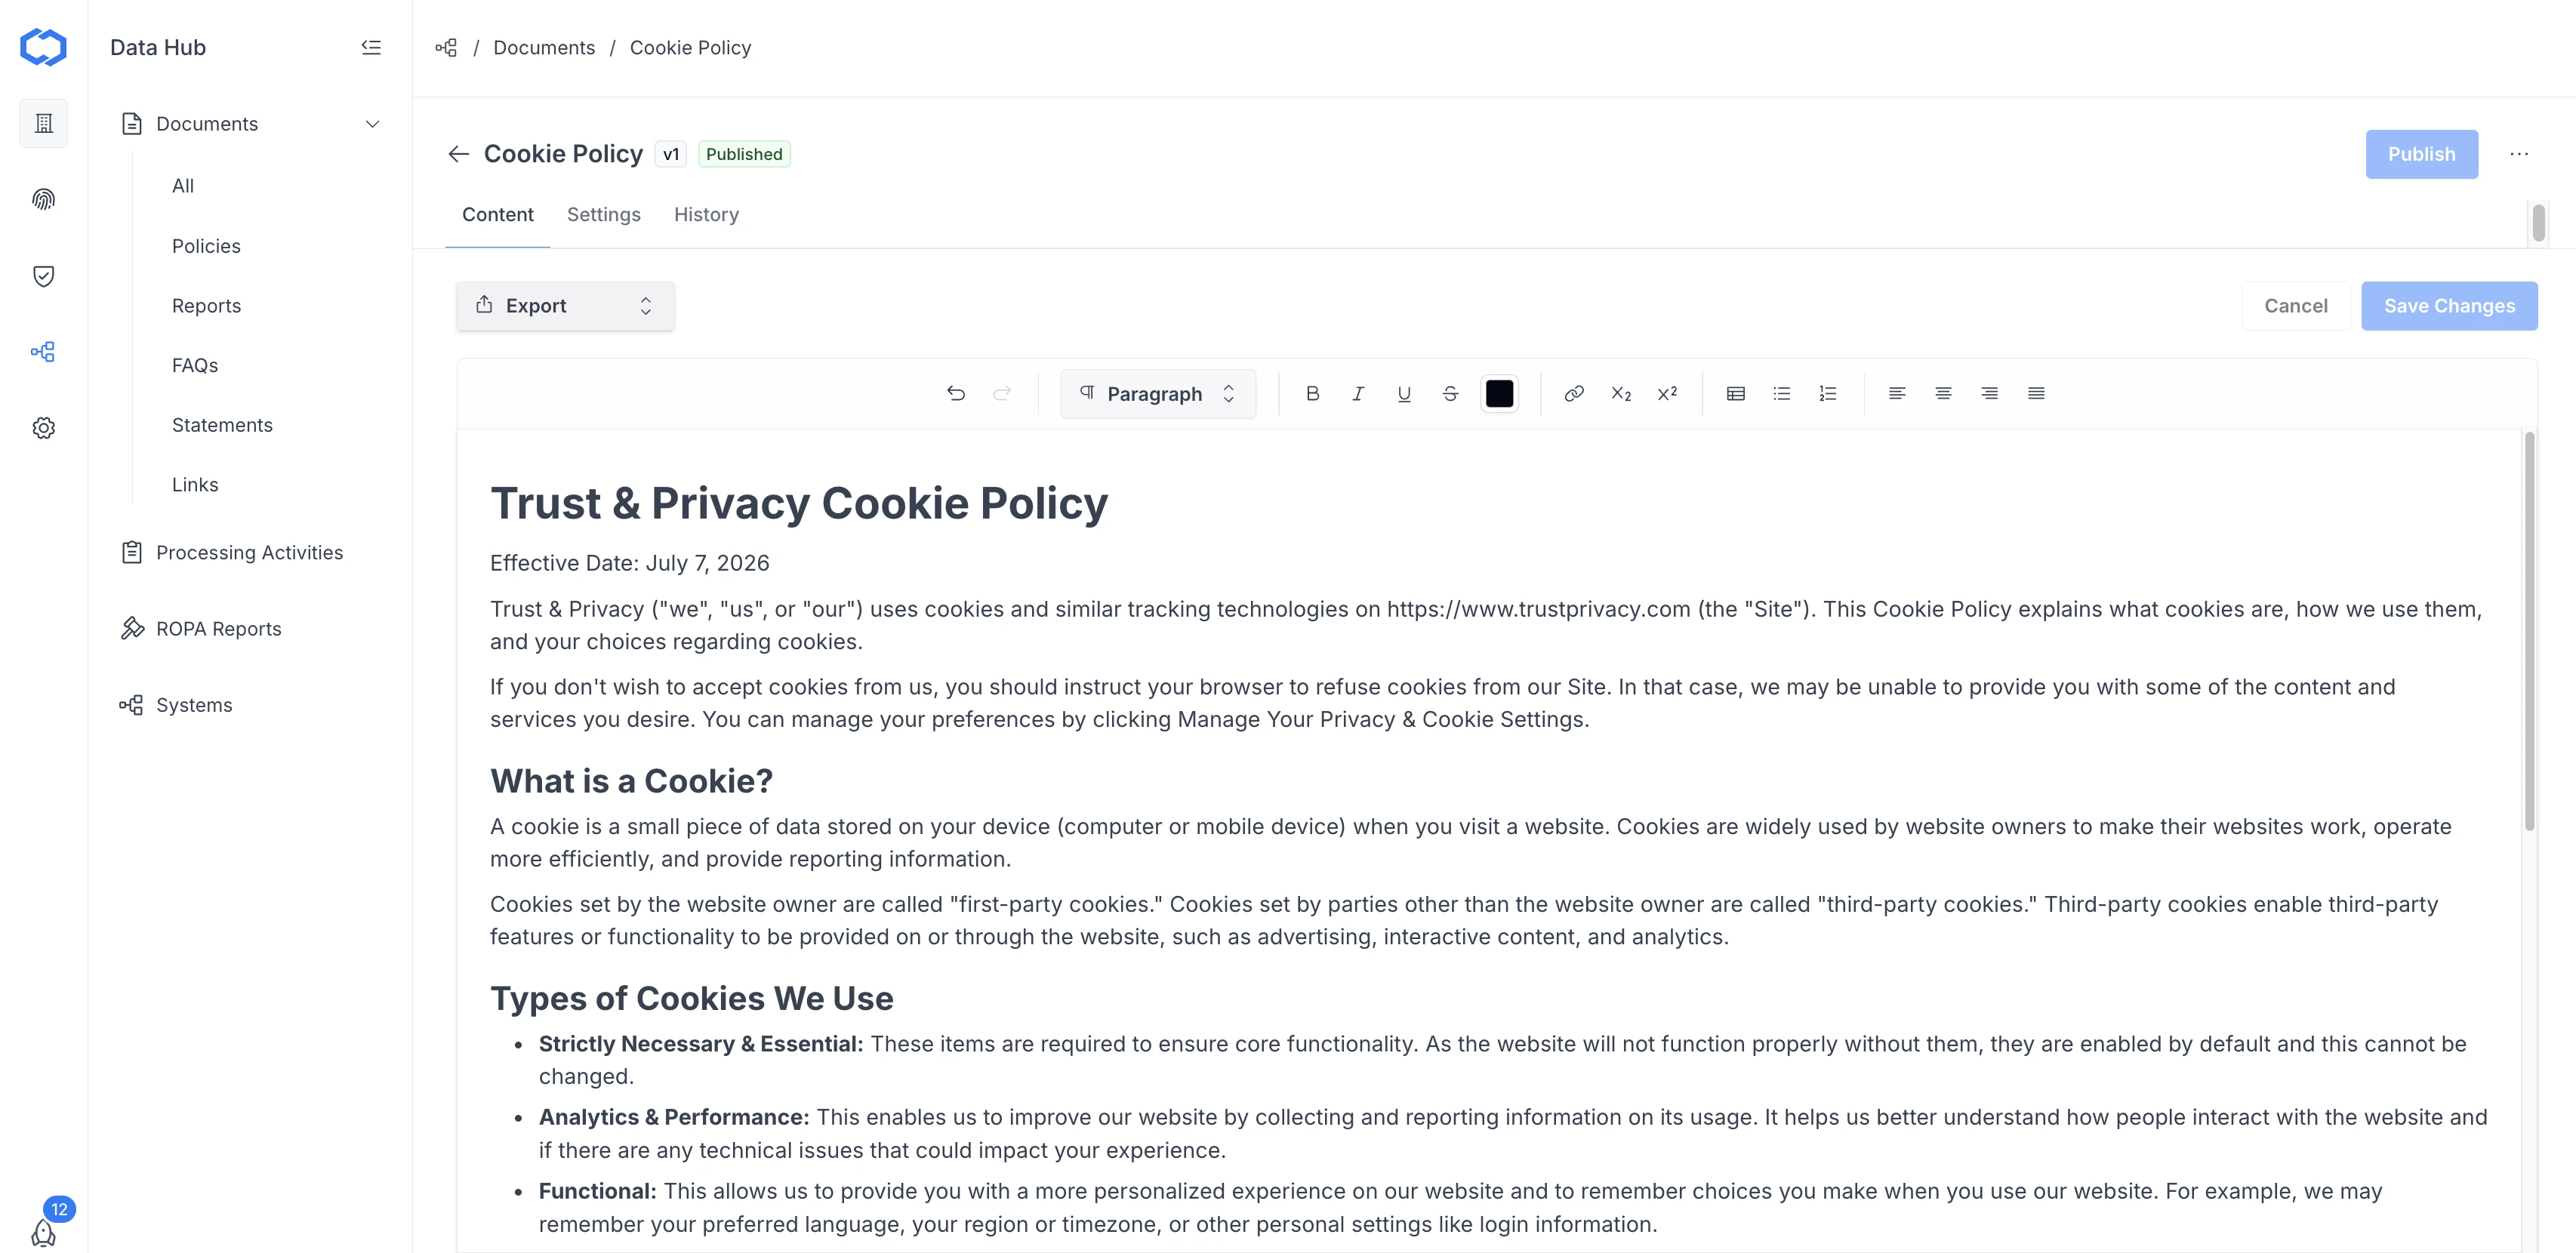
1. Use the **Export** dropdown to export the document if needed.
2. Edit the content using the rich text toolbar (formatting, links, lists, alignment, tables).
3. Click **Save Changes**, or **Cancel** to discard your edits.
Saving your changes updates the draft but does not change what's live on your Trust Center — see [Publishing Changes](#publishing-changes) below.
### Settings Tab
The Settings tab shows the document's metadata and lets you edit its name, description, and access level.
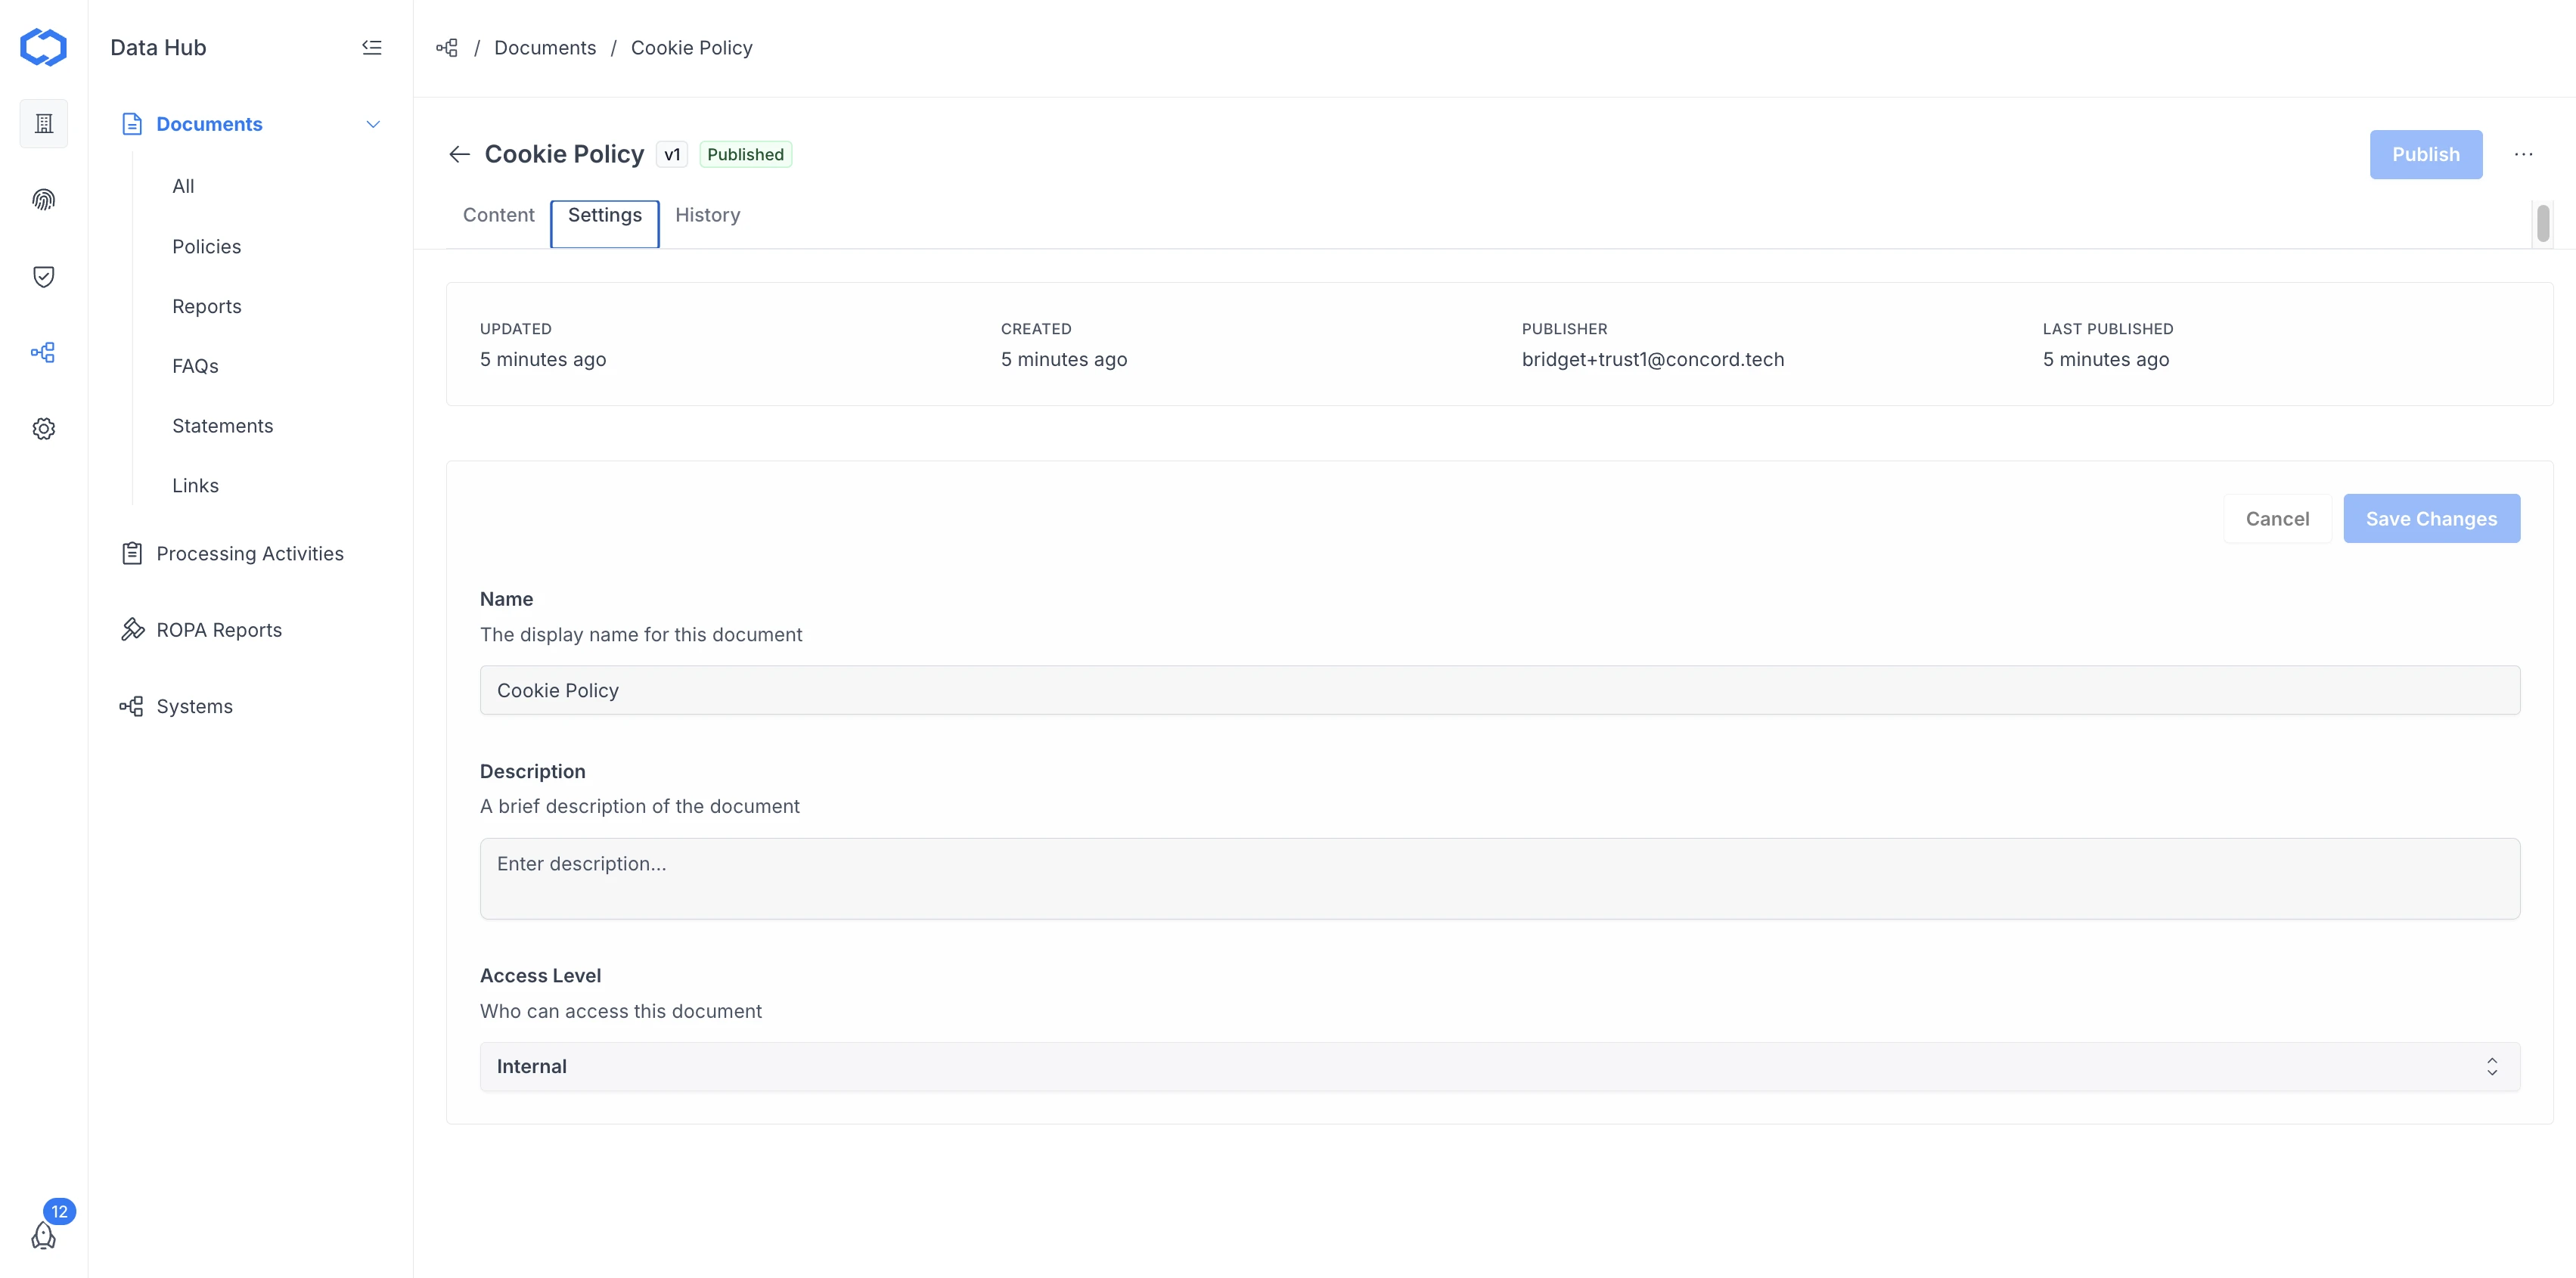
The top of the tab shows read-only metadata: **Updated**, **Created**, **Publisher**, and **Last Published**. Below that, you can edit:
* **Name**: the display name for this document.
* **Description**: a brief description of the document.
* **Access Level**: who can access this document (e.g., Internal).
Click **Save Changes** to save your edits, or **Cancel** to discard them.
### History Tab
The History tab shows the document's version history.
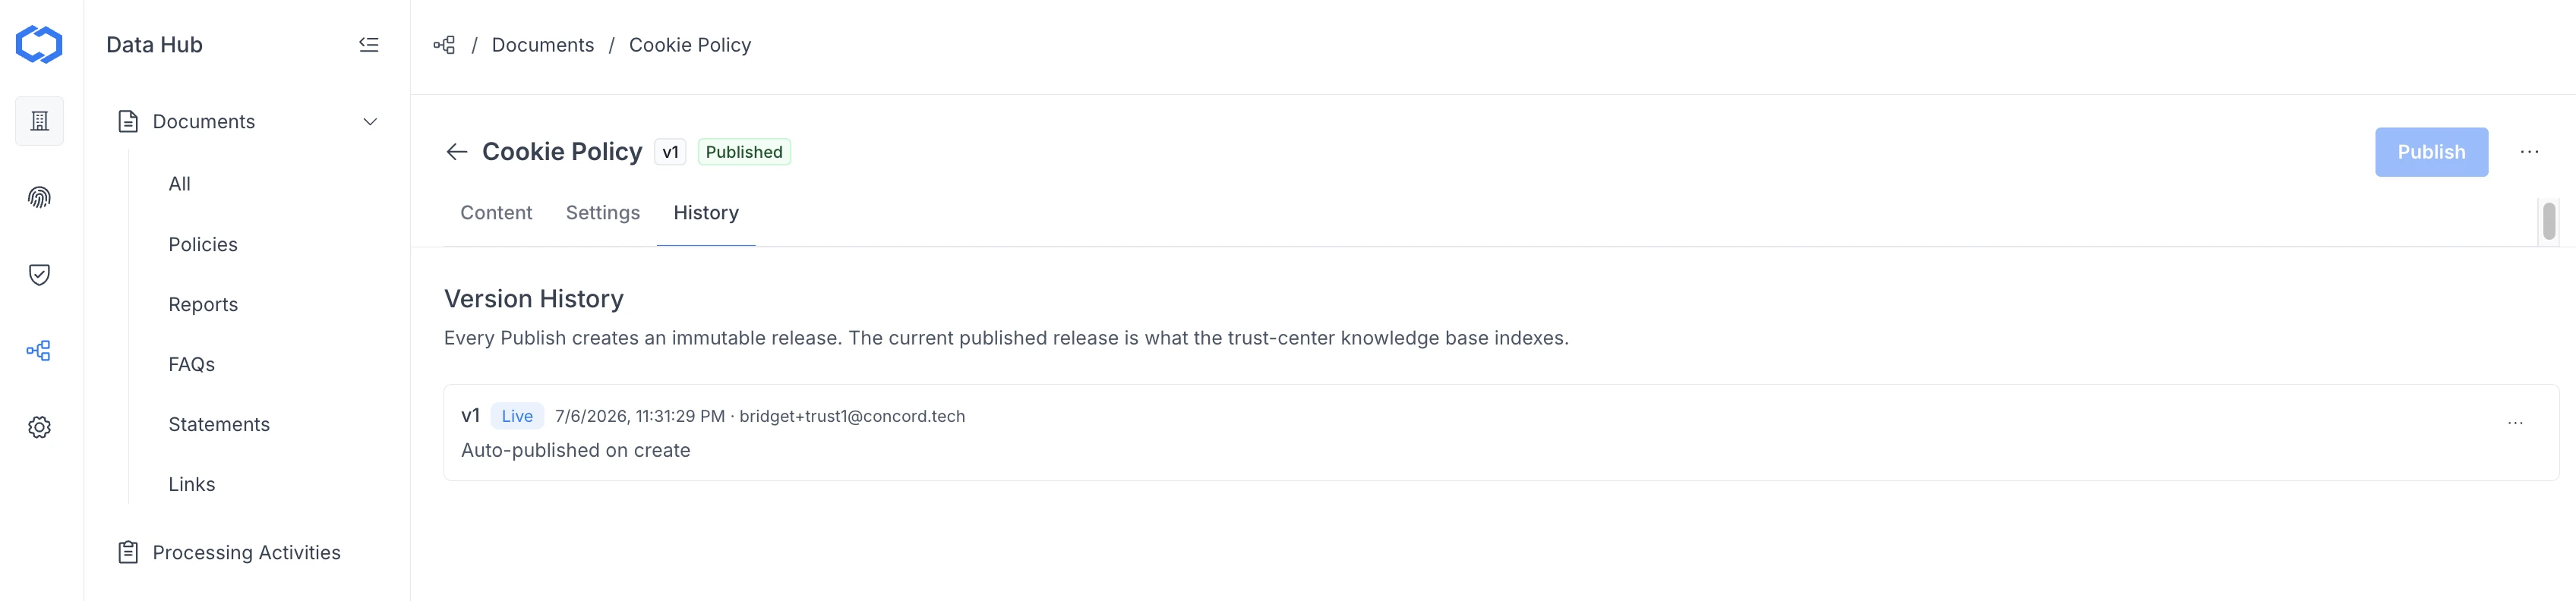
Every time you publish, Concord creates a new, immutable version (v1, v2, and so on). Each entry in the list shows the version number, a **Live** badge on the currently published version, the timestamp and publisher, and a short note about the change (for example, "Auto-published on create").
The current **Live** version is what your [Trust Center Knowledge Base](/docs/managing-trust-center-knowledge-base) indexes for AI-generated answers — older versions are kept for reference but are not used by the AI or shown to visitors.
## Publishing Changes
Editing the Content or Settings tab and clicking **Save Changes** updates your draft, but visitors and the Knowledge Base still see the last published version until you publish again.
1. From any tab in the document's detail view, click **Publish** in the upper right corner.
2. Concord creates a new immutable version and marks it **Live**.
Newly created documents are automatically published as version 1, so you only need this step when editing an existing document.
## Archiving a Document
Archiving removes a document from your active library and from your Trust Center without permanently deleting it.
1. Open the document you want to archive.
2. Click the **Actions** menu (**...**) next to the **Publish** button.

3. Select **Archive**.
Archived documents can be found using the **Archived** filter on the Documents table.
## Deleting a Document
1. Open the document you want to delete.
2. Click the **Actions** menu (**...**) next to the **Publish** button.
3. Select **Delete** and confirm.
Deleting a document removes it from your global library and from your Trust Center if it was featured. This action cannot be undone — if you might need the document again, archive it instead.
## Related Articles
* [Trust Center Overview](/docs/trust-center-overview)
* [Getting Started with Concord Trust](/docs/trust)
* [Managing FAQs](/docs/managing-faqs)
* [Managing Your Trust Center Knowledge Base](/docs/managing-trust-center-knowledge-base)
# Managing FAQs
URL: /docs/managing-faqs
***
title: 'Managing FAQs'
description: 'How to add, edit, and manage FAQ documents in the Data Hub for your Concord Trust Center, including individual FAQs and bulk import from a spreadsheet.'
created: '2026-06-07T00:00:00.000Z'
updated: '2026-06-07T00:00:00.000Z'
-----------------------------------
## Overview
FAQs are a document type in the Data Hub. Each FAQ is a question and answer pair that can be featured on your Trust Center so prospects and customers can find answers to common security and compliance questions without contacting your team.
You can add FAQs one at a time or bulk-import them from a spreadsheet.
## Adding a Single FAQ
1. In the Concord Admin UI, go to **Data Hub → Documents**.
2. Click **+ Add Document**.
3. Select **FAQ** as the document type and click **Next**.

4. Enter the **Question** and **Answer**. Write the question the way a security reviewer would actually phrase it (e.g., "How does your organization handle data subject access requests?").
5. Click **Next**.
6. Configure the document details: name, category, and access level.
7. Click **Save**.
The FAQ is now in your global document library. To display it on your Trust Center, include it from **Trust → Resources**. See [Managing Your Trust Center Resources](/docs/managing-trust-center-resources).
## Bulk-Importing FAQs from a Spreadsheet
If you have a large number of FAQs, you can import them all at once from a spreadsheet.
1. Go to **Data Hub → Documents**.
2. Click **+ Add Document**.
3. Select **FAQs (via Import)** as the document type and click **Next**.
4. Upload your spreadsheet file.
5. Review and edit each row before importing. Every FAQ is shown for confirmation before it is created.
6. Click **Next** to configure details, then **Save**.
## Writing Effective FAQs
A few guidelines for writing FAQs that reduce inbound security questions:
* **Use the prospect's language.** Write the question the way a security reviewer would actually phrase it, not as an internal label.
* **Be specific.** "We use AES-256 encryption at rest and TLS 1.2+ in transit" is more useful than "We use industry-standard encryption."
* **Reference your documents.** If an FAQ answer relates to a document in your library (e.g., your SOC 2 report), mention it so visitors know where to find the detail.
* **Keep answers current.** Review FAQs periodically, particularly after major infrastructure changes, new certifications, or updated sub-processor lists.
## Editing an FAQ
1. Go to **Data Hub → Documents**.
2. Click on the FAQ you want to edit.
3. Update the question, answer, or document details as needed.
4. Click **Save**.
## Deleting an FAQ
1. Go to **Data Hub → Documents**.
2. Click on the FAQ you want to remove.
3. Click **Delete**.
Deleting an FAQ removes it from your global library and from your Trust Center if it was featured.
## Related Articles
* [Trust Center Overview](/docs/trust-center-overview)
* [Getting Started with Concord Trust](/docs/trust)
* [Adding and Managing Documents](/docs/adding-managing-documents)
# Managing Your Trust Center Knowledge Base
URL: /docs/managing-trust-center-knowledge-base
***
title: 'Managing Your Trust Center Knowledge Base'
description: 'How to select which documents power your Trust Center Knowledge Base, review Approved Answers, and enable the visitor-facing AI chat widget.'
created: '2026-07-06T00:00:00.000Z'
updated: '2026-07-06T00:00:00.000Z'
-----------------------------------
## Overview
The **Knowledge Base** is the set of documents and approved responses that Concord's AI references to answer questions — both the visitor-facing chat widget on your Trust Center and the AI auto-fill used for [security questionnaires](/docs/ai-questionnaire-automation) and [RFPs](/docs/rfp-automation-overview). The more complete your Knowledge Base, the more accurate and specific the AI's answers are.
1. In the Concord Admin UI, go to **Trust → Knowledge Base**.
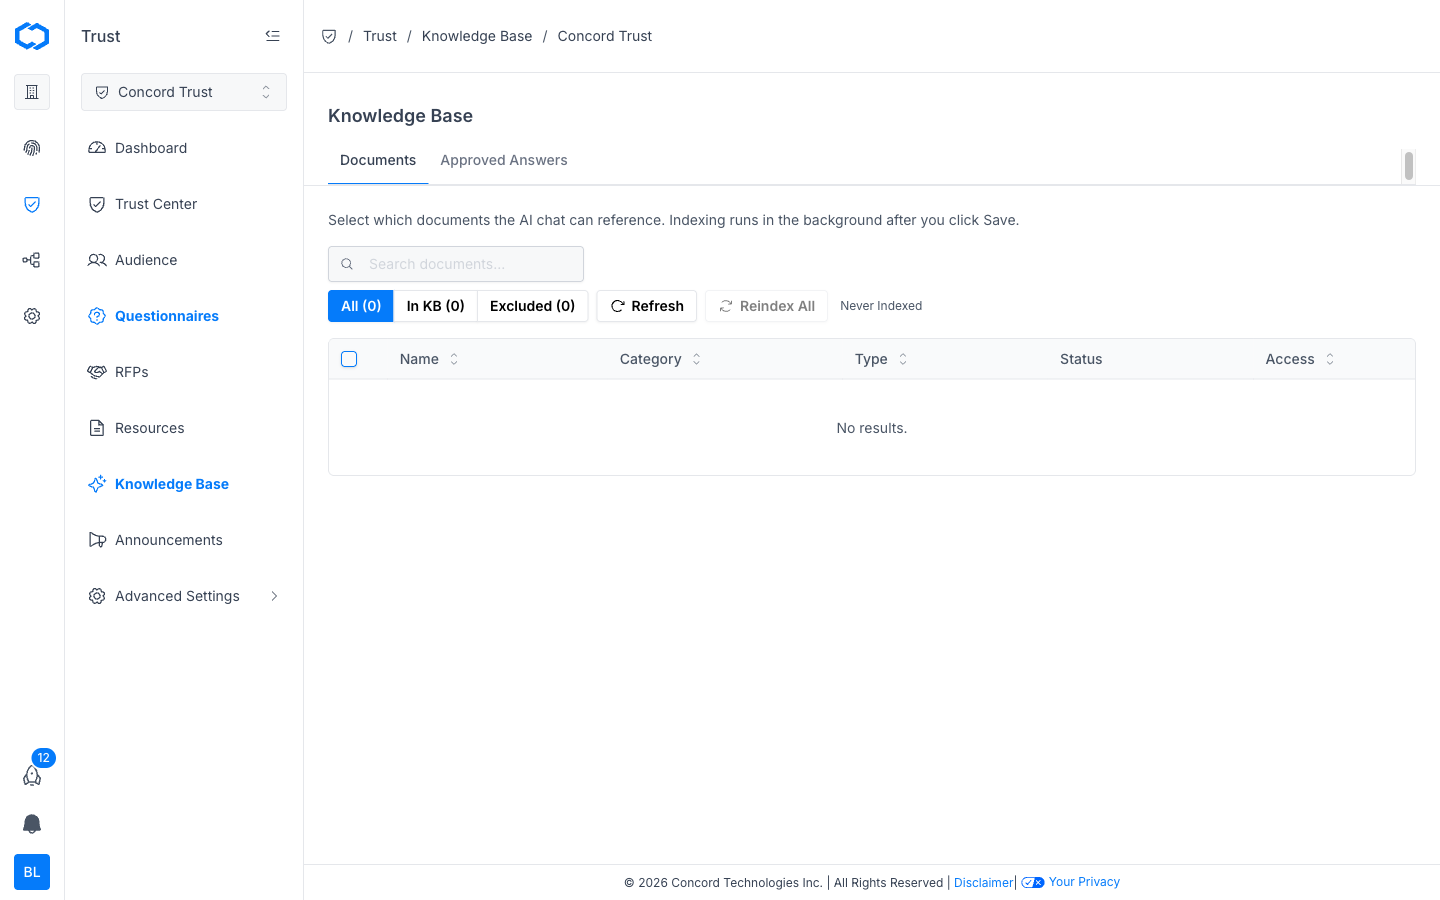
The Knowledge Base has two tabs: **Documents** and **Approved Answers**.
## Adding Documents to the Knowledge Base
The **Documents** tab controls which documents from your [Resources library](/docs/adding-managing-documents) the AI is allowed to reference.
1. Go to the **Documents** tab.
2. Use the search bar to find a specific document, or browse the full list.
3. Use the **All**, **In KB**, and **Excluded** filters to see which documents are currently included in or excluded from the Knowledge Base.
4. Select the checkbox next to each document you want the AI to reference.
5. Click **Save**.
Indexing runs in the background after you save — newly added documents won't be searchable by the AI immediately. A document's row shows its indexing status (for example, **Never Indexed** before its first save).
### Refreshing and Reindexing
* Click **Refresh** to update the table with the latest indexing status for your documents.
* Click **Reindex All** to force Concord to re-process every document currently in the Knowledge Base. Use this after making significant edits to several documents at once, or if you suspect the AI is referencing outdated content.
## Approved Answers
The **Approved Answers** tab shows the question-and-answer pairs that have been added to your Knowledge Base from completed work elsewhere in Concord Trust. When you approve a completed [questionnaire](/docs/managing-questionnaires) or [RFP](/docs/rfp-automation-overview), its responses are automatically added here and become available as source material for future AI-generated answers.
This creates a compounding effect: the more questionnaires and RFPs you complete and approve, the stronger your Knowledge Base gets, and the less manual editing future AI-drafted answers need.
## Enabling the Visitor-Facing AI Chat
Documents and Approved Answers only become useful to visitors once you turn on the AI chat widget on your public Trust Center.
1. Go to **Trust → Trust Center** and select the **Chat** tab.
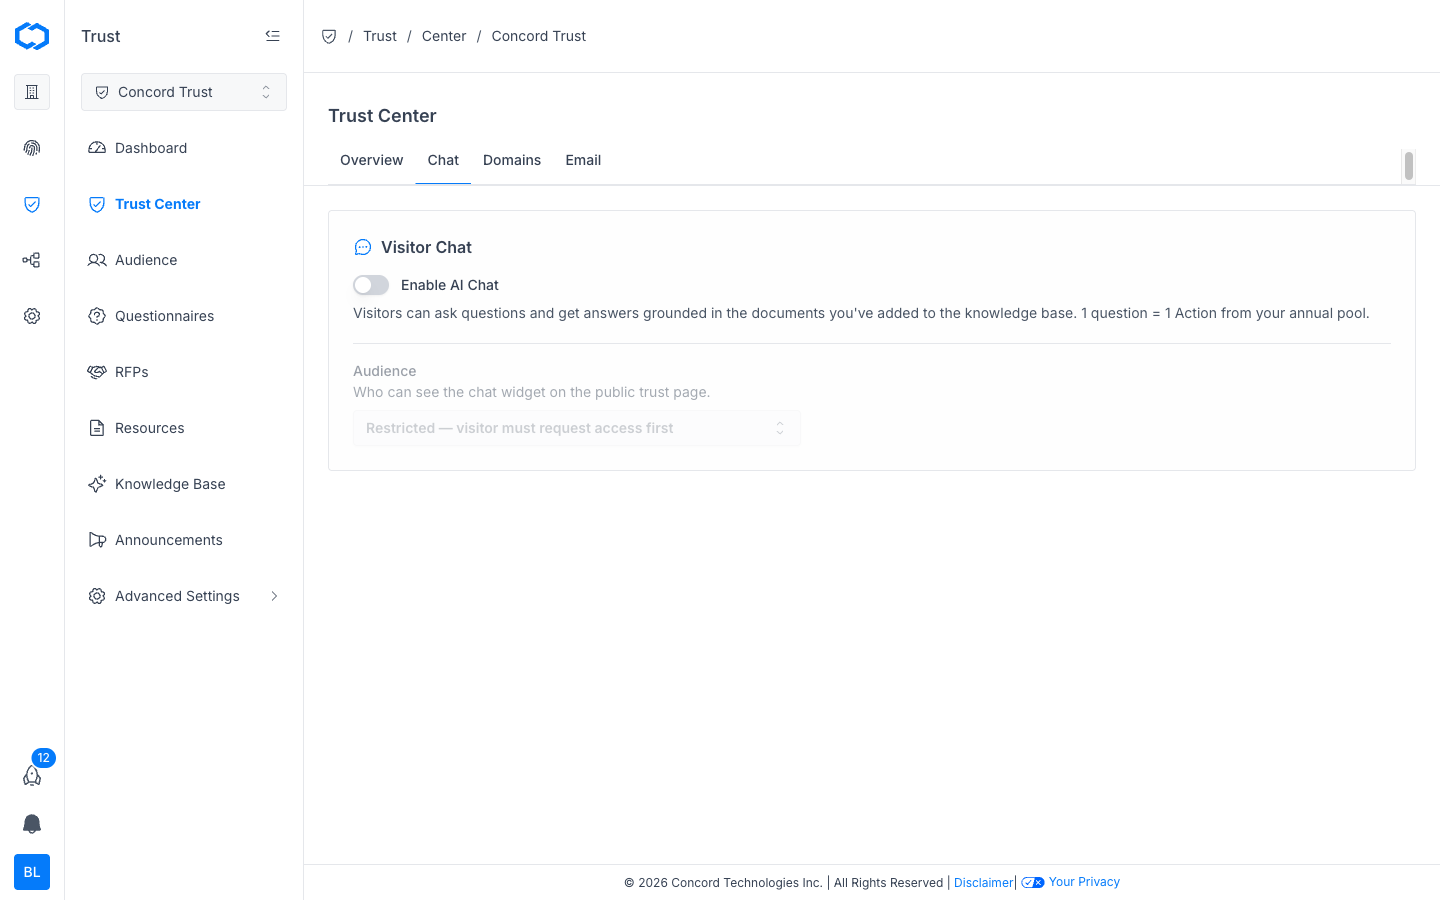
2. Toggle on **Enable AI Chat** under **Visitor Chat**.
3. Set the **Audience** for the chat widget — for example, restrict it so a visitor must request access before they can use it, matching your other [gated access](/docs/managing-trust-center-audience) settings.
Once enabled, visitors can ask questions on your Trust Center and receive answers grounded in your Knowledge Base. Each question a visitor asks counts as one Action against your annual Action pool.
## Measuring Knowledge Base Usage
The **Knowledge & Engagement** section of the [Trust Dashboard](/docs/trust-dashboard-overview) tracks how visitors and the AI chat agent use your Knowledge Base, including AI answers and Q\&A card interactions, and which documents are downloaded most often. See [Trust Center Analytics](/docs/trust-center-analytics) for a full breakdown.
## Related Articles
* [Trust Center Overview](/docs/trust-center-overview)
* [Adding and Managing Documents](/docs/adding-managing-documents)
* [AI Questionnaire Automation](/docs/ai-questionnaire-automation)
* [RFP Automation Overview](/docs/rfp-automation-overview)
* [Trust Dashboard Overview](/docs/trust-dashboard-overview)
# Managing Your Trust Center Resources
URL: /docs/managing-trust-center-resources
***
title: 'Managing Your Trust Center Resources'
description: 'How to select which documents from your central document library are included on a specific Trust Center, and quick-edit their type and access level.'
created: '2026-07-06T00:00:00.000Z'
updated: '2026-07-06T00:00:00.000Z'
-----------------------------------
## Overview
The **Resources** page controls which documents from your organization's central document library appear on this specific Trust Center. Documents themselves are managed at the organization level — in the same shared library covered in [Adding and Managing Documents](/docs/adding-managing-documents) — but whether a given document is **included** or **excluded** from a particular Trust Center is set here.
This matters most if your organization runs multiple Trust Centers (for example, separate centers for different products or business units) and needs different documents visible on each one.
1. In the Concord Admin UI, go to **Trust → Resources**.
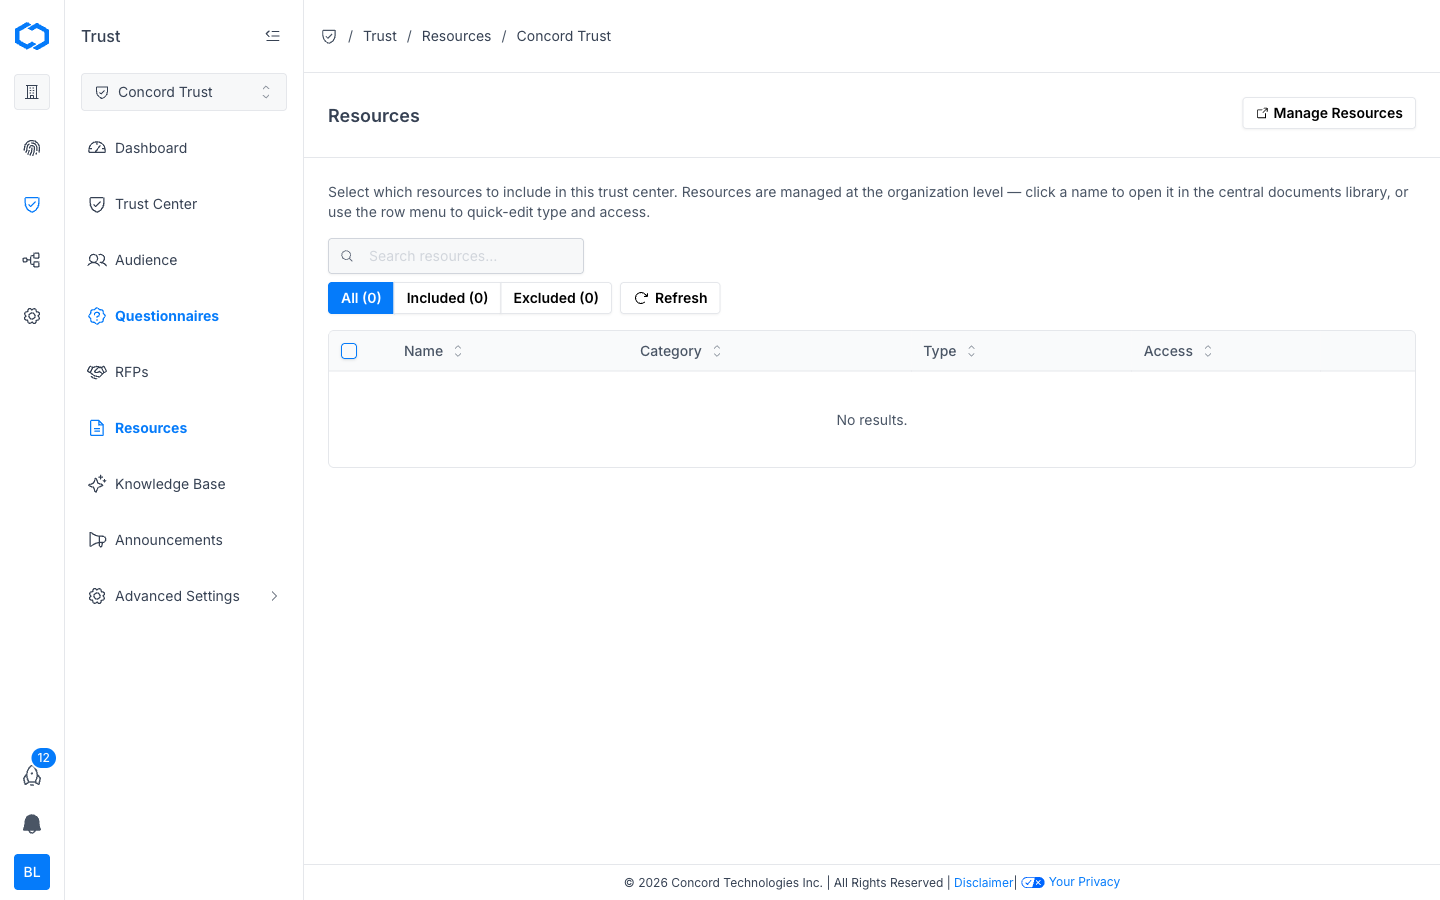
## Viewing and Filtering Resources
The Resources table shows documents from your central library with the following columns:
| Column | Description |
| ------------ | ----------------------------------------------------------------- |
| **Name** | The document name. |
| **Category** | The document's category. |
| **Type** | The document type (Statement, FAQ, Link, Report, or Policy). |
| **Access** | Who can access the document when it's shown on this Trust Center. |
Use the **All**, **Included**, and **Excluded** filters to see which documents currently appear on this Trust Center. Use the search bar to find a specific document by name, and click **Refresh** to pull the latest list from your central library.
## Including or Excluding a Resource
1. Go to **Trust → Resources**.
2. Select the checkbox next to each document you want to include on this Trust Center.
3. Click **Save**.
Excluding a document removes it from this Trust Center without deleting it from your central library or affecting other Trust Centers it may be included on.
## Quick-Editing Type & Access
Use the row menu on a resource to quickly change its type or access level without leaving the Resources page.
1. Find the resource in the table.
2. Open its row menu.
3. Update the **Type** or **Access** level and save your changes.
For any other edits — updating the document's actual content, name, description, or archiving and deleting it — click the document's name to open it in the central documents library. See [Editing a Document](/docs/adding-managing-documents#editing-a-document) for the full editor walkthrough, or click **Manage Resources** in the upper right corner to jump straight there.
## Related Articles
* [Adding and Managing Documents](/docs/adding-managing-documents)
* [Trust Center Overview](/docs/trust-center-overview)
* [Managing Your Trust Center Knowledge Base](/docs/managing-trust-center-knowledge-base)
* [Managing Your Trust Center Audience](/docs/managing-trust-center-audience)
# Configuring Trust Center Email Settings
URL: /docs/configuring-trust-center-email-settings
***
title: 'Configuring Trust Center Email Settings'
description: 'How to configure the From: address and notification settings for emails your Concord Trust Center sends, including access request and NDA notifications.'
created: '2026-07-07T00:00:00.000Z'
updated: '2026-07-07T00:00:00.000Z'
-----------------------------------
## Overview
Your Trust Center sends email on your behalf — access request notifications, NDA confirmations, and [announcement](/docs/creating-trust-center-announcements) emails to subscribers. The **Email** tab controls which address those emails send from and who on your team gets notified of new activity.
1. In the Concord Admin UI, go to **Trust → Trust Center**.
2. Select the **Email** tab.
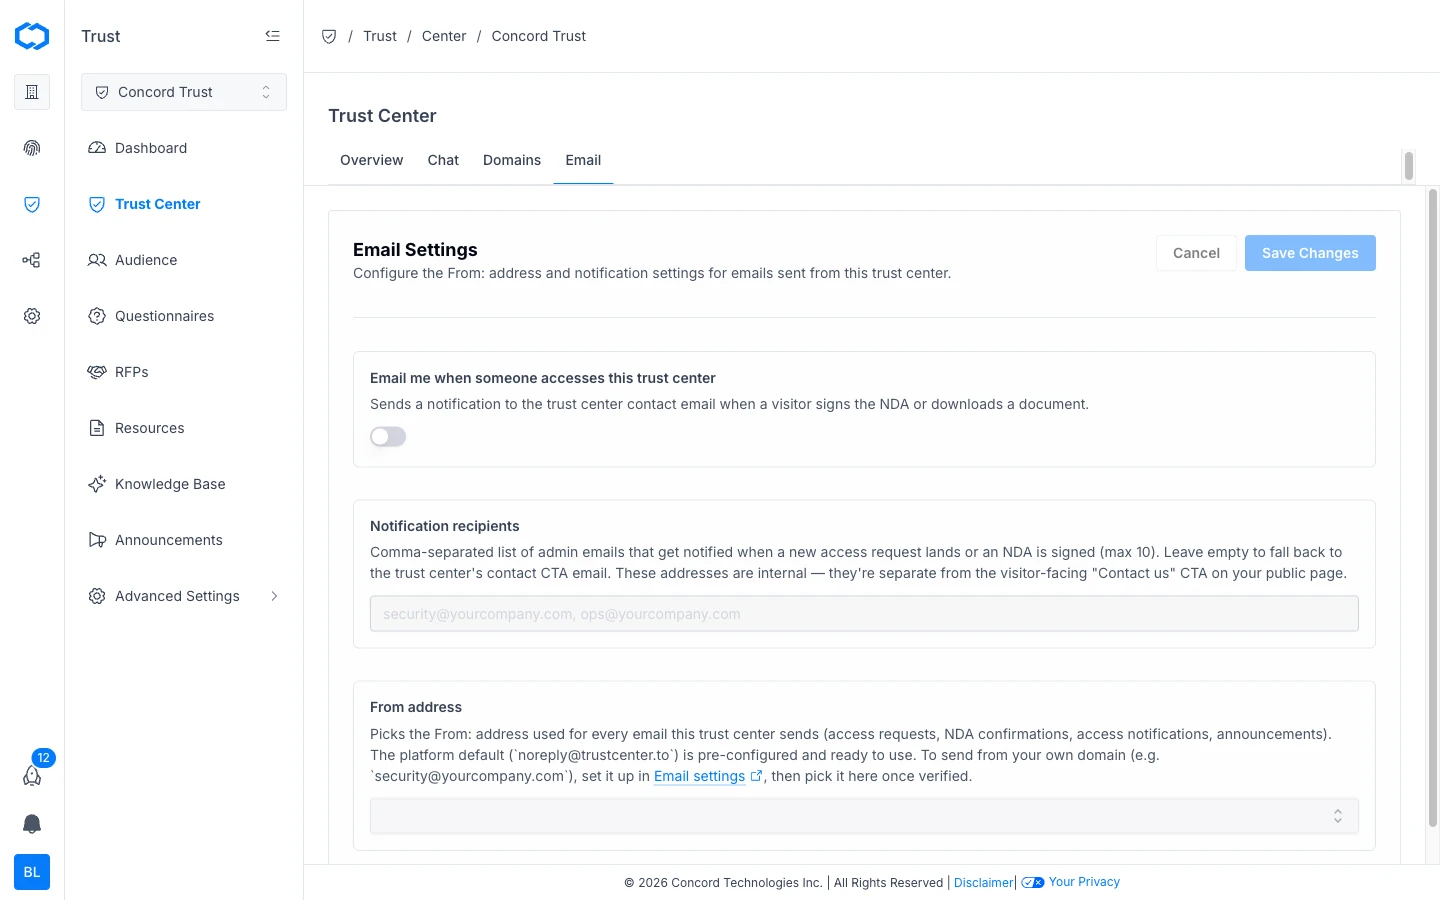
## Notifying Your Team of New Activity
Turn on **Email me when someone accesses this trust center** to send a notification to your Trust Center's contact email whenever a visitor signs an NDA or downloads a document.
1. On the **Email** tab, toggle on **Email me when someone accesses this trust center**.
2. Click **Save Changes**.
## Setting Notification Recipients
By default, activity notifications go to your Trust Center's contact email. To notify specific people on your team instead, add their addresses under **Notification recipients**.
1. Enter a comma-separated list of admin emails (up to 10) that should be notified when a new [access request](/docs/managing-trust-center-audience) lands or an NDA is signed.
2. Click **Save Changes**.
Leave this field empty to fall back to the Trust Center's contact CTA email. These addresses are internal notifications only — they're separate from the visitor-facing "Contact us" CTA on your public page.
## Setting the From Address
The **From address** controls the sender address used for every email your Trust Center sends: access requests, NDA confirmations, access notifications, and announcements.
The platform default, `noreply@trustcenter.to`, is pre-configured and ready to use. To send from your own domain instead (for example, `security@yourcompany.com`):
1. Set up and verify the address in **Global Settings → Send From Emails**. See [Managing Send From Emails](/docs/managing-send-from-emails) and [Send From Email Authentication (DKIM and DMARC)](/docs/send-from-email-authentication-dkim-dmarc).
2. Return to the **Email** tab and select the verified address from the **From address** dropdown.
3. Click **Save Changes**.
## Related Articles
* [Trust Center Overview](/docs/trust-center-overview)
* [Managing Your Trust Center Audience](/docs/managing-trust-center-audience)
* [Creating Trust Center Announcements](/docs/creating-trust-center-announcements)
* [Managing Send From Emails](/docs/managing-send-from-emails)
* [Send From Email Authentication (DKIM and DMARC)](/docs/send-from-email-authentication-dkim-dmarc)
# Setting Up Your Trust Center Domain
URL: /docs/setting-up-trust-center-domain
***
title: 'Setting Up Your Trust Center Domain'
description: 'How to configure your Trust Center domain, including the free trustcenter.to subdomain slug and custom domain setup.'
created: '2026-06-07T00:00:00.000Z'
updated: '2026-06-07T00:00:00.000Z'
-----------------------------------
## Overview
Every Concord Trust Center includes a free branded subdomain on `trustcenter.to` (e.g., `yourcompany.trustcenter.to`). This domain is ready to use as soon as you create your Trust Center. No DNS configuration required.
If you prefer your Trust Center to live on your own domain, you can configure a custom domain as well. Both subdomains (e.g., `trust.acme.com`) and apex domains (e.g., `acme.com`) are supported.
## Accessing Domain Settings
1. In the Concord Admin UI, go to **Trust → Trust Center**.
2. Select the **Domains** tab.

## Your Trustcenter.to Slug
When you create your Trust Center, Concord assigns a `trustcenter.to` subdomain based on your organization name. Visitors reach your Trust Center at `yourslug.trustcenter.to`.
### Changing Your Slug
You can change your `trustcenter.to` slug at any time:
1. On the **Domains** tab, edit the slug field under **Trustcenter.to Slug**.
2. Click **Save**.
Changing the slug rotates the URL. Existing magic links and shared bookmarks for the old slug will stop working. Concord does not redirect from the old slug to the new one. Update any links you have shared externally.
## Setting Up a Custom Domain
A custom domain lets you serve your Trust Center from a URL you own. Either a subdomain (`trust.acme.com`) or your apex domain (`acme.com`) works.
### Step 1: Add the Custom Domain in Concord
1. On the **Domains** tab, find the **Custom Domain** section.
2. Enter your desired domain (e.g., `trust.acme.com`).
3. Click **Add domain**.
Concord will display the DNS records you need to configure.
### Step 2: Configure DNS
The DNS configuration depends on what type of domain you are using:
* **Subdomain** (e.g., `trust.acme.com`): add the DNS records shown in the Concord Admin UI. Concord will display the correct values once you add the domain.
* **Apex domain** (e.g., `acme.com`): requires a CNAME-flattening DNS provider (Cloudflare, Route 53 ALIAS, NS1, Dyn). For other providers, use an A record pointing at Concord's edge. The correct value is shown in the Admin UI once you add the domain.
DNS propagation can take up to 48 hours, though most changes take effect within a few minutes to a few hours.
### Step 3: Verify the Domain
Once DNS propagation is complete, Concord will verify the domain and provision an SSL certificate automatically. Your Trust Center will then be accessible at your custom domain over HTTPS.
1. Return to the **Domains** tab in **Trust → Trust Center**.
2. Check the status of your custom domain. It should show as verified once DNS propagation is complete.
## Using Both Domains
When a custom domain is configured, both your `trustcenter.to` subdomain and your custom domain remain active. Visitors can access your Trust Center through either URL.
## Troubleshooting
### Domain Not Verifying
* Verify that the DNS records match exactly what Concord displays on the **Domains** tab.
* Allow up to 48 hours for DNS propagation.
* Check with your DNS provider that no conflicting records exist for the same host.
### Apex Domain Not Working
* Confirm your DNS provider supports CNAME flattening (Cloudflare, Route 53 ALIAS, NS1, Dyn). If it does not, use an A record instead. The correct IP is shown in the Concord Admin UI.
* Some DNS providers require you to remove any existing A records for the same host before adding new records.
If you continue to experience issues, reach out to our support team at [support@concord.tech](mailto:support@concord.tech).
## Related Articles
* [Trust Center Overview](/docs/trust-center-overview)
* [Getting Started with Concord Trust](/docs/trust)
* [Trust Center Branding and Customization](/docs/trust-center-branding-customization)
# Trust Center Branding and Customization
URL: /docs/trust-center-branding-customization
***
title: 'Trust Center Branding and Customization'
description: "How to customize the content and appearance of your Concord Trust Center, including hero text, logo, colors, and layout, so it matches your organization's brand."
created: '2026-06-07T00:00:00.000Z'
updated: '2026-07-07T00:00:00.000Z'
-----------------------------------
## Overview
Your Trust Center is a public-facing page that prospects, customers, and partners visit to evaluate your security posture. Concord lets you customize both the content and appearance of your Trust Center so it looks and reads like a natural extension of your website, not a third-party tool.
The Trust Center editor has three tabs: **Content**, **Design**, and **Chat**. This article covers Content and Design. For enabling and configuring the visitor-facing AI chat widget, see [Managing Your Trust Center Knowledge Base](/docs/managing-trust-center-knowledge-base).
## Accessing the Trust Center Editor
1. In the Concord Admin UI, go to **Trust → Trust Center**.
2. Select the **Overview** tab.
3. Click **Edit** to open the Trust Center editor.
## Content
The **Content** tab controls the text, links, and sections shown on your Trust Center.

* **Name**: the internal display name for this Trust Center. This is not shown to visitors.
* **Hero Title**: the main heading shown in the hero section at the top of your Trust Center. Leave blank to use the default.
* **Hero Description**: the supporting text shown below the hero title. Leave blank to use the default.
* **Hero Eyebrow**: a small label shown above the hero title (for example, a "Live Sync Enabled" badge). Toggle it on or off.
1. In the Trust Center editor, select the **Content** tab.
2. Update the fields you want to change. The preview panel on the right updates as you type.
3. Click **Save**.
Saving keeps your changes as a **Draft**. Publish your Trust Center to make them visible to visitors — see [Getting Started with Concord Trust](/docs/trust#step-4-publish-your-trust-center).
## Design
From the **Design** tab you can adjust your Trust Center's logo, colors, and layout.
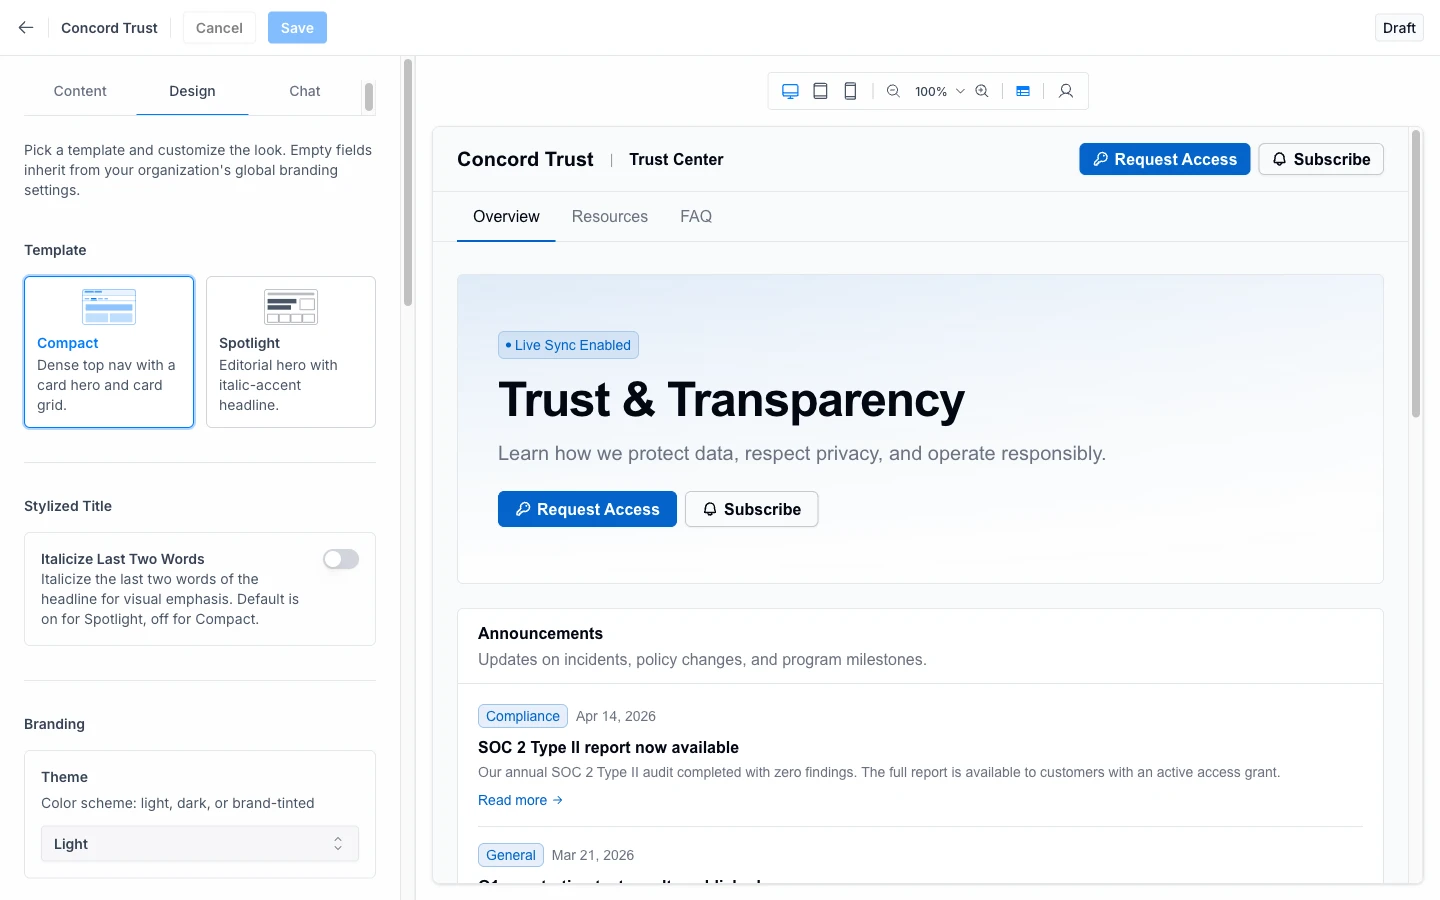
### Logo
Upload your company logo to display at the top of your Trust Center page. Horizontal logos are recommended. The logo is resized to fit the Trust Center header, so a height of approximately 40px is preferred.
1. In the Trust Center editor, click **Upload Logo** (or click the existing logo to replace it).
2. Select your logo file.
3. Click **Save**.
### Colors
Customize the primary and secondary colors used throughout your Trust Center.
* **Primary color**: used for buttons, links, and interactive elements on your Trust Center.
* **Secondary color**: used for the Trust Center header background and accent areas.
1. In the Trust Center editor, select your **Primary Color** and **Secondary Color**.
2. Click **Save**.
As with Content changes, saving keeps your edits as a **Draft** until you publish your Trust Center.
### Additional Customization
Concord may offer additional customization options such as font selection and button styling. Check the Trust Center editor for the full set of available options.
## Preview
After making design changes, preview your Trust Center to verify the logo, colors, and layout match your expectations before sharing the link with external visitors.
## Related Articles
* [Trust Center Overview](/docs/trust-center-overview)
* [Getting Started with Concord Trust](/docs/trust)
* [Setting Up Your Trust Center Domain](/docs/setting-up-trust-center-domain)
* [Custom Branding: Logo, Colors, Font, and Radius](/docs/setting-up-custom-branding-logos-colors) (branding for Concord Privacy's Consent Banner and Privacy Center)
# Trust Center Overview
URL: /docs/trust-center-overview
***
title: 'Trust Center Overview'
description: 'Overview of Concord Trust Center: a public-facing page where prospects, customers, and partners can review your security and compliance posture, access compliance documents, and find answers to common security questions.'
created: '2026-06-07T00:00:00.000Z'
updated: '2026-09-28T00:00:00.000Z'
-----------------------------------
## Overview
A Trust Center is a public-facing page where your prospects, customers, and partners can review your organization's security and compliance posture in one place. Instead of fielding one-off requests for SOC 2 reports, security questionnaires, or policy documents, you give stakeholders a single destination to find what they need on their own.
Concord Trust Center is built on the same platform as Concord Privacy. This shared architecture means your Trust Center can pull live policy content directly from your privacy program through the Data Hub. When you update a policy in Concord Privacy, your Trust Center displays the current version automatically. No re-uploading PDFs.
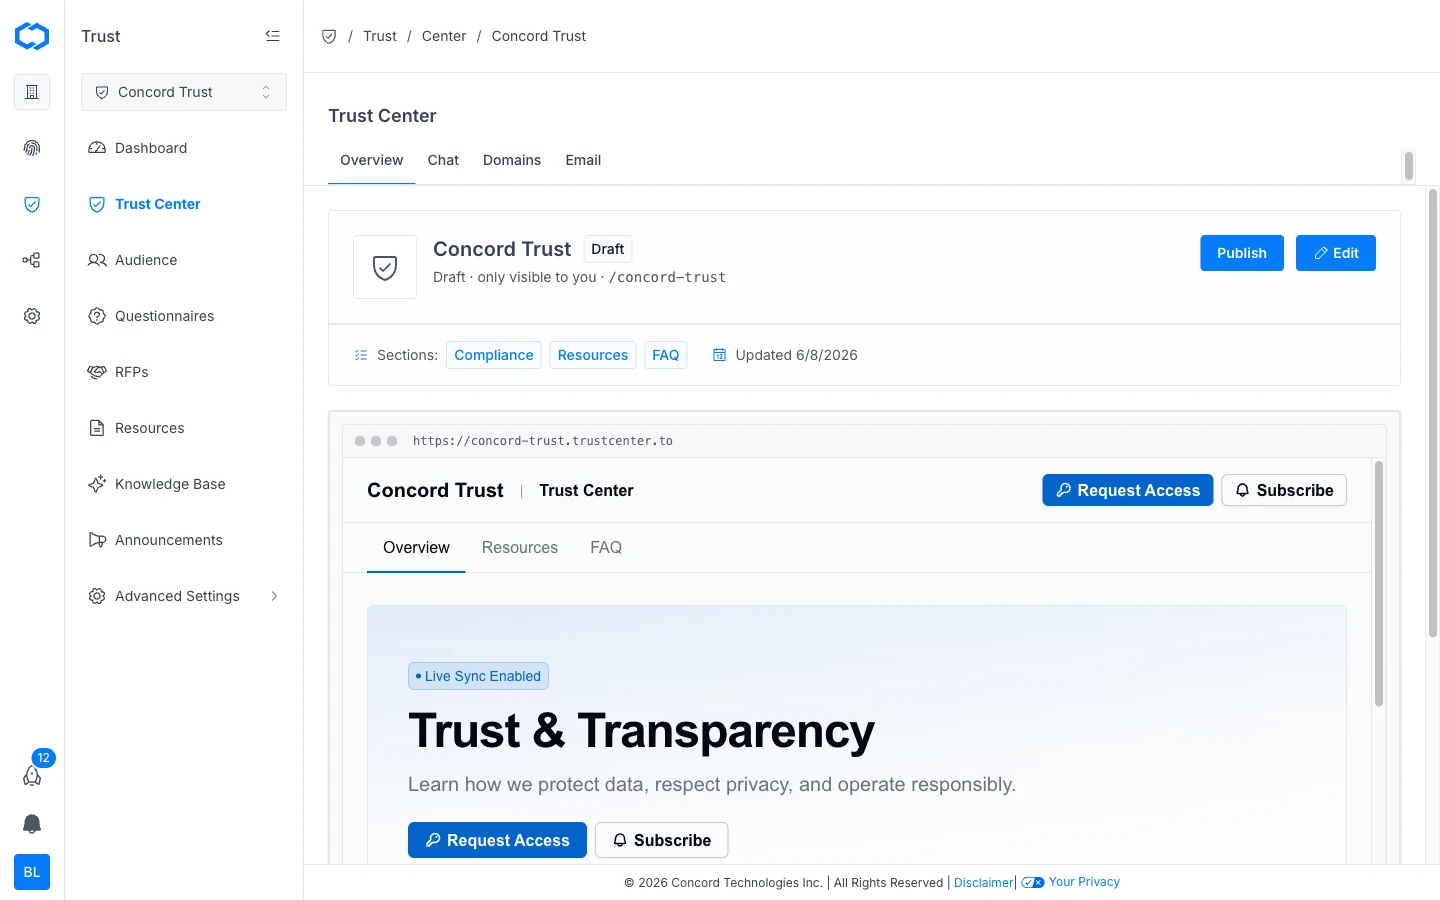
## Key Features
### Documents
Documents are managed through the **Data Hub**, which serves as a shared global library across your organization. You can add several document types (statements, FAQs, links, reports, and policies) and then feature selected documents on your Trust Center. For more information, see [Adding and Managing Documents](/docs/adding-managing-documents).
### FAQs
FAQs are a document type in the Data Hub. Each FAQ is a question and answer pair that you can feature on your Trust Center so prospects can find answers to common security and compliance questions without contacting your team. You can add FAQs individually or bulk-import them from a spreadsheet. For more information, see [Managing FAQs](/docs/managing-faqs).
### Gated Access & NDAs
For sensitive documents, you can require visitors to request access before viewing. You can also require an NDA to be signed before granting access to specific documents. This gives you control over who sees what, while still making documents accessible without back-and-forth emails.
### AI Chat
You can enable AI Chat on your Trust Center so visitors get answers to security and compliance questions directly from your published documents and FAQs, without emailing your team. Answers come back with inline citations pointing to the source. Documents you add to the knowledge base are indexed automatically, so the chat reflects your current content rather than a snapshot. For more information, see [Managing Your Trust Center Knowledge Base](/docs/managing-trust-center-knowledge-base).
### Data Hub Integration
Concord Trust connects to the shared Data Hub that powers your Concord Privacy program. Policies updated in Concord Privacy are automatically reflected in your Trust Center, and your sub-processor list is built from the vendors and data systems in your Data Hub. See [Managing Vendors and Sub-Processors](/docs/managing-vendors).
For organizations using both Concord Privacy and Concord Trust, this shared data layer means less manual upkeep and fewer gaps between what your privacy program does and what your Trust Center shows.
## How Does the Trust Center Work?
When you set up Concord Trust, you create a publicly accessible Trust Center page. Every Trust Center includes a branded `trustcenter.to` subdomain (e.g., `yourcompany.trustcenter.to`). You can also configure a custom domain to match your own URL structure. For more information, see [Setting Up Your Trust Center Domain](/docs/setting-up-trust-center-domain).
From there, you add your compliance documents, write your FAQs, configure your branding, and share the link. Visitors can browse public content immediately. For gated content, they request access through the Trust Center and you approve or deny directly in Concord.
## Getting Started
To set up your first Trust Center, see [Getting Started with Concord Trust](/docs/trust).
## Related Articles
* [Getting Started with Concord Trust](/docs/trust)
* [Adding and Managing Documents](/docs/adding-managing-documents)
* [Managing FAQs](/docs/managing-faqs)
* [Trust Center Branding and Customization](/docs/trust-center-branding-customization)
* [Setting Up Your Trust Center Domain](/docs/setting-up-trust-center-domain)
* [Configuring Trust Center Email Settings](/docs/configuring-trust-center-email-settings)
# Dashboard Overview
URL: /docs/dashboard-overview
***
title: 'Dashboard Overview'
description: 'The Dashboard section within Concord provides an at-a-glance view of important Consent and Compliance metrics.'
created: '2021-05-13T20:43:21.000Z'
updated: '2024-10-18T18:47:57.000Z'
-----------------------------------
## Overview
The Concord Dashboard is one of the first items you see upon logging in to Concord. You will be presented with multiple widgets that are aligned with your current Concord plan. These can include: People, Privacy, Consent, Consent Distribution, Consent by Geography, All Open Requests, and Resolution Metrics.
You may also select which Project you would like to view (should your organization have multiple Projects), as well as the month for which you would like to see data. The dashboard defaults to the current month.
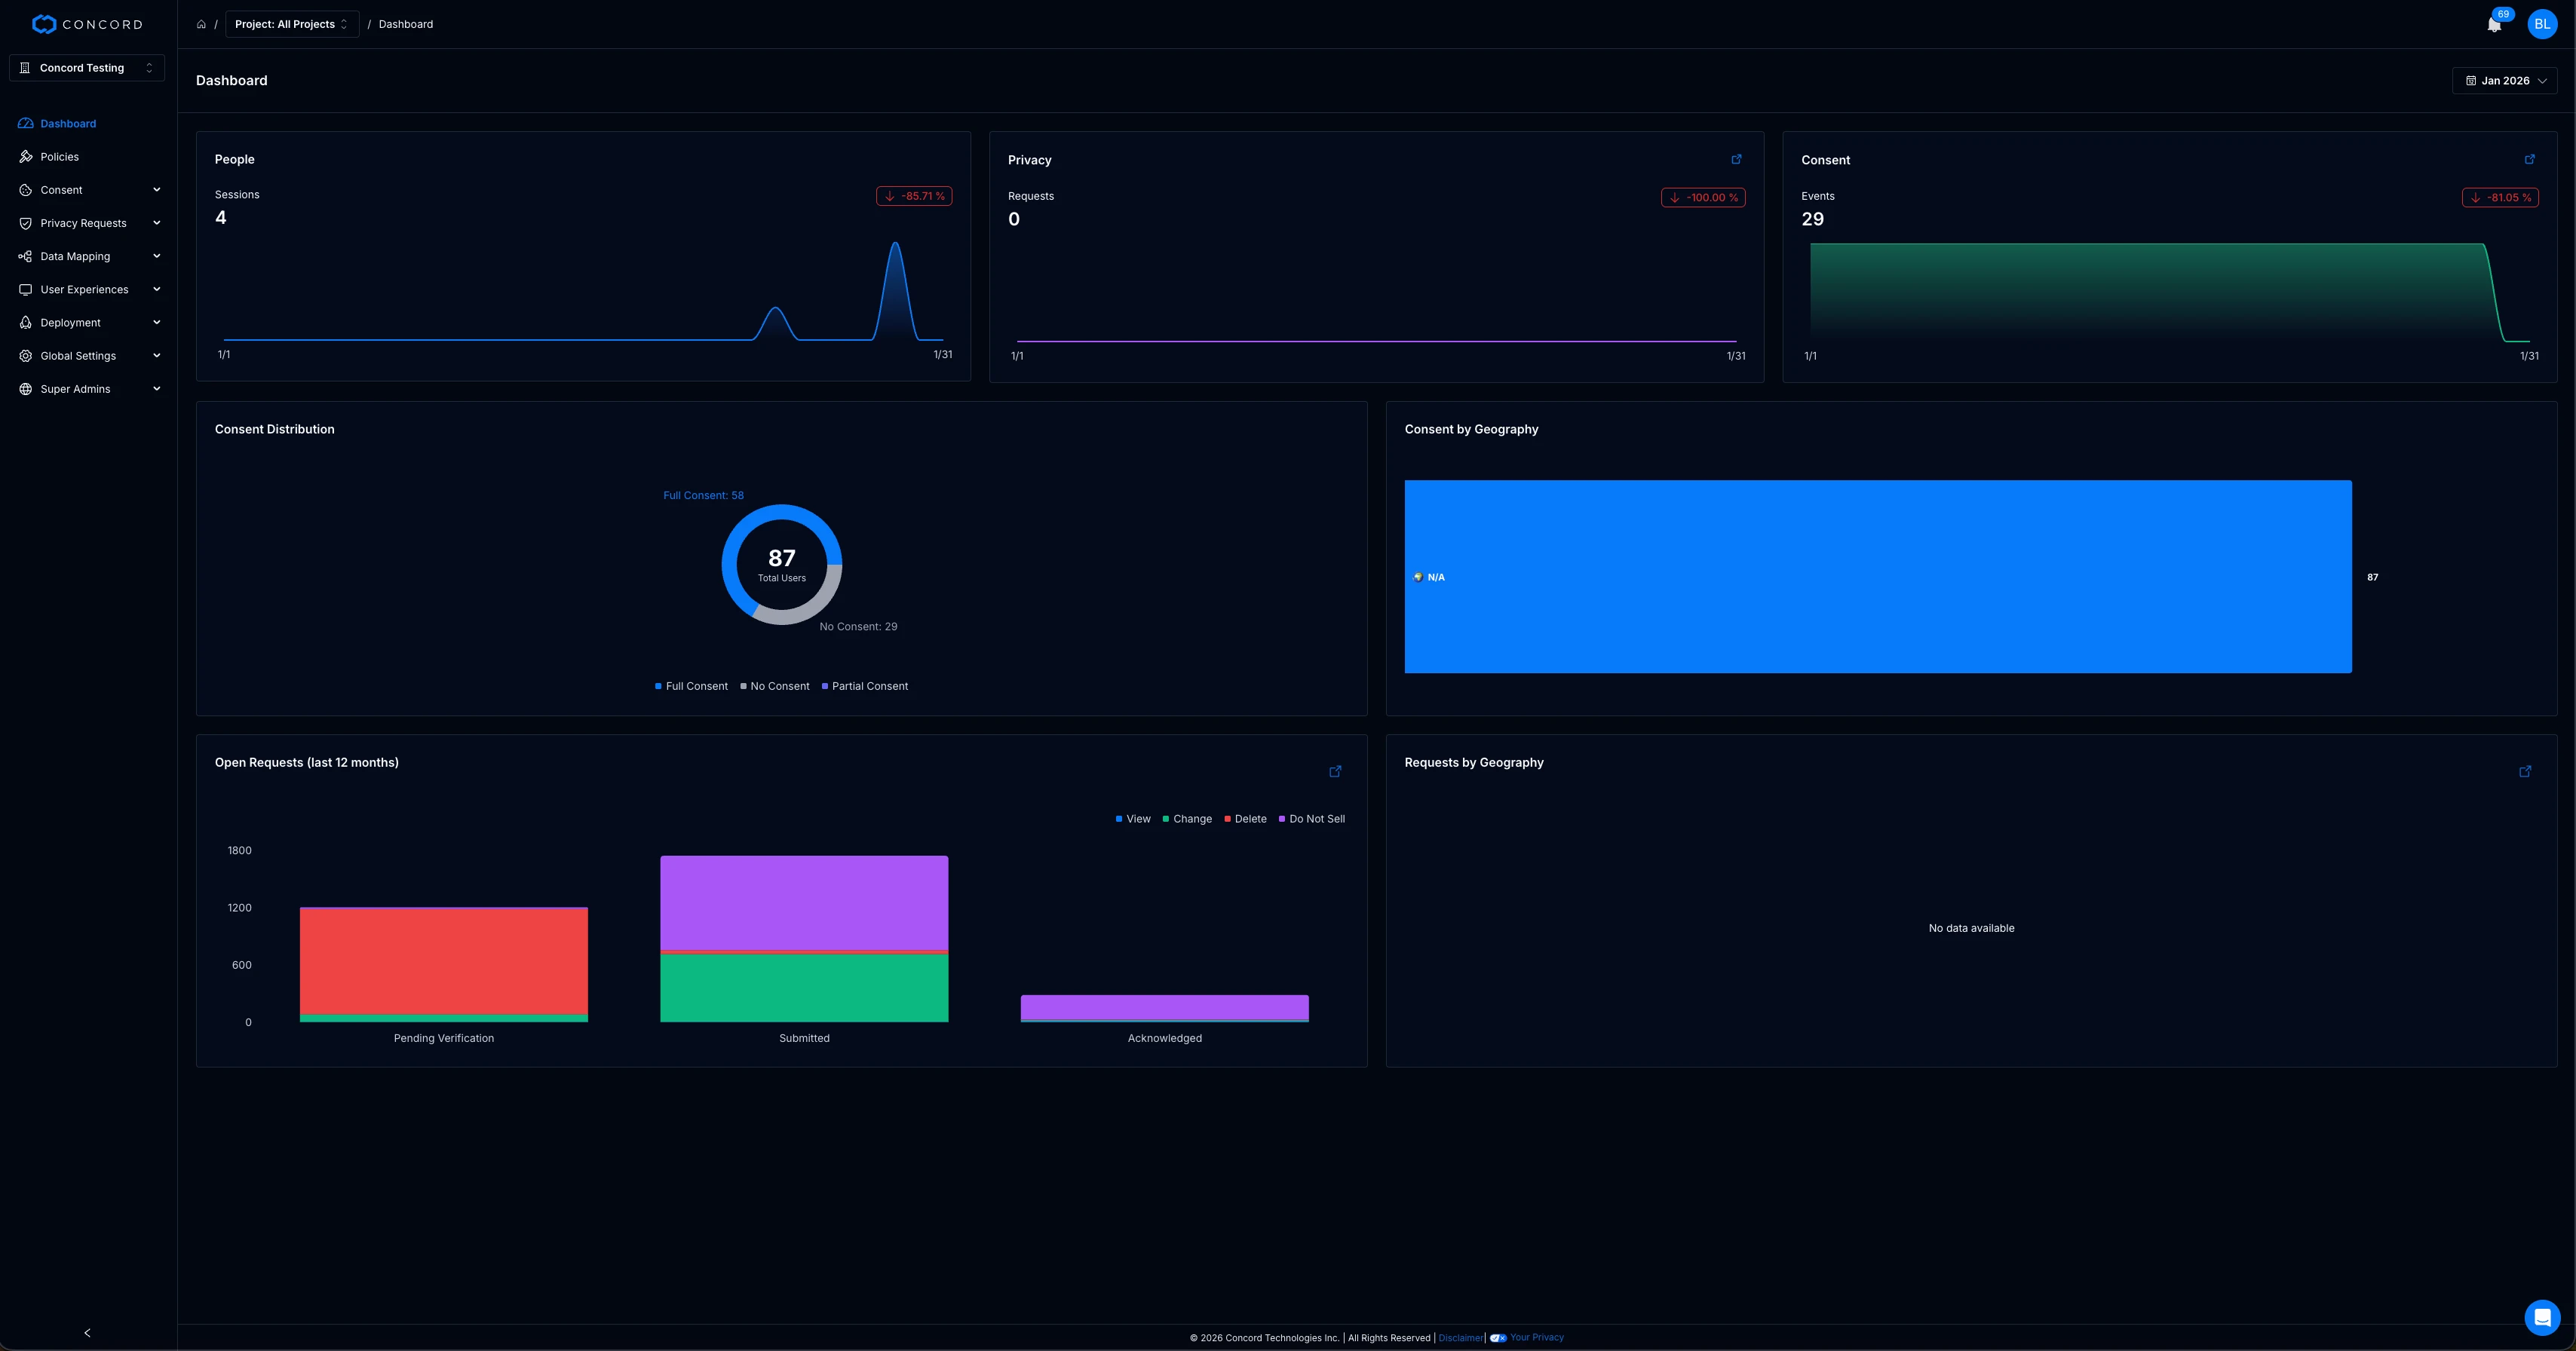
* **People** - The People widget shows a count of visitor sessions on your site for the selected month. See also: [Key Metrics Report](/docs/key-metrics-report)
* **Compliance** - The Compliance widget shows an aggregate count of the total number of Compliance Requests for the selected month. Requests that are still pending end-user verification are not included in this total. You may click on the **View Report** button to view the full Compliance Requests report. See also: [Privacy Requests Request Log](/docs/privacy-requests-request-log)
* **Consent** - The Consent widget shows an aggregate count of the total number of Consent Events for the selected month. You may click on the **View Report** button to view the full Consent Events report. See also: [Consent Events and Exports](/docs/consent-log-report)
* **Consent Distribution** - The Consent Distribution widget shows a count of the total number of users that provided consent, no consent, or partial consent for the given date range.
* **Consent by Geography** - The Consent by Geography widget shows the total count of users and their associated geographical region for the given date range.
* **Open Requests (last 12 months)** - The Open Requests widgets shows the number of Privacy Requests (View, Change, Delete, and Do Not Sell) grouped by status (Pending Verification, Submitted, Acknowledged).
* **Requests by Geography** - The Requests by Geography widget shows the total number of Privacy Requests grouped by geographical region for the given date ranged.
# Key Metrics Report
URL: /docs/key-metrics-report
***
title: 'Key Metrics Report'
description: 'The Key Metrics Report provides detailed day-by-day information for your key metrics, including Visitor Sessions, Visitors, Consent Events, and Privacy Requests.'
slug: 'key-metrics-report'
topic: 'dashboard-reports'
created: '2021-05-13T20:43:47.000Z'
updated: '2023-10-03T08:32:43.000Z'
-----------------------------------
## Overview
The Key Metrics report will show you daily counts for Visitor Sessions, Visitors, Consent Events, and Privacy Requests. You can choose the starting and ending month for the report using the date range picker as seen below:
## Selecting a Date
Click within the starting date range, select a starting month, and then click within the ending date range and select an ending date.
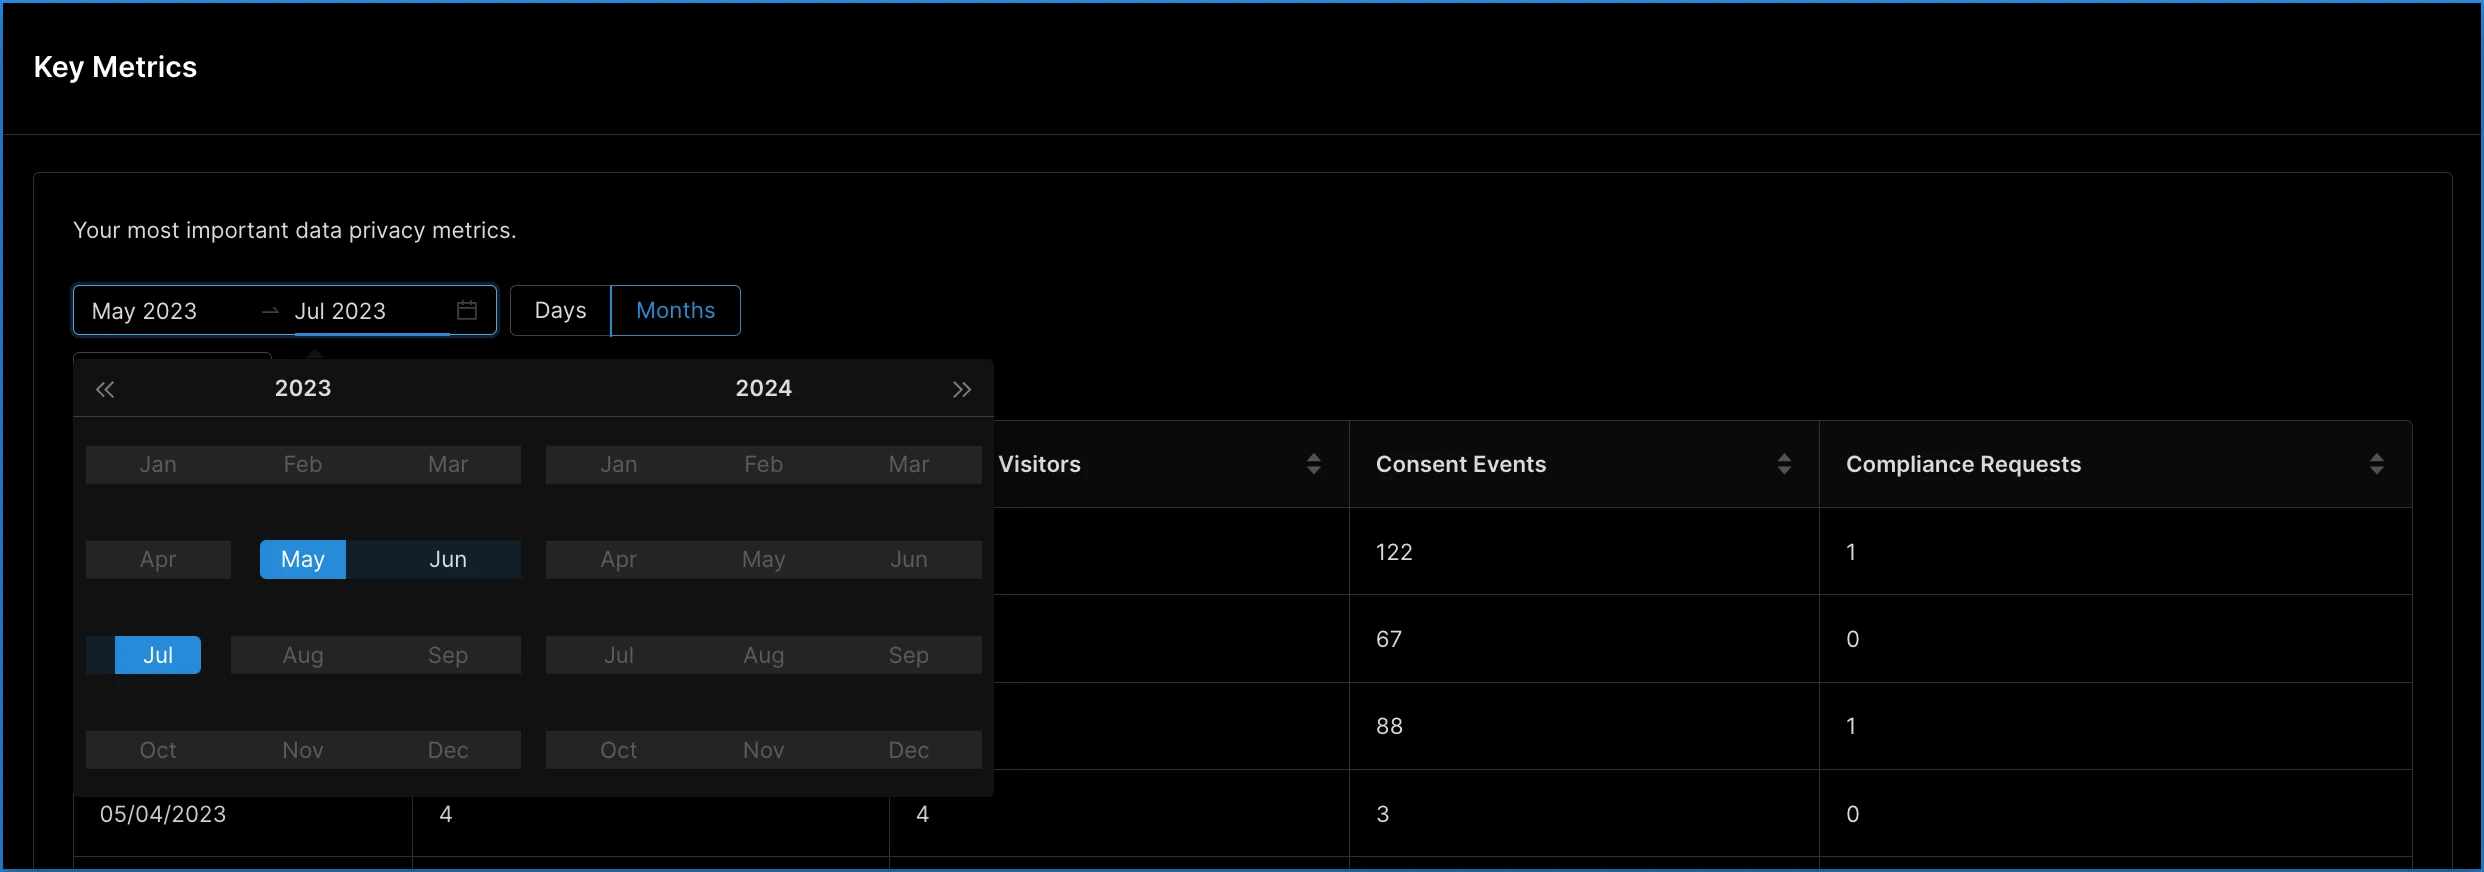
## Using the Key Metrics Report
The report shows distinct days within the requested date range with discrete counts for each metric displayed. Consent Events and Privacy Requests are aggregated within this report and do not show the specific type of Event or Request. You can see additional detail in the Consent Events report or the Request Log report.
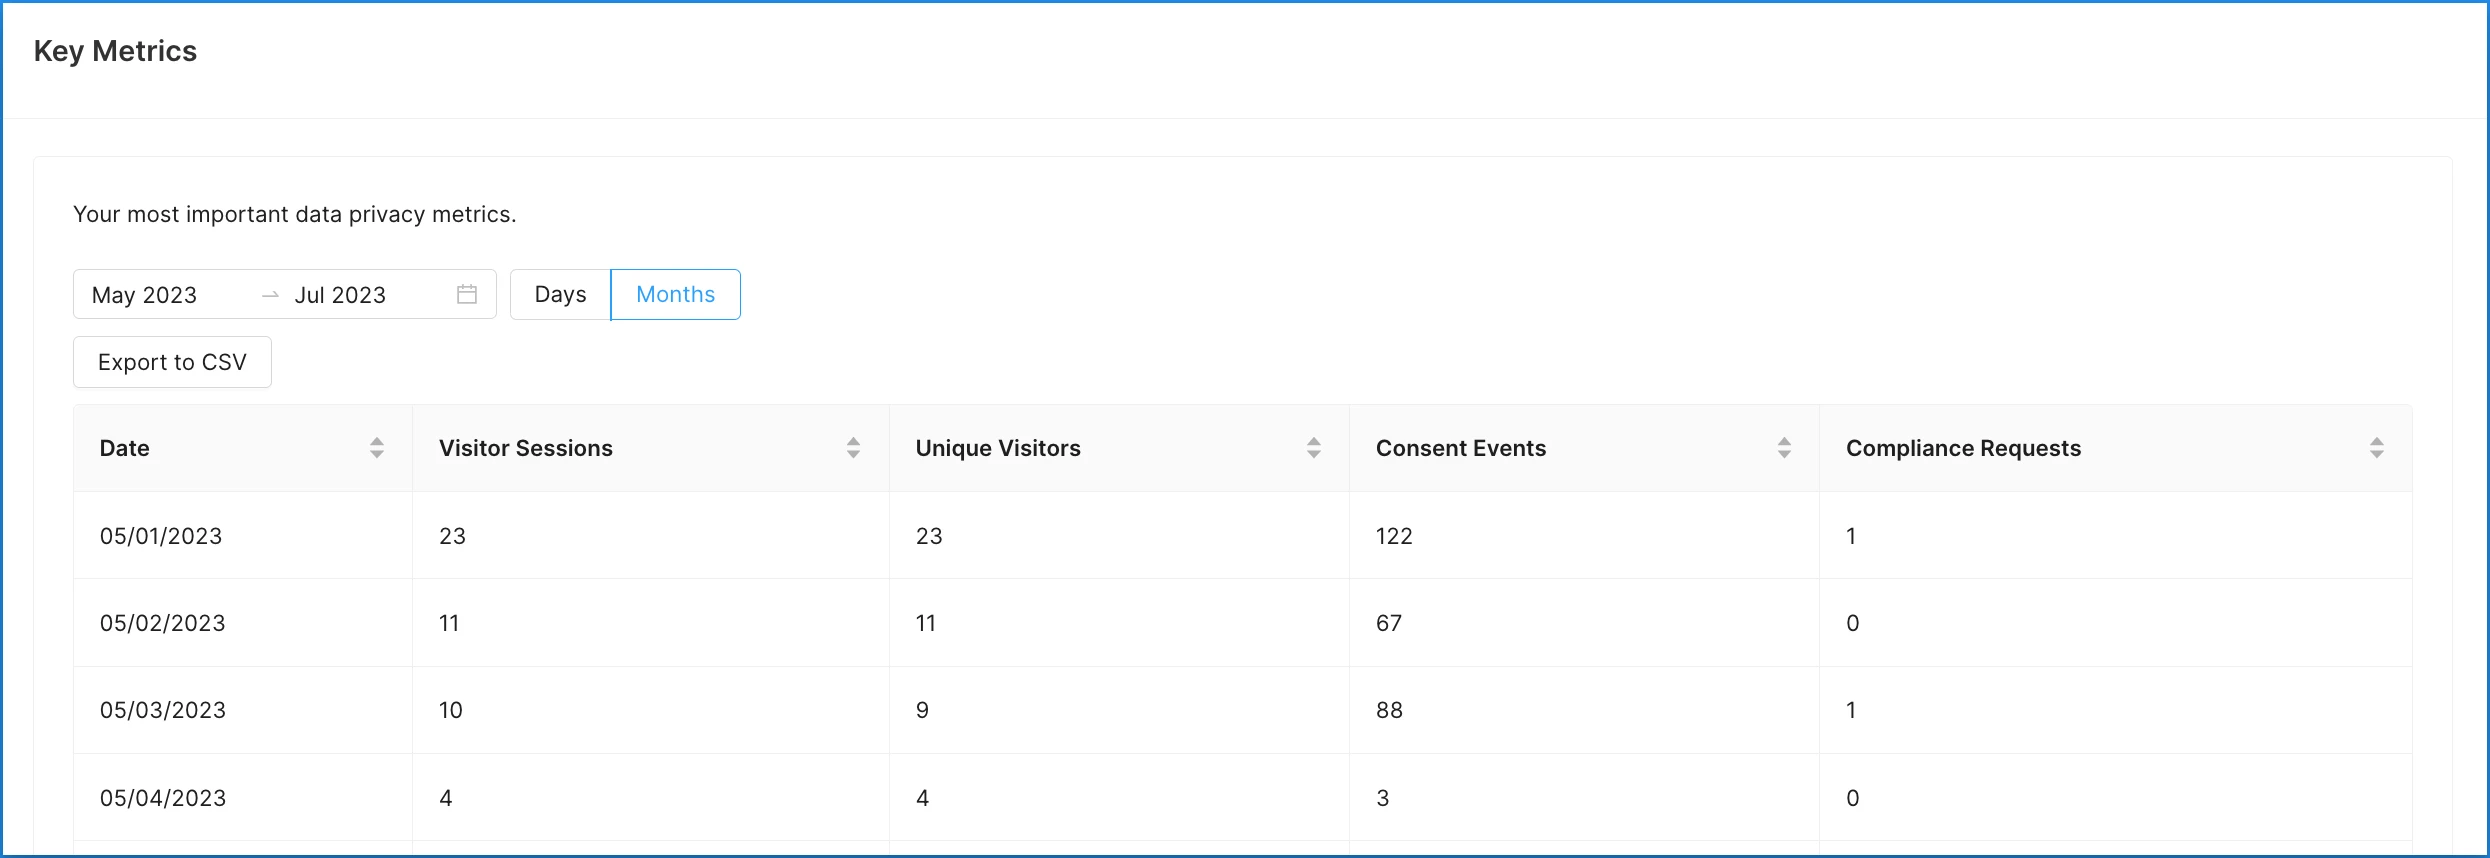
# Classifying Trackers (Cookies and Scripts)
URL: /docs/classifying-trackers-cookies-scripts
***
title: 'Classifying Trackers (Cookies and Scripts)'
description: 'How to classify and configure the various tracking cookies and scripts on your website.'
created: '2023-10-06T01:21:42.000Z'
updated: '2024-10-02T20:12:31.000Z'
-----------------------------------
## Overview
Websites may use a surprising number of tracking scripts, resulting in many cookies being set on users’ browsers. Concord automatically recognizes and categorizes a wide array of different tracking scripts and their cookies, helping you discover and properly categorize the tracking scripts and resulting cookies. Concord can also be configured to block these scripts until consent is obtained or to allow them until consent is denied. You may chose different options based upon the regionally applicable privacy legislation. For more details on those configuration options, please refer to the following article: [Configuring Auto-Blocking of Cookies and Scripts](/docs/understanding-configuring-auto-blocking-of-cookies-scripts)
## Consent Categories
Tracking scripts and cookies can fall into many categories. The particular category will determine if a script is blocked or not and blocking is based on which types of categories an individual user decides to block based on their consent choices. We use the following base categories:
* **Strictly Necessary:** These trackers set cookies that are required by the site for proper functionality. They may include things like authentication cookies, session cookies, shopping cart status cookies, and others. Strictly necessary scripts and cookies are never blocked, so only items that are truly strictly necessary should be categorized as such.
* **Analytics:** These scripts track visitors’ activities, typically in aggregate form, allowing website owners to better grasp how their sites or apps are being used.
* **Functional:** these scripts are not “strictly necessary” but can result in a better, more personalized web site experiences. As they may collect more data than needed for basic site functionality, they are considered non-essential.
* **Marketing:** These trackers set cookies for the purpose of behavioral and demographic targeted marketing. If your project has Global Privacy Control (GPC) enabled, which is recommended in the United States and other jurisdictions that require signal detection, users with a detected GPC browser signal will have this category automatically disabled.
* **Unclassified: A**ny tracking script and resulting cookie that can’t be categorized automatically by Concord. It is highly recommended that these scripts be properly categorized to enable compliance with users’ consent choices.
* **Malicious:** Scripts that are known to be used for improper purposes will be listed here. Any scripts found here are automatically blocked by Concord and should be removed from your site as soon as possible.
## Blocking Mode & Initial Discovery of Cookies & Scripts
If this is your first time configuring Concord for your organization, we typically recommend starting in the **Discovery** mode found within the **Blocking Mode** setting within **Consent → Consent Settings.** That mode isn’t GDPR compliant, but allows you to capture the cookies and scripts on your site for categorization without blocking while you are initially setting things up. More details on those settings can be found here: [Configuring Auto-Blocking of Cookies and Scripts](/docs/understanding-configuring-auto-blocking-of-cookies-scripts)
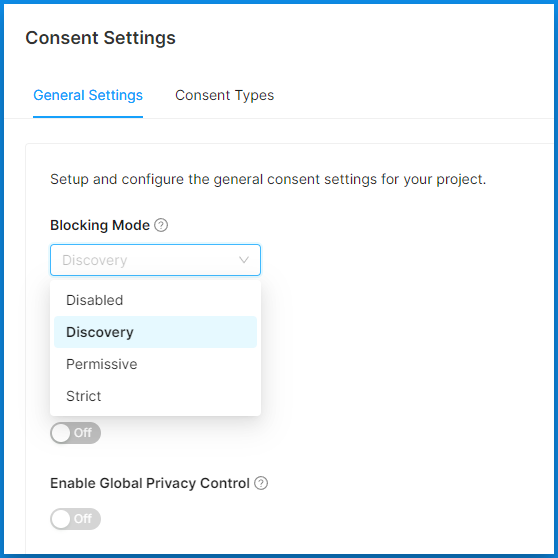Once any of the blocking modes are active on your site for a short period of time, we will start populating a list of all the cookies and trackers that we find. To view the list of discovered cookies and scripts:
* Navigate to **Consent Settings > Cookies & Scripts.**
* You will see a list of all discovered cookies and scripts.
* Click on the “+” symbol by each script in order to see the full details.
## Categorizing Cookies & Scripts
Once a comprehensive list of cookies and scripts is populated, it will be necessary to categorize the discovered scripts in order for cookie and script consent setting choices to work properly. To categorize tracking cookies and scripts:
* Navigate to **Consent → Cookies & Scripts.**
* You will see a list of all discovered cookies and scripts.
* If desired, click on the **+** symbol by each script in order to see the full details.
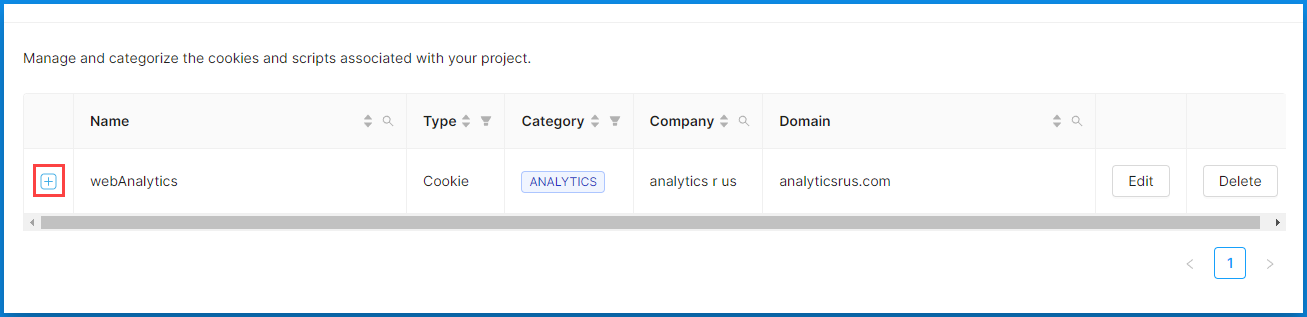
* If you want to change the details for a specific cookie or script, including the desired category, click on the **Edit** button.
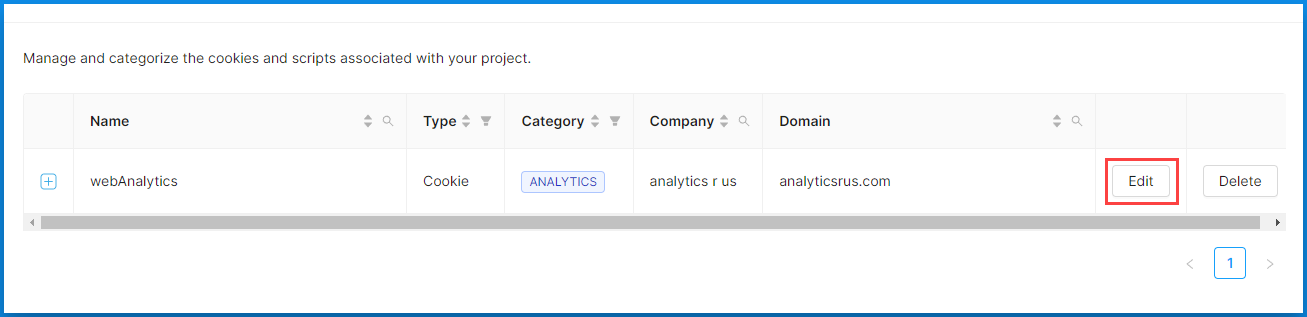- You may now change the following fields:
* **Name:** Use this to create a user friendly and meaningful name. - **Category:** Use this to categorize the tracker. It is crucial to properly categorize the tracking script for proper handling of user consent choices. - **Pattern:** A regular expression identifying the script’s name. In most cases, Concord administrators won’t need to change this, but can be used for advanced adjustments when needed. - **Company:** The originating organization for the tracking script. - **Domain:** The domain of the company associated with the tracker. - **Description:** Use this to input any additional information you wish about the tracker.
* **Category:** Use this to categorize the tracker. It is crucial to properly categorize the tracking script for proper handling of user consent choices.
* **Pattern:** A regular expression identifying the script’s name. In most cases, Concord administrators won’t need to change this, but can be used for advanced adjustments when needed.
* **Company:** The originating organization for the tracking script.
* **Domain:** The domain of the company associated with the tracker.
* **Description:** Use this to input any additional information you wish about the tracker.
* Click on the **Ok** button when you are done.
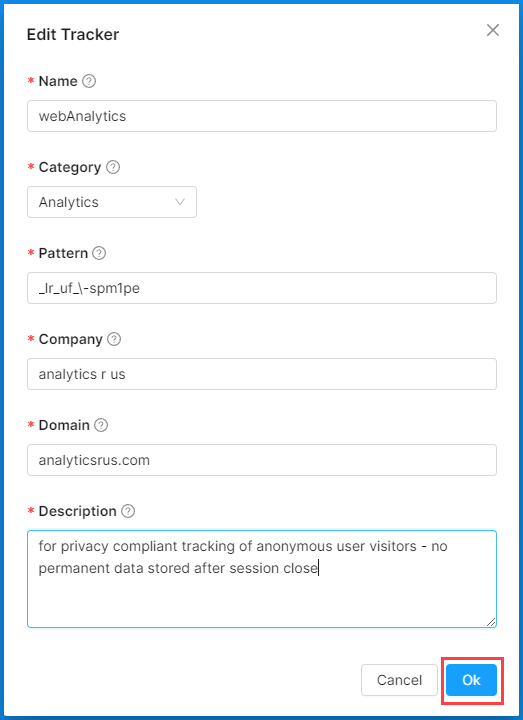
# Configure a Consent Banner for Different Regions
URL: /docs/configure-consent-banner-different-regions
***
title: "Configure a Consent Banner for Different Regions"
description: 'How to enable different settings for different geographical regions.'
created: '2024-04-23T23:07:11.000Z'
updated: '2026-04-16T00:00:00.000Z'
-----------------------------------
## Overview
Regions are used to customize the behavior and experience based on an individual user's location. As an example, this allows you to provide different experiences to users based on regional differences (like GDPR in the EU vs. CCPA/CPRA in California). When a user visits your site, we will automatically determine their location and will match them to the most granular region rule that you have setup in Concord. This can go down to the state/province level, which allows for different experiences for different laws (like CCPA/CPRA in California). While you can get as granular as you want, we typically recommend a single global policy that meets the strictest guidelines across regions, or higher splits (like separate GDPR and United States regions). If you have any questions on how and why to configure your regions in certain ways, please reach out to our support team.
### Adding a Custom Region
1. Login to Concord and navigate to Privacy → Deployment → Regions. Note that the Default region cannot be deleted and that a user will see the Default consent banner if there are no other matching region rules based on the user’s location.
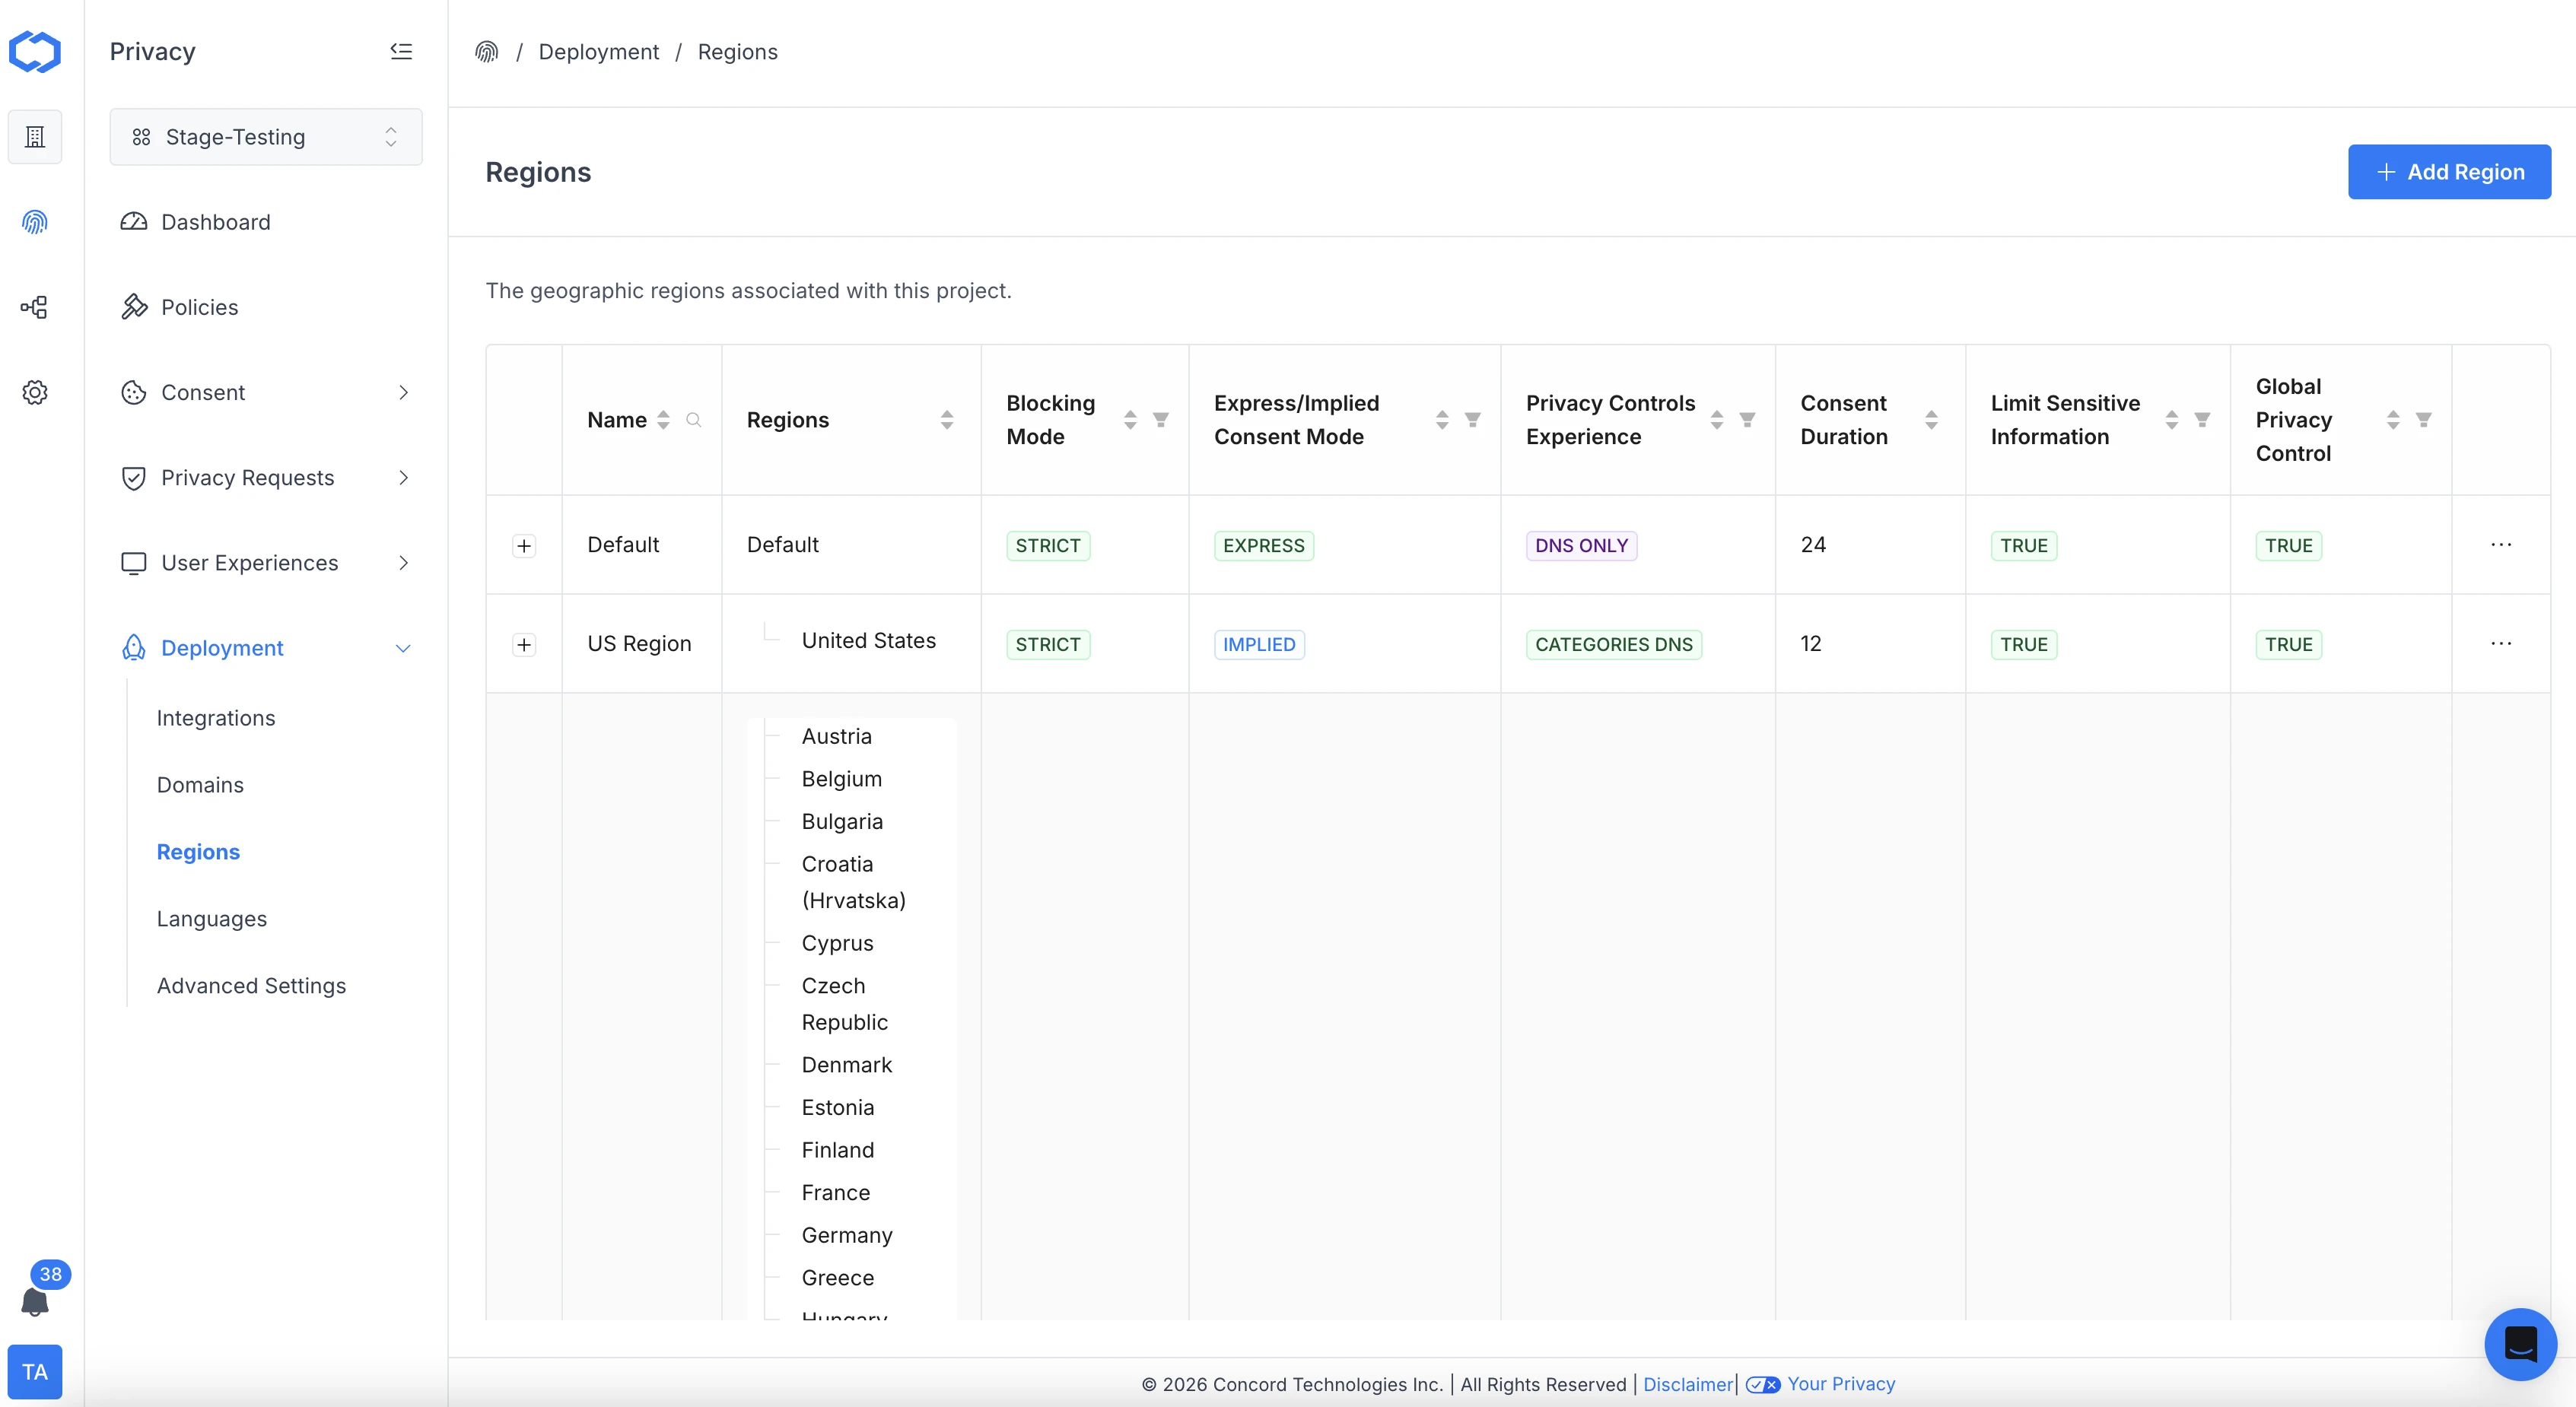
2. Click the **Add Region** button to open the **Add Region** wizard. Select one of the following region template options, and click the **Next** button.
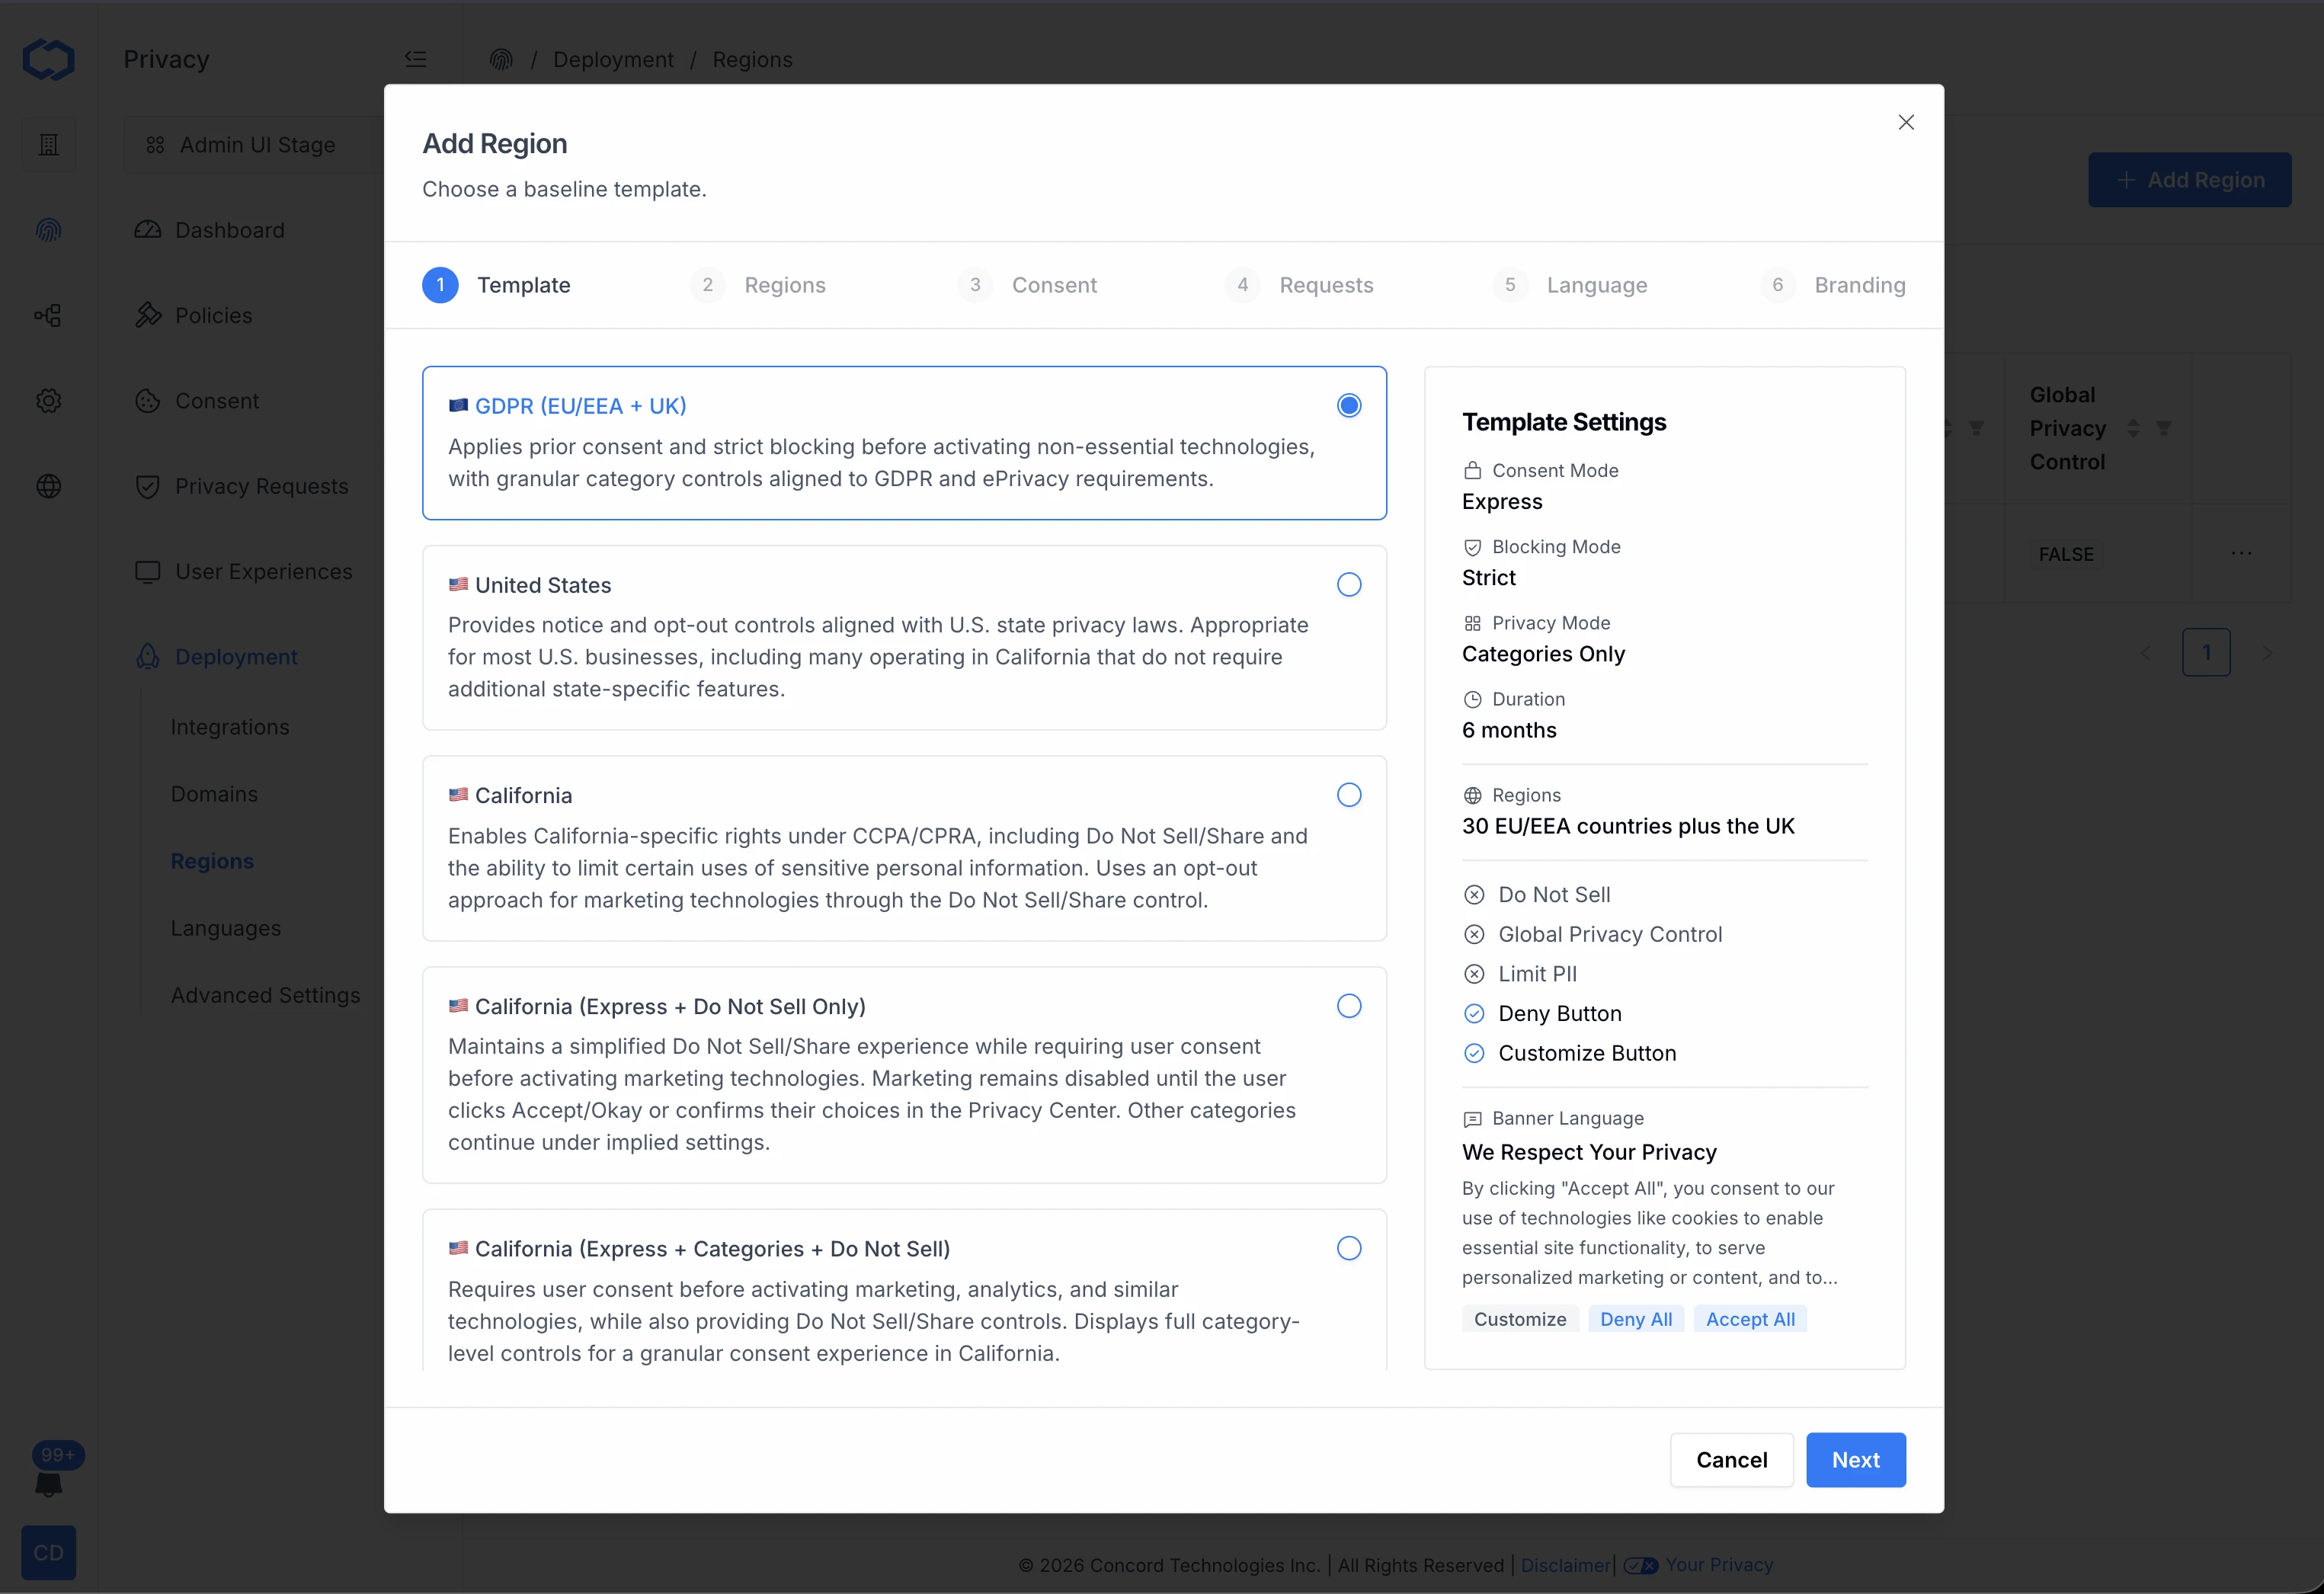
* **GDPR (EU/EEA + UK):** Applies prior consent and strict blocking before activating non-essential technologies, with granular category controls aligned to GDPR and ePrivacy requirements.
* **United States:** Provides notice and opt-out controls aligned with U.S. state privacy laws. Appropriate for most U.S. businesses, including many operating in California that do not require additional state-specific features.
* **California:** Enables California-specific rights under CCPA/CPRA, including Do Not Sell/Share and the ability to limit certain uses of sensitive personal information. Uses an opt-out approach for marketing technologies through the Do Not Sell/Share control.
* **California (Express + Do Not Sell Only):** Maintains a simplified Do Not Sell/Share experience while requiring user consent before activating marketing technologies. Marketing remains disabled until the user clicks Accept/Okay or confirms their choices in the Privacy Center. Other categories continue under implied settings.
* **California (Express + Categories + Do Not Sell):** Requires user consent before activating marketing, analytics, and similar technologies, while also providing Do Not Sell/Share controls. Displays full category-level controls for a granular consent experience in California.
* **PIPEDA (Canada):** Applies meaningful consent and category-based controls before activating advertising and similar technologies, reflecting Canadian privacy law requirements.
* **LGPD (Brazil):** Applies prior consent and category-based controls before activating non-essential technologies, reflecting Brazil’s data protection framework.
* **DPDPA (India):** Applies consent-based activation controls aligned with India’s Digital Personal Data Protection Act (DPDPA), supporting transparent and user-driven data practices.
* **Custom:** Fully customizable settings to meet your specific privacy requirements and preferences. Start with a blank slate and configure consent, blocking, and category controls as needed.
Note that we will pre-populate the region settings on the following screens based on that choice, but the specific settings can always be adjusted later if preferred.
3. Click **Next** to keep the default regions based on your previous selection or add or remove the regions that you want to apply to this region template.
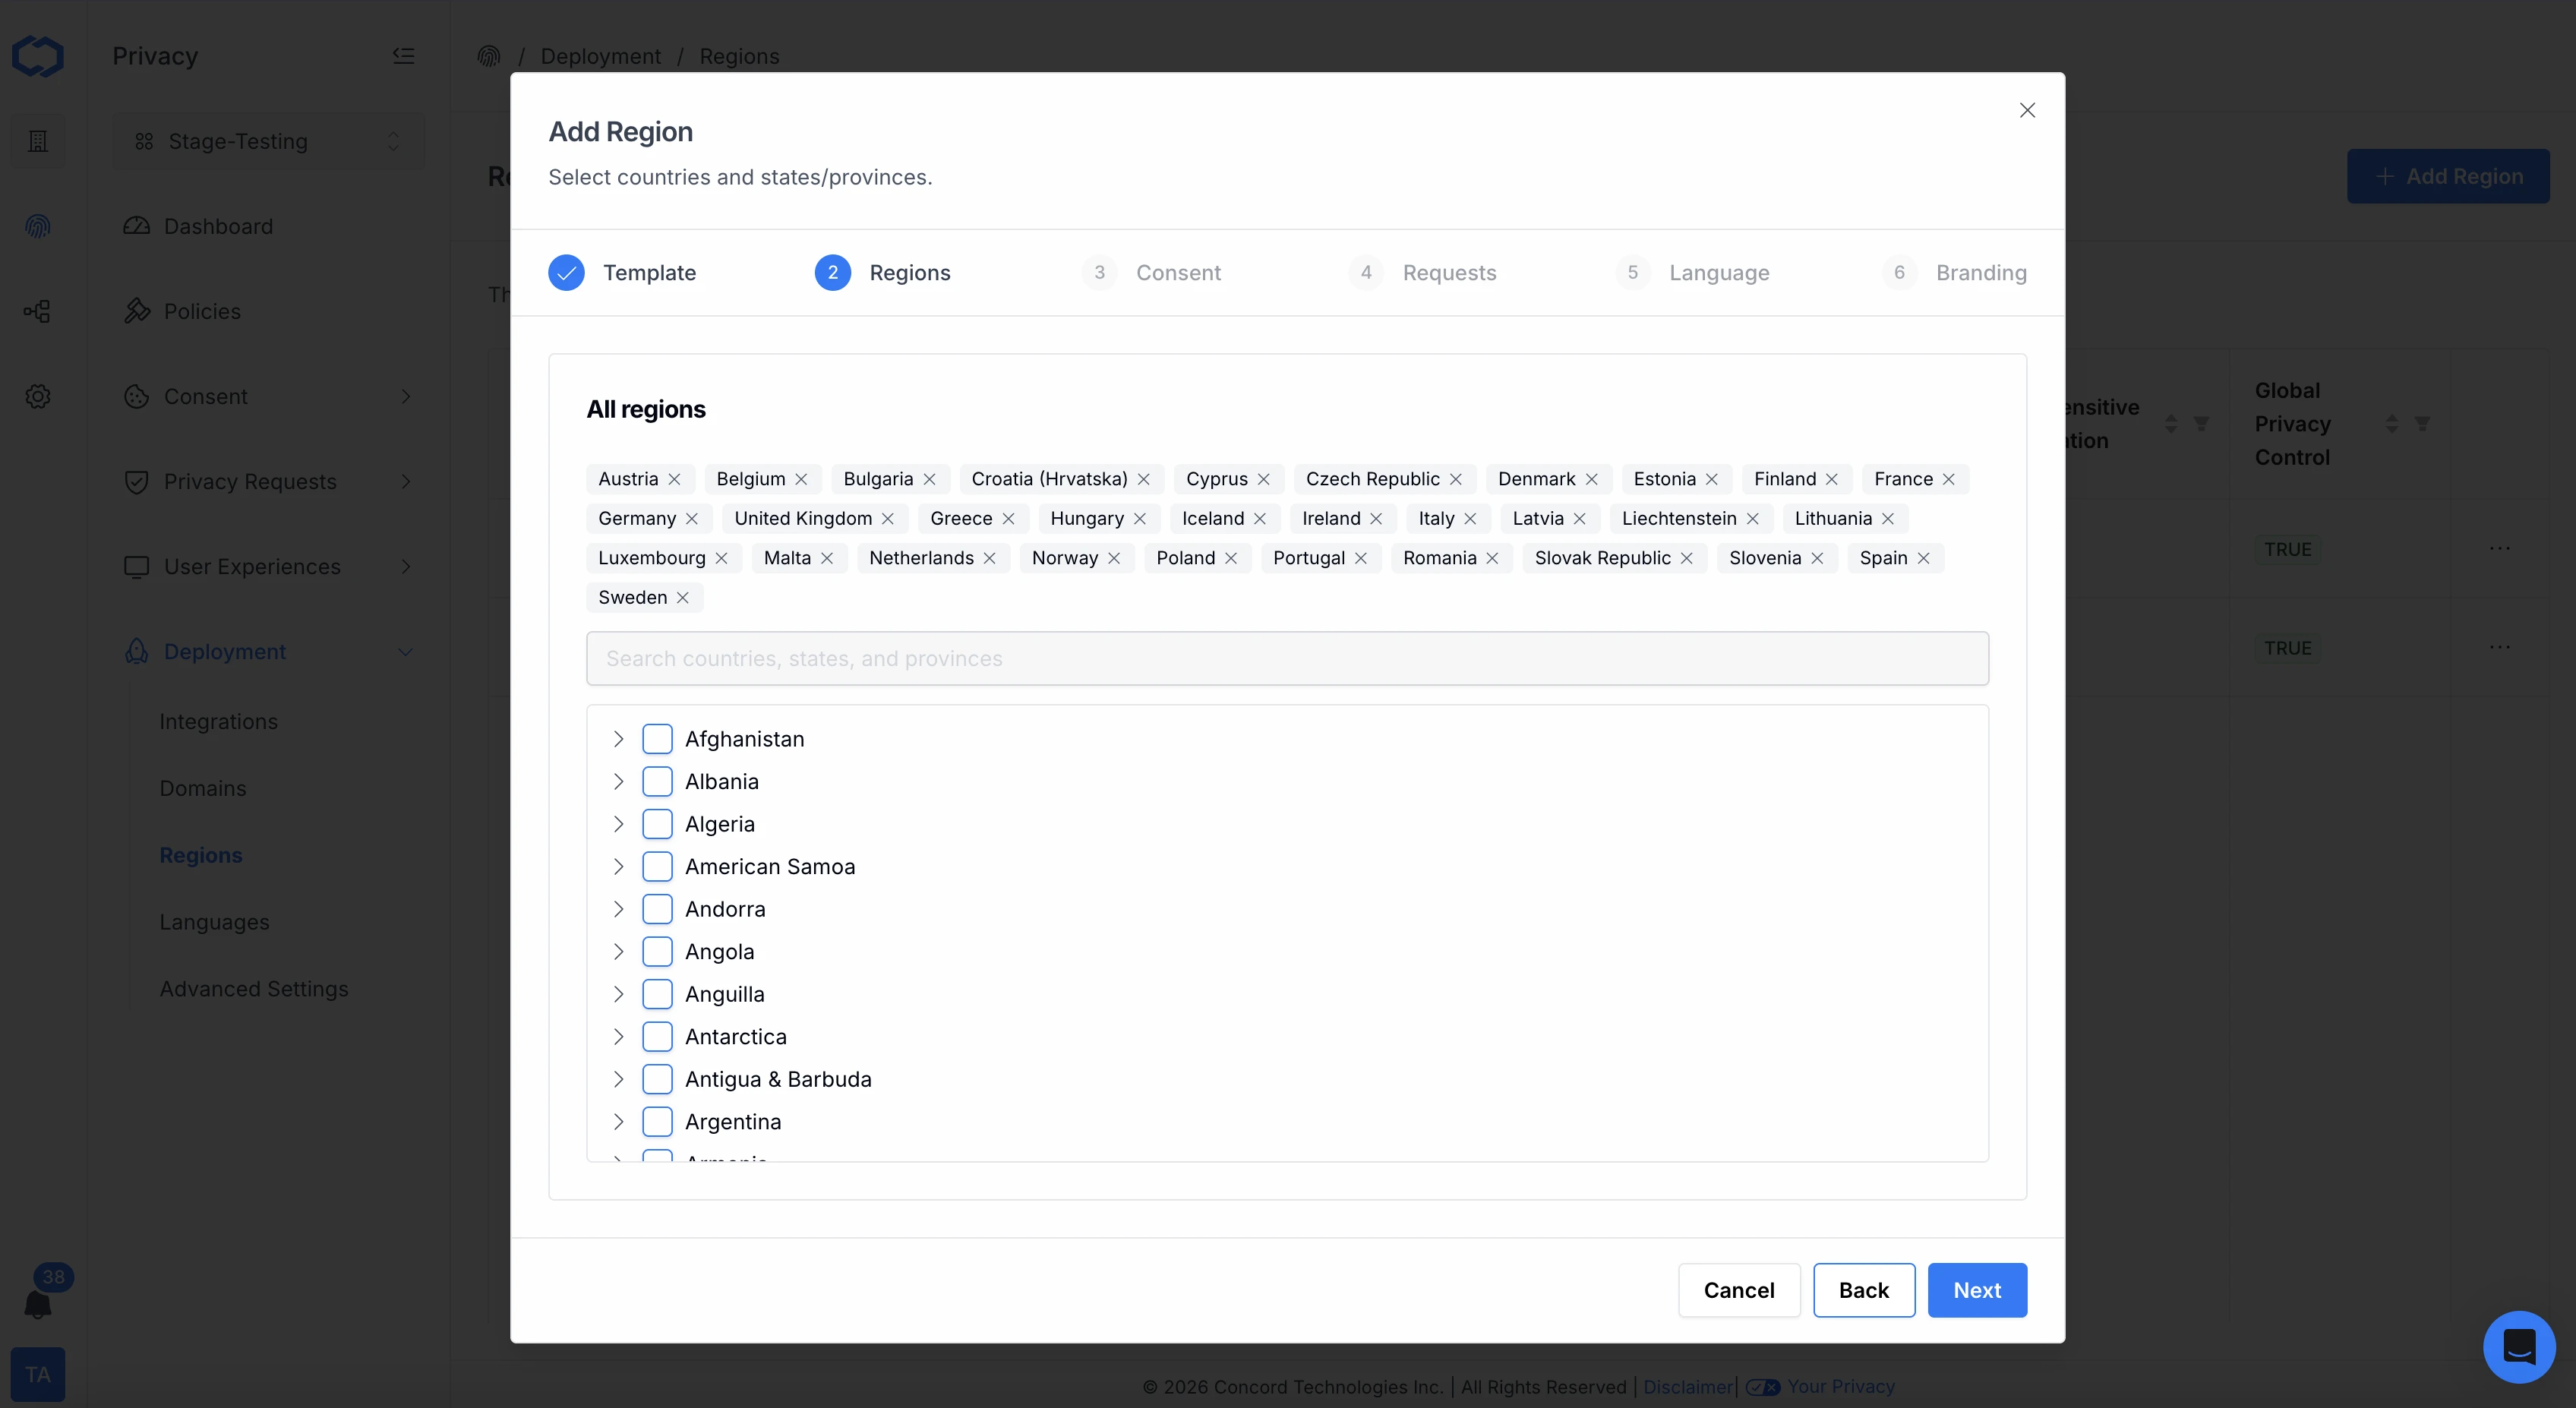
4. On the Consent page you can review and customize the consent settings for your selected region.
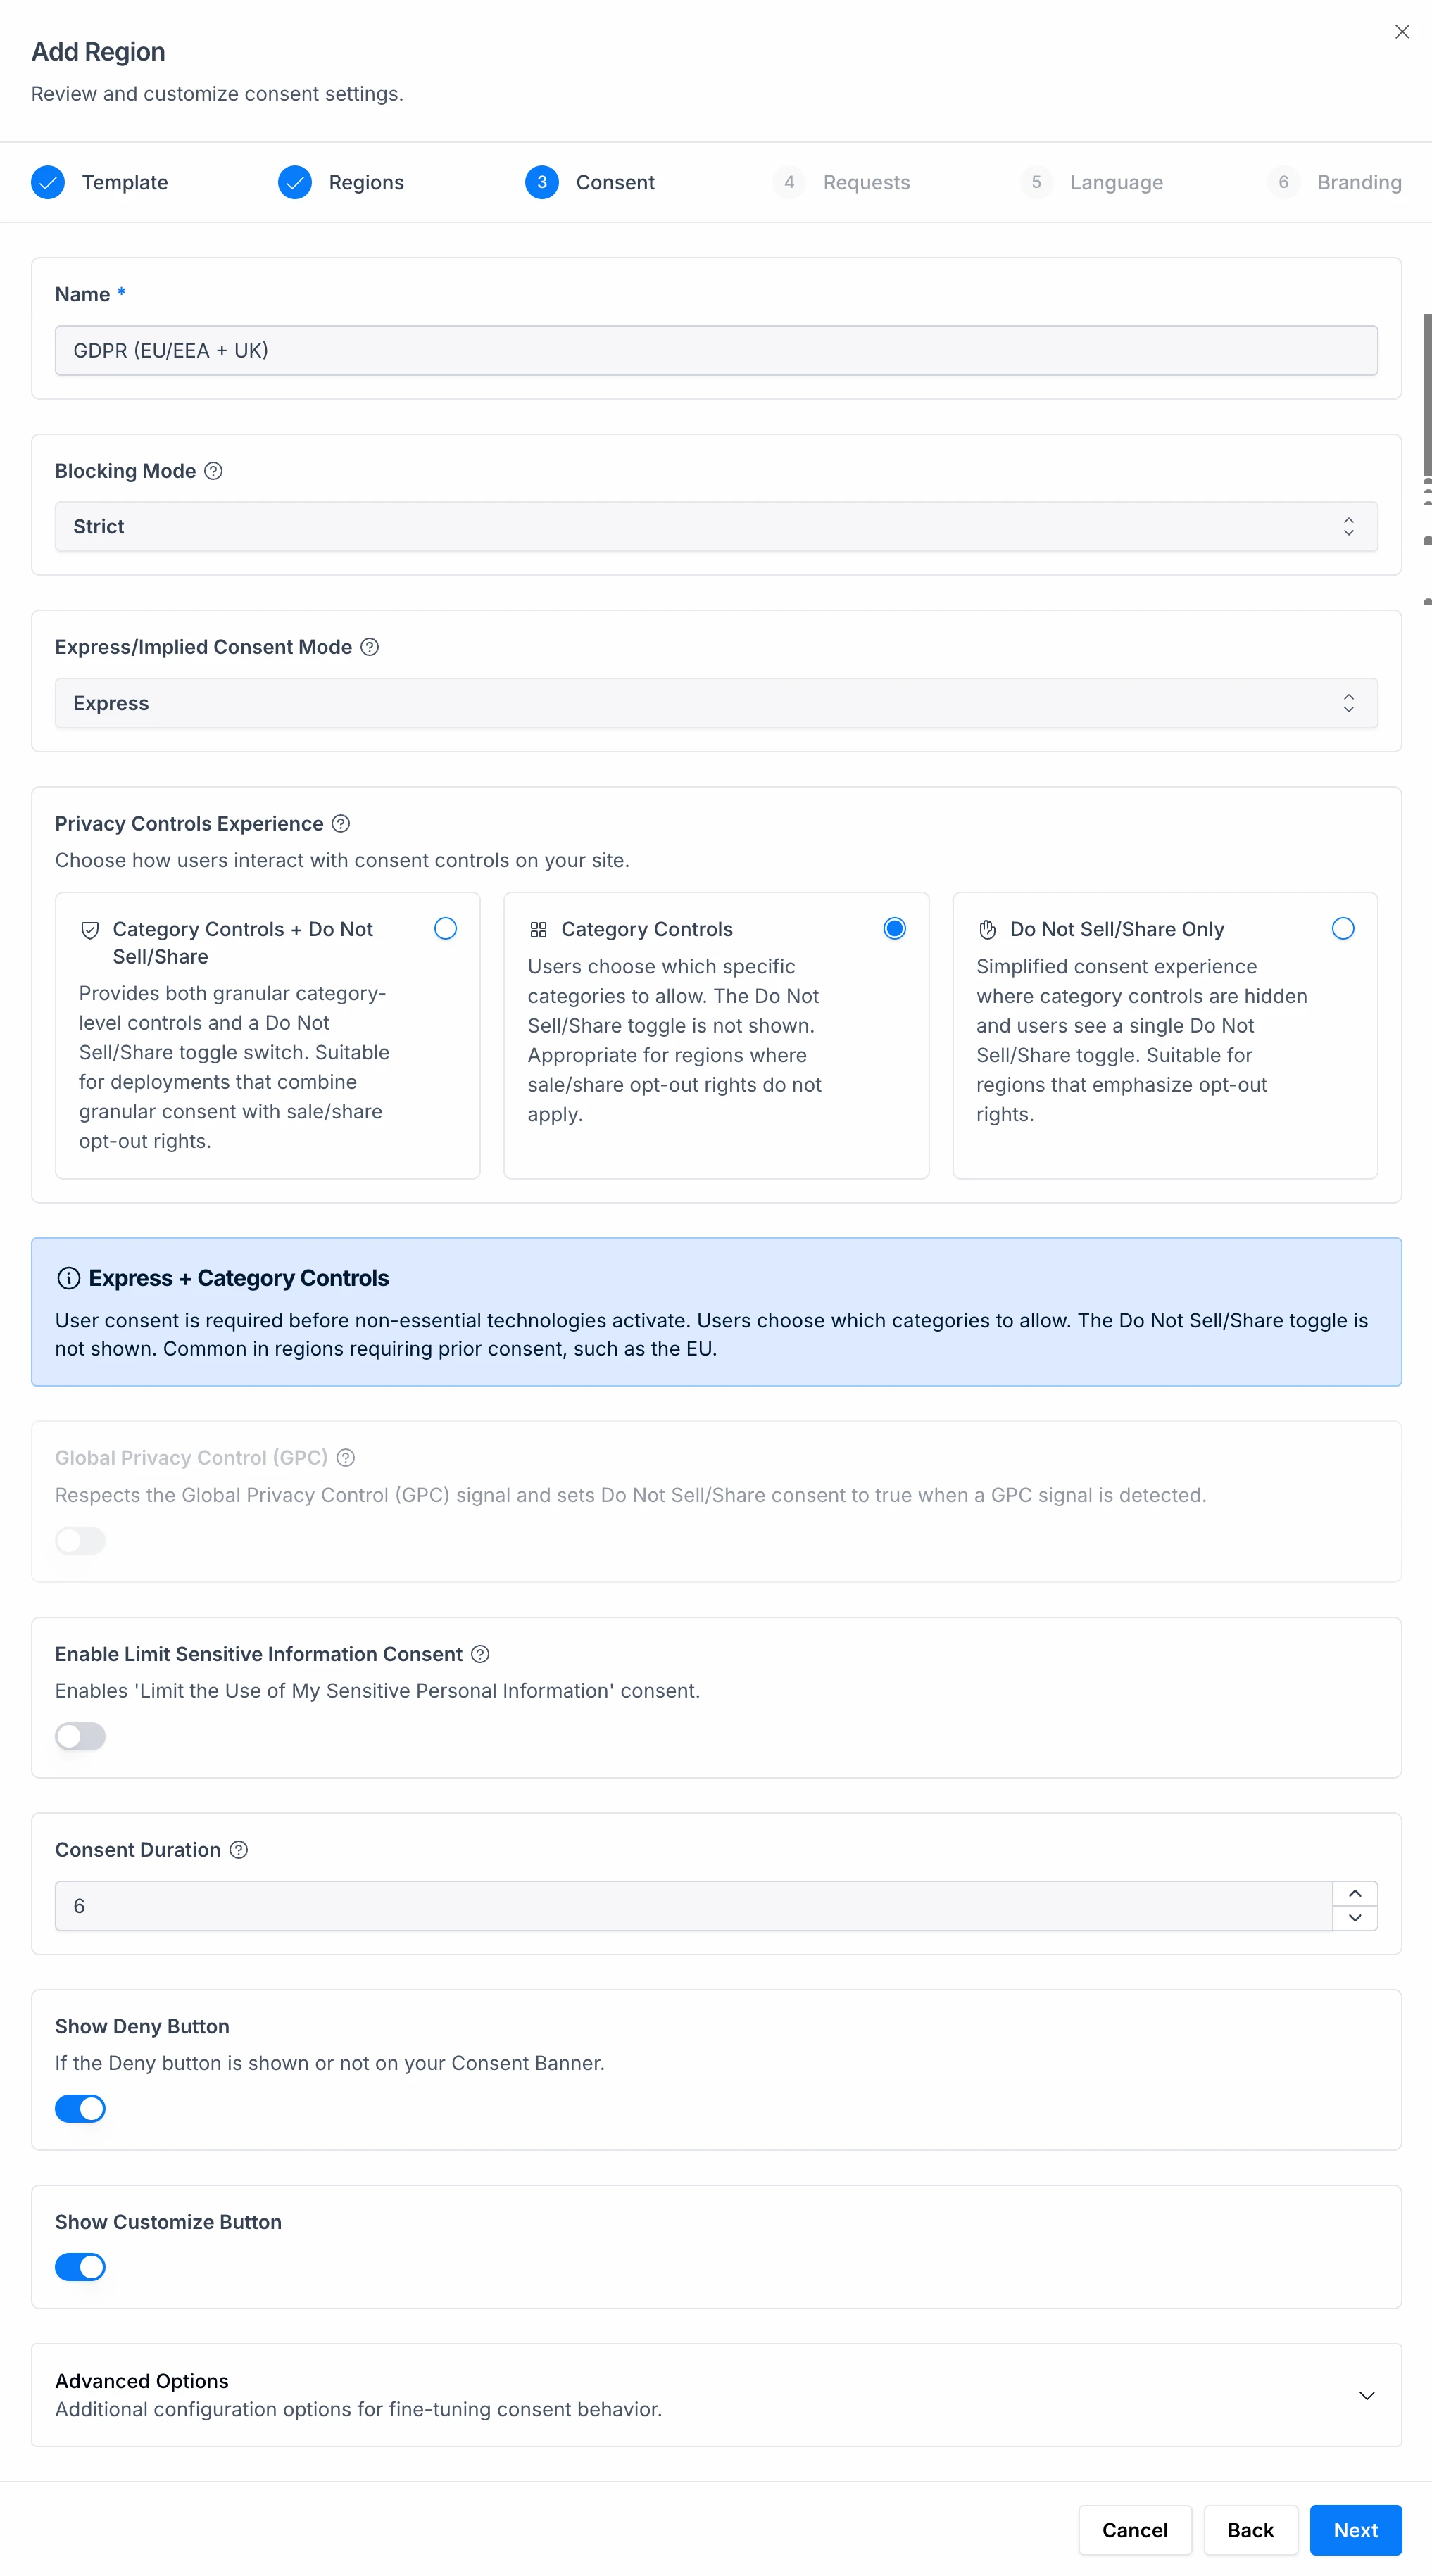
On the **Consent** page, you can configure the following settings:
* **Name:** Add a descriptive name for the region template.
* **Blocking Mode:** For global compliance, including compliance with stricter privacy laws like GDPR, this should typically be set to Strict mode after categorization. If this is disabled, no blocking or detection of cookies and scripts will occur.
* During the setup process, we recommend that you initially set the blocking mode to **Discovery.** This mode collects information from your site which is used to classify tracking scripts and cookies without blocking them.
* This allows Concord to automatically classify the most common types of cookies and scripts, while giving you the flexibility to customize the categorization and blocking to your needs.
* You will keep this setting in place until you are ready to go-live on your production site.
* When deploying to production, you will set this to Strict or Permissive.
* **Strict** is recommended as all scripts and cookies that aren’t categorized as strictly necessary are blocked. This is required for full compliance with stricter privacy laws like GDPR.
* **Permissive** mode will allow Strictly Necessary, Ignored, and Unclassified cookies and scripts to run until user consent preferences are set.
* Note that in all modes, ignored scripts, iframes, images, and links will not be blocked. We capture a larger list of these items than most others tools to ensure true compliance by helping to make sure that nothing falls between the cracks. Ignored items should be regularly reviewed, but only need to be categorized if they touch customer data (including things like IP address in the case of stricter laws like GDPR).
* **Express/Implied Consent Mode: \~\~Consent:** Configure your organization’s consent settings including:\~\~
* **Express:** In Express Consent Mode, the user must interact with the Consent Banner or the Privacy Center to set their preferences. No consent is initially assumed merely by landing on or using the site.
* **Implied:** When using Implied Consent Mode, Concord will automatically generate implied consent events for all categories when the user lands on the site. They can later choose to opt-out of certain categories via your Consent Banner or Privacy Center (depending upon your configured settings and options there).
* **Privacy Controls Experience:** This setting works in conjunction with the Express and Implied Consent Modes to determine the experience for users when they interact with your Consent Banner and Privacy Center. You can choose one of the following configuration options:
* **Category Controls + Do Not Sell/Share**
* Provides both granular category-level controls and a Do Not Sell/Share toggle switch. Suitable for deployments that combine granular consent with sale/share opt-out rights.
* All categories are enabled on arrival. Users can opt out of individual categories and use the Do Not Sell/Share toggle. Common in U.S. deployments that combine category controls with opt-out rights.
* **Category Controls**
* Users choose which specific categories to allow. The Do Not Sell/Share toggle is not shown. Appropriate for regions where sale/share opt-out rights do not apply.
* All categories are enabled on arrival. Users can opt out of individual categories. The Do Not Sell/Share toggle is not shown. Appropriate for regions where sale/share opt-out rights do not apply.
* **Do Not Sell/Share Only**
* Simplified consent experience where category controls are hidden and users see a single Do Not Sell/Share toggle. Suitable for regions that emphasize opt-out rights.
* All categories are enabled on arrival. Users can opt out of individual categories. The Do Not Sell/Share toggle is not shown. Appropriate for regions where sale/share opt-out rights do not apply.
* **Global Privacy Control (GPC)** is a browser configuration that automatically signals users’ privacy preferences to a website. Various regulations such as CCPA and CPRA require websites to respect users’ choices when this browser setting is detected.
* Global Privacy Control detection is required by some regional data privacy laws like CCPA/CPRA in California. When this is enabled and a GPC signal is detected, Do Not Sell or Share My Personal Information consent will be set to true and Marketing consent will be disabled.
* Note that you must select either the Category Controls + Do Not Sell/Share or Do Not Sell/Share Only option in the Privacy Controls Experience section if you want to enable Global Privacy Control.
* When you enable this feature within Concord, and the user has GPC turned on in their browser settings, Concord’s consent banner will display the following message: **Your Opt-Out Preferences Was Honored. Do Not Sell or Share My Personal Information** will also be automatically checked.
* **Enable Limit Sensitive Information Consent:** Enables the Limit the Use of My Sensitive Personal Information consent option in your Privacy Center. This is required by some regional data privacy laws like CCPA/CPRA in California.
* **Consent Duration:** The Consent Duration field defines how many months the consent is valid for. Once the duration has expired, the user will be prompted to re-consent. The normal recommended duration is 12 months, but some regions have different requirements and recommendations, including countries like Germany, where the guidance is 6 months.
* **Show Deny Button:** The show Show Deny toggle allows you to set if the Deny button shows on your consent banner. Note that this option is only available if you choose the **Category Controls + Do Not Sell/Share** or **Category Controls** in the **Privacy Controls Experience** section.
* [**Advanced Options**](https://www.concord.tech/docs/understanding-configuring-auto-blocking-of-cookies-scripts#advanced-options)
* **Hide Unused Categories:** When enabled, consent categories that have no trackers assigned to them will be hidden from the Privacy Center and Consent Banner. In Implied mode, hidden categories still receive implied consent. In Express mode, hidden categories are excluded from Accept All but included in Reject All. Categories automatically reappear when trackers are detected.
* **Implied Consent Delay:** Sets a delay (in seconds) before implied consent is automatically granted when the user first visits your site. A value of 0 means consent is implied immediately. Increasing this value gives users more time to interact with the consent banner before implied consent is recorded. You can set the number of seconds to wait before generating implied consent events after a user arrives on your site. This only applies when using Implied consent mode.
5. On the **Requests** page, you can enable or disable the following options:
* **Privacy Requests Enabled:** If this is enabled, the option to submit e-mail verified Privacy Requests (also known as Data Subject Access Requests) via your Privacy Center will be enabled.
* **Enable Do Not Sell or Share Requests:** This option adds a Do Not Sell or Share request form to your Privacy Center. This is separate from the Do Not Sell or Share consent option and is recommended in addition to it for full compliance coverage.
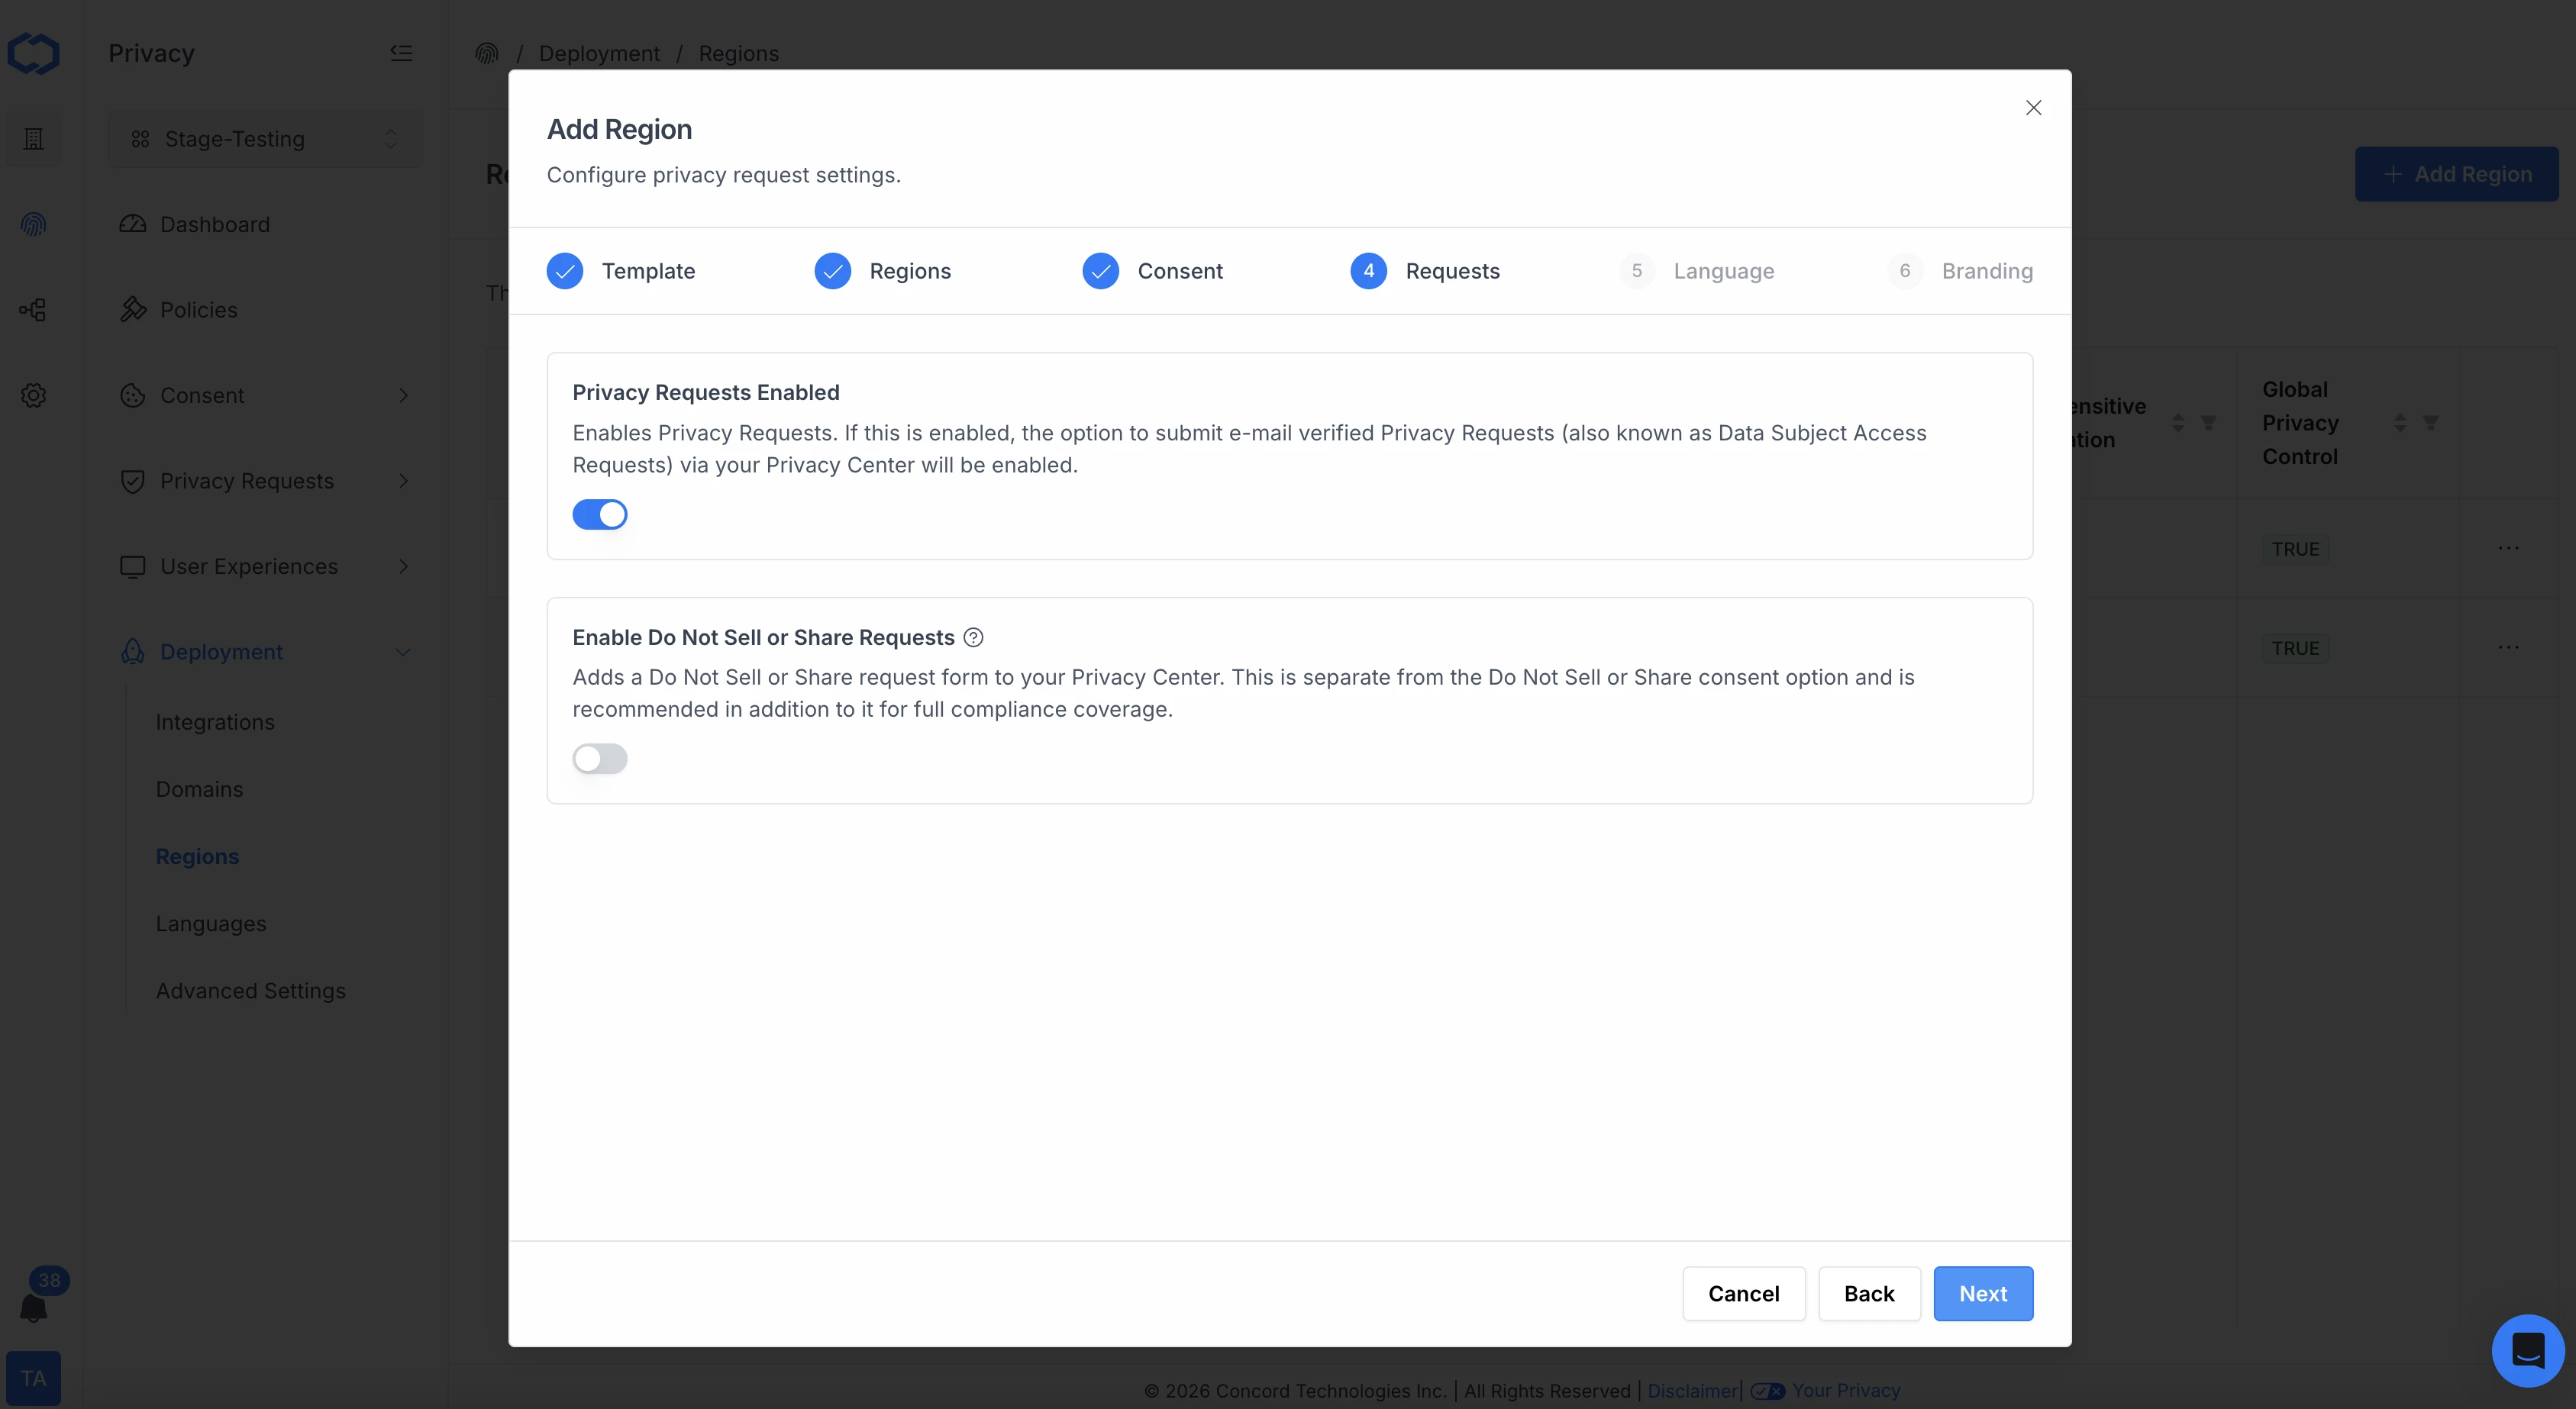
6. On the **Language** page, you can customize the following text on the consent banner for the region you are configuring including:
* Banner Title
* Banner Text — supports inline **Policy Link tokens**. Insert a reusable link to your Privacy Policy, Terms of Service, Cookie Policy, Data Protection Agreement, or any custom policy via the Insert Link menu in the text editor. Policy Links are managed under **Policies → Links** — see [Managing Policy Links](/docs/managing-policy-links).
* Accept Button Label
* Customize Button Label
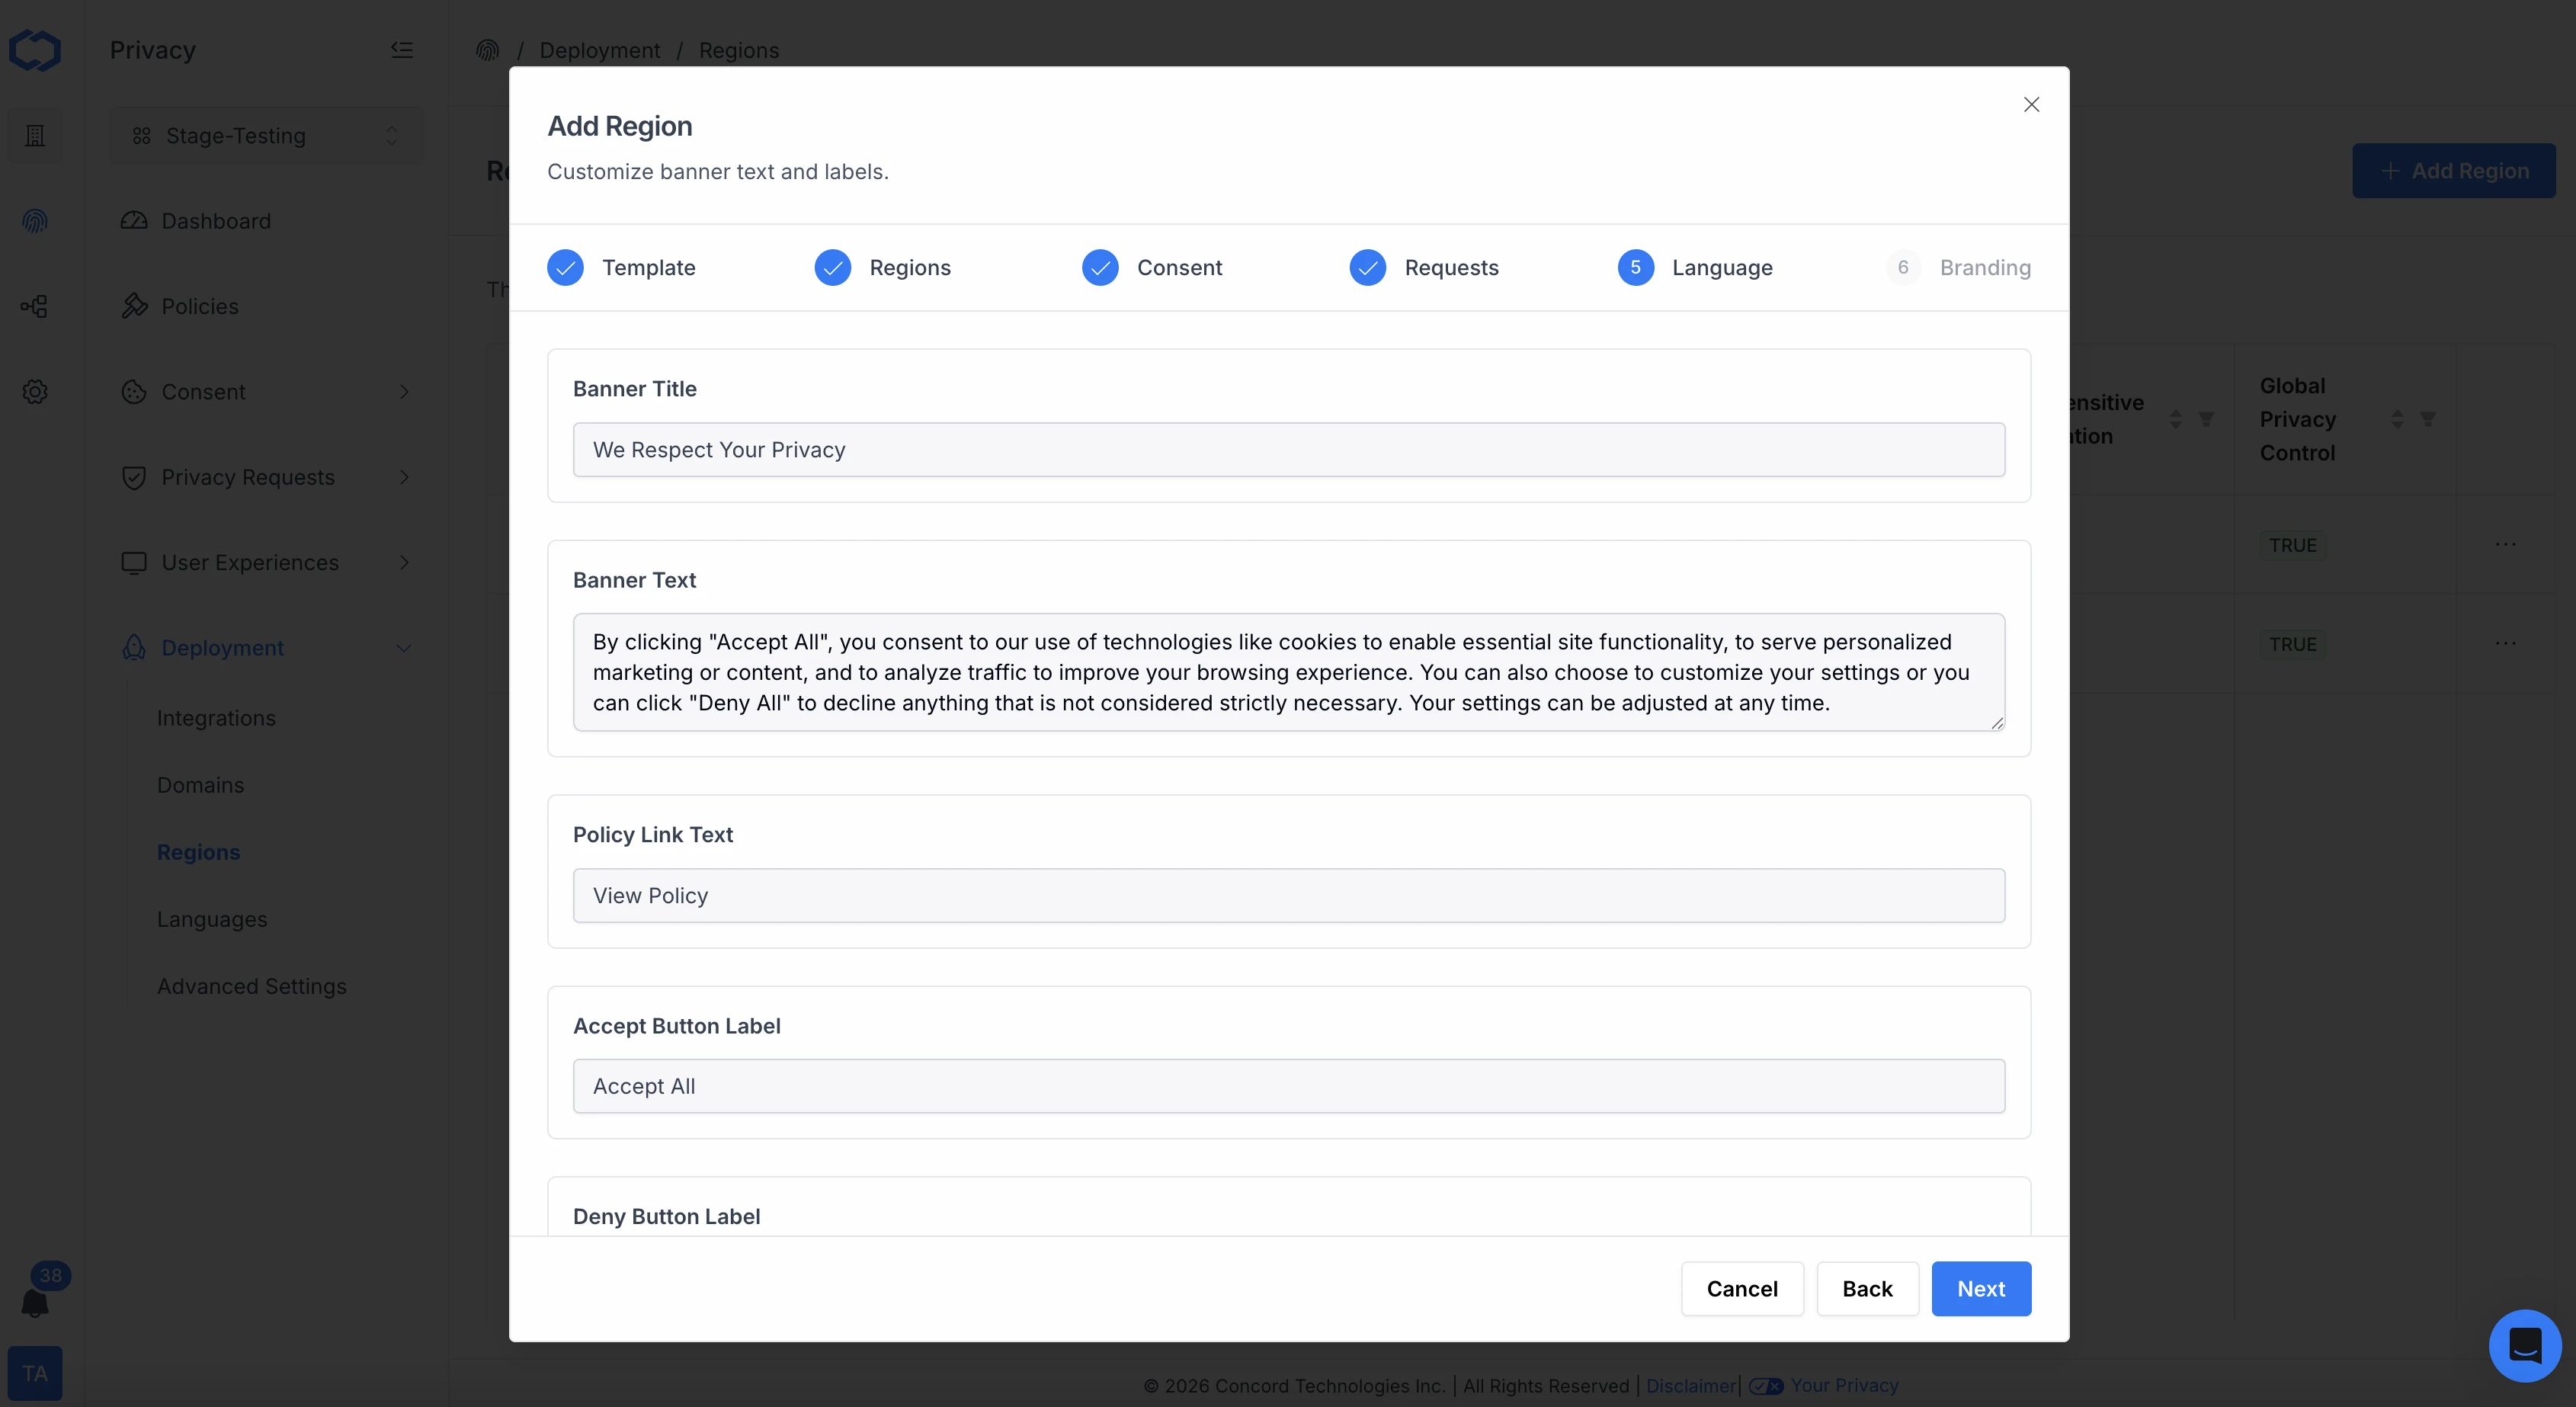
7. On the **Branding** tab, you can customize the look and feel of the consent banner by region including:
* Primary Color
* Secondary Color
* Logo
* Font
* Button Radius
* Card Radius
* Powered by Concord Logo
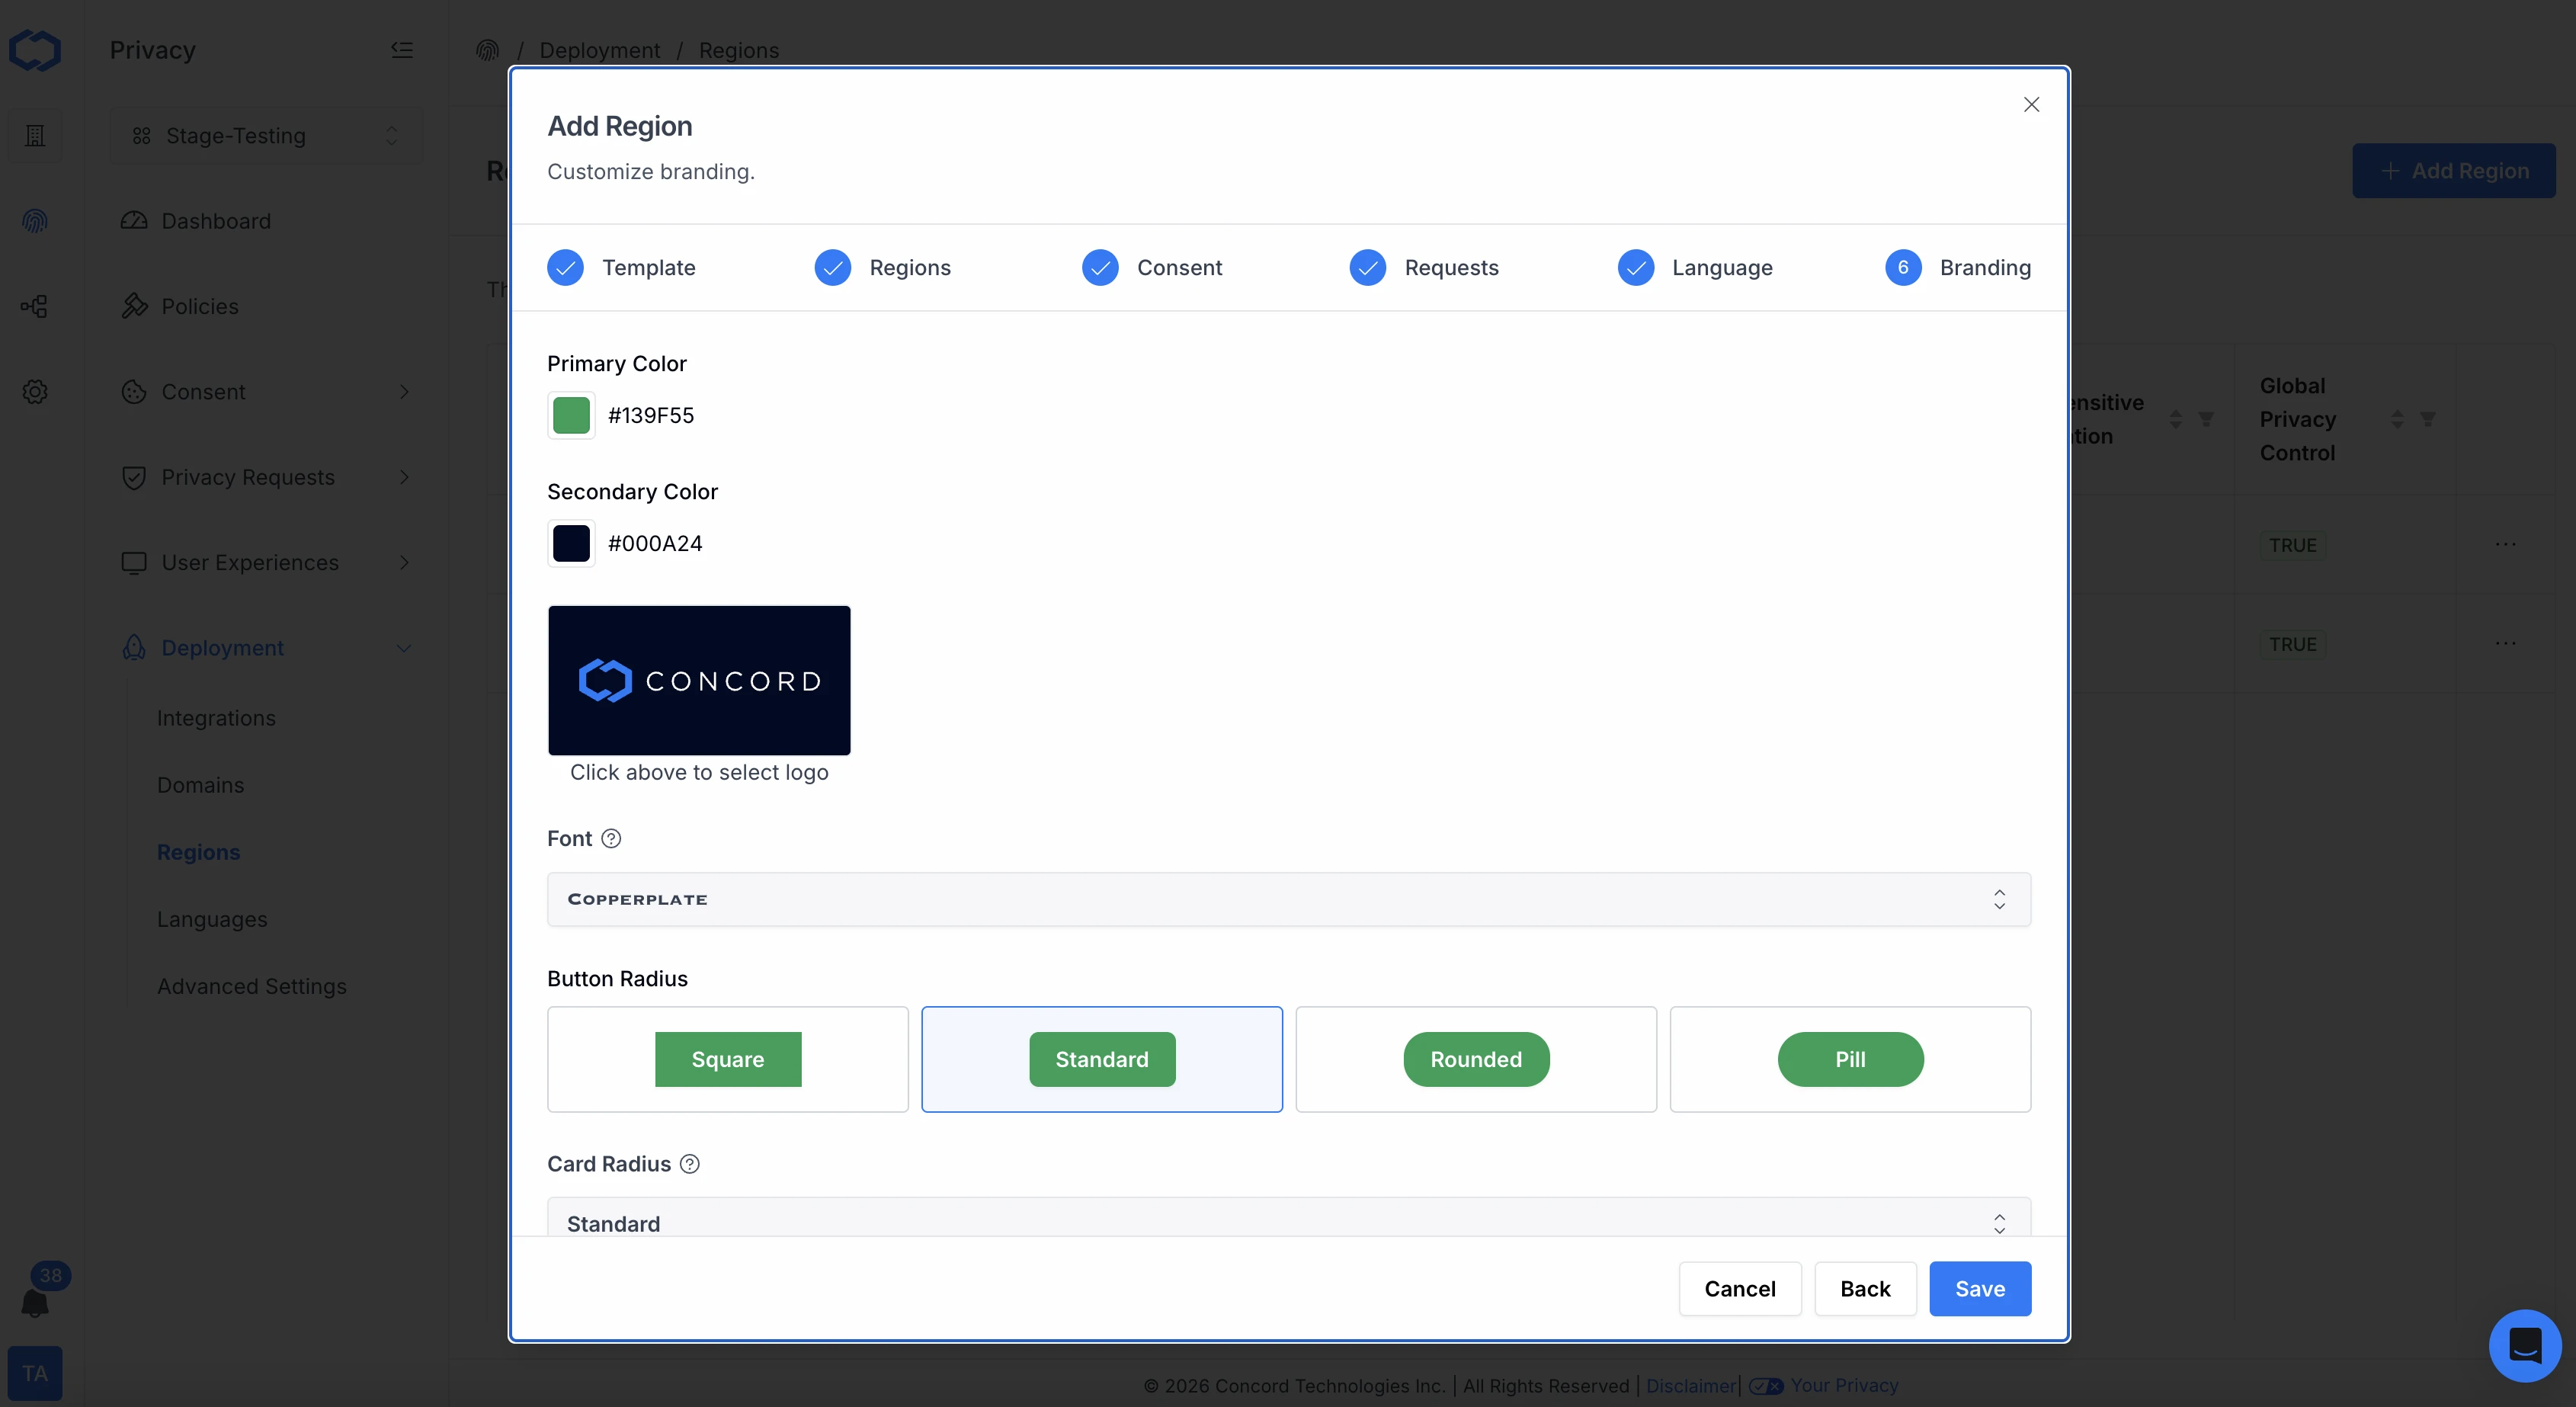
For teams on Premium, or Enterprise that need tighter brand fit than the built-in branding controls allow, each widget editor (consent banner, privacy center, floating button) also exposes a **Custom CSS** accordion pinned to the bottom of its settings tab, with CSS variable and raw CSS overrides. See [Customizing Consent Banner Styling](/docs/customizing-consent-banner-styling).
Click Save to save and apply your new region settings. To add additional regions, repeat the above steps.
### Editing a Region
Your newly configured region template will now show in the Regions table. You can click **Edit** to change your template configuration or **Delete** to delete any of you region templates other than the Default region.
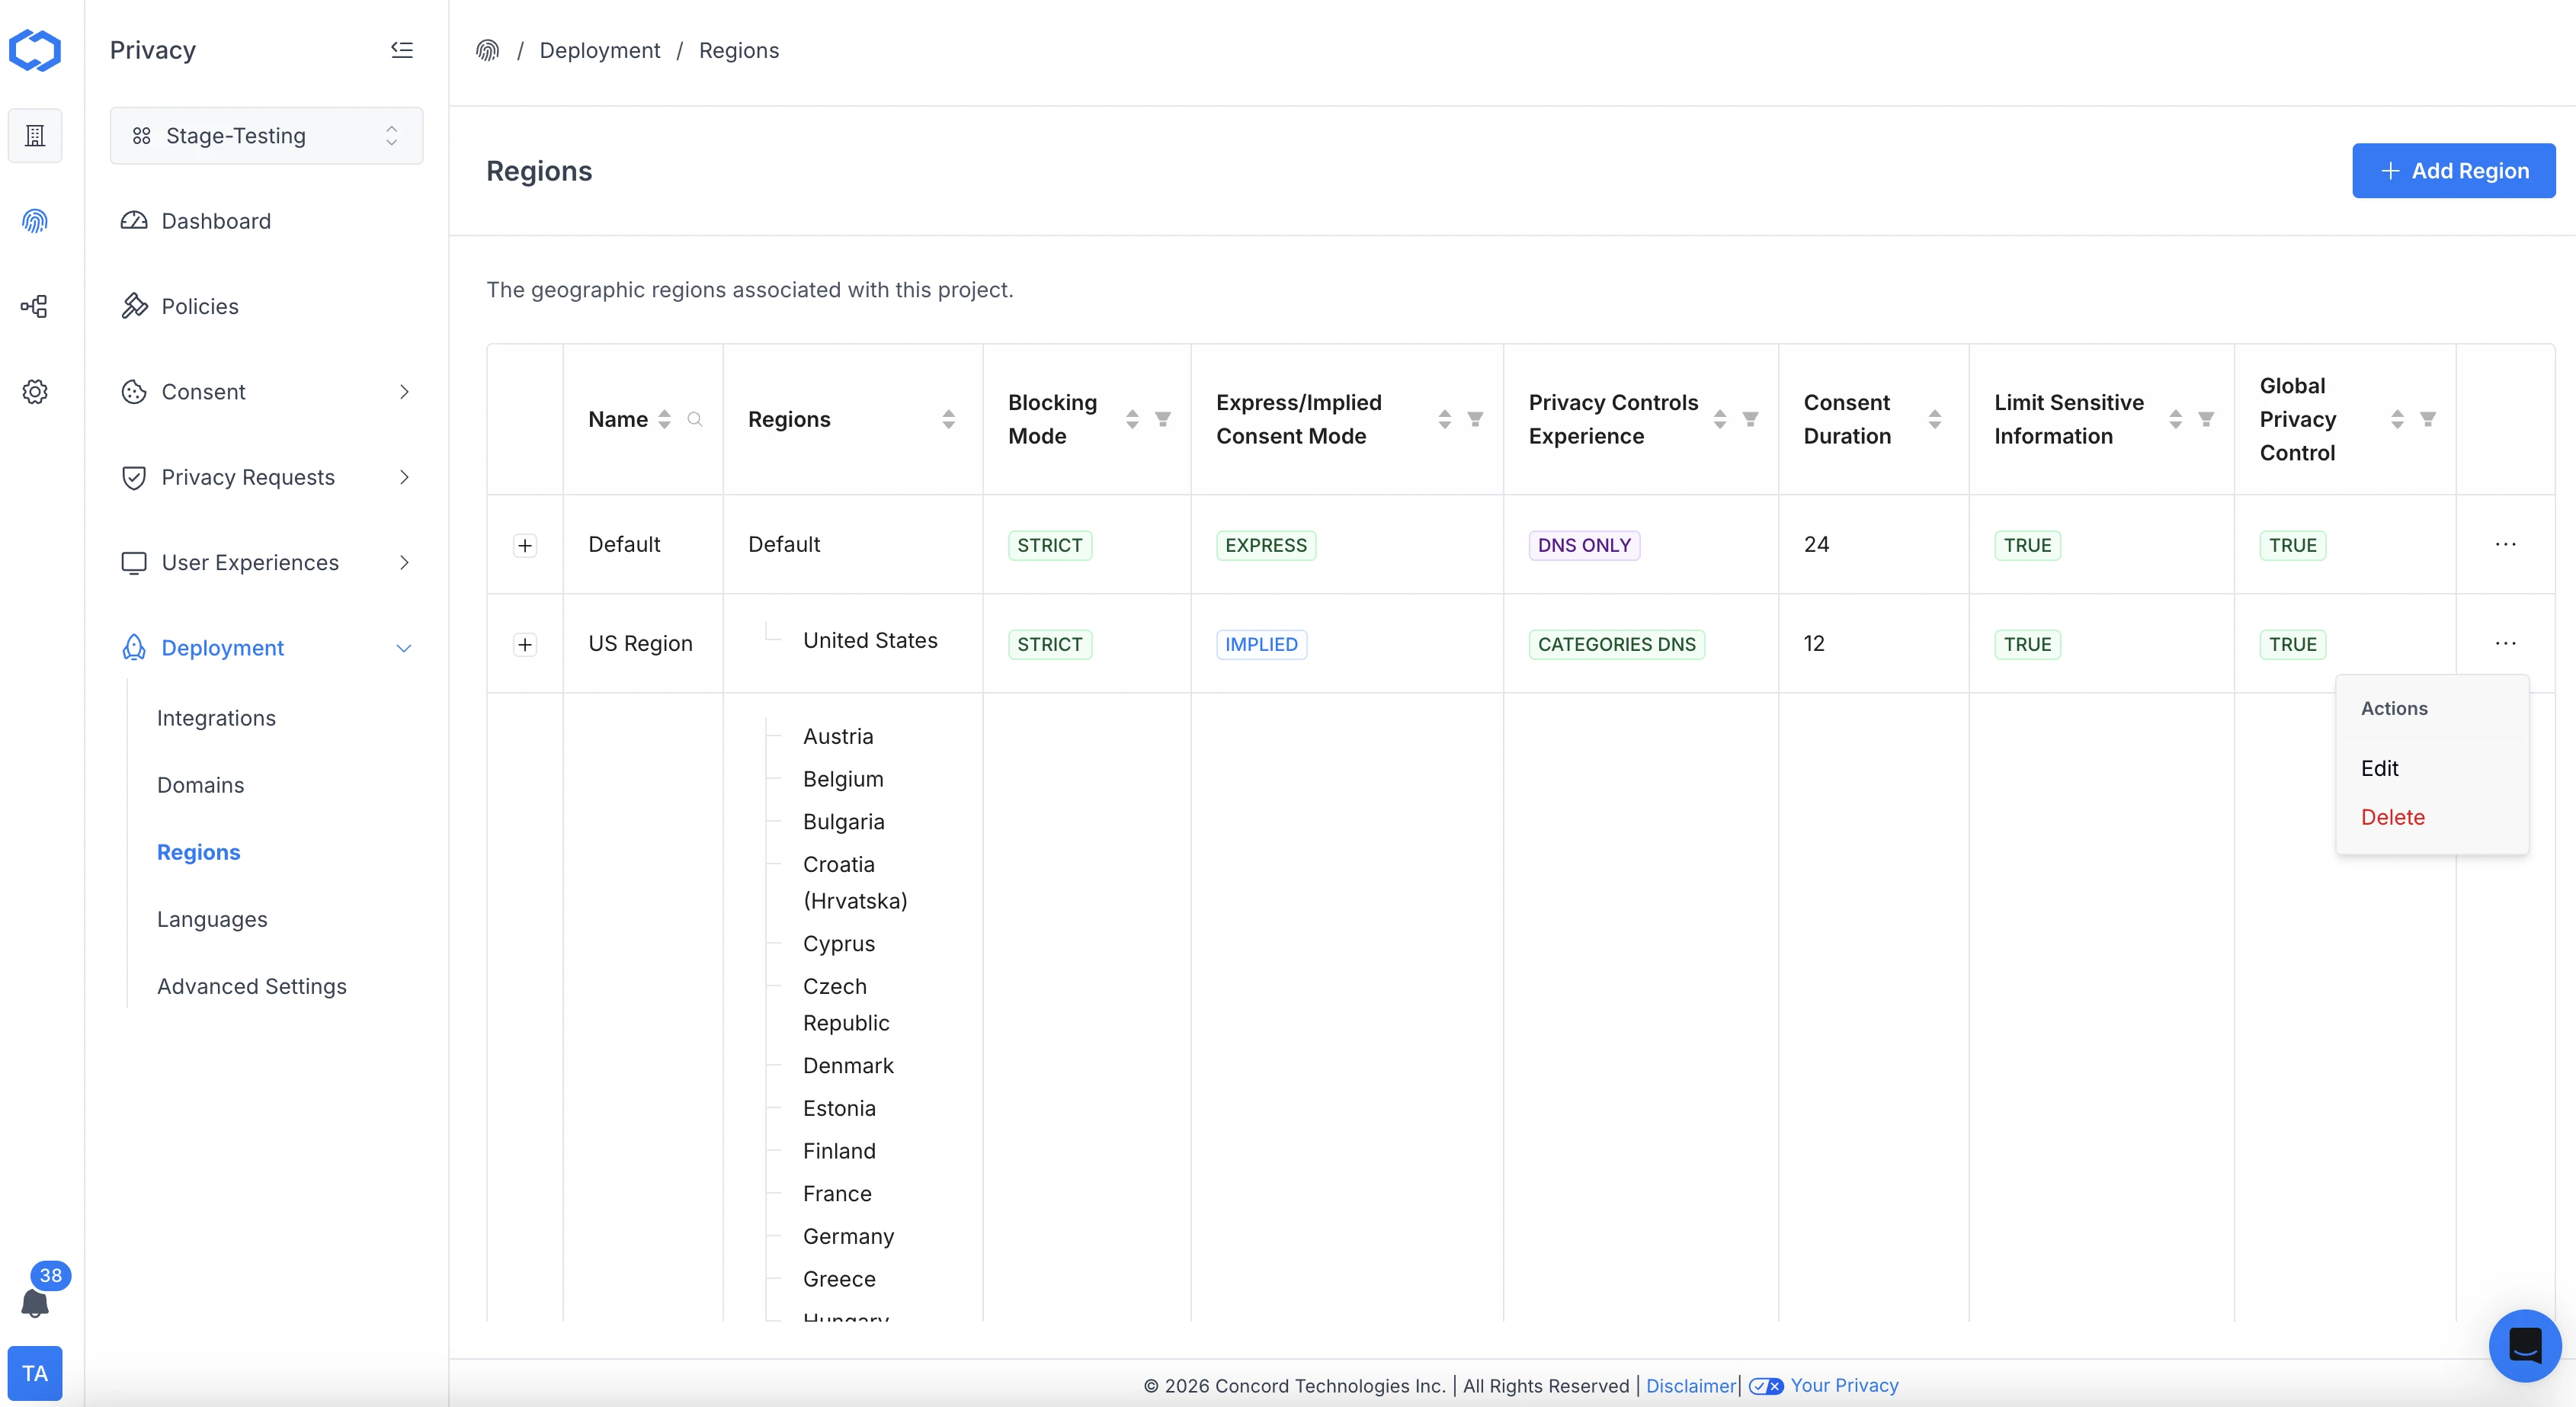
# Configuring Concord for GDPR Compliance
URL: /docs/configuring-concord-for-gdpr-compliance
***
title: 'Configuring Concord for GDPR Compliance'
description: 'Important information about GDPR and how to configure your website via Concord to be GDPR compliant. '
created: '2024-02-01T00:07:00.000Z'
updated: '2024-10-02T20:02:18.000Z'
-----------------------------------
## Overview
On May 25th, 2018, the European Union’s General Data Protection Regulation (GDPR) came into effect, replacing the 1995 EU Data Protective Directive. Enforced by the Information Commissioner’s Office (ICO), the GDPR is built around seven basic principles:
* **Data Minimization:** Only data that is necessary for the intended purpose can be collected, stored, and/or processed.
* **Purpose Limitation:** Organizations can only use data for the declared purposes
* **Accuracy:** Business must have processes in place to ensure accurate data. Users have the right to correct data, and must be provided the means to do so.
* **Storage Limitation:** Justification for storage lengths must be provided and data retention limits must be set.
* **Security:** Business must take reasonable means to secure their users’ data, to include necessary security measures, policies, protocols, and training.
* **Accountability:** Business must have appropriate measures in place to demonstrate compliance, and are accountable and responsible for how they use and safeguard user data.
* **Fairness & Transparency:** Personal data must be handled in a fair and transparent manner. Communication should be in plain language, be clear, concise, and honest about data collection and handling, and business should not handle or process user data in a detrimental, unexpected, or misleading manner.
## Configuring Concord for GDPR Compliance
There are a few, easy steps to take to ensure that Concord is properly configured for GDPR compliance, First, enable Express Consent Mode of Cookies and Scripts which requires user to interact with the consent banner or Privacy Center to set their preference.
1. Navigate to **Consent** → **Consent Settings**.
2. From the **Express/Implied** **Consent Mode** dropdown, select **Express**.
**Note:** Concord recommends you initially set **Blocking Mode** to **Discovery** mode, typically during an implementation period. **Discovery** mode can be used to test and configure your implementation without blocking, including during the cookies and script classification process. [See here](/docs/classifying-trackers-cookies-scripts) for more detail on classifying Cookies and Scripts.
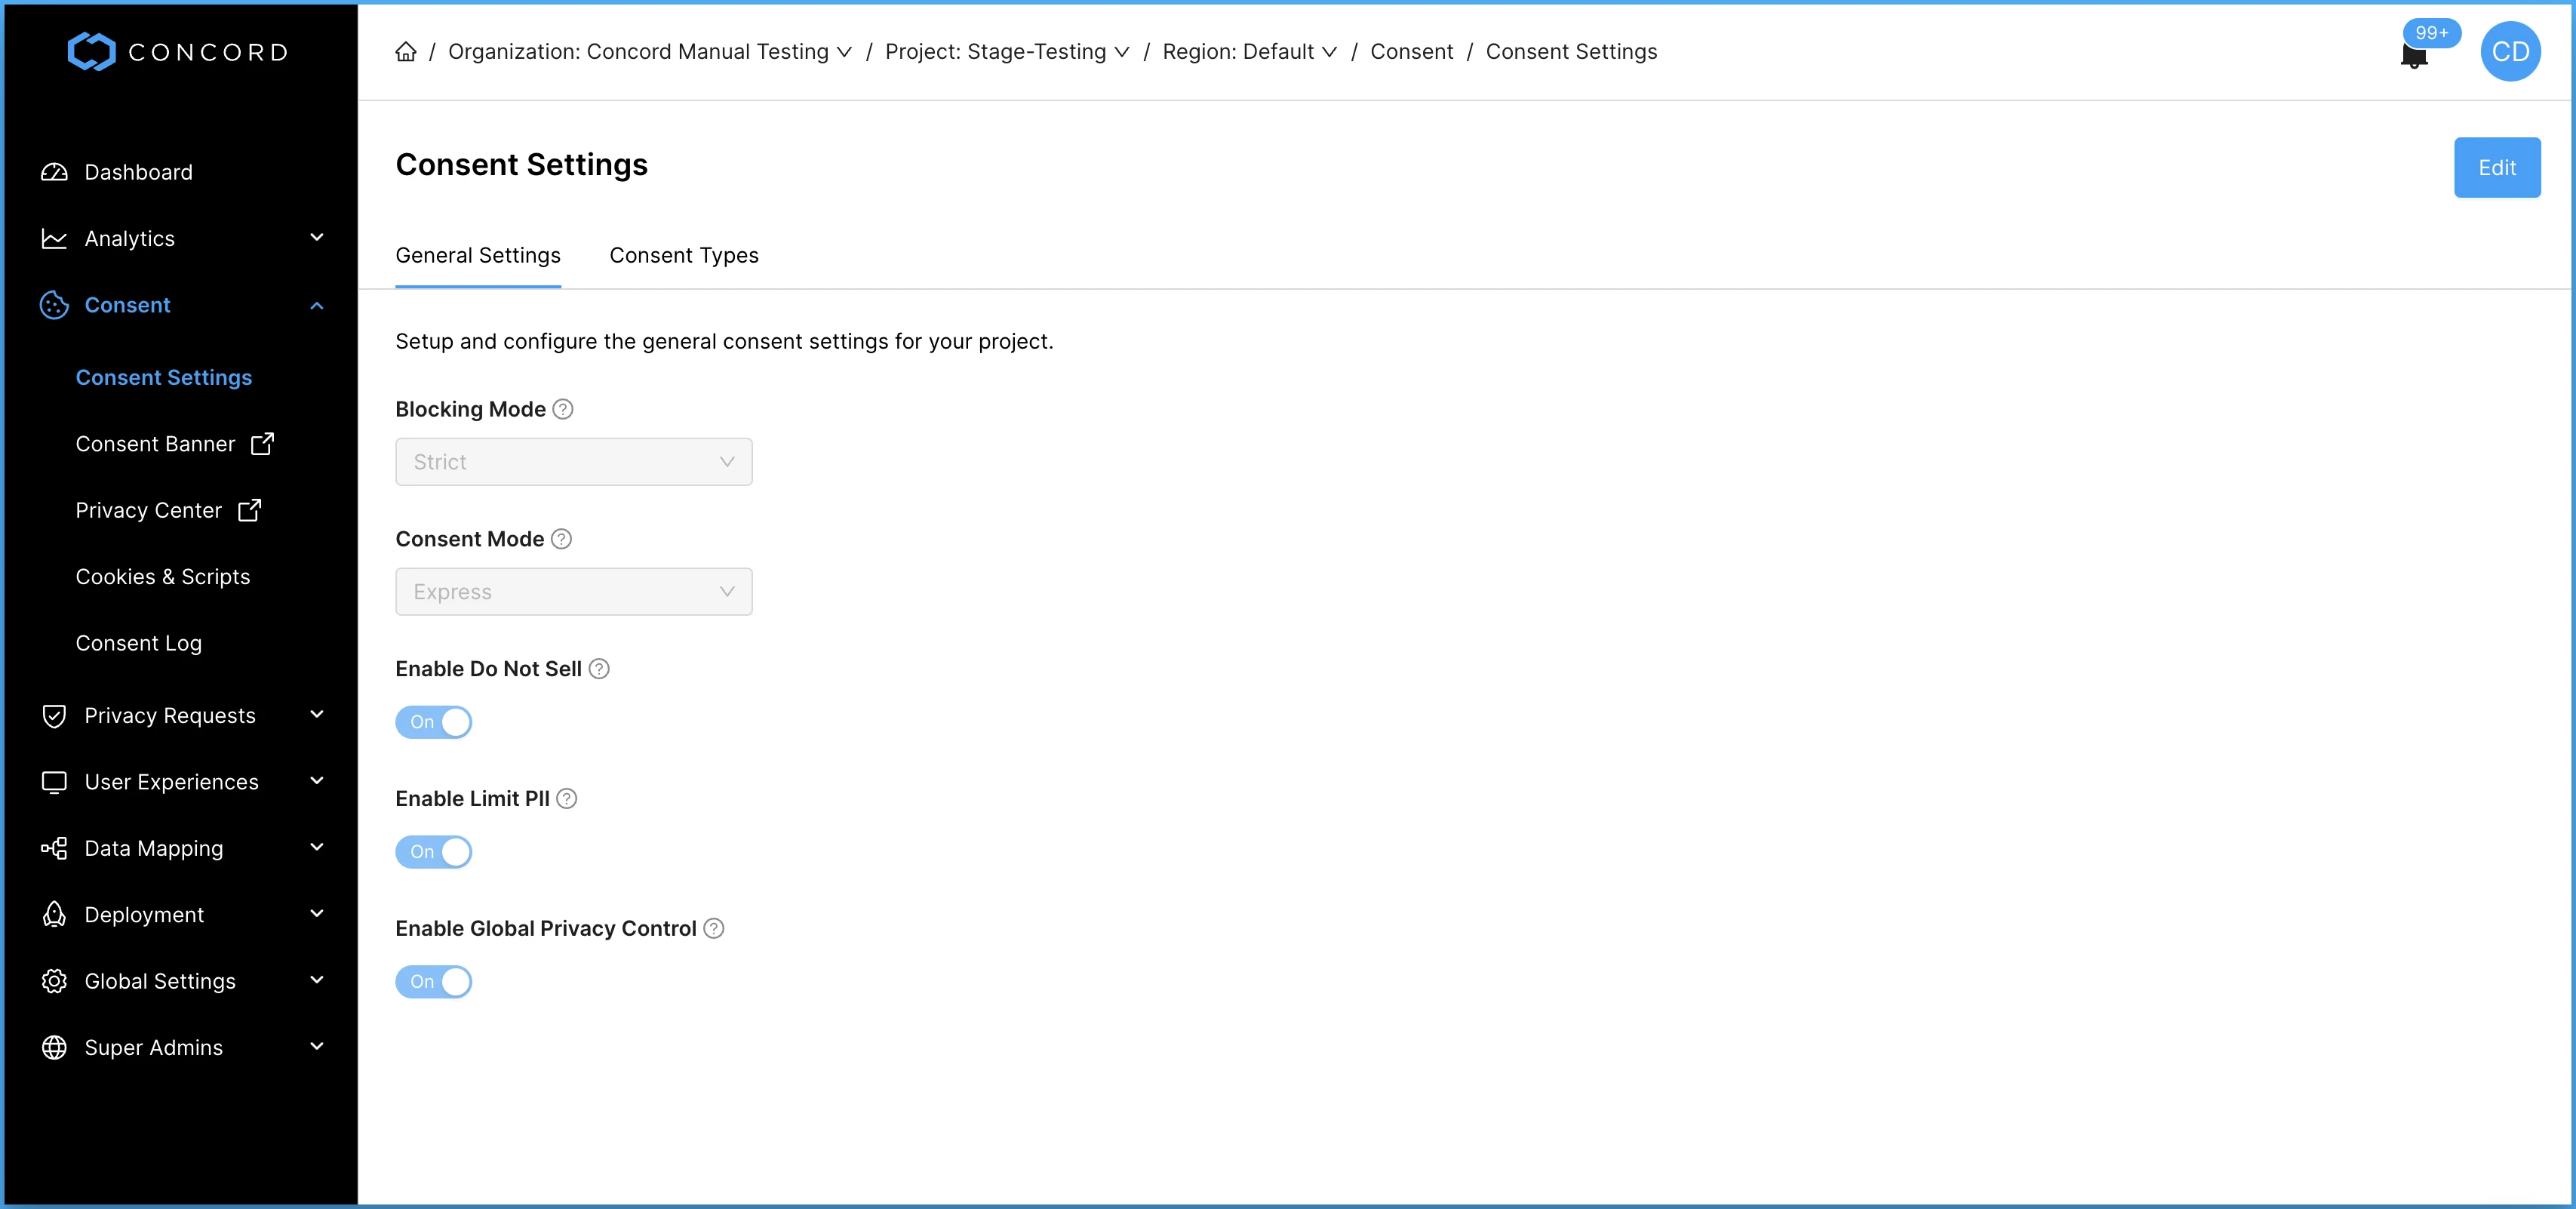
3. Click to toggle **Enable Do Not Sell Consent** to **On** or **Off**. Current GDPR requirements do not explicitly require Do Not Sell, but you can enable this feature if you choose to. This can be a good strategy if you want a single privacy-first configuration that you can use globally since regulations like CCPA/CPRA do require Do Not Sell.
4. Click to toggle **Enable \*\***Global Privacy Control\*\* to **On** or \*\*Off.\*\* Current GDPR requirements do not explicitly require GPC, but you can enable this feature if you choose to. This can be a good strategy if you want a single privacy-first configuration that you can use globally since regulations like CCPA/CPRA do require GPC.
5. Click the **Save** button in the upper right of the page to commit your changes.
## Additional Recommendations
Concord highly recommends that you also take full advantage of our [Data Mapping](/docs/data-mapping-overview) functionality in order to fully comply with GDPR, including their requirements around maintaining a Record of Processing Activities. This can be done by adding all of your organization's data systems via Data Mapping for centralized compliance documentation, while also enabling easier handling of privacy requests.
As part of that process, you will also make use of our [Data System Attributes](/docs/data-hub-system-attributes) functionality, in order to properly classify and understand how the aforementioned Data Systems handle user data. This will help ensure that your data systems are fully documented.
# Configuring the Consent Banner
URL: /docs/configuring-consent-banner
***
title: 'Configuring the Consent Banner'
description: 'How to configure the look, feel, and content of your consent banner.'
created: '2024-04-24T00:21:01.000Z'
updated: '2026-04-16T00:00:00.000Z'
-----------------------------------
## Overview
Consent banners are required by many regulatory regimes to explicitly ask for user consent before deploying cookies or other tracking identifiers, or to notify the user that tracking technologies like cookies are being utilized. When fully complying with laws like GDPR, consent banners do not merely notify the user about the usage of cookies or other trackers on a website, but ask for express/explicit consent before setting non-essential identifiers or cookies (often referred to as strictly necessary cookies) on the user's browser. Depending upon the configuration settings, consent banners can also provide a quick means for users to choose their consent preferences.
## User Experiences: Consent Banner
Setup and configure the consent banner that is shown to your users. To configure or update the Consent Banner, click on **Privacy →** **User Experiences → Consent Banner** to configure the banner.
Note: If you have multiple regions setup, select the region you want to configure from the Region drop-down selector in the top left of the page above the Consent Banner title.
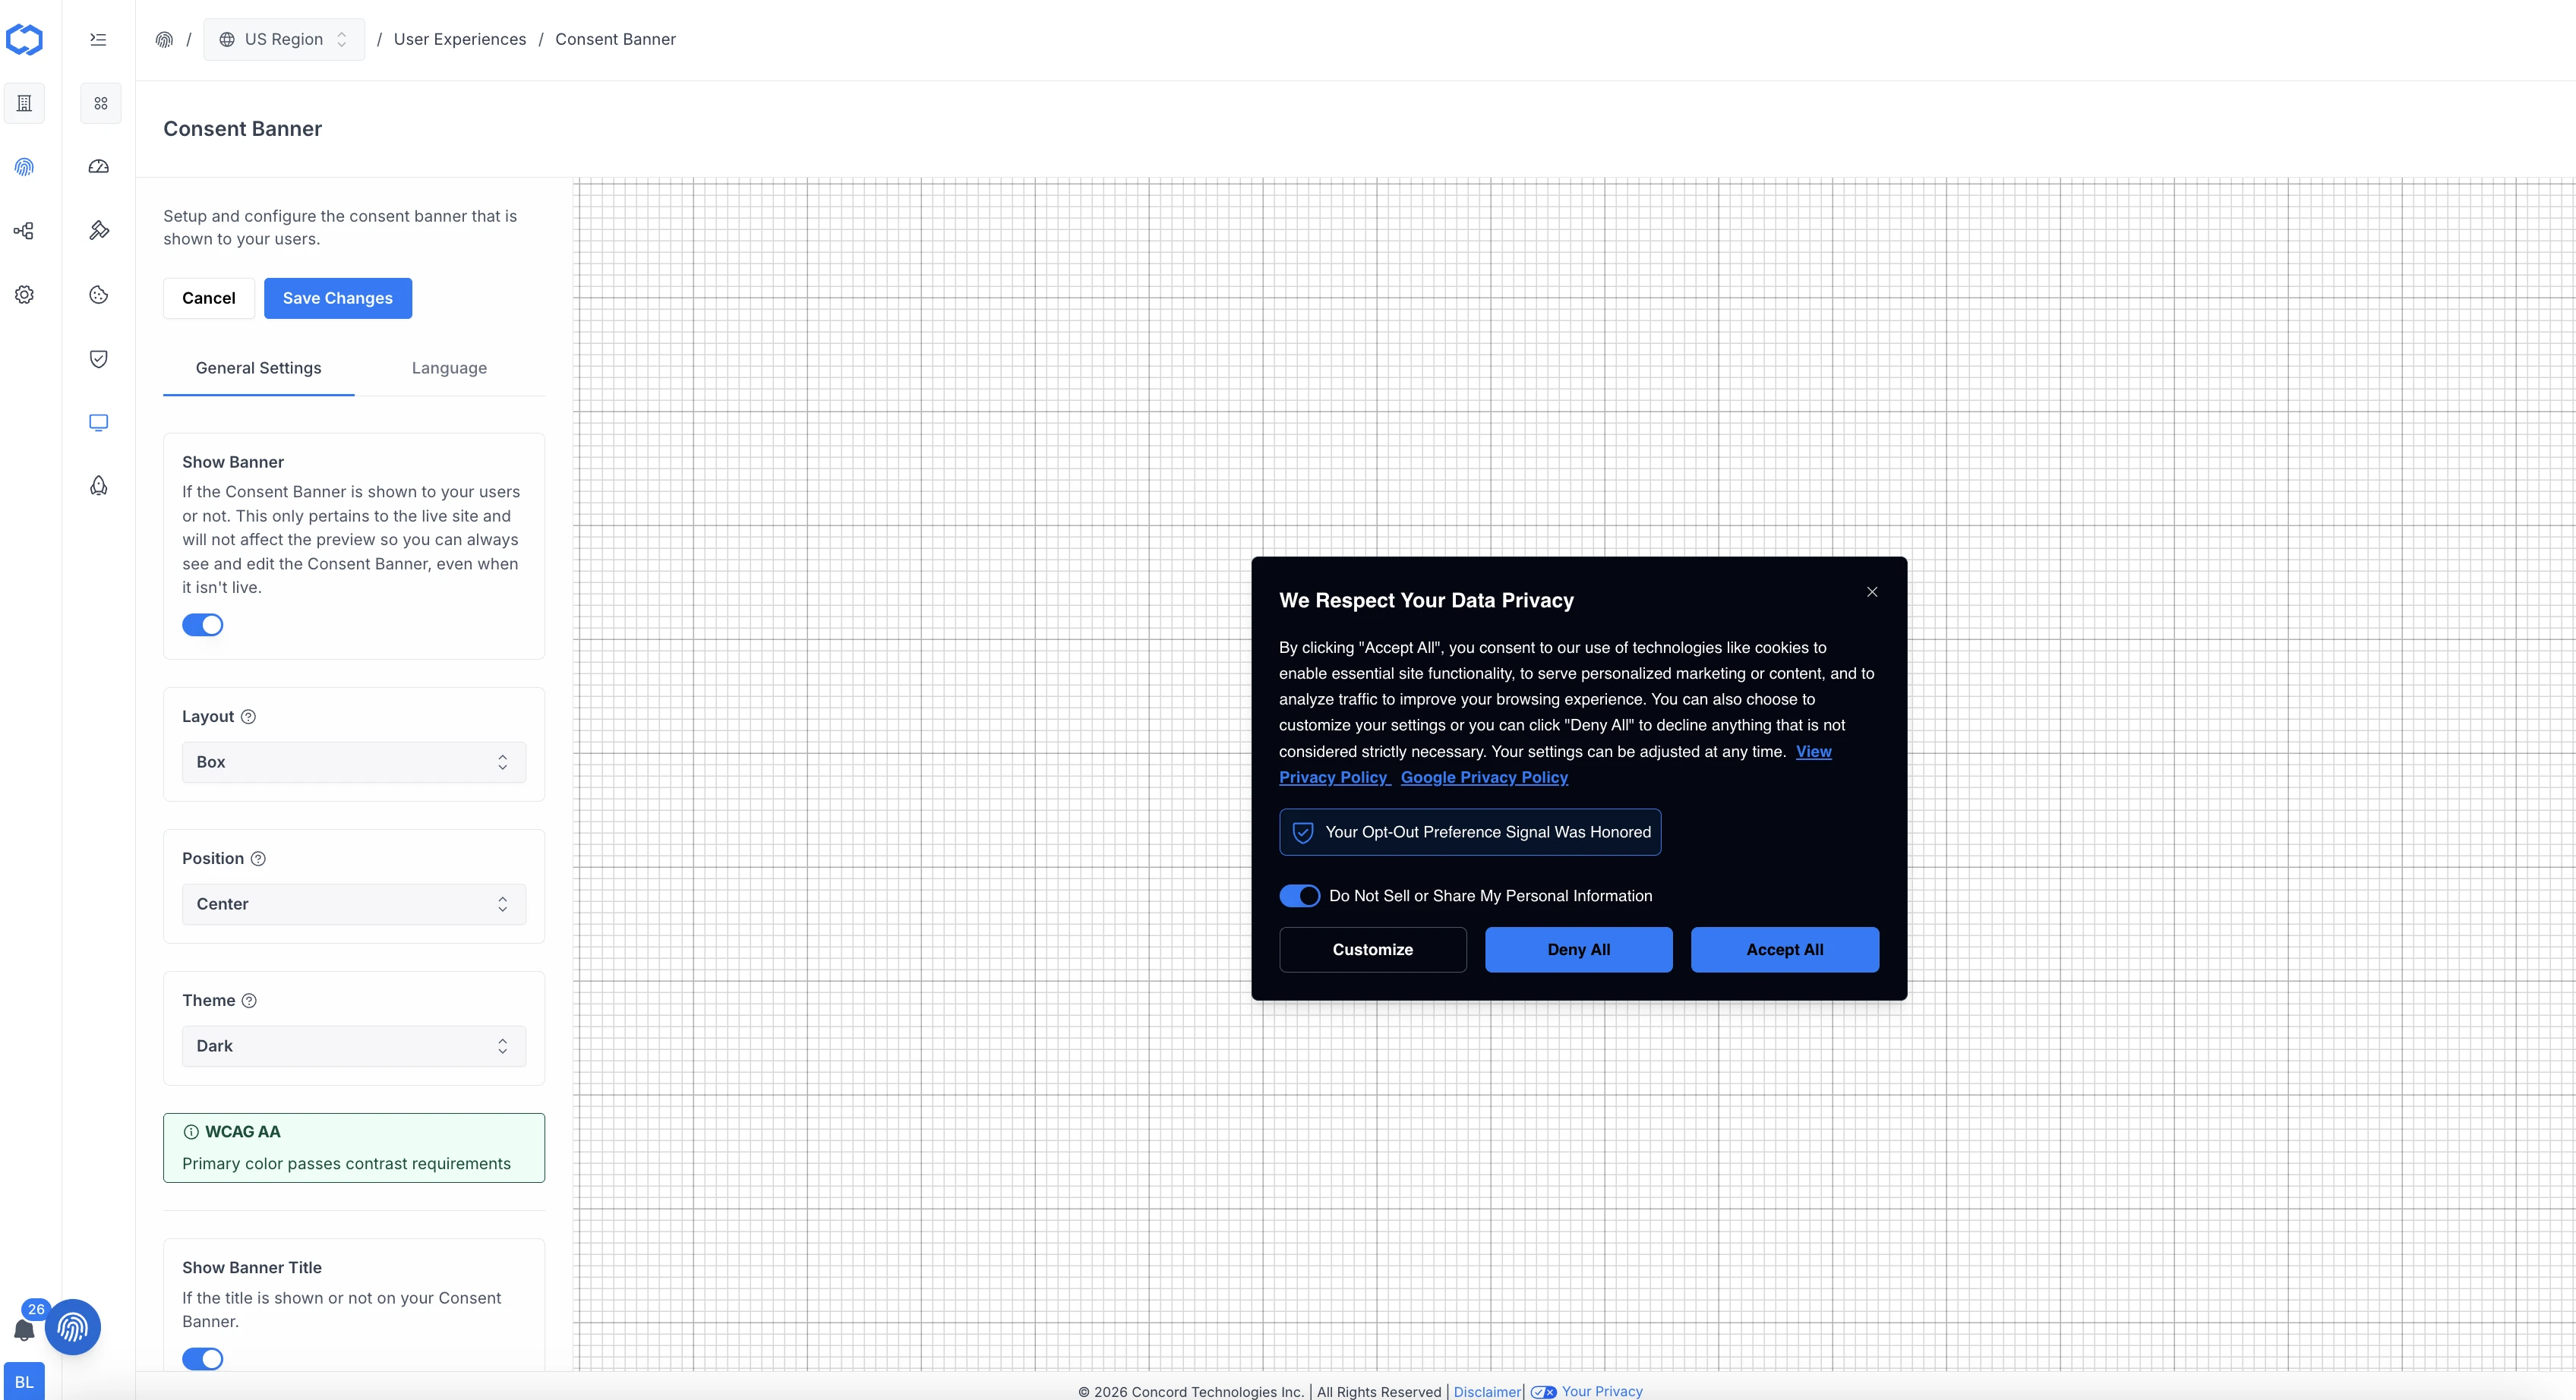
### How to Configure the Consent Banner - General Settings
Login to Concord and navigate to **Privacy → User Experiences → Consent Banner → General Setting** tab. In this section, you can setup and configure how the consent banner is displayed to your users. In this section you can configure the following:
* **Show Banner:** If the Consent Banner is shown to your users or not. This only pertains to the live site and will not affect the preview so you can always see and edit the Consent Banner, even when it isn't live.
* **Layout:** The layout for your consent banner. Options: bar or box.
* **Position:** Where the Consent Banner appears on your page. Options: Center, Left Bottom, Left Top, Right Bottom, Right Top.
* **Theme:** The theme used for your Consent Banner. Can be set to brand, light, or dark. All themes use your primary color for most of your custom branding (buttons,links, etc.). Brand will use your secondary color as the background. Light uses a white background. Dark uses a very dark gray/black background.
* **WCAG AA:** WCAG AA is the internationally recognized standard for web accessibility, ensuring digital content is usable by people with disabilities. Contrast is adjusted to a minimum 4.5:1 ratio for text to background, ensuring readability for visually impaired users.
* **Show Banner Title:** Choose if the Deny button is shown or not on your Consent Banner.
* **Show Customize Button:** Choose \*\*\*\*If the Customize button is shown or not on your Consent Banner.
* **Show Google Privacy Policy Link:** When enabled, displays a link to Google's privacy policy in the consent banner. This is recommended when using Google Consent Mode.
### Consent Banner: Language
In the **Privacy → User Experiences → Consent Banner → Language** tab, you can setup and customize the verbiage displayed in your Privacy Center. Concord provides suggested text however, we also offer extensive customization options so you can change text to align with your business needs and language style. You can customized the following text in your company’s Privacy Center:
* **Banner Title Text:** The title text shown on your Consent Banner.
* **Banner Text:** The text shown on your Consent Banner. Supports inline **Policy Link tokens** — see [Inserting Policy Links into banner text](#inserting-policy-links-into-banner-text) below.
* **Accept Button Text:** The Accept button text shown on your Consent Banner.
* **Deny Button Text:** The Deny button text shown on your Consent Banner.
* **Customize Button Text:** The Customize button text shown on your Consent Banner.
Once you’ve updated the banner configuration options, click **Save Changes** to save your changes.
### Inserting Policy Links into Banner Text
The Banner Text field is a rich text editor. To link to your Privacy Policy, Terms of Service, Cookie Policy, Data Protection Agreement, or any custom policy, insert a **Policy Link token** rather than pasting a URL:
1. Place the cursor where the link should appear in your banner text.
2. Click **Insert Link** in the text editor toolbar.
3. Pick the Policy Link you want to embed. The menu lists every Policy Link configured under **Policies → Links**.
4. Optionally override the displayed text for this banner and language — the default is the Policy Link's Name.
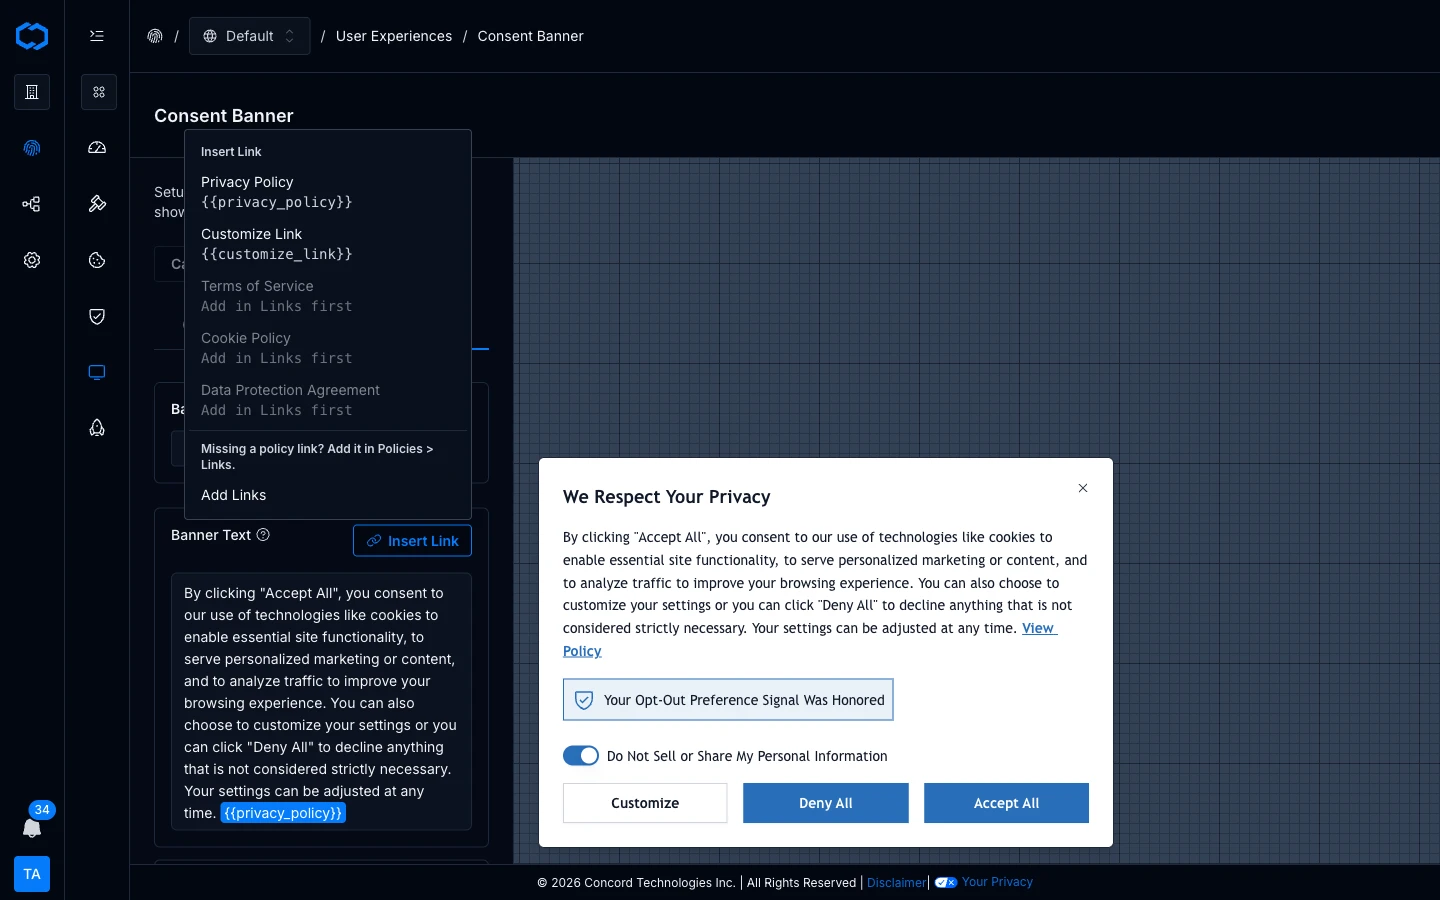
Tokens render inline with the banner copy and resolve to the Policy Link's URL at runtime. If you update the destination URL later under **Policies → Links**, every banner that embeds that token picks up the change automatically — you don't re-edit the banner.
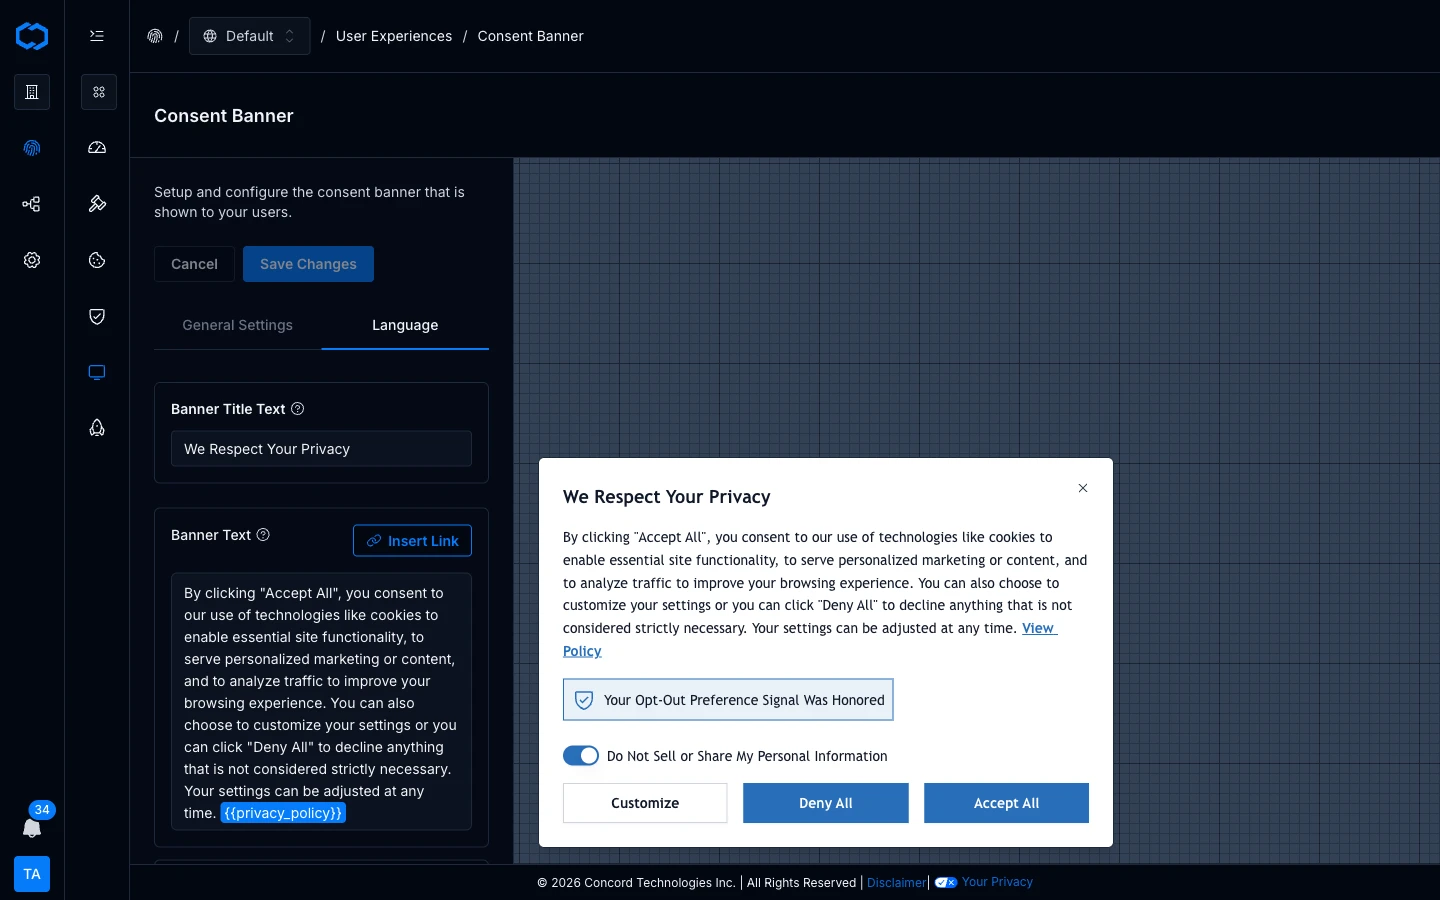
For the list of built-in policy types, the create/edit flow, and how tokens behave when a Policy Link is deleted, see [Managing Policy Links](/docs/managing-policy-links).
## Related Documentation
* [Managing Policy Links](/docs/managing-policy-links)
* [Customizing Consent Banner Styling](/docs/customizing-consent-banner-styling)
* [Consent Management Overview](/docs/consent-management-overview)
# Consent Events and Exports
URL: /docs/consent-log-report
***
title: 'Consent Events and Exports'
description: 'Review individual consent events, look up a person’s full consent history by Concord ID, and export consent events as CSV or JSON.'
created: '2021-05-13T20:44:02.000Z'
updated: '2026-09-28T00:00:00.000Z'
-----------------------------------
## Overview
The **Consent → Reports** section shows the consent events Concord records for your project. You won't need it every day, but it's where you go for compliance documentation, audits, and data subject requests. It has three tabs:
* **Overview:** consent metrics for the selected date range. See [Consent Reports and Metrics](/docs/consent-reports-metrics).
* **Events:** individual consent events.
* **Export:** a file of consent events for any date range.
{/* Screenshot pending: Consent > Reports > Events -> /docs/consent-reports-events.png */}
## Reviewing Consent Events
On the **Events** tab, choose a date range to see the consent events recorded in it. Events are grouped by visit, with counts of what the visitor accepted, declined, or implied. Expand a visit to see each event's subcategory, label, action, and expiration date.
* **Subcategory:** the consent subcategory the event belongs to.
* **Label:** the label of the consent event, as defined when the consent type was created.
* **Action:** the action the visitor took. Some actions are implied.
* **Expiration Date:** when the consent expires, based on the duration configured for the consent type and the date of the visitor's action.
## Looking Up a Person by Concord ID
Use **Search by Concord ID...** on the **Events** tab and enter a full Concord ID. The results show every event for that Concord ID across all time; the date range doesn't apply while an ID is entered. This is what you need when responding to a data subject request or an audit.
## Exporting Consent Events
1. Go to **Consent → Reports → Export**.
2. Select the date range and the file format, **CSV** or **JSON**.
3. Click **Export**.
The file is prepared in the background, and large ranges can take a few minutes. You can leave the page while it runs. When it's ready, download it from the **Export** tab, or later from **Global Settings → Exports**, where it stays for seven days.
## Related Articles
* [Consent Reports and Metrics](/docs/consent-reports-metrics)
* [Consent Management Overview](/docs/consent-management-overview)
# Consent Management Overview
URL: /docs/consent-management-overview
***
title: 'Consent Management Overview'
description: 'Overview of consent management in Concord for consent controls, consent capture, and compliance. How to view and export consent and event log details. '
created: '2024-04-23T23:30:55.000Z'
updated: '2024-04-23T23:30:55.000Z'
-----------------------------------
## Overview
The need to gather and log consent events arises from different regulatory acts worldwide. As an example, the EU’s General Data Protection Regulation (GDPR) requires an affirmative consent for the collection of visitor data in Article 7 (”Conditions for Consent”).
> 7.1 Where processing is based on consent, the controller shall be able to demonstrate that the data subject has consented to processing of his or her personal data.
Which means that site owners are required to provide consent controls and document that European Union users have given consent to the collection, storage, and processing of their data.
Similar laws in multiple US states, such as the CCPA/CPRA in California, also require consent to be provided, although with less strict requirements in some areas. For example, the CCPA/CPRA requires affirmative consent be obtained at the point of or prior to data collection for minors under the age of 16. Consent is also required for users over the age of 16, but implied consent is acceptable.
Most regulations also require website owners’ to support specific “data subject” rights. Generally, these include:
* The right to be informed of what data is being collected and how it is used.
* The right to access a subject’s data.
* The right to correct or change a subject’s data.
* The right to delete a subject’s data.
* The right to restrict processing of a subject’s data.
* The right to object.
## How Does Concord Help?
Concord’s consent management solution enables robust and flexible consent management configuration settings in order to properly comply with existing and future regulations, establish visitor trust, and differentiate your business.
Concord provides both consent logs and privacy request handling (often referred to as Data Subject Access Requests, or DSARs) in order to store and access subjects’ consent records and record and execute on subjects’ data subject rights requests. These are necessary to prove compliance with privacy and consent regulations, and may need to be produced upon request if audited by the relevant authorities.
## How Does Consent Capture and Storage Work?
When a user first arrives at your site after deploying Concord, Concord will create a consent token containing an alpha-numerical identifier for the visitor in local storage. Local storage is a browser feature used to store data locally in the form of key-value pairs. This Concord ID is then used to associate consent with that specific browser.
## What Consent Data Does Concord Capture and Store?
Concord’s data store will contain the users Concord ID as well as multiple attributes to describe each consent event. These will include:
* Consent type, sub-type, version, and label of each consent event.
* Date of each consent event, including updated dates.
* Consent action
* What action did the user take when it comes to the consent event. Can be user\_click, implied, or import (for consent data that is imported from other systems).
* Consent state
* The user’s new state of consent after a consent event is captured. Can be accepted, declined, viewed, or implied.
* Anonymized IP address.
* Expiration date of the consent event.
* The domain and project the event originated from as configured in your Concord account.
## How Do I Access Consent and Request Logs?
The **Events** tab under **Consent → Reports** shows detail on individual consent events that occurred during the selected date range. More information on that report can be found [here](/docs/consent-log-report).
The Request Log report within the **Privacy Requests → Request Log** section of Concord shows extended detail on individual Privacy Requests received during the selected date range. More information on that report can be found [here.](/docs/privacy-requests-request-log)
# Consent Reports and Metrics
URL: /docs/consent-reports-metrics
***
title: 'Consent Reports and Metrics'
description: 'The Consent Reports section in Concord is where you can find reporting on consent metrics and user preferences.'
created: '2025-12-15T20:44:02.000Z'
updated: '2025-12-15T20:44:02.000Z'
-----------------------------------
The Consent Reports section in Concord is where you can find reporting on consent metrics and user preferences. You will find the following information in the Consent Reports section:
* Overview - A dashboard of consent metrics and user preferences.
* Events - A detailed list of consent events so you can view and analyze the consent events from your users.
* Export - Export consent events from your users as a CSV or JSON file for any date range.
## Consent Reports - Overview
To view your consent metrics in Concord, navigate to **Consent → Reports → Overview** tab in Concord.
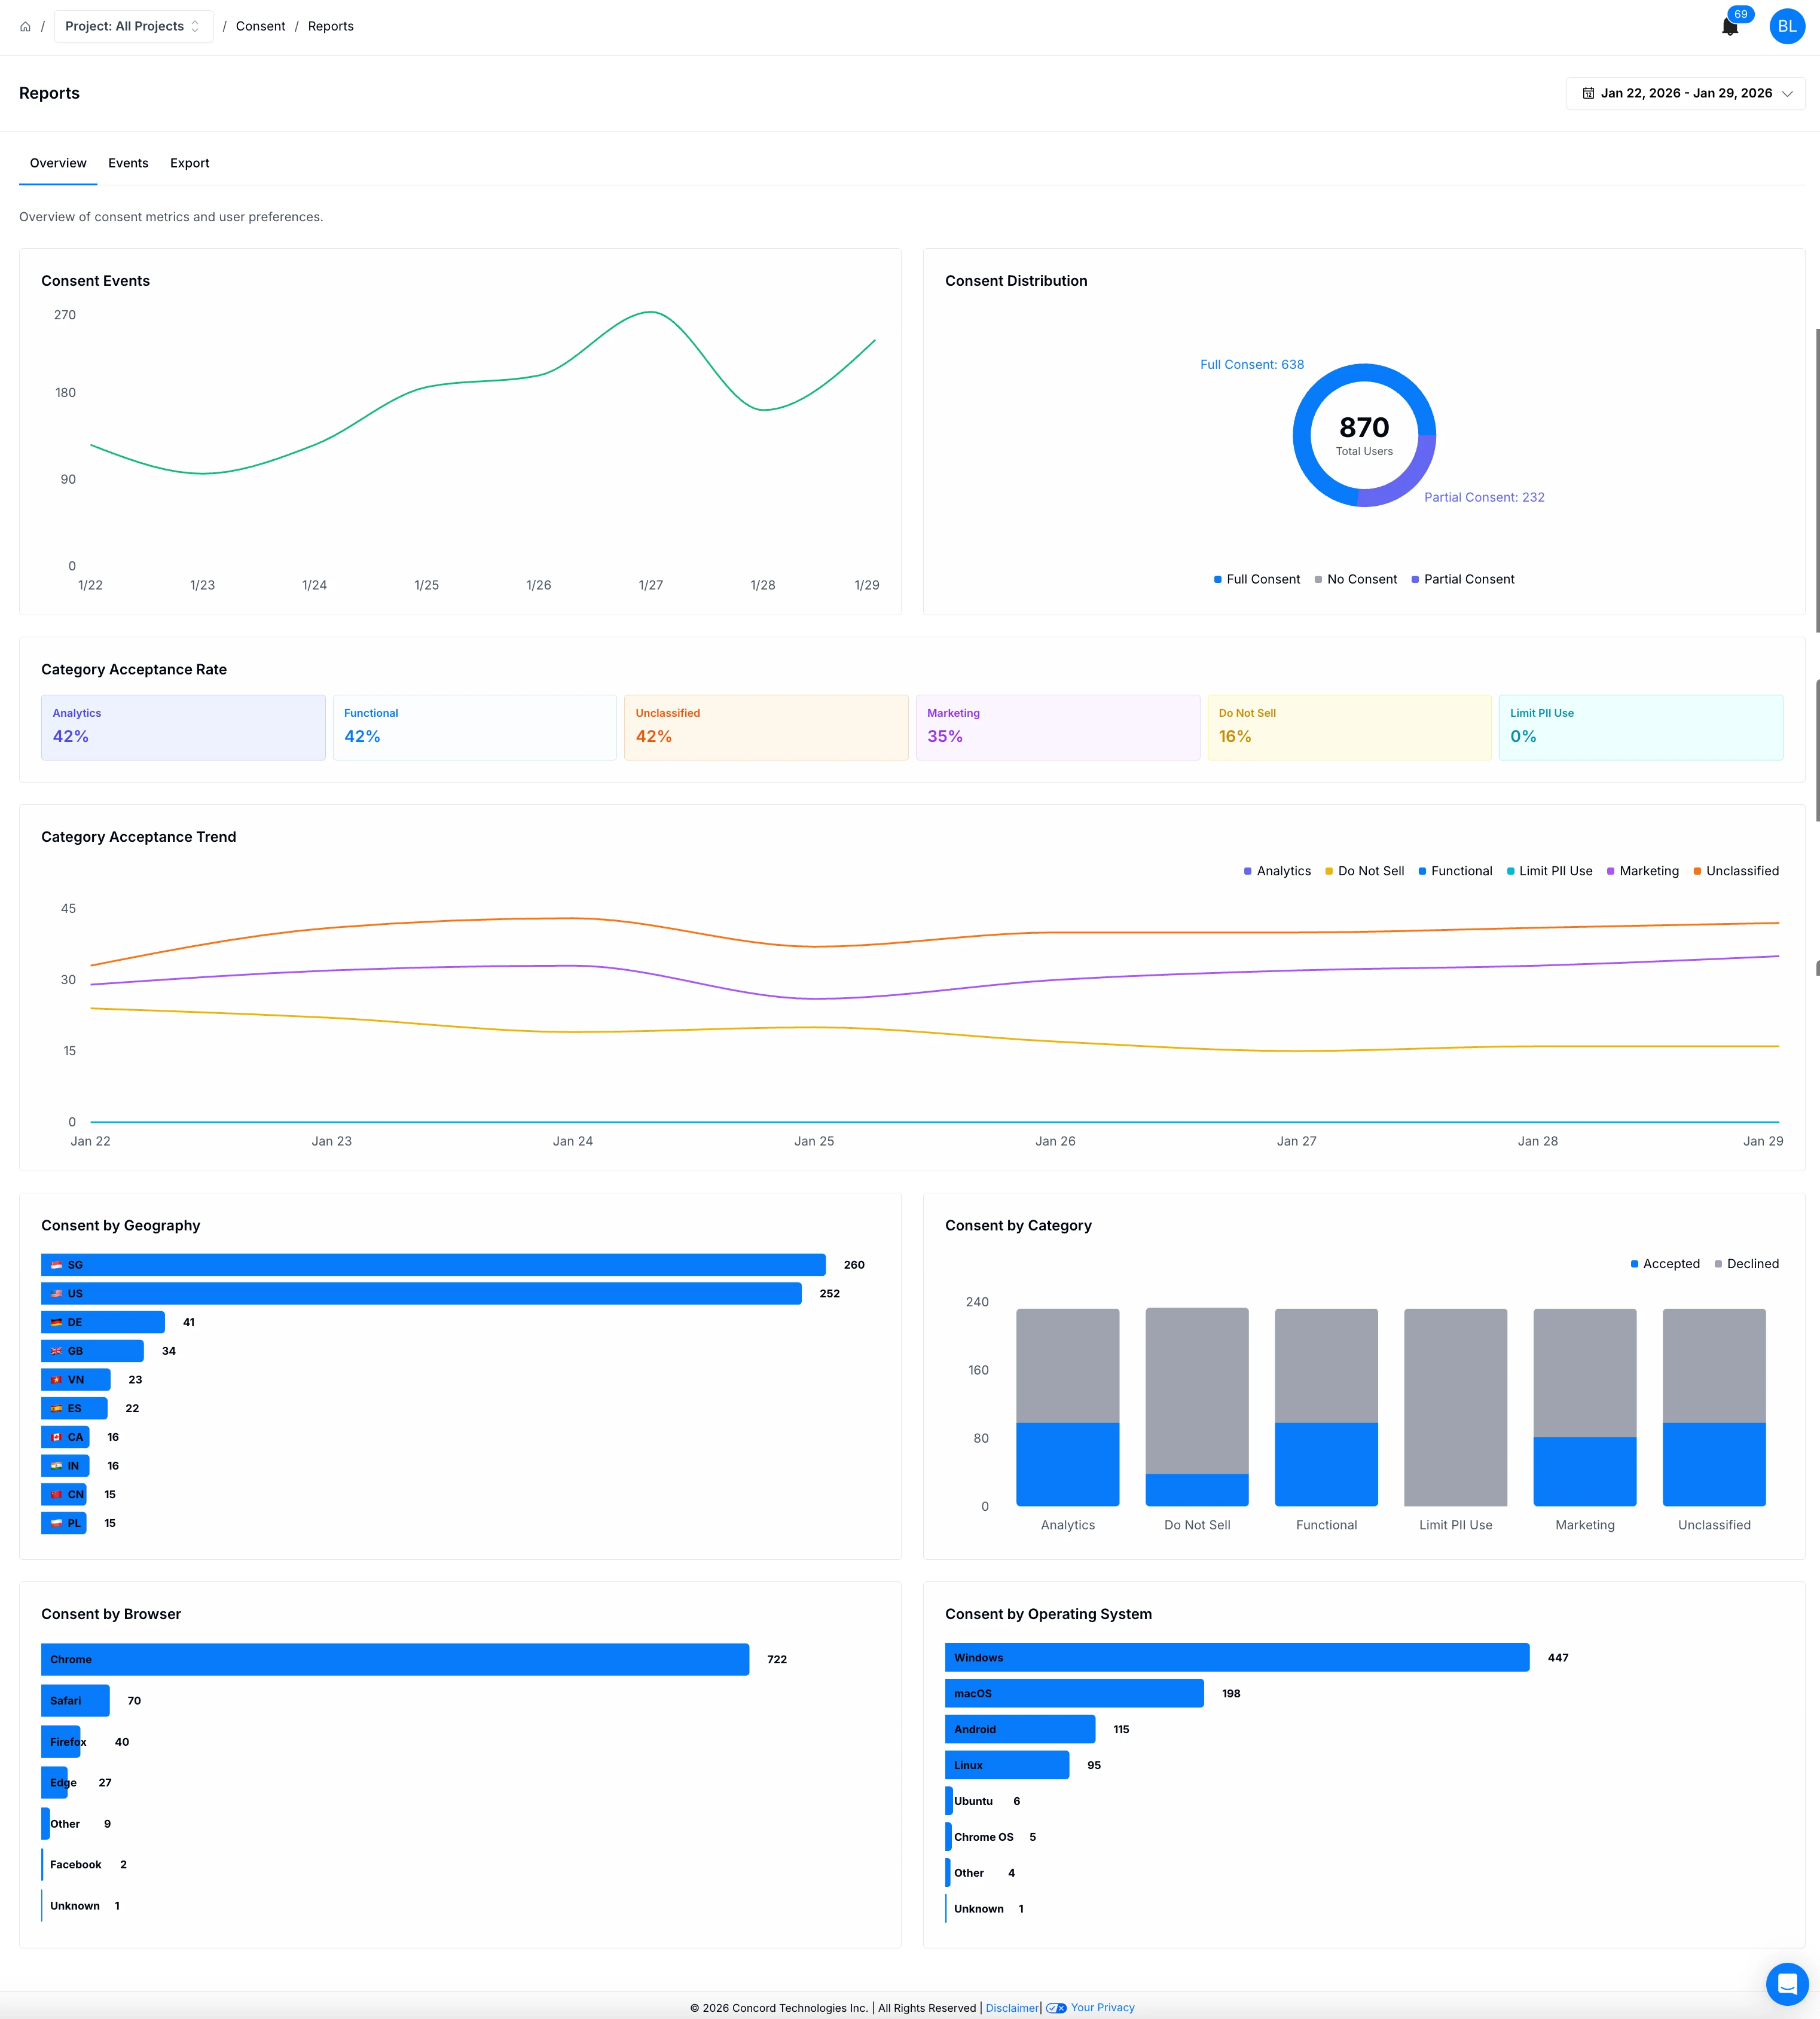
The Consent Reports Overview is a graphical representation of consent metrics and user preferences for a specific time period. The Overview tab includes the following information:
* **Consent Events** - The number of consent events by day for the selected date range.
* **Consent Distribution** - The number of users that gave full consent, partial consent, or no consent for the select date range.
* **Category Acceptance Rate** - The percentage of consent by consent event type submitted (Analytics, Functional, Unclassified, Marketing, Do Not Sell, Limit PII Use) for the selected date range.
* **Category Acceptance Trend** - A trending view of the number of consent event types submitted (Analytics, Functional, Unclassified, Marketing, Do Not Sell, Limit PII Use) for x period.
* **Consent by Geography** - The number of consent events submitted by geographical region for the selected date range.
* **Consent by Category** - The number of consent events submitted by type (Analytics, Functional, Unclassified, Marketing, Do Not Sell, Limit PII Use) and if the user accepted or declined consent.
* **Consent by Browser** - The number of consent events submitted by browser version.
* **Consent by Operating System** - The number of consent events submitted by operating system.
## Consent Reports - Events
To view a detailed report of consent events in Concord, navigate to **Consent → Reports → Events** tab in Concord.
In this section you’ll be able to view a list of consent events for the selected time period with the ability to:
* **Search by Concord ID** - Enter the Concord ID you would like to view details for.
* **Filter by State** - Accepted, Declined, Implied Consent.
* **Filter by Category** - Analytics, Do Not Sell, Functional, Global Privacy Control, Limit PII Use, Marketing, Privacy Policy, Strictly Necessary, Unclassified.
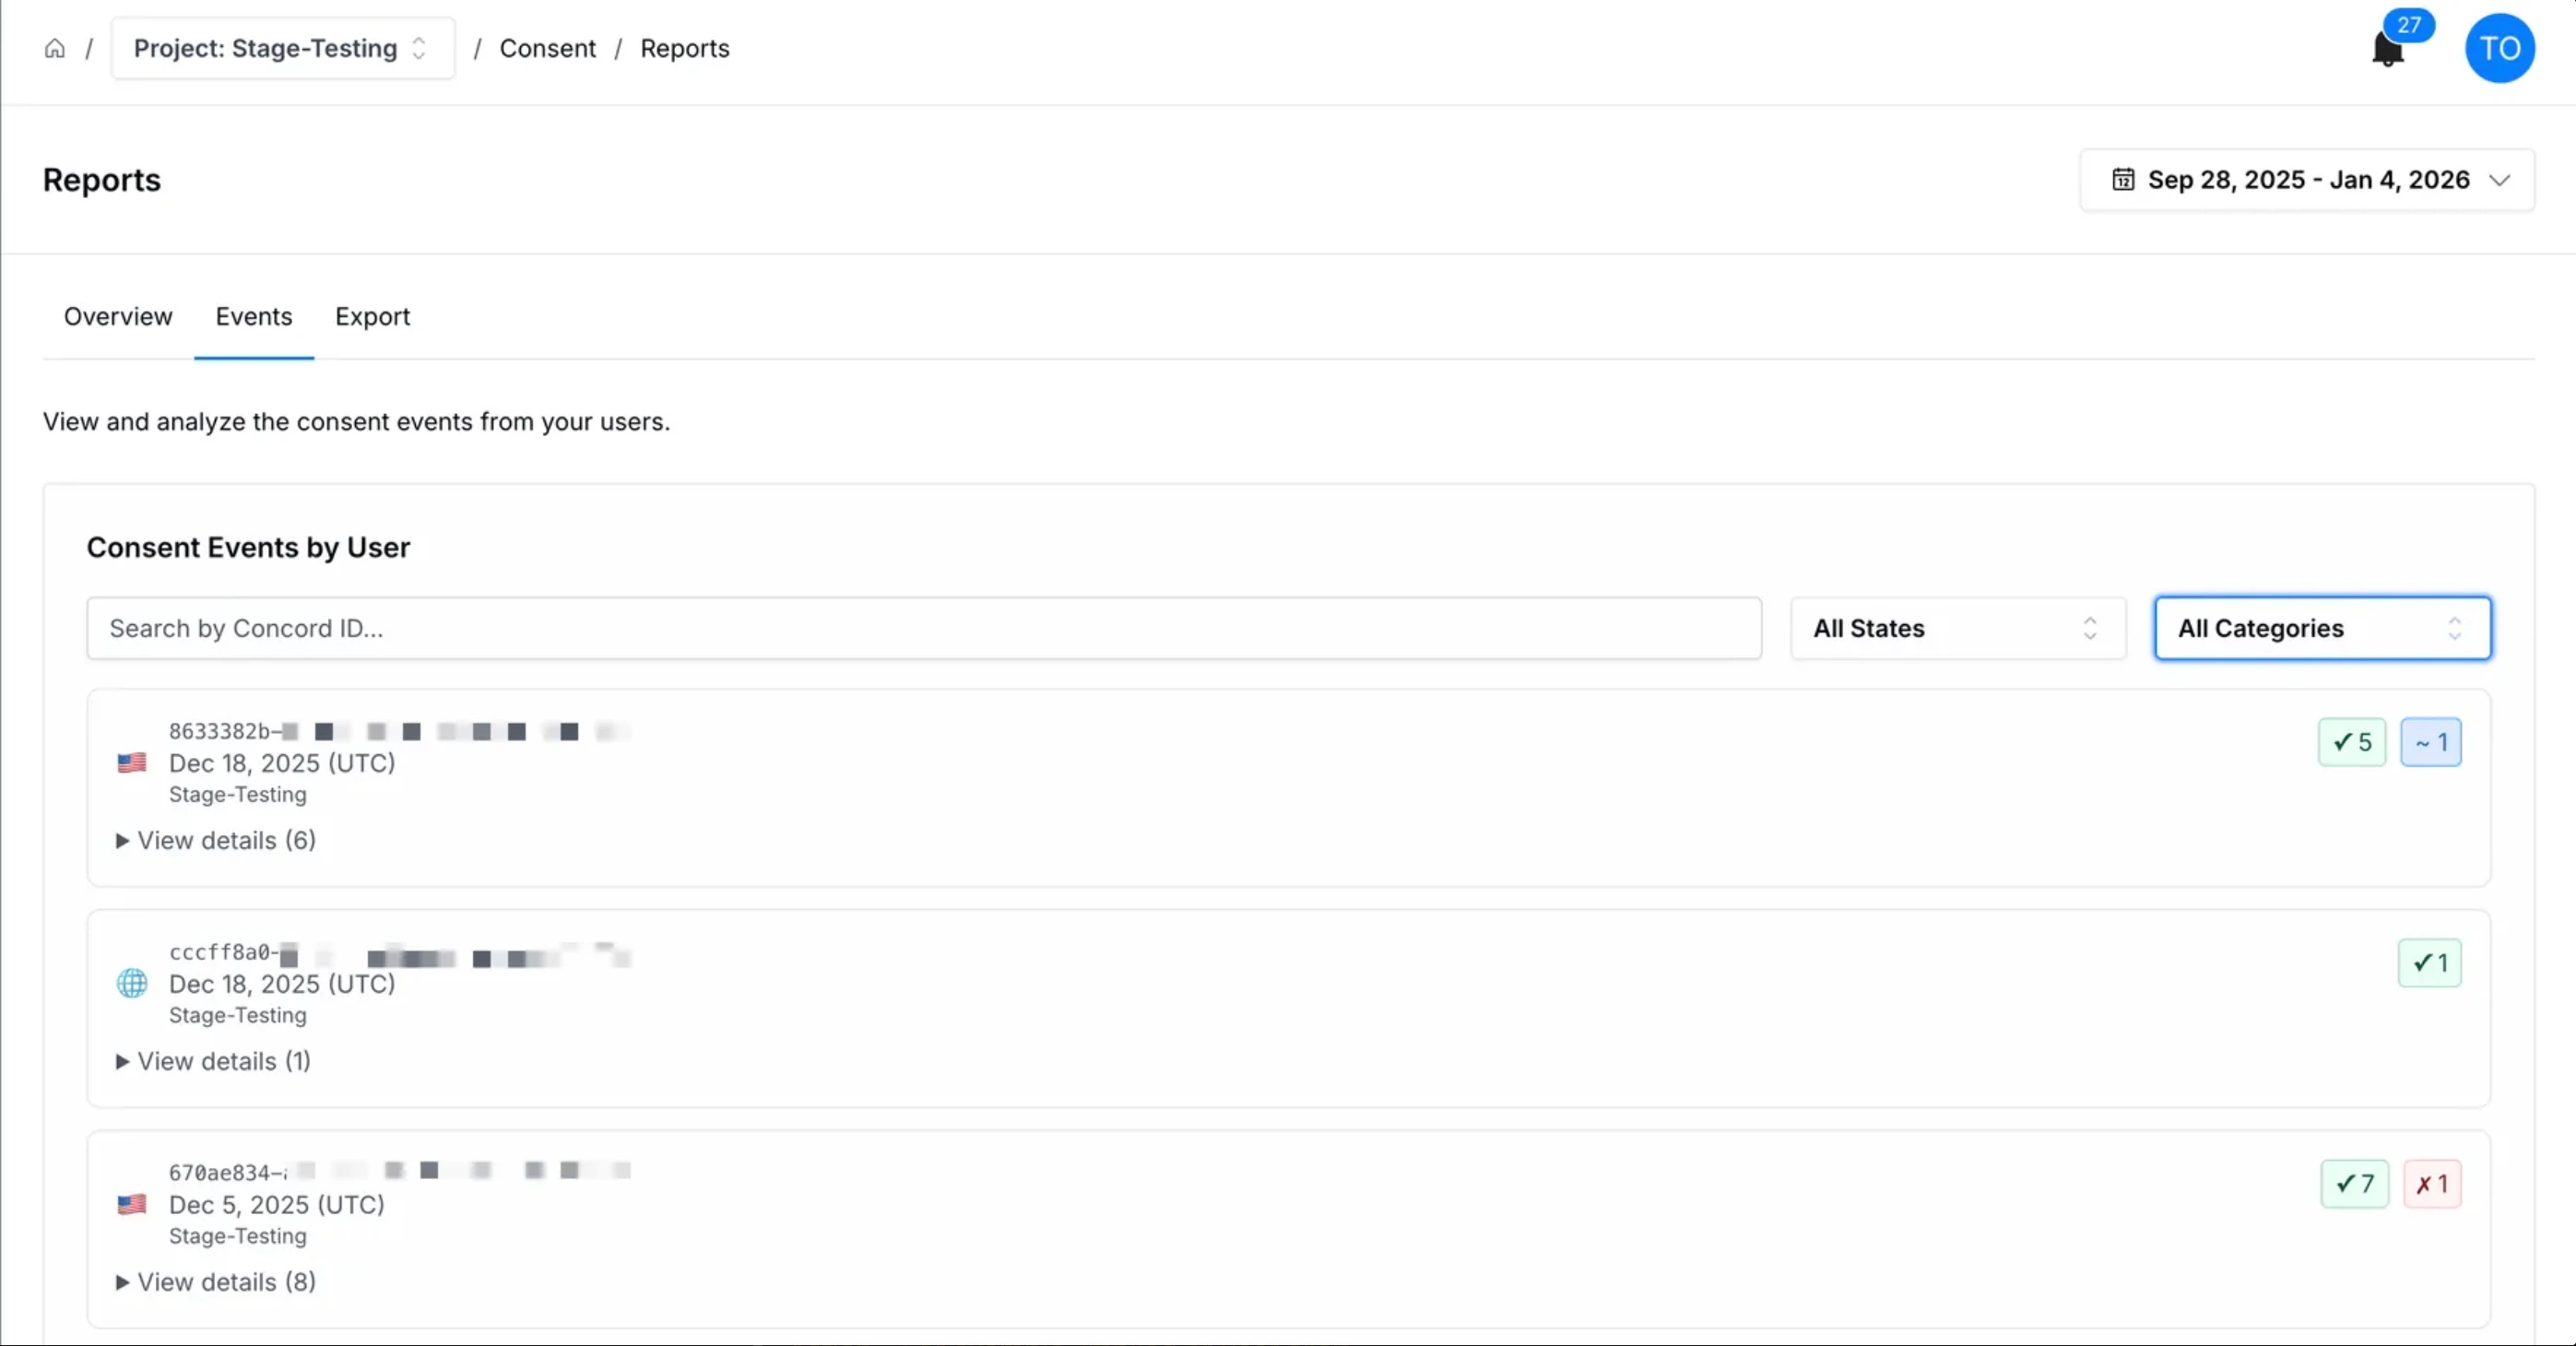
When viewing a list of consent events, you can click on the **View Details** link to view the consent event details associated to a specific Concord ID including:
* Event category
* Event state
* Label
* Action - For example, implied or user click.
* Expiration date - The date the consent action expires.
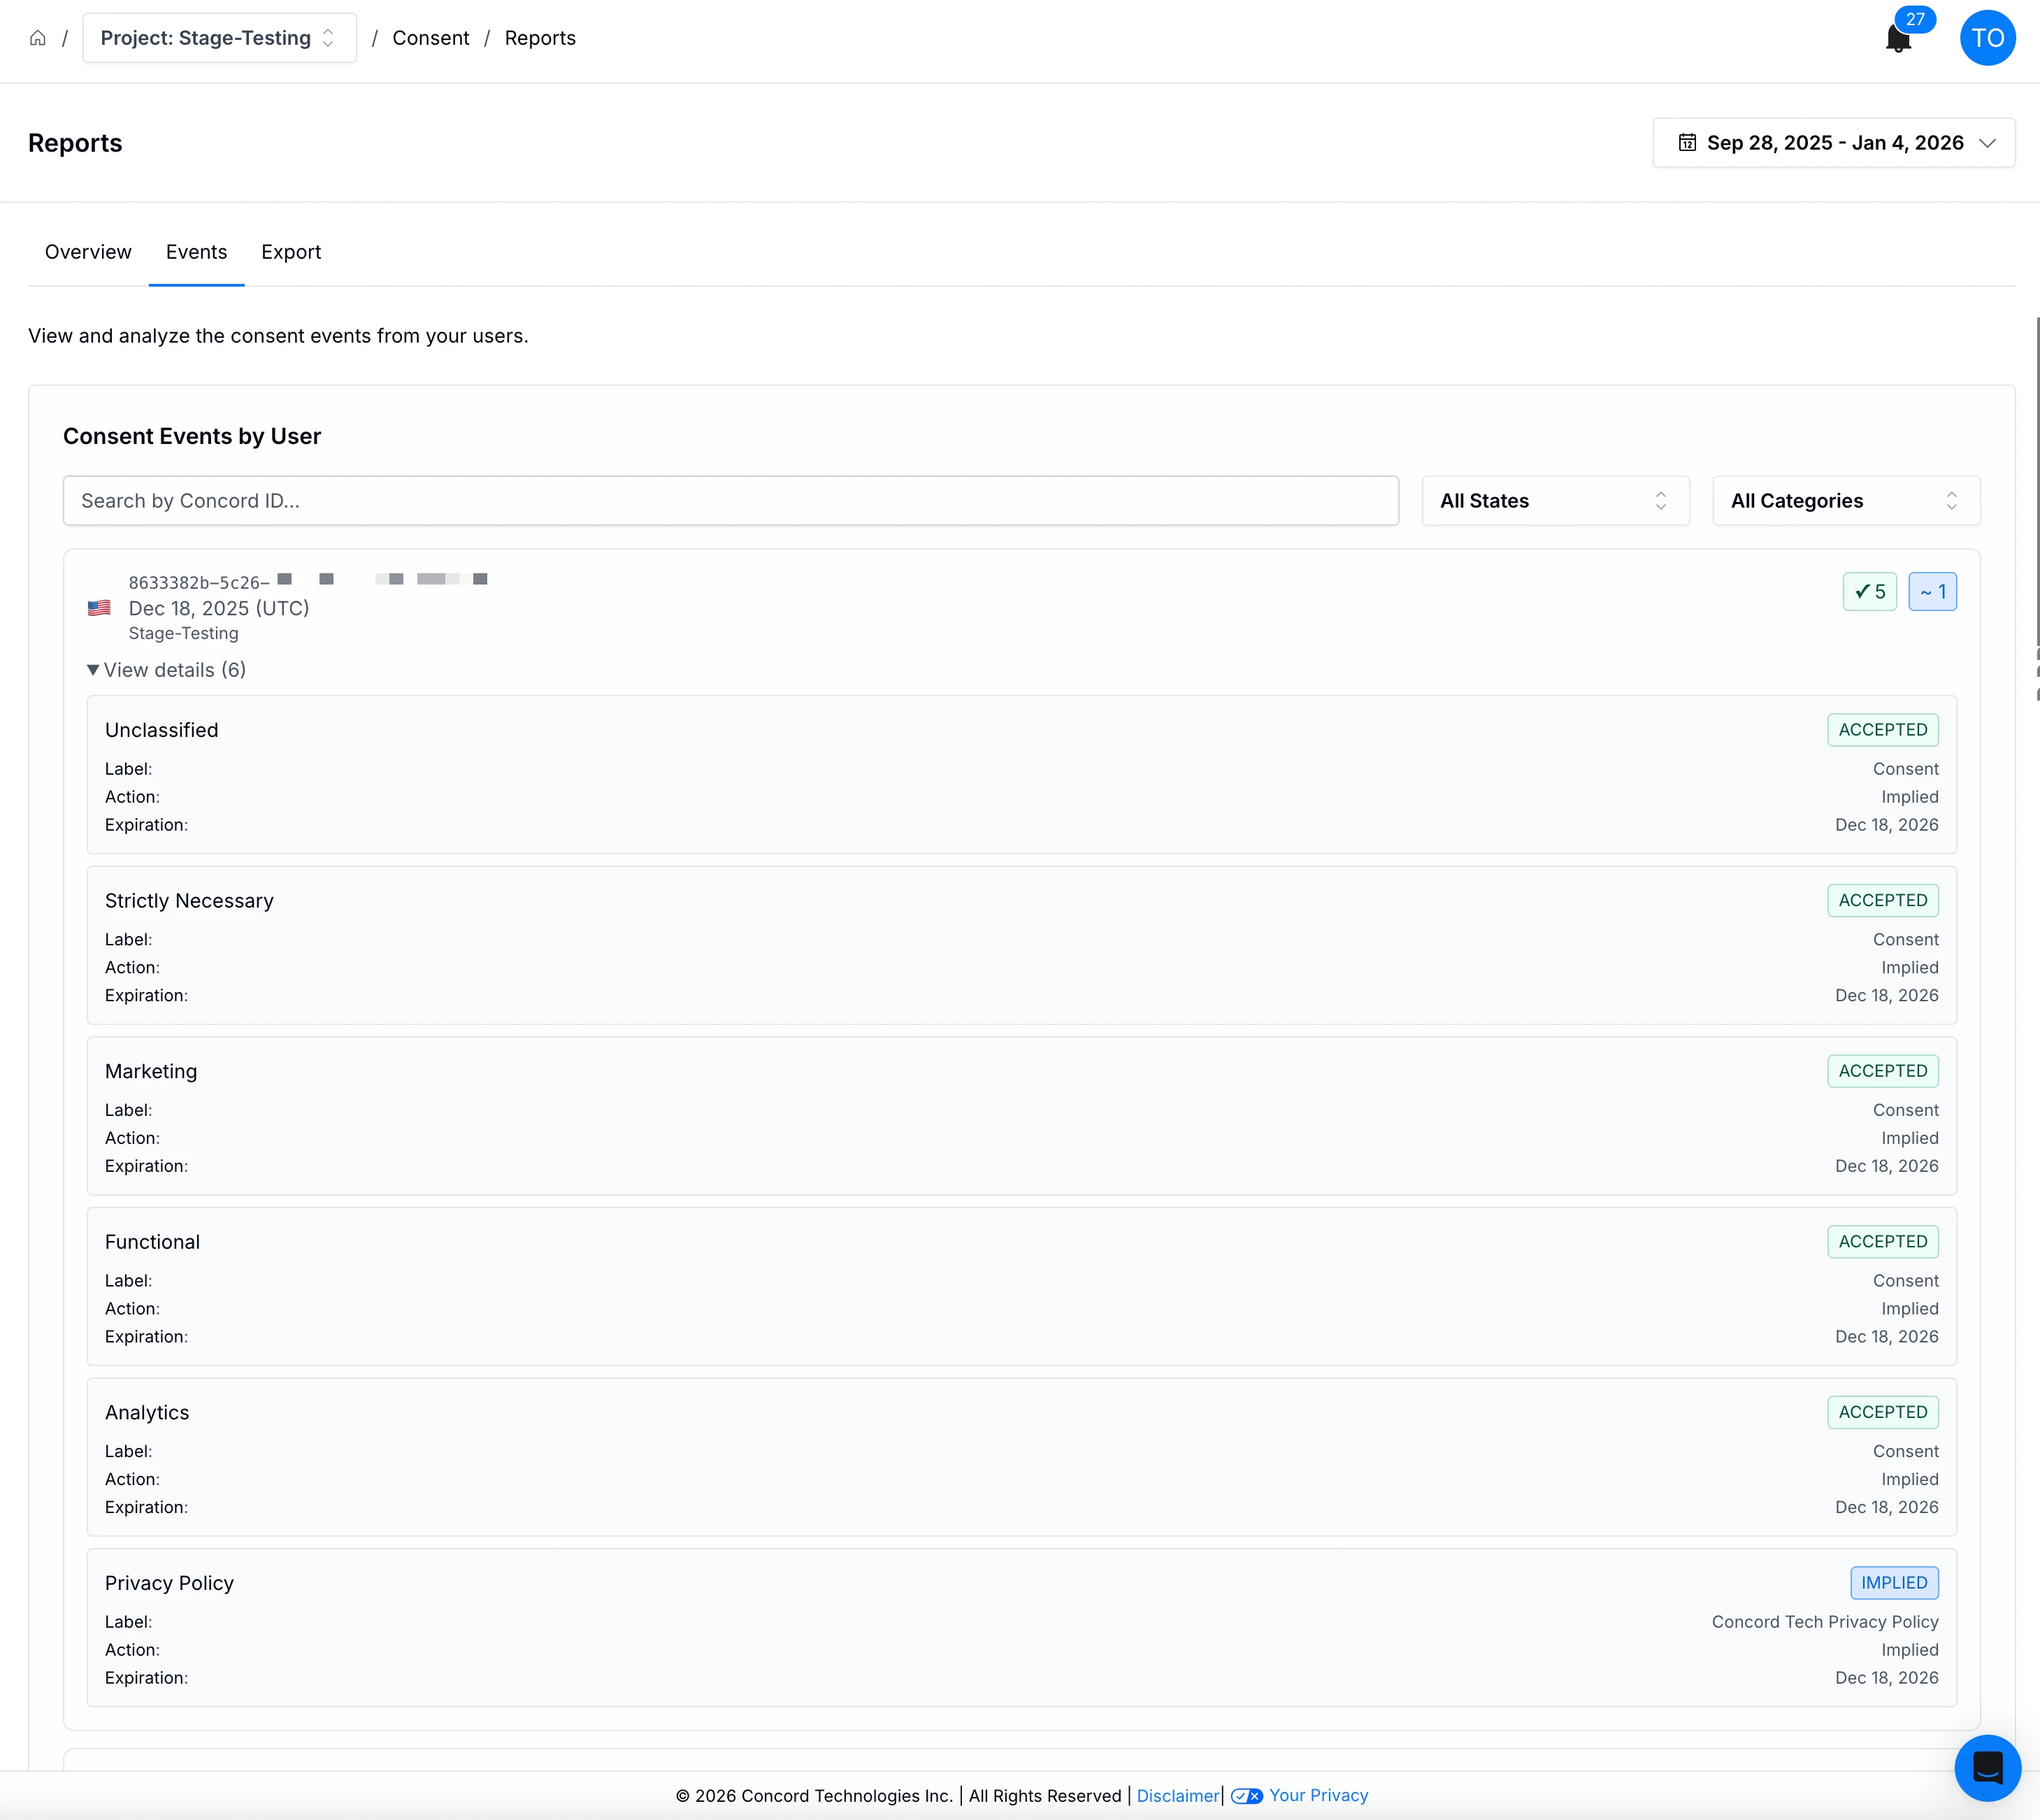
## Consent Reports - Export
To export consent events from your users, navigate to **Consent → Reports → Export** tab in Concord. Select the following export options and click the **Export** button:
* Date range
* Export file type - CSV, JSON
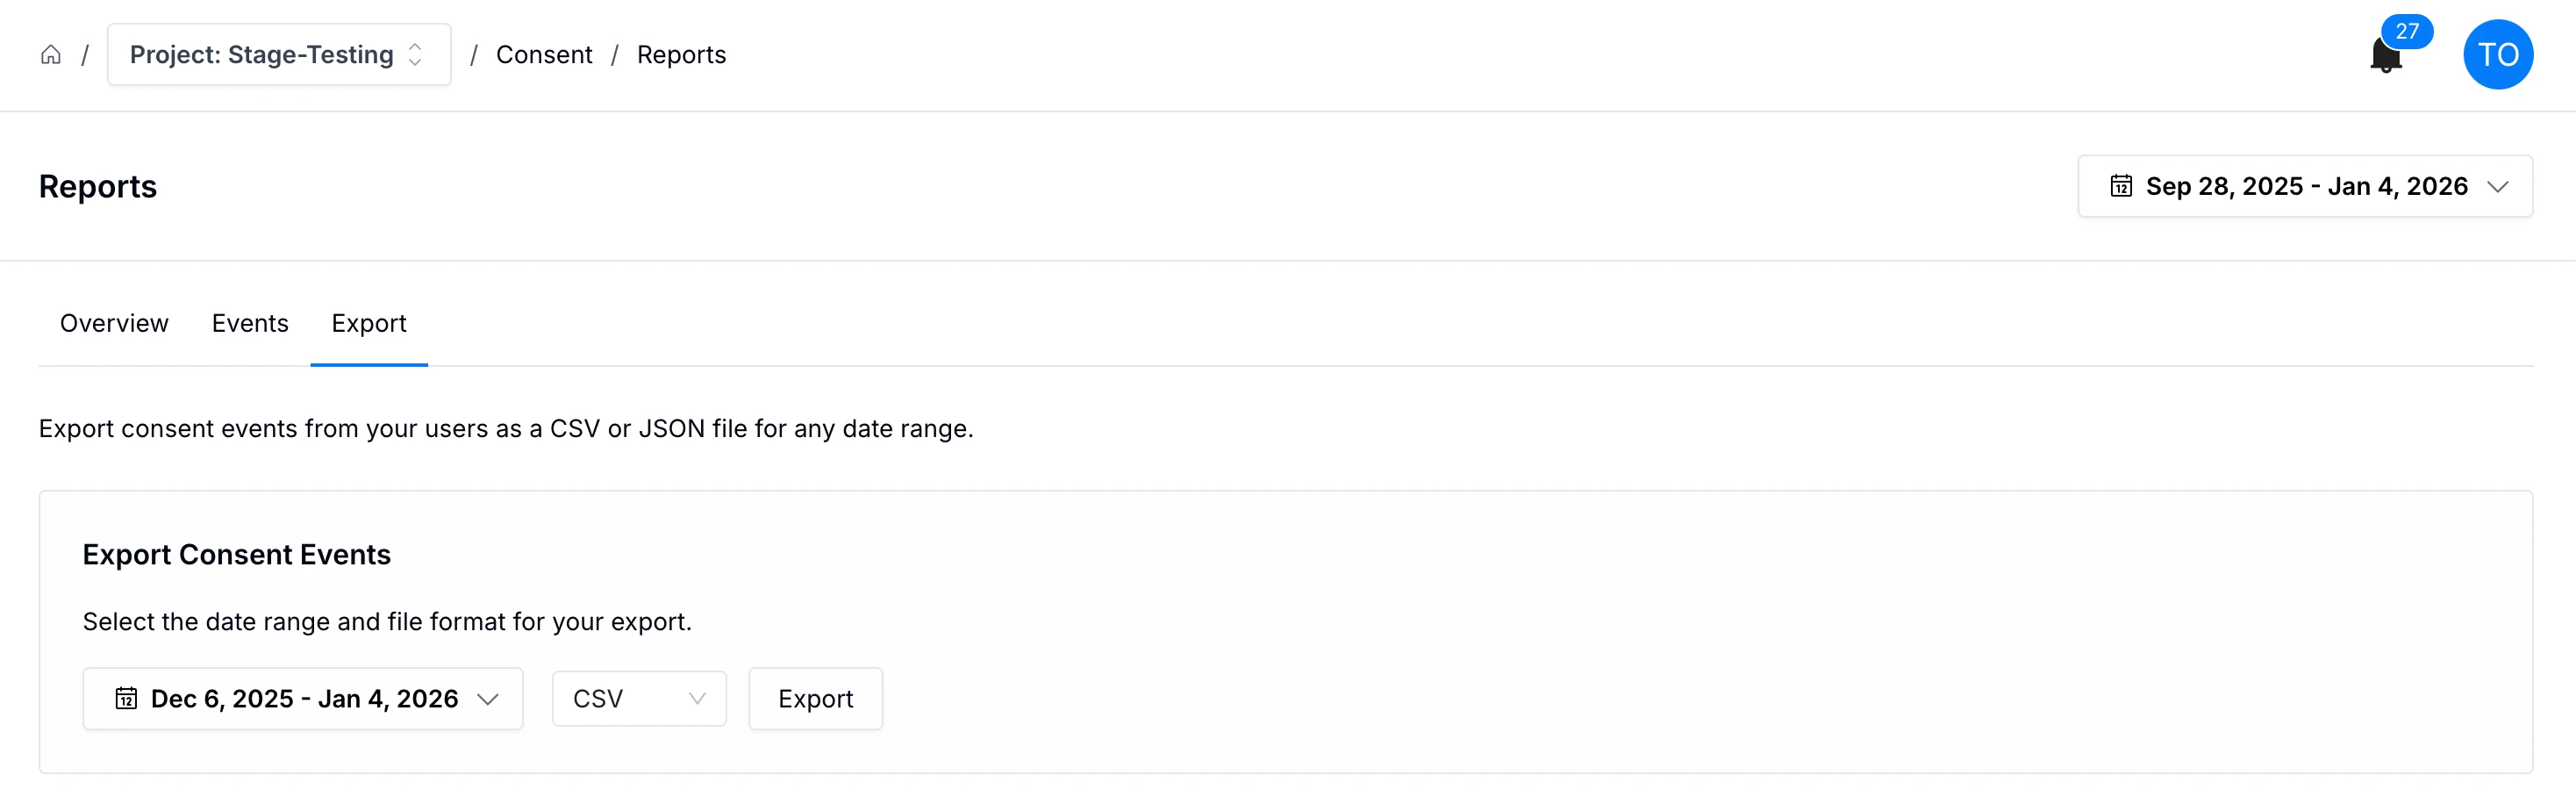
# Customizing Consent Banner Styling
URL: /docs/customizing-consent-banner-styling
***
title: 'Customizing Consent Banner Styling'
description: 'Fit the Concord consent banner, privacy center, and floating button to your brand with built-in branding controls, CSS variable overrides, and full custom CSS.'
created: '2026-04-16T00:00:00.000Z'
updated: '2026-04-16T00:00:00.000Z'
-----------------------------------
## Overview
Concord gives you three layers of customization for the consent banner, privacy center, and floating button, in order of how much responsibility you take on:
1. **Built-in branding controls** — theme, primary/secondary colors, typography, and layout options exposed in the admin UI. These ship with accessibility checks and professionally designed states (hover, focus, disabled, active) and keep your experience on the right side of regulatory expectations around dark patterns.
2. **CSS Variables** — override individual `--cd-*` design tokens (colors, radii, offsets, font scale) when you need to go beyond the built-in controls.
3. **Custom CSS** — write scoped CSS rules for selector-level changes that tokens don't cover.
Use the layers in order. Most companies get what they need from layer 1 alone. Layers 2 and 3 are available on Pro, Premium, and Enterprise plans and are intended for teams that need tighter brand fit and are willing to own the visual QA themselves.
## Customization and Compliance
Concord's built-in branding controls are designed so that whatever you pick, the result stays compliant and accessible:
* **Accept, Deny, and Customize buttons maintain balanced visual weight.** Treating Accept differently from Deny (bright color for Accept, grayed-out for Deny) is a documented dark pattern under GDPR and CCPA/CPRA enforcement guidance. The built-in controls don't let you create that imbalance by accident.
* **Contrast ratios designed and adjusted as needed to meet WCAG AA.** Text-to-background contrast is targeted to stay at or above 4.5:1. The built-in **WCAG AA** checks and adjustments help enforce this automatically.
* **Hover, focus, active, and disabled states are designed for you.** Links, buttons, form controls, and focus rings all get consistent interactive states that work across themes, without you having to design each one.
When you step past the built-in controls into CSS Variables or Custom CSS, those guardrails are yours to maintain. Concord applies your overrides last in the cascade, so the final rendering reflects exactly what you specified, including styling that may not meet accessibility standards or that creates a dark-pattern imbalance between Accept and Deny. If compliance and accessibility matter for your deployment (and for most Concord customers, they do and should), the built-in branding controls are the right starting point and usually the right stopping point as well.
## Availability
CSS Variables and Custom CSS are included on **Pro**, **Premium**, and **Enterprise** plans. If your organization is on a lower plan, the Custom CSS section appears in the banner, privacy center, and floating button editors but is disabled, and saved overrides don't render publicly until you upgrade. Built-in branding controls are available on every paid plan.
## Where to Configure Styling
Each widget has its own editor in the admin:
* **Privacy → User Experiences → Consent Banner**
* **Privacy → User Experiences → Privacy Center**
* **Privacy → User Experiences → Floating Button**
Each editor surfaces a **Custom CSS** accordion pinned to the bottom of its settings tab. Inside the accordion you'll find:
* A **Reference** card with the canonical scope selector (for example `.cd-consent-banner`) and the CSS variables that apply to that widget.
* A **CSS Variables** textarea for `--cd-*` declarations.
* A **Custom CSS** textarea for scoped CSS rules.
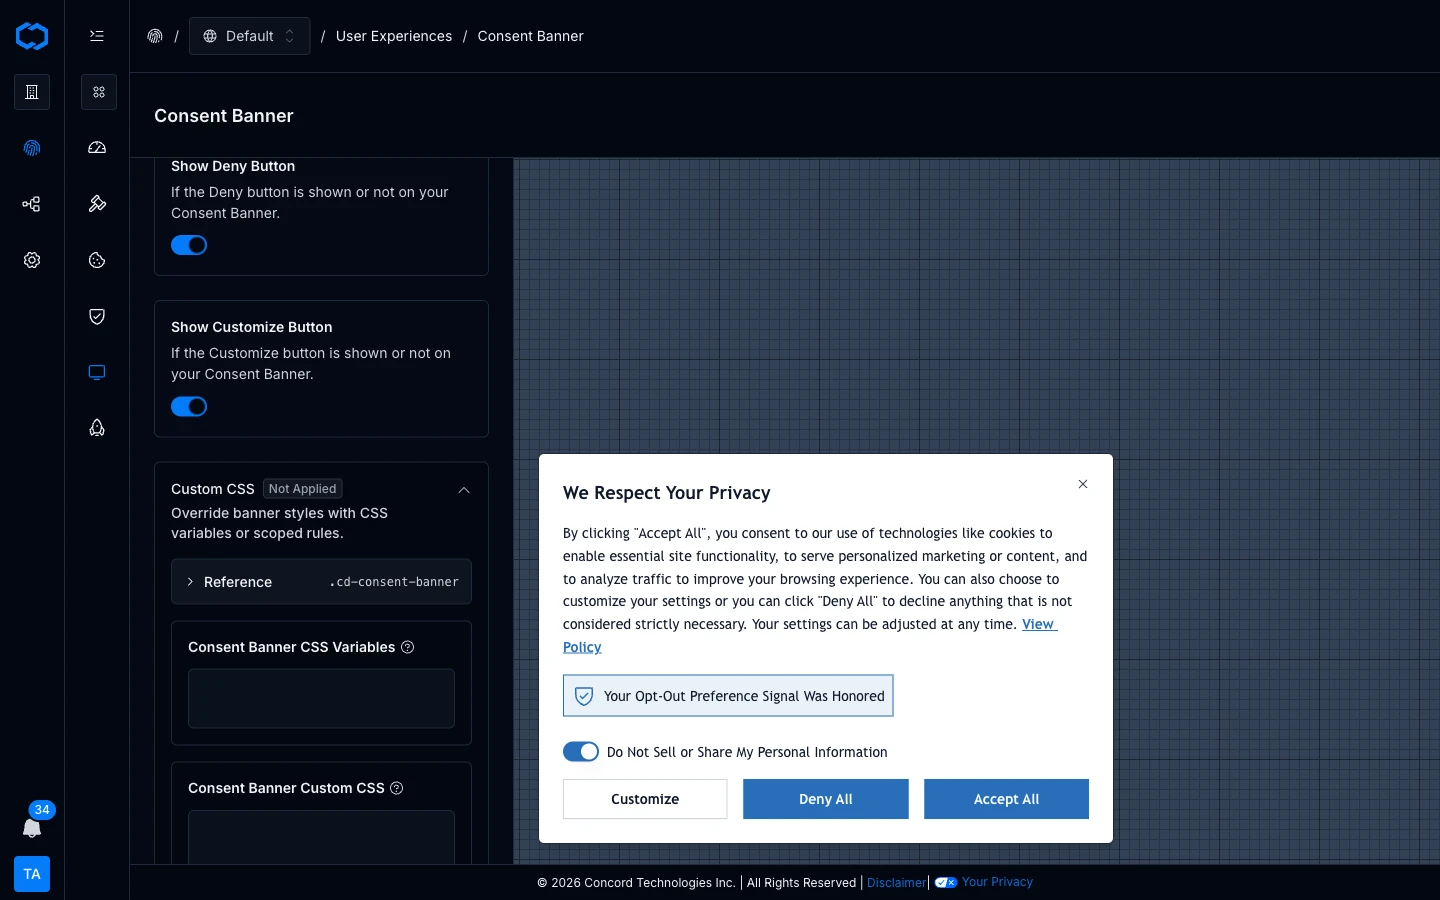
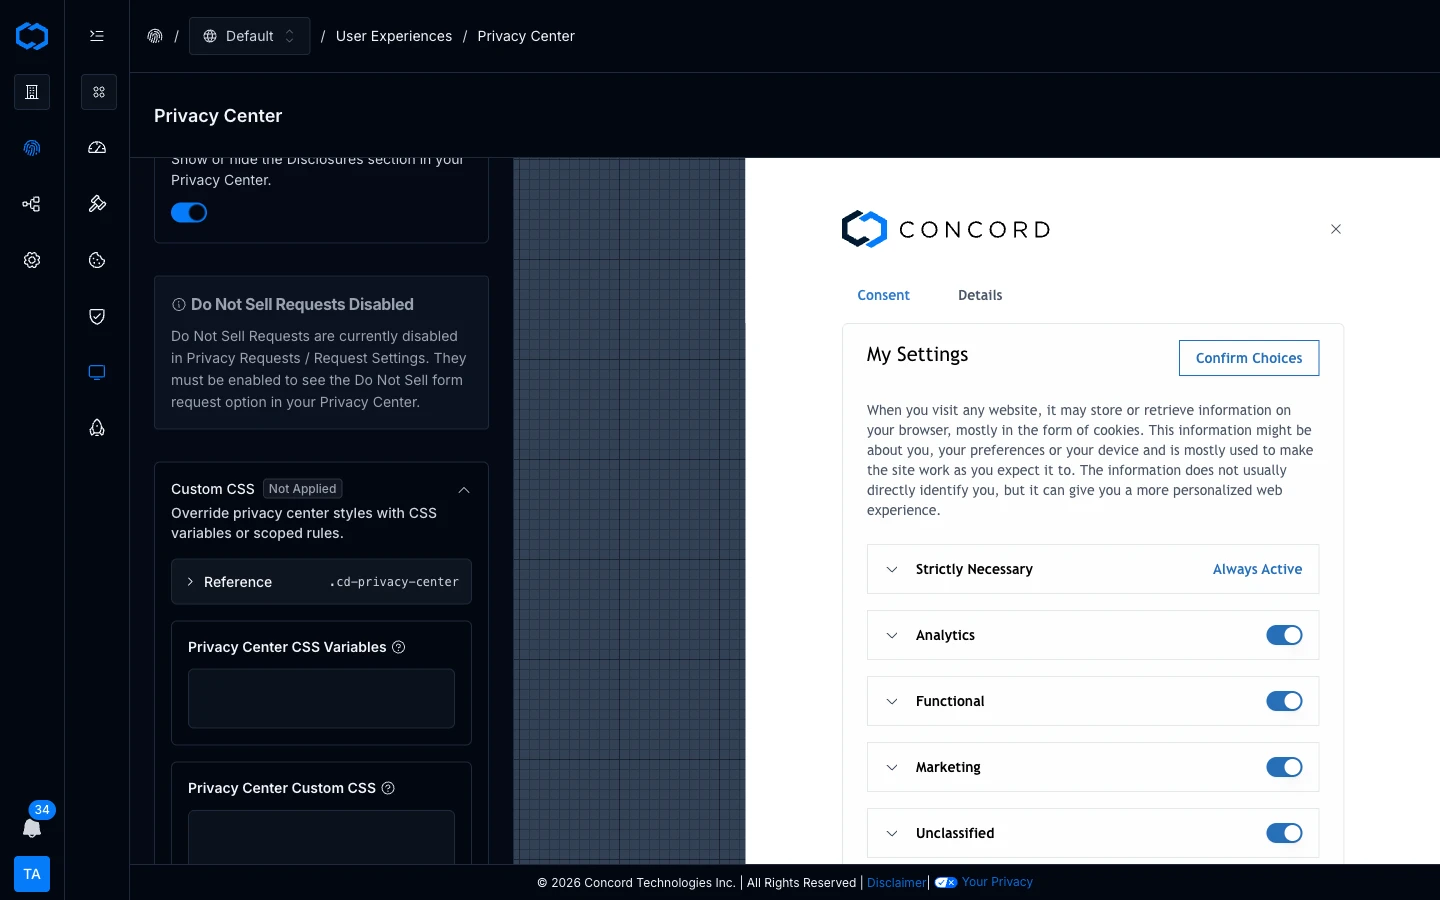
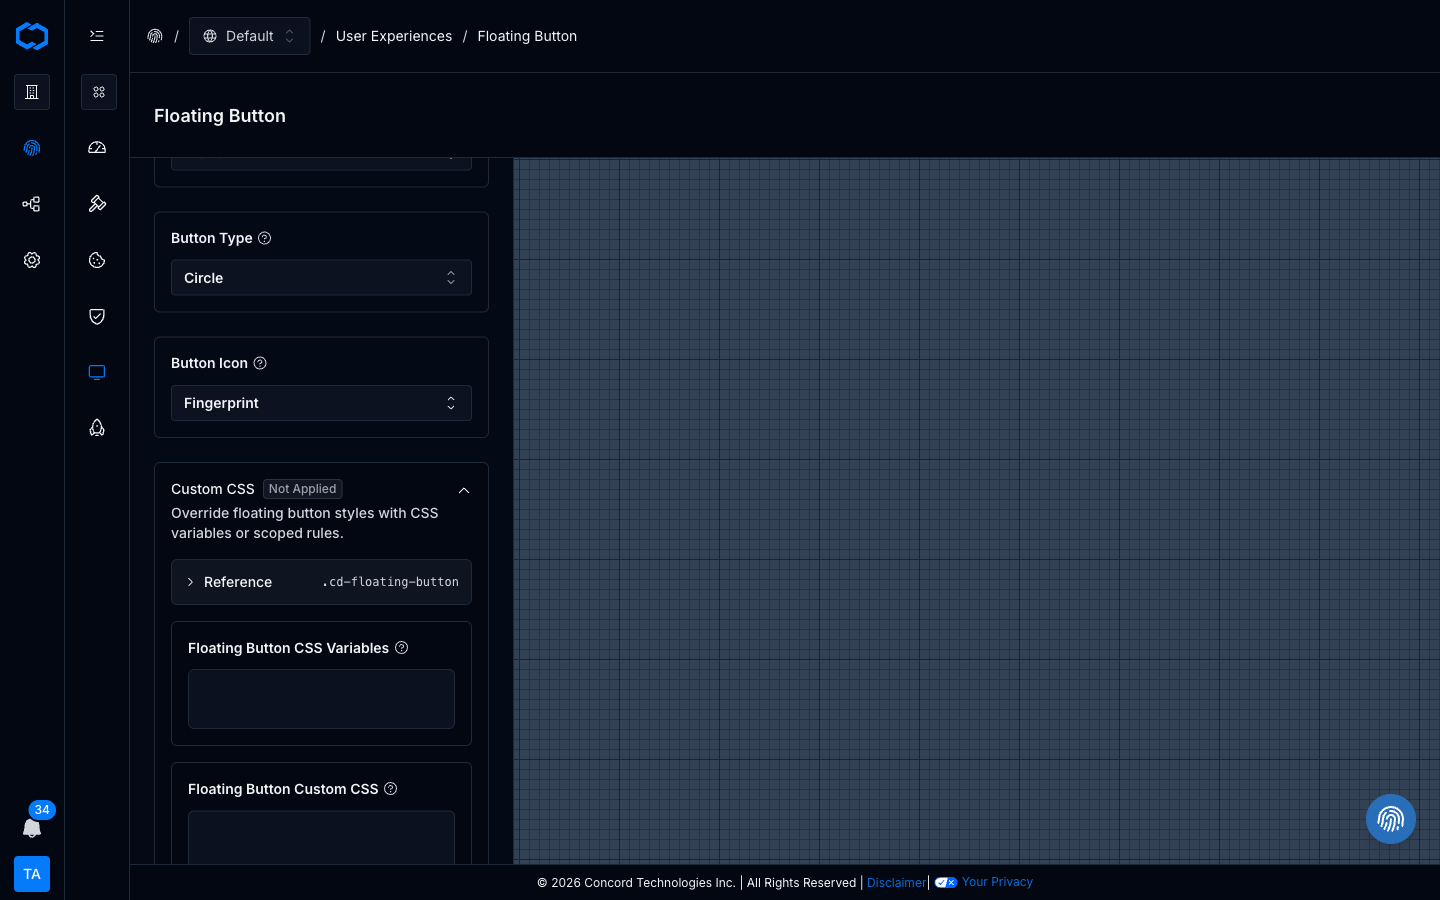
## How Overrides Are Applied
Concord composes the widget stylesheet in this order:
1. Base widget stylesheet.
2. Generated branding and theme CSS (from the built-in controls).
3. Your `customCssVariables`.
4. Your `customCss`.
Raw CSS wins over token declarations when both target the same final property. Because the widget renders inside a shadow DOM, page-level CSS doesn't leak into the widget and widget CSS doesn't leak into your site.
## Scope Selectors
Each widget renders with one of these classes on its root element — you don't add them yourself:
* `.cd-consent-banner`
* `.cd-privacy-center`
* `.cd-floating-button`
In the **CSS Variables** textarea, declarations are wrapped automatically in the correct scope. In the **Custom CSS** textarea, prefix your selectors with the matching `.cd-*` class so a rule meant for the privacy center doesn't accidentally match the consent banner or floating button.
## Token Reference (Common)
These are the tokens you'll reach for most often. The full list is shown in the **Reference** card inside each widget's Custom CSS panel.
### Shared
| Token | Purpose |
| ------------------------------- | ---------------------------------------------------------------------------- |
| `--cd-color-primary` | Main action color |
| `--cd-color-primary-foreground` | Text/icon color on primary actions |
| `--cd-color-primary-hover` | Hover state for primary actions |
| `--cd-color-secondary` | Secondary / brand background color |
| `--cd-color-background` | Base background |
| `--cd-color-foreground` | Base text color |
| `--cd-color-link` | Link color |
| `--cd-color-ring` | Focus ring color |
| `--cd-font` | Widget font family |
| `--cd-font-scale` | Unitless multiplier that scales every text size proportionally. Default `1`. |
| `--cd-radius-button` | Button corner radius |
| `--cd-radius-card` | Card corner radius |
### Consent Banner
| Token | Purpose |
| ---------------------------------------- | ------------------------------------------------------------------ |
| `--cd-color-cb-accept-button` | Accept button background |
| `--cd-color-cb-accept-button-foreground` | Accept button text |
| `--cd-color-cb-deny-button` | Deny button background |
| `--cd-color-cb-deny-button-foreground` | Deny button text |
| `--cd-color-cb-customize-button-border` | Customize button border |
| `--cd-color-cb-link` | Inline link color inside the banner |
| `--cd-offset-cb-y` | Distance (px) from the anchored vertical edge |
| `--cd-offset-cb-x` | Distance (px) from the anchored horizontal edge (box layouts only) |
### Privacy Center
| Token | Purpose |
| ------------------------------------- | ------------------------- |
| `--cd-color-pc-button` | Primary button background |
| `--cd-color-pc-button-foreground` | Primary button text |
| `--cd-color-pc-button-outline-border` | Secondary button border |
### Floating Button
| Token | Purpose |
| -------------------------- | ------------------------------------------------ |
| `--cd-color-fb-background` | Floating button background |
| `--cd-color-fb-foreground` | Floating button text/icon |
| `--cd-offset-fb-circle-x` | Horizontal offset for the circle floating button |
| `--cd-offset-fb-circle-y` | Vertical offset for the circle floating button |
## Examples
### Brand Color Swap
Paste into the **CSS Variables** box of any widget:
```css
--cd-color-primary: #0f766e;
--cd-color-primary-foreground: #ffffff;
--cd-color-primary-hover: #115e59;
```
### Consent Banner — Brand Fit Without Breaking Accept/Deny Parity
```css
--cd-color-cb-accept-button: #0f766e;
--cd-color-cb-accept-button-foreground: #ffffff;
--cd-color-cb-deny-button: #e5e7eb;
--cd-color-cb-deny-button-foreground: #111827;
--cd-color-cb-link: #0f766e;
--cd-radius-button: 9999px;
```
Keep Accept and Deny at comparable visual weight — both are real choices and regulators treat them that way.
### Typography
```css
--cd-font: 'Inter', system-ui, sans-serif;
--cd-font-scale: 1.0625;
```
### Floating Button Shadow (Raw CSS)
Paste into the Floating Button's **Custom CSS** box:
```css
.cd-floating-button {
box-shadow: 0 12px 32px rgba(3, 7, 18, 0.24);
}
```
### Lift the Banner Above a Sticky Mobile Footer
Paste into the Consent Banner's **Custom CSS** box:
```css
@media (max-width: 639px) {
.cd-consent-banner {
--cd-offset-cb-y: 72px;
}
}
```
## Troubleshooting
### My Changes Don't Appear
* Confirm your plan includes widget custom styling (Pro and above).
* Check for typos in the `--cd-*` token name.
* Confirm Custom CSS rules use one of the documented `.cd-*` selectors.
### Raw CSS Is Being Overridden by Something Else
Raw CSS is applied after token overrides, but if another `.cd-*` rule targets the same property with higher specificity, increase your selector's specificity rather than using page-level CSS.
### I Already Use Legacy Variables Like `--primary`, `--cb-*`, or `--pc-*`
Legacy variables are still supported via aliasing. New overrides should prefer the `--cd-*` tokens, but existing configurations don't need to be rewritten immediately.
## Related Documentation
* [Configuring the Consent Banner](/docs/configuring-consent-banner)
* [Managing Policy Links](/docs/managing-policy-links)
* [Consent Management Overview](/docs/consent-management-overview)
# Configuring IAB TCF v2.4
URL: /docs/iab-tcf-v2-3-configuration
***
title: 'Configuring IAB TCF v2.4'
description: 'How to enable and configure IAB Transparency and Consent Framework (TCF) v2.4 in Concord for GDPR-compliant advertising consent, including vendor management, stacks, legitimate interest, and privacy center integration.'
created: '2026-02-15T07:00:00.000Z'
updated: '2026-09-01T00:00:00.000Z'
-----------------------------------
## Overview
IAB TCF v2.4 is the industry-standard framework for collecting and managing user consent across the digital advertising ecosystem. It produces machine-readable Transparency and Consent (TC) strings that tell ad-tech vendors exactly what a user has consented to, replacing ambiguity with a clear, auditable signal.
TCF v2.3 introduced a key change that v2.4 keeps: the **Disclosed Vendors** signal is a required component of every consent string. This means vendors can verify whether they were actually presented to the user at the point of consent, strengthening accountability, particularly for legitimate interest scenarios, and aligning more closely with GDPR expectations around informed consent.
Organizations that serve ads in GDPR-regulated regions or work with IAB-registered ad-tech vendors should enable TCF in Concord.
## What's New in TCF v2.4
IAB Europe published TCF Specifications v2.4 and the matching Global Vendor List update on July 23, 2026. CMPs must implement the new disclosures on the web by October 23, 2026, and on mobile apps and CTV by February 23, 2027. Concord already supports TCF v2.4. When you select **IAB TCF v2.4** or **IAB TCF v2.4 with Google ATP**, Concord handles the following:
* **Standard Features explanation**: the Features layer shows IAB's standard explanation of Features, in the visitor's language.
* **Special Purposes notice**: the Vendors layer explains that vendor choices cover purposes and special features only, and that visitors cannot object to special purposes.
* **Cross-device notice**: when cross-device consent is on, the first layer says that choices also apply on the visitor's other devices.
* **Feature illustrations and Special Feature 2 name**: both come from the Global Vendor List, so they update when the GVL does.
* **Disclosed Vendors**: every IAB vendor you select is listed in the Disclosed Vendors segment of the TC string.
* **AC strings**: in Google ATP mode, AC strings follow Google's AC v2 format, and Google provider consent is kept separate from IAB vendor consent.
* **Languages**: the new strings ship in all 38 banner languages.
## Prerequisites
Before enabling TCF, confirm the following:
* **Admin access** to your Concord organization
* **A project with a configured region template** (TCF settings apply per-project)
* **A list of advertising technology vendors** your organization uses
* **Understanding of your Google advertising requirements**: specifically whether you need Google Additional Consent support for providers not on the IAB Global Vendor List
## Enabling TCF
1. Navigate to **Privacy > Consent > Consent Settings**.
2. Under **IAB TCF Framework**, open the **Mode** dropdown and select a mode:
| Mode | When to use |
| -------------------------------- | ---------------------------------------------------------------------------------------------------------------------------------------------------------------------------------------------------------- |
| **Disabled** | TCF functionality is off (default). Use if you do not serve ads in GDPR-regulated regions. |
| **IAB TCF v2.4** | Standard TCF for IAB-registered vendors. Generates TC strings conforming to the v2.4 specification. |
| **IAB TCF v2.4 with Google ATP** | Adds support for Google Additional Technology Providers (ATPs) that are not on the Global Vendor List. Use if your organization runs Google Ad Manager, AdSense, or other Google advertising technologies. |
4. Click **Save**.
Once saved, the **Vendors**, **Stacks**, and **Purposes** sub-tabs appear under the IAB TCF section.
## Managing Vendors
### IAB Vendors
1. With TCF enabled, click the **Vendors** sub-tab under **Privacy > Consent > Consent Settings > IAB TCF**.
2. The vendor table lists all IAB-registered vendors from the Global Vendor List (GVL), showing:
* **Vendor Name** and **Vendor ID**
* **Purposes**: the data processing purposes each vendor declares
* **Framework**: always "IAB" for standard vendors
3. Use **Search** to find vendors by name.
4. Check the box next to each vendor your organization uses. Hover over purpose numbers to see detailed descriptions.
5. Click **Save Selected Vendors** to apply. Click **Discard Changes** to revert.
The GVL syncs automatically. Any time you change advertising providers, check for new vendors relevant to your organization.
### Google Additional Technology Providers
Available only in **IAB TCF v2.4 with Google ATP** mode:
1. Click the **Google ATPs** tab.
2. Select the Google advertising technology providers your organization uses.
3. Click **Save Selected Providers**.
This generates both TC strings and AC (Additional Consent) strings, covering providers outside the standard GVL.
## Configuring Stacks
TCF Stacks group related purposes and special features together, simplifying the consent experience for end users. Instead of presenting each purpose individually, stacks bundle related processing activities.
1. Click the **Stacks** sub-tab.
2. Review the available stacks. Each shows a name, description, included purposes, and special features.
3. Check the stacks that match your use case and click **Save Selected Stacks**.
### Resolving Stack Conflicts
Concord automatically detects when selected stacks share purposes or special features. If a conflict is flagged:
* Select only one stack from the conflicting group, or
* Switch to individual purpose management instead of stacks
* Consult your privacy team if the correct grouping is unclear
## Purposes and Special Features
Click the **Purposes** sub-tab for a reference view of all IAB purposes, including purpose ID, name, description, and legal description. Purposes align with standard categories: Analytics, Marketing, Functional, and Strictly Necessary.
Two **special features** require explicit user consent:
* **Precise Geolocation**: access to precise location data
* **Device Scanning**: active device fingerprinting
## Legitimate Interest
TCF v2.4 recognizes legitimate interest as a legal basis separate from consent. Enabling it gives users independent controls for consent and legitimate interest on applicable purposes.
### Enabling Legitimate Interest
1. In TCF Settings, locate the **Enable Legitimate Interest** toggle.
2. Toggle **ON** and click **Save**.
When enabled, users see separate controls for consent and legitimate interest. Legitimate interests are never automatically assigned. Users must explicitly grant them, even when they consent to a related category such as marketing or analytics.
When disabled, only consent controls are displayed and all processing requires explicit consent. Disabling legitimate interest is appropriate for organizations following a strict interpretation of TCF v2.4.
## Google Advertiser Consent Mode
Google can derive Consent Mode signals directly from your TCF consent string. When you enable this integration, Concord sets the `enableAdvertiserConsentMode` flag on the `TCData` object exposed through the TCF API. Google then infers **`ad_storage`**, **`ad_user_data`**, and **`ad_personalization`** from the TC string, rather than relying on separate Google Consent Mode signals for those types.
This integration is your choice and is **off by default**.
### Enabling Advertiser Consent Mode
1. In TCF Settings, locate the **Allow Google Consent Mode to read TCF signals** toggle.
2. Toggle **ON** to set `enableAdvertiserConsentMode` on the TCData object.
3. Click **Save**.
### Notes
* This setting is independent of the **Google Consent Mode (GCM)** mode you select on the **Integrations** tab under **Privacy > Consent > Consent Settings** (per region). `analytics_storage` is still driven by Google Consent Mode, so keep GCM set to **Basic** or **Advanced** (not **Disabled**) to signal it alongside TCF.
* If TCF is enabled but Google Consent Mode is set to **Disabled**, no Consent Mode signals are sent to Google at all, including `analytics_storage`. Concord shows a warning in the admin in that case.
* For background, see Google's [Implement the Transparency & Consent Framework](https://developers.google.com/tag-platform/security/guides/implement-TCF-strings) guide.
For full setup of the Google Consent Mode integration, see [Understanding & Configuring Google Consent Mode (GCM) V2](/docs/google-understanding-configuring-google-consent-mode-gcm-v2).
## Privacy Center Integration
When TCF is enabled, the privacy center automatically adapts to present TCF-specific information.
### Tab Ordering
The privacy center displays **Purposes & Features** before **Vendors**, so users understand what their data is used for before seeing which vendors process it.
### Button Layout
* **Accept All** and **Reject All** are grouped together for quick decisions
* **Confirm Choices** appears separately for users who customize individual preferences
### Category Detail Pages
When a user views a consent category (e.g., Marketing or Analytics), the detail page shows:
* **Vendor Information**: TCF vendors that process data for this category
* **Purpose Details**: specific IAB purposes associated with the category
* **Navigation Links**: direct links to the full vendor and purpose lists
The layout is responsive: two-column grid on desktop, single-column on mobile.
## Cross-Device Consent
If cross-device identity is enabled for your organization, TCF consent follows users across devices automatically. A user who grants consent on their laptop will have that same TCF consent applied on their phone once identified.
No additional TCF-specific configuration is required. For setup details, see [Implementing Cross-Device Identity and Consent](/docs/implementing-cross-device-identity-and-consent).
## Reporting
TCF consent events appear in the standard Concord reporting dashboards alongside other consent activity. You can filter by consent type, purpose, and vendor to see which vendors users accept or reject most frequently.
TC string generation events and consent updates are logged as part of your project's consent audit trail.
## Testing Your Configuration
### Verify the TCF API
1. Visit your website where Concord is installed.
2. Open browser developer tools (Console tab).
3. Run:
```javascript
__tcfapi('ping', 2, function (pingData) {
console.log('TCF API Status:', pingData);
});
```
The response should show `cmpLoaded: true` and our CMP ID, 491.
### Verify TC String Generation
1. Clear your browser's localStorage for the site.
2. Visit the site and interact with the consent banner.
3. Run:
```javascript
__tcfapi('getTCData', 2, function (tcData) {
console.log('TC String:', tcData.tcString);
console.log('Vendor Consents:', tcData.vendor.consents);
console.log('Purpose Consents:', tcData.purpose.consents);
});
```
4. Confirm the TC string is non-empty and vendor/purpose consent objects reflect your selections.
### Verify Google AC String
If using Google Additional Consent mode, check for `addtlConsent` in the TC data:
```javascript
__tcfapi('getTCData', 2, function (tcData) {
console.log('AC String:', tcData.addtlConsent);
});
```
### Verify Advertiser Consent Mode
If you enabled **Allow Google Consent Mode to read TCF signals**, confirm the flag is present on the TCData object:
```javascript
__tcfapi('getTCData', 2, function (tcData) {
console.log('Advertiser Consent Mode:', tcData.enableAdvertiserConsentMode);
});
```
This returns `true` when the setting is enabled and `false` (or `undefined`) when it is off. The flag is also present in `addEventListener` callbacks, so it persists as consent changes.
## Ongoing Maintenance
| Cadence | Action |
| ------------- | -------------------------------------------------------------------------------------------------------- |
| **Weekly** | Review the GVL sync for new vendors relevant to your organization. The sync runs automatically. |
| **Monthly** | Audit selected vendors to confirm they are still in use. Review consent metrics in reporting dashboards. |
| **Quarterly** | Review stack selections. Audit compliance with current regulations. |
## Troubleshooting
**TCF API not available** (`__tcfapi` is undefined)
* Verify TCF mode is not set to Disabled on the **General Settings** tab under **Privacy > Consent > Consent Settings**.
* Confirm the Concord script is loading without errors.
**Vendors not appearing in the table**
* Confirm TCF mode is saved and active.
* Wait for the weekly GVL sync to complete.
* Verify the vendor exists in the current IAB Global Vendor List.
**Consent not persisting across visits**
* Check that browser localStorage is not disabled or full.
* Verify third-party cookie settings are not blocking storage.
* Confirm the domain configuration matches between your site and Concord settings.
**TC string is empty or malformed**
* Verify at least one vendor is selected.
* Confirm required purposes are configured.
* Check the browser console for error messages.
**Google is not deriving ad consent from TCF**
* Confirm the **Allow Google Consent Mode to read TCF signals** toggle is ON on the **General Settings** tab (IAB TCF box).
* Verify Google Consent Mode is not set to **Disabled**. When TCF is enabled but GCM is Disabled, no Consent Mode signals are sent. Set GCM to **Basic** or **Advanced** on the **Integrations** tab under **Privacy > Consent > Consent Settings**.
* In the browser console, run the `getTCData` check above and confirm `enableAdvertiserConsentMode` returns `true`.
If these steps do not resolve the issue, contact Concord support at [support@concord.tech](mailto:support@concord.tech) with your organization ID and any console error messages.
# Implementing Cross-Device Identity and Consent
URL: /docs/implementing-cross-device-identity-and-consent
***
title: 'Implementing Cross-Device Identity and Consent'
description: "A step-by-step guide for developers to implement Concord's cross-device identity resolution, ensuring a user's consent choices follow them across every browser and device."
created: '2026-03-17T00:00:00.000Z'
updated: '2026-03-17T00:00:00.000Z'
-----------------------------------
## Overview
A single person often visits your site from multiple devices — a phone, a laptop, a tablet. Without cross-device identity, each device is treated as a separate visitor with its own consent state. Concord's Identity system solves this by linking anonymous browser sessions to a known user. When someone identifies themselves (for example, by logging in), their consent choices follow them across every device and project in your organization.
This guide walks you through the full integration, from generating authentication keys to calling `identify()` in your frontend code.
## How Concord Identifies Users
Before diving into code, it helps to understand the three layers Concord uses to track visitors and their consent.
| Concept | What It Represents | Lifetime |
| ------------ | ------------------- | ------------------------------------------------ |
| **Identity** | The person | Permanent — survives across devices and sessions |
| **Context** | A browser or device | Created once per browser, never changes |
| **Session** | A single visit | Short-lived, used for API authentication |
Here's how they relate:
```text
One Person (Identity)
└── Many Devices (Context)
└── Many Visits (Session)
```
* One identity can have many contexts — the same person on their laptop and phone.
* One context can have many sessions — multiple visits from the same browser over time.
* **Consent is stored on the identity**, so it follows the person everywhere.
### What Happens When a Visitor Arrives
When someone first visits your site, Concord automatically creates all three: a new session for this visit, a new context for this browser, and a new anonymous identity. At this point the visitor is anonymous, but their consent choices are already tied to their identity.
### What Happens During `identify()`
When the visitor identifies themselves (for example, after login), Concord links their anonymous identity to a known one:
* **First device**: The visitor's anonymous identity gains an email (or userId) alias. Nothing else changes — `synced: false`.
* **Second device**: A different anonymous identity exists on this browser. When the visitor identifies with the same email, Concord finds the existing identity from the first device, merges the two, and syncs consent — `synced: true`.
After a merge, the browser's context stays the same — only which identity it belongs to is updated. The visitor's consent from the first device is now available on the second.
## Prerequisites
Before beginning the integration, ensure the following:
1. **Cross-device consent enabled** in your Concord Organization settings (**Advanced Settings > Cross-Device Consent**).
2. **Concord site-client snippet** installed and initialized on your site.
3. **An asymmetric key pair** for JWT authentication (required for email and userId flows — not needed for contextId).
## Step 1: Set Up Authentication Keys
Concord uses JWT authentication to verify identity requests. Your server signs a short-lived token with a private key; Concord verifies it with the corresponding public key you upload.
### Generate an EC P-256 Key Pair
```bash
# Generate EC private key
openssl ecparam -genkey -name prime256v1 -noout -out identify-key.pem
# Extract public key
openssl ec -in identify-key.pem -pubout -out identify-key-pub.pem
```
### Convert to JWK Format
Concord accepts public keys in JWK format. You can convert your PEM keys using a tool like [jwt.io](https://www.jwt.io/) or with the Node.js scripts below.
**Private key JWK** (keep this secret — used on your server to sign tokens):
```bash
node -e "
const crypto = require('crypto');
const fs = require('fs');
const priv = crypto.createPrivateKey(fs.readFileSync('identify-key.pem'));
const jwk = priv.export({ format: 'jwk' });
jwk.kid = 'my-key-1';
jwk.alg = 'ES256';
jwk.use = 'sig';
console.log(JSON.stringify(jwk, null, 2));
" > identify-private.jwk
```
**Public key JWK** (upload this to Concord):
```bash
node -e "
const crypto = require('crypto');
const fs = require('fs');
const pub = crypto.createPublicKey(fs.readFileSync('identify-key-pub.pem'));
const jwk = pub.export({ format: 'jwk' });
jwk.kid = 'my-key-1';
jwk.alg = 'ES256';
jwk.use = 'sig';
console.log(JSON.stringify(jwk, null, 2));
" > identify-public.jwk
```
### Upload the Public Key
Upload your public key via the Concord admin UI under **Deployment > Advanced Settings > Public Keys**. The `kid` value you set here (e.g., `my-key-1`) must match the `kid` in the JWT header your server generates.
## Step 2: Generate Tokens on Your Server
Your server must generate a JWT for each identify call. The token proves the request is legitimate and prevents impersonation.
### Required JWT Fields
| Field | Location | Required | Description |
| ----- | -------- | -------- | ----------------------------------------------------- |
| `alg` | Header | Yes | Algorithm — e.g., `ES256` for EC P-256 |
| `kid` | Header | Yes | Must match the `kid` of an uploaded public key |
| `sub` | Payload | Yes | Must exactly match the `value` passed to `identify()` |
| `exp` | Payload | Yes | Expiration timestamp (maximum 10 minutes from now) |
| `aud` | Payload | Optional | If present, must match your Organization ID |
### Option A: Node.js `crypto` (Zero Dependencies)
```javascript
const crypto = require('crypto');
const fs = require('fs');
const privateKey = crypto.createPrivateKey(fs.readFileSync('identify-key.pem'));
function generateIdentifyToken(identifyValue) {
const b64url = (obj) =>
Buffer.from(JSON.stringify(obj)).toString('base64url');
const header = { alg: 'ES256', kid: 'my-key-1' };
const payload = {
sub: identifyValue,
exp: Math.floor(Date.now() / 1000) + 300, // 5 minutes
};
const data = b64url(header) + '.' + b64url(payload);
const sig = crypto
.sign('SHA256', Buffer.from(data), privateKey)
.toString('base64url');
return data + '.' + sig;
}
```
### Option B: Using `jsonwebtoken`
```bash
npm install jsonwebtoken
```
```javascript
const jwt = require('jsonwebtoken');
const fs = require('fs');
const privateKey = fs.readFileSync('identify-key.pem');
function generateIdentifyToken(identifyValue) {
return jwt.sign({ sub: identifyValue }, privateKey, {
algorithm: 'ES256',
expiresIn: '5m',
keyid: 'my-key-1',
});
}
```
### Deliver the Token to the Browser
Pass the token to your frontend via an API endpoint, a page template variable, or any secure channel. The token is short-lived and scoped to a single identity value.
```javascript
// Example: API endpoint (behind your existing auth)
app.get('/api/identify-token', authenticate, (req, res) => {
const { email } = req.user; // from your auth/session
const token = generateIdentifyToken(email);
res.json({ token, email });
});
```
On the client side, fetch the token and pass both values to `identify()`:
```javascript
const { token, email } = await fetch('/api/identify-token').then((r) =>
r.json(),
);
await window.concord.identify(email, { token });
```
## Step 3: Identify Users in the Browser
There are several integration patterns depending on when and how you know the user's identity.
### Pattern A: After Login (Most Common)
Call `identify()` after the user logs in or when your app confirms their identity. The first argument is the identifier value (such as an email address), and the `token` option is the JWT from your server.
```javascript
async function onUserLogin(email, jwtToken) {
const result = await window.concord.identify(email, {
token: jwtToken,
});
if (result.synced) {
// Consent was synced from another device.
// The SDK has already refreshed consent data — no action needed.
console.log('Consent synced from another device');
} else {
// First time identifying with this email, or same identity.
// No merge happened — consent banner will show as normal.
console.log('Identity registered');
}
}
```
### Pattern B: Server-Rendered Pages (Pre-Init)
For pages where the user's identity is known before the Concord snippet loads (for example, server-rendered authenticated pages), set `window.concordIdentity` before the SDK initializes. This resolves identity during initialization, **before** the consent banner renders — preventing a "flash of consent banner" for returning users.
```html
{/* Concord snippet */}
```
### Pattern C: Customer ID (userId)
If you identify users by an internal customer ID rather than email:
```javascript
const result = await window.concord.identify('customer-12345', {
type: 'userId',
token: jwtToken, // JWT sub must be 'customer-12345'
});
```
The userId is stored as-is (not hashed) and is scoped to your organization. The same userId will match across all projects within your organization.
### Pattern D: ContextId (No JWT Needed)
If you have a contextId from another session (for example, from a cross-domain flow), you can use it to link two sessions without JWT authentication:
```javascript
const result = await window.concord.identify(otherContextId, {
type: 'contextId',
});
```
Or via pre-init:
```javascript
window.concordIdentity = {
type: 'contextId',
value: otherContextId,
};
```
**Why no JWT?** A contextId is a cryptographically random UUID — it is not personally identifiable. Concord validates that the referenced context exists before merging.
## Step 4: Handle the Result
### Return Values
| Field | Type | Description |
| -------- | ------------------ | ----------------------------------------------------------------------------------------------------------------------------- |
| `synced` | `boolean` | `true` if consent was synced from another device; `false` if this is the first identification or the identity already matches |
| `error` | `Error` (optional) | Present if something went wrong |
When `synced` is `true`, the SDK automatically:
1. Updates the session token
2. Refreshes consent data from the server
3. Dispatches a `concord-identity-synced` event
You do not need to manually refresh consent or update the session.
### Event Listeners
```javascript
// React to identity sync
window.addEventListener('concord-identity-synced', (event) => {
console.log('Identity synced:', event.detail.synced);
});
// React to identity reset (logout)
window.addEventListener('concord-identity-reset', () => {
console.log('Identity reset to anonymous');
});
```
## Step 5: Handle Logout
When a user logs out, call `reset()` to clear the session and create a new anonymous identity. This ensures the next visitor on a shared device starts fresh and does not inherit the previous user's consent.
```javascript
async function onUserLogout() {
await window.concord.reset();
// Session cleared, new anonymous identity created.
// The consent banner will reappear on the next page load.
}
```
## Advanced: Pre-Hashed Emails
By default, Concord hashes emails server-side using a per-organization salt. If you prefer to hash emails on your own server before sending them to the browser (to avoid exposing plaintext emails in client-side code), use the `format: 'hashed'` option:
```javascript
const result = await window.concord.identify(hashedEmail, {
type: 'email',
format: 'hashed',
token: jwtToken, // JWT sub must match the hashed value
});
```
When using `format: 'hashed'`:
* The value is used as-is (Concord does not hash it again)
* No email format validation is performed
* The JWT `sub` claim must match the hashed value, not the original email
## Configuration Reference
### `identify()` Parameters
```javascript
window.concord.identify(value, options);
```
| Parameter | Type | Required | Description |
| ---------------- | ------ | ----------- | ----------------------------------------------------------------------------------------- |
| `value` | string | Yes | The identifier — an email, userId, or contextId |
| `options.type` | string | No | `'email'` (default), `'userId'`, or `'contextId'` |
| `options.format` | string | No | `'plain'` (default) or `'hashed'` — only applies to email type |
| `options.token` | string | Conditional | JWT signed by your server. Required for `email` and `userId`. Not needed for `contextId`. |
### `window.concordIdentity` (Pre-Init)
| Property | Type | Required | Description |
| -------- | ------ | ----------- | ----------------------------------------------------------------------------------------- |
| `type` | string | Yes | `'email'`, `'userId'`, or `'contextId'` |
| `value` | string | Yes | The identifier value |
| `format` | string | No | `'plain'` (default) or `'hashed'` — only applies to email type |
| `token` | string | Conditional | JWT signed by your server. Required for `email` and `userId`. Not needed for `contextId`. |
## Frequently Asked Questions
1. **I'm getting a `403 Forbidden` error on `/identify`.**
Cross-device consent is not enabled for your organization. Enable it in the admin UI under **Advanced Settings > Cross-Device Consent**, or contact your Concord administrator.
2. **I'm getting a `401 Unauthorized` error on `/identify`.**
The JWT is missing, expired, or invalid. Check that:
* The `token` option is included in your `identify()` call (required for email and userId)
* The JWT `sub` claim matches the `value` you passed to `identify()` exactly
* The JWT `kid` matches a public key uploaded to your organization
* The JWT `exp` is in the future (maximum 10 minutes from now)
* The algorithm is asymmetric (ES256, RS256, etc.) — HMAC algorithms are not accepted
3. **`identify()` returns `synced: false` — is something wrong?**
Not necessarily. `synced: false` is expected in these cases:
* **First identification**: The first time Concord sees an email or userId, no match exists yet. The alias is registered for future matches.
* **Same identity**: If the current session already belongs to the matched identity, no merge is needed.
* **Different organization**: Alias lookups are scoped to your organization. Sessions from different organizations will not match.
4. **The consent banner still shows after calling `identify()`.**
* Verify that `identify()` returned `synced: true` with no error.
* The SDK automatically refreshes consent data after a successful sync. If the banner persists, check that consent was actually recorded on the target identity (the one that was identified first on another device).
* Ensure the consent types in the target identity's project match the active Region Template for your current project.
5. **My pre-init identity (`window.concordIdentity`) isn't working.**
* It must be set **before** the Concord snippet loads.
* The value must be an object with at least `type` and `value` properties.
* The property is consumed once during initialization — it cannot be reused on the same page.
6. **Does the contextId flow require a JWT?**
No. Since a contextId is a cryptographically random UUID (not personally identifiable), it does not require JWT authentication. This makes it ideal for cross-domain syncing where you may not have a server-side token endpoint on every domain.
7. **What happens to consent when a user logs out?**
When you call `reset()`, the session is cleared and the browser returns to an anonymous state. The next visitor on that device will not inherit the previous user's consent — they will start fresh with a new anonymous identity.
# Manually Blocking Trackers Before Consent
URL: /docs/manually-blocking-trackers-before-consent
***
title: 'Manually Blocking Trackers Before Consent'
description: 'Learn how to manually block a tracker when needed using Concord'
created: '2025-06-20T11:02:57.000Z'
updated: '2025-12-05T13:29:11.000Z'
-----------------------------------
In most cases, **manual intervention is not required** thanks to Concord's advanced tracker **auto-detection and blocking system**. However, if you're encountering a particularly problematic script or want to **guarantee a tracker is blocked** before consent is given, you can use one of our **manual blocking methods**.
## When to Use Manual Blocking
Use this approach **only when**:
* A tracker is **executing too early** before Concord can intercept it
* An inline tracker is **making a network request** you would like to stop prior to auto-blocking
* You're troubleshooting a script that **evades detection**
* You want **complete control** over when and how a script loads based on consent
* A script **dynamically constructs URLs** at runtime (e.g., from configuration variables)
## Method 1: HTML Attribute Blocking (For Scripts with Static URLs)
This method works for scripts that have a **static `src` attribute**. Concord will restore the `src` and re-enable the script when consent is granted.
### Instructions
To manually block a tracker from running until Concord has processed the page and consent is determined, update the `
{/* Manually blocked version (will wait for consent) */}
```
This will prevent the script from loading or executing **until** Concord detects and reactivates it, based on user consent.
***
## Method 2: JavaScript API (For Dynamic or Inline Scripts)
Some trackers use **inline scripts that dynamically inject other scripts** at runtime. These cannot typically be blocked using HTML attributes because:
* The script URL is **constructed dynamically** (e.g., from configuration variables)
* There's **no static `src`** for Concord to restore
For these cases, use Concord's **JavaScript API** to conditionally load scripts based on consent.
### API Reference
#### window\.concord.consent.hasConsent(category)
Check if consent has been granted for a specific category.
```javascript
if (window.concord.consent.hasConsent('marketing')) {
// User has consented to marketing - safe to load tracker
loadTracker();
}
```
Parameters:
* `category` (string): The consent category (`'marketing'`, `'analytics'`, `'functional'`, etc.)
**Returns:** `boolean` - `true` if consent granted, `false` otherwise
#### window\.concord.consent.onConsent(category, callback)
Register a callback to execute when consent is granted. If consent is **already granted**, the callback executes **immediately**. The callback will only fire once, then the listener is automatically removed.
```javascript
window.concord.consent.onConsent('marketing', function () {
// This runs when marketing consent is granted
loadTracker();
});
```
Parameters:
* `category` (string): The consent category
* `callback` (function): Function to execute when consent is granted
### Example: Blocking a Dynamic Script Loader
Some trackers configure settings in a variable and then dynamically inject scripts. Here's how to make them consent-aware:
**Original script (ignores consent):**
```html
```
**Consent-aware version:**
```html
```
### Example: Simple Conditional Loading
For simpler cases where you just need to check consent before loading:
```html
```
***
## Which Method Should I Use?
| Scenario | Recommended Method |
| ------------------------------------------ | ------------------------- |
| Script has a static `src` attribute | Method 1: HTML Attributes |
| Script dynamically builds URLs from config | Method 2: JavaScript API |
| Inline script that injects other scripts | Method 2: JavaScript API |
| Custom tracking code you control | Method 2: JavaScript API |
***
## Best Practices
* **Don't use this for every tracker.** Use only for problematic scripts or scripts that require guaranteed pre-consent blocking
* Concord will automatically handle most common marketing, analytics, and advertising trackers
* Method 1 (HTML attributes) is fully compatible with `async` and `defer` attributes - Concord will restore them when reinserting the script
* **Prevent double-loading** when using Method 2 - use a flag variable to ensure your tracker only loads once
* **Always check for `window.concord`** - the API may not be available immediately if your script runs before Concord loads
***
## Events Reference
Concord emits events you can listen to for custom integrations:
| Event | Description |
| ------------------------------- | ------------------------------------------------------------ |
| `concord-loaded` | Fired when the Concord script has loaded |
| `concord-config-ready` | Fired when Concord configuration is loaded |
| `concord-ready` | Fired when Concord has fully initialized and is ready to use |
| `concord-unavailable` | Fired when Concord aborts and is unavailable |
| `concord-consent-state-loading` | Fired when consent state is being fetched |
| `concord-consent-state-loaded` | Fired when consent state has finished loading |
| `concord-consent-state-changed` | Fired when the user updates their consent preferences |
### Example Usage
```javascript
window.addEventListener('concord-ready', function () {
console.log('Concord is ready');
});
```
```javascript
window.addEventListener('concord-consent-state-changed', function () {
console.log('User updated consent preferences');
});
```
***
If you're unsure whether manual blocking is needed for a particular script, [contact support](mailto:support@concord.tech) and we'll help you evaluate the best approach.
# Running Compliance Scans
URL: /docs/running-compliance-scans
***
title: 'Running Compliance Scans'
description: 'Test how your live site handles consent: choose jurisdictions and checks, run a Compliance Scan once or on a schedule, and turn failed checks into tasks.'
created: '2026-09-28T00:00:00.000Z'
updated: '2026-09-28T00:00:00.000Z'
-----------------------------------
## Overview
A **Compliance Scan** loads your live site the way a visitor would and tests how it actually behaves: whether trackers fire before consent, whether rejecting really stops them, whether the site honors Global Privacy Control, and more. Choose the jurisdictions you care about, and each scan loads your site from that region, so it sees the consent experience a visitor there would see.
Compliance Scans are available on paid plans. If you don't see **Compliance Scan** in the Actions catalog, [contact us](/contact?subject=demo) to turn it on for your organization.
{/* Screenshot pending: Actions > Browse Catalog > Compliance Scan configuration -> /docs/compliance-scan-configure.png */}
## Setting Up a Compliance Scan
1. Go to **Actions → Browse Catalog** and choose **Compliance Scan**.
2. Choose the domain or subdomain to scan.
3. Choose one or more jurisdictions.
4. Choose which checks to run. Checks a jurisdiction requires are turned on for you.
5. Run the scan once, or set it to run on a schedule.
## Jurisdictions
* California (CCPA/CPRA)
* European Union / UK (GDPR)
* United States (General)
* Canada (PIPEDA)
* Brazil (LGPD)
* India (DPDPA)
Checks follow the jurisdiction. Under opt-in regimes like GDPR, tracking before consent is a failure. Under opt-out laws like CCPA/CPRA, it's advisory.
## Checks
* **Pre-consent tracking:** checks whether non-essential trackers fire before the visitor gives consent.
* **Global Privacy Control:** sends a GPC signal and checks that the site treats it as an opt-out, as several state laws require.
* **Choice symmetry:** checks that rejecting is as easy as accepting, with no dark-pattern imbalance in the banner.
* **Reject efficacy:** after the visitor rejects, checks that non-essential trackers actually stop firing.
* **Privacy policy freshness:** finds the linked privacy policy and checks that it was updated in the last 12 months.
* **Data-subject request intake:** scans the policy for a way to exercise data rights, such as a form, an email address, or an account page.
* **Consent-state mismatch:** checks that observed tracking matches the consent the visitor actually granted.
* **Do Not Sell or Share (CCPA):** checks for a working Do Not Sell or Share opt-out, as CCPA/CPRA requires.
* **Third-party tracking (CIPA):** checks whether third-party pixels or session replay send data before consent.
## Reading Results
Each run appears in the **Activity** list under **Actions**. Expand a run to see:
* An overall **Risk** level of **Low**, **Medium**, or **High**, based on the problems found.
* Each check's result: **Pass**, **Fail**, or **Inconclusive** when there isn't enough evidence to call it. A check can also show **Not applicable** for the jurisdiction, or **Disabled** if you turned it off for this scan.
* For each check, what was checked, what was found, and how to fix it.
{/* Screenshot pending: Actions > Activity, expanded Compliance Scan run -> /docs/compliance-scan-results.png */}
## Turning Failures Into Tasks
On any failed check, click **Create task** to open a task for the fix, so it stays on your team's list until it's resolved.
## Cost
Each scan uses **2,500 Actions** plus up to **50 Data Credits** for each jurisdiction it covers. If the scan can't load your site at all, it isn't charged. See [Actions and Data Credits](/docs/actions-data-credits).
## Related Articles
* [Scanning Your Site for Trackers and Cookies](/docs/scanning-trackers-cookies-scripts)
* [Google Consent Mode V2 (GCM) Scanning User Guide](/docs/google-gcm-scanning-user-guide)
* [Actions and Data Credits](/docs/actions-data-credits)
# Scanning Your Site for Trackers and Cookies
URL: /docs/scanning-trackers-cookies-scripts
***
title: "Scanning Your Site for Trackers and Cookies"
description: 'Choose which domains and subdomains Concord scans for trackers, set a schedule or scan on demand, and review what each scan finds.'
created: '2025-11-01T11:02:57.000Z'
updated: '2026-09-28T00:00:00.000Z'
-----------------------------------
Concord's tracker scanning finds the cookies, scripts, iframes, images, and other trackers running on your websites, so your Cookies & Scripts list stays current. You control exactly what each scan covers, how often it runs, and what it costs.
This guide covers how to:
* Choose which domains and subdomains a scan covers
* Scan on a schedule or on demand
* Understand scan frequency and cost
* Turn on Deep Scan and Real-Time Scan
* Review scan history and scan results
{/* Screenshot pending: Consent > Cookies & Scripts > Settings (Scan Coverage & Schedule) -> /docs/trackers-scan-coverage-schedule.png */}
## Choosing What a Scan Covers
Each project has one tracker scan that covers its domains in a single run. Set it up under **Consent → Cookies & Scripts → Settings**, in the **Scan Coverage & Schedule** card.
* **Project Domains:** every domain in the project is included by default. Uncheck a domain to leave it out of the scan.
* **Extra Subdomains:** add subdomains beyond your project domains, like `app.yourdomain.com`. Each extra subdomain uses 1,000 Actions on every run, scheduled or on demand.
## Scanning on a Schedule
1. Go to **Consent → Cookies & Scripts → Settings**.
2. In **Scan Coverage & Schedule**, turn on **Enable Scheduled Scans**.
3. Choose how often the scan runs. New schedules default to monthly.
4. Save your settings.
Concord picks an off-peak time for each scheduled run, so there's no day or hour to set. Scheduled runs include your registered project domains at no cost; only extra subdomains use Actions.
## Scan Frequency by Plan
Your plan sets how often scheduled scans can run. See [pricing](https://concord.tech/pricing) for plan details.
* **Lite:** quarterly
* **Essentials:** monthly
* **Pro:** weekly
* **Premium and Enterprise:** daily
Scheduled and on-demand scans are available on paid plans.
## Scanning on Demand
1. Go to **Consent → Cookies & Scripts → Scan History**.
2. Click **Scan Now**.
3. Review the cost shown in the confirmation, then confirm.
An on-demand scan uses 1,000 Actions for each domain it scans, including your project domains, drawn from your monthly Actions allowance. See [Actions and Data Credits](/docs/actions-data-credits).
## Tracker Scan Settings
Under **Consent → Cookies & Scripts → Settings**, the **Tracker Scan Settings** card has options for broader coverage:
* **Enable Deep Scan:** looks for less common potential trackers (scripts, iframes, links, images, and more) that don't match Concord's global tracker library. Deep Scan surfaces many more items and usually needs a longer review. Most can be ignored, but anything that interacts with or stores customer data should be classified. It's most useful during audits or stricter compliance checks.
* **Enable Real-Time Scan:** detects cookies and scripts as visitors use your site, which catches trackers that only load in certain situations. Detected items appear in **Scan Results** for review.
* **Auto-Add Backend Scan Matches:** adds scheduled and on-demand scan detections that match Concord's global tracker library to your Cookies & Scripts list automatically. When it's off, matches still appear in **Scan Results** for you to add.
* **Auto-Add Real-Time Scan Matches:** does the same for real-time detections. It's off by default so you can review real-time matches first.
## Scan History
Go to **Consent → Cookies & Scripts → Scan History** to see every scan run for the project, with its date, trigger, result, and duration. Expand a run to see its results, including total trackers, new trackers, project matches, and global matches.
{/* Screenshot pending: Consent > Cookies & Scripts > Scan History -> /docs/trackers-scan-history.png */}
## Scan Results
Go to **Consent → Cookies & Scripts → Scan Results** to categorize and associate the cookies and scripts discovered by real-time and scheduled scans.
This list is different from the **Cookies & Scripts** tab. **Cookies & Scripts** is your production list: it decides which trackers are blocked and shown to visitors on your site. **Scan Results** shows what recent scans found, so you can decide what to add. Each detected tracker shows how it matched:
* **Project:** already in your Cookies & Scripts list.
* **Global:** matches a tracker in Concord's global library.
* **New:** no known match. You can add it to your Cookies & Scripts list from here.
Click **Add** to move a discovered tracker into your Cookies & Scripts list. For how to categorize unclassified or ignored trackers, see [Discovery and Classification of Trackers (Cookies & Scripts)](/docs/classifying-trackers-cookies-scripts).
You can also sort, filter, and export the list to CSV.
## Related Articles
* [Running Compliance Scans](/docs/running-compliance-scans)
* [Google Consent Mode V2 (GCM) Scanning User Guide](/docs/google-gcm-scanning-user-guide)
* [Understanding & Configuring Google Consent Mode (GCM) V2](/docs/google-understanding-configuring-google-consent-mode-gcm-v2)
* [Actions and Data Credits](/docs/actions-data-credits)
# Configuring Auto-Blocking of Cookies and Scripts
URL: /docs/understanding-configuring-auto-blocking-of-cookies-scripts
***
title: "Configuring Auto-Blocking of Cookies and Scripts"
description: 'Understanding and configuring Concord to enable auto-blocking of cookies and tracking scripts and required user consent settings.'
created: '2023-10-06T02:03:51.000Z'
updated: '2026-03-16T04:38:21.000Z'
-----------------------------------
## Overview
When visitors arrive on your website, their browser may download tracking scripts and accept cookies by default upon the first page view of their session. In some jurisdictions, like the EU with GDPR, this can violate privacy regulations that require a user to actively consent prior to the serving of cookies or tracking scripts. Concord provides a **Blocking Mode** that can be configured per project in order to either prevent or allow this from happening. There are four options available when it comes to **Blocking Mode**:
* **Disabled:** No blocking of cookies and scripts will occur.
* **Discovery:** Used to capture the cookies and scripts on your site for categorization without blocking. This is helpful for implementation when you are not certain about the number and nature of tracking scripts and cookies in use by the site.
* **Permissive:** This mode will allow Strictly Necessary, Ignored, & Unclassified cookies and scripts to run until user consent preferences are set.
* **Strict:** This mode will only allow Strictly Necessary & Ignored cookies and scripts until user consent preferences are set. Scripts that are set as Ignored are not known trackers and are marked as Ignored to avoid issues on your site, but should be classified when they track users in any fashion. This is required for compliance with stricter data privacy regulations like GDPR.
The selected **Blocking Mode** then works in tandem with the selected **Consent Mode** to give you the flexibility to adjust the desired behavior per project. Where **Blocking Mode** determines how cookies and scripts are blocked, **Consent Mode** determines if the user has to expressly indicate consent or if consent is implied. Express consent is required by stricter laws like GDPR, while implied consent is all that is required in jurisdictions like California with CCPA & CPRA. We typically recommend going with the stricter version to be globally compliant (**Blocking Mode = Strict** and **Consent Mode = Express**), but you can adjust these per region if desired.
## Configuring Auto-Blocking of Cookies & Scripts
Use the following information to setup and configure the general consent settings for a specific region in your project.
### Configuring Blocking Mode
In order to configure the **Blocking Mode**:
* Navigate to **Privacy → Consent → Consent Settings → General Settings**.
* Under the **General Settings** tab, you will see a drop down list for **Blocking Mode**. Choose your desired blocking mode (Disabled, Discovery, Permissive, Strict).
* **Discovery** mode collects information from your site which is used to classify tracking scripts and cookies without blocking them.
* **Permissive** mode blocks categorized scripts and cookies, while unclassified cookies are still allowed.
* **Strict** is recommended as all scripts and cookies that aren’t categorized as strictly necessary are blocked. This is required for full compliance with stricter privacy laws like GDPR.
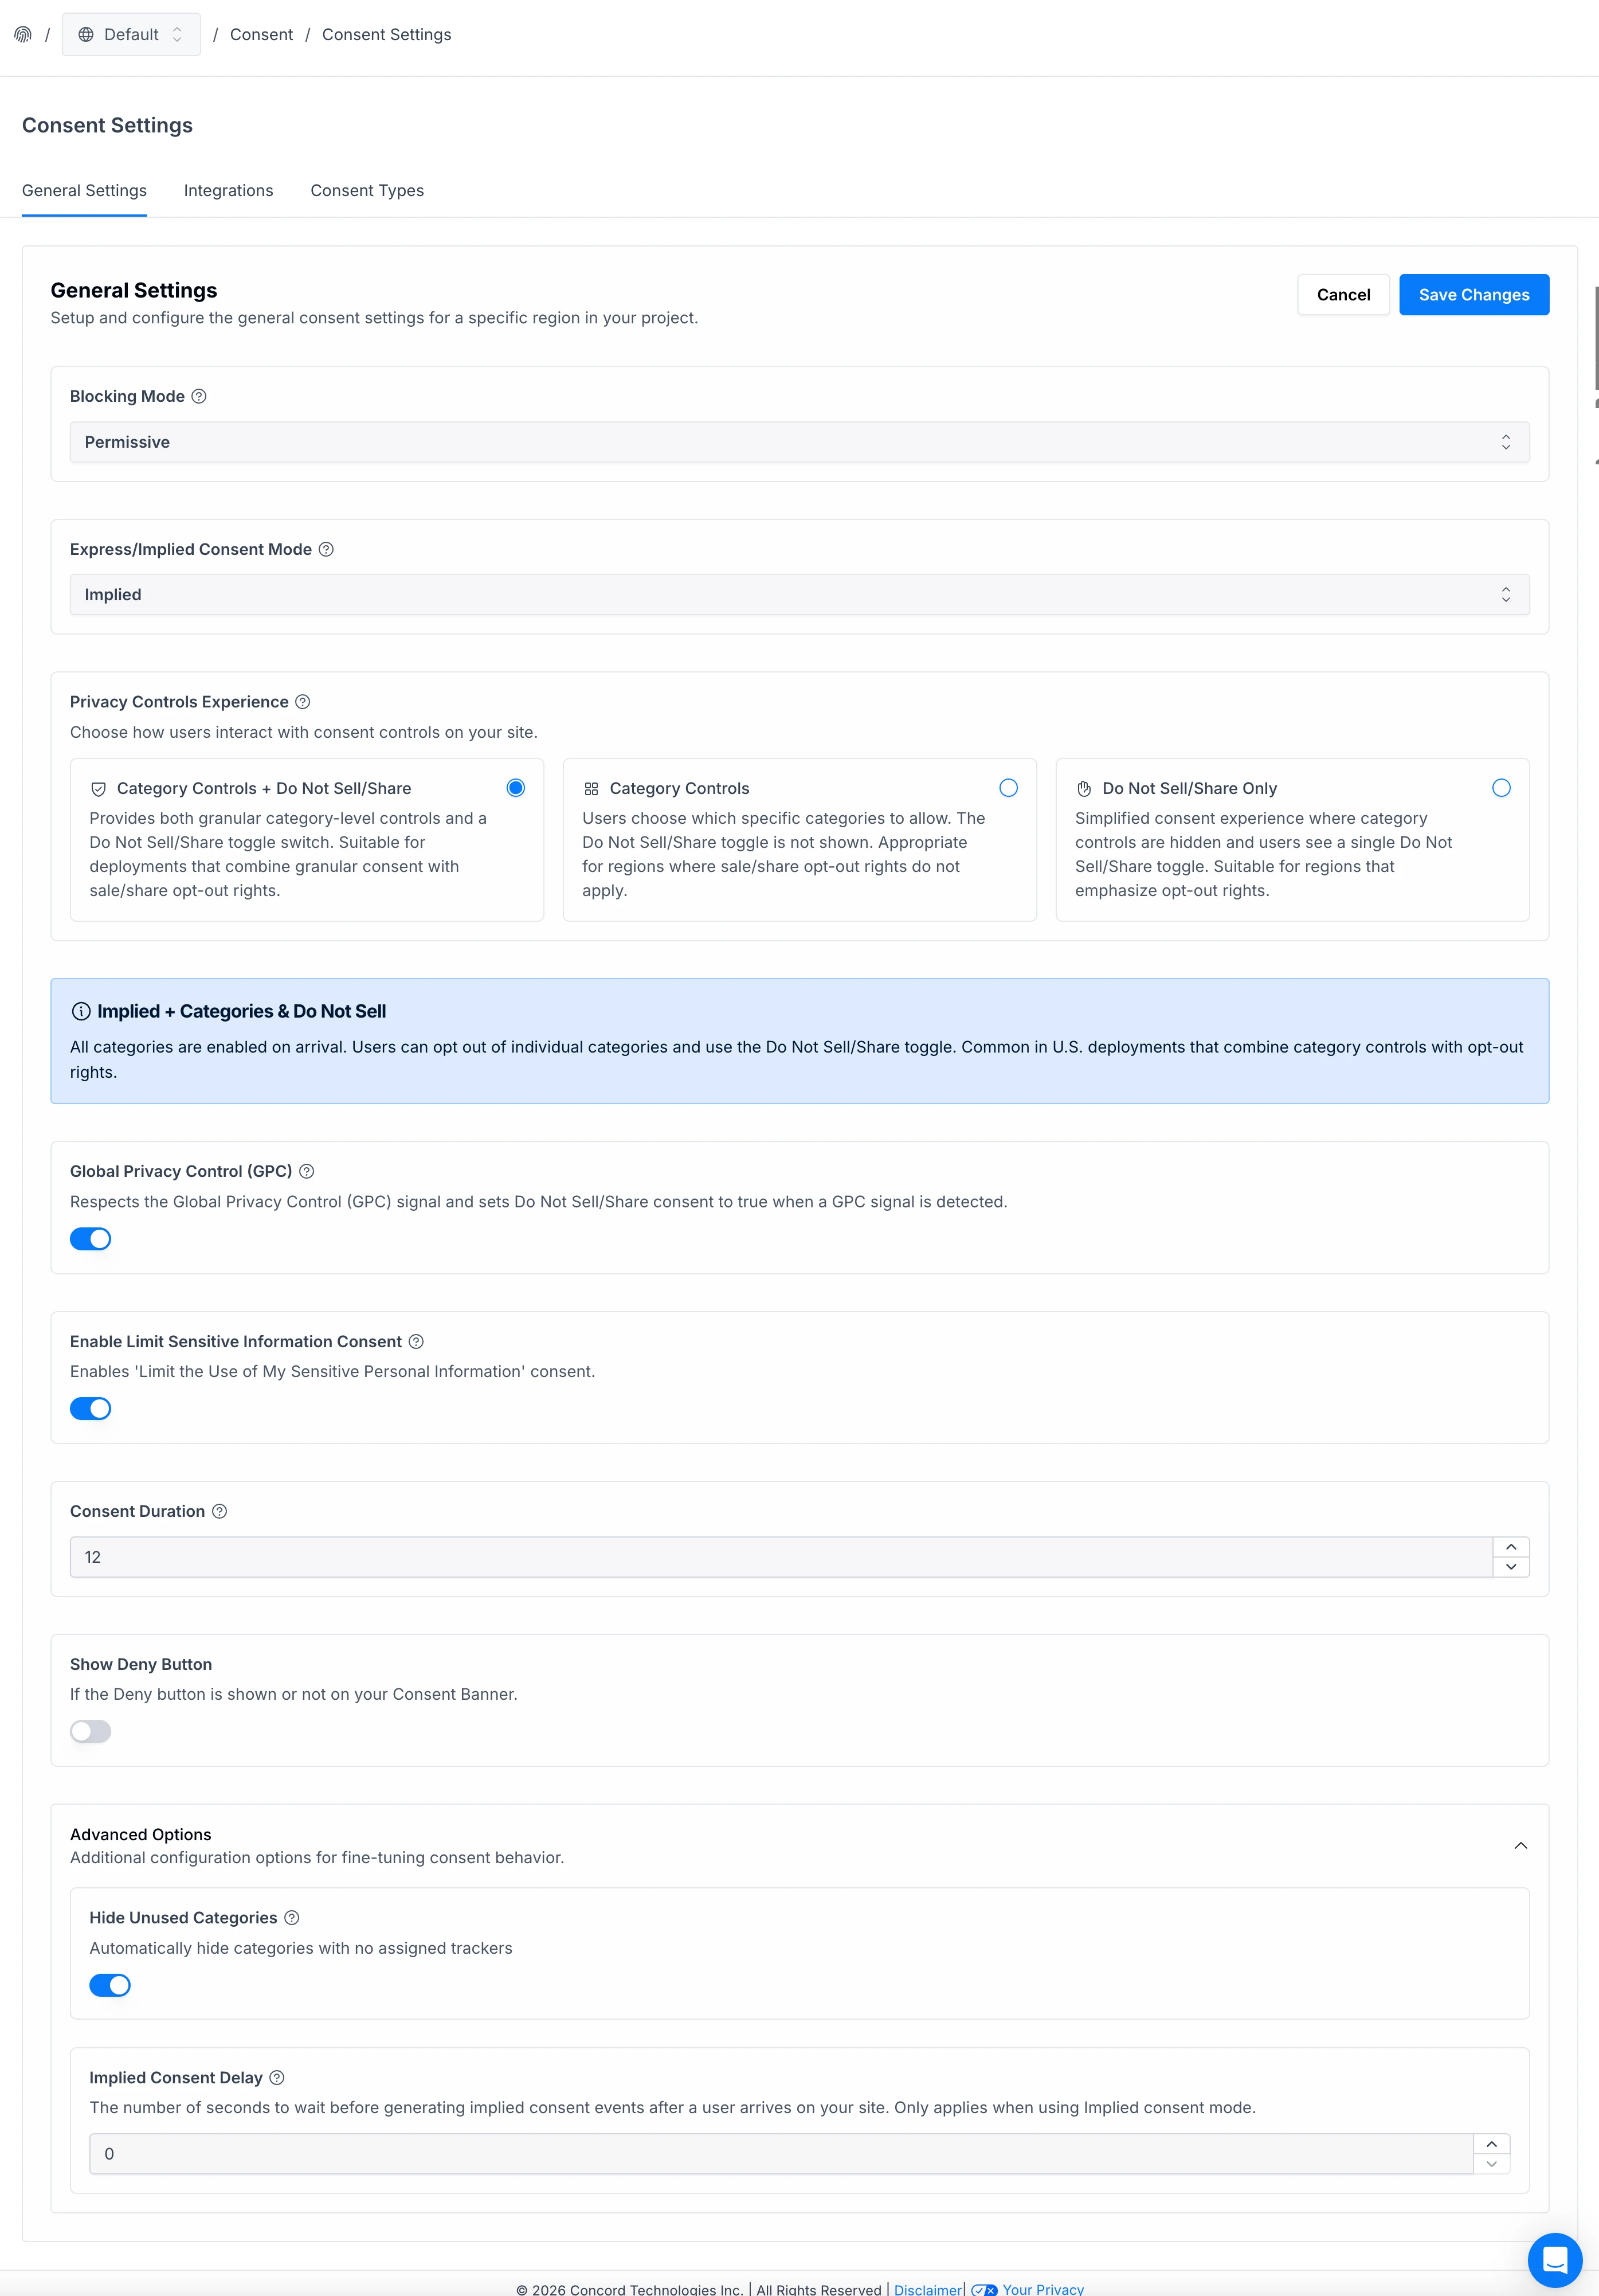
### Configuring Consent Mode
For all blocking modes except Disabled, you may also select the **Consent Mode**, which has the following options:
* **Express:** In Express Consent Mode, the user must interact with the Consent Banner or the Privacy Center to set their preferences. No consent is initially assumed merely by landing on or using the site.
* **Implied:** When using Implied Consent Mode, Concord will automatically generate implied consent events for all categories when the user lands on the site. They can later choose to opt-out of certain categories via your Consent Banner or Privacy Center (depending upon your configured settings and options there).
### Privacy Controls Experience
This setting works in conjunction with the Express and Implied Consent Modes to determine the experience for users when they interact with your Consent Banner and Privacy Center.
You can choose one of the following configuration options:
* **Category Controls + Do Not Sell/Share:**
* Provides both granular category-level controls and a Do Not Sell/Share toggle switch. Suitable for deployments that combine granular consent with sale/share opt-out rights.
* All categories are enabled on arrival. Users can opt out of individual categories and use the Do Not Sell/Share toggle. Common in U.S. deployments that combine category controls with opt-out rights.
* **Category Controls**
* Users choose which specific categories to allow. The Do Not Sell/Share toggle is not shown. Appropriate for regions where sale/share opt-out rights do not apply.
* All categories are enabled on arrival. Users can opt out of individual categories. The Do Not Sell/Share toggle is not shown. Appropriate for regions where sale/share opt-out rights do not apply.
* **Do Not Sell/Share Only**
* Simplified consent experience where category controls are hidden and users see a single Do Not Sell/Share toggle. Suitable for regions that emphasize opt-out rights.
* All categories are enabled on arrival. Users can opt out of individual categories. The Do Not Sell/Share toggle is not shown. Appropriate for regions where sale/share opt-out rights do not apply.
### Enabling Global Privacy Control
Global Privacy Control (GPC) is a browser configuration that automatically signals users’ privacy preferences to a website. Various regulations such as CCPA and CPRA require websites to respect users’ choices when this browser setting is detected.
* Use the **Enable Global Privacy Control** switch under **Privacy → Consent → Consent Settings → General Settings** to toggle this automatic detection and control on or off.
* Global Privacy Control detection is required by some regional data privacy laws like CCPA/CPRA in California. When this is enabled and a GPC signal is detected, Do Not Sell or Share My Personal Information consent will be set to true and Marketing consent will be disabled.
* Note that you must select either the Category Controls + Do Not Sell/Share or Do Not Sell/Share Only option in the Privacy Controls Experience section if you want to enable Global Privacy Control.
When you enable this feature within Concord, and the user has GPC turned on in their browser settings, Concord’s consent banner will display the following message: **Your Opt-Out Preferences Was Honored. Do Not Sell or Share My Personal Information** will also be automatically checked.

### Enable Limit Sensitive Information Consent
Enables the Limit the Use of My Sensitive Personal Information consent option in your Privacy Center. This is required by some regional data privacy laws like CCPA/CPRA in California.
### Consent Duration
The Consent Duration field defines how many months the consent is valid for. Once the duration has expired, the user will be prompted to re-consent. The normal recommended duration is 12 months, but some regions have different requirements and recommendations, including countries like Germany, where the guidance is 6 months.
## Show Deny Button
The show Show Deny toggle allows you to set if the Deny button shows on your consent banner. Note that this option is only available if you choose the **Category Controls + Do Not Sell/Share** or **Category Controls** in the **Privacy Controls Experience** section.
### Advanced Options
#### Hide Unused Categories
When enabled, consent categories that have no trackers assigned to them will be hidden from the Privacy Center and Consent Banner. In Implied mode, hidden categories still receive implied consent. In Express mode, hidden categories are excluded from Accept All but included in Reject All. Categories automatically reappear when trackers are detected.
#### Implied Consent Delay
Sets a delay (in seconds) before implied consent is automatically granted when the user first visits your site. A value of 0 means consent is implied immediately. Increasing this value gives users more time to interact with the consent banner before implied consent is recorded.
You can set the number of seconds to wait before generating implied consent events after a user arrives on your site. This only applies when using Implied consent mode.
## Consent Integrations
In addition to our general consent settings, we also provide powerful consent syncing integrations with multiple major platforms in **Privacy → Consent → Consent Settings → Integrations**. For more details on these integrations, refer to the sections below.
### Configuring Google Consent Mode V2
You can pick from three different modes when enabling Google Consent Mode V2 in Concord:
* **Disabled:** Concord functions normally, blocking any Google tags until consent is received based on your standard consent and tracker settings. After user consent is received, no consent data is synced with Google.
* **Basic Mode:** Basic Consent Mode offers a simplified privacy friendly option to sync data with Google. Google tags remain inactive until the user interacts with the consent banner. Once users consent, Google tags are enabled, consent data is synced, and Google begins collecting data based on the user’s consent settings. Without consent, no data is sent to Google, and Google Ads relies on a general conversion model.
* **Advanced Mode:** Advanced Consent Mode offers a more robust option that shares additional data with Google prior to consent. Google tags load immediately and while waiting for user consent, a minimal amount of cookieless measurement data is sent to Google to allow for more accurate conversion modeling. Once consent is granted, full measurement data is then sent to Google based on each user’s consent settings. This mode provides additional data insights, but is not as privacy-friendly as Basic Mode, so we recommend Basic Mode for most people. For more details on Google’s conversion modeling please refer to [this article.](https://support.google.com/google-ads/answer/12443859)
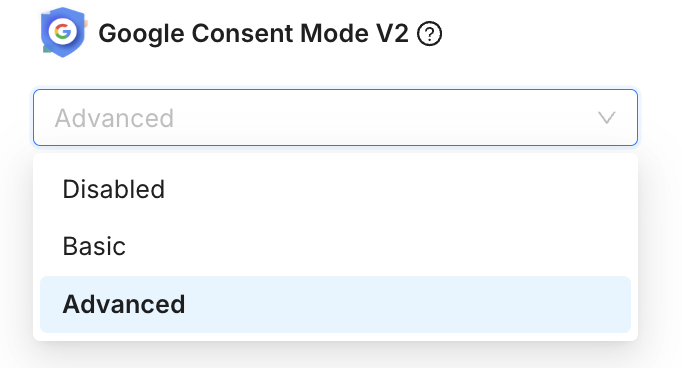
### Microsoft UET (Universal Event Tracking) Consent
Microsoft UET (Universal Event Tracking) settings control how your website tag collects data based on user consent. UET helps companies comply with privacy laws (like GDPR) by adjusting data collection when users deny cookies, ensuring you still get valuable insights while respecting user choice. UET is Required for 2025 compliance in EEA, UK, and Switzerland.
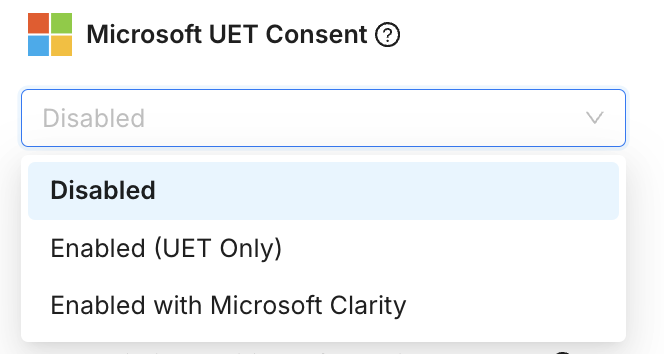
To configure Microsoft UET consent within Concord, select one of the following options:
* **Disabled**: The UET tag is completely turned off and sends no data to Microsoft Advertising, fully respecting user privacy but providing zero insights.
* **Enabled (UET Only)**: This is the default for many regions and uses "cookieless pings" or anonymized data when consent is denied. It loads the tag immediately but collects only basic, aggregated data, then upgrades to full tracking when consent is granted, offering more precise modeling and better compliance.
* **Enabled with Microsoft Clarify**: This integrates UET with Clarity, Microsoft's free analytics tool, using one tag for both ad tracking and behavioral analysis (heatmaps, session recordings). It uses Consent Mode principles: Clarity loads but waits for consent before setting cookies or recording sessions, respecting `analytics_storage` and `ad_storage` signals.
### WordPress & Webflow Integrations
Enabling the WordPress or Webflow integrations will allow you to easily sync consent data from Concord to those platforms to respect user consent. Note that the WordPress integration requires the use of the WordPress Consent API plugin that is found here: [https://wordpress.org/plugins/wp-consent-api/](https://wordpress.org/plugins/wp-consent-api/)
## Related Articles
* [Understanding & Configuring Google Consent Mode (GCM) V2](/docs/google-understanding-configuring-google-consent-mode-gcm-v2)
# Unified Identity and Consent Management Explained
URL: /docs/understanding-unified-identity-and-consent-management
***
title: "Unified Identity and Consent Management Explained"
description: 'Concord''s Unified Identity and Consent Management system bridges anonymous browsing and known customer profiles to ensure a user''s privacy choices are consistently respected across all their devices. By utilizing a "most recent wins" logic and cryptographic hashing, the platform maintains a single source of truth, across devices, for consent without storing raw personal data, simplifying global regulatory compliance.'
created: '2026-03-17T00:00:00.000Z'
updated: '2026-03-17T00:00:00.000Z'
-----------------------------------
A single person often interacts with a brand across multiple devices - a smartphone, a tablet, and a work laptop. Traditionally, privacy preferences were "siloed" on each device. If a user opted out of tracking on their phone, the brand might still track them on their laptop because the two sessions weren't connected.
Concord's Unified Identity and Consent system solves this challenge. We bridge the gap between anonymous browsing and known customer profiles, ensuring that privacy choices are respected everywhere the user goes.
## The Core Identity Model
Concord views a visitor not as a collection of cookies, but as a single identity. Our system operates on three integrated levels:
1. **The Context (Device):** The specific browser or hardware being used.
2. **The Identity (The Person):** A persistent profile that connects various contexts.
3. **The Consent State:** The actual choices made by that person (e.g., "Yes to Analytics," "No to Marketing").
To maintain a privacy-first approach, Concord never stores raw personal information, like email addresses, for syncing privacy choices. Instead, we use advanced cryptographic hashing to create a unique "digital fingerprint" for each user. This allows us to recognize a returning customer without ever holding their sensitive data.
## The Cross-Device Experience
The primary benefit of Concord's architecture is the ability to maintain a "Single Source of Truth" for consent across the entire customer journey.
* **Seamless Synchronization:** When a visitor logs into your site, Concord identifies them and instantly checks for any existing privacy preferences in our global vault.
* **Consent Inheritance:** If a user has already opted into marketing communications on their desktop, those preferences are automatically applied when they log in on their mobile device. The user isn't pestered with the same consent banners repeatedly.
* **Anonymous-to-Known Transition:** If a visitor makes a choice while browsing anonymously and later logs in, Concord "merges" that session into their permanent profile, ensuring their most recent decision is the one that sticks.
## Flexible Compliance Frameworks
Every region has different legal requirements (such as GDPR in Europe or CCPA in California). Concord adapts its behavior based on the regulatory environment:
* **Express vs. Implied Consent:** In stricter regions, we can ensure no tracking occurs until the user takes an explicit action (**Express**). In other areas, we can allow tracking to begin immediately while providing a clear path to opt-out (**Implied**).
* **Adaptive Controls:** Our system can toggle between standard "Category" controls (Analytics, Functional, Marketing) and specific "Do Not Sell/Share" requirements to meet diverse global standards without needing multiple privacy tools or different approaches per region.
## Conflict Resolution: "Most Recent Wins"
Privacy choices aren't static. A user might change their mind or update their settings at any time. To ensure accuracy, Concord follows a deterministic logic: **Explicit user actions always take priority over automatic defaults, and among actions of the same type, the most recent one wins.**
For example, if a user clicks "Accept All" on one device and later clicks "Reject All" on another, the rejection takes effect everywhere because it is the more recent explicit action. Importantly, automatic defaults from a permissive region will never override a deliberate choice the user made elsewhere. This ensures that the brand always operates based on the user's actual stated intent.
## User Experience and Global Signals
Concord is designed to be "quiet" and respectful of the user's time.
* **Banner Suppression:** If we already know a user's global consent state, we can suppress the cookie banner entirely, creating a cleaner, more professional browsing experience.
* **Respecting Browser Signals:** We actively listen for **Global Privacy Control (GPC)** signals. If a user has configured their browser to signal a preference for privacy, Concord automatically honors that request, even before the user interacts with the site.
By unifying identity and consent, Concord enables brands to build trust through consistency while significantly simplifying the technical burden of global privacy compliance.
## Frequently Asked Questions
1. **Does Concord store personal information like email addresses?**
No. When it comes to identity and syncing of privacy choices via user identifiers like emails, we prioritize privacy by using cryptographic hashing. This transforms those identifiers into a unique digital fingerprint, allowing us to recognize returning users without ever storing actual email addresses or names.
2. **What happens if a user updates their preferences on a different device?**
The system follows a "most recent wins" logic. If a user changes their settings on their phone, that decision is instantly synced to their global profile. The next time they visit on their laptop, their preferences will reflect that update.
3. **Will users see a consent banner every time they switch devices?**
Not necessarily. If a user is identified and preferences are already on file, Concord can suppress the banner, providing a smoother experience by not asking the same questions twice.
4. **How does Concord handle browser-level privacy signals?**
The platform is fully compatible with Global Privacy Control (GPC). If a user has enabled GPC in their browser, Concord recognizes this as a valid opt-out preference for do not sell or share rights and adjusts their consent state automatically.
5. **What happens to consent when a user logs out?**
When a user logs out, the identity link is reset. The browser returns to an anonymous state, ensuring that the next person using that device does not inherit the previous user's privacy settings.
6. **How does this help with regulations like GDPR or CCPA/CPRA?**
It ensures GDPR style Opt-In/Explicit/Express consent choices or CCPA/CPRA style Opt-Out/Implicit/Implied & Do Not Sell/Share requests are honored globally, not just on a single browser. This maintains a higher standard of compliance and builds trust by respecting choices across the entire digital journey.
# Connecting Data Systems to a Project
URL: /docs/connecting-data-systems
***
title: 'Connecting Data Systems to a Project'
description: 'How to connect Data Systems to a specific Privacy Project.'
created: '2022-02-21T20:51:29.000Z'
updated: '2026-03-16T18:27:39.000Z'
-----------------------------------
## Overview
This article provides instructions on connecting Data Systems to a specific Privacy Project. For more information on Data Systems, you can take a look at the following articles:
* To learn more about how Data Systems work, refer to this article: [Data Systems Overview](/docs/data-mapping-overview)
* For details on how to add a new Data System, refer to this article: [Adding Data Systems](/docs/data-hub-systems)
## Connecting Data Systems to a Project
Before associating Data Systems with a specific Privacy Project, you must first add those systems to your organization. To learn more about adding a new Data System, refer to the Adding Data Systems article above. Once your organization has created at least one Data System, follow the steps below to connect your Data System(s) to a Privacy Project.
* Click on **Global Settings** and choose **Projects**.
* Click **Edit Project** in the actions menu for the Privacy Project you would like to connect your Data Systems to.
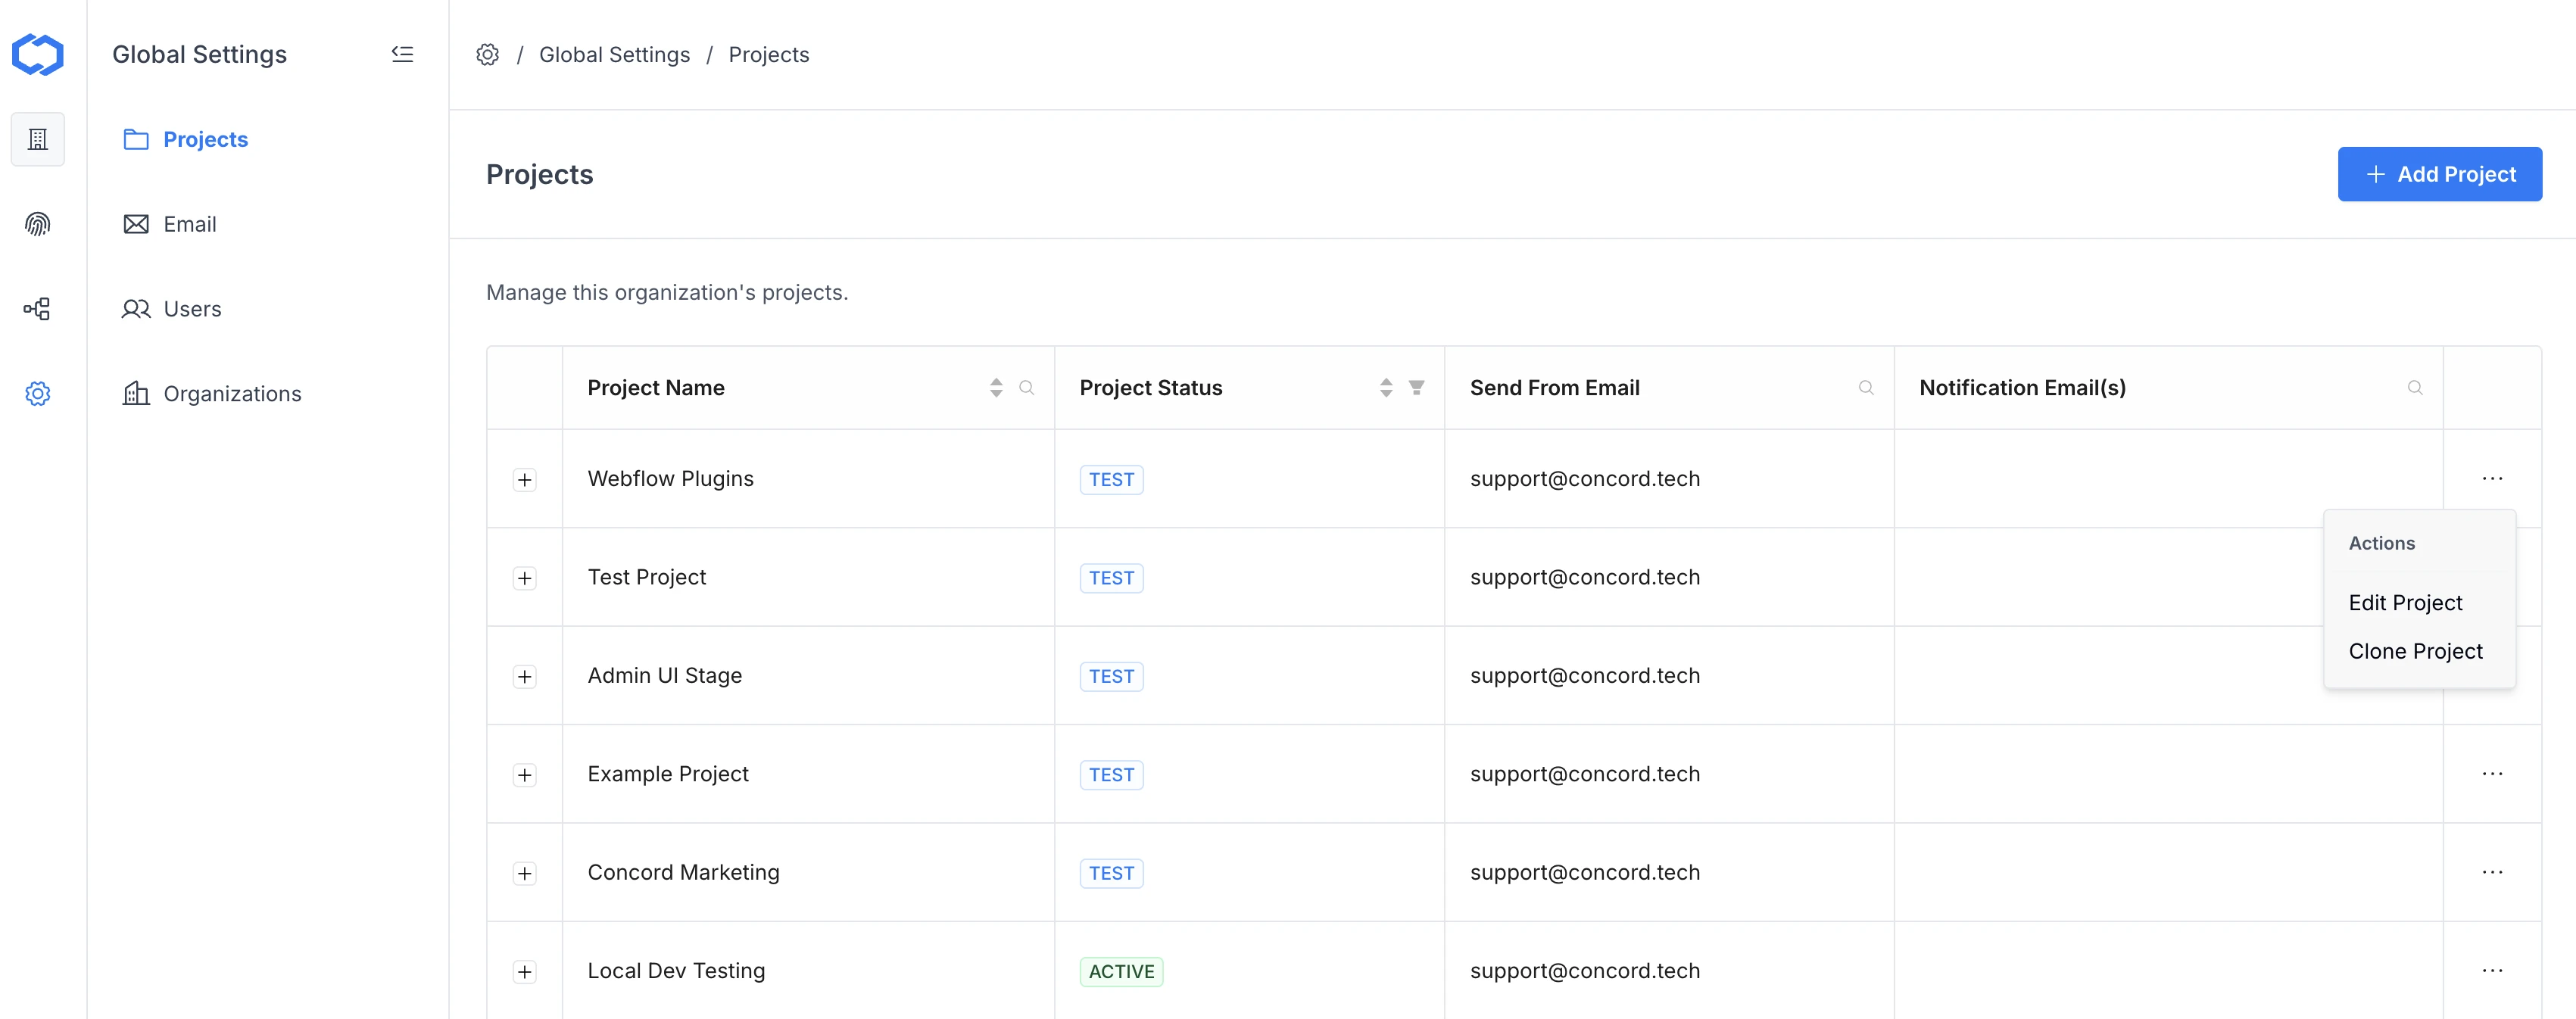
* From the Data Systems selector, select the Data Systems associated with this Project. You can only select Data Systems that have already been added to your Organization. To remove Data Systems, click **X** next to the system or uncheck the Data System from the drop-down selector. Click **OK**.
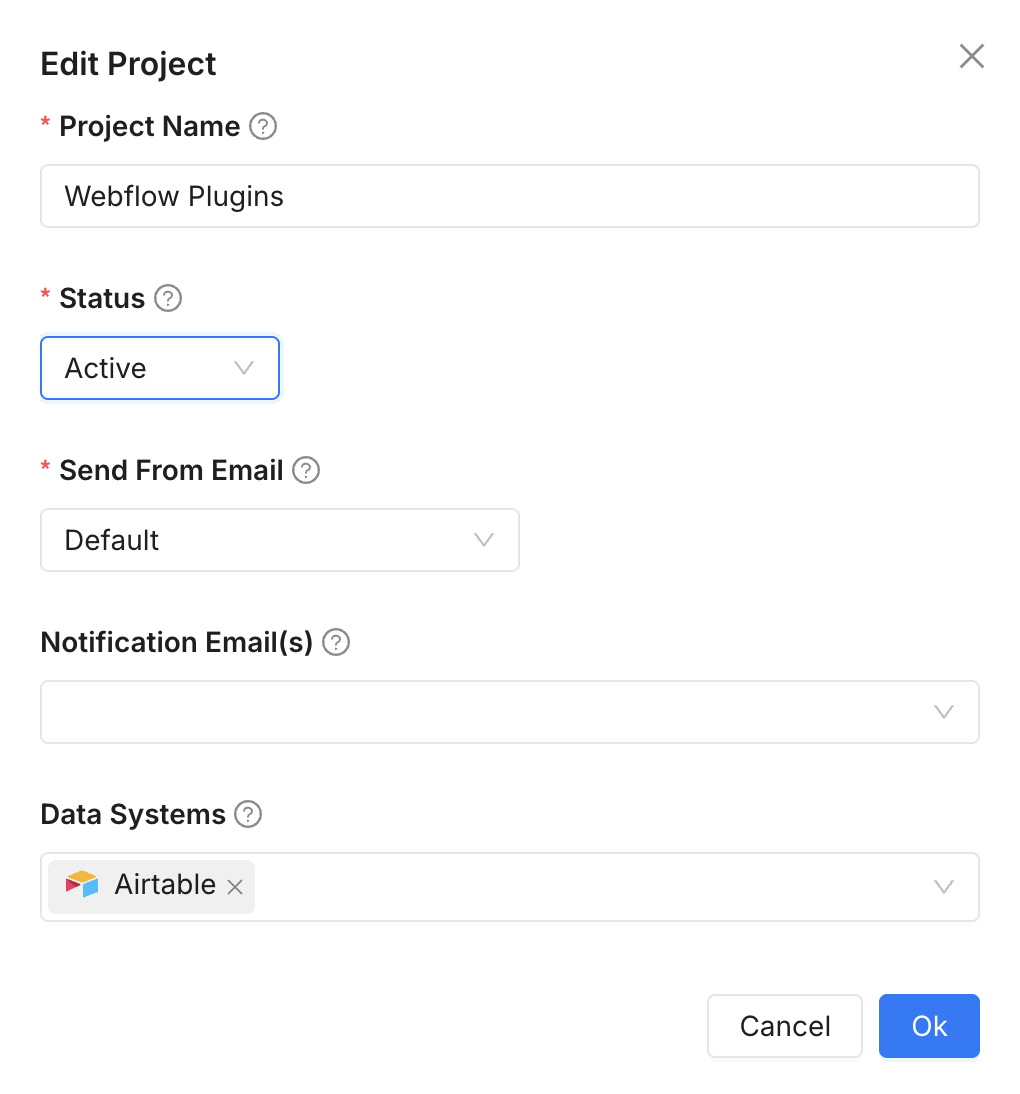
* Click **Ok** to save your changes.
# Data Mapping Overview
URL: /docs/data-mapping-overview
***
title: 'Data Mapping Overview'
description: 'Understanding Data Mapping and viewing Data System details.'
created: '2022-02-21T20:35:09.000Z'
updated: '2026-09-15T00:00:00.000Z'
-----------------------------------
## Overview
Data Mapping allow you to easily add different data systems and attributes to your organization to help with data mapping, compliance documentation, and the handling of data privacy requests. Data Systems are not only a critical component when it comes to managing data privacy requests, but they are also essential to demonstrating regulatory compliance by providing a full picture of your organization's capture, processing, and usage of data. Concord provides 100+ out-of-the-box integrations to connect to, as well as the ability to add your own custom-built systems, and Data Systems can be used to:
* Identify the systems in your organization where personal data resides.
* Catalog and inventory all personal data across your organization.
* Associate data across sources with user identities for privacy request fulfillment.
For more information on how to setup and use Data Systems, refer to the information and articles below:
* For instructions on adding new Data Systems, refer to this article: [Data Hub: Systems](/docs/data-hub-systems).
* To learn about managing Data System attributes, refer to this article: [Data Hub: System Attributes](/docs/data-hub-system-attributes).
* For information about connecting Data Systems and Projects, refer to this article: [Connecting Data Systems to a Project](/docs/connecting-data-systems).
* To generate a GDPR Article 30 register from your data map, see [Generating ROPA Reports](/docs/generating-ropa-reports).
* To track the third parties that process data for you and publish sub-processors, see [Managing Vendors and Sub-Processors](/docs/managing-vendors).
## Viewing Data System Details
* Go to **Data Hub -> Data Systems** via the navigation menu and choose **Systems**.
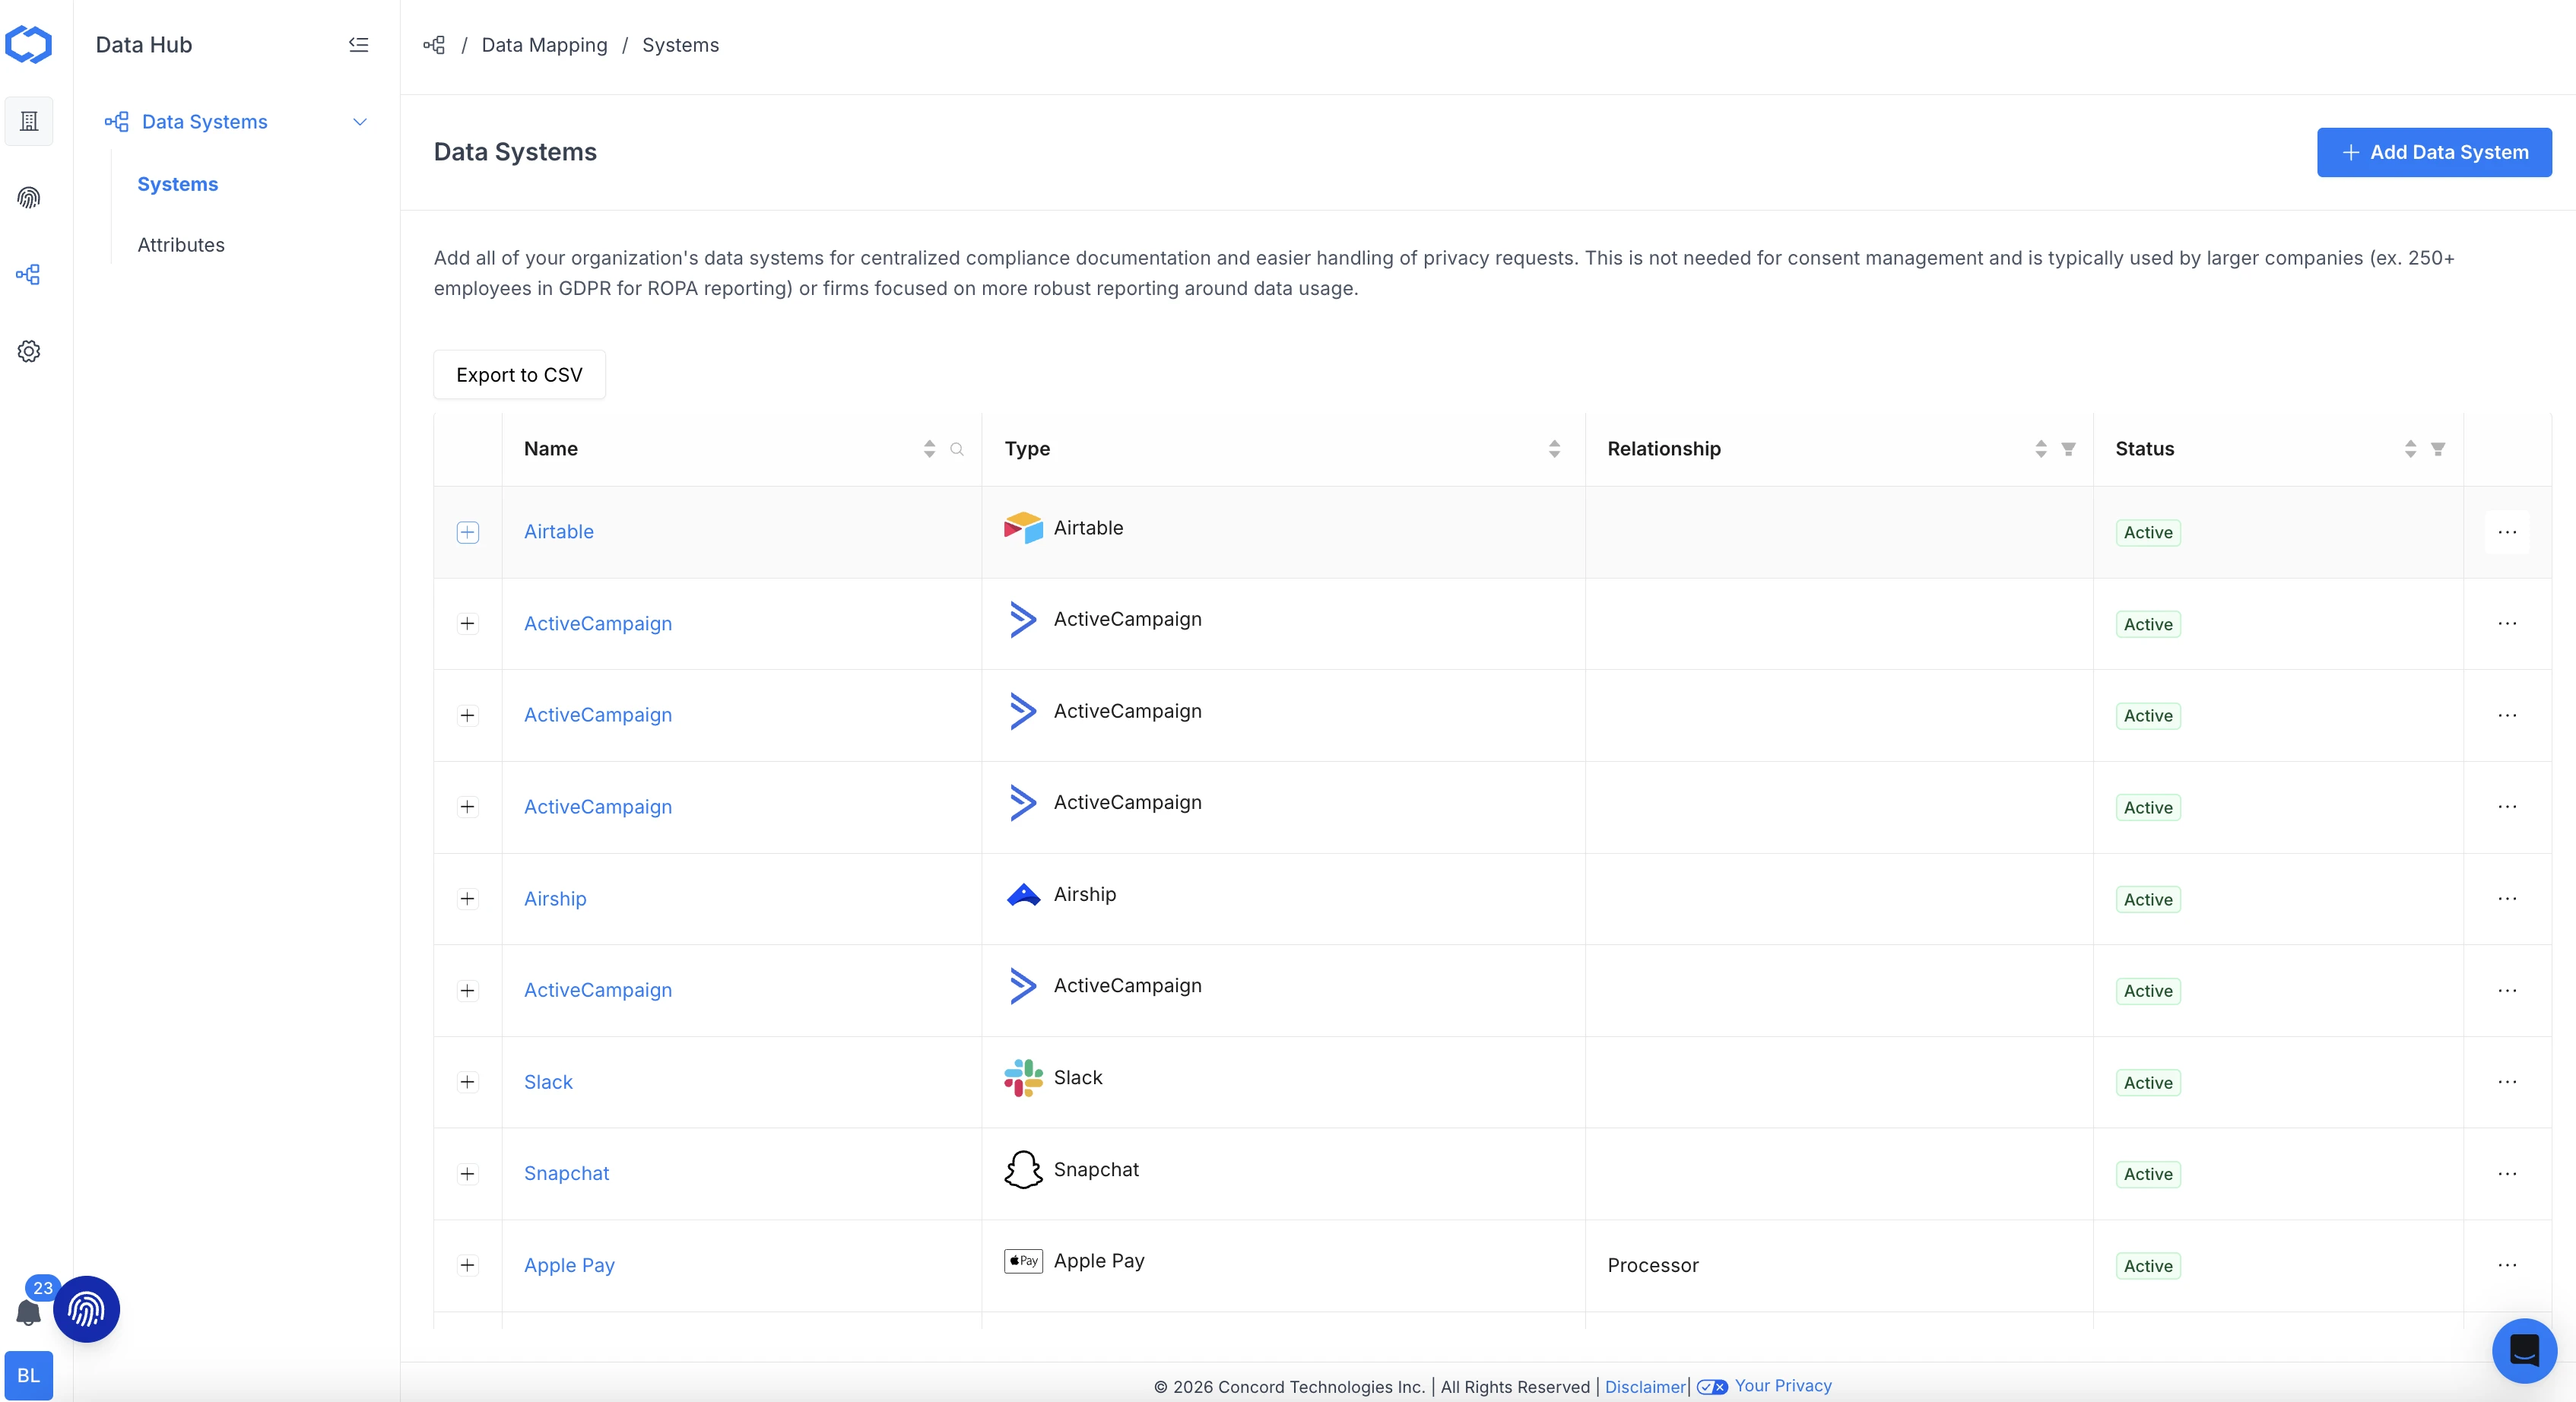
From this screen, you will be able to view Data System details such as:
* **Name:** The friendly name used to identify your data source in the Admin UI.
* **Type:** The type of system where data is stored.
* **Relationship:** Relationship is for identifying the relationship of this data system in regards to your company. While you can add your own custom options as well, in most cases this will be set to one of the following predefined options:
* **Controller:** Legal or natural person, an agency, a public authority, or any other body who, alone or when joined with others, determines the purposes of any personal data and the means of processing it.
* **Joint Controller:** Third party data processor engaged by a Data Processor who has or will have access to or process personal data from a Data Controller.
* **Processor:** Legal or a natural person, agency, public authority, or any other body who processes personal data on behalf of a data controller.
* **Sub-Processor:** Two or more data controllers that jointly decide why and how to process personal data.
* **Status:** Active, Test, Archived.
* **Actions:** Menu options where you can View / Edit, Quick Edit, Archive, or Delete a data system.
To view additional details, click on the + to the left of your desired Data System or click the name of the Data System to go to the full system view for that Data System.
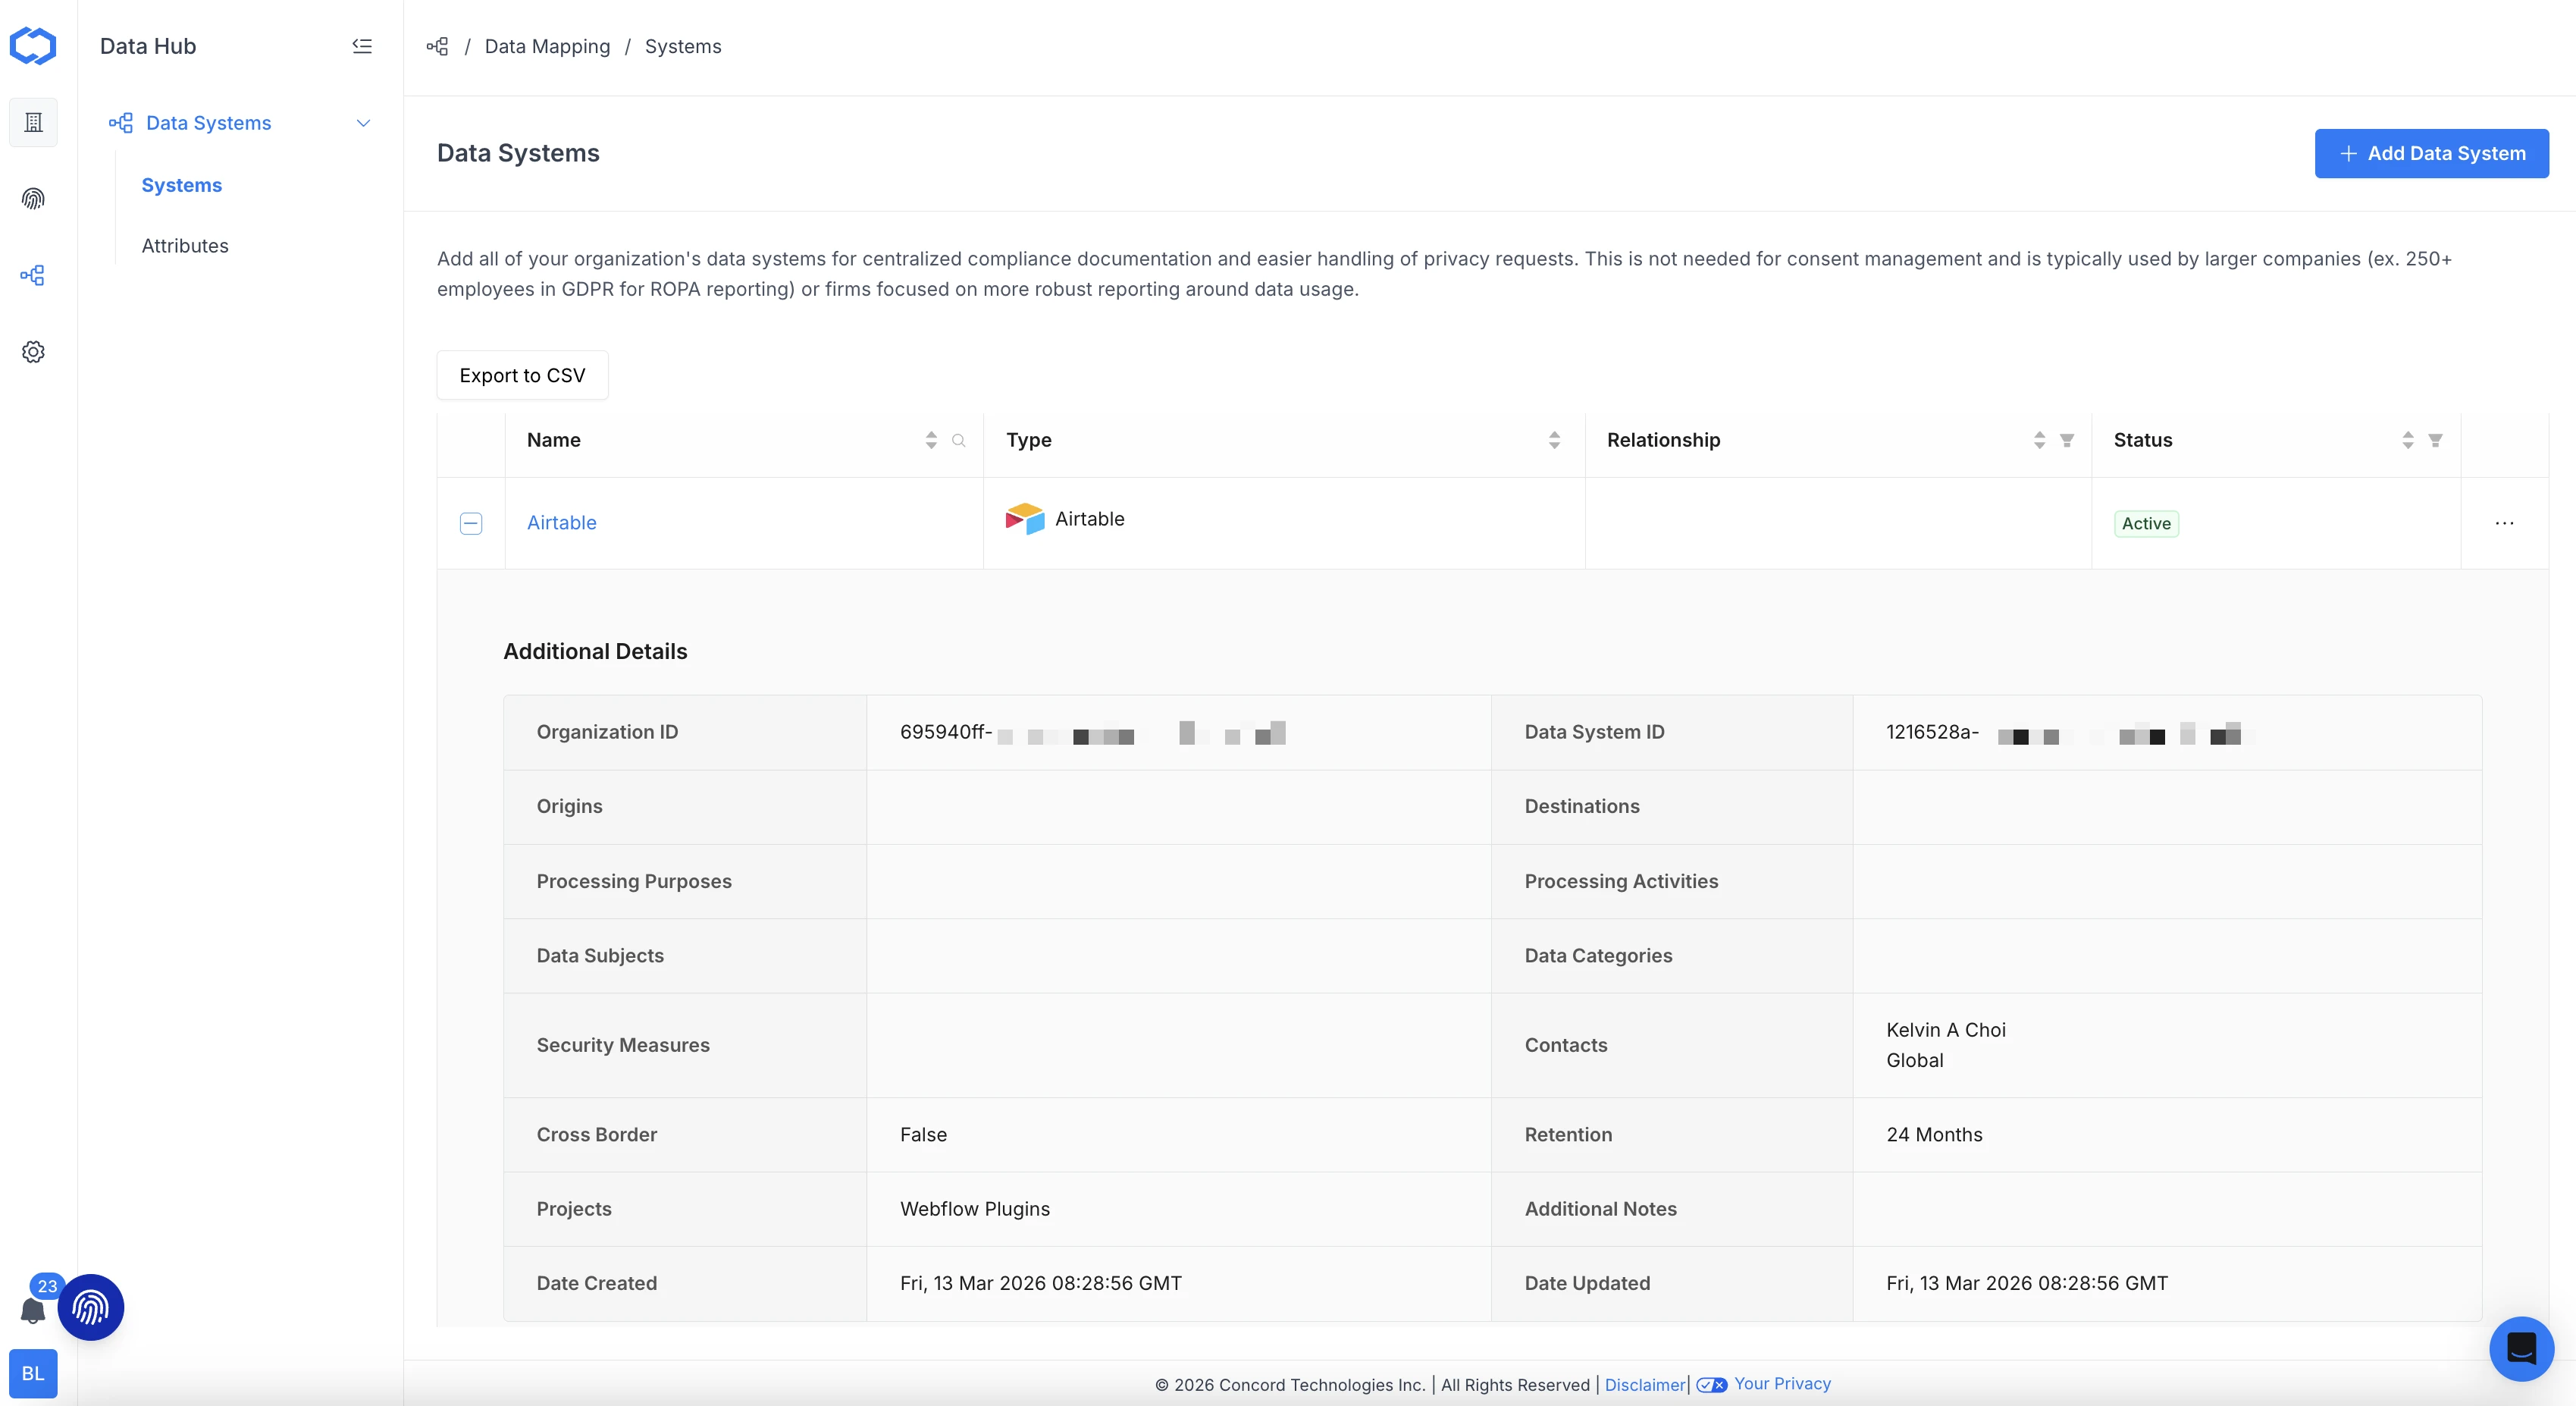
This expanded view will display further Data System details such as:
* **Organization ID:** The identifier for the organization this system belongs to.
* **Data System ID:** The identifier for this particular system.
* **Origins:** Where does the data from the data system originates from.
* **Destinations:** Where the data is sent to and who the data is shared with.
* **Processing Purposes:** What the data in this system is used for.
* **Processing Activities:** The activities associated with the data in this system.
* **Personal Data Categories:** The types of personal data that are stored in the data system.
* **Security Measures:** The security measures that are in place to protect the data in this system.
* **Contacts:** The contacts at your company or other companies associated with this Data System.
* **Cross Border:** If data in this system is sent outside of your country.
* **Retention:** How long data is held in this system by default.
* **Additional Notes:** Any additional details associated with this Data System.
* **Date Created:** When this Data System was created.
* **Date Updated:** When this Data System was last updated.
# Generating ROPA Reports
URL: /docs/generating-ropa-reports
***
title: 'Generating ROPA Reports'
description: 'Produce a GDPR Article 30 Record of Processing Activities from your Data Mapping, edit it as a draft, finalize a point-in-time record, and export it.'
created: '2026-09-15T00:00:00.000Z'
updated: '2026-09-15T00:00:00.000Z'
-----------------------------------
## Overview
A Record of Processing Activities (ROPA) is the register GDPR Article 30 asks you to keep: what personal data you process, why, and how. Concord builds this register from the data you already maintain in [Data Mapping](/docs/data-mapping-overview), so you can generate a compliant draft in one step and refine it, rather than filling in a spreadsheet by hand.
ROPA reports are a **Premium** add-on. Generating a report uses Actions from your organization's shared pool.
## What a report contains
A ROPA report has two parts:
* **A summary** — rich text describing the register, with insertable tokens (for example, a live processing-activity count) that resolve to real values when you finalize.
* **Rows** — one Article 30 record per processing activity, each capturing the purposes, data subjects, data categories, recipients and transfers, origins, legal basis, and security measures.
## The lifecycle: draft, finalize, export
1. **Generate a draft.** From **Data Mapping → ROPA reports**, generate a report. Concord selects your processing activities, turns each into an Article 30 row, and seeds the summary from a template.
2. **Edit the draft.** While a report is a draft, you can edit the summary and the rows freely. You can also **exclude** a row you don't want in this report — it's hidden from the counts and the export but kept for your audit trail.
3. **Finalize.** Finalizing freezes a point-in-time record: the summary's tokens are resolved to their values and the rows become read-only. A finalized report can't be returned to draft, which is what makes it a defensible snapshot.
4. **Export.** Export the finalized report for your records or to share with a regulator or auditor.
{/* Screenshot pending: ROPA report -> /docs/generating-ropa-reports-detail.png. See docs-screenshot-backfill plan. */}
## Cross-border transfers
Each row reflects where the data systems behind an activity are located, so the register surfaces cross-border transfers as part of the Article 30 record. Keep your data systems' geography accurate in Data Mapping and it flows through to the report.
## Editing a report
The report detail page organizes the work into tabs — the report's **details**, its **summary** (the rich-text editor), and its **activities** (the rows). Edits to a report stay local to that report; they don't change your underlying Data Mapping.
## Who can generate reports
Owners and Admins can generate, edit, and finalize reports. A Limited user can view them. See [User Roles and Permissions](/docs/user-roles-permissions).
## Next steps
* [Data Mapping overview](/docs/data-mapping-overview) — the systems and processing activities a ROPA is built from.
# Managing Vendors and Sub-Processors
URL: /docs/managing-vendors
***
title: 'Managing Vendors and Sub-Processors'
description: 'Keep an inventory of the vendors that process data for you, link them to the data systems they support, and publish your sub-processor list to your Trust Center.'
created: '2026-09-15T00:00:00.000Z'
updated: '2026-09-28T00:00:00.000Z'
-----------------------------------
## Overview
Your vendors are the third parties that store or process data on your behalf, and buyers increasingly ask you to name them. Concord keeps a **vendor inventory** in the Data Hub, alongside your [Data Mapping](/docs/data-mapping-overview), so the vendors you track are connected to the systems they actually support, and the sub-processor list you publish stays consistent with your data map.
## Adding Vendors
1. Go to **Data Hub → Vendors** and add a vendor.
2. **Choose Vendor:** pick a vendor from Concord's catalog to fill in its details for you, or choose **Custom** to start from scratch.
3. **Details:** review and edit the vendor's name, categories, website, privacy policy URL, DPA URL, country, and description.
4. **Data Systems:** link the data systems this vendor provides.
Catalog details are copied into your vendor record when you add it, and you can edit them at any time.
## Linking Vendors to Data Systems
Link a vendor to the data systems it supports, from either side:
* From a vendor, open its **Data Systems** tab and choose **Add Data System**.
* From a data system, choose **Link Vendor**. Concord suggests a vendor from its catalog when it recognizes the system.
This keeps your data map clear about who is involved in each system and which third parties have access to the data it holds.
## Publishing Sub-Processors to Your Trust Center
You can publish your sub-processor list on your public Trust Center, so prospects and customers can see who processes their data without emailing your team.
1. Open your Trust Center's settings and turn on the **Sub-processors** section.
2. Choose the vendors, or data systems, to list.
Each sub-processor shows its name, description, and the countries where it processes data. Publishing from your maintained vendor list keeps the public list current instead of drifting from a separate document. A vendor's page shows which of your Trust Centers list it. See [Trust Center Overview](/docs/trust-center-overview) for how the public page is organized.
## Who Can Manage Vendors
Owners and Admins can add and edit vendors. A Limited user can view them. See [User Roles and Permissions](/docs/user-roles-permissions).
# Adding Concord to Your Website
URL: /docs/adding-concord-to-your-website
***
title: 'Adding Concord to Your Website'
description: 'Quickly deploy Concord to your website with a single line of code using your direct embed code.'
createdAt: '2021-05-13T20:50:23.281Z'
updatedAt: '2025-06-25T21:19:32.250Z'
-------------------------------------
## Overview
You can add Concord to your website to enable the use of the Concord Site Client Library and the Concord Privacy Center website widget. Our Site Client Library allows you to easily capture consent events on your website, while Privacy Center allows you to give your users access to our simple-to-understand data privacy information and controls.
* Adding Concord to your website is as simple as copying the single line of code that you can find in the Concord Admin UI by navigating to **Deployment → Installation.**
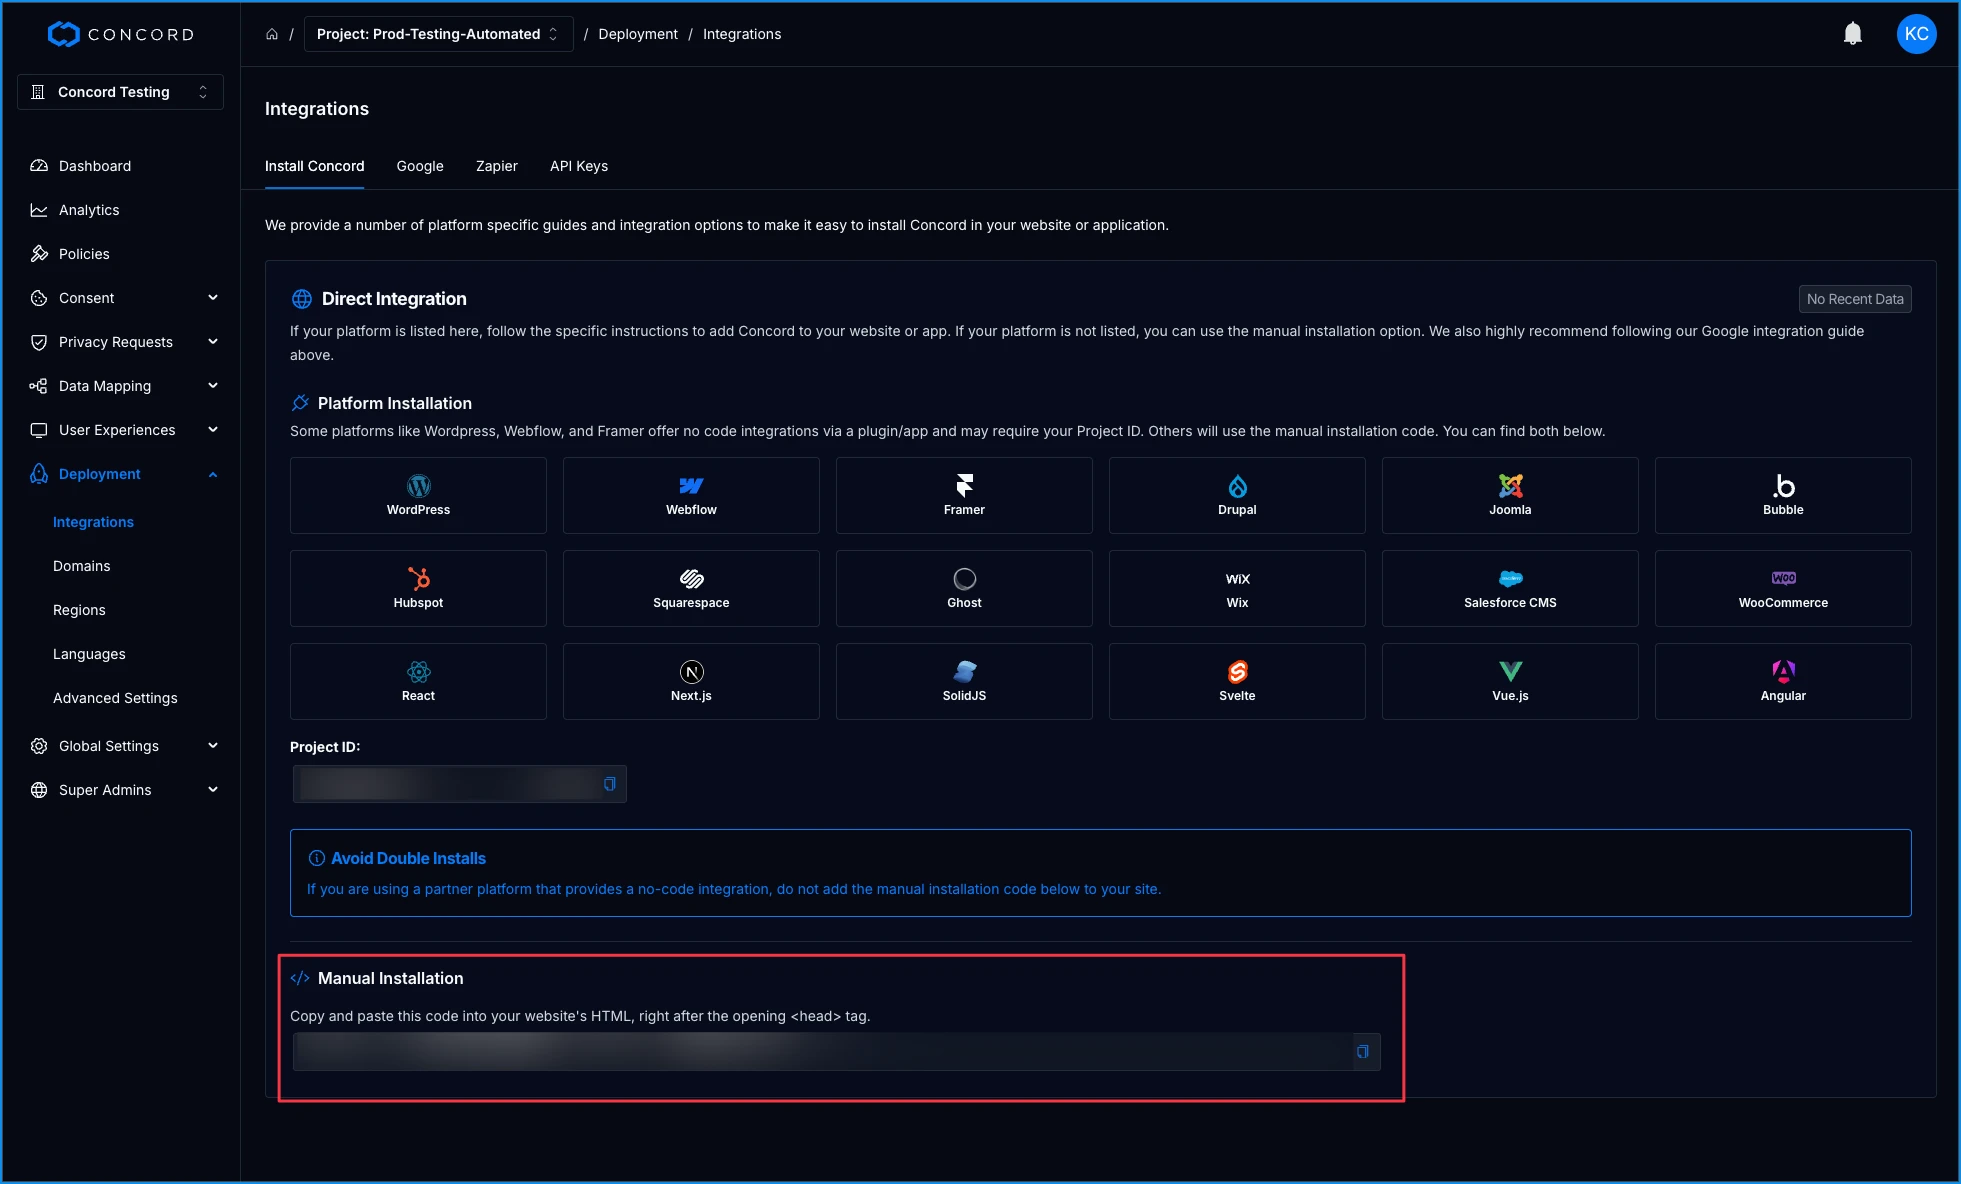
* From the **Install Concord** tab, click the "Copy" icon to the right of the Manual Installation code box. Have your website developers add that right after the `<head>` tag on your website. It should be above all other scripts to ensure full compliance (when blocking mode is set to strict and consent mode is set to express).
* If you are using Google Tag Manager, and you wish to comply with Googles latest guidelines, you may leverage GTM's Consent Mode in either Basic or Advanced mode. We recommend first following our Manual Installation Code instructions above to add the Concord code to your website. Then copy your Project ID and use that when setting up Google Tag Manager using the template in the linked article below. We do not recommending skipping the Manual Installation option above and using the Inject Script option in the Google Template unless you have already setup all of your other tags in Google Tag Manager. For more detail on Google Consent Mode and additional configuration instructions, see [here](/docs/google-understanding-configuring-google-consent-mode-gcm-v2).
# Capturing Consent Events on Your Website
URL: /docs/capturing-consent-events
***
title: 'Capturing Consent Events on Your Website'
description: 'How to capture consent events for users on your website using custom JavaScript code.'
created: '2021-10-05T00:35:28.000Z'
updated: '2024-10-18T16:56:01.000Z'
-----------------------------------
## Overview
This article provides instructions on capturing consent events for users on your website using custom JavaScript code. This code can be added directly to your website or via our Custom Script option.
To learn more about capturing consent via Custom Scripts, refer to this article:
* [Managing Custom Scripts](/docs/managing-custom-scripts)
## Capturing Consent Events Based on User Actions
We provide a number of convenience methods in our site client library that make it easy for your web developers to capture any type of consent on your website or in your applications. The basic code examples below can be used or expanded upon to add your own custom code to capture new Consent Events when your users perform certain actions that change their state of consent.
Consent state represents the state of consent for the user after an event occurs and the options include:
* **Accepted / Declined (accepted / declined):** The default consent states are “accepted” and “declined” as most cases will require the end user to accept or decline consent.
* **Viewed (viewed):** This is less common, but the “viewed” state is used to track views instead of or in addition to click activities like accepts or declines. An example would be a user that clicked on a link to view your privacy policy page.
* **Implied (implied):** The “implied” state is used if the end user does not need to take positive action to consent, but consents by using your website or application, like with a privacy policy. Note that all Consent Types that include implied as an option are sent automatically when we first see a new visitor to your website or application.
Consent actions are how the user gets into one of the states above and include:
* **User Click (user\_click):** Agreements accepted after a user clicks on something as part of acceptance flow (buttons, links, form submits, etc.). This is the most common way that consent is captured.
* **Implied (implied):** As noted above, this is captured automatically the first time we see a new visitor without a given consent type.
* **Import (import):** Represents consent captured and imported via another system. A common example is consent captured via an email marketing system and imported into Concord via API or our integration options.
As noted above, Concord automatically captures Implied Consent Events for your website Privacy Policy on each of your projects. The first implied Consent Type is automatically generated when configuring your first project and is the only one you need in most cases. Disclosure URLs that drive these events — privacy policy, terms of service, cookie policy, and any custom disclosures — are configured as Policy Links:
* [Managing Policy Links](/docs/managing-policy-links)
### Basic On-Click Consent Event Example
Custom script example for when a user clicks a button on your website:
```javascript
// Replace (elementId), (category), (subcategory), (label), (consentState)
document.getElementById('(elementId)').addEventListener('click', function () {
window.concord &&
window.concord.captureConsentEvent({
category: '(category)',
subcategory: '(subcategory)',
label: '(label)',
consentState: '(consentState)',
});
});
```
IMPORTANT: Replace `(elementId)` with the id of the button and `(category)`, `(subcategory)`, `(label)`, `(consentState)` with the values that match your defined Consent Type.
For example, the Consent Type in the image below would contain the following:
* **category:** `disclosure`
* **subcategory:** `terms_of_service`
* **label:** `example_terms_of_service`
* **consentState:** `accepted` or `declined`
Also replace the `(elementId)` with the name of your HTML element that represents the clicked button.
### Submit with Checkbox Example
The following Custom Script example outlines capturing consent when a user submits a basic form on your website. In this example, we’re gathering on-click consent for collecting first name, last name, and email from a form that might look like this:
```html
```
# Configuring Automatic Language Translation
URL: /docs/configuring-automatic-language-translation-in-the-consent-banner-concord-privacy-center
***
title: 'Configuring Automatic Language Translation'
description: 'How to configure automatic language translation of the Consent Banner and Privacy Center content.'
created: '2024-07-31T05:01:57.000Z'
updated: '2024-11-29T22:19:26.000Z'
-----------------------------------
## Overview
The automatic language translation feature for the Consent Banner & Privacy Center ensures that the Unified Consent Banner & Privacy Center experience is automatically delivered to your end users in their preferred languages. When enabled, all Consent Banner & Privacy Center content will be automatically translated to the following 38 languages based on each individual user’s browser language settings:
* English
* Spanish
* French
* Chinese (Simplified)
* Chinese (Traditional)
* German
* Portuguese
* Russian
* Japanese
* Italian
* Hindi
* Korean
* Turkish (LTR)
* Dutch
* Polish
* Indonesian
* Vietnamese
* Thai
* Bengali
* Punjabi
* Greek
* Bulgarian
* Croatian
* Czech
* Danish
* Estonian
* Finnish
* Hungarian
* Irish
* Latvian
* Lithuanian
* Maltese
* Romanian
* Slovak
* Slovenian
* Swedish
* Norwegian
* Arabic
Note that any custom content edits in Consent Settings will also be automatically translated. If you prefer to work in a language other than English, our automatic language translation functionality will also auto detect the root language as part of the translation process.
## How to Enable Automatic Language Translation in Concord’s Admin UI
To enable **Automatic Language Translation** for the Consent Banner and Concord Privacy Center:
1. Login to your Concord Admin UI and navigate to **Deployment → Languages**.
2. To enable automatic language translation, simply toggle the **Enable Languages** button to **On** and click the **Save** button to the right of the Languages page header.
3. If you have the Concord Consent Banner and Privacy Center enabled on your website, the multi-language feature will now be enabled for users visiting your website and any adjustments to the text in your Consent Banner or Privacy Center will be automatically translated as long as **Enable Languages** is enabled.
# Configuring the Privacy Center Floating Button
URL: /docs/floating-button-configuration
***
title: "Configuring the Privacy Center Floating Button"
description: 'A step-by-step guide to configuring the Floating Button for easy access to your Privacy Center on your website.'
created: '2024-01-31T23:49:04.000Z'
updated: '2024-10-02T20:06:22.000Z'
-----------------------------------
## How to Configure the Floating Button to Access the Privacy Center
Login to Concord and navigate to **User Experiences** → **Floating Button**
* **Show Button**: Whether or not the Floating Button is shown on your website.
* **Button Icon**: The icon used for the Floating Button on your website. You can choose between a fingerprint or a cookie.
* **Tab Text**: The tab text used for the Floating Button on your website.
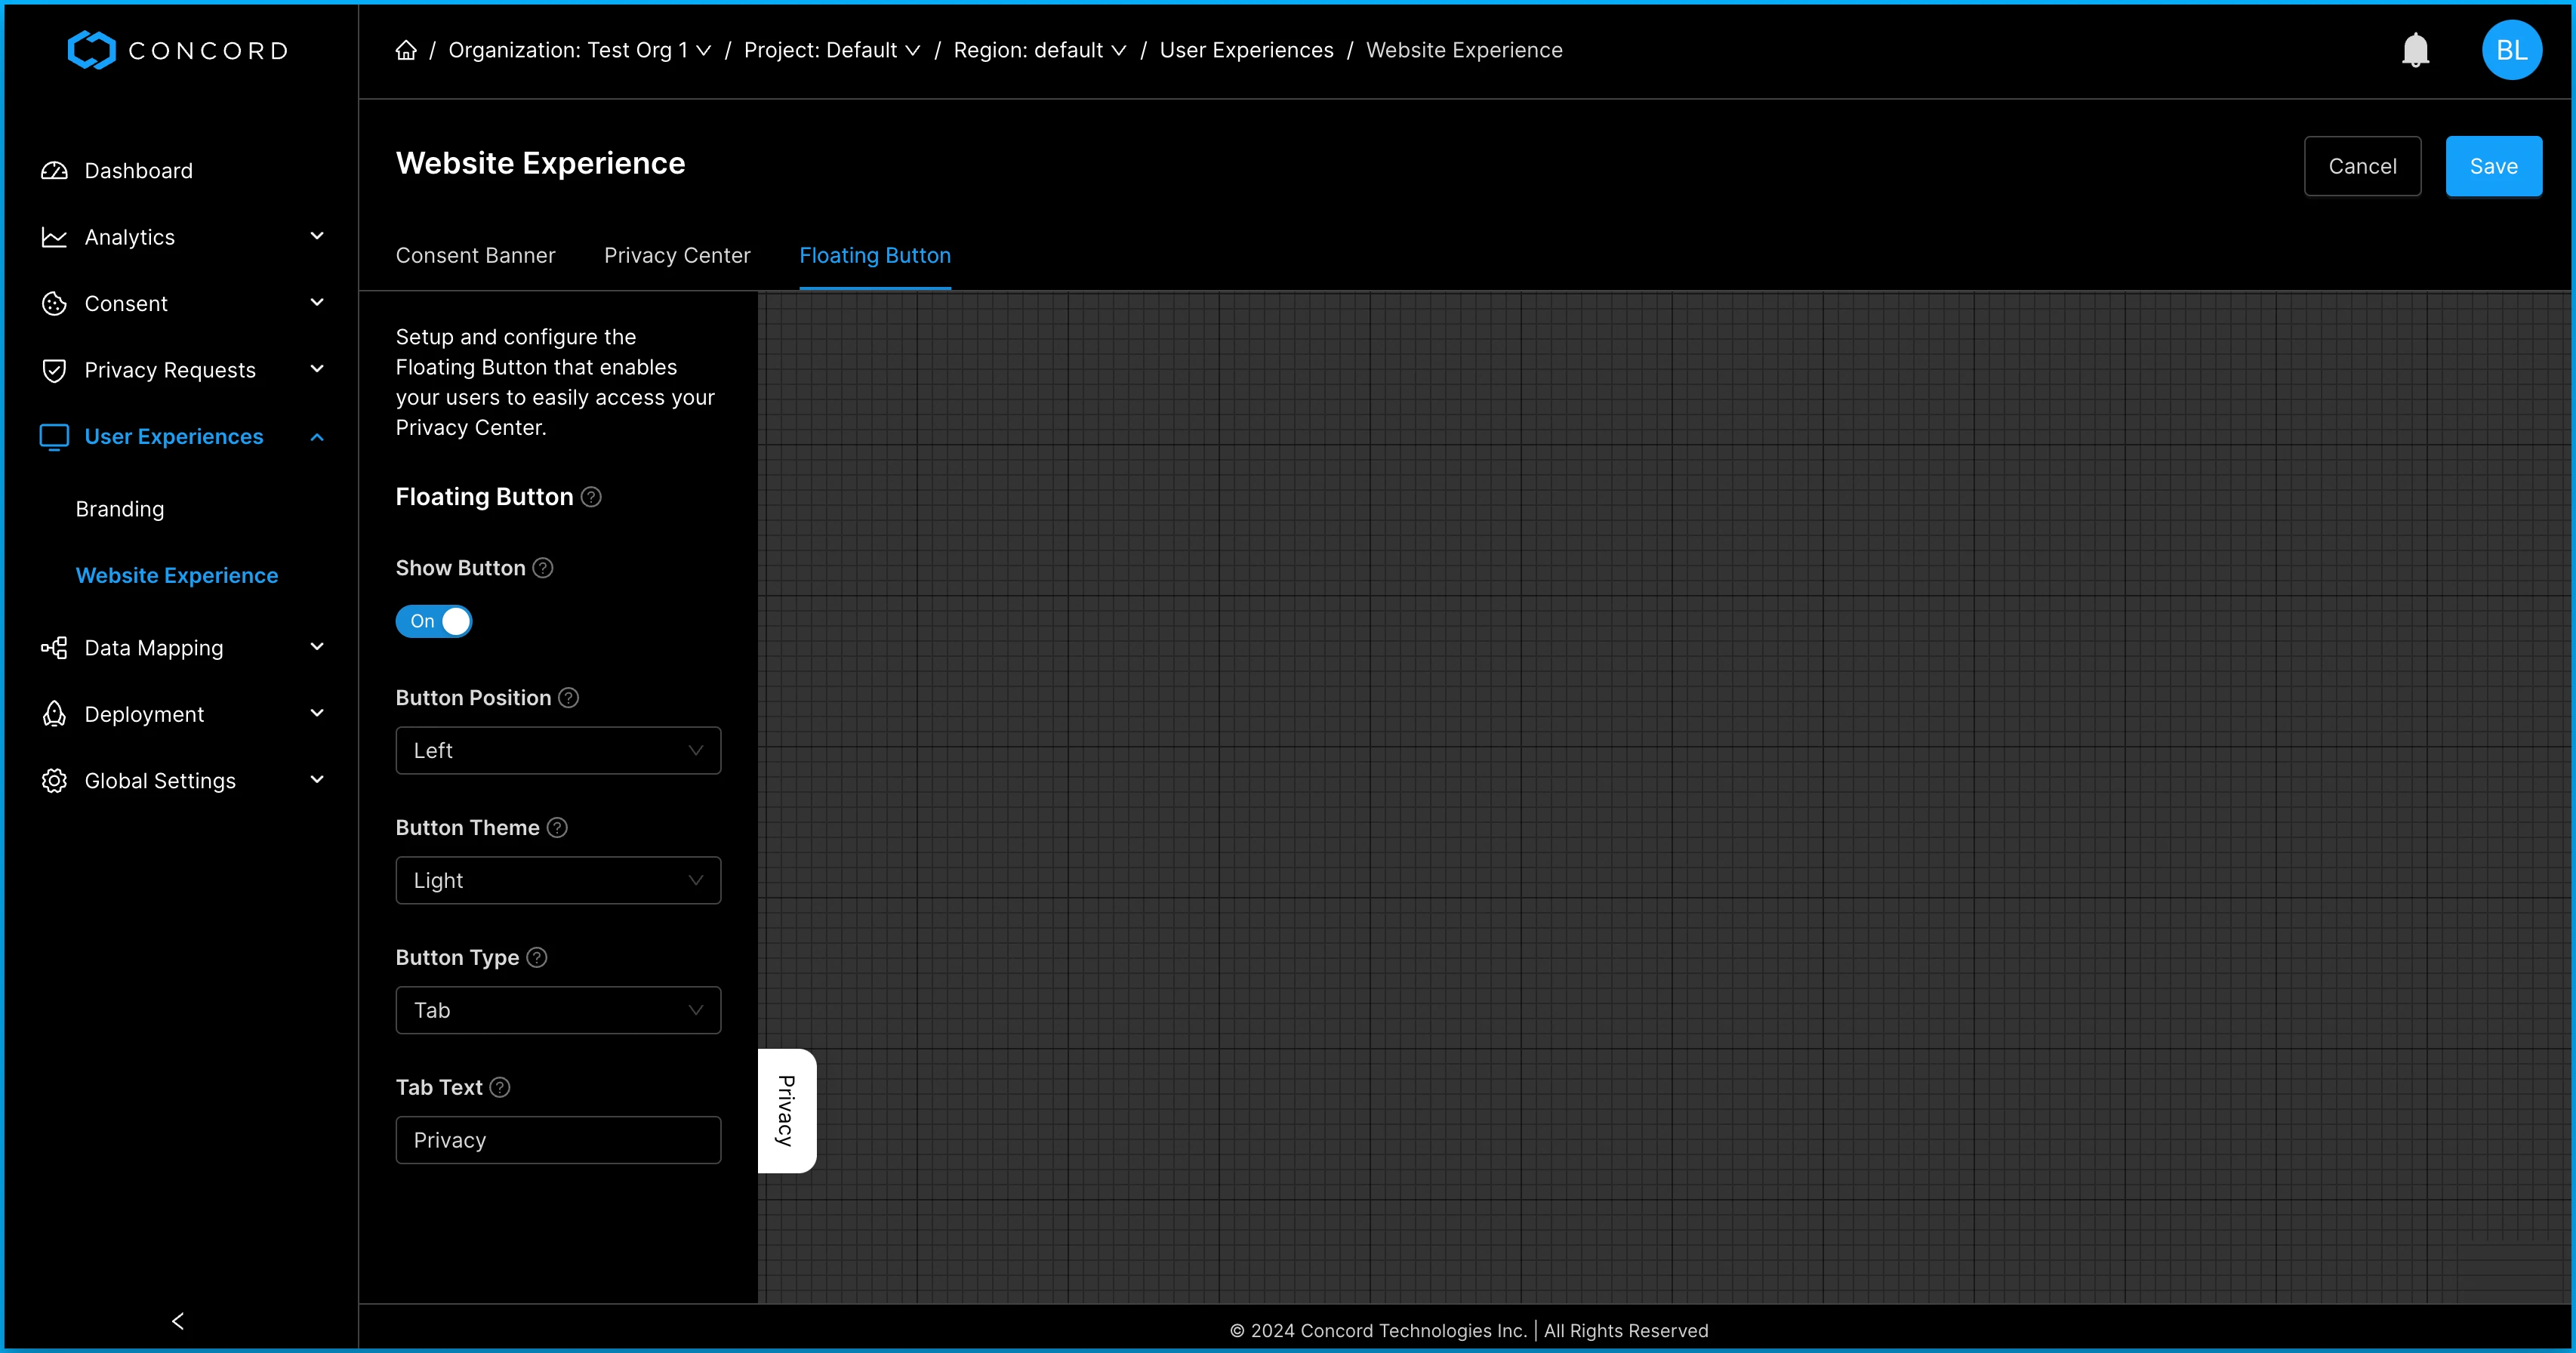
Click the **Save** button in the upper left portion of the workspace to save your changes.
## **Related Help Documents**
* [Privacy Center Direct Access Links](/docs/privacy-center-direct-access-links)
# Managing Custom Scripts
URL: /docs/managing-custom-scripts
***
title: 'Managing Custom Scripts'
description: 'Understanding and managing custom scripts.'
created: '2021-05-13T20:47:31.000Z'
updated: '2023-10-13T08:43:26.000Z'
-----------------------------------
## Overview
* Custom JavaScript can be added to the Site Config for a Project so that it is automatically executed when our Site Client Library is loaded on your website.
* Some potential examples of when customized JavaScript may be needed could include.
* Capturing consent events when users perform specific actions on your website (like clicking a button).[](/docs/capturing-consent-events)
* Opening the Concord Privacy Center Website Widget when a user clicks on a link on your website (like a footer link or a link in your privacy policy).
* To add custom JavaScript, go to **Deployment -> Deploy Settings -> Custom Script,** click **Edit**, and paste in your required JavaScript.
* There is an included JavaScript validator embedded in the solution to help you identify potential issues with your script.
# Managing Project Domains
URL: /docs/managing-project-domains
***
title: 'Managing Project Domains'
description: 'How to manage the domains associated with your project.'
created: '2021-05-13T20:53:47.000Z'
updated: '2023-10-03T08:38:08.000Z'
-----------------------------------
## Overview
* When logging into Concord’s Admin User Interface (UI) for the first time, you will be guided through a Project Setup Wizard where you will be asked to enter your website’s domain. This will be the primary domain associated with your first Project.
* Domains are used in Concord to restrict the domains that can use that Project’s Privacy Center website widget and to determine which domains can send consent events to that Project.
* Most companies will generally use a single domain per project, although it’s possible you will have several different websites that require similar configurations.
* From the **Domains** section in the Admin UI, you will be able to:
* Add additional domains.
* Edit existing domains.
* Delete domains.
## How to Add a New Project Domain
1. Click on the **Domains** drop-down menu and choose **Domains**.
2. Click **Add Domain.**
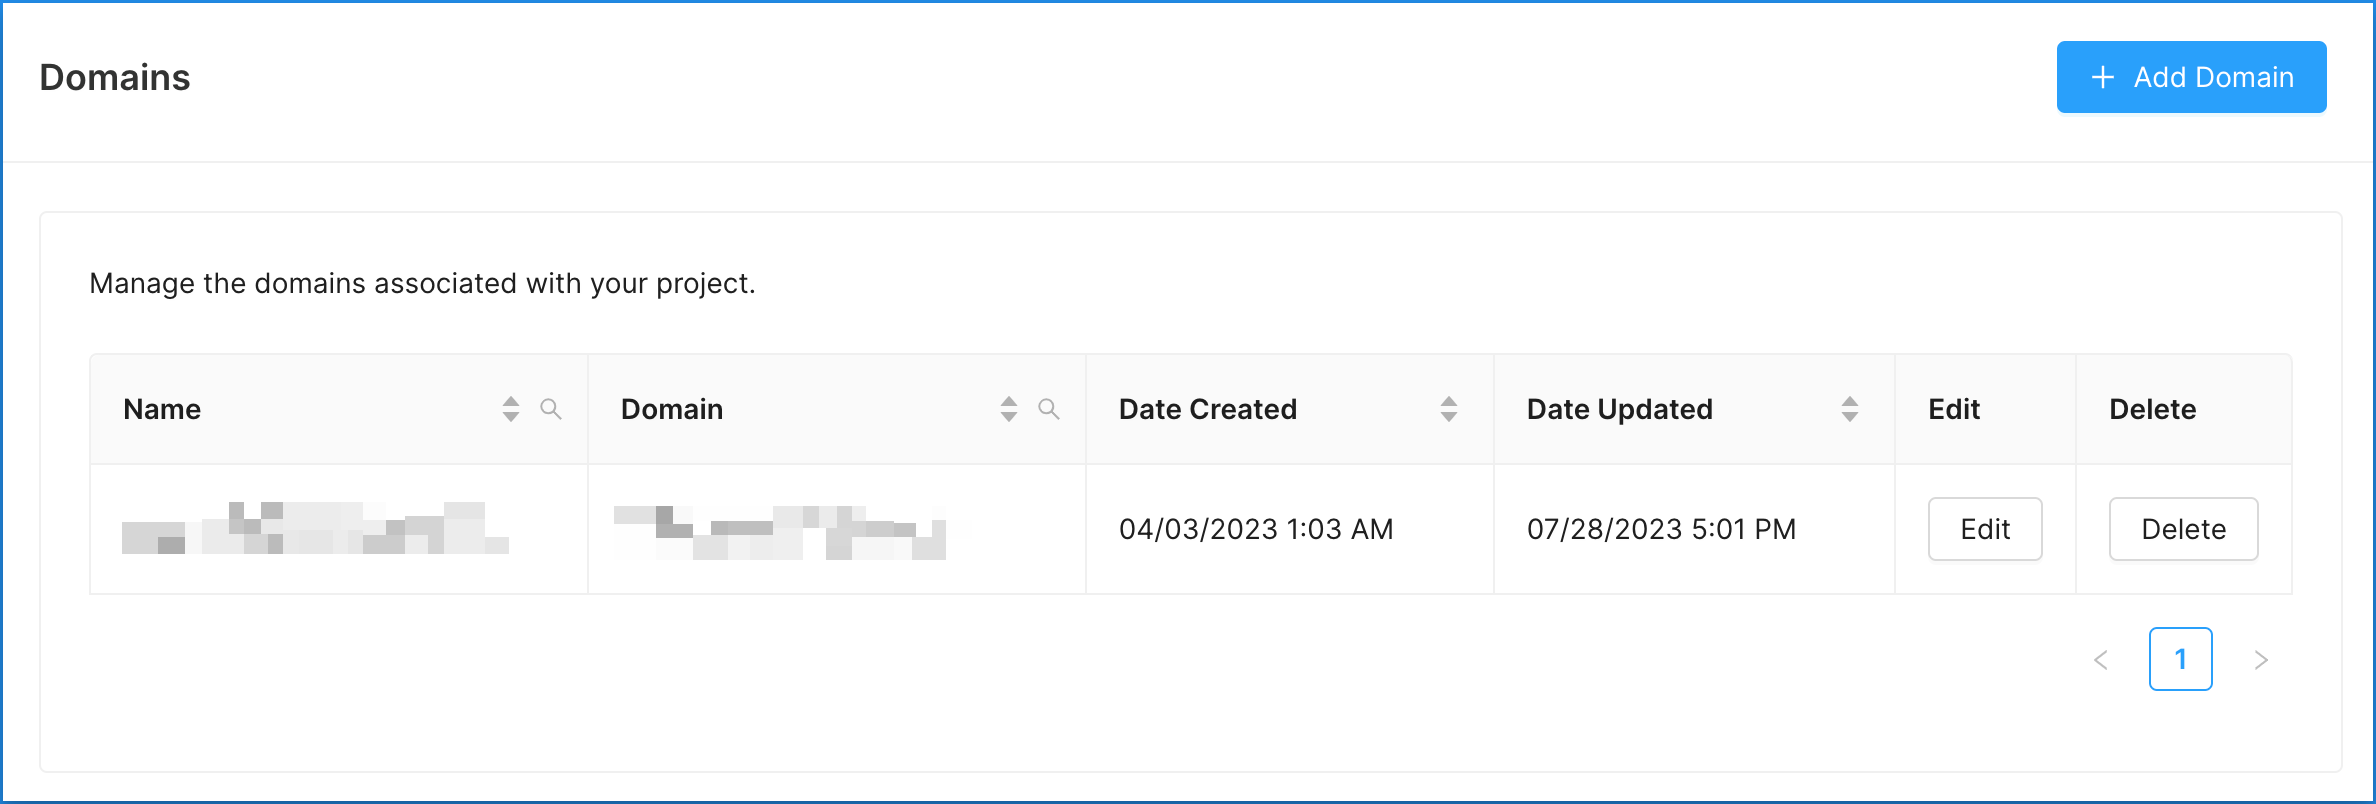
3. Enter your domain name and URL.
* The UI will confirm if you have entered a properly formatted domain. Do not prepend “http\://” or “https\://” to your domain.
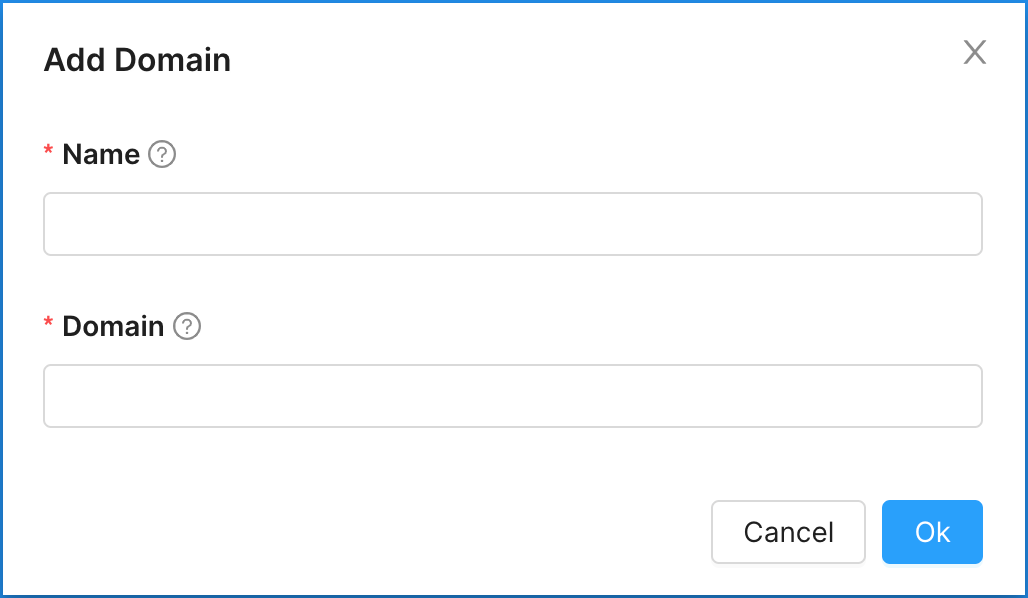
4. Click **Ok**.
We will display a message letting you know the domain has successfully been added and your new domain is now connected to your Project.
## How to Edit and Delete Domains
1. Click on the **Domains** drop-down menu and choose **Domains**.

2. Click on the domain you want to edit or delete.
3. Make your changes or click **Delete** to remove the domain.
# Privacy Center Direct Access Links
URL: /docs/privacy-center-direct-access-links
***
title: 'Privacy Center Direct Access Links'
description: 'Configuring Direct Access Links to Your Privacy Center.'
created: '2023-08-15T21:19:33.000Z'
updated: '2026-02-22T12:00:00.000Z'
-----------------------------------
## Overview
Privacy Center allows you to use direct access links when you want to directly load a specific area of Privacy Center. As an example, your organization may want to add a direct access link in your privacy policy or via email that allows people to go directly to the Privacy Options section to submit a privacy request to view, delete, or change their data. This document will help you add the URL query parameters that will load Privacy Center and show a specific area of Privacy Center including:
* Details
* Privacy Options
* Do Not Sell
* Consent
Currently you can include the following direct access links on your website, in email communications, etc.:
Details
* `?cord_section=details`
* Example: [https://concord.tech/?cord\_section=details](https://concord.tech/?cord_section=details)
Privacy Options (Requires **Privacy Requests Enabled** to be enabled in the Admin UI in **Privacy Requests → Request Settings**)
* `?cord_section=privacy_options`
* Example: [https://concord.tech/?cord\_section=privacy\_options](https://concord.tech/?cord_section=privacy_options)
Do Not Sell (Requires **Privacy Requests Enabled** & **Enable Do Not Sell** to be enabled in the Admin UI in **Privacy Requests → Request Settings**)
* `?cord_section=privacy_options_dns`
* Example: [https://concord.tech/?cord\_section=privacy\_options\_dns](https://concord.tech/?cord_section=privacy_options_dns)
Consent (Requires **Consent Mode** to be set to anything other than disabled in the Admin UI in **Consent → Consent Settings**)
* `?cord_section=consent`
* Example: [https://concord.tech/?cord\_section=consent](https://concord.tech/?cord_section=consent)
***
## Programmatic Widget Control
If loading speed is of the utmost importance, or you need to open a specific section from a button or link, you can use the widget's JavaScript API to control the Privacy Center programmatically. This approach is slightly faster than using direct access links because it doesn't require a page navigation.
### When to Use Each Approach
1. **Direct Access Links** - The recommended approach for most use cases. Link to your privacy policy page with the query parameter, providing a graceful fallback if the widget fails to load.
2. **Programmatic API** - Use `window.concord.plugin.widget` methods for optimal load performance. Ideal for footer links, navigation elements, or any interactive component where you want instant access to the Privacy Center.
### API Methods
All methods are available on `window.concord.plugin.widget`.
#### `toggle(options?)`
Toggles the Privacy Center open or closed. If the widget is currently closed, it opens (optionally to a specific section). If it is already open, it closes, regardless of which section is specified.
```js
// Open or close the Privacy Center
window.concord.plugin.widget.toggle();
// Open to a specific section, or close if already open
window.concord.plugin.widget.toggle({ section: 'consent' });
window.concord.plugin.widget.toggle({ section: 'details' });
window.concord.plugin.widget.toggle({ section: 'privacy_options' });
window.concord.plugin.widget.toggle({ section: 'privacy_options_dns' });
```
#### `openSection(section)`
Always opens the Privacy Center to a specific section. Unlike `toggle()`, this never closes the widget.
```js
window.concord.plugin.widget.openSection('consent');
window.concord.plugin.widget.openSection('details');
window.concord.plugin.widget.openSection('privacy_options');
window.concord.plugin.widget.openSection('privacy_options_dns');
```
#### `setOpen(open, options?)`
Explicitly sets the open state of the Privacy Center.
```js
// Open the Privacy Center
window.concord.plugin.widget.setOpen(true);
// Open to a specific section
window.concord.plugin.widget.setOpen(true, { section: 'consent' });
window.concord.plugin.widget.setOpen(true, { section: 'privacy_options_dns' });
// Close the Privacy Center
window.concord.plugin.widget.setOpen(false);
```
### Implementation Example
Here's how we implement this on our own site in the footer and nav bar:
```tsx
{
if (window.concord?.plugin?.widget?.toggle) {
e.preventDefault();
window.concord.plugin.widget.toggle();
}
}}
>
Privacy Settings
```
To open directly to a specific section, for example, a "Do Not Sell" footer link:
```tsx
{
if (window.concord?.plugin?.widget?.toggle) {
e.preventDefault();
window.concord.plugin.widget.toggle({ section: 'privacy_options_dns' });
}
}}
>
Do Not Sell My Data
```
These examples check if the Concord widget is loaded and available before calling the API. If the widget isn't available, the link falls back to the direct access URL, ensuring users can always access the Privacy Center.
### Section Reference
The valid section values are the same for both URL parameters and the programmatic API:
| Section | Description | Requirement |
| --------------------- | -------------------------------------------- | ------------------------------------------------ |
| `details` | Opens the Privacy Center to the Details view | None |
| `consent` | Opens to the Consent view | Consent Mode must be enabled |
| `privacy_options` | Opens to the Privacy Options selector | Privacy Requests must be enabled |
| `privacy_options_dns` | Opens directly to the Do Not Sell form | Privacy Requests and Do Not Sell must be enabled |
#### Deprecated Section Values
The following section values still work but will log a deprecation warning to the browser console. Update any existing links or code to use the new values above.
| Deprecated | Replacement |
| ------------------ | ----------- |
| `privacy_center` | `details` |
| `consent_settings` | `consent` |
# Privacy Center Widget Configuration
URL: /docs/privacy-center-widget-configuration
***
title: 'Privacy Center Widget Configuration '
description: 'A step-by-step guide to configuring the Privacy Center widget for use on your website.'
created: '2021-05-13T20:46:20.000Z'
updated: '2026-03-16T22:27:16.000Z'
-----------------------------------
## Overview
To configure or update the Privacy Center widget, click on **Privacy →** **User Experiences → Privacy Center** to configure the widget.
Note: If you have multiple regions setup, select the region you want to configure from the Region drop-down selector in the top left of the page above the Privacy Center title.
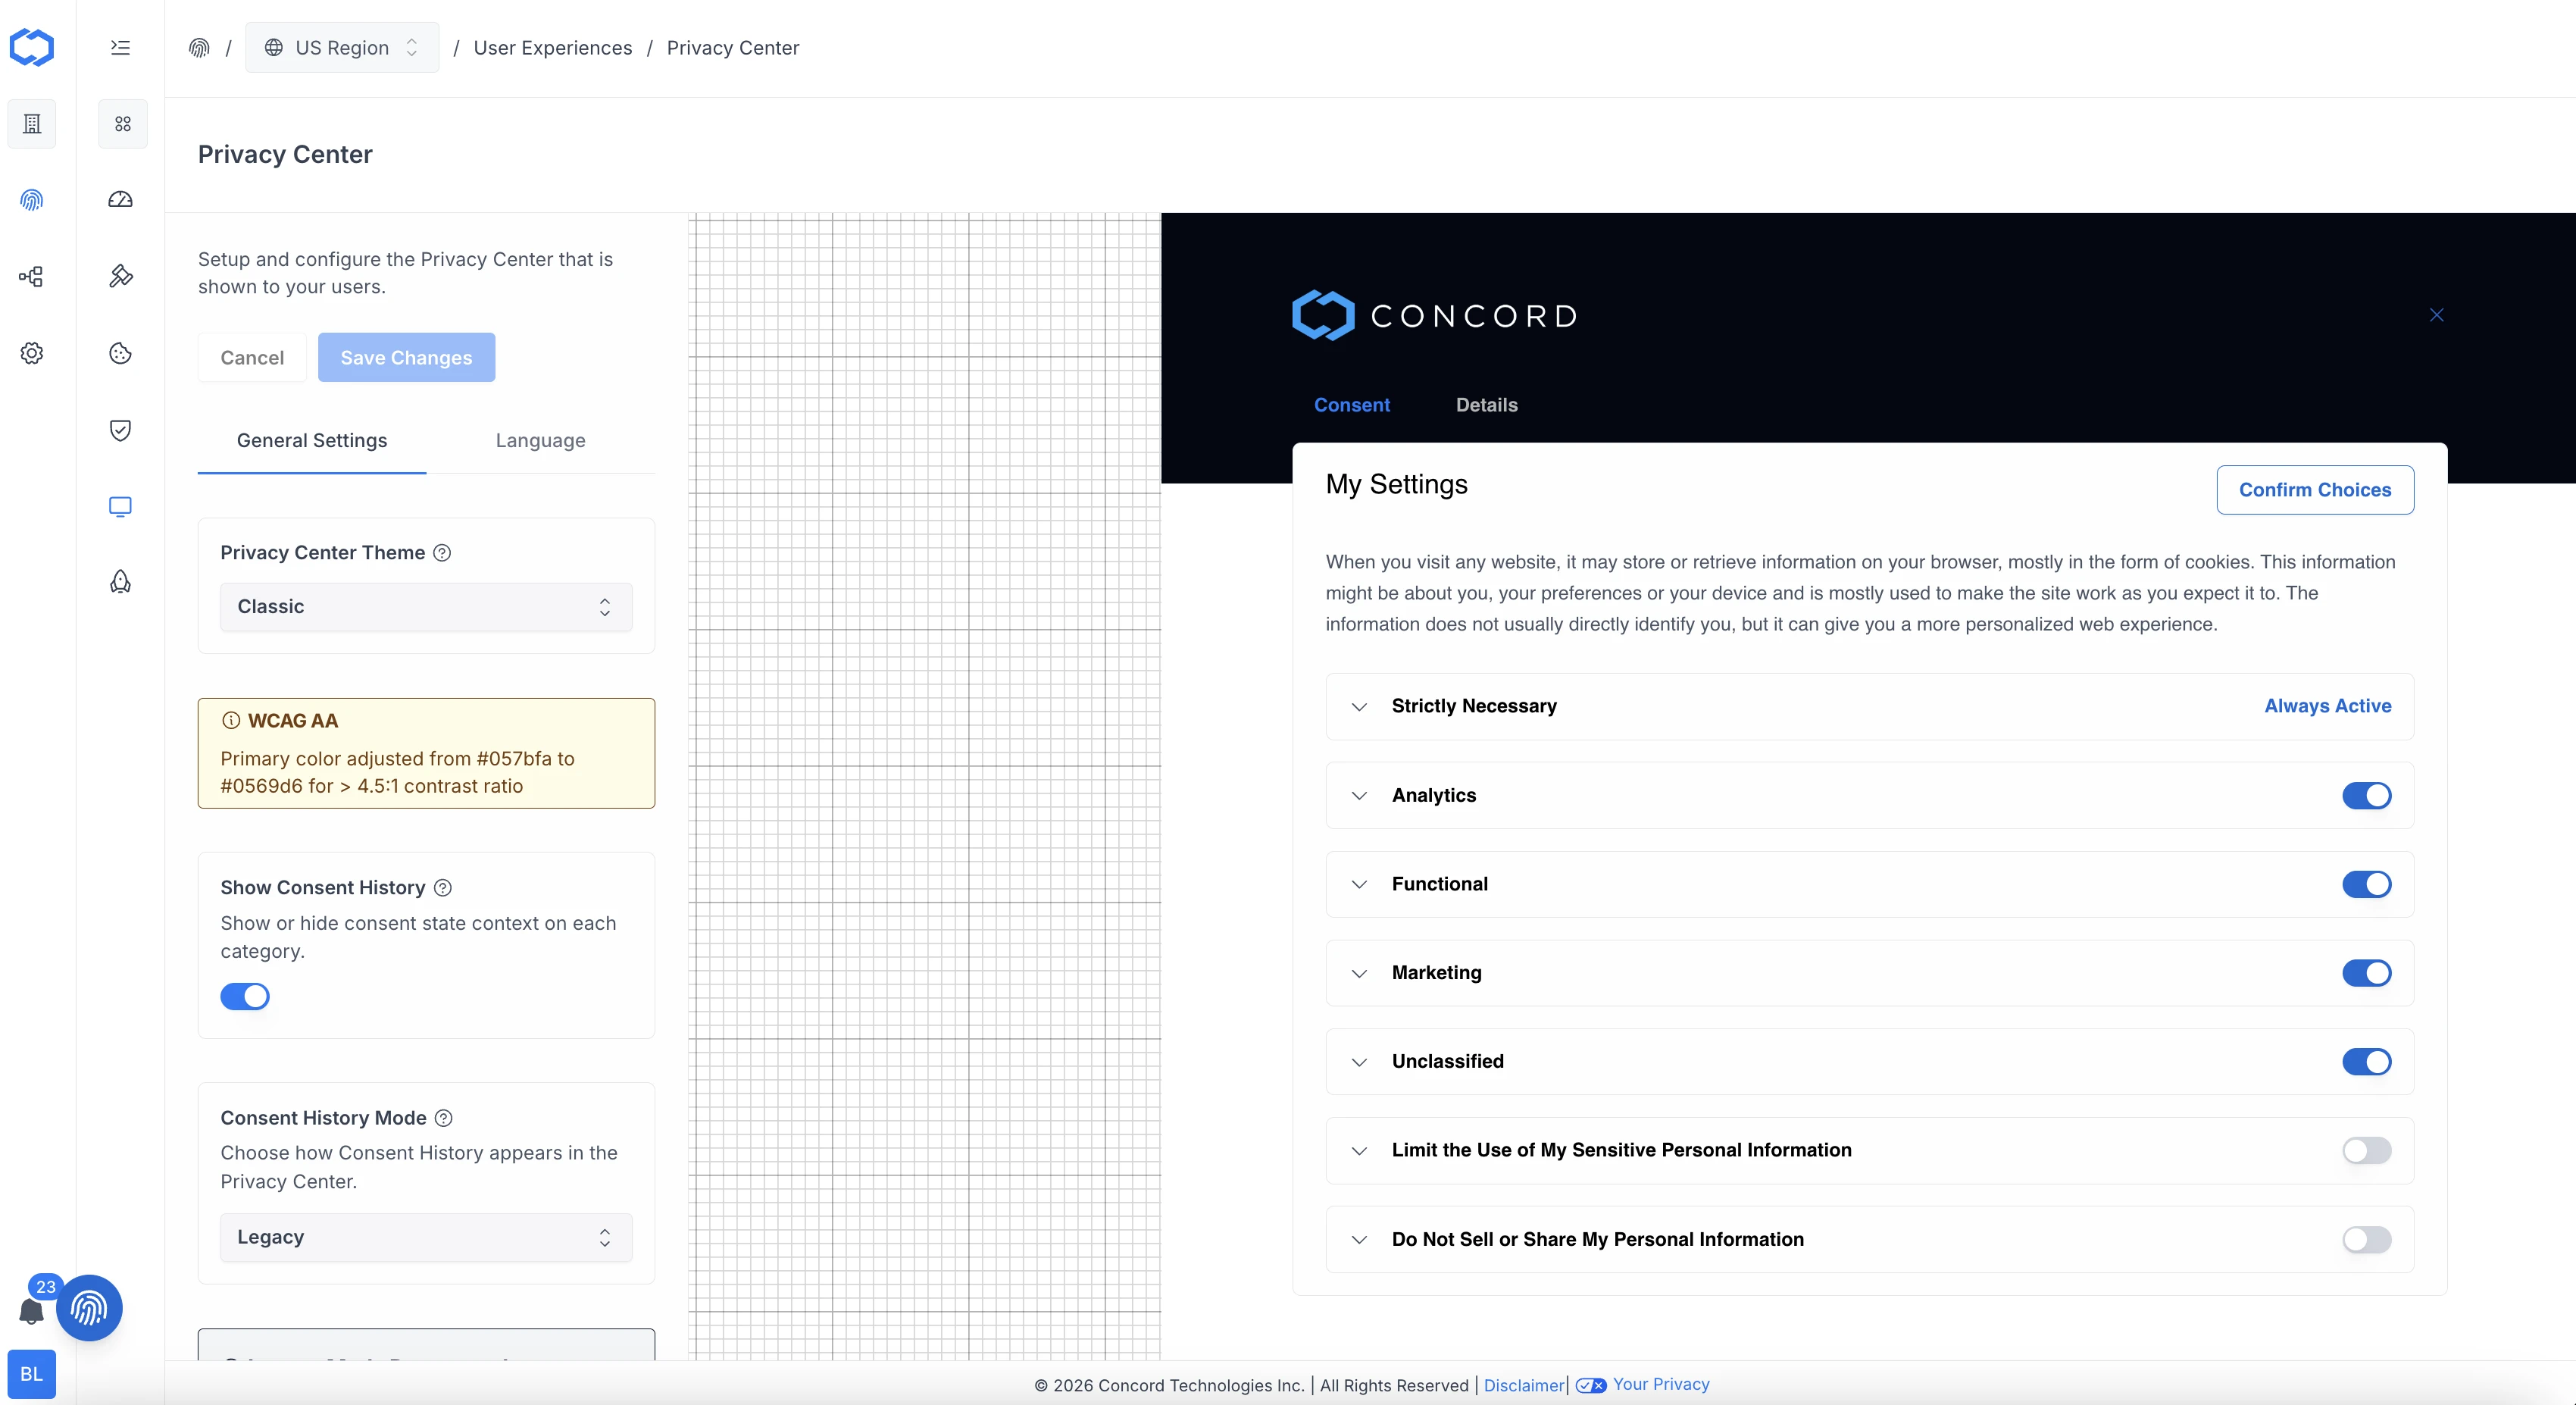
## Privacy Center: General Settings
In the **Privacy Center → General Setting** tab, you can setup and configure the Privacy Center that is shown to your users. In this section you can configure the following:
* **Privacy Center Themes:** The theme of the Privacy Center on your website. Can be set to classic, light, dark, or brand. All themes use your primary color for most of your custom branding (buttons, links, etc.). For the background, brand will use your secondary color, dark uses a very dark gray. light uses white, and classic uses a white background with a header in your secondary color.
* **WCAG AA:** WCAG AA is the internationally recognized standard for web accessibility, ensuring digital content is usable by people with disabilities. Contrast is adjusted to a minimum 4.5:1 ratio for text to background, ensuring readability for visually impaired users.
* **Show Consent History:** When enabled, each consent category displays its current state (e.g. Accepted, Declined, Implied) along with the date the choice was last made.
* **Consent History Mode:** Options include legacy, standard, or both. Legacy shows the full Consent History panel. Standard shows status labels on each consent category. Both enables both experiences.
* **Legacy Mode Deprecated:** Use Standard mode for the new simplified consent history treatment. Legacy mode will be removed soon.
* **Show All Vendors Section:** Displays a combined list of all vendors across all consent categories. This is in addition to per-category vendor details shown when categories are enabled, and is recommended in all modes.
* **Show Disclosures Section:** Whether or not the Privacy Disclosures panel is shown to your users in your Privacy Center. When enabled, the panel surfaces the [Policy Links](/docs/managing-policy-links) configured under **Policies → Links** — privacy policy, terms of service, cookie policy, data protection agreement, and any custom policies.
## Privacy Center: Language
In the **Privacy → Privacy Center → Language** tab, you can setup and customize the verbiage displayed in your Consent Banner. Concord provides suggested text however, we also offer extensive customization options so you can change text to align with your business needs and language style. You can customized the following text in your company’s Consent Banner:
* **Consent Settings**
* **Consent Settings Title:** The text used for the Consent Settings title.
* **Consent Setting Text:** The text used for the Consent Settings description.
* **Confirm Button:** The text used for the Consent Settings button.
* **Consent Categories**
* **Strictly Necessary Title:** The text user for the Strictly Necessary title.
* **Strictly Necessary Text:** The description user for the Strictly Necessary section.
* **Analytics Title:** The text user for the Analytics title.
* **Analytics Text:** The description user for the Analytics section.
* **Functional Title:** The text user for the Functional title.
* **Functional Text:** The description user for the Functional section.
* **Marketing Title:** The text user for the Marketing title.
* **Marketing Text:** The description user for the Marketing section.
* **Unclassified Title:** The text user for the Unclassified title.
* **Unclassified Text:** The description user for the Unclassified section.
* **Privacy Disclosures**
* **Privacy Disclosures Title:** The text used for the title of the Privacy Disclosures panel in your Privacy Center.
* **Privacy Disclosures Description:** The text used for the description of the Privacy Disclosures panel in your Privacy Center.
* **Vendors**
* **Vendors Title:** The heading displayed above the All Vendors section in your Privacy Center.
* **Vendors Description:** The description shown in the All Vendors section of your Privacy Center.
* **Vendors Link Title:** The text of the link button in the All Vendors section of your Privacy Center.
* **Privacy Requests**
* **Privacy Requests Title:** The text used as a title for the Privacy Requests panel.
* **Privacy Options Title:** The text used as a title for the Privacy Options section.
* **Privacy Options Description:** The text used as a title for the Privacy Options description.
* **Options Button Text:** The text of the button to show Privacy Request options.
* **Change Request Title:** The text of the button for requesting changes to a user’s data.
* **Change Request Description:** The text describing data change requests.
* **Delete Request Title:** The text of the button for requesting deletion of a user’s data.
* **Delete Request Description:** The text describing data deletion requests.
* **View Request Title:** The text of the button for requesting a copy of a user’s data.
* **View Request Description:** The text describing user data copy requests.
* **Do Not Sell Request Title:** The text used for the title of the Do Not Sell or Share Request form in the Privacy Center widget.
* **Do Not Sell Request Description:** The text used for the description of the Do Not Sell or Share Request form.
## Privacy Center: Branding - Setting Your Company Logo, Colors & Branding
You can also configure the branding of the Privacy Center Widget by navigating to **Privacy → User Experiences → Branding**. Your secondary color is used for the header color of the Privacy Center and the primary color is used throughout the Privacy Center for items like buttons, links, and hover colors. You can customize the following to align with your brand:
* **Logo**
* Logo file size is limited 512KB.
* Logos are restricted to .png formats.
* There are no height or width restrictions, but logos are resized in the widget to a max-height of 40px so 40px is the preferred height.
* **Primary and Secondary Color**
* Primary color is used for the buttons and links in your Consent Banner.
* Secondary color is used for the background of the header in your Privacy Center.
* You can either choose a preexisting color by clicking on any of the default colors shown or you can input a Hexadecimal color value (for example: “#22194D”). HSB and RGB color codes are also accepted.
* If you do not know the proper Hexadecimal color value for your desired branding, you may search online for “hexadecimal color picker” to find free tools for choosing a color and finding its hexadecimal value.
* **Font:** Choose a font that represents your brand identity. The selected font will be applied to all text elements in your privacy experiences.
* **Button Radius:** Choose how your buttons display in the Privacy Center (square, standard, round, pill).
* **Card Radius:** Choose the radius of the cards in your user experiences.
* **Powered by Concord:** Branding (this is only customizable on Pro and Premium plans)
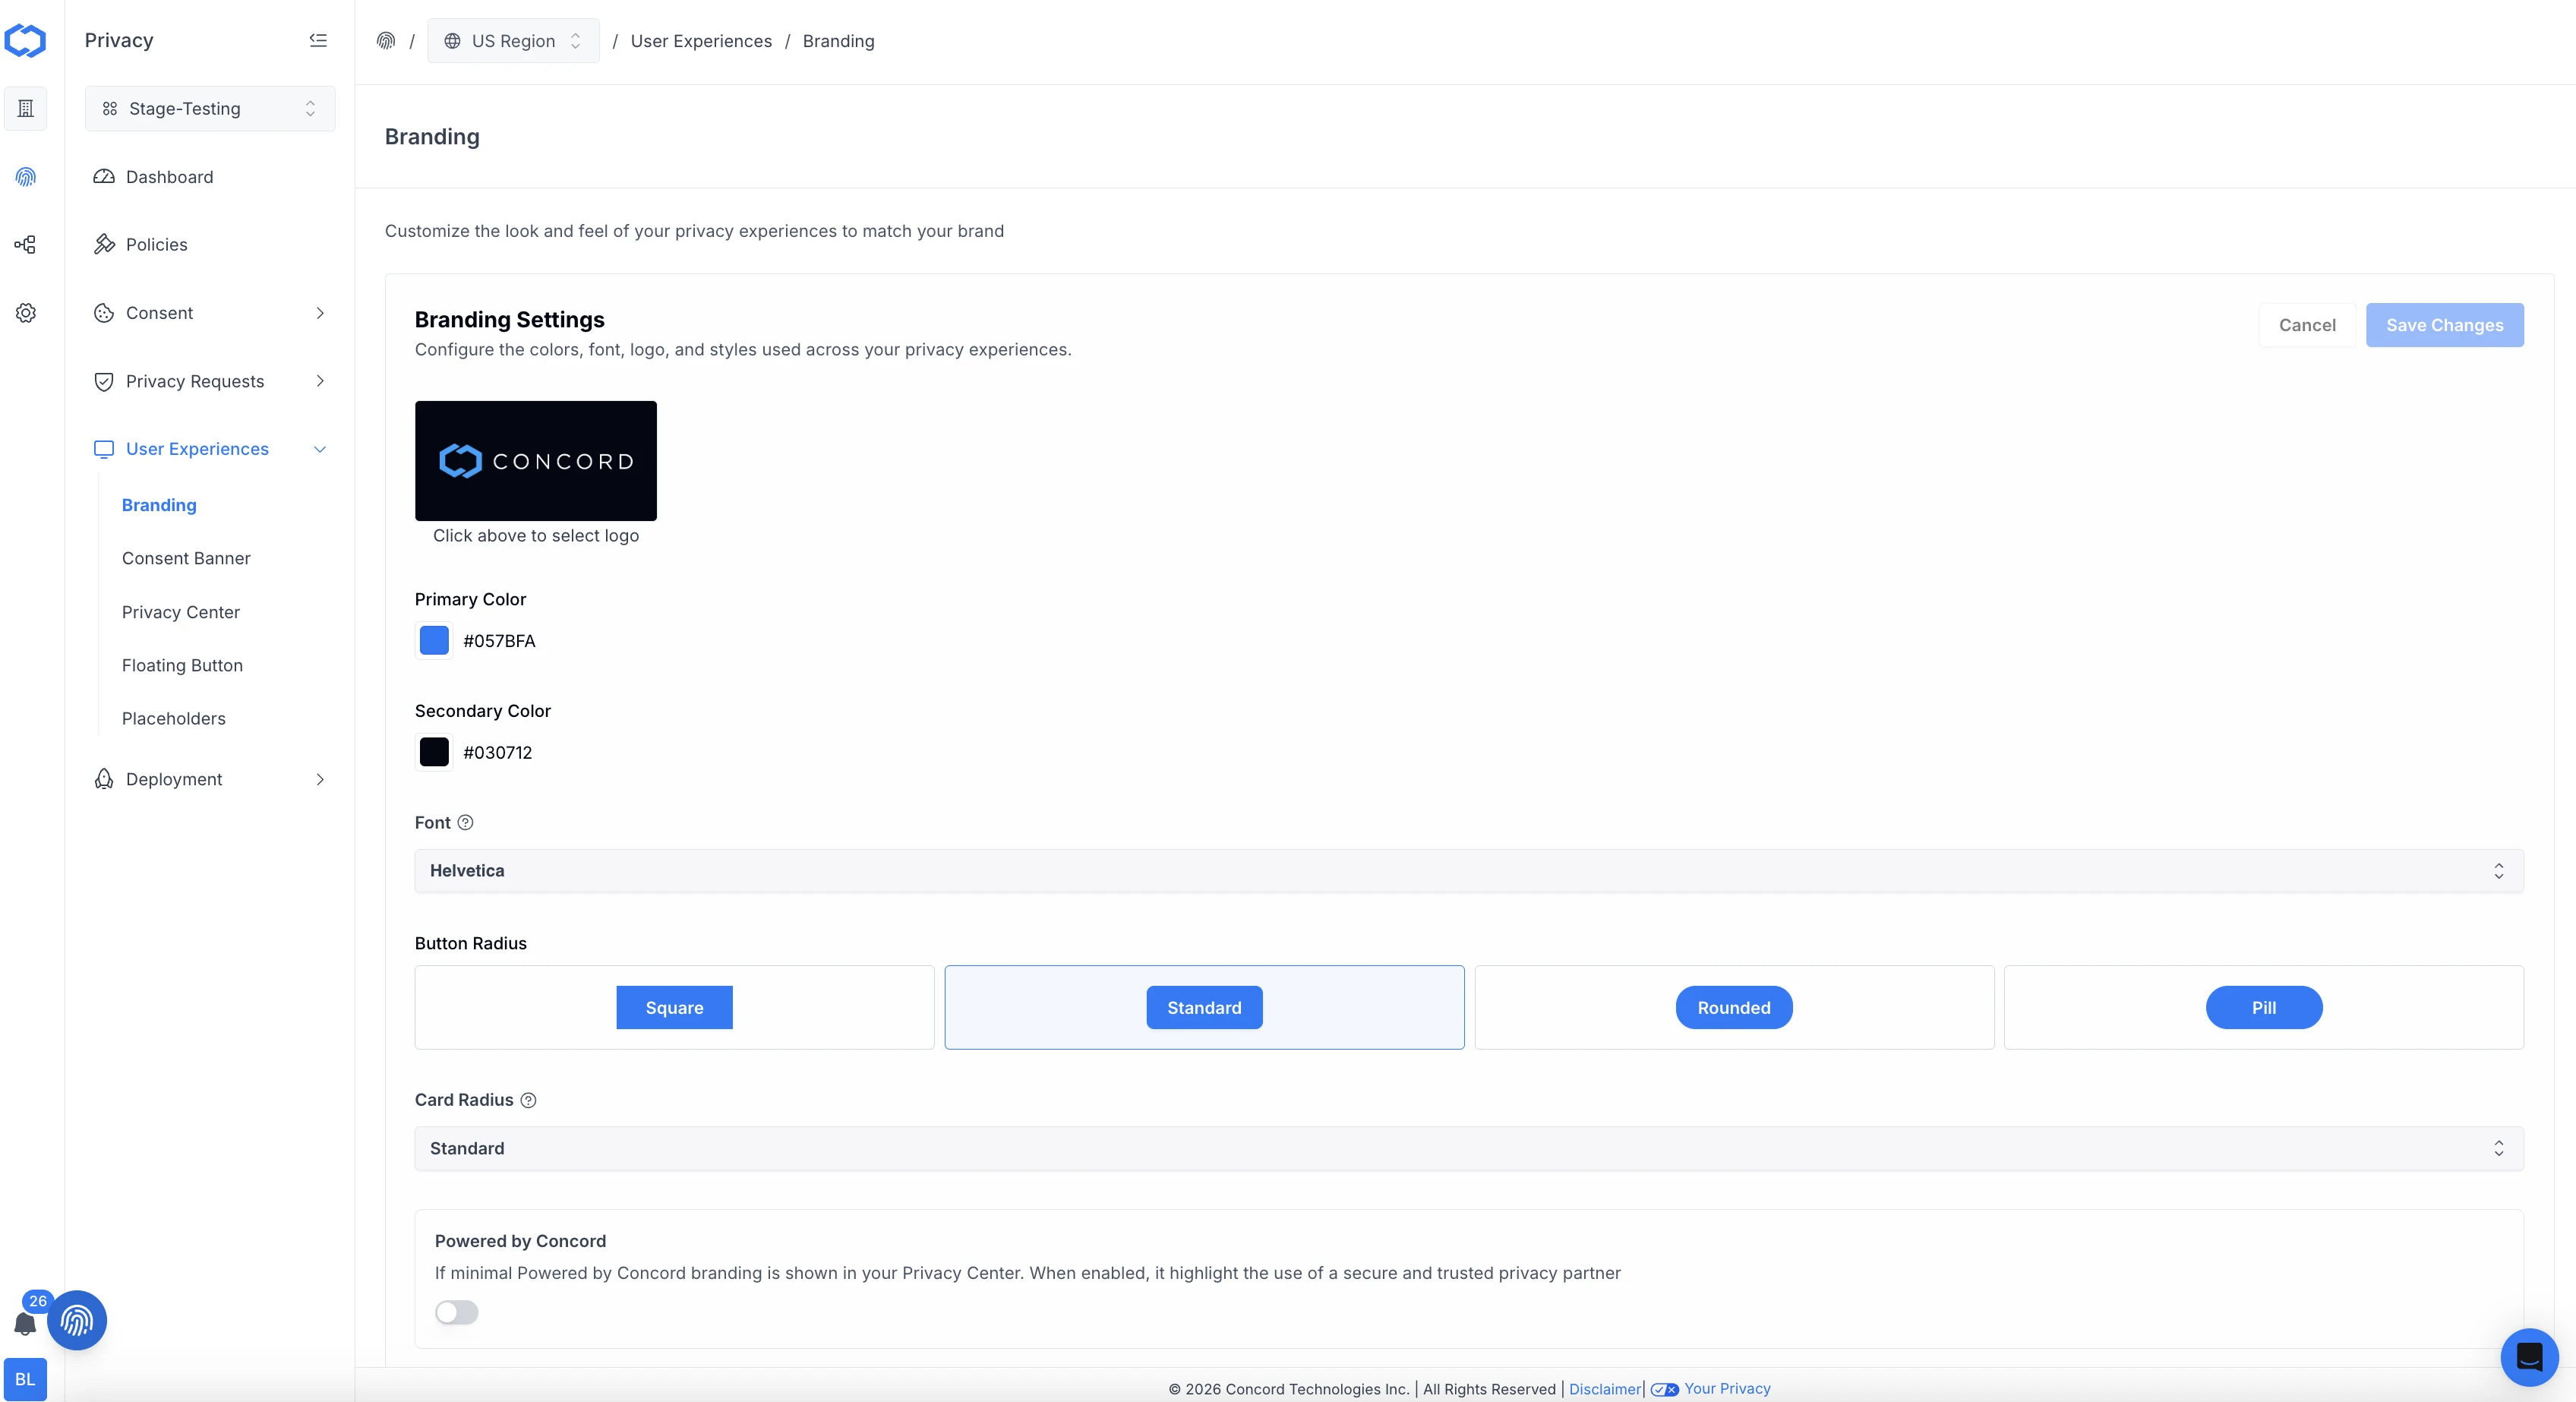
## Privacy Center: Floating Button
You can also configure the branding of the Privacy Center Widget by navigating to **Privacy → User Experiences → Floating Button**. In this section you can setup and configure the Floating Button that enables your users to easily access your Privacy Center. On the **General Settings** tab, you can customized the following Floating Button features:
* **Show Button:** Turn the floating button on or off.
* **Button Position:** The position of the Floating Button on your website. Can be placed on the right or left of the screen and will be 24px from the bottom and 24px from the side.
* **Button Offset X:** The horizontal offset of the Floating Button on your website.
* **Button Theme:** The theme of the Floating Button on your website. Can be set to brand, light, or dark. Brand will use your primary color as the background. Light uses white.
* **Button Type:** The type of Floating Button you want to use on your website. Options are a tab with text or a circle with an icon.
* **Button Icon:** The icon used for the Floating Button on your website. You can choose between a fingerprint, a cookie, or a shield.
* On the **Language Settings** tab, you can customize the following Floating Button features:
* **Tab Text:** The tab text used for the Floating Button on your website.
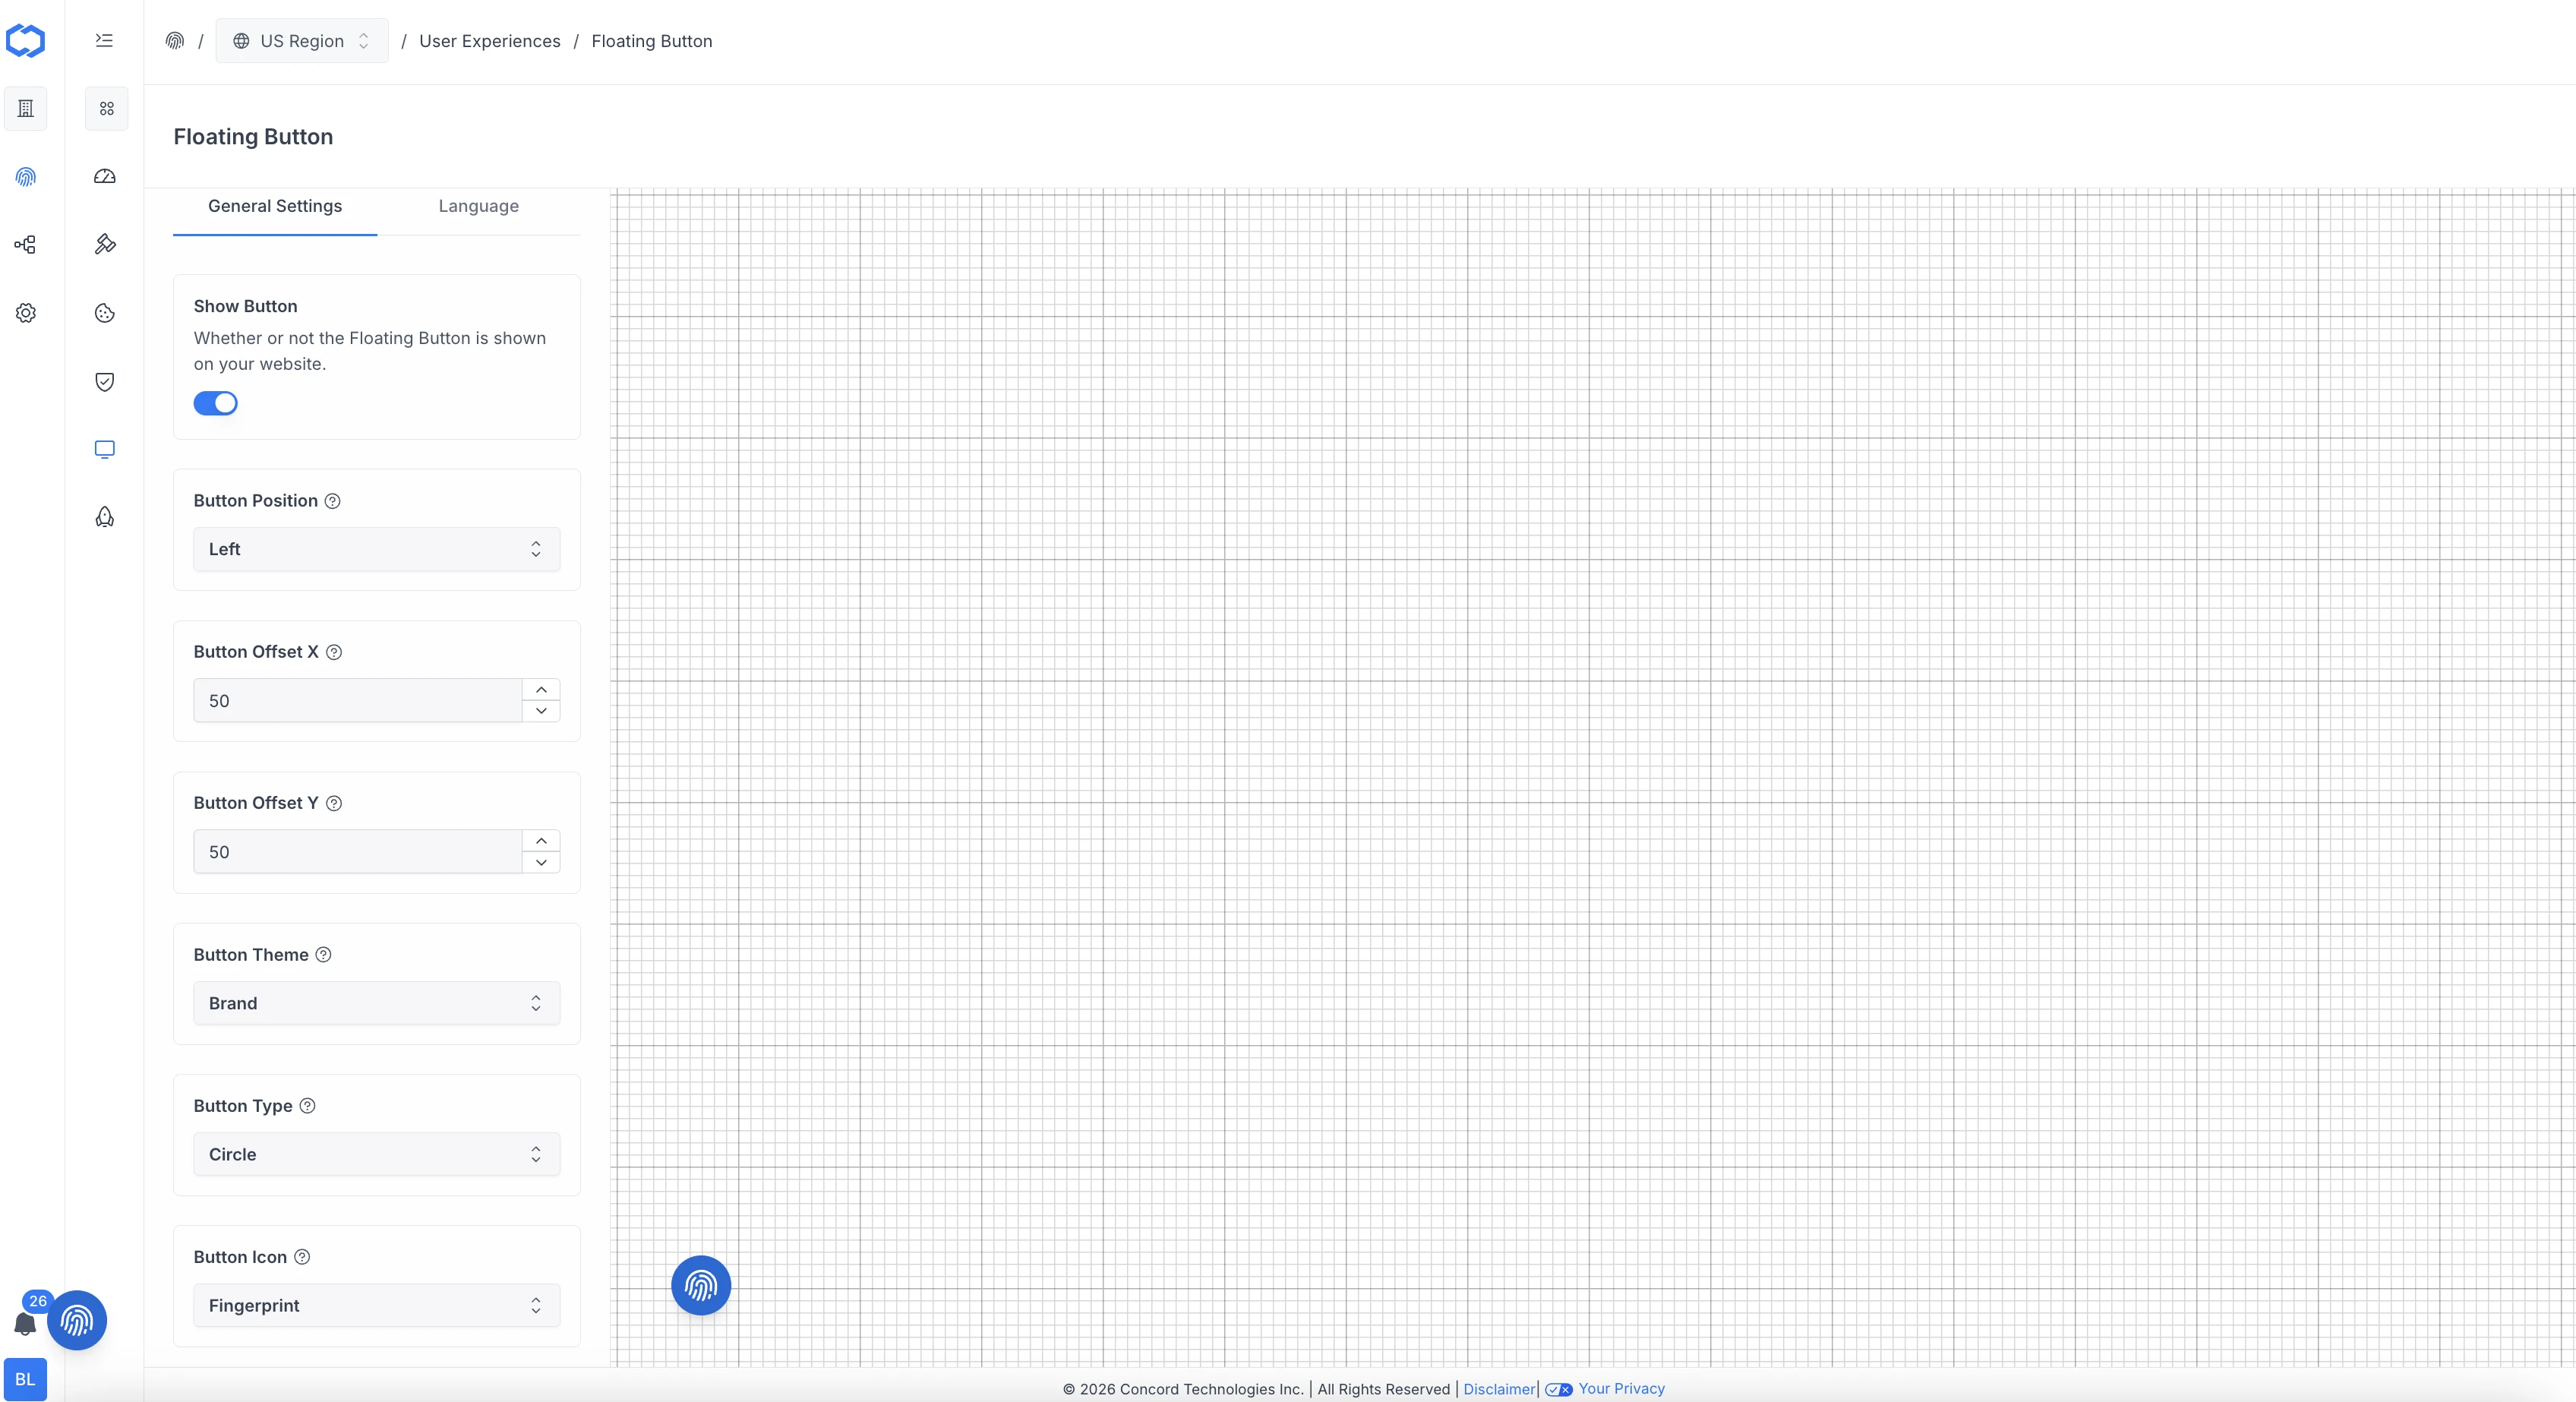
# Custom Branding: Logo, Colors, Font, and Radius
URL: /docs/setting-up-custom-branding-logos-colors
***
title: "Custom Branding: Logo, Colors, Font, and Radius"
description: 'How to update the logo colors, font, and button/card radius within Concord for use in your unified Privacy Center and Consent Banner website experiences.'
created: '2023-10-03T23:08:02.000Z'
updated: '2024-12-04T02:45:47.000Z'
-----------------------------------
## Overview
This document explains how to:
* Add your company logo in the branding section. The logo is used in your unified Privacy Center.
* Customize the primary and secondary colors in the branding section so they match your company’s desired look and feel. Primary and secondary colors are used in both the Consent Banner and the Privacy Center.
* Customize the font, button radius, and card radius in the Privacy Center and on the consent banner.
## Logo
To customize your logo, go to **User Experiences** → **Branding** in the Admin UI.
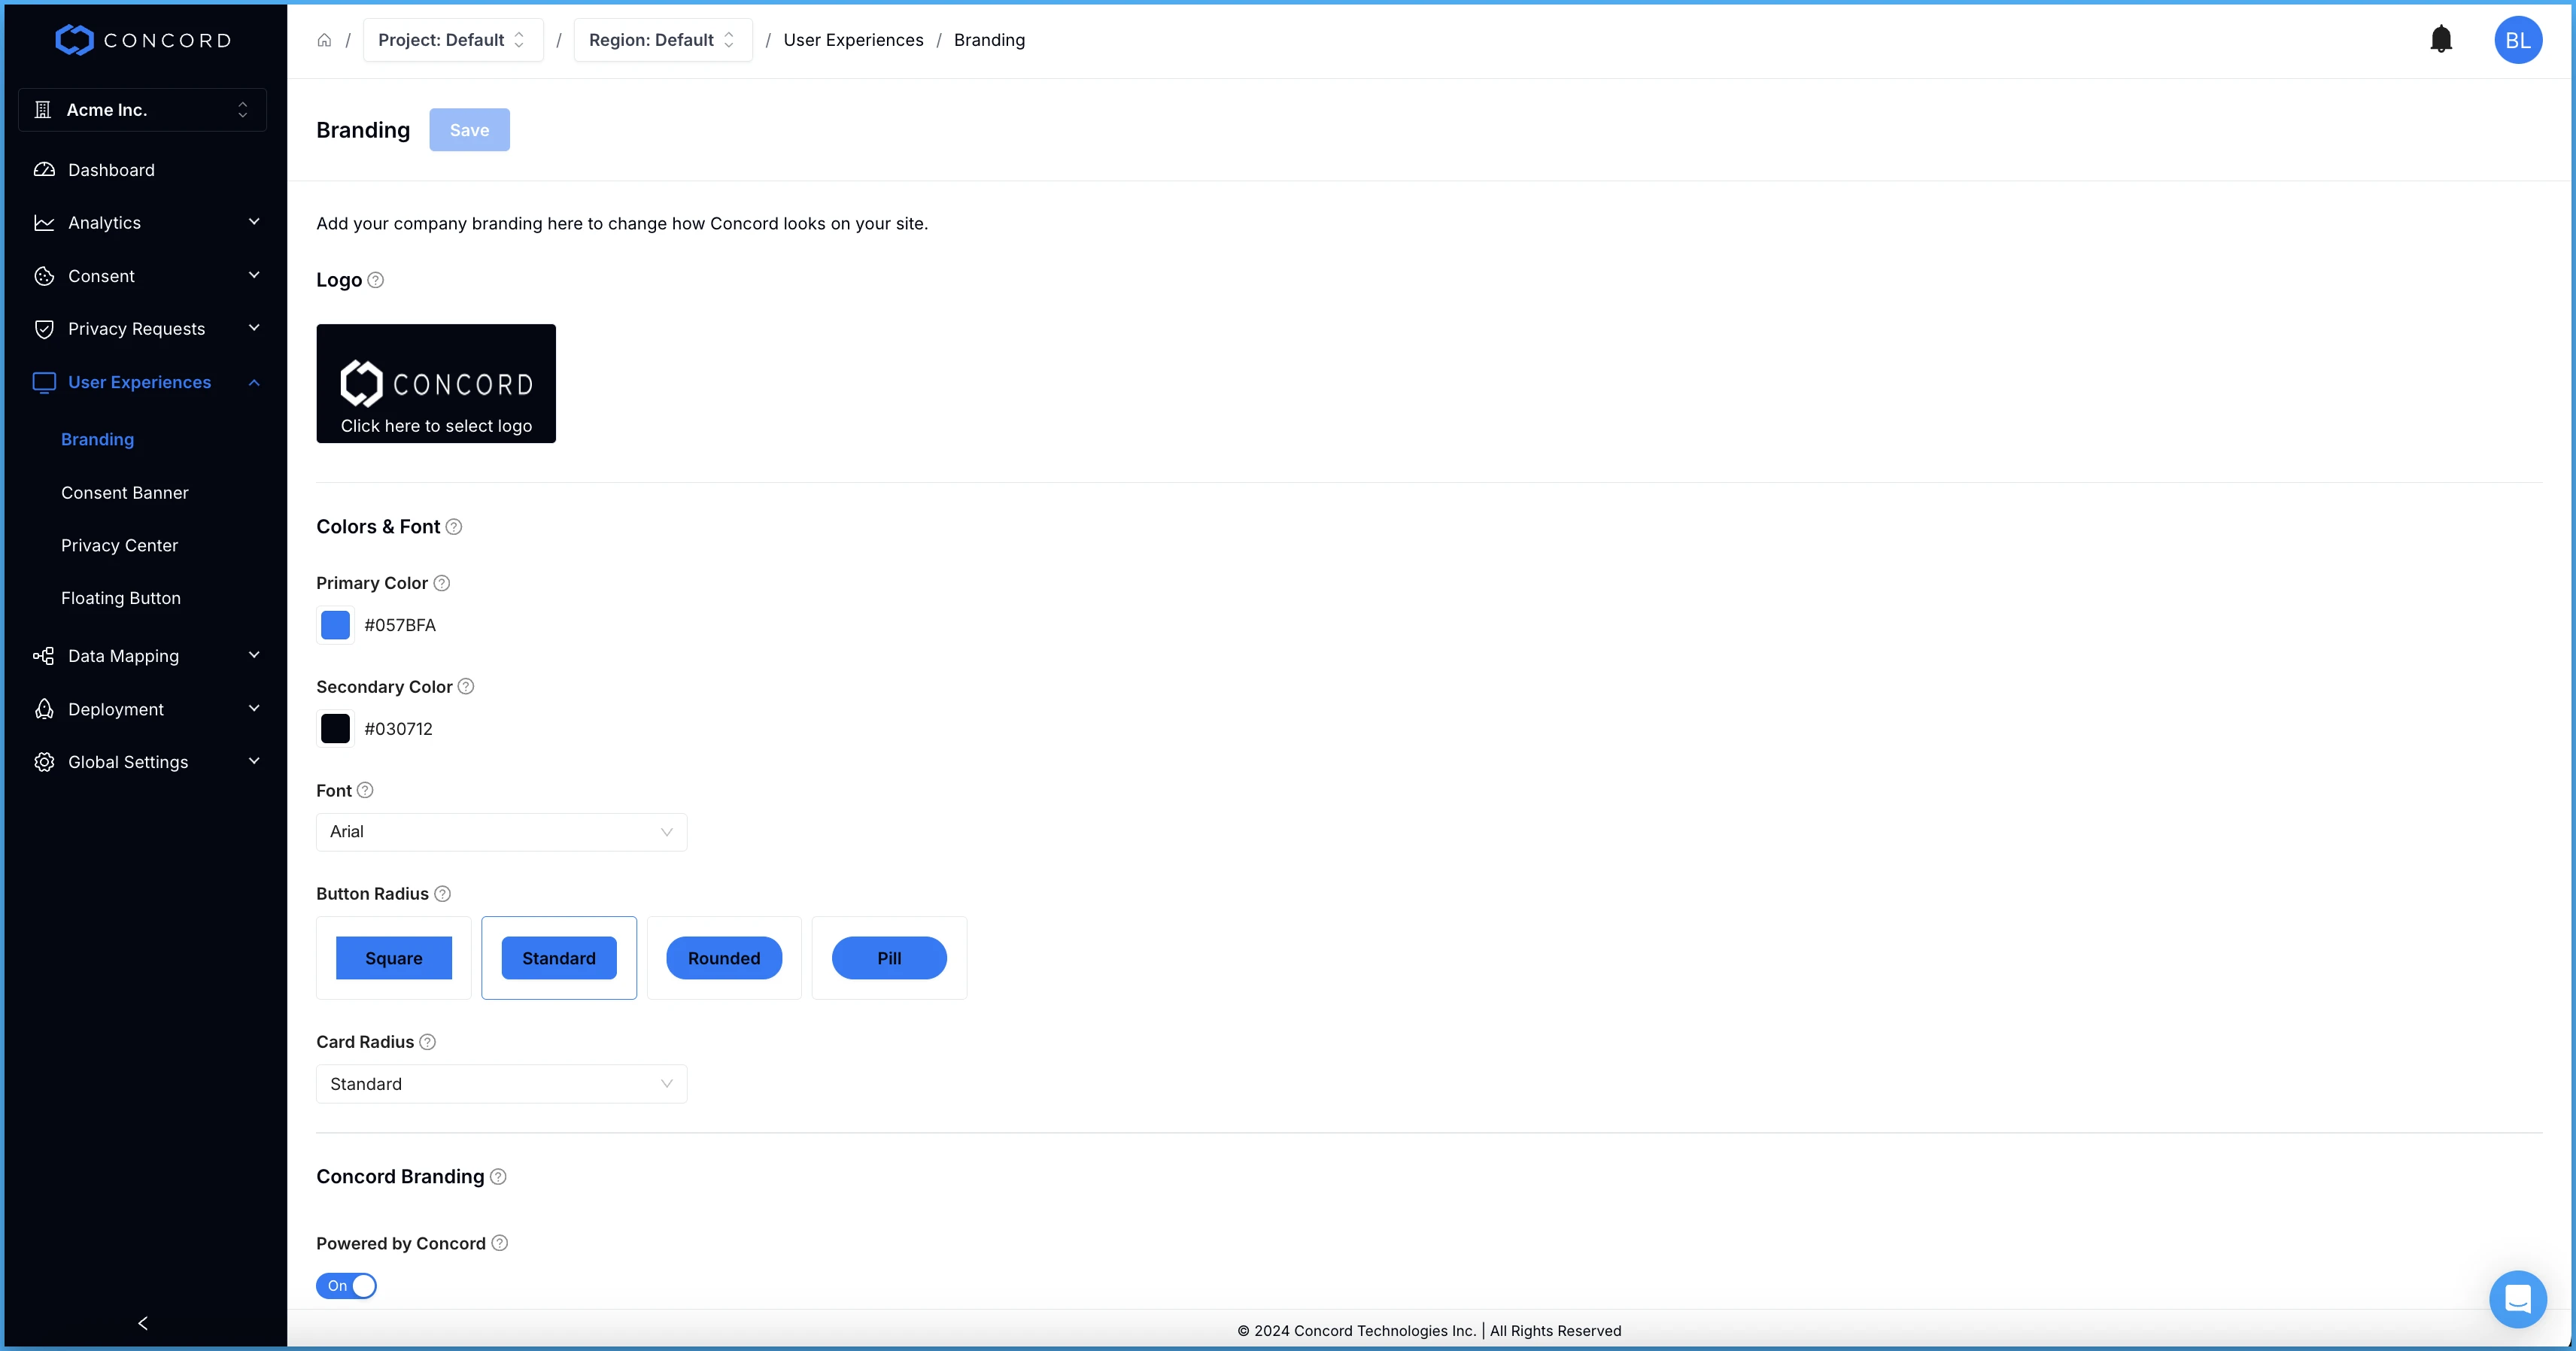
## Primary & Secondary Colors
Concord allows you you customize the branding of the Consent Banner and Privacy Center so they align with your desired look and feel. The secondary color is used for the background of the header in your Privacy Center and the primary color is used for buttons, links, switches, and other elements in your Consent Banner and Privacy Center.
To customize the primary and secondary colors, go to **User Experiences** → **Branding** in the Admin UI.
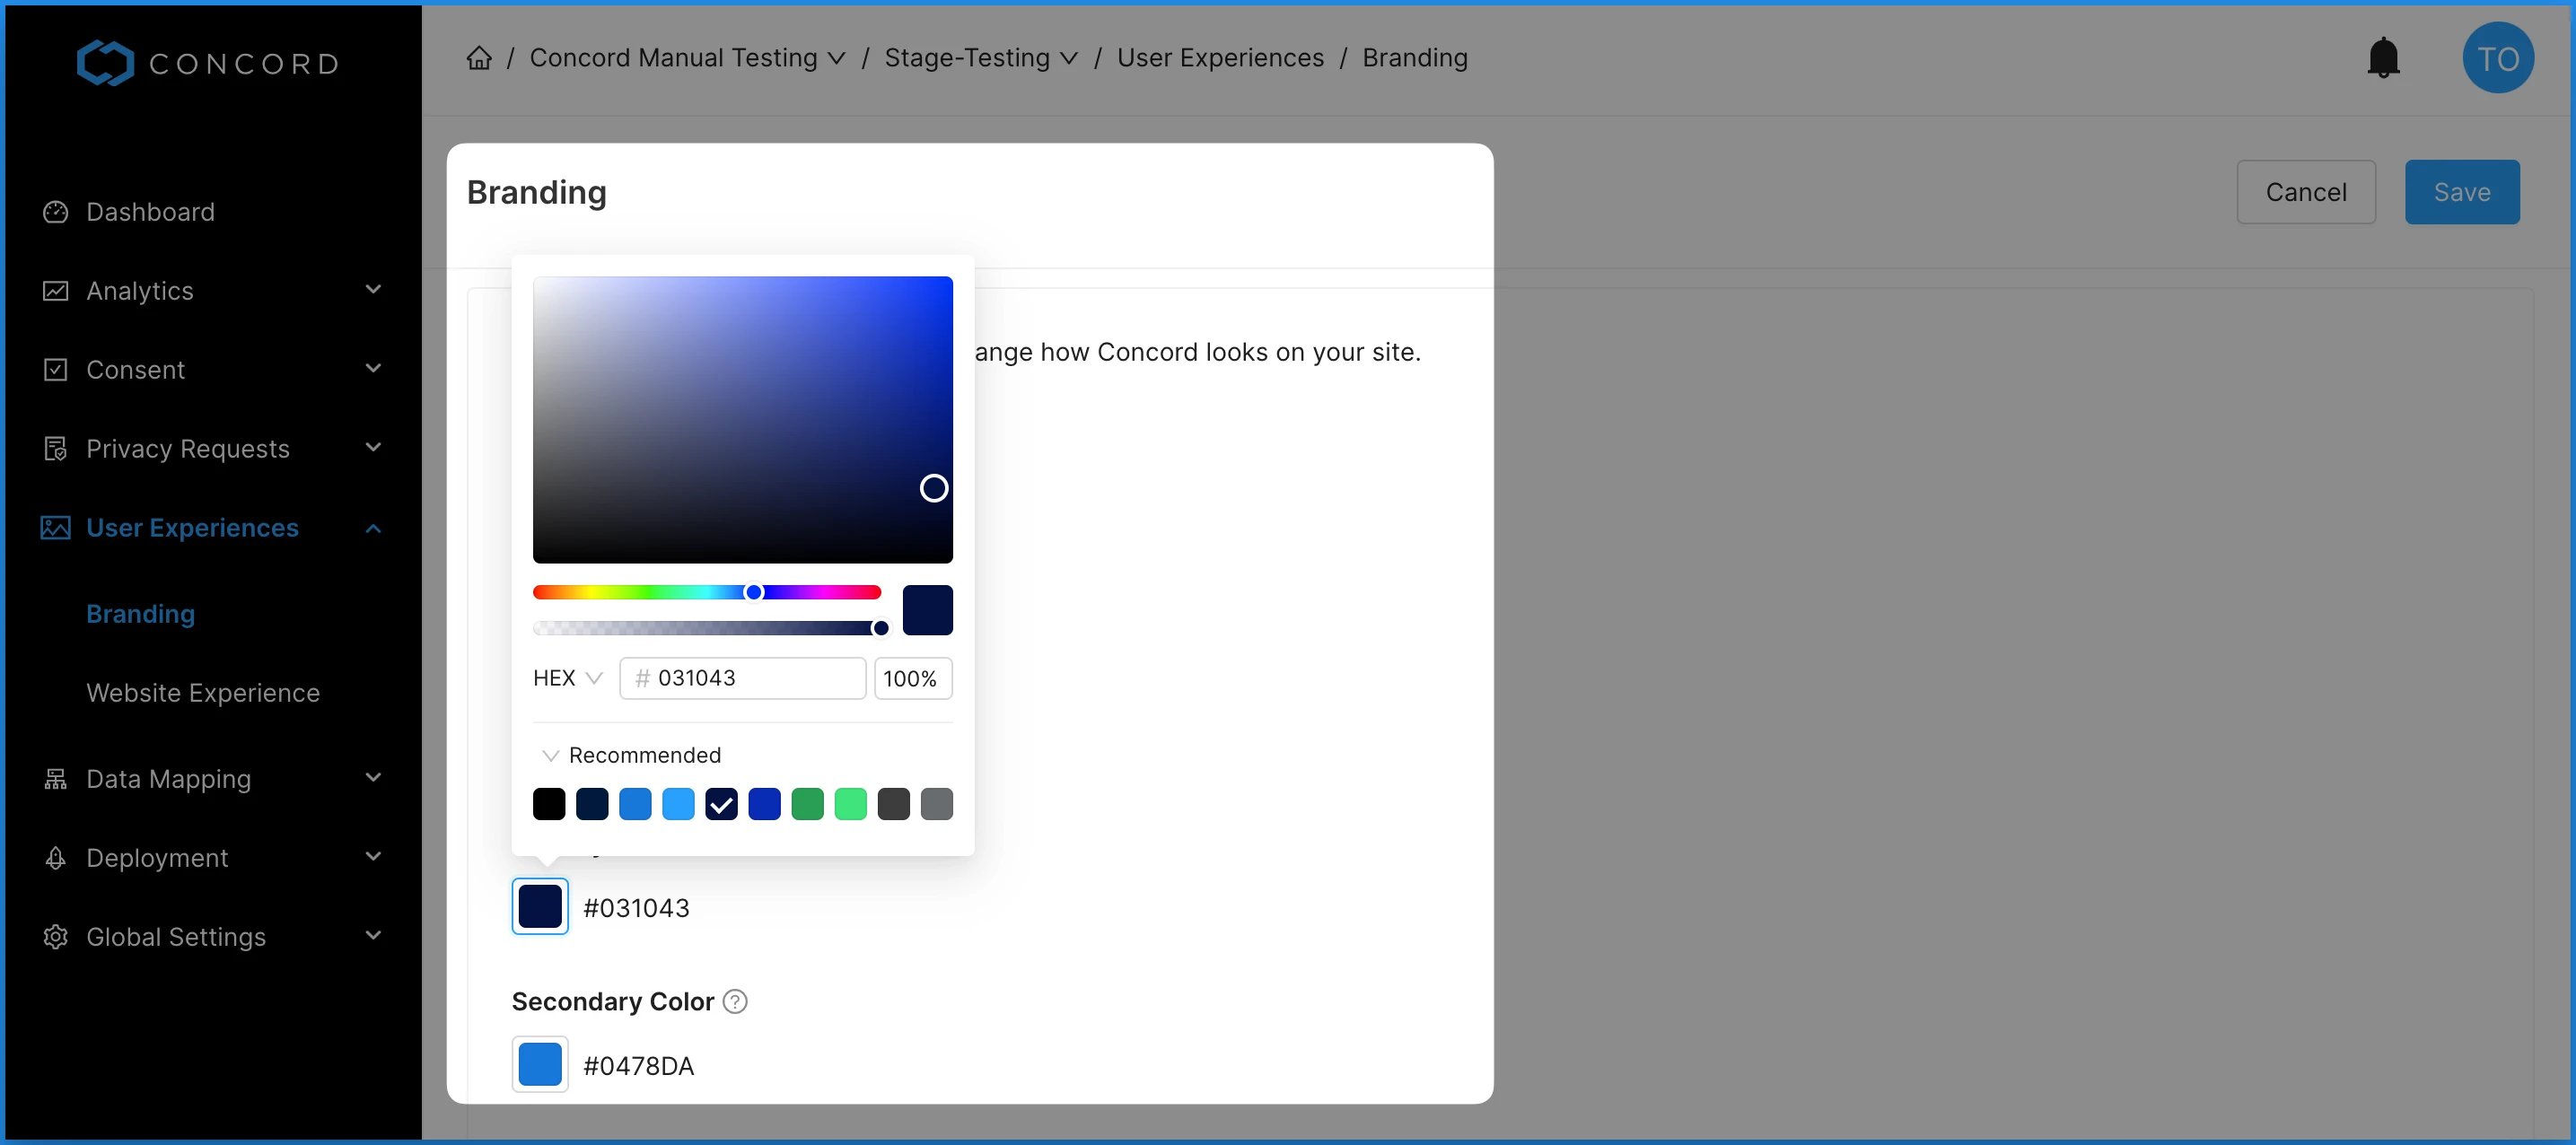
## Customizing Font & Button/Card Radius
You can customize the font, button radius and card radius by going to **User Experiences** → **Branding** in the Admin UI.
* Font style can be changed to have a custom font in the Privacy Center and on the consent banner.
* Card radius settings will affect box/dialog consent borders and larger card styled items in the privacy center.
* Button radius settings will affect buttons in the consent banner and Privacy Center.
# Angular JS Integration Guide
URL: /docs/angular-js-concord-integration-guide
***
title: 'Angular JS Integration Guide'
description: 'Step-by-step instructions on how to integrate Concord into an Angular JS application'
created: '2024-12-02T10:35:09.000Z'
updated: '2025-07-23T05:20:28.000Z'
-----------------------------------
## Overview
Welcome to our guide on integrating Concord into an Angular JS application. We make it easy to integrate Concord into your Angular JS applications in just a few minutes and this guide will help you get up and running quickly. This guide includes the following information:
* Initial Concord configuration.
* Google Consent Mode V2 configuration.
* Integrating Concord into an Angular application.
## Getting Started With Concord
As part of the initial onboarding process that occurs when you set up a new organization or project in Concord, you will be able to choose your preferred consent settings, including the Consent Mode (Implied vs. Express), the Blocking mode (how trackers like cookies, scripts, iFrames, etc. are processed and blocked), the Google Consent Mode V2 setting, the Consent Duration (how long consent lasts), and other options (Sensitive Information consent, Do Not Sell, Global Privacy Control, etc.).
During that process, we provide sensible defaults that are recommended as the default global settings, but those settings can always be adjusted and additional regions can also be added and customized later in all paid plans.
For more details on this process or to complete it for the first time, please follow the instructions in this guide: [Getting Started](/docs)
If you utilize Google services like Google Analytics, Google Tag Manager, or Google Ads, we also recommend configuring and verifying Google Consent Mode V2, which allows you to adjust how and when data is shared with Google based on user consent collected via the Concord Consent Banner & Privacy Center.
To learn more about Google Consent Mode V2 and the recommended settings, please refer to this document: [Understanding & Configuring Google Consent Mode (GCM) V2](/docs/google-understanding-configuring-google-consent-mode-gcm-v2)
## Integrating Concord Into an Angular JS Application
The final step is to Integrate Concord into your Angular JS application, which typically takes just a few minutes. Please follow the instructions below to complete this part of the process:
1. Login to your Concord organization and go to **Deployment → Installation → Install Concord**& and copy the Concord script for the project you want to add to your Angular& JS application (projects can be changed via the Projects selector in the page header if needed).

2. In your Angular& JS application open your index.html file. In this example, we have created a standard Angular JS application via Vite so the file is in the src folder.
3. Paste the Concord script code you copied above at the top of the head section right below the opening \ tag.
* Note: The Concord script should always go above any other custom code to ensure that Concord runs first.- Note: Concord code should be placed exactly as copied above. Adding async or defer to the code can cause issues with compliance due to timing.
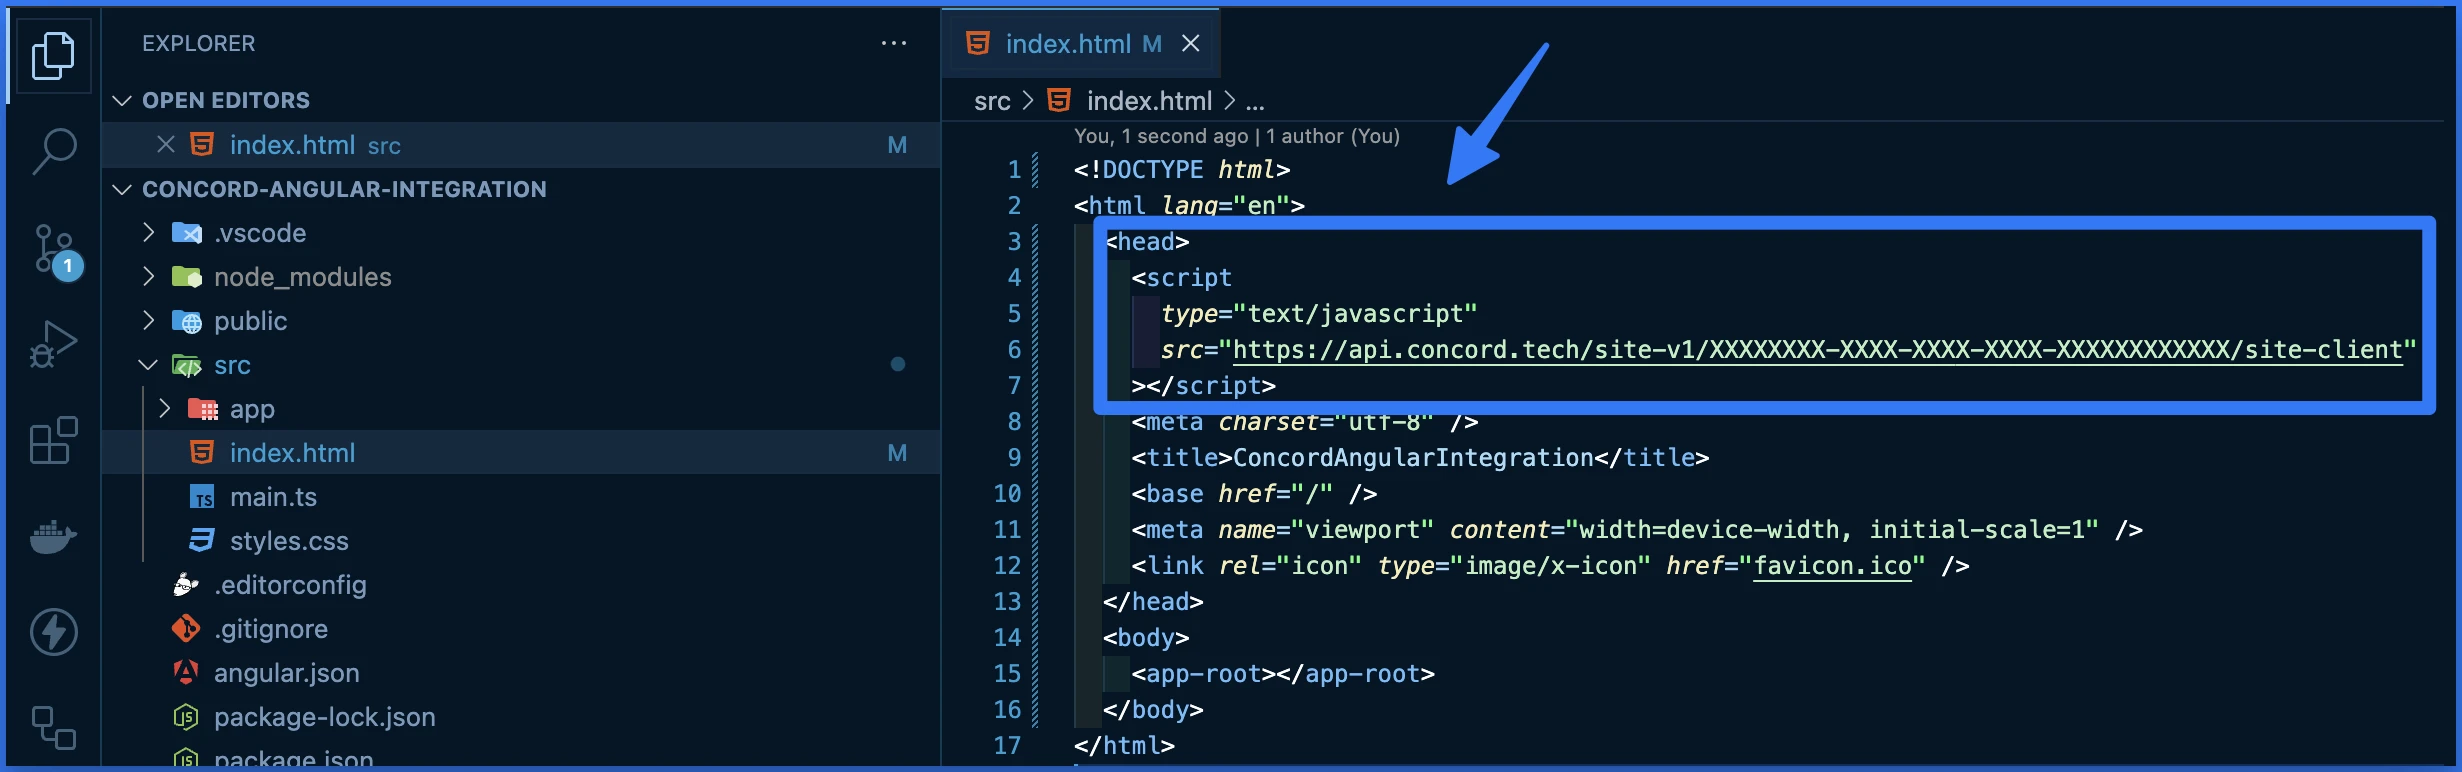
4. Deploy your application and ensure that the Concord script tag shows up in the source code.
5. Go back to Concord to verify your integration under **Deployment → Installation → Install Concord**. If successfully added and deployed, you should see the following

Congratulations. You have successfully integrated Concord into your Angular JS application and any future changes to your attached project in Concord will be automatically synced to your application.
# Bubble Integration Guide
URL: /docs/bubble-concord-integration-guide
***
title: 'Bubble Integration Guide'
description: 'Step-by-step guide to add Concord to your Bubble application. '
created: '2025-01-04T01:54:06.000Z'
updated: '2026-07-27T00:00:00.000Z'
-----------------------------------
## Overview
Welcome to our guide on integrating Concord into Bubble. We make it easy to integrate Concord into your Bubble application in just a few minutes and this guide will help you get up and running quickly. This guide includes the following information:
* Initial Concord configuration.
* Google Consent Mode V2 configuration.
* Integrating Concord into Bubble.
## Getting Started With Concord
As part of the initial onboarding process that occurs when you set up a new organization or project in Concord, you will be able to choose your preferred consent settings, including the Consent Mode (Implied vs. Express), the Blocking mode (how trackers like cookies, scripts, iFrames, etc. are processed and blocked), the Google Consent Mode V2 setting, the Consent Duration (how long consent lasts), and other options (Sensitive Information consent, Do Not Sell, Global Privacy Control, etc.).
During that process, we provide sensible defaults that are recommended as the default global settings, but those settings can always be adjusted and additional regions can also be added and customized later in all paid plans.
For more details on this process or to complete it for the first time, please follow the instructions in this guide: [Getting Started](/docs)
If you utilize Google services like Google Analytics, Google Tag Manager, or Google Ads, we also recommend configuring and verifying Google Consent Mode V2, which allows you to adjust how and when data is shared with Google based on user consent collected via the Concord Consent Banner & Privacy Center.
To learn more about Google Consent Mode V2 and the recommended settings, please refer to this document: [Understanding & Configuring Google Consent Mode (GCM) V2](/docs/google-understanding-configuring-google-consent-mode-gcm-v2)
## Integrating Concord Into Bubble
The final step is to Integrate Concord into Bubble, which typically takes just a few minutes. Please follow the instructions below to complete this part of the process:
1. Login to your Concord organization and go to **Deployment → Installation → Install Concord** and copy the Project ID for the project you want to add to Bubble (projects can be changed via the Projects selector in the page header if needed).
2. Go to the Concord listing page on the Bubble website: [Concord Bubble Plugin](https://bubble.io/plugin/concord-cookie-consent-1735949079259x589323367285784600)
3. Choose your desired Bubble application from the dropdown and click on **Install**.
4. Once you are in your Bubble application, you will be prompted to install the Concord plugin. Click \*\*Install \*\*to complete that part of the process.
5. Paste in the **Project ID** that you previously copied above. Bubble saves this automatically. The Project ID is not something Bubble detects on its own. It is stored in the plugin's configuration and read by Concord each time your application loads.
6. Click **Preview** in the top-right corner of the Bubble editor and open the preview of your application. Installed plugins run in Preview, so the Concord plugin initializes automatically and Concord detects your Project ID as the page loads. Go back to Concord to verify your integration under **Deployment → Installation → Install Concord**. If everything is connected, you should see the following:
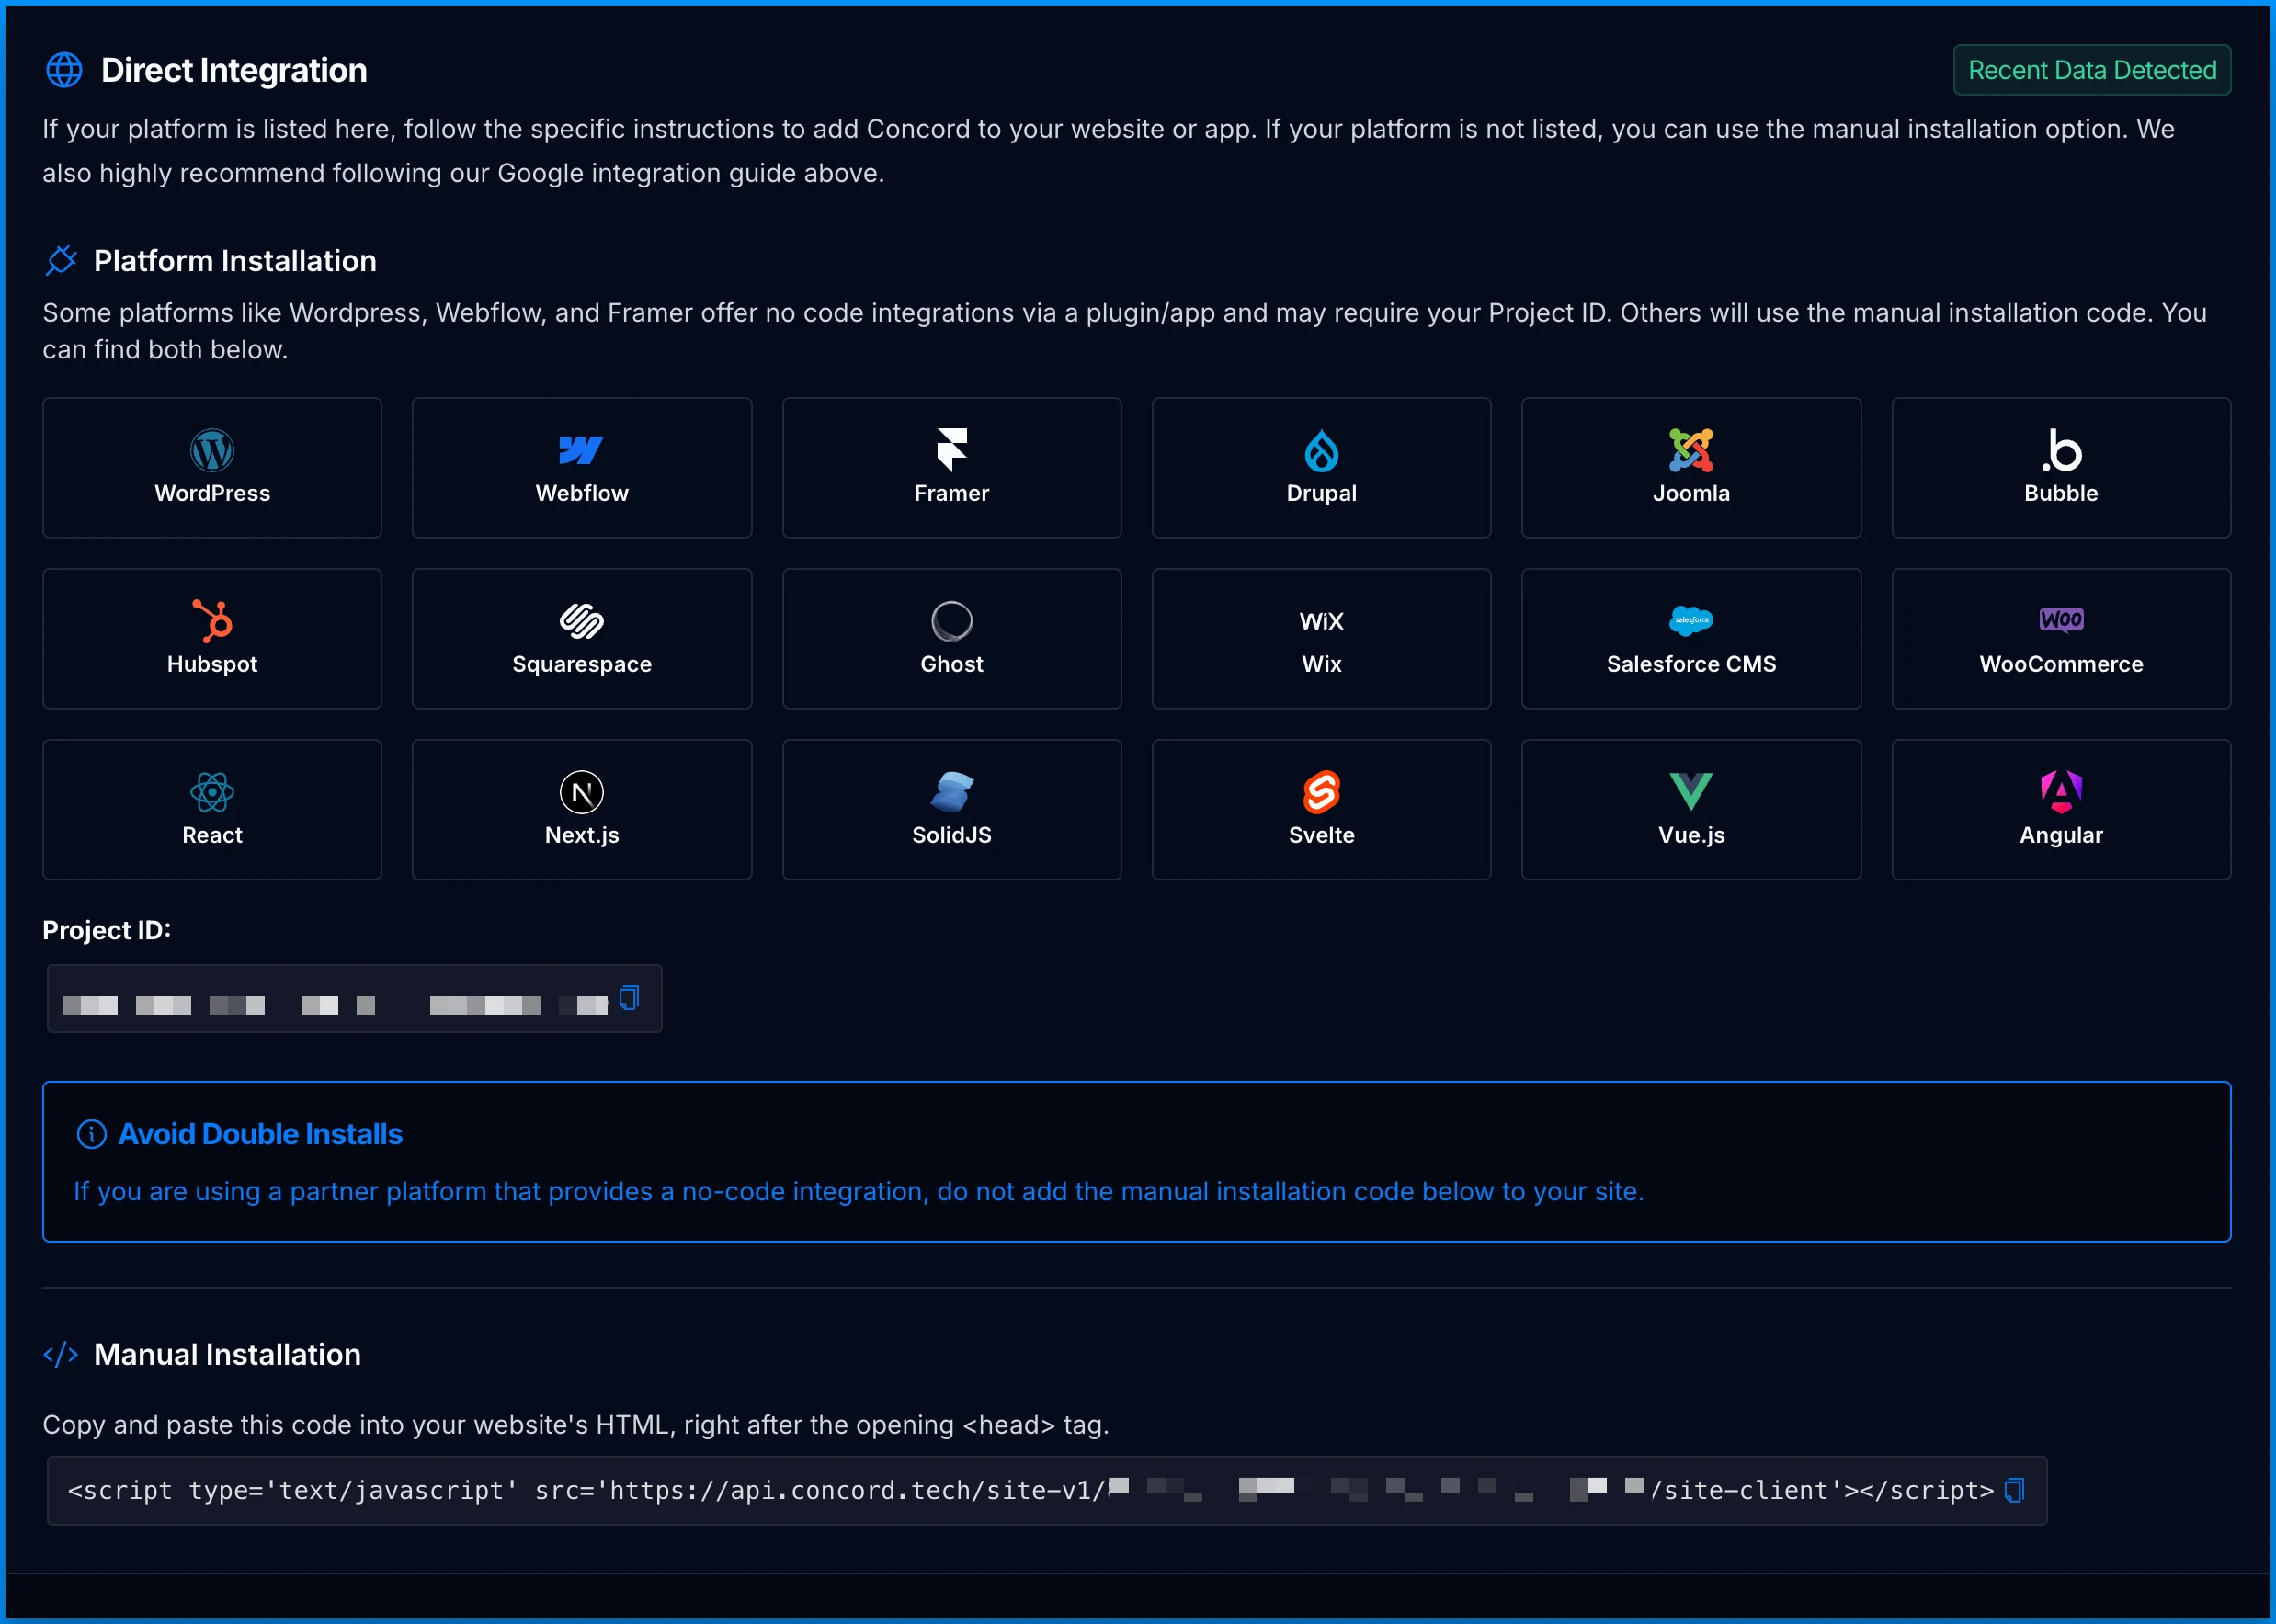
7. When you are ready to make Concord live for your visitors, click **Deploy** in the top-right corner of the editor to push your changes to your Live application (Bubble's "Deploy to Live" action), then open your live site once to confirm Concord loads there too.
Note: Older versions of Bubble labeled this action **Publish**. Current Bubble calls it **Deploy** (or "Deploy to Live").
Congratulations. You have successfully integrated Concord into Bubble and any future changes to your attached project in Concord will be automatically synced to your application.
## Troubleshooting
* **Preview works but your live site does not.** Changes only reach visitors after you deploy. Click **Deploy** to push to Live, then reload your live site.
* **The plugin looks inactive.** Confirm the Concord plugin is still installed and enabled under the Bubble **Plugins** tab, and that you are not previewing in Bubble's **Disable plugins** safe mode, which turns off all third-party plugins, including Concord.
* **Concord shows no data.** Check that the **Project ID** in the plugin exactly matches the one under **Deployment → Installation → Install Concord** in Concord, with no extra spaces.
* **Requests are being blocked.** Ad blockers or tracking-protection extensions can stop the Concord script from loading. Test in a clean browser profile or with those extensions disabled.
* **You still see old behavior.** Clear your browser cache, or use a private window, so you are not loading a cached version of the page.
* **Verify the script loaded.** Open your browser's Developer Tools, go to the **Network** tab, reload the page, and confirm a request to Concord is present. You can also check the **Console** for any Concord errors.
## Manual Installation (Alternative)
If you cannot use the plugin, or you want full control over how the script loads, you can add Concord to Bubble manually. The result is identical to the plugin.
1. In Concord, go to **Deployment → Installation → Embed Concord** and copy the **Direct Embed Code** for your project.
2. In Bubble, open **Settings → SEO / metatags** and paste the code into the header scripts field (the "Script/meta tags in header" box) so it loads on every page. Place Concord above any other custom header code so it runs first, and paste it exactly as copied (do not add `async` or `defer`, which can cause timing issues with compliance).
3. Click **Preview** to test, then **Deploy** to push to Live, and open your site once to confirm Concord loads.
To keep a single source of truth, we do not repeat the full script here. Always copy it from **Embed Concord** in your Concord dashboard, which reflects the current, correct code for your project.
# Drupal Integration Guide
URL: /docs/drupal-concord-integration-guide
***
title: 'Drupal Integration Guide'
description: 'Step-by-step instructions on how to integrate Concord in Drupal'
created: '2025-01-04T21:03:31.000Z'
updated: '2025-07-23T05:35:28.000Z'
-----------------------------------
## Overview
Welcome to our guide on integrating Concord into Drupal. We make it easy to integrate Concord into your Drupal website in just a few minutes and this guide will help you get up and running quickly. This guide includes the following information:
* Initial Concord configuration.
* Google Consent Mode V2 configuration.
* Integrating Concord into Drupal.
## Getting Started With Concord
As part of the initial onboarding process that occurs when you set up a new organization or project in Concord, you will be able to choose your preferred consent settings, including the Consent Mode (Implied vs. Express), the Blocking mode (how trackers like cookies, scripts, iFrames, etc. are processed and blocked), the Google Consent Mode V2 setting, the Consent Duration (how long consent lasts), and other options (Sensitive Information consent, Do Not Sell, Global Privacy Control, etc.).
During that process, we provide sensible defaults that are recommended as the default global settings, but those settings can always be adjusted and additional regions can also be added and customized later in all paid plans.
For more details on this process or to complete it for the first time, please follow the instructions in this guide: [Getting Started](/docs)
If you utilize Google services like Google Analytics, Google Tag Manager, or Google Ads, we also recommend configuring and verifying Google Consent Mode V2, which allows you to adjust how and when data is shared with Google based on user consent collected via the Concord Consent Banner & Privacy Center.
To learn more about Google Consent Mode V2 and the recommended settings, please refer to this document: [Understanding & Configuring Google Consent Mode (GCM) V2](/docs/google-understanding-configuring-google-consent-mode-gcm-v2)
## Integrating Concord Into Drupal
The final step is to Integrate Concord into Drupal, which typically takes just a few minutes. Please follow the instructions below to complete this part of the process:
1. Go to the Concord listing page on the Drupal Website or search for Concord in the Drupal Modules section to locate Concord: [Concord Drupal Plugin/Module](https://www.drupal.org/project/concord_cookie_consent)
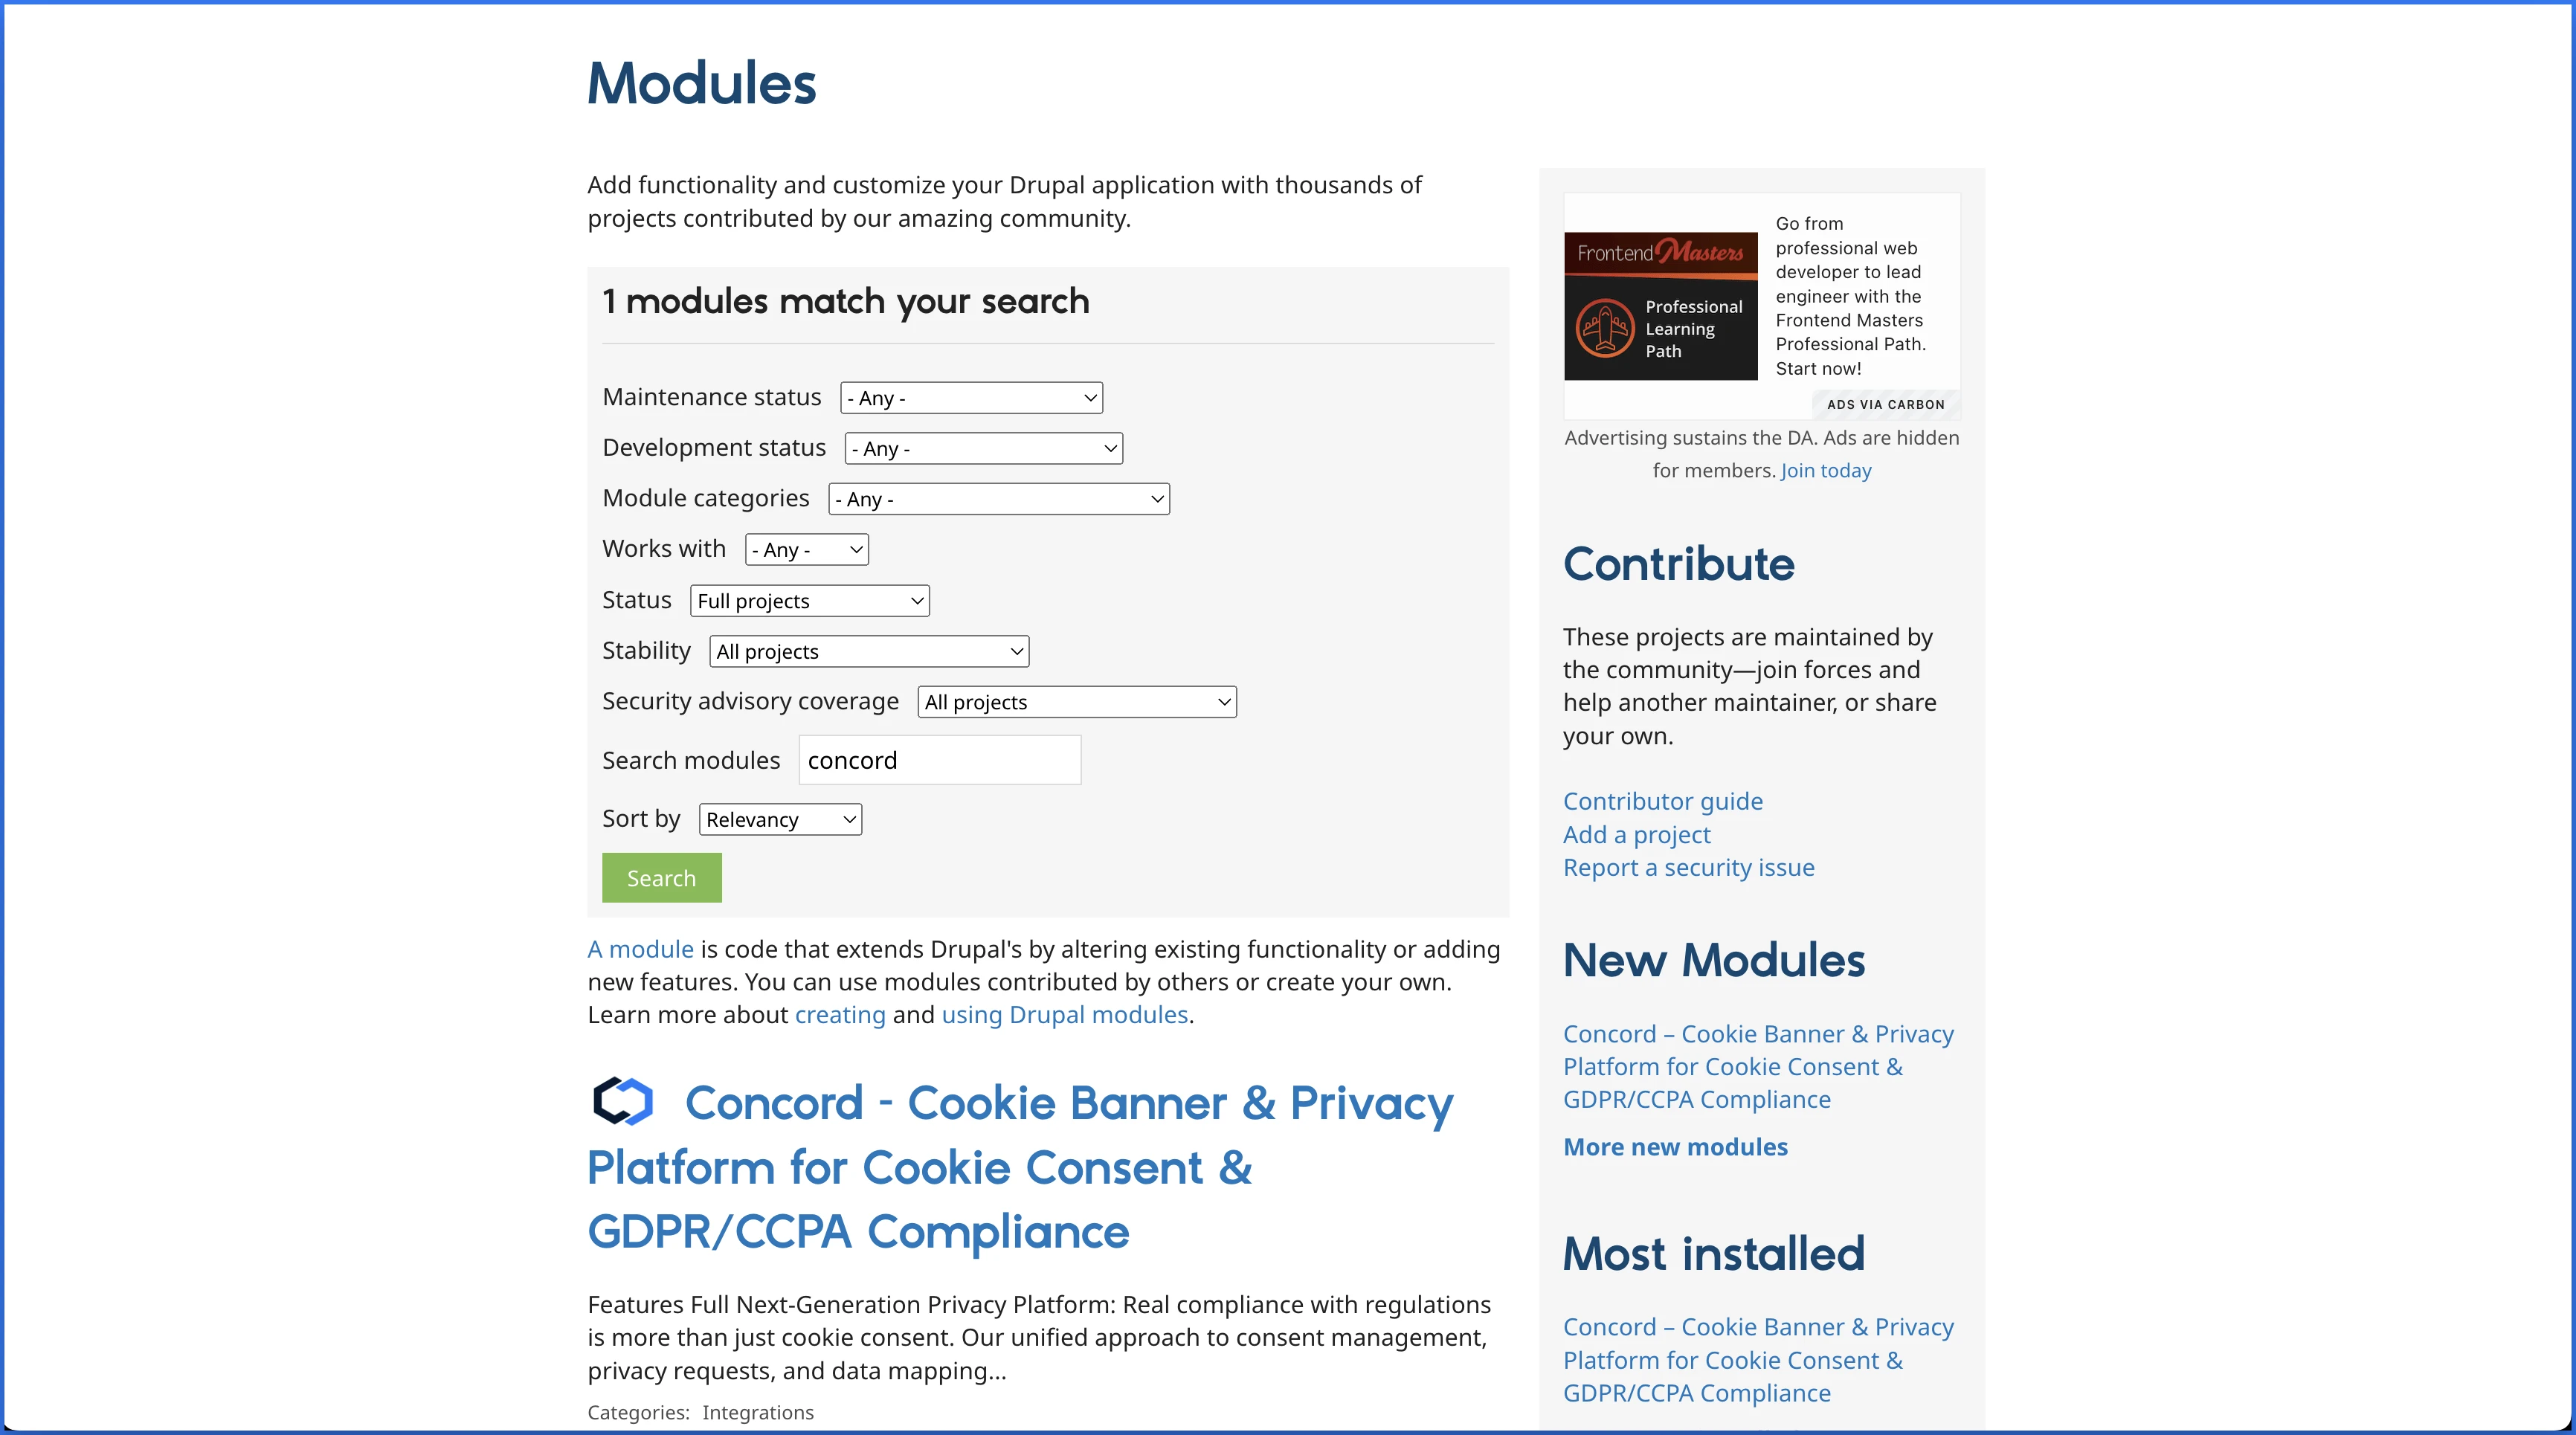
2. Scroll to the bottom of the Concord listing and click on the latest release version.
3. Download or copy the link to the download (the tar.gz or zip files will both work).
4. Open your Drupal instance and go to \*\*Extend \*\*and click **Add New Module.**
5. Upload the file or paste the copied link from above.
6. After installing Concord in your Drupal instance scroll down to the Concord Module and click on **Configure.**
7. Check the \*\*Enable Concord Cookie Consent \*\*checkbox.
8. Login to your Concord organization and go to **Deployment → Installation → Install Concord** and copy the Concord script for the project you want to add to Drupal (projects can be changed via the Projects selector in the page header if needed).

9. Go back to Drupal and paste in your script code and click **Save Configuration.**
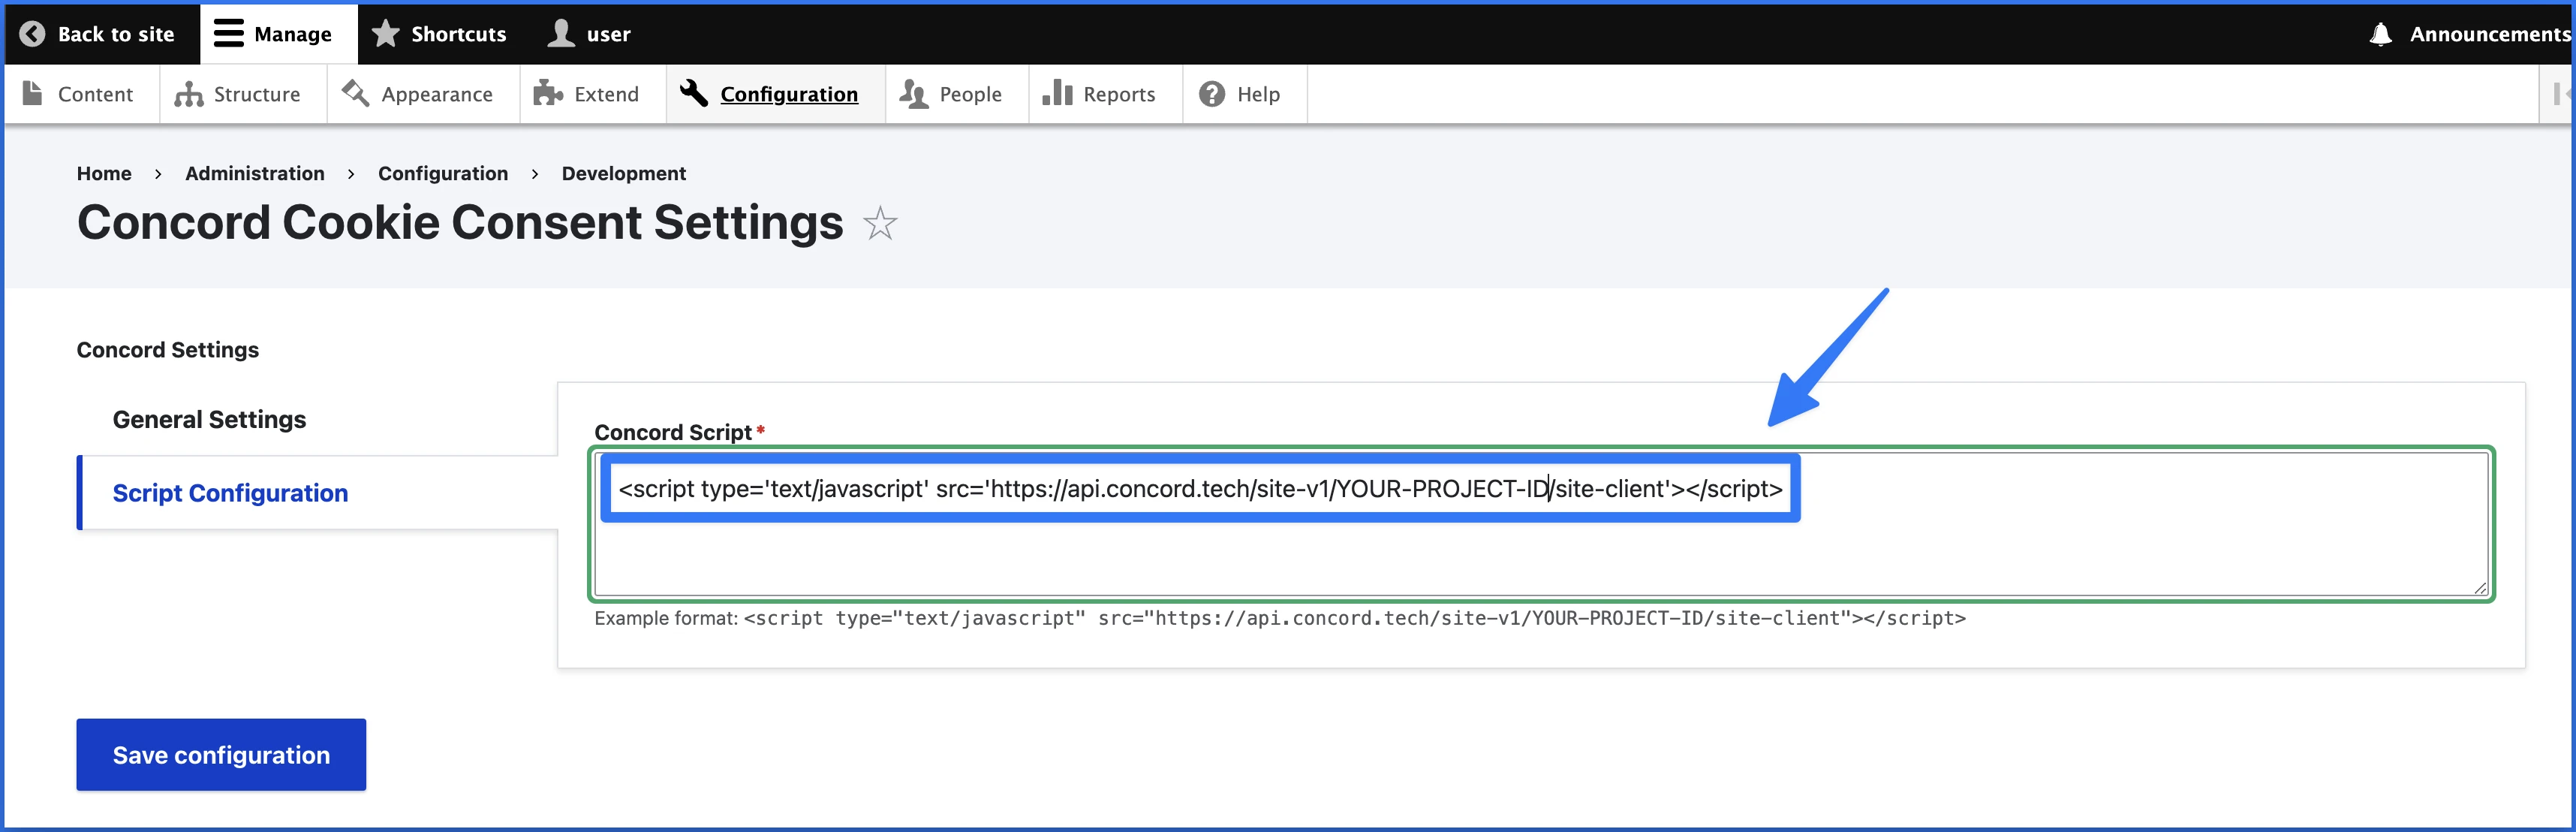
10. Go back to Concord to verify your integration under **Deployment → Installation → Install Concord**. If successfully added and published via Drupal you should see the following:

Congratulations. You have successfully integrated Concord into Drupal and any future changes to your attached project in Concord will be automatically synced to your website.
# Framer Integration Guide
URL: /docs/framer-concord-integration-guide
***
title: 'Framer Integration Guide'
description: 'Step-by-step instructions on how to integrate Concord via Framer. '
created: '2025-01-04T01:39:27.000Z'
updated: '2025-07-23T05:31:27.000Z'
-----------------------------------
## Overview
Welcome to our guide on integrating Concord into Framer. We make it easy to integrate Concord into your Framer website and this guide will help you get up and running quickly. This guide includes the following information:
* Initial Concord configuration.
* Google Consent Mode V2 configuration.
* Integrating Concord into Framer.
## Getting Started With Concord
As part of the initial onboarding process that occurs when you set up a new organization or project in Concord, you will be able to choose your preferred consent settings, including the Consent Mode (Implied vs. Express), the Blocking mode (how trackers like cookies, scripts, iFrames, etc. are processed and blocked), the Google Consent Mode V2 setting, the Consent Duration (how long consent lasts), and other options (Sensitive Information consent, Do Not Sell, Global Privacy Control, etc.).
During that process, we provide sensible defaults that are recommended as the default global settings, but those settings can always be adjusted and additional regions can also be added and customized later in all paid plans.
For more details on this process or to complete it for the first time, please follow the instructions in this guide: [Getting Started](/docs)
If you utilize Google services like Google Analytics, Google Tag Manager, or Google Ads, we also recommend configuring and verifying Google Consent Mode V2, which allows you to adjust how and when data is shared with Google based on user consent collected via the Concord Consent Banner & Privacy Center.
To learn more about Google Consent Mode V2 and the recommended settings, please refer to this document: [Understanding & Configuring Google Consent Mode (GCM) V2](/docs/google-understanding-configuring-google-consent-mode-gcm-v2)
## Integrating Concord Into Framer
The final step is to Integrate Concord into Framer, which typically takes just a few minutes. Please follow the instructions below to complete this part of the process:
1. Login to your Concord organization and go to **Deployment → Installation → Install Concord** and copy the **Project ID** for the project you want to add to Framer (projects can be changed via the Projects selector in the page header if needed).

2. Go to the Concord listing page on the Framer website: [https://www.framer.com/marketplace/plugins/concord/preview](https://www.framer.com/marketplace/plugins/concord/preview)
3. Click on **Open Plugin In** and select your preferred Framer project.
4. Enter your **Project ID** in the Concord Framer plugin.
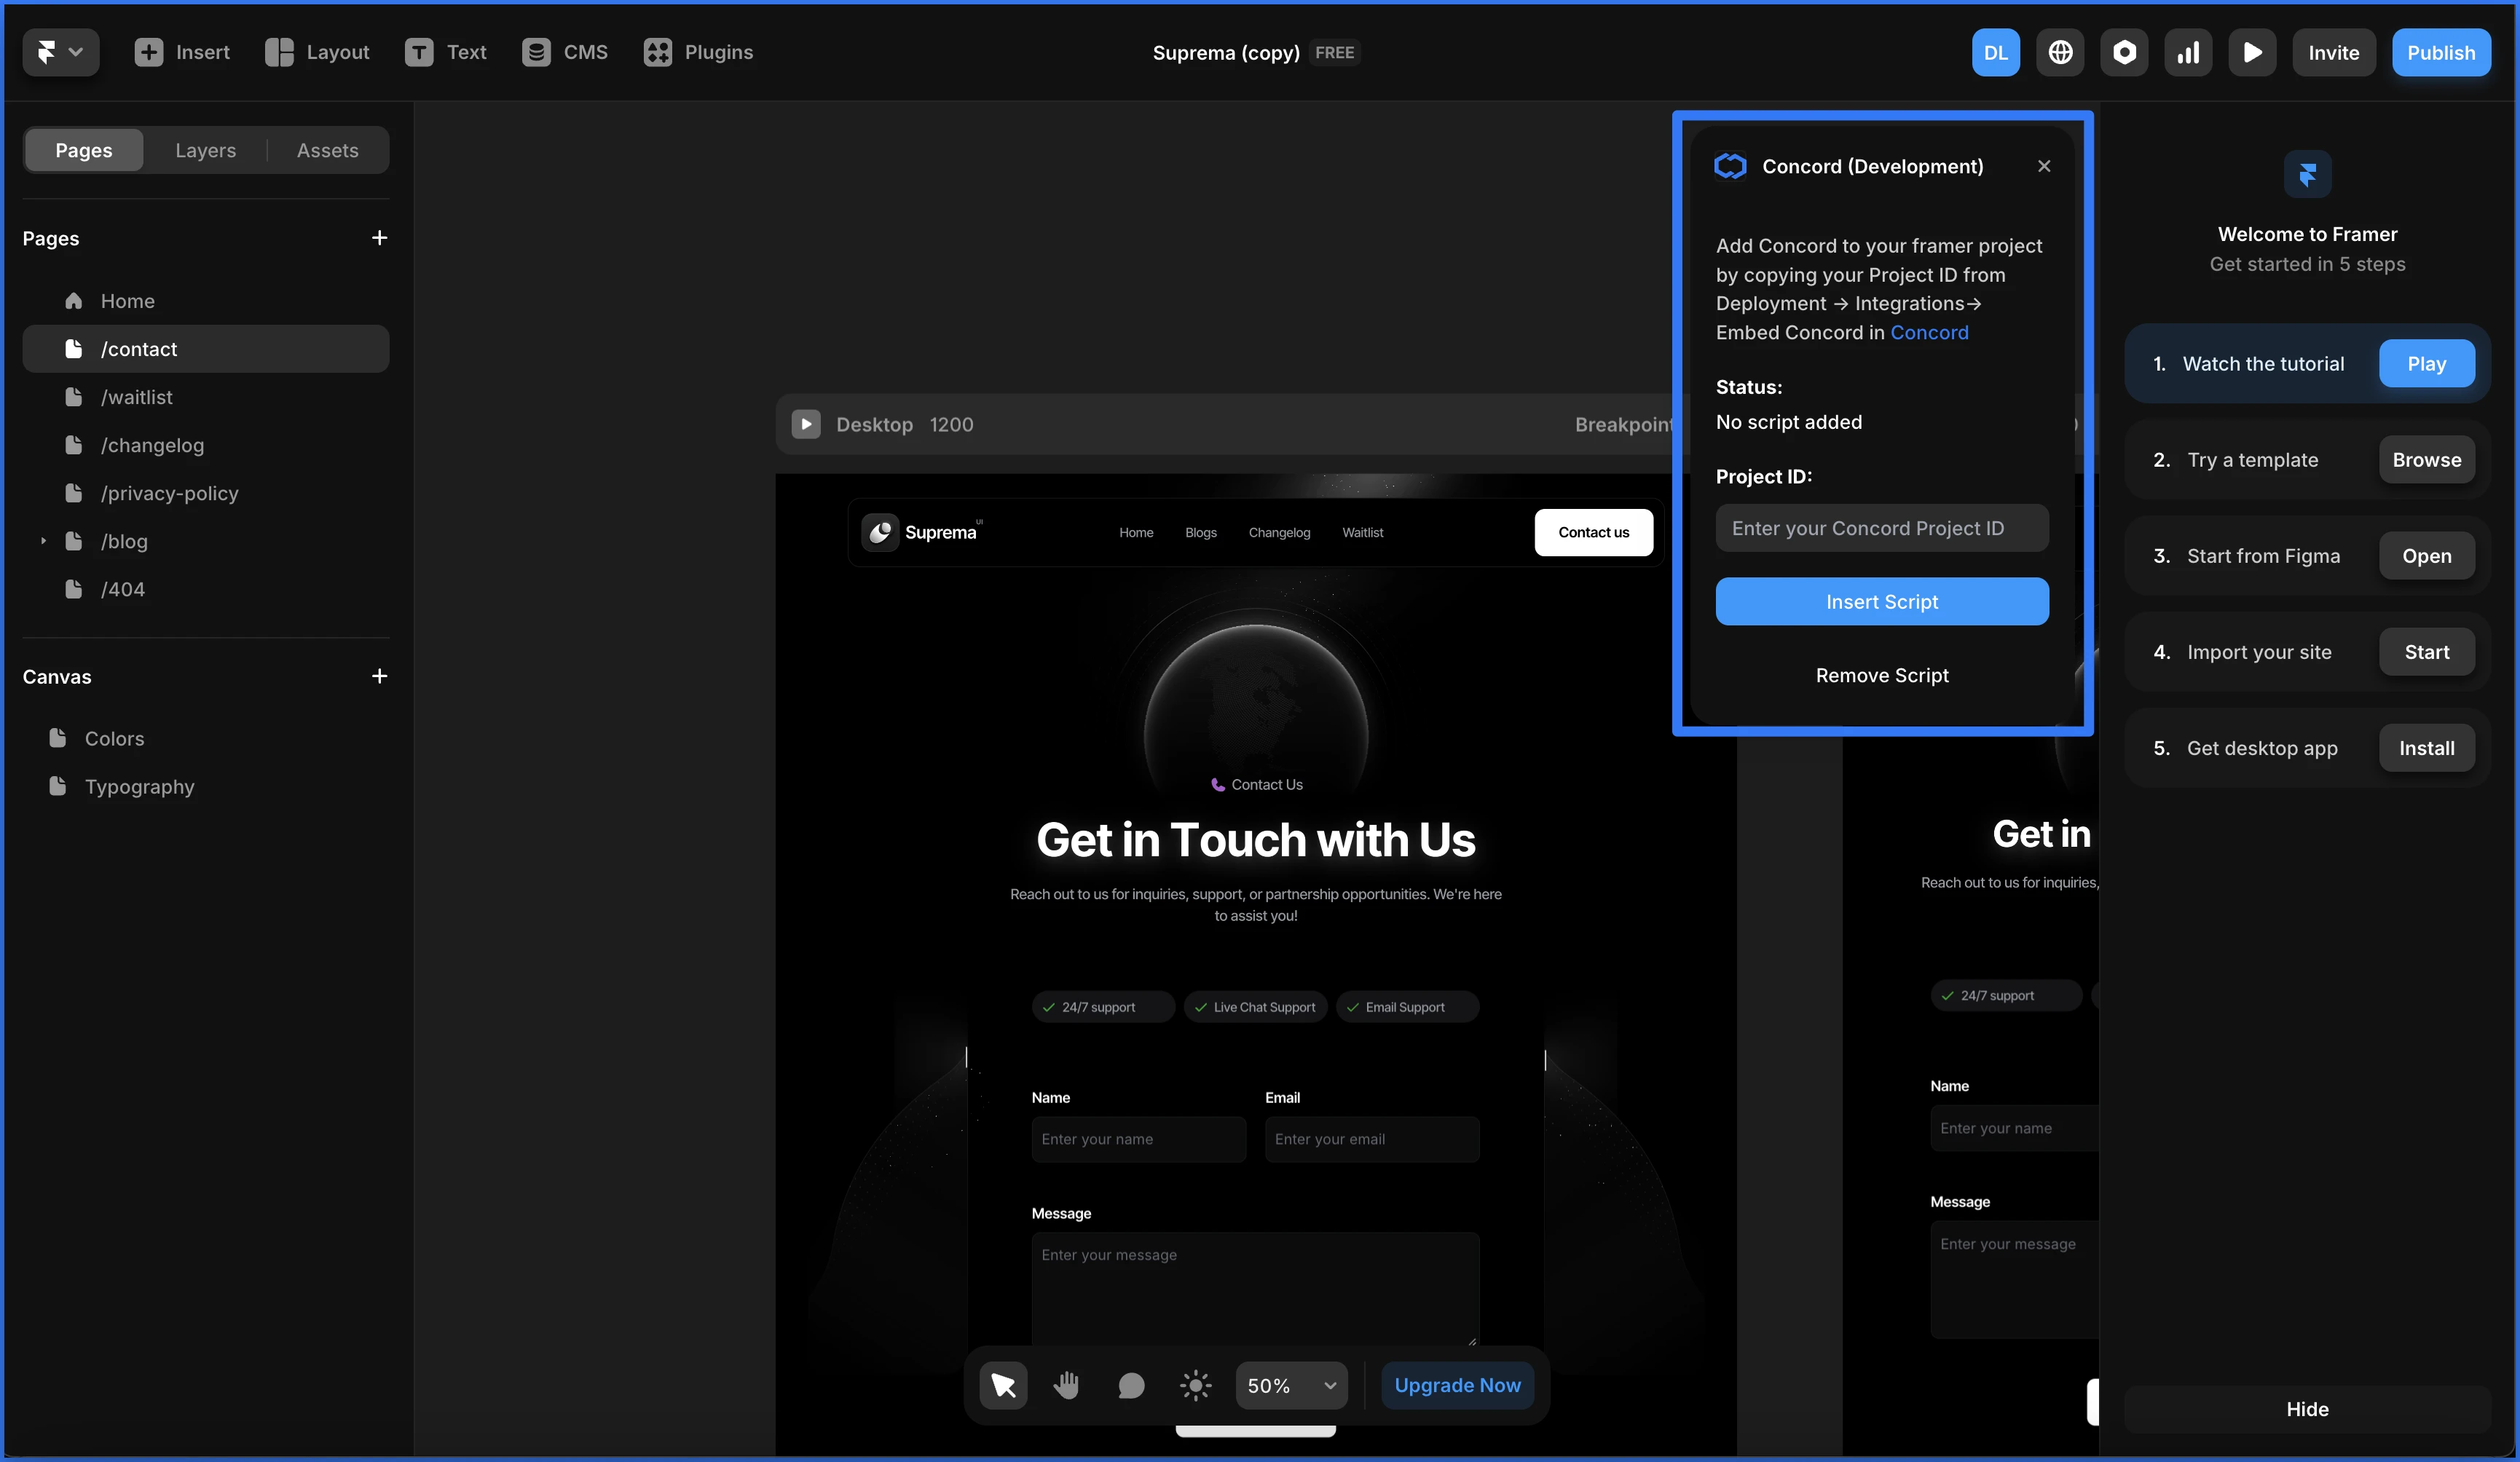
5. Click **Publish** and go back to Concord to verify your integration under **Deployment → Installation → Install Concord**. If successfully added and deployed, you should see "Recent Data Detected" in the upper right corner of the Direct Integration section:

Congratulations. You have successfully integrated Concord into Framer and any future changes to your attached project in Concord will be automatically synced to your website.
# Ghost Integration Guide
URL: /docs/ghost-concord-integration-guide
***
title: 'Ghost Integration Guide'
description: 'Step-by-step instructions on how to integrate Concord via Ghost'
created: '2024-12-02T12:14:41.000Z'
updated: '2025-07-23T05:21:22.000Z'
-----------------------------------
## Overview
Welcome to our guide on integrating Concord into Ghost. We make it easy to integrate Concord into your Ghost website in just a few minutes and this guide will help you get up and running quickly. This guide includes the following information:
* Initial Concord configuration.
* Google Consent Mode V2 configuration.
* Integrating Concord into Ghost.
## Getting Started With Concord
As part of the initial onboarding process that occurs when you set up a new organization or project in Concord, you will be able to choose your preferred consent settings, including the Consent Mode (Implied vs. Express), the Blocking mode (how trackers like cookies, scripts, iFrames, etc. are processed and blocked), the Google Consent Mode V2 setting, the Consent Duration (how long consent lasts), and other options (Sensitive Information consent, Do Not Sell, Global Privacy Control, etc.).
During that process, we provide sensible defaults that are recommended as the default global settings, but those settings can always be adjusted and additional regions can also be added and customized later in all paid plans.
For more details on this process or to complete it for the first time, please follow the instructions in this guide: [Getting Started](/docs)
If you utilize Google services like Google Analytics, Google Tag Manager, or Google Ads, we also recommend configuring and verifying Google Consent Mode V2, which allows you to adjust how and when data is shared with Google based on user consent collected via the Concord Consent Banner & Privacy Center.
To learn more about Google Consent Mode V2 and the recommended settings, please refer to this document: [Understanding & Configuring Google Consent Mode (GCM) V2](/docs/google-understanding-configuring-google-consent-mode-gcm-v2)
## Integrating Concord Into Ghost
The final step is to Integrate Concord into Ghost, which can typically be done in just a few minutes. Please follow the instructions below to complete this part of the process:
1. Login to your Concord organization and go to **Deployment → Installation → Install Concord** and copy the Concord script for the project you want to add to Ghost (projects can be changed via the Projects selector in the page header if needed).

2. Login to your Ghost account.
3. Go to **Settings → Advanced → Code Injection.**
* Note: More details on Ghost code injection and this process can be found here: [Code Injection in Ghost](https://ghost.org/tutorials/use-code-injection-in-ghost/)
4. Paste the Concord script that you copied above into the **Site Header** section at the very top
* Note: The Concord script should always go above any other custom code to ensure that Concord runs first.- Note: Concord code should be placed exactly as copied above. Adding async or defer to the code can cause issues with compliance due to timing.
5. Click **Save**.
6. Go back to Concord to verify your integration under **Deployment → Installation → Install Concord**. If successfully added and deployed, you should see "Recent Data Detected" in the upper right corner of the Direct Integrations section:

Congratulations. You have successfully integrated Concord into Ghost and any future changes to your attached project in Concord will be automatically synced to your website.
# Conditionally Load Third-Party Tags in GTM
URL: /docs/google-conditionally-loading-third-party-tags-in-gtm
***
title: "Conditionally Load Third-Party Tags in GTM"
description: 'Learn how to configure Google Tag Manager (GTM) triggers so third-party tags only fire after visitors grant consent via Concord, ensuring GDPR compliance regardless of Basic or Advanced Consent Mode.'
----------------------------------------------------------------------------------------------------------------------------------------------------------------------------------------------------------------------
# Conditionally loading third-party tags in GTM with Concord consent
When using Google Tag Manager (GTM) with Concord, third-party tags that are not properly configured to respect consent can fire before consent is granted—potentially violating GDPR and other privacy regulations. This guide shows how to configure your tags to only fire when the visitor grants consent, regardless of whether you use Basic or Advanced Consent Mode.
## Why This Matters
Tags in GTM that aren't configured with consent checks will fire as soon as their trigger conditions are met (e.g., on page load). This happens regardless of your Consent Mode setting because:
* **Google tags** with built-in consent checks automatically respect consent state, but many third-party tags do not have these built-in checks.
* **Third-party tags** (analytics platforms, ad pixels, chat widgets, etc.) will fire immediately unless you explicitly add consent requirements.
## How Concord Updates Consent in GTM
Concord pushes consent updates to `window.dataLayer` in two formats:
1. **On initial load** — Concord fires both a Google `consent` → `update` command and a `consent_updated` custom event with the visitor's current consent state.
2. **When consent changes** — If a visitor updates their preferences (e.g., grants consent after initially denying), Concord fires both events again with the new state.
This means you can use a `consent_updated` trigger to handle both scenarios: returning visitors who already have consent (fires on page load) and new visitors who grant consent later (fires when they opt in).
## Example dataLayer Payloads
Here's are some examples of what Concord pushes to the dataLayer. When consent is denied:
```json
{
"event": "consent_updated",
"consent_state": {
"analytics": "denied",
"marketing": "denied",
"functional": "denied"
}
}
```
```json
{
"0": "consent",
"1": "update",
"2": {
"ad_storage": "denied",
"ad_user_data": "denied",
"ad_personalization": "denied",
"analytics_storage": "denied",
"functionality_storage": "denied",
"personalization_storage": "denied",
"security_storage": "granted"
}
}
```
When the visitor grants consent:
```json
{
"event": "consent_updated",
"consent_state": {
"analytics": "granted",
"marketing": "denied",
"functional": "granted"
}
}
```
```json
{
"0": "consent",
"1": "update",
"2": {
"ad_storage": "denied",
"ad_user_data": "denied",
"ad_personalization": "denied",
"analytics_storage": "granted",
"functionality_storage": "granted",
"personalization_storage": "granted",
"security_storage": "granted"
}
}
```
## Step 1: Set Up Consent Defaults in GTM
Ensure you have set up consent defaults using Concord's GTM template or gtag integration. This is typically set to deny all storage types by default until Concord updates the values based on visitor consent.
For detailed setup instructions, see [Understanding & Configuring Google Consent Mode (GCM) V2](/docs/google-understanding-configuring-google-consent-mode-gcm-v2#implementing-google-consent-mode-via-google-tag-manager-or-gtag).
## Step 2: Create a Concord Consent Updated Trigger
Create a custom event trigger that fires when Concord updates consent:
1. In GTM, go to **Triggers** and click **New**.
2. Name it `Concord Consent Updated`.
3. Set the trigger type to **Custom Event**.
4. Set the event name to `consent_updated`.
5. Save the trigger.
This trigger fires on every page load (with the current consent state) and again if the visitor changes their preferences.
## Step 3: Configure Consent Checks on Your Tags
For each third-party tag that requires consent:
1. Open the tag in GTM.
2. Go to **Advanced Settings > Consent Settings**.
3. Select **Require additional consent for tag to fire**.
4. Add the appropriate consent types (e.g., `ad_storage`, `analytics_storage`, `ad_user_data`).
When a tag has these consent checks configured, GTM will **not** fire the tag until the required consent types are granted—even if the trigger conditions are met.
## Step 4: Add the Concord Consent Updated Trigger to Your Tags
For tags that use a standard trigger like "All Pages":
1. Open the tag in GTM.
2. **Add** the `Concord Consent Updated` trigger you created in Step 2.
3. Save the tag.
4. Once all tags are updated and saved, publish the new version of your GTM container.
This ensures that your tags fire when consent is granted mid-session. The built-in consent checks (Step 3) prevent the tag from firing until consent is actually granted, regardless of which trigger activates.
> **Note:** If your tag already has an "All Pages" trigger or other types of triggers, you can typically keep them in place as the consent checks will block it until consent is granted. Adding the `Concord Consent Update` trigger ensures the tag also fires if consent is granted after the initial page load.
## Step 5: Validate in GTM Preview
1. Enable **Preview** mode in GTM.
2. Load your site with Concord active.
3. **Test scenario A (consent denied):**
* Deny consent or don't interact with the banner.
* Confirm third-party tags do **not** fire.
* Grant consent and confirm tags fire after `consent_updated` appears in the Data Layer.
4. **Test scenario B (consent already granted):**
* Grant consent, then refresh the page.
* Confirm tags fire on page load.
## Related Reading
* Google: [Configure Google tags with consent mode](https://support.google.com/tagmanager/answer/10718549?hl=en)
* Google: [Set up consent mode on websites](https://developers.google.com/tag-platform/security/guides/consent)
* Concord: [Understanding & configuring Google Consent Mode (GCM) v2](/docs/google-understanding-configuring-google-consent-mode-gcm-v2)
* Concord: [Understanding & configuring auto blocking of cookies & scripts](/docs/understanding-configuring-auto-blocking-of-cookies-scripts)
# Google: Consent Mode V2 (GCM) Scanning User Guide
URL: /docs/google-gcm-scanning-user-guide
***
title: 'Google: Consent Mode V2 (GCM) Scanning User Guide'
description: 'Guide on using Concord’s Google Consent Mode V2 scanning feature to validate your website’s compliance with Google Consent Mode V2 requirements.'
created: '2025-11-05T02:57:27.000Z'
updated: '2026-09-28T00:00:00.000Z'
-----------------------------------
This guide explains how to use Concord's Google Consent Mode V2 (GCM) scanning feature to validate your website's compliance with Google's Consent Mode V2 requirements. Google Consent Mode V2 scanning checks every domain in a project automatically each week, and you can also scan a specific domain or any URL on demand.
{/* Screenshot pending: Actions > Your Actions, Google Consent Mode Scan row -> /docs/gcm-scanning-actions.png */}
## What is Google Consent Mode V2 Scanning?
Google Consent Mode V2 scanning validates your website's Consent Mode implementation by analyzing:
* **Consent Mode Implementation**: Checks if Google Consent Mode V2 is properly configured on your pages
* **Configuration Issues**: Identifies missing or incorrect Consent Mode signals
* **Default Consent States**: Validates required ad\_storage, analytics\_storage, ad\_user\_data, and ad\_personalization settings
* **Signal Updates**: Verifies consent signals update properly after user interaction
{/* Screenshot pending: Google Consent Mode scan result detail -> /docs/gcm-scanning-result-detail.png */}
### Google Consent Mode V2 Issue Detection
The scanner detects four main categories of consent mode issues:
* **Consent tab empty**: No consent mode implementation or blocked Google tags
* **Default consent set too late**: Consent defaults set after Google tags load
* **Default consent not set**: Missing default values for required parameters
* **Consent doesn't update**: No consent updates after user interaction
## Running Google Consent Mode V2 Scans
Google Consent Mode scans run from **Actions**.
### Weekly Scans of All Project Domains
Every project has a managed **Google Consent Mode Scan** that covers all of its domains and runs every week on its own, at no cost. Find it under **Actions → Your Actions**. To get fresh results between weekly runs, run it now; an on-demand run uses 500 Actions for each project domain.
### Scanning a Specific Domain or a Custom URL
1. Go to **Actions → Browse Catalog** and choose **Google Consent Mode Scan**.
2. Choose the **Specific Domain** tab to scan one of your domains or subdomains, or the **Custom URL** tab to scan any page by entering its URL, including `https://`.
3. Run the scan, or save it to your actions to run again later.
A manual scan uses 500 Actions per domain. See [Actions and Data Credits](/docs/actions-data-credits).
### Viewing Results
Each run appears in the **Activity** list under **Actions**. Expand a run to see the domains scanned and the result for each. If a scan couldn't reach a site, the result says **Couldn't Scan**, and Concord tries again on the next scan.
{/* Screenshot pending: Actions > Activity, expanded Google Consent Mode Scan run -> /docs/gcm-scanning-result.png */}
### Email Alerts
When a scheduled scan finds issues, Concord sends a configuration issue notification in the app and by email. You'll only hear about the same issues again if they change on a later scan. Scans you run manually notify you in the app only. Manage which notifications you get by email under **My Profile → Notification Settings**.
## Understanding Google Consent Mode V2 Scan Results
The Google Consent Mode V2 scan will return one of the following results:
**Success Status Messages**:
* `Google Consent Mode implemented correctly`: Site has proper consent mode implementation
* `No Google Tag Manager detected on site`: No GTM found. This is considered a success message as it is assumed that GTM is not expected on that site
**Warning Status Messages**:
* `Google Tag Manager found but google_tag_data not available`: GTM present but data unavailable (possible bot detection)
* `Consent doesn't update`: Consent mode found but doesn't update after user interaction
* `Google Consent Mode status unclear - please review implementation`: Implementation status uncertain
**Error Status Messages**:
* `Google Consent Mode is not implemented`: No consent mode implementation found
* `Default consent set too late`: Default consent configured after Google tags loaded
* `Default consent not set`: Only implicit consent used, no default consent values
If a scan reports `Default consent set too late`, the result links to [How to fix late consent (Google tag gateway guide)](/docs/google-tag-gateway), which explains how to check whether the tag is served through the Google tag gateway and what to do next.
For more information on how to troubleshoot Google Consent Mode errors, see Google’s support document here: [https://support.google.com/tagmanager/answer/14522438?hl=en\&ref\_topic=14226291\&sjid=3529498632806005727-NA](https://support.google.com/tagmanager/answer/14522438?hl=en\&ref_topic=14226291\&sjid=3529498632806005727-NA)
## Related Articles
* [Understanding & Configuring Google Consent Mode (GCM) V2](/docs/google-understanding-configuring-google-consent-mode-gcm-v2)
* [Scanning Your Site for Trackers and Cookies](/docs/scanning-trackers-cookies-scripts)
* [Google Tag Gateway](/docs/google-tag-gateway)
## Support
If you have questions about Google Consent Mode V2 scanning or need help interpreting scan results, contact [google@concord.tech](mailto:google@concord.tech) or [support@concord.tech](mailto:support@concord.tech).
Our support team can help with:
* Troubleshooting consent mode implementation problems
* Understanding scan results and status messages
# Google: Google Tag Gateway (GTG) and Consent Mode
URL: /docs/google-tag-gateway
***
title: 'Google: Google Tag Gateway (GTG) and Consent Mode'
description: 'What Google Tag Gateway (GTG) is, how first-party script serving can affect consent load order, how to verify whether a tag is enrolled in GTG, and what to do when Concord detects a late consent signal on a GTG-enabled tag, including adopting advanced consent mode (U+C).'
created: '2026-06-18T07:00:00.000Z'
updated: '2026-06-18T07:00:00.000Z'
-----------------------------------
## Overview
**Google Tag Gateway (GTG) for advertisers** lets you serve Google scripts (the Google tag or a Google Tag Manager container) from your own first-party domain, typically through a content delivery network (CDN) or a server-side endpoint. Google recommends it as a durable tagging configuration that improves measurement signal recovery.
Because GTG changes *how* and *when* Google scripts load on the page, it can interact with the order in which Concord's Consent Mode default command (and, where applicable, the IAB TCF stub) is established. This guide explains that interaction and what to do if it causes a **late consent signal**.
For Google's own reference, see [Google tag gateway for advertisers](https://developers.google.com/tag-platform/tag-manager/gateway) and the [GTG setup guide](https://developers.google.com/tag-platform/tag-manager/gateway/setup-guide).
## How Google Tag Gateway Affects Consent
For Concord to control measurement before consent, the **Consent Mode default command** (and the **TCF stub**, if you use IAB TCF) must be present on the page *before* any Google tag fires. See [Understanding & Configuring Google Consent Mode (GCM) V2](/docs/google-understanding-configuring-google-consent-mode-gcm-v2) for how Concord establishes those defaults.
Some GTG setups, particularly **one-click CDN injection** offered by certain CDN providers, inject and serve Google scripts automatically and often **remove your control over script load order**. When Google tags load ahead of Concord's default command or TCF stub, the consent signal arrives *after* tags have already initialized. This is what Concord reports as a **late consent signal**.
GTG setups where you retain control over import order, for example, a manually configured CDN integration, or routing all Google tags through a Google Tag Manager container that you deploy via GTG, do not have this problem, because you can guarantee Concord loads first.
## Verifying Whether a Tag Is Enrolled in GTG
Before changing anything, confirm whether the late-firing tag is actually served through GTG:
* Use **Google Tag Assistant** to inspect how the tag loads, or follow [Verify your Google tag](https://support.google.com/tagmanager/answer/15756111) in Tag Manager Help.
* Review your CDN or Google Tag Manager configuration for GTG / first-party serving. Google's setup documentation is in the [GTG setup guide](https://developers.google.com/tag-platform/tag-manager/gateway/setup-guide).
Concord's in-product Consent Mode validation also surfaces this guidance directly when it detects a late consent signal.
## If Concord Detects a Late Consent Signal on a GTG-Enabled Tag
When Concord's Google Consent Mode validation reports that **default consent values were set after tags loaded** *and* you have verified the tag is enrolled in GTG, take one of the following paths.
### Recommended: Adopt Advanced Consent Mode (U+C)
For GTG-enabled tags, **advanced consent mode (U+C)** is the recommended mechanism because it is compatible with manual GTG. In advanced consent mode, Google tags are allowed to load before consent and send a minimal, cookieless signal, then full measurement resumes once the user makes a choice, so a slightly later default command does not lose measurement.
When adopting U+C, also enable **Data Transmission Controls** and **Global Consent Defaults** according to your needs. See [How to Enable Basic or Advanced Modes for Google Consent Mode V2 in Concord](/docs/google-understanding-configuring-google-consent-mode-gcm-v2#how-to-enable-basic-or-advanced-modes-for-google-consent-mode-v2-in-concord) to switch Concord to Advanced mode, and Google's [Consent Mode documentation](https://developers.google.com/tag-platform/security/guides/consent) for these settings.
### Alternative: Take Control of Load Order
If you prefer to keep tags blocked before consent (basic consent mode), restore control over import order so Concord loads first:
* **Route all Google tags through a Google Tag Manager container and deploy GTM via GTG.** This keeps a single, ordered entry point you control. See [Google tag gateway with CDN + server-side GTM](https://developers.google.com/tag-platform/tag-manager/gateway/sgtm-and-cdn).
* **Set up GTG manually** (rather than one-click CDN injection) so you control the script import order and can guarantee Concord's default command / TCF stub loads before Google tags. See the [GTG setup guide](https://developers.google.com/tag-platform/tag-manager/gateway/setup-guide).
## Related Articles
* [Understanding & Configuring Google Consent Mode (GCM) V2](/docs/google-understanding-configuring-google-consent-mode-gcm-v2)
* [Configuring IAB TCF v2.4](/docs/iab-tcf-v2-3-configuration)
* [Conditionally Loading Third-Party Tags in GTM](/docs/google-conditionally-loading-third-party-tags-in-gtm)
# Configuring Google Consent Mode (GCM) V2
URL: /docs/google-understanding-configuring-google-consent-mode-gcm-v2
***
title: "Configuring Google Consent Mode (GCM) V2"
description: 'Google Consent Mode V2 allows websites to adjust how and when data is shared with Google based on user consent collected via the Concord Consent Banner and Privacy Center. This article explains what Google Consent Mode (GCM) V2 is, how it works, and steps you through how to enable GCM in your Concord organization.'
created: '2024-09-02T02:57:27.000Z'
updated: '2026-09-01T00:00:00.000Z'
-----------------------------------
## Overview
Concord is a Gold Certified CMP with Google and our Google Consent Mode V2 integration allows websites to adjust how and when data is shared with Google based on user consent collected via Concord. This article explains what Google Consent Mode (GCM) V2 is, how it works, and steps you through how to enable GCM in your Concord organization.
Our simplified setup integrates with Google in the following ways:
* Based on the user’s geographical location, privacy laws in that region, and your consent settings in Concord, we can be configured to block all non-essential cookies and scripts until the user grants consent. The GCM integration allows for a few different options that determine how and when Google tags are allowed and what data is shared with them and when.
* Regardless of the chosen GCM Mode (Basic vs. Advanced modes are discussed in more detail below), when enabled and once consent is granted, Concord automatically shares the user's consent preferences with Google, which changes the behavior of Google services based on these preferences. This works with both Google Tag Manager (GTM) and Google Tag (gtag).
## What is Google Consent Mode V2?
Google Consent Mode v2 is an updated framework by Google that helps adjust data collection practices based on user consent. Features of this framework include:
* Implementation: Website owners can integrate Consent Mode to handle user consent for cookies used by Google Ad Manager.
* Integration: The framework works with Ad Manager and other Google products, adapting reporting and data collection practices based on consent preferences.
* Functionality: When consent is not given, Consent Mode can be set up to allow cookieless tracking that uses anonymous or aggregated data, allowing for consent-based data gaps to be filled using that cookieless data coupled with machine learning.
* Benefits: This approach helps balance privacy requirements with effective advertising and analytics, providing flexibility in managing user consent.
Google Consent Mode V2 works by modifying how Google tags behave based on user consent. The 7 parameters used in GCM V2 are:
* **ad\_storage**: Enables storage, such as cookies, related to advertising.
* **analytics\_storage**: Enables storage, such as cookies, related to analytics (for example, visit duration).
* **functionality\_storage**: Enables storage that supports the functionality of the website or app such as language settings.
* **personalization\_storage**: Enables storage related to personalization such as video recommendations.
* **security\_storage**: Enables storage related to security such as authentication functionality, fraud prevention, and other user protection.
* **ad\_user\_data**: Sets consent for sending user data to Google for online advertising purposes. This was newly added in V2.
* **ad\_personalization**: Sets consent for personalized advertising. This was newly added in V2.
## How to Enable Basic or Advanced Modes for Google Consent Mode V2 in Concord
You can pick from three different modes when enabling Google Consent Mode V2 in Concord:
* **Disabled:** Concord functions normally, blocking any Google tags until consent is received based on your standard consent and tracker settings. After user consent is received, no consent data is synced with Google.
* **Basic Mode:** Basic Consent Mode offers a simplified privacy-friendly option to sync data with Google. Google tags remain inactive until the user interacts with the consent banner. Once users consent, Google tags are enabled, consent data is synced, and Google begins collecting data based on the user’s consent settings. Without consent, no data is sent to Google, and Google Ads relies on a general conversion model.
* **Advanced Mode:** Advanced Consent Mode offers a more robust option that shares additional data with Google prior to consent. Google tags load immediately and while waiting for user consent, a minimal amount of cookieless measurement data is sent to Google to allow for more accurate conversion modeling. Once consent is granted, full measurement data is then sent to Google based on each user’s consent settings. For more details on Google’s conversion modeling please refer to [https://support.google.com/google-ads/answer/12443859](https://support.google.com/google-ads/answer/12443859)
### Configuring Google Consent Mode V2 in Concord
1. Log in to Concord’s Admin UI and go to **Privacy → Consent → Consent Settings**. Google Consent Mode is set per region, so first choose the region you want to configure with the region switcher in the top bar (or open a specific region under **Privacy → Deployment → Regions**).
2. Open the **Integrations** tab, select the **Google Consent Mode V2** dropdown, and choose **Disabled** (default), **Basic**, or **Advanced**. Click **Save** to apply your changes. Repeat for any other region where you want Consent Mode enabled.
3. View your Google Consent Mode configuration status in the **Privacy → Deployment → Installation → Google** section in the Concord app, and use the instructions and links on that page if implementing via Google Tag Manager.
### Using Google Consent Mode with IAB TCF
If your organization uses the **IAB TCF v2.4** framework, Google can read advertising consent (`ad_storage`, `ad_user_data`, and `ad_personalization`) directly from your TCF consent string. Enable the **Allow Google Consent Mode to read TCF signals** toggle on the **General Settings** tab (inside the IAB TCF box, shown once a TCF mode is enabled) to turn this on. Like the mode above, it is set per region and is off by default.
This is independent of the Google Consent Mode mode you select above. `analytics_storage` is still driven by Google Consent Mode, so keep GCM set to **Basic** or **Advanced**: if TCF is enabled but GCM is **Disabled**, no Consent Mode signals are sent to Google at all. For full setup, see [Configuring IAB TCF v2.4](/docs/iab-tcf-v2-3-configuration).
### Disabling Consent Mode
If you need to stop sending Consent Mode signals and return to standard tag blocking, where Google tags stay blocked until consent and no consent data is synced, set the **Google Consent Mode V2** dropdown back to **Disabled** on the **Integrations** tab under **Privacy → Consent → Consent Settings** (in each region where it was enabled) and click **Save**. Concord then stops emitting the Consent Mode default and update commands and re-enables tracker blocking based on your standard consent and tracker settings. Depending on how you implemented Google (Google Tag Manager or gtag), you may also need to remove the on-page `gtag('consent', 'default', …)` block you added during setup.
## Implementing Google Consent Mode via Google Tag Manager or Gtag
Regardless of the Google option that you use (you should use either Google Tag Manager or Gtag and not both), we highly recommend first following our Install Concord instructions in the **Deployment → Installation → Install Concord** section of the Concord Admin UI to add the Concord code to your website. Concord should be in the `` section and should always be above other external script tags to ensure that the scanning and blocking process functions correctly. Once that is complete (or if you want to use Google Tag Manager to inject the Concord code, which is not recommended), follow the instructions below or refer to the detailed Google docs: [https://developers.google.com/tag-platform/security/guides/consent?consentmode=basic](https://developers.google.com/tag-platform/security/guides/consent?consentmode=basic)
### Google Tag Manager (Option 1)
When using Google Tag Manager and our Google Tag Manager community template (available in the GTM gallery), you have two implementation options. Use the Concord GTM community template along with the **Project ID** found in the **Deployment → Installation → Google** section of the Admin UI. We recommend configuring it to run using the **Consent Initialization - All Pages Trigger** option and set the default Google consent settings to denied initially.
1. Follow the Install Concord instructions in the **Deployment → Installation** section in the Concord Admin UI to directly install Concord on your website. Our single line of code is placed at the top of the `` section of your website, and you then add the Google Tag Manager script below the Concord script. That ensures that Concord runs first, allowing better control over the process and easier selection between different Google Consent Modes in Concord. We recommend you use this method in almost all cases.
2. You can use the **Inject Concord Script** option found in our Google Tag Manager template. In this case, Google will control the initialization process and Google will automatically inject our script onto your website. Since we are not guaranteed to run first, all other scripts, cookies, and iframes (trackers) would also need to be implemented and ordered correctly in Google Tag Manager. As this can be an error prone process that is not future proof, we highly recommend choosing the first option above.
Regardless of which implementation option you use, you will use our Google Tag Manager community template along with the Project ID found in the **Deployment → Installation → Google** section of the Admin UI. We should be configured to run using the **Consent Initialization - All Pages Trigger** option shown below and the default Google consent settings should typically all be set to denied initially. In most cases the rest of the settings do not need to be adjusted.
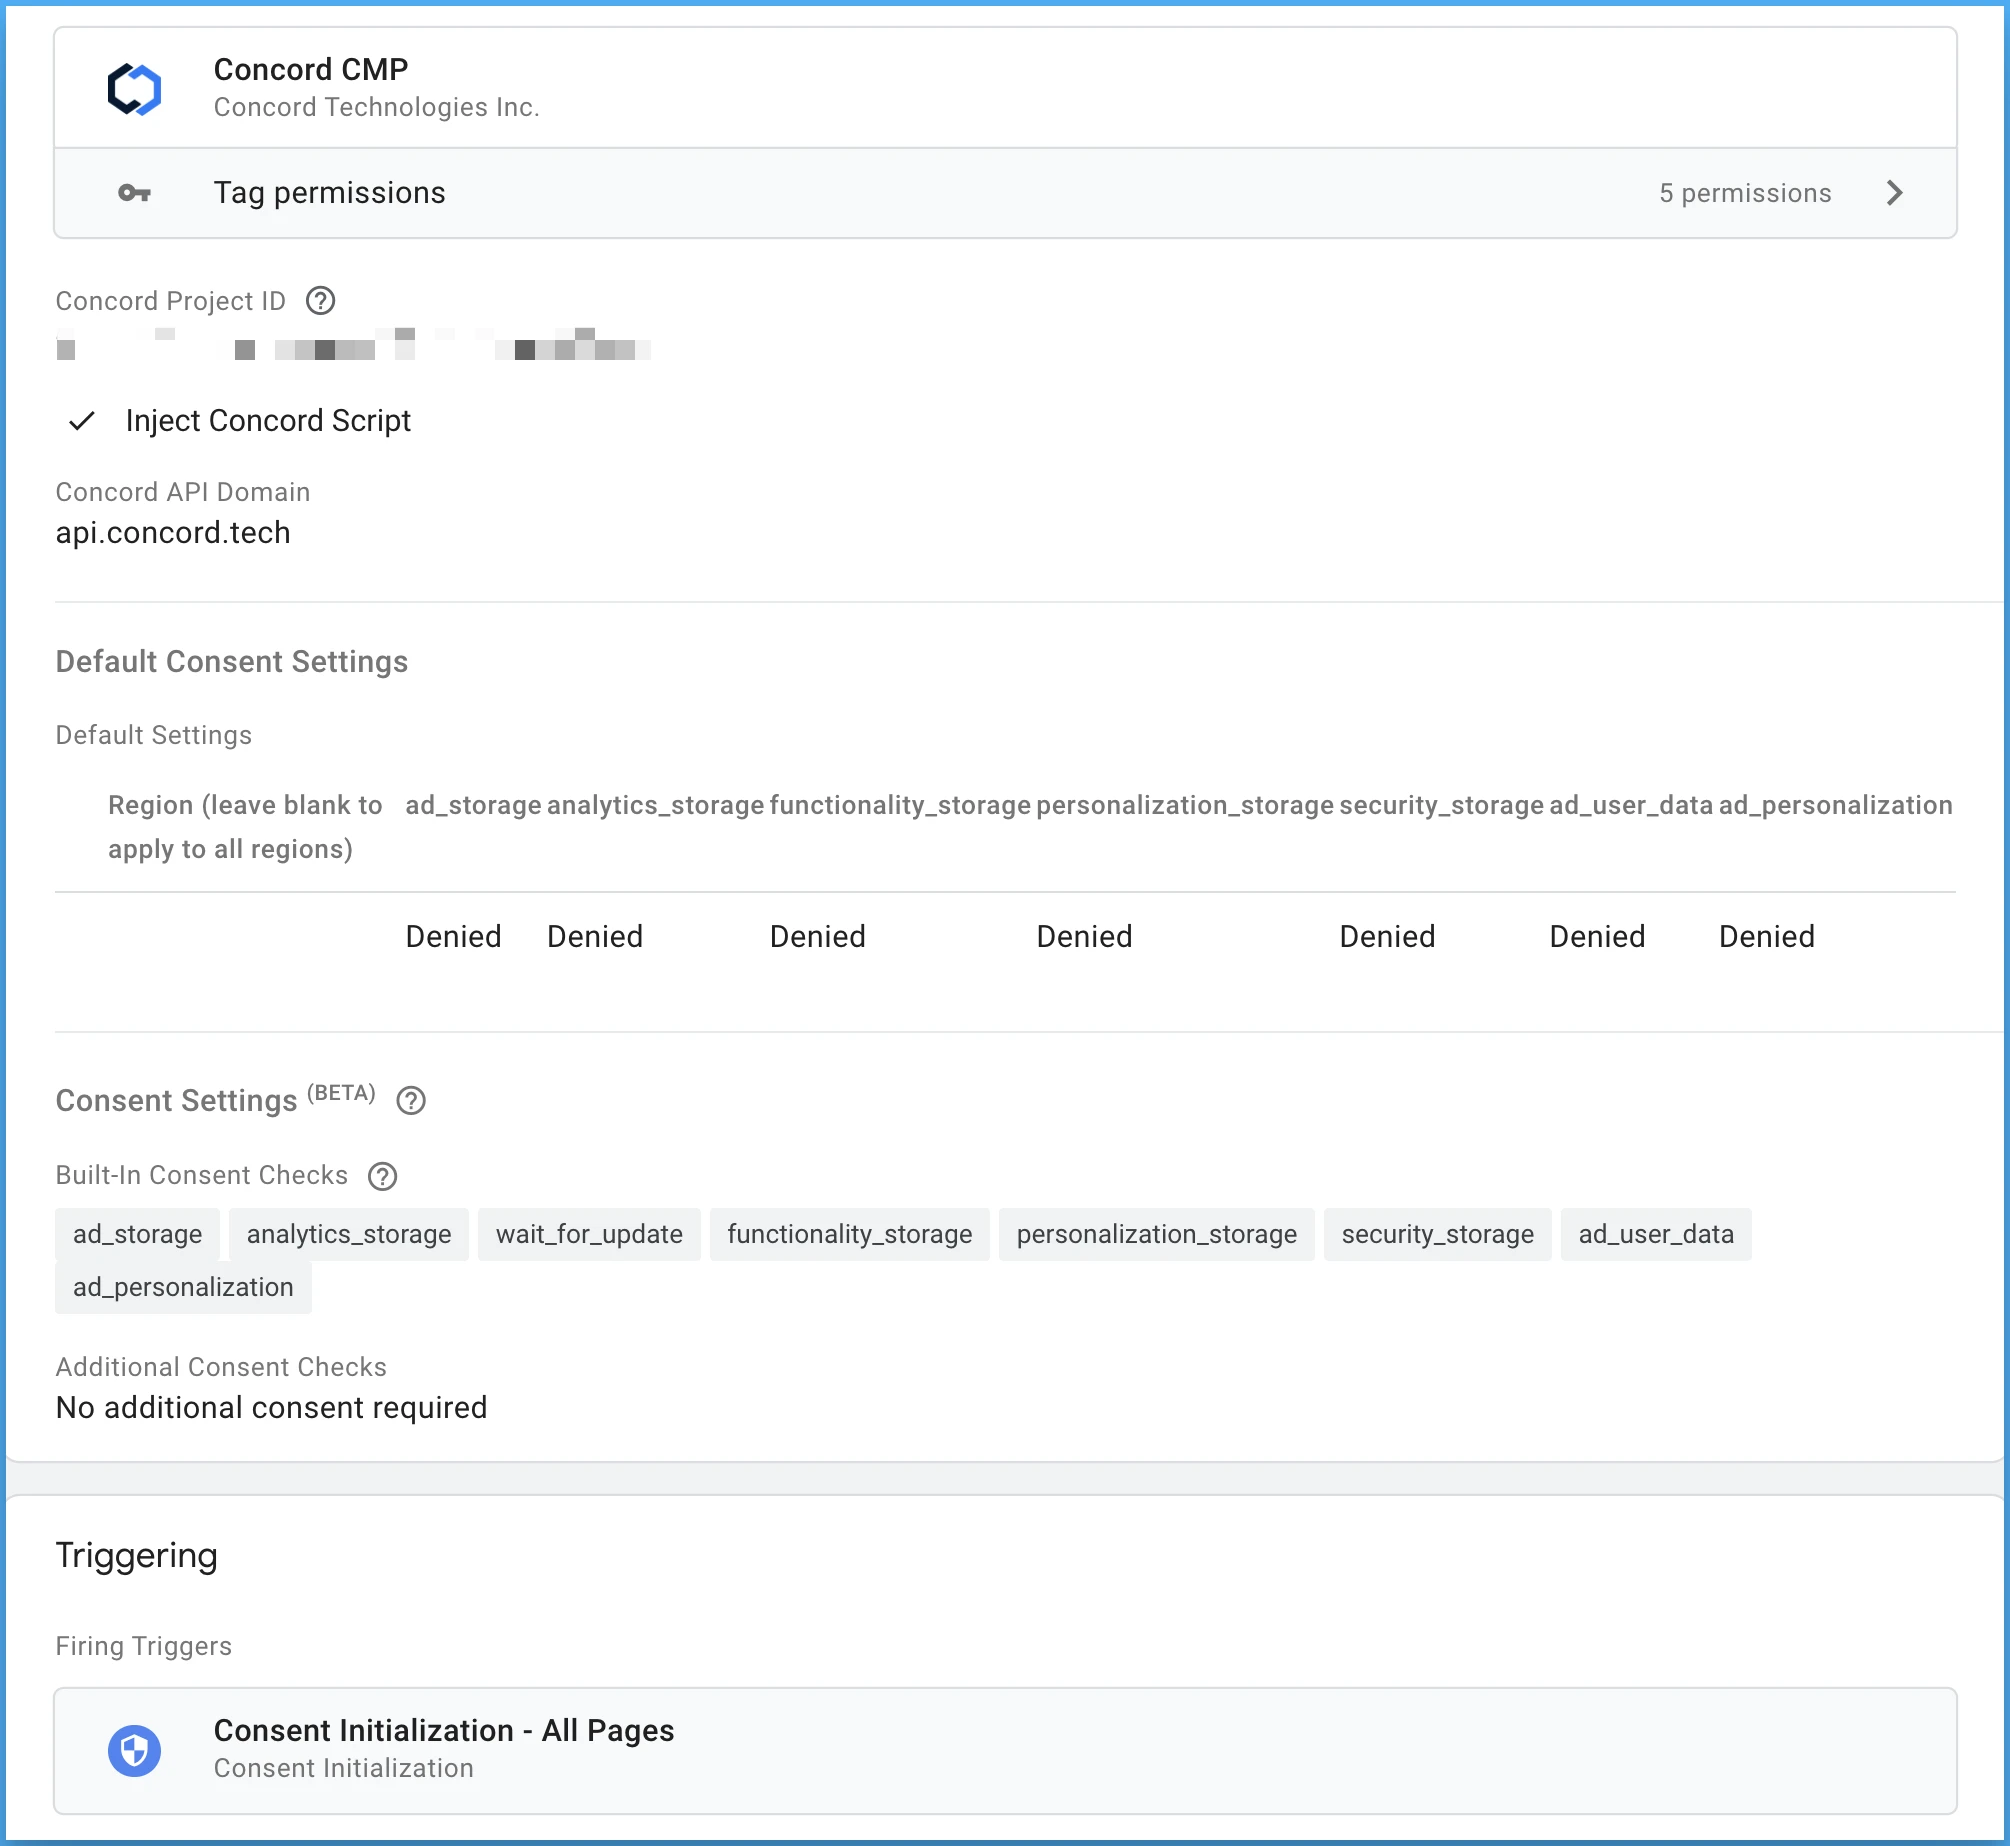
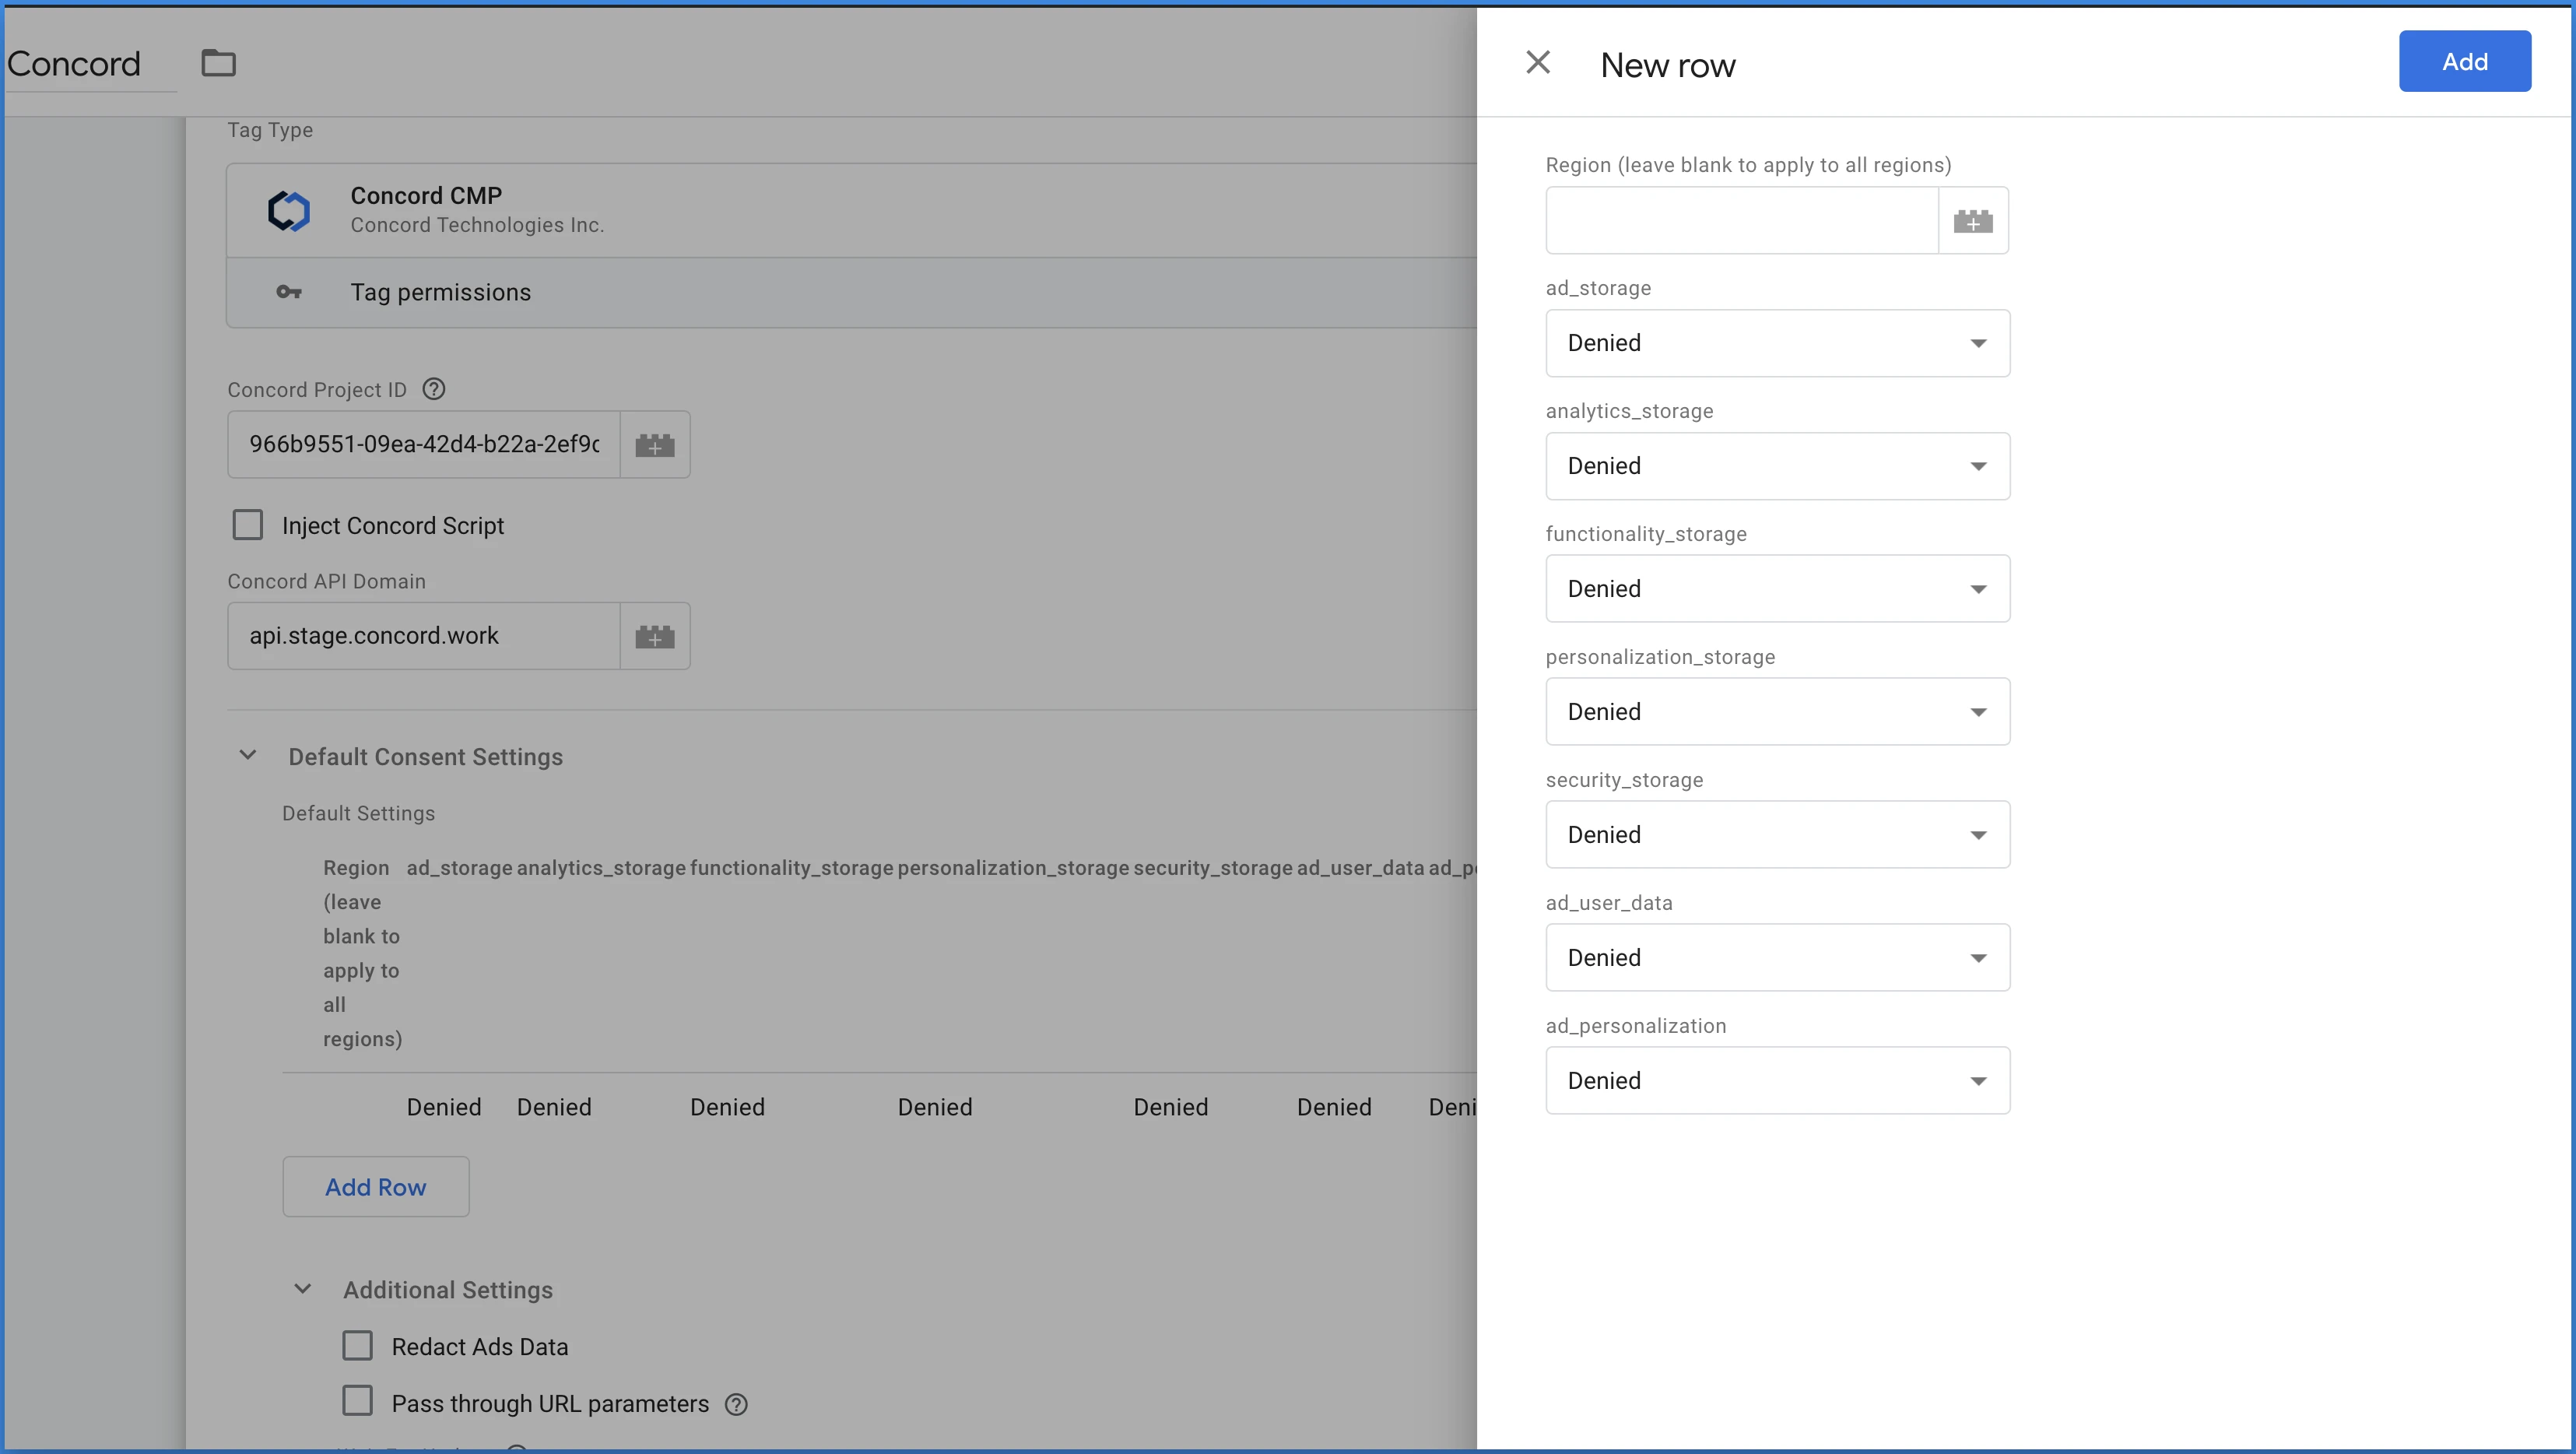
The user’s consent settings will now be automatically synced with Google based on their consent choices in your Concord Consent Banner & Privacy Center.
### Gtag (Option 2)
First, add your normal Gtag code to your page below the Concord script you implemented above, ensuring that the Concord script is above the Gtag script. Once that is done, add the separate `dataLayer` object found below before your Concord code. This establishes your consent defaults in the data layer, but will not trigger your Google tag, since you haven't loaded the Google tag library yet.
```js
```
Concord will now automatically integrate with your Google Gtag script prior to consent and will handle everything else for you automatically based on user consent choices.
## Banner Requirements for Consent Mode
When you enable Consent Mode **without IAB TCF**, configure your Concord consent banner so it meets Google's banner requirements under Google's EU User Consent Policy. Your banner should:
* Explain that data is collected for the purpose of **personalizing and measuring the effectiveness of advertising**.
* Link to Google's [Privacy & Terms for partners](https://business.safety.google/privacy/).
* Include an **affirmative consent option** (for example, an "Accept" action) so users can actively grant consent.
Concord's consent banner is fully configurable from the admin UI, so you can set this language and link in your banner content and confirm an affirmative accept action is present. When IAB TCF is enabled, the privacy center already presents TCF-compliant language. See [Configuring IAB TCF v2.4](/docs/iab-tcf-v2-3-configuration).
## Google Tag Gateway and Late Consent
If you serve Google scripts through **Google Tag Gateway (GTG)**, for example via one-click CDN injection, the Google tag can load before Concord's Consent Mode default command is on the page, producing a **late consent signal**. Concord's in-product validation flags this and points you to the right next step.
For how to verify GTG enrollment and what to do about it (including adopting advanced consent mode, or U+C, which is recommended for GTG-enabled tags), see [Google Tag Gateway (GTG) and Consent Mode](/docs/google-tag-gateway).
## Additional Resources
For more details on the different Google options, including advanced settings like region-specific behaviors in Google Tag Manager or URL passthroughs, please refer to the Google docs:
* [https://developers.google.com/gtagjs/devguide/consent](https://developers.google.com/gtagjs/devguide/consent)
* [https://support.google.com/analytics/answer/14546213](https://support.google.com/analytics/answer/14546213)
## Our Google Consent Management Partner (CMP) Support Commitment
As a Gold Certified CMP Partner with Google, our support team is dedicated to ensuring you are successful when it comes to integrating Concord’s CMP with Google. We offer comprehensive assistance for all aspects of our platform, including setting up Concord and integrating with Google via our Google Consent Mode V2 integration.
Ways to get support:
* Live chat via our in-app chat at [https://admin.concord.tech/](https://admin.concord.tech/)
* Email support via [google@concord.tech](mailto:google@concord.tech) or [support@concord.tech](mailto:support@concord.tech)
* Self-service web support via our Help Center: [https://concord.tech/docs](https://concord.tech/docs)
For more information on Concord’s Support Commitment, visit: [https://concord.tech/docs/concord-support-commitment](https://concord.tech/docs/concord-support-commitment)
## Related Articles
* For help setting up a new organization including organization details, consent banner settings, and branding details, visit Concord’s [Getting Started Guide](/docs).
* [Configuring Auto-Blocking of Cookies and Scripts](/docs/understanding-configuring-auto-blocking-of-cookies-scripts)
* [Google Consent Mode V2 (GCM) Scanning User Guide](/docs/google-gcm-scanning-user-guide)
* [Scanning Your Site for Trackers and Cookies](/docs/scanning-trackers-cookies-scripts)
* [Configuring IAB TCF v2.4](/docs/iab-tcf-v2-3-configuration)
# Hubspot Integration Guide
URL: /docs/hubspot-concord-integration-guide
***
title: 'Hubspot Integration Guide'
description: 'Step-by-step instructions on how to integrate Concord via Hubspot'
created: '2024-12-02T09:00:01.000Z'
updated: '2025-07-23T05:20:06.000Z'
-----------------------------------
## Overview
Welcome to our guide on integrating Concord into Hubspot. We make it easy to integrate Concord into your Hubspot website in just a few minutes and this guide will help you get up and running quickly. This guide includes the following information:
* Initial Concord configuration.
* Google Consent Mode V2 configuration.
* Integrating Concord into Hubspot.
## Getting Started With Concord
As part of the initial onboarding process that occurs when you set up a new organization or project in Concord, you will be able to choose your preferred consent settings, including the Consent Mode (Implied vs. Express), the Blocking mode (how trackers like cookies, scripts, iFrames, etc. are processed and blocked), the Google Consent Mode V2 setting, the Consent Duration (how long consent lasts), and other options (Sensitive Information consent, Do Not Sell, Global Privacy Control, etc.).
During that process, we provide sensible defaults that are recommended as the default global settings, but those settings can always be adjusted and additional regions can also be added and customized later in all paid plans.
For more details on this process or to complete it for the first time, please follow the instructions in this guide: [Getting Started](/docs)
If you utilize Google services like Google Analytics, Google Tag Manager, or Google Ads, we also recommend configuring and verifying Google Consent Mode V2, which allows you to adjust how and when data is shared with Google based on user consent collected via the Concord Consent Banner & Privacy Center.
To learn more about Google Consent Mode V2 and the recommended settings, please refer to this document: [Understanding & Configuring Google Consent Mode (GCM) V2](/docs/google-understanding-configuring-google-consent-mode-gcm-v2)
## Integrating Concord Into Hubspot
The final step is to Integrate Concord into Hubspot, which can typically be done in just a few minutes. Please follow the instructions below to complete this part of the process:
1. Login to your Concord organization and go to **Deployment → Installation → Install Concord** and copy the Concord script for the project you want to add to Hubspot (projects can be changed via the Projects selector in the page header if needed).

2. Login to your Hubspot account.
* Note: You can refer to this document from Hubspot in regards to the next steps in the process on the Hubspot side: [Use Code Snippets with HubSpot Content](https://knowledge.hubspot.com/website-and-landing-pages/use-code-snippets-with-hubspot-content)
3. In your HubSpot account, click the **settings icon** in the top navigation bar.
4. In the left sidebar menu, navigate to **Content** > **Pages**.
5. In the upper left, click the \***\*Choose a domain to edit its settings** dropdown menu and select a **domain**. To apply the same code to all HubSpot-hosted content, select **Default settings for all domains**.
6. To edit the header for a specific domain, click **Override default** **settings** in the *Site Header HTML* section. Code added to the default settings will no longer apply to this domain's content.
7. To revert a specific domain's header HTML to the *Default settings for all domains* instead, click **Apply default settings**.
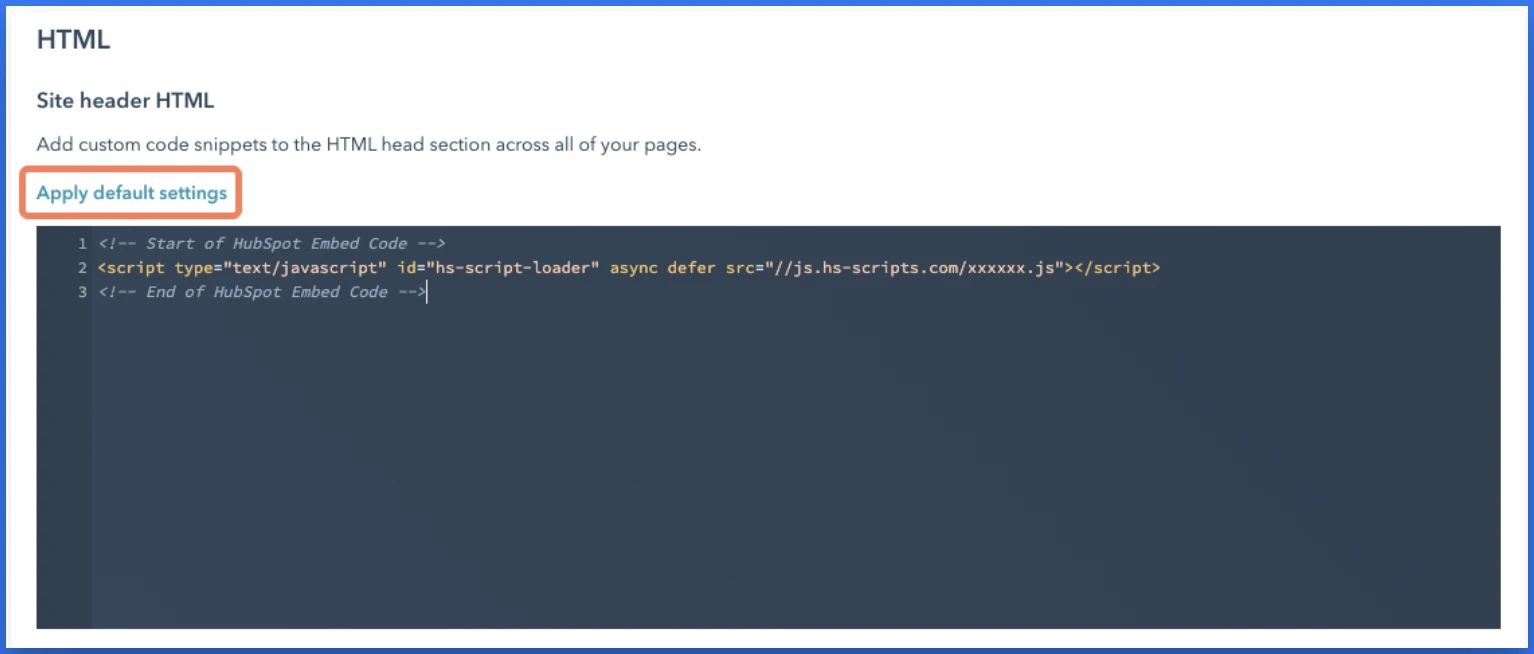
8. Add the Concord code you copied above to the **Site Header HTML** section.
* Note: The Concord script should always go above any other custom code to ensure that Concord runs first.
* Note: Concord code should be placed exactly as copied above. Adding async or defer to the code can cause issues with compliance due to timing.
9. In the bottom left, click \*\*Save \*\*to apply your changes.
10. Go back to Concord to verify your integration under **Deployment → Installation → Install Concord**. If successfully added and published via Hubspot you should see the following:

Congratulations. You have successfully integrated Concord into Hubspot and any future changes to your attached project in Concord will be automatically synced to your website.
# Integration and Automation Using Zapier
URL: /docs/integration-automation-zapier
***
title: 'Integration and Automation Using Zapier'
description: 'This article shows you how to feed data in and out of Concord using Zapier.'
created: '2021-10-05T00:53:07.000Z'
updated: '2024-12-02T07:39:59.000Z'
-----------------------------------
## Overview
* A Zap is an automated workflow that connects your apps and services together. Every Zap consists of a trigger step and one or more action steps. When you turn your Zap on, it will run the action steps every time the trigger event occurs.
* A trigger is an event that starts a Zap. For example, a customer accepts the Terms of Service on your website or they opt-out of your email newsletter using your email marketing platform.
* An action is an event a Zap performs after it is triggered. For example, a Concord consent event is created when a user accepts the Terms of Service on your website.
* Zapier integrates with over 3,000 apps, such as Salesforce, HubSpot, Slack, and Concord.
* In this article we will show you how to connect Concord with Zapier and return all new Compliance Requests (such as requests to change someone’s information).
## Available Concord Actions and Triggers
Concord has created predefined triggers and actions to make integrating your consent and compliance data an easy process.
### Triggers
* New Consent Event
* New Compliance Request
### Actions
* Add Consent Event
* Add Compliance Request
## Basic Steps to Setting Up a New Integration in Zapier
1. Create a new Zap.
2. Choose whether or not you want to send data from Concord to another system or if you want to send data into Concord from a third party application. The Triggers and Actions will depend on the destination or source application. Triggers and Actions can be created for multiple systems that make sense to connect to Concord:
* Salesforce
* Hubspot
* Zendesk
* Freshdesk
* Microsoft
* Google
* … and hundreds of others
3. Configure your new Zap
* **Trigger**: Concord or another trigger application.
* **Action**: Concord or another destination.
## Example Zap: Concord Trigger to Slack Action
### Initial Setup & Authentication
1. From your Zapier home page, click Create Zap.
2. Search for and select Concord.
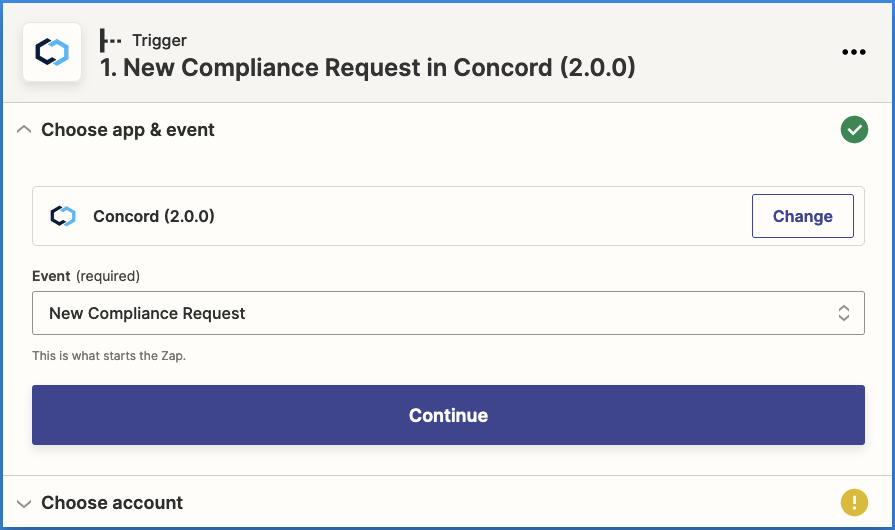
3. If you haven’t already connected to Concord, click on **Manage Connected Accounts**.
* Note: You’ll also need to create your connection to the destination application, such as Slack.
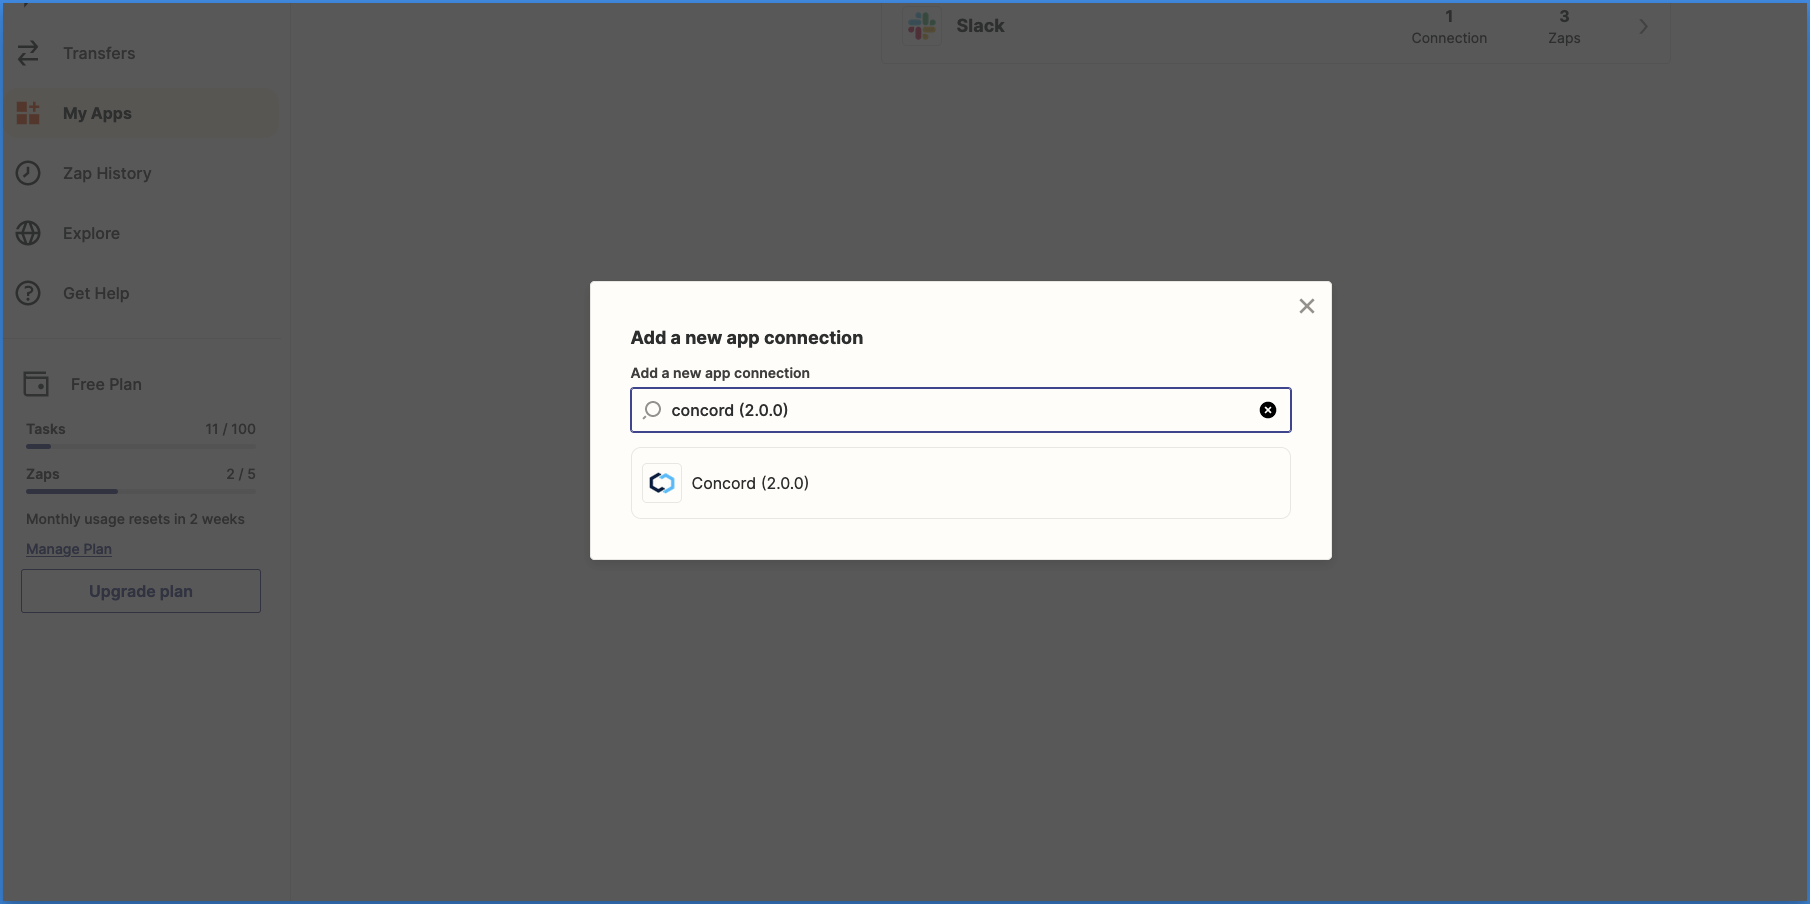 4. Concord authentication requires an API key ([see instructions](/docs/adding-managing-api-keys)) and the Concord Organization ID.
### Concord Trigger
1. Click Continue to set up your Concord trigger.
2. If you wish to capture all Concord projects in the same Zap, just click Continue. If you wish to select a specific project, click on the drop-down arrows (righthand side of project selector) and then click on the Project tab. The list will be populated with all your available projects.
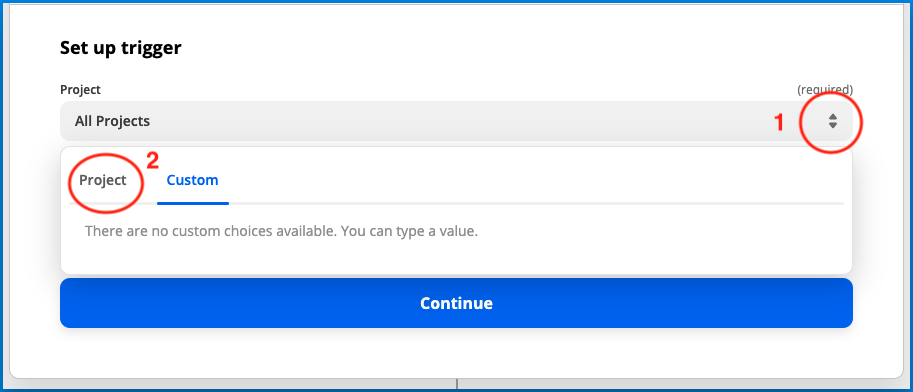
3. Zapier will require you to test the trigger.
* Note: If you don’t already have existing compliance requests for the project(s) selected, it will return with “We couldn’t find a compliance request.” Just click “Continue.”
### Slack Action
1. Sending Slack messages is an effective way to monitor events from Concord. For example, sending a Slack message to a channel each time a compliance request event occurs.
2. Select Slack as the app event and connect to your Slack account. For the event select “Send Channel Message.”
3. Select the Slack channel you wish to send the compliance request event messages to and select the fields you’d like to include in the message such as “Request ID” and “Organization ID”.
4. Test your Zap and check Slack for the test event message.
# Joomla! Integration Guide
URL: /docs/joomla-concord-integration-guide
***
title: 'Joomla! Integration Guide'
description: 'Step-by-step instructions on how to integrate Concord in Joomla'
slug: 'joomla-concord-integration-guide'
topic: 'integrations'
created: '2025-01-04T21:05:45.000Z'
updated: '2025-07-23T05:22:09.000Z'
-----------------------------------
## Overview
Welcome to our guide on integrating Concord into Joomla. We make it easy to integrate Concord into your Joomla website in just a few minutes and this guide will help you get up and running quickly. This guide includes the following information:
* Initial Concord configuration.
* Google Consent Mode V2 configuration.
* Integrating Concord into Joomla.
## Getting Started With Concord
As part of the initial onboarding process that occurs when you set up a new organization or project in Concord, you will be able to choose your preferred consent settings, including the Consent Mode (Implied vs. Express), the Blocking mode (how trackers like cookies, scripts, iFrames, etc. are processed and blocked), the Google Consent Mode V2 setting, the Consent Duration (how long consent lasts), and other options (Sensitive Information consent, Do Not Sell, Global Privacy Control, etc.).
During that process, we provide sensible defaults that are recommended as the default global settings, but those settings can always be adjusted and additional regions can also be added and customized later in all paid plans.
For more details on this process or to complete it for the first time, please follow the instructions in this guide: [Getting Started](/docs)
If you utilize Google services like Google Analytics, Google Tag Manager, or Google Ads, we also recommend configuring and verifying Google Consent Mode V2, which allows you to adjust how and when data is shared with Google based on user consent collected via the Concord Consent Banner & Privacy Center.
To learn more about Google Consent Mode V2 and the recommended settings, please refer to this document: [Understanding & Configuring Google Consent Mode (GCM) V2](/docs/google-understanding-configuring-google-consent-mode-gcm-v2)
## Integrating Concord Into Joomla
The final step is to Integrate Concord into Joomla, which typically takes just a few minutes. Please follow the instructions below to complete this part of the process:
1. Download the Joomla! module [here](https://downloads.concord.tech/joomla/mod_concord.zip) or via the Joomla [extensions](https://extensions.joomla.org/index.php?option=com_jed\&view=extension\&layout=default\&id=16550\&Itemid=145) directory.
2. From your Joomla! administrator portal, click \*\*System \*\*on the left sidebar, and then **Extensions** under **Install**
3. Upload the mod\_concord.zip file to the **Upload and Install Joomla Extension** box
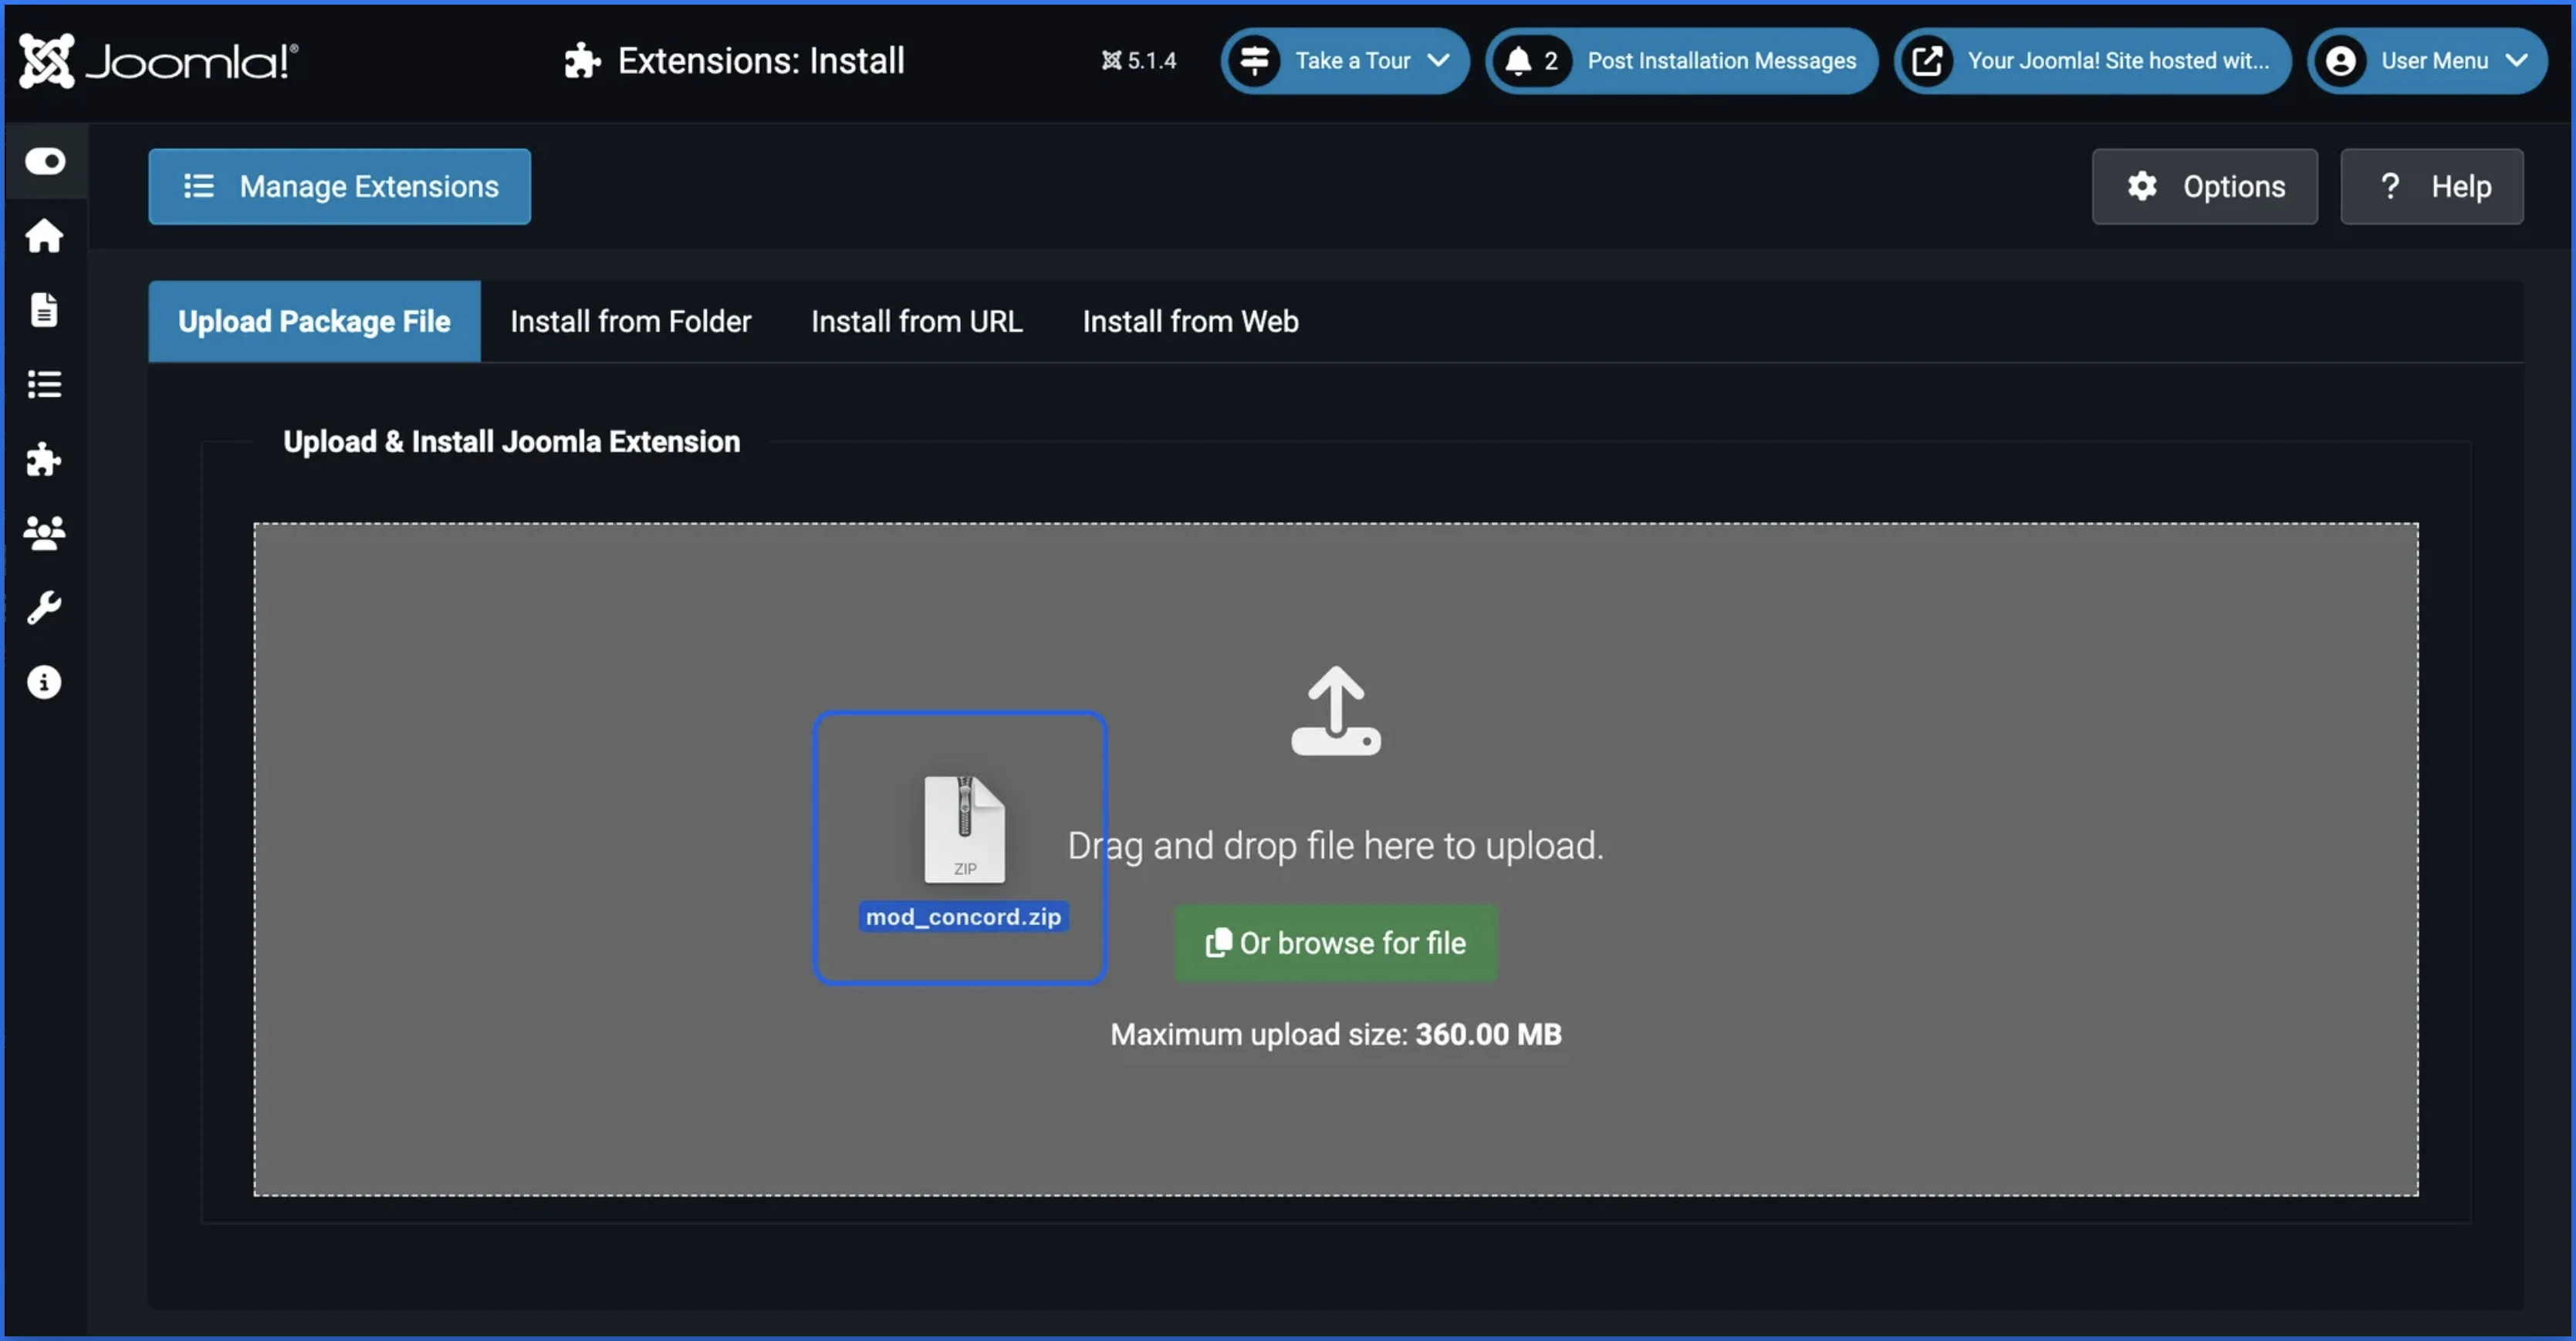
4. Once the upload has succeeded, navigate to **Manage Extensions**
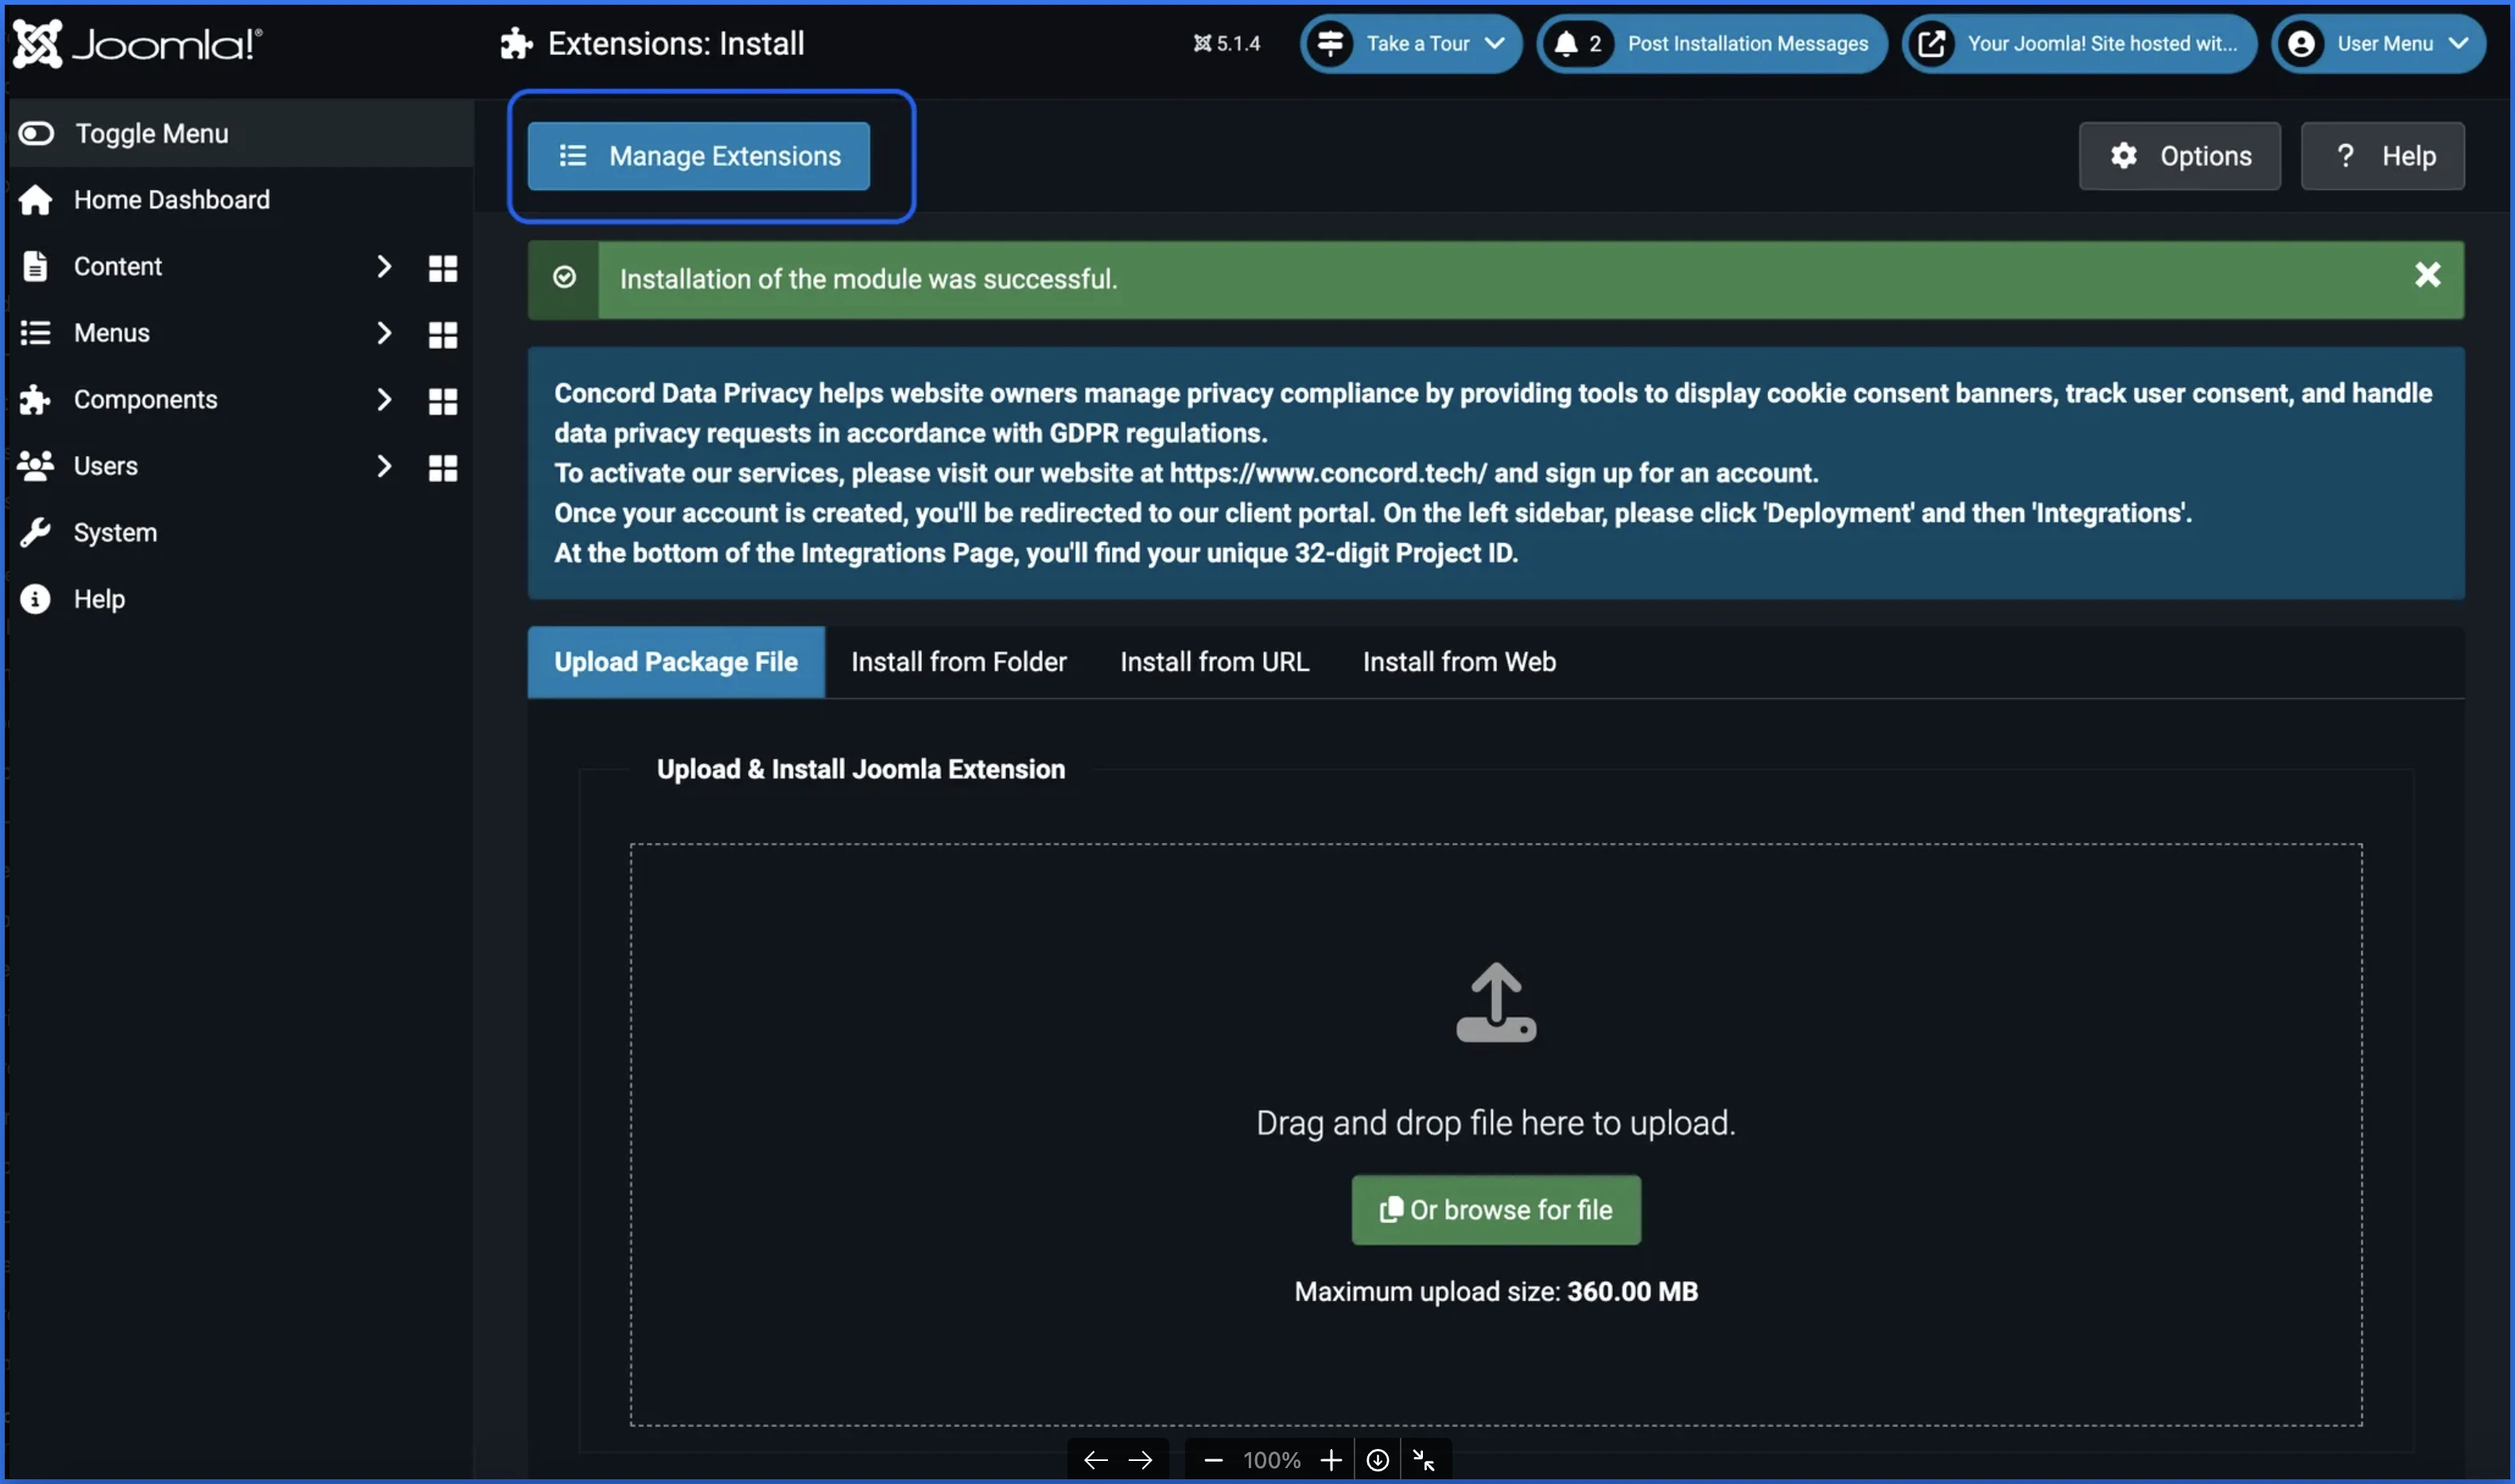
5. Search among the extensions for **Concord Data Privacy** and select the Concord Module, and then click\*\* Enable\*\*
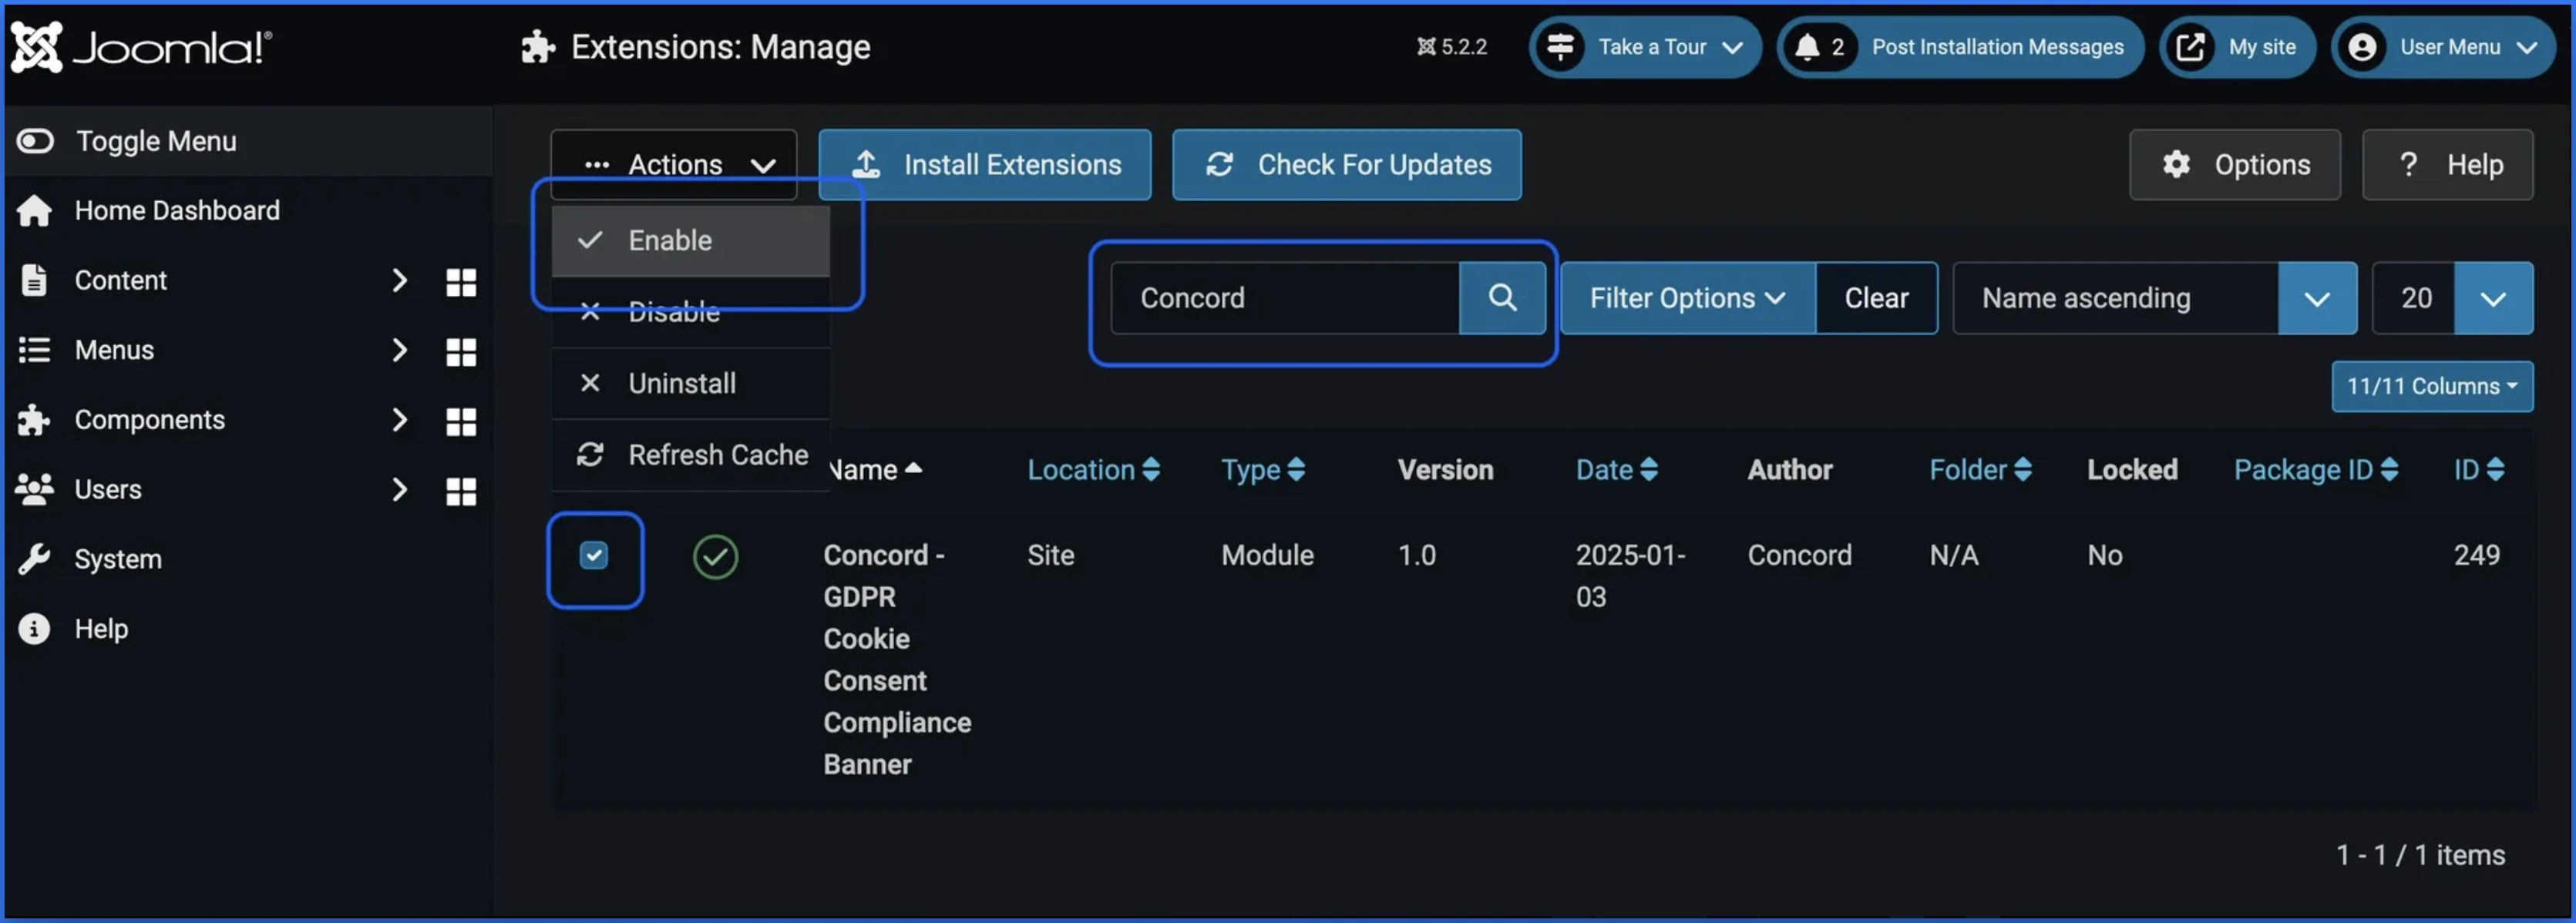
6. Next, navigate to **Content** and then **Site Modules**. Select the **Concord Data Privacy** module and then click **Publish**.
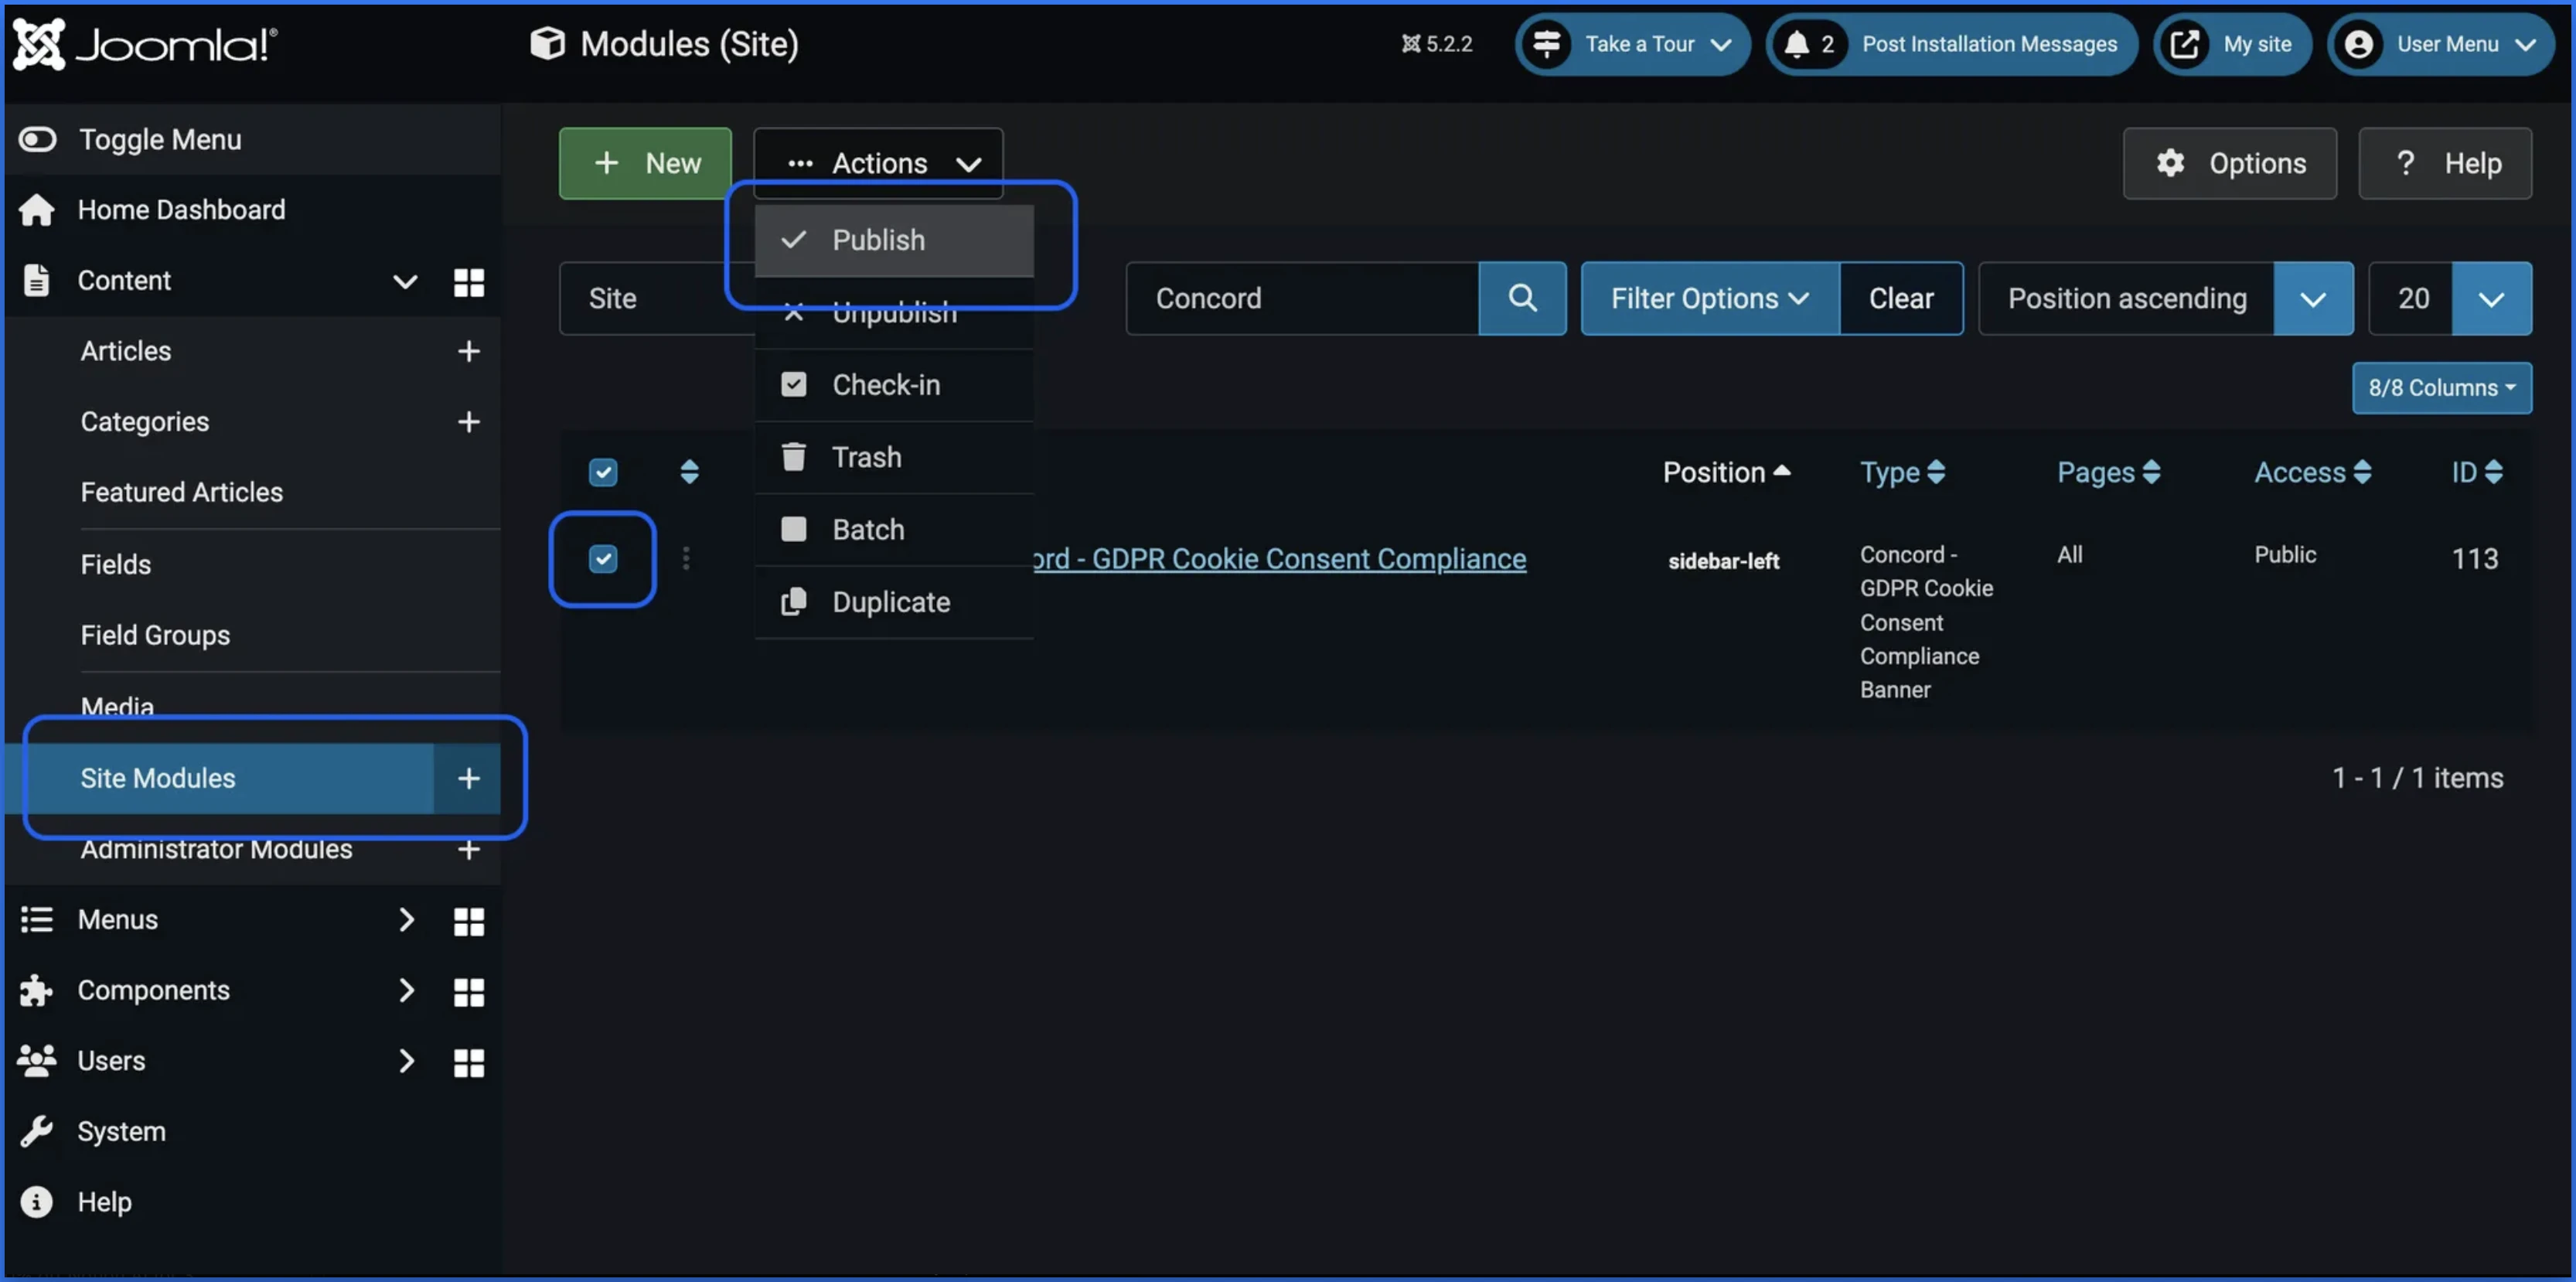
7. Once published, the status should switch to a green checkmark. You can now click on the title to navigate to the app settings.
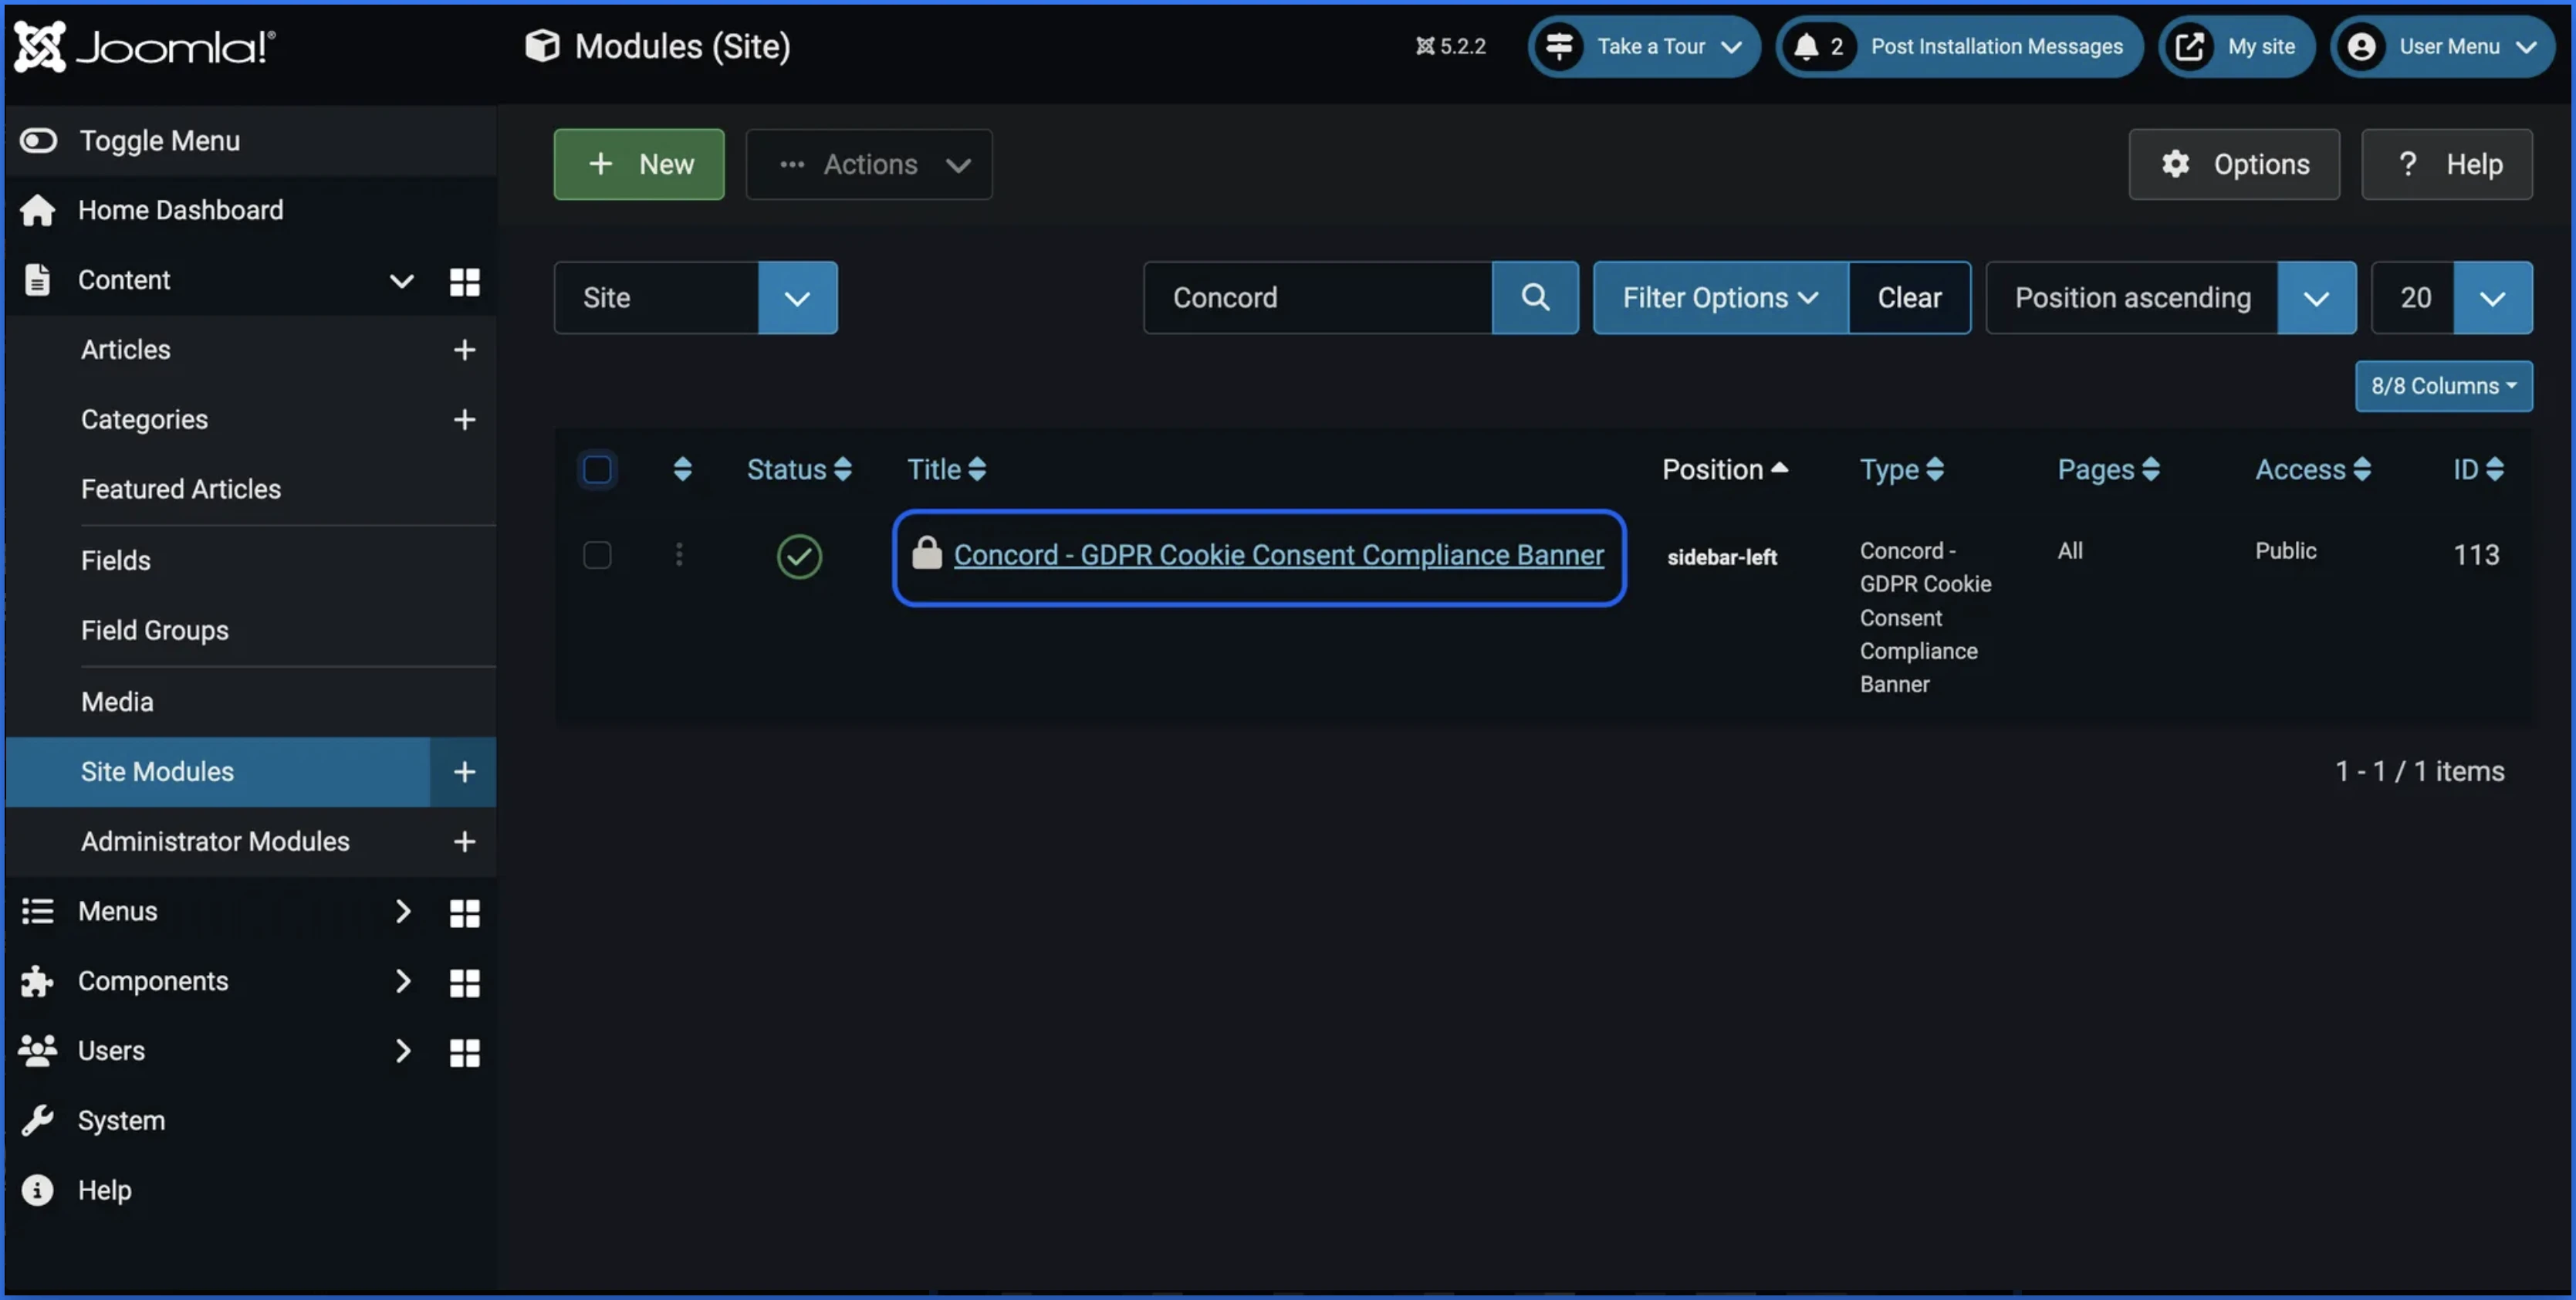
8. To create the connection between Concord and your Joomla! website, you’ll need to navigate to your Concord Admin Portal and copy your unique Project ID. To do this, login to your Concord organization and go to **Deployment → Installation → Install Concord** and copy the Project ID for the project you want to add to Joomla (projects can be changed via the Projects selector in the page header if needed).

9. Go back to the Concord settings page in Joomla!, paste your Project ID, and click **Save**.
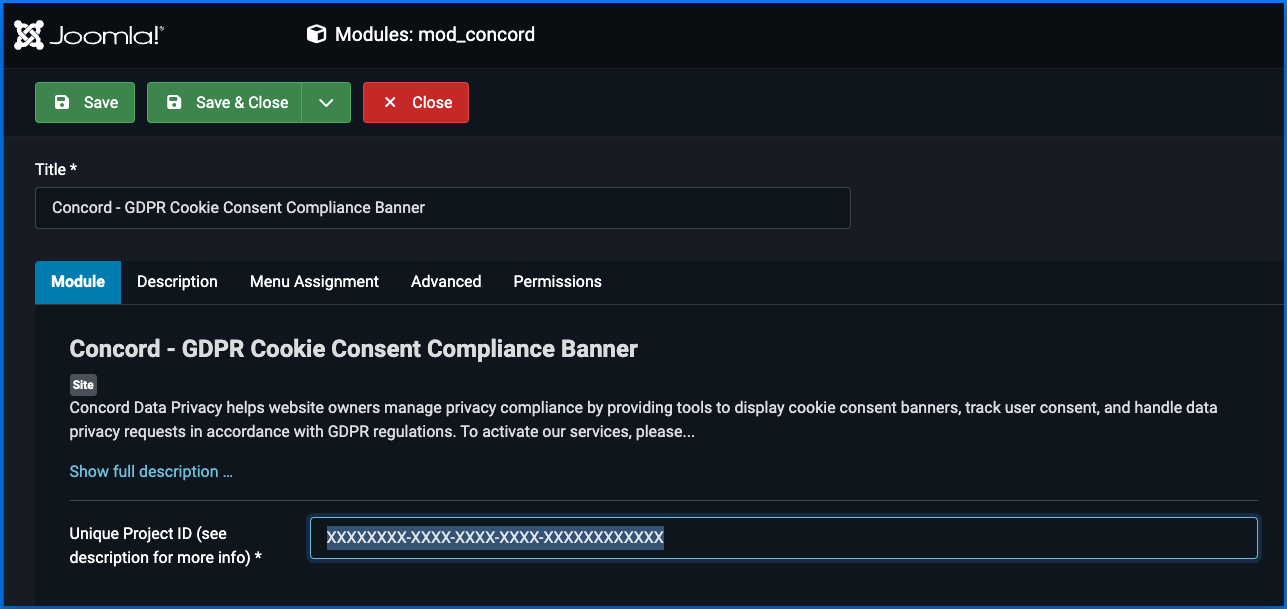
10. Lastly, be sure to enable Concord’s functionalities on all of your site’s pages.

11. Go back to Concord to verify your integration under **Deployment → Installation → Install Concord**. If successfully added and published via Joomla you should see the following:

Congratulations. You have successfully integrated Concord into Joomla and any future changes to your attached project in Concord will be automatically synced to your website.
# Next.js Integration Guide
URL: /docs/next-js-concord-integration-guide
***
title: 'Next.js Integration Guide'
description: 'Step-by-step instructions on how to integrate Concord into a Next.js application'
slug: 'next-js-concord-integration-guide'
featured: false
createdAt: '2024-12-02T11:49:16.811Z'
updatedAt: '2025-07-23T06:04:40.175Z'
publishedAt: '2025-07-24T23:40:57.257Z'
topic: 'integrations'
---------------------
## Overview
Welcome to our guide on integrating Concord into a Next.js application. We make it easy to integrate Concord into your Next.js applications in just a few minutes and this guide will help you get up and running quickly. This guide includes the following information:
* Initial Concord configuration.
* Google Consent Mode V2 configuration.
* Integrating Concord into a Next.js application.
## Getting Started With Concord
As part of the initial onboarding process that occurs when you set up a new organization or project in Concord, you will be able to choose your preferred consent settings, including the Consent Mode (Implied vs. Express), the Blocking mode (how trackers like cookies, scripts, iFrames, etc. are processed and blocked), the Google Consent Mode V2 setting, the Consent Duration (how long consent lasts), and other options (Sensitive Information consent, Do Not Sell, Global Privacy Control, etc.).
During that process, we provide sensible defaults that are recommended as the default global settings, but those settings can always be adjusted and additional regions can also be added and customized later in all paid plans.
For more details on this process or to complete it for the first time, please follow the instructions in this guide: [Getting Started](/docs)
If you utilize Google services like Google Analytics, Google Tag Manager, or Google Ads, we also recommend configuring and verifying Google Consent Mode V2, which allows you to adjust how and when data is shared with Google based on user consent collected via the Concord Consent Banner & Privacy Center.
To learn more about Google Consent Mode V2 and the recommended settings, please refer to this document: [Understanding & Configuring Google Consent Mode (GCM) V2](/docs/google-understanding-configuring-google-consent-mode-gcm-v2)
## Integrating Concord Into a Next.js Application
The final step is to Integrate Concord into your Next.js application, which typically takes just a few minutes. Please follow the instructions below to complete this part of the process using the latest version of Next.js and the app router:
1. Login to your Concord organization and go to **Deployment → Installation → Install Concord** and locate and copy the Project ID for the project you want to add to your Next.js application (projects can be changed via the Projects selector in the page header if needed).
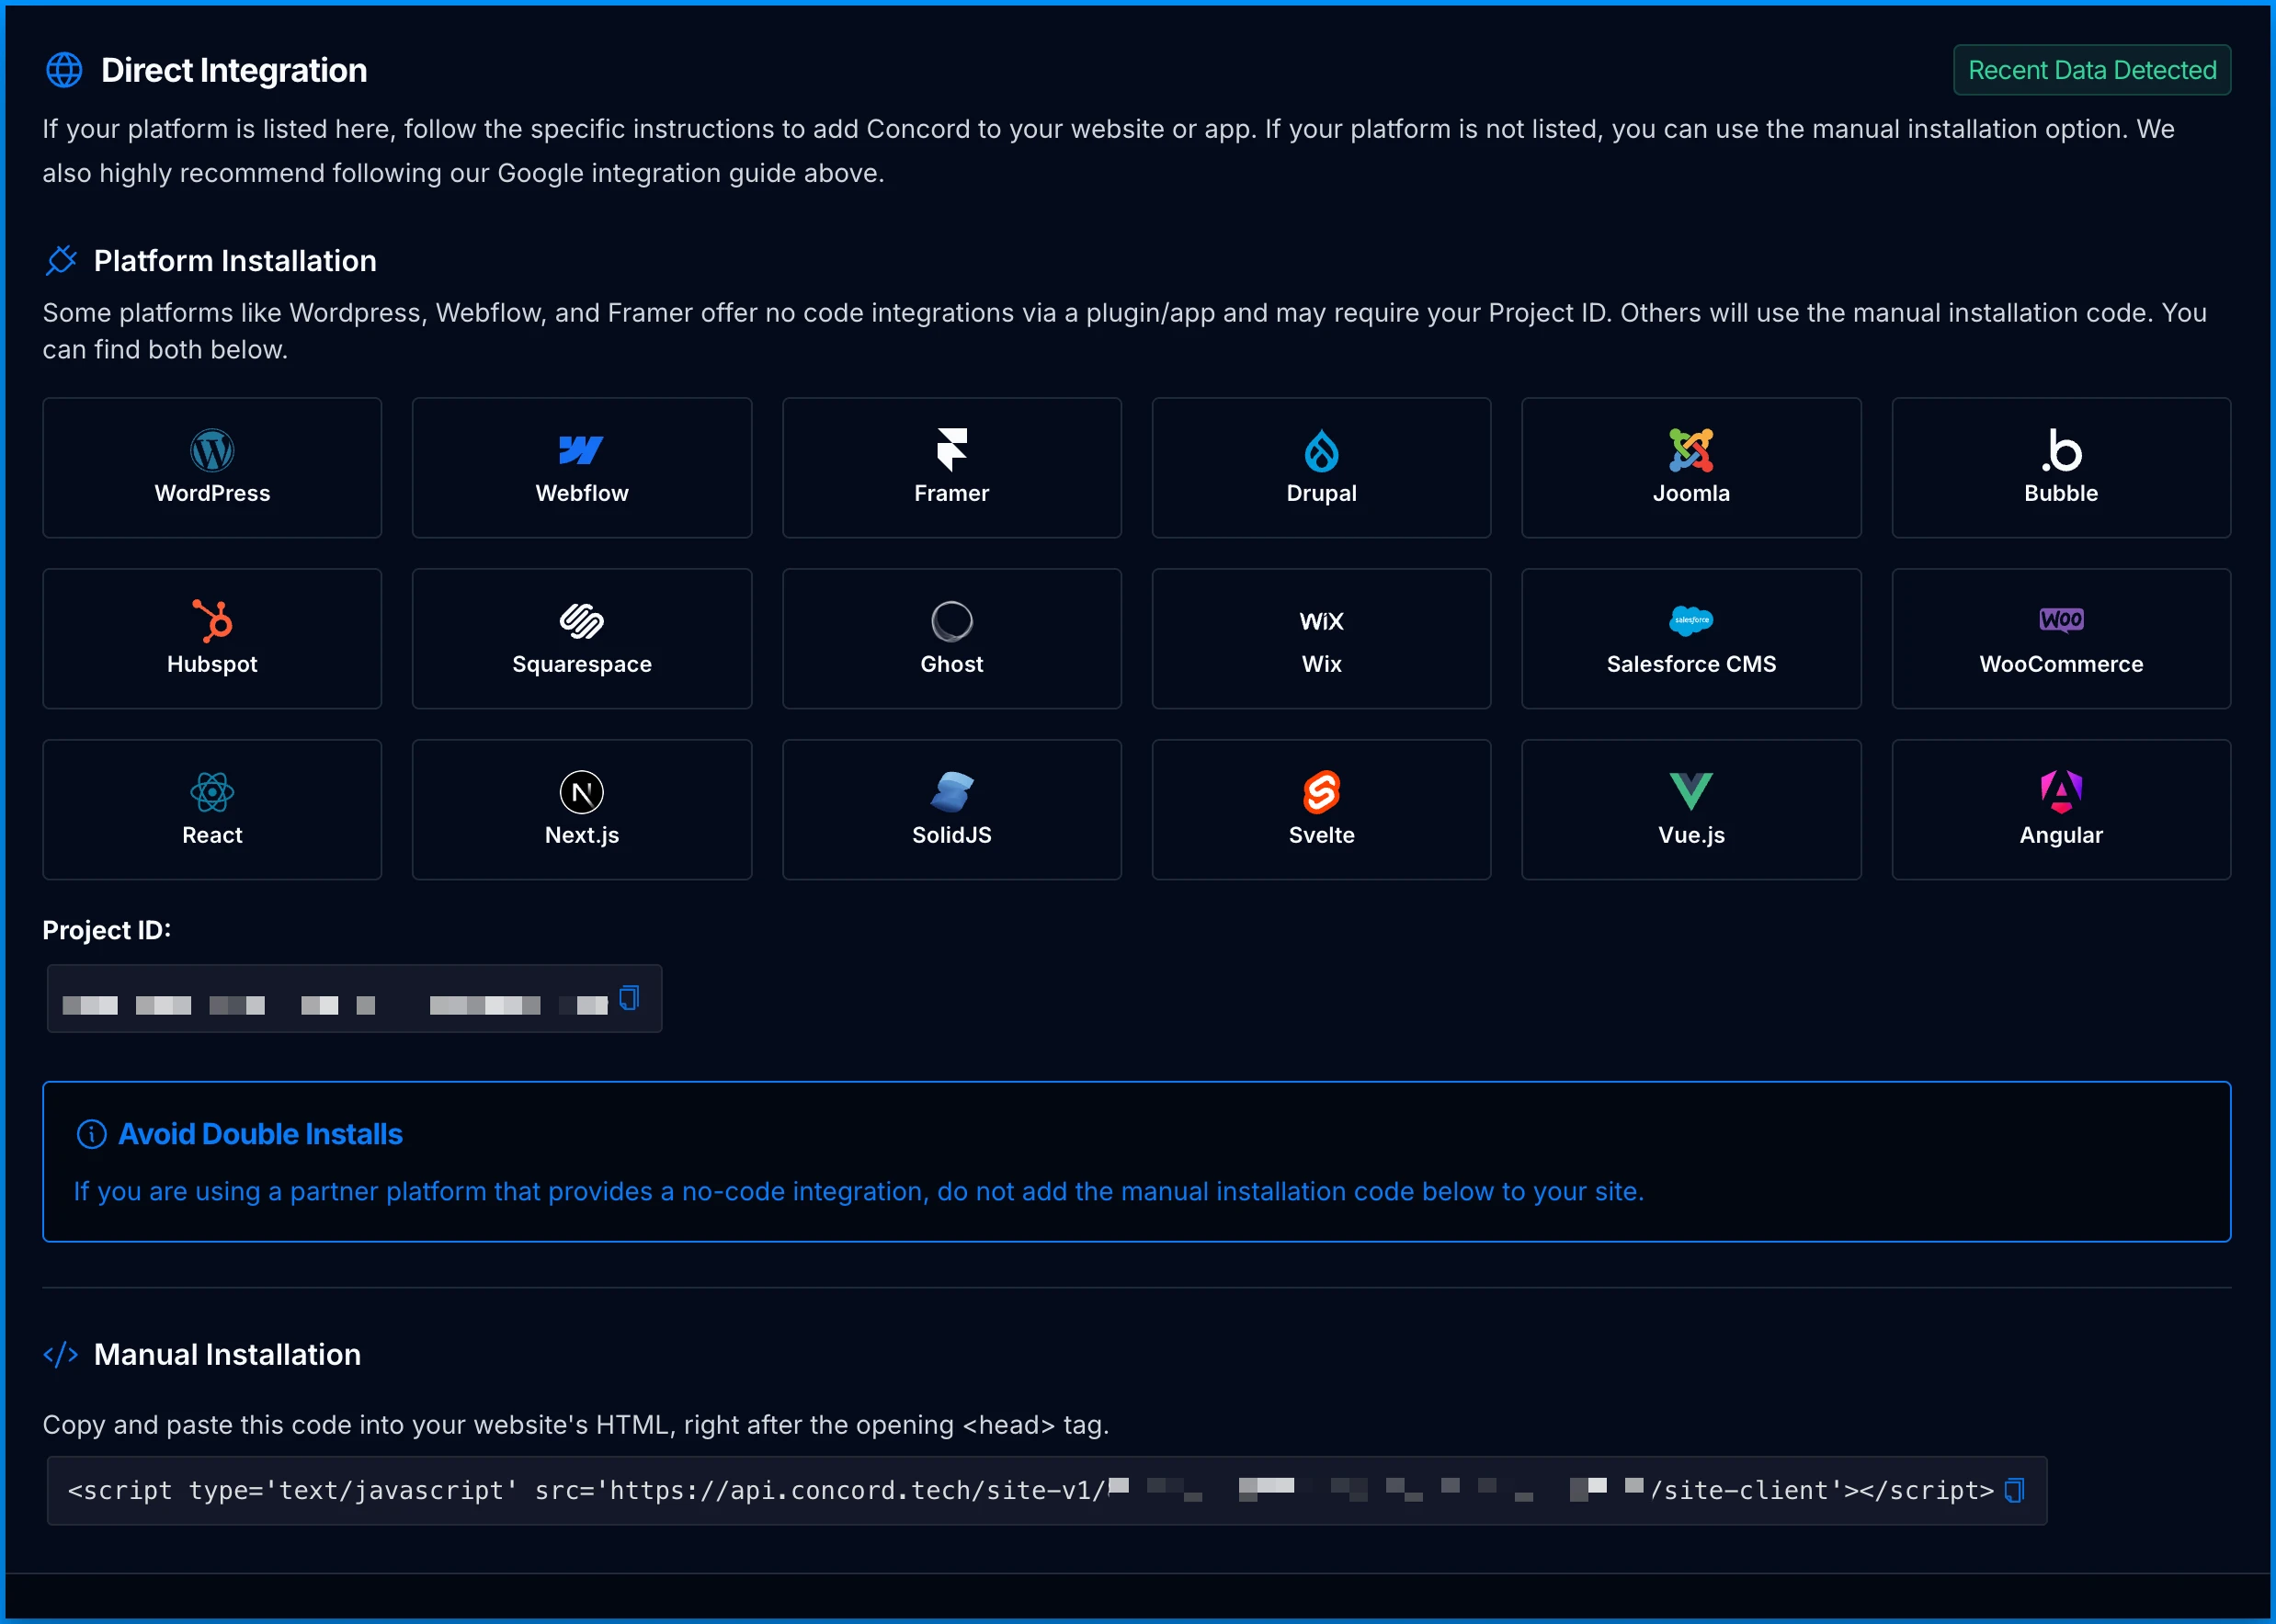
2. In your Next.js application open your **layout.tsx/layout.js** file. In this example, we have created a standard Next.js application via Create Next App so the file is in the root of the app folder.
3. Choose how to load Concord. We recommend a plain script at the top of your root layout's ``, the same way Concord installs on every other platform. Concord's automatic blocking works with every option below. The earlier Concord loads, the more trackers it can catch before they send a request, so loading it first gives you the best coverage. Next.js also offers two `next/script` options, covered under [Other Loading Options](#other-loading-options):
| Option | When Concord loads | Automatic blocking |
| -------------------------------------- | ----------------------------- | --------------------------------------------------------------------------------------------------------- |
| Plain script in `` (recommended) | Before your other scripts | Best coverage |
| `next/script` with `beforeInteractive` | As Next.js starts the page | Strong coverage; scripts that run earlier may send a request first |
| `next/script` with `afterInteractive` | After the page is interactive | Still active; gate your other scripts on Concord or load them through Google Tag Manager for best results |
4. Add the Concord script to the `` of your root layout (`app/layout.tsx`), using the Project ID you copied above:
```tsx title="app/layout.tsx"
export default function RootLayout({
children,
}: {
children: React.ReactNode;
}) {
return (
{/* [!code highlight:5] */}
{children}
);
}
```
* Note: keep it first in ``, above any other script, and don't add `async` or `defer`, so Concord loads before your other scripts.
* Note: store the ID you copied above in an environment variable (for example `NEXT_PUBLIC_CONCORD_ID`) rather than hardcoding it. In Next.js the `NEXT_PUBLIC_` prefix is what exposes the value to the browser.
* Note: if your project uses `eslint-config-next`, its `@next/next/no-sync-scripts` rule flags this line. Add `{/* eslint-disable-next-line @next/next/no-sync-scripts */}` on the line above the script.
* Note: in most cases no further work is required. Concord automatically detects and blocks most common marketing, analytics, and advertising trackers, including scripts that dynamically inject other scripts via `document.createElement`. Occasionally an inline or problematic script fires a network request before Concord can intercept it and needs additional handling; wrap it using the [Manually Blocking Trackers Before Consent](/docs/manually-blocking-trackers-before-consent) guide.
* Note: if you load third-party tags through Google Tag Manager, you can also gate them on consent inside GTM using Concord's Google Consent Mode V2 integration. See [Conditionally Load Third-Party Tags in GTM](/docs/google-conditionally-loading-third-party-tags-in-gtm).
### Other Loading Options
If you prefer Next.js's `next/script` component, Concord works with either of these strategies. Import `Script` first:
```typescript
import Script from 'next/script';
```
#### `beforeInteractive`
Next.js suggests `beforeInteractive` for consent managers. Concord loads as Next.js starts the page, ahead of scripts you add with the other `next/script` strategies.
```typescript
```
* Note: `beforeInteractive` only works from the root layout (`app/layout.tsx`), not an individual page. See the [Next.js Script docs](https://nextjs.org/docs/app/api-reference/components/script#beforeinteractive).
* Note: keep the preconnect from step 4 in your ``.
#### `afterInteractive`
`afterInteractive` is the Next.js default. It loads Concord once the page is interactive and can live in any page or layout. Choose it when page speed comes first, and gate your other scripts on Concord's `concord-ready` event or load them through Google Tag Manager so Concord's blocking covers them.
```typescript
```
If you are unsure which option fits your setup, [contact support](mailto:support@concord.tech) and we will help you evaluate it.
5. Deploy your application and open it in your browser. Confirm Concord is running: the consent banner appears, or typing `window.concord` in the browser's developer console returns an object.
6. Go back to Concord to verify your integration under **Deployment → Installation → Install Concord**. If successfully added and deployed, you should see "Recent Data Detected" in the upper right corner of the Direct Integrations section:
Congratulations. You have successfully integrated Concord into your Next.js application and any future changes to your attached project in Concord will be automatically synced to your application.
# React Integration Guide
URL: /docs/react-concord-integration-guide
***
title: 'React Integration Guide'
description: 'Step-by-step instructions on how to integrate Concord into a React application'
slug: 'react-concord-integration-guide'
featured: false
createdAt: '2024-12-02T09:54:58.264Z'
updatedAt: '2025-07-23T05:20:16.385Z'
publishedAt: '2025-07-24T23:40:57.257Z'
topic: 'integrations'
---------------------
## Overview
Welcome to our guide on integrating Concord into a React application. We make it easy to integrate Concord into your React applications in just a few minutes and this guide will help you get up and running quickly. This guide includes the following information:
* Initial Concord configuration.
* Google Consent Mode V2 configuration.
* Integrating Concord into a React application.
## Getting Started With Concord
As part of the initial onboarding process that occurs when you set up a new organization or project in Concord, you will be able to choose your preferred consent settings, including the Consent Mode (Implied vs. Express), the Blocking mode (how trackers like cookies, scripts, iFrames, etc. are processed and blocked), the Google Consent Mode V2 setting, the Consent Duration (how long consent lasts), and other options (Sensitive Information consent, Do Not Sell, Global Privacy Control, etc.).
During that process, we provide sensible defaults that are recommended as the default global settings, but those settings can always be adjusted and additional regions can also be added and customized later in all paid plans.
For more details on this process or to complete it for the first time, please follow the instructions in this guide: [Getting Started](/docs)
If you utilize Google services like Google Analytics, Google Tag Manager, or Google Ads, we also recommend configuring and verifying Google Consent Mode V2, which allows you to adjust how and when data is shared with Google based on user consent collected via the Concord Consent Banner & Privacy Center.
To learn more about Google Consent Mode V2 and the recommended settings, please refer to this document: [Understanding & Configuring Google Consent Mode (GCM) V2](/docs/google-understanding-configuring-google-consent-mode-gcm-v2)
## Integrating Concord Into a React Application
The final step is to Integrate Concord into your React application, which typically takes just a few minutes. Please follow the instructions below to complete this part of the process:
1. Login to your Concord organization and go to **Deployment → Installation → Install Concord** and copy the Concord script for the project you want to add to your React application (projects can be changed via the Projects selector in the page header if needed).

2. In your React application open your index.html file. In this example, we have created a standard React application via Vite so the file is at the root of the project.
3. Paste the Concord script code you copied above at the top of the head section right below the opening \ tag.
* Note: The Concord script should always go above any other custom code to ensure that Concord runs first.
* Note: Concord code should be placed exactly as copied above. Adding async or defer to the code can cause issues with compliance due to timing.

4. Deploy your application and ensure that the Concord script tag shows up in the source code.
5. Go back to Concord to verify your integration under **Deployment → Installation → Install Concord**. If successfully added and deployed, you should see the following:
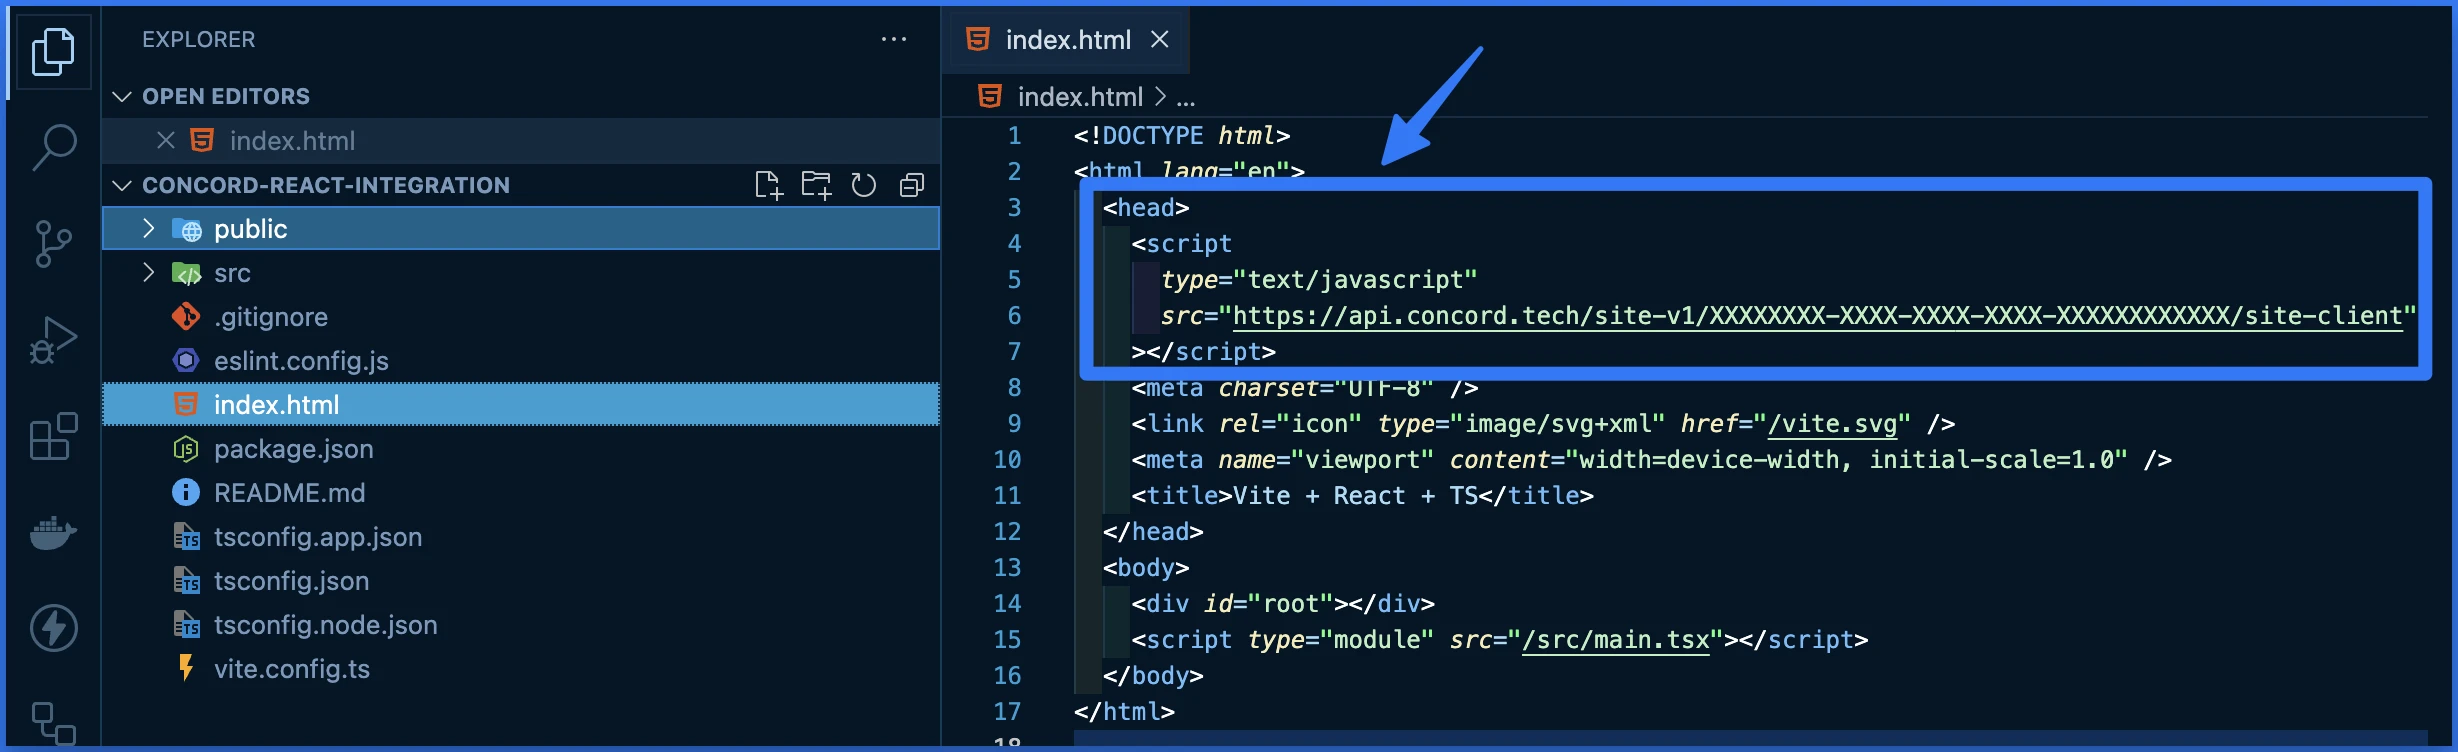
Congratulations. You have successfully integrated Concord into your React application and any future changes to your attached project in Concord will be automatically synced to your application.
# Salesforce CMS Integration Guide
URL: /docs/salesforce-cms-concord-integration-guide
***
title: 'Salesforce CMS Integration Guide'
description: 'Step-by-step instructions on how to integrate Concord via Salesforce.'
slug: 'salesforce-cms-concord-integration-guide'
topic: 'integrations'
created: '2024-12-02T06:17:20.000Z'
updated: '2025-07-23T05:18:59.000Z'
-----------------------------------
## Overview
Welcome to our guide on integrating Concord into Salesforce. We make it easy to integrate Concord into your Salesforce CMS in just a few minutes and this guide will help you get up and running quickly. This guide includes the following information:
* Initial Concord configuration.
* Google Consent Mode V2 configuration.
* Integrating Concord into Salesforce.
## Getting Started With Concord
As part of the initial onboarding process that occurs when you set up a new organization or project in Concord, you will be able to choose your preferred consent settings, including the Consent Mode (Implied vs. Express), the Blocking mode (how trackers like cookies, scripts, iFrames, etc. are processed and blocked), the Google Consent Mode V2 setting, the Consent Duration (how long consent lasts), and other options (Sensitive Information consent, Do Not Sell, Global Privacy Control, etc.).
During that process, we provide sensible defaults that are recommended as the default global settings, but those settings can always be adjusted and additional regions can also be added and customized later in all paid plans.
For more details on this process or to complete it for the first time, please follow the instructions in this guide: [Getting Started](/docs)
If you utilize Google services like Google Analytics, Google Tag Manager, or Google Ads, we also recommend configuring and verifying Google Consent Mode V2, which allows you to adjust how and when data is shared with Google based on user consent collected via the Concord Consent Banner & Privacy Center.
To learn more about Google Consent Mode V2 and the recommended settings, please refer to this document: [Understanding & Configuring Google Consent Mode (GCM) V2](/docs/google-understanding-configuring-google-consent-mode-gcm-v2)
## Integrating Concord Into Salesforce CMS
The final step is to Integrate Concord into your Salesforce CMS, which typically takes just a few minutes. Please follow the instructions below to complete this part of the process:
1. Login to your Concord organization and go to **Deployment → Installation → Install Concord** and copy the Concord script for the project you want to add to Salesforce (projects can be changed via the Projects selector on this page if needed).

2. Login to the administration portal in Salesforce.
3. In the Scripts section of the Properties pane, click **Configure** in the Edit Head Markup section.
* Note: For more details on this full process in Salesforce, you can also refer to the following document: [https://help.salesforce.com/s/articleView?id=platform.siteforce\_code\_custom.htm\&type=5](https://help.salesforce.com/s/articleView?id=platform.siteforce_code_custom.htm\&type=5).
4. Add the Concord code you copied above in the Edit HTML Code dialog box.
* Note: The Concord script should always go above any other custom code to ensure that Concord runs first.
* Note: Concord code should be placed exactly as copied above. Adding async or defer to the code can cause issues with compliance due to timing.
5. Click **Save and Close** to insert the markup into the page head.
6. Go back to Concord to verify your integration under **Deployment → Installation → Install Concord**. If successfully added and published via Salesforce, you should see the **Recent Data Detected** indicator in the top right corner of the Integrations window:

Congratulations. You have successfully integrated Concord into Salesforce and any future changes to your attached project in Concord will be automatically synced to your website.
# Solid JS Integration Guide
URL: /docs/solid-js-concord-integration-guide
***
title: 'Solid JS Integration Guide'
description: 'Step-by-step instructions on how to integrate Concord into a Solid JS application'
slug: 'solid-js-concord-integration-guide'
topic: 'integrations'
created: '2024-12-02T10:46:55.000Z'
updated: '2025-07-23T05:20:38.000Z'
-----------------------------------
## Overview
Welcome to our guide on integrating Concord into a Solid JS application. We make it easy to integrate Concord into your Solid JS applications in just a few minutes and this guide will help you get up and running quickly. This guide includes the following information:
* Initial Concord configuration.
* Google Consent Mode V2 configuration.
* Integrating Concord into a Solid JS application.
## Getting Started With Concord
As part of the initial onboarding process that occurs when you set up a new organization or project in Concord, you will be able to choose your preferred consent settings, including the Consent Mode (Implied vs. Express), the Blocking mode (how trackers like cookies, scripts, iFrames, etc. are processed and blocked), the Google Consent Mode V2 setting, the Consent Duration (how long consent lasts), and other options (Sensitive Information consent, Do Not Sell, Global Privacy Control, etc.).
During that process, we provide sensible defaults that are recommended as the default global settings, but those settings can always be adjusted and additional regions can also be added and customized later in all paid plans.
For more details on this process or to complete it for the first time, please follow the instructions in this guide: [Getting Started](/docs)
If you utilize Google services like Google Analytics, Google Tag Manager, or Google Ads, we also recommend configuring and verifying Google Consent Mode V2, which allows you to adjust how and when data is shared with Google based on user consent collected via the Concord Consent Banner & Privacy Center.
To learn more about Google Consent Mode V2 and the recommended settings, please refer to this document: [Understanding & Configuring Google Consent Mode (GCM) V2](/docs/google-understanding-configuring-google-consent-mode-gcm-v2)
## Integrating Concord Into a Solid JS Application
The final step is to Integrate Concord into your Solid JS application, which typically takes just a few minutes. Please follow the instructions below to complete this part of the process:
1. Login to your Concord organization and go to **Deployment → Installation → Install Concord** and copy the Concord script for the project you want to add to your Solid JS application (projects can be changed via the Projects selector in the page header if needed).

2. In your Solid JS application open your index.html file. In this example, we have created a standard Solid JS application via Vite so the file is at the root of the project.
3. Paste the Concord script code you copied above at the top of the head section right below the opening \ tag.
* Note: The Concord script should always go above any other custom code to ensure that Concord runs first.
* Note: Concord code should be placed exactly as copied above. Adding async or defer to the code can cause issues with compliance due to timing.
4. Deploy your application and ensure that the Concord script tag shows up in the source code.
5. Go back to Concord to verify your integration under **Deployment → Installation → Install Concord**. If successfully added and deployed, you should see "Recent Data Detected" in the upper right corner of the Direct Integrations section:

Congratulations. You have successfully integrated Concord into your Solid JS application and any future changes to your attached project in Concord will be automatically synced to your application.
# Squarespace Integration Guide
URL: /docs/squarespace-concord-integration-guide
***
title: 'Squarespace Integration Guide'
description: 'Step-by-step instructions on how to integrate Concord via Squarespace'
slug: 'squarespace-concord-integration-guide'
topic: 'integrations'
created: '2024-12-02T07:33:56.000Z'
updated: '2025-07-23T05:19:35.000Z'
-----------------------------------
## Overview
Welcome to our guide on integrating Concord into Squarespace. We make it easy to integrate Concord into your Squarespace website in just a few minutes and this guide will help you get up and running quickly. This guide includes the following information:
* Initial Concord configuration.
* Google Consent Mode V2 configuration.
* Integrating Concord into Squarespace.
## Getting Started With Concord
As part of the initial onboarding process that occurs when you set up a new organization or project in Concord, you will be able to choose your preferred consent settings, including the Consent Mode (Implied vs. Express), the Blocking mode (how trackers like cookies, scripts, iFrames, etc. are processed and blocked), the Google Consent Mode V2 setting, the Consent Duration (how long consent lasts), and other options (Sensitive Information consent, Do Not Sell, Global Privacy Control, etc.).
During that process, we provide sensible defaults that are recommended as the default global settings, but those settings can always be adjusted and additional regions can also be added and customized later in all paid plans.
For more details on this process or to complete it for the first time, please follow the instructions in this guide: [Getting Started](/docs)
If you utilize Google services like Google Analytics, Google Tag Manager, or Google Ads, we also recommend configuring and verifying Google Consent Mode V2, which allows you to adjust how and when data is shared with Google based on user consent collected via the Concord Consent Banner & Privacy Center.
To learn more about Google Consent Mode V2 and the recommended settings, please refer to this document: [Understanding & Configuring Google Consent Mode (GCM) V2](/docs/google-understanding-configuring-google-consent-mode-gcm-v2)
## Integrating Concord Into Squarespace
The final step is to Integrate Concord into Squarespace, which can typically be done in just a few minutes. Please follow the instructions below to complete this part of the process:
1. Login to your Concord organization and go to **Deployment → Installation → Install Concord** and copy the Concord script for the project you want to add to Squarespace(projects can be changed via the Projects selector in the page header if needed).

2. Login to your Squarespace account.
3. Open the [Code Injection panel](https://account.squarespace.com/project-picker?client_id=helpcenter\&redirect_url=%2Fpages%2Fwebsite-tools%2Fcode-injection).
* Note: Code injection is a [Premium Feature](https://support.squarespace.com/hc/articles/115015517328) in Squarespace that is only available in Business and Commerce plans.
4. Add the Concord code you copied above via the [header](https://support.squarespace.com/hc/en-us/articles/205815908-Using-code-injection?platform=v6\&websiteId=6629b53063dbf745dde6bbe4#header) **Code Injection** field.
* Note: The Concord script should always go above any other custom code to ensure that Concord runs first.
* Note: Concord code should be placed exactly as copied above. Adding async or defer to the code can cause issues with compliance due to timing.
5. After adding your code, click **Save**.
6. Go back to Concord to verify your integration under **Deployment → Installation → Install Concord**. If successfully added and published via Squarespace you should see the following:

Congratulations. You have successfully integrated Concord into Squarespace and any future changes to your attached project in Concord will be automatically synced to your website.
# Svelte Integration Guide
URL: /docs/svelte-concord-integration-guide
***
title: 'Svelte Integration Guide'
description: 'Step-by-step instructions on how to integrate Concord into a Svelte application'
slug: 'svelte-concord-integration-guide'
topic: 'integrations'
created: '2024-12-02T11:23:49.000Z'
updated: '2025-07-23T05:20:58.000Z'
-----------------------------------
## Overview
Welcome to our guide on integrating Concord into a Svelte application. We make it easy to integrate Concord into your Svelte applications in just a few minutes and this guide will help you get up and running quickly. This guide includes the following information:
* Initial Concord configuration.
* Google Consent Mode V2 configuration.
* Integrating Concord into a Svelte application.
## Getting Started With Concord
As part of the initial onboarding process that occurs when you set up a new organization or project in Concord, you will be able to choose your preferred consent settings, including the Consent Mode (Implied vs. Express), the Blocking mode (how trackers like cookies, scripts, iFrames, etc. are processed and blocked), the Google Consent Mode V2 setting, the Consent Duration (how long consent lasts), and other options (Sensitive Information consent, Do Not Sell, Global Privacy Control, etc.).
During that process, we provide sensible defaults that are recommended as the default global settings, but those settings can always be adjusted and additional regions can also be added and customized later in all paid plans.
For more details on this process or to complete it for the first time, please follow the instructions in this guide: [Getting Started](/docs)
If you utilize Google services like Google Analytics, Google Tag Manager, or Google Ads, we also recommend configuring and verifying Google Consent Mode V2, which allows you to adjust how and when data is shared with Google based on user consent collected via the Concord Consent Banner & Privacy Center.
To learn more about Google Consent Mode V2 and the recommended settings, please refer to this document: [Understanding & Configuring Google Consent Mode (GCM) V2](/docs/google-understanding-configuring-google-consent-mode-gcm-v2)
## Integrating Concord Into a Svelte Application
The final step is to Integrate Concord into your Svelte application, which typically takes just a few minutes. Please follow the instructions below to complete this part of the process:
1. Login to your Concord organization and go to **Deployment → Installation → Install Concord** and copy the Concord script for the project you want to add to your Svelte application (projects can be changed via the Projects selector in the page header if needed).

2. In your Svelte application open your index.html file. In this example, we have created a standard Svelte application via Vite so the file is at the root of the project.
3. Paste the Concord script code you copied above at the top of the head section right below the opening \ tag.
* Note: The Concord script should always go above any other custom code to ensure that Concord runs first.- Note: Concord code should be placed exactly as copied above. Adding async or defer to the code can cause issues with compliance due to timing.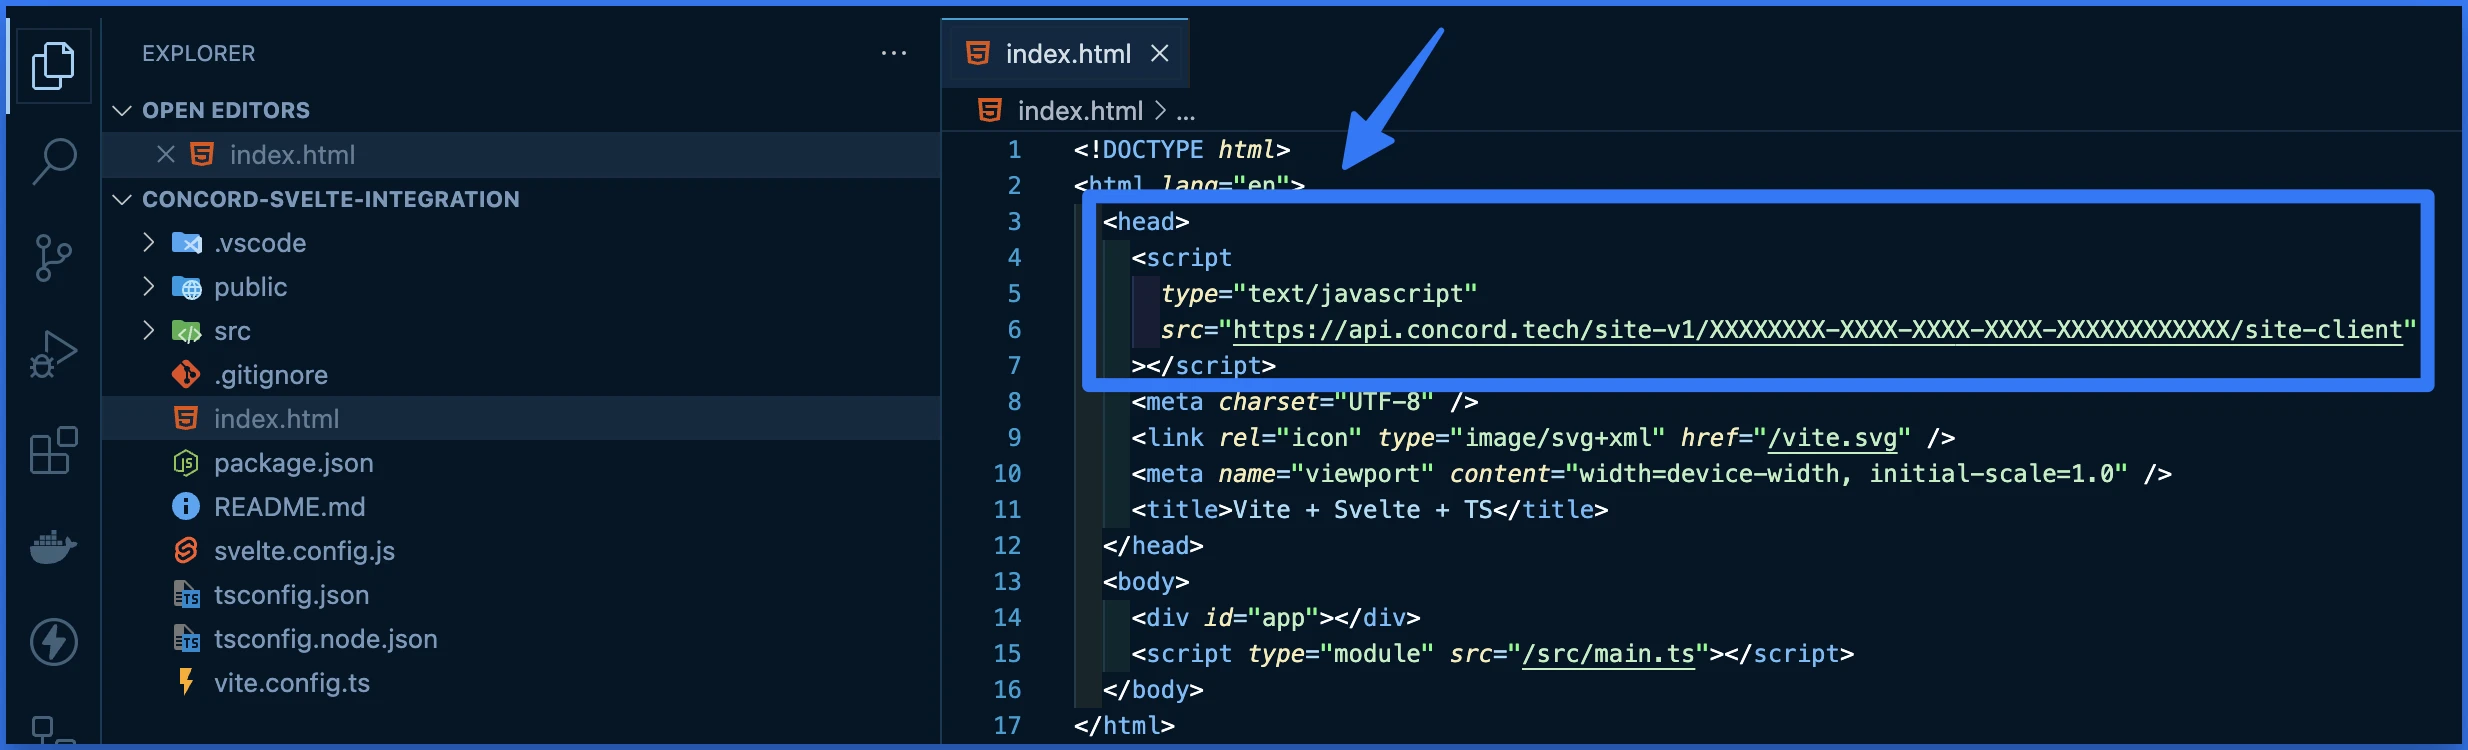
4. Deploy your application and ensure that the Concord script tag shows up in the source code.
5. Go back to Concord to verify your integration under **Deployment → Installation → Install Concord**. If successfully added and deployed, you should see "Recent Data Detected" in the upper right corner of the DirectIntegrations section:

Congratulations. You have successfully integrated Concord into your Svelte application and any future changes to your attached project in Concord will be automatically synced to your application.
# Vue.js Integration Guide
URL: /docs/vue-js-concord-integration-guide
***
title: 'Vue.js Integration Guide'
description: 'Step-by-step instructions on how to integrate Concord into a Vue.js application'
created: '2024-12-02T11:02:31.000Z'
updated: '2025-07-23T05:20:47.000Z'
-----------------------------------
## Overview
Welcome to our guide on integrating Concord into a Vue.js application. We make it easy to integrate Concord into your Vue.js applications in just a few minutes and this guide will help you get up and running quickly. This guide includes the following information:
* Initial Concord configuration.
* Google Consent Mode V2 configuration.
* Integrating Concord into a Vue.js application.
## Getting Started With Concord
As part of the initial onboarding process that occurs when you set up a new organization or project in Concord, you will be able to choose your preferred consent settings, including the Consent Mode (Implied vs. Express), the Blocking mode (how trackers like cookies, scripts, iFrames, etc. are processed and blocked), the Google Consent Mode V2 setting, the Consent Duration (how long consent lasts), and other options (Sensitive Information consent, Do Not Sell, Global Privacy Control, etc.).
During that process, we provide sensible defaults that are recommended as the default global settings, but those settings can always be adjusted and additional regions can also be added and customized later in all paid plans.
For more details on this process or to complete it for the first time, please follow the instructions in this guide: [Getting Started](/docs)
If you utilize Google services like Google Analytics, Google Tag Manager, or Google Ads, we also recommend configuring and verifying Google Consent Mode V2, which allows you to adjust how and when data is shared with Google based on user consent collected via the Concord Consent Banner & Privacy Center.
To learn more about Google Consent Mode V2 and the recommended settings, please refer to this document: [Understanding & Configuring Google Consent Mode (GCM) V2](/docs/google-understanding-configuring-google-consent-mode-gcm-v2)
## Integrating Concord Into a Vue.js Application
The final step is to Integrate Concord into your Vue.js application, which typically takes just a few minutes. Please follow the instructions below to complete this part of the process:
1. Login to your Concord organization and go to **Deployment → Installation → Install Concord** and copy the Concord script for the project you want to add to your Vue.js application (projects can be changed via the Projects selector in the page header if needed).

2. In your Vue.js application open your index.html file. In this example, we have created a standard Vue.js application via Vite so the file is at the root of the project.
3. Paste the Concord script code you copied above at the top of the head section right below the opening \ tag.
* Note: The Concord script should always go above any other custom code to ensure that Concord runs first.- Note: Concord code should be placed exactly as copied above. Adding async or defer to the code can cause issues with compliance due to timing.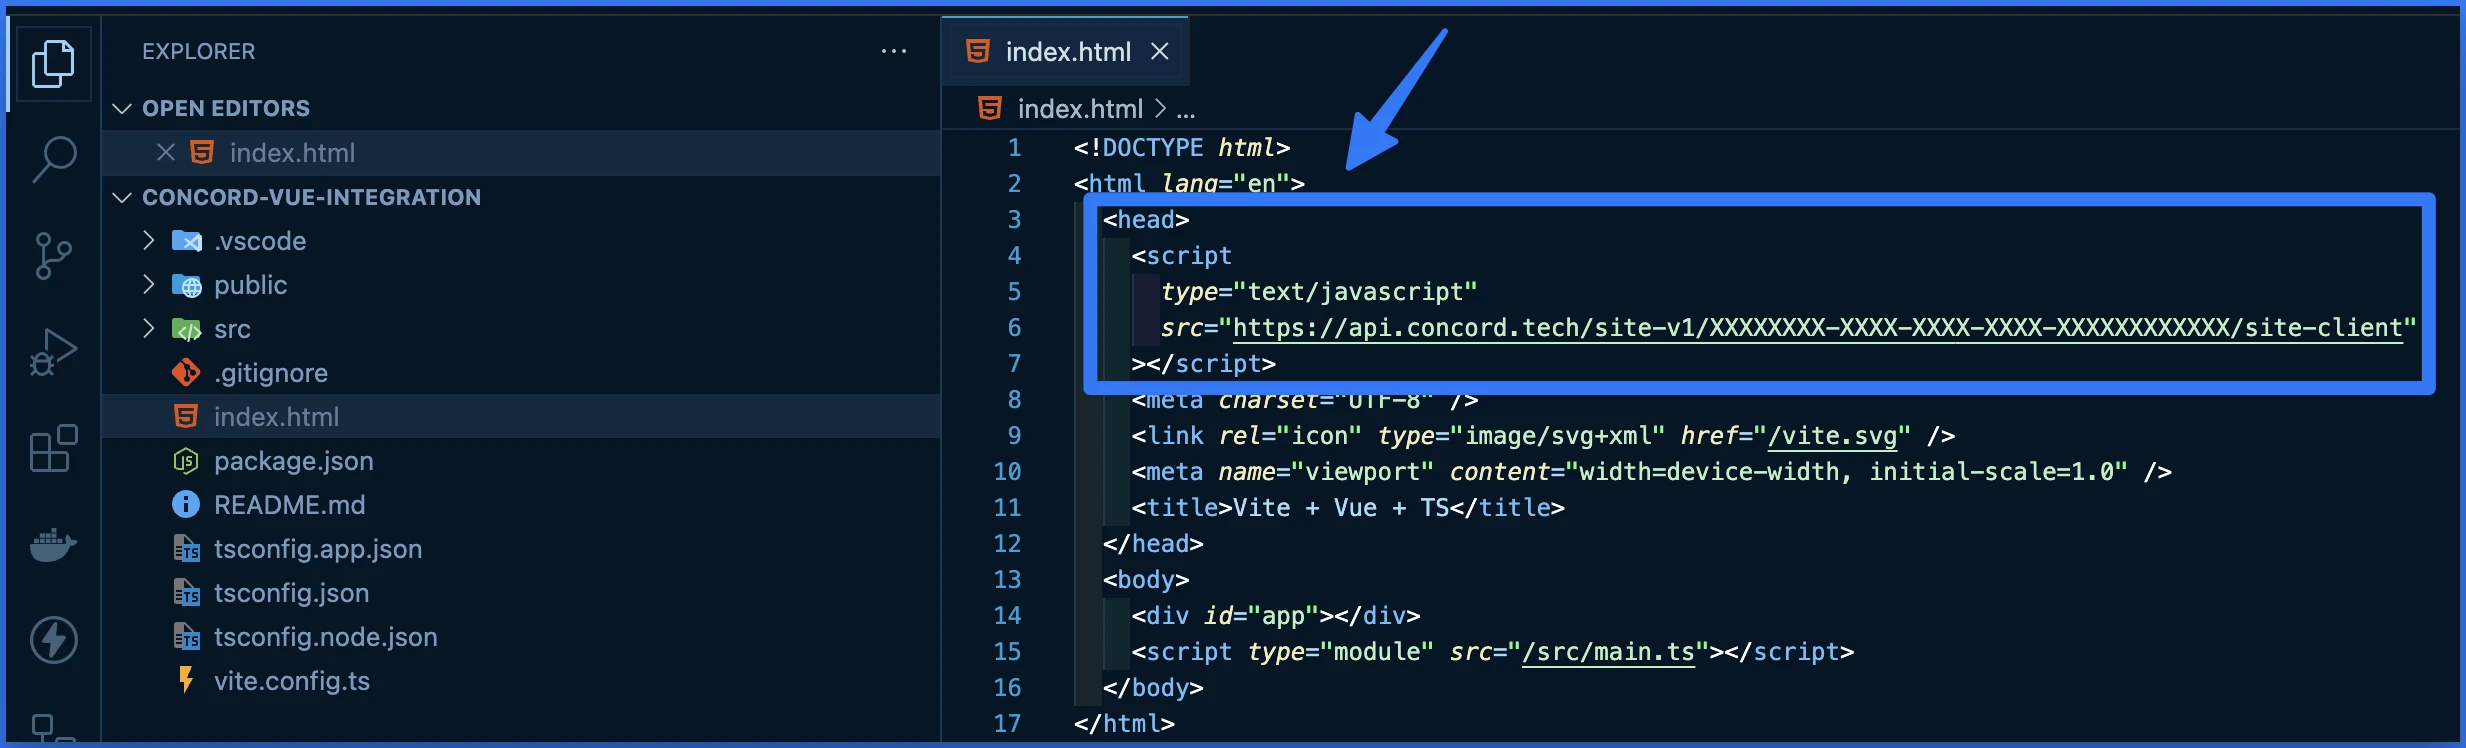
4. Deploy your application and ensure that the Concord script tag shows up in the source code.
5. Go back to Concord to verify your integration under **Deployment → Installation → Install Concord**. If successfully added and deployed, you should see "Recent Data Detected" in the upper right corner of the Direct Integrations section:

Congratulations. You have successfully integrated Concord into your Vue.js application and any future changes to your attached project in Concord will be automatically synced to your application.
# Webflow Integration Guide
URL: /docs/webflow-concord-integration-guide
***
title: 'Webflow Integration Guide'
description: 'Step-by-step instructions on how to integrate Concord via Webflow'
created: '2024-12-02T05:55:39.000Z'
updated: '2025-07-23T05:58:26.000Z'
-----------------------------------
## Overview
Welcome to our guide on integrating Concord into Webflow. We make it easy to integrate Concord into your Webflow website in just a few minutes and this guide will help you get up and running quickly. This guide includes the following information:
* Initial Concord configuration.
* Google Consent Mode V2 configuration.
* Integrating Concord into Webflow.
## Getting Started With Concord
As part of the initial onboarding process that occurs when you set up a new organization or project in Concord, you will be able to choose your preferred consent settings, including the Consent Mode (Implied vs. Express), the Blocking mode (how trackers like cookies, scripts, iFrames, etc. are processed and blocked), the Google Consent Mode V2 setting, the Consent Duration (how long consent lasts), and other options (Sensitive Information consent, Do Not Sell, Global Privacy Control, etc.).
During that process, we provide sensible defaults that are recommended as the default global settings, but those settings can always be adjusted and additional regions can also be added and customized later in all paid plans.
For more details on this process or to complete it for the first time, please follow the instructions in this guide: [Getting Started](/docs)
If you utilize Google services like Google Analytics, Google Tag Manager, or Google Ads, we also recommend configuring and verifying Google Consent Mode V2, which allows you to adjust how and when data is shared with Google based on user consent collected via the Concord Consent Banner & Privacy Center.
To learn more about Google Consent Mode V2 and the recommended settings, please refer to this document: [Understanding & Configuring Google Consent Mode (GCM) V2](/docs/google-understanding-configuring-google-consent-mode-gcm-v2)
# Webflow Configuration Options
## Option 1: Integrating Concord Into Webflow (Webflow Marketplace App)
1. Install the Concord app from the [Webflow Marketplace](https://webflow.com/apps/detail/concord-privacy).
2. Once the app is installed, from the Webflow Dashboard, open the site you want to add Concord to. Navigate to the Apps menu, find Concord in your list of apps, and click Launch. If you will be prompted to sign in to your Concord account.
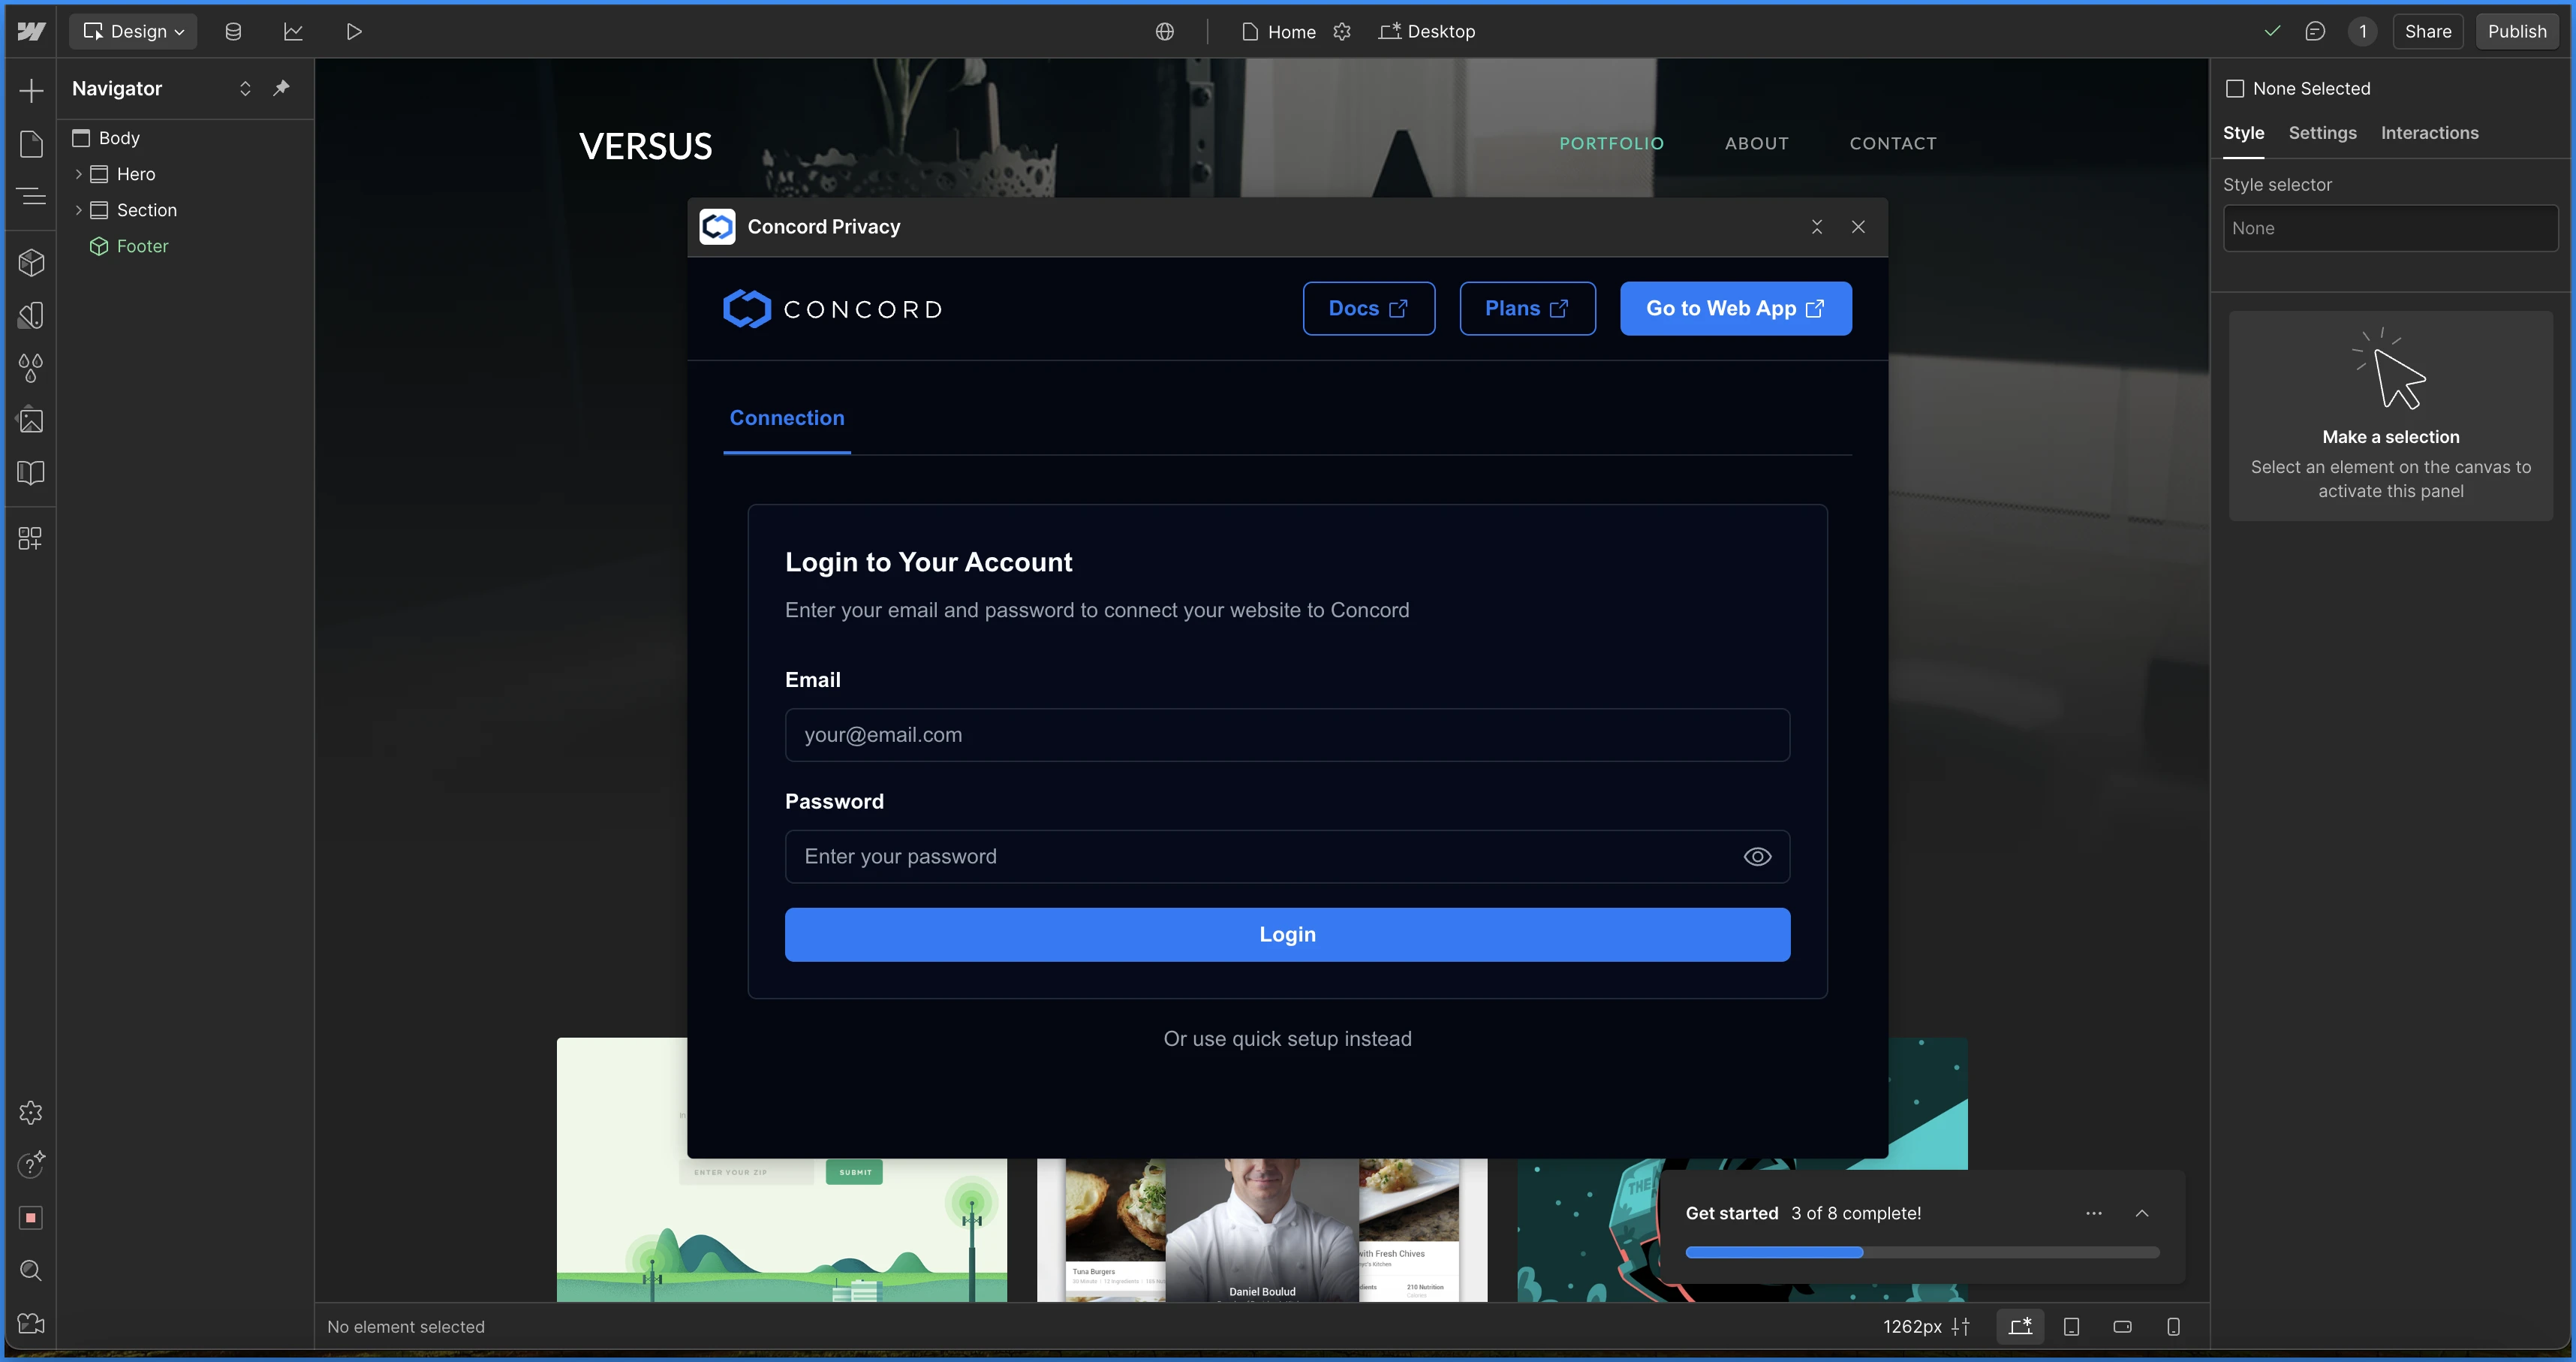
3. Once signed in, you’ll be able to choose the organization and project you want to connect to this website.
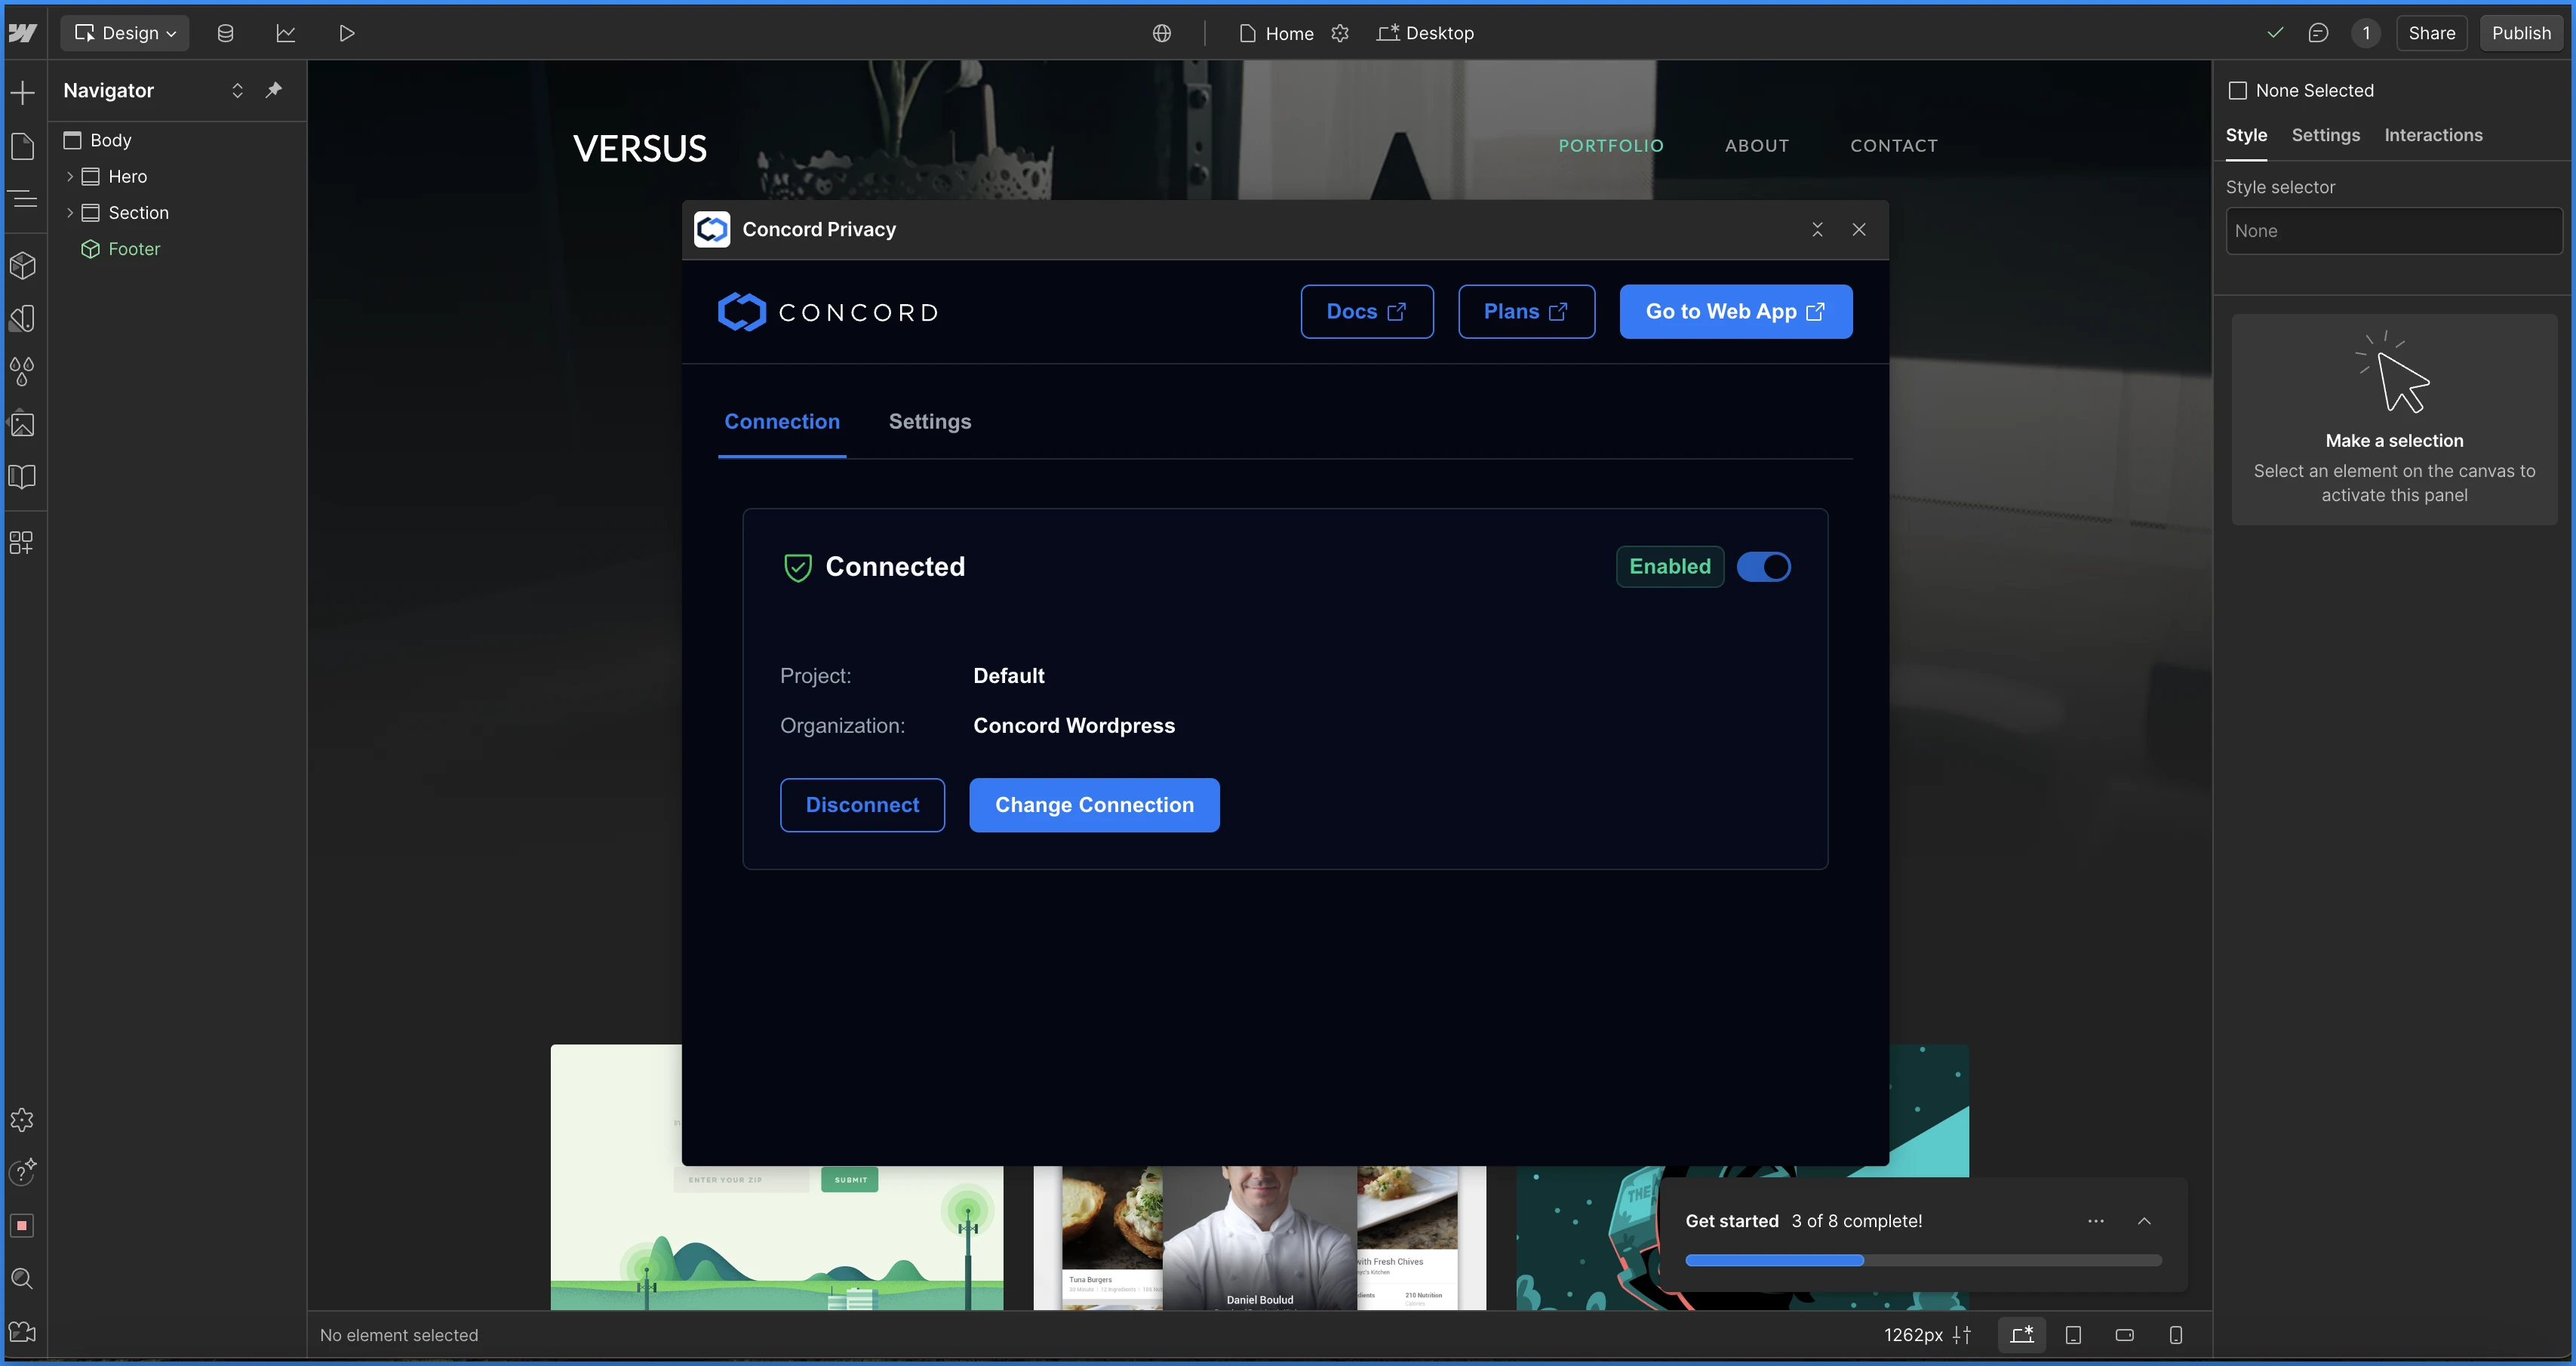
4. Within the Setting section of Concord Webflow app, you’ll now be able to configure your preferences for:
* Consent Settings
* Branding
* Consent Banner
* Floating Button
* Privacy Center
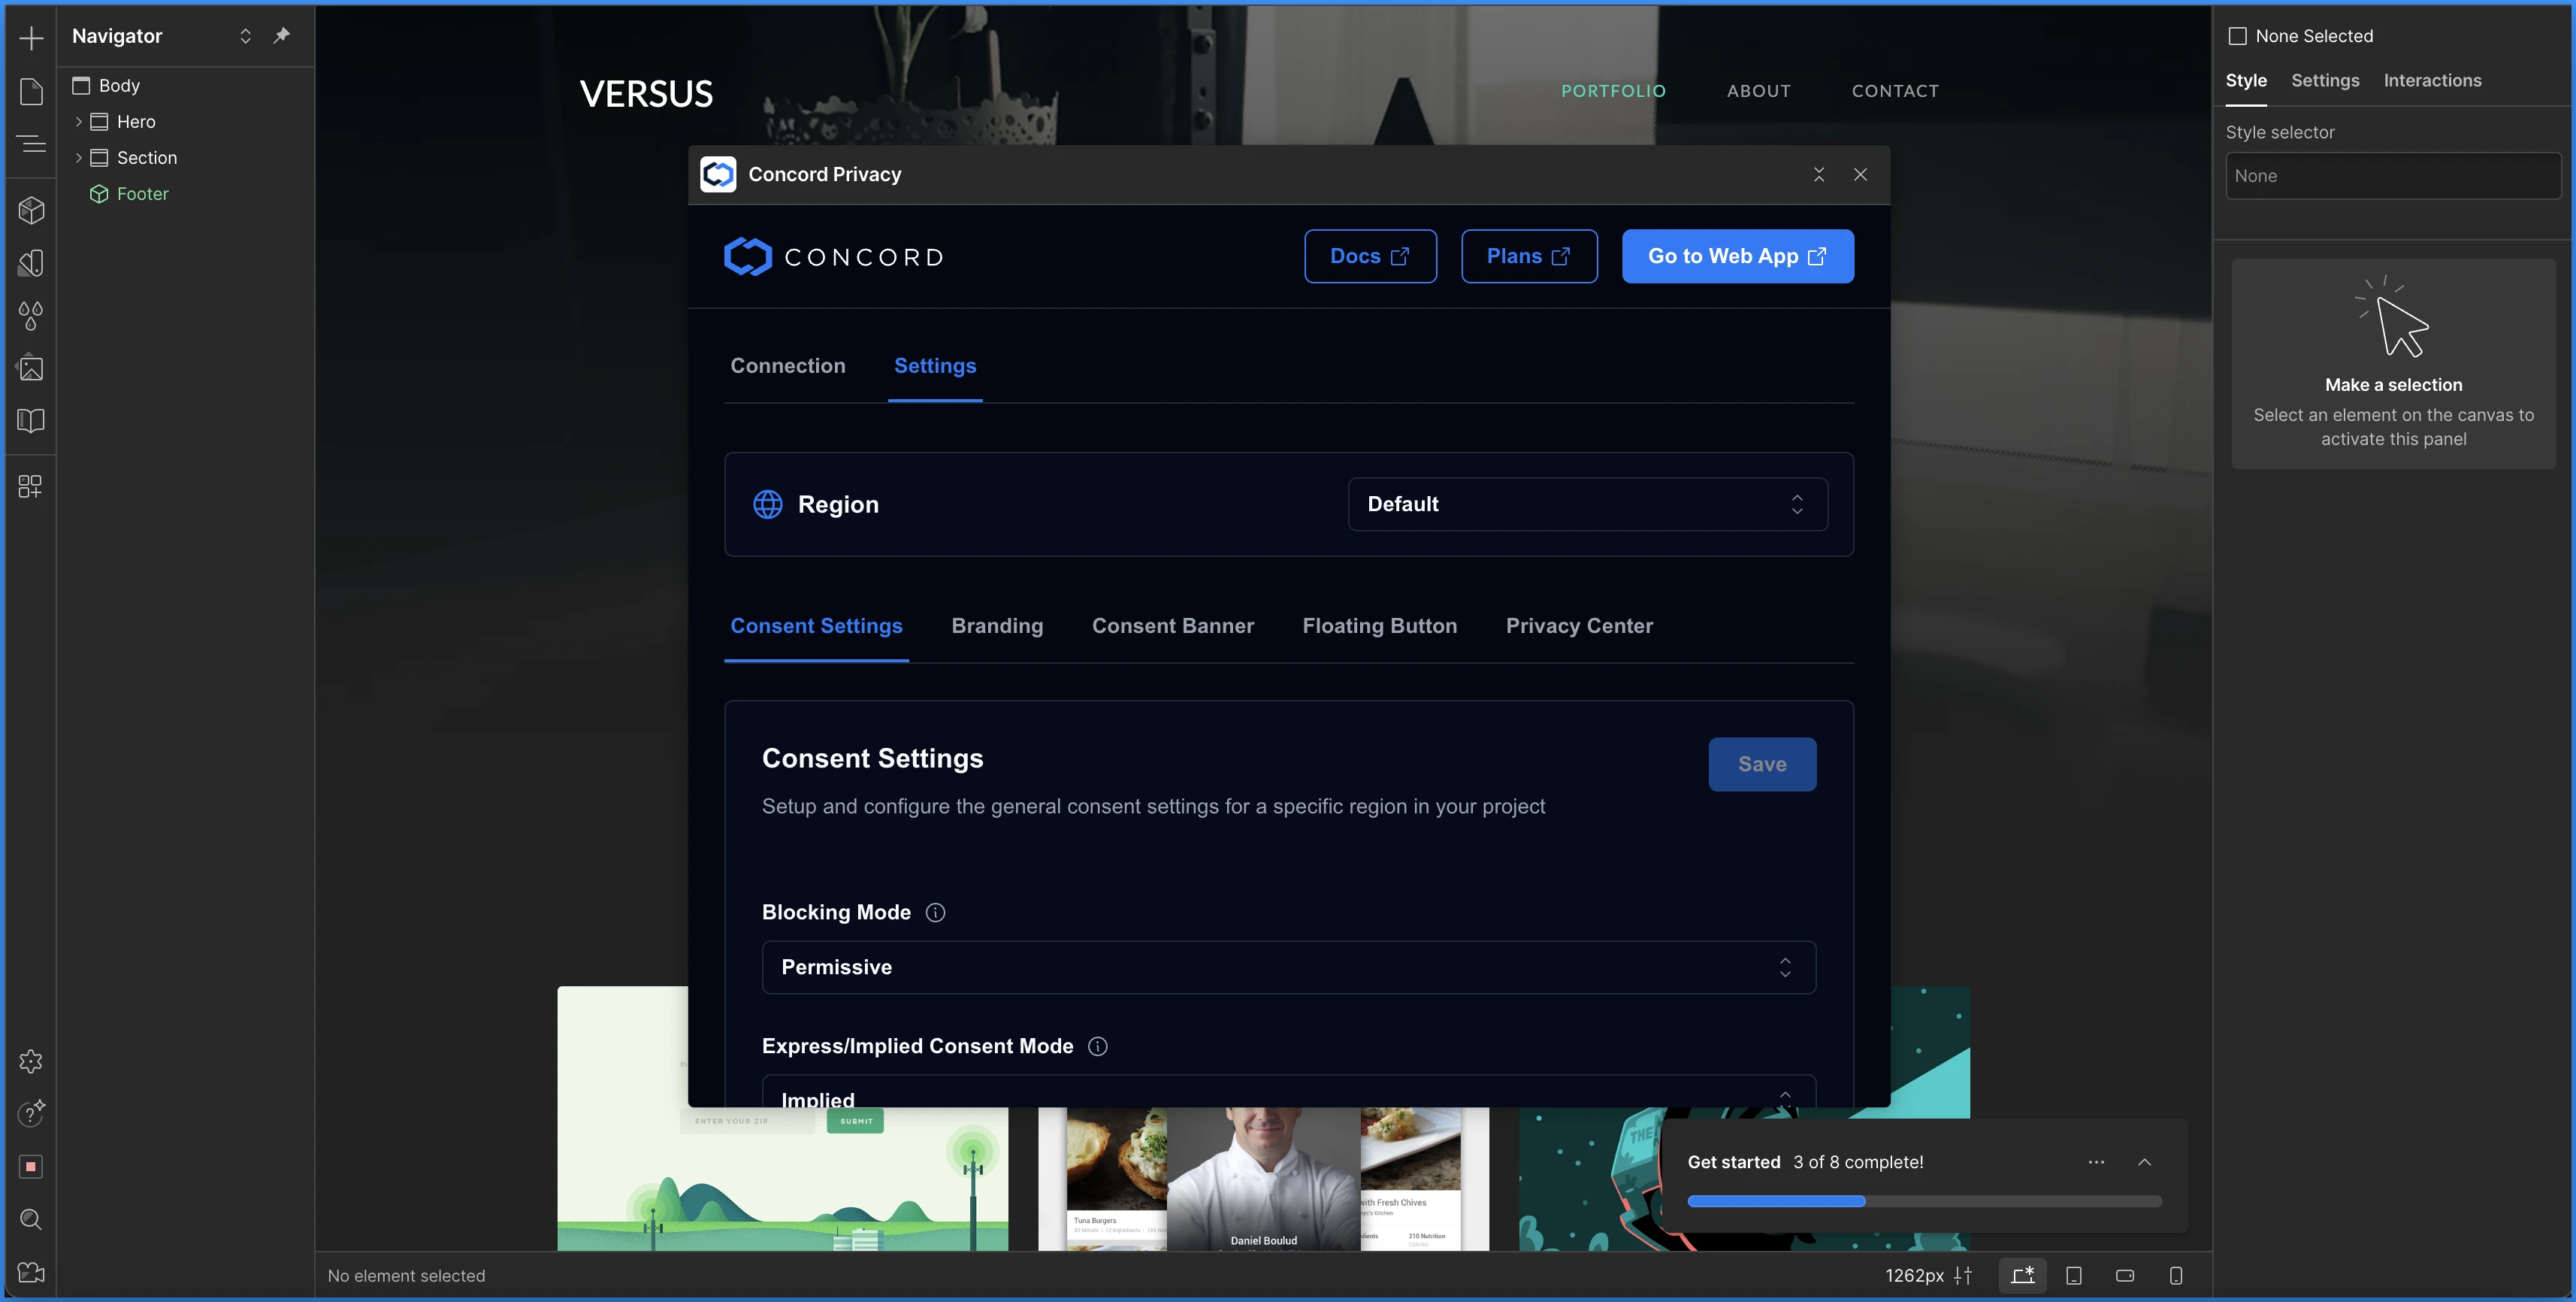
5. Once you’ve completed selecting your configuration settings, within the Connections tab, make sure the toggle is turned on so your settings appear on your site.
6. You can now publish your change in Webflow and preview Concord on your website.
Note: Most settings in the Concord Webflow App can be adjusted without redeploying your Webflow website. Only changes that impact the placement or removal of the script will require you to publish changes via Webflow. Those changes include enabling or disabling the Concord script and changing your organization and/or project.
## Option 2: Integrating Concord Into Webflow (Webflow Custom Code)
To quickly integrate Concord into Webflow via the Concord script, please follow the instructions below:
1. Login to your Concord organization and go to **Deployment → Installation → Install Concord** and copy the Concord script for the project you want to add to Webflow (projects can be changed via the Projects selector in the page header if needed).

2. Login to your Webflow account.
3. Go to your Webflow dashboard and find the website you want to add Concord to and click on the “**…**”
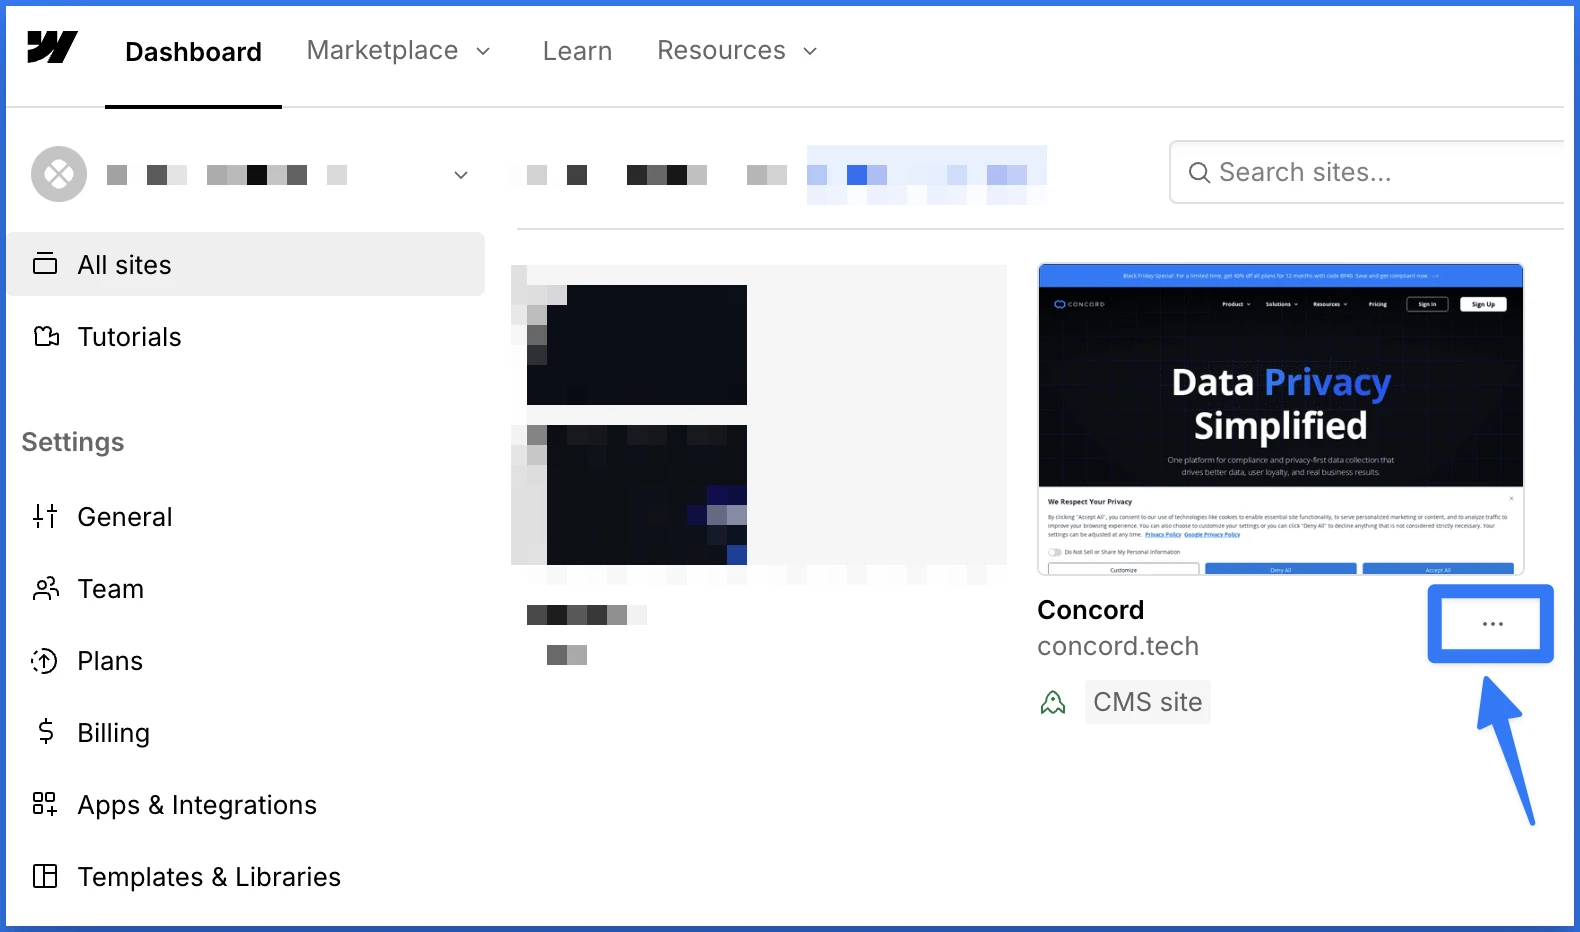
4. Click on the “**…**” and select **Settings**.
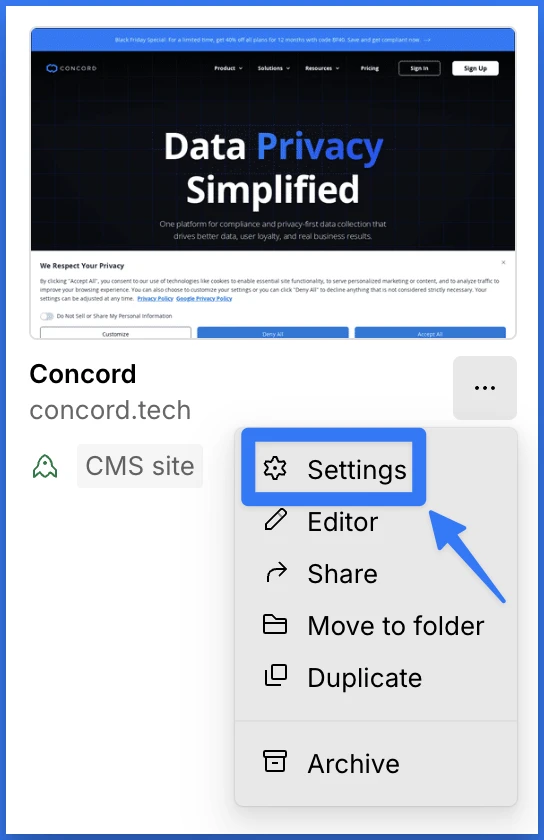
5. Go to **Custom Code**, paste the code you copied from Concord above into the **Head code** section (it should go above any other custom code), and click **Save**.
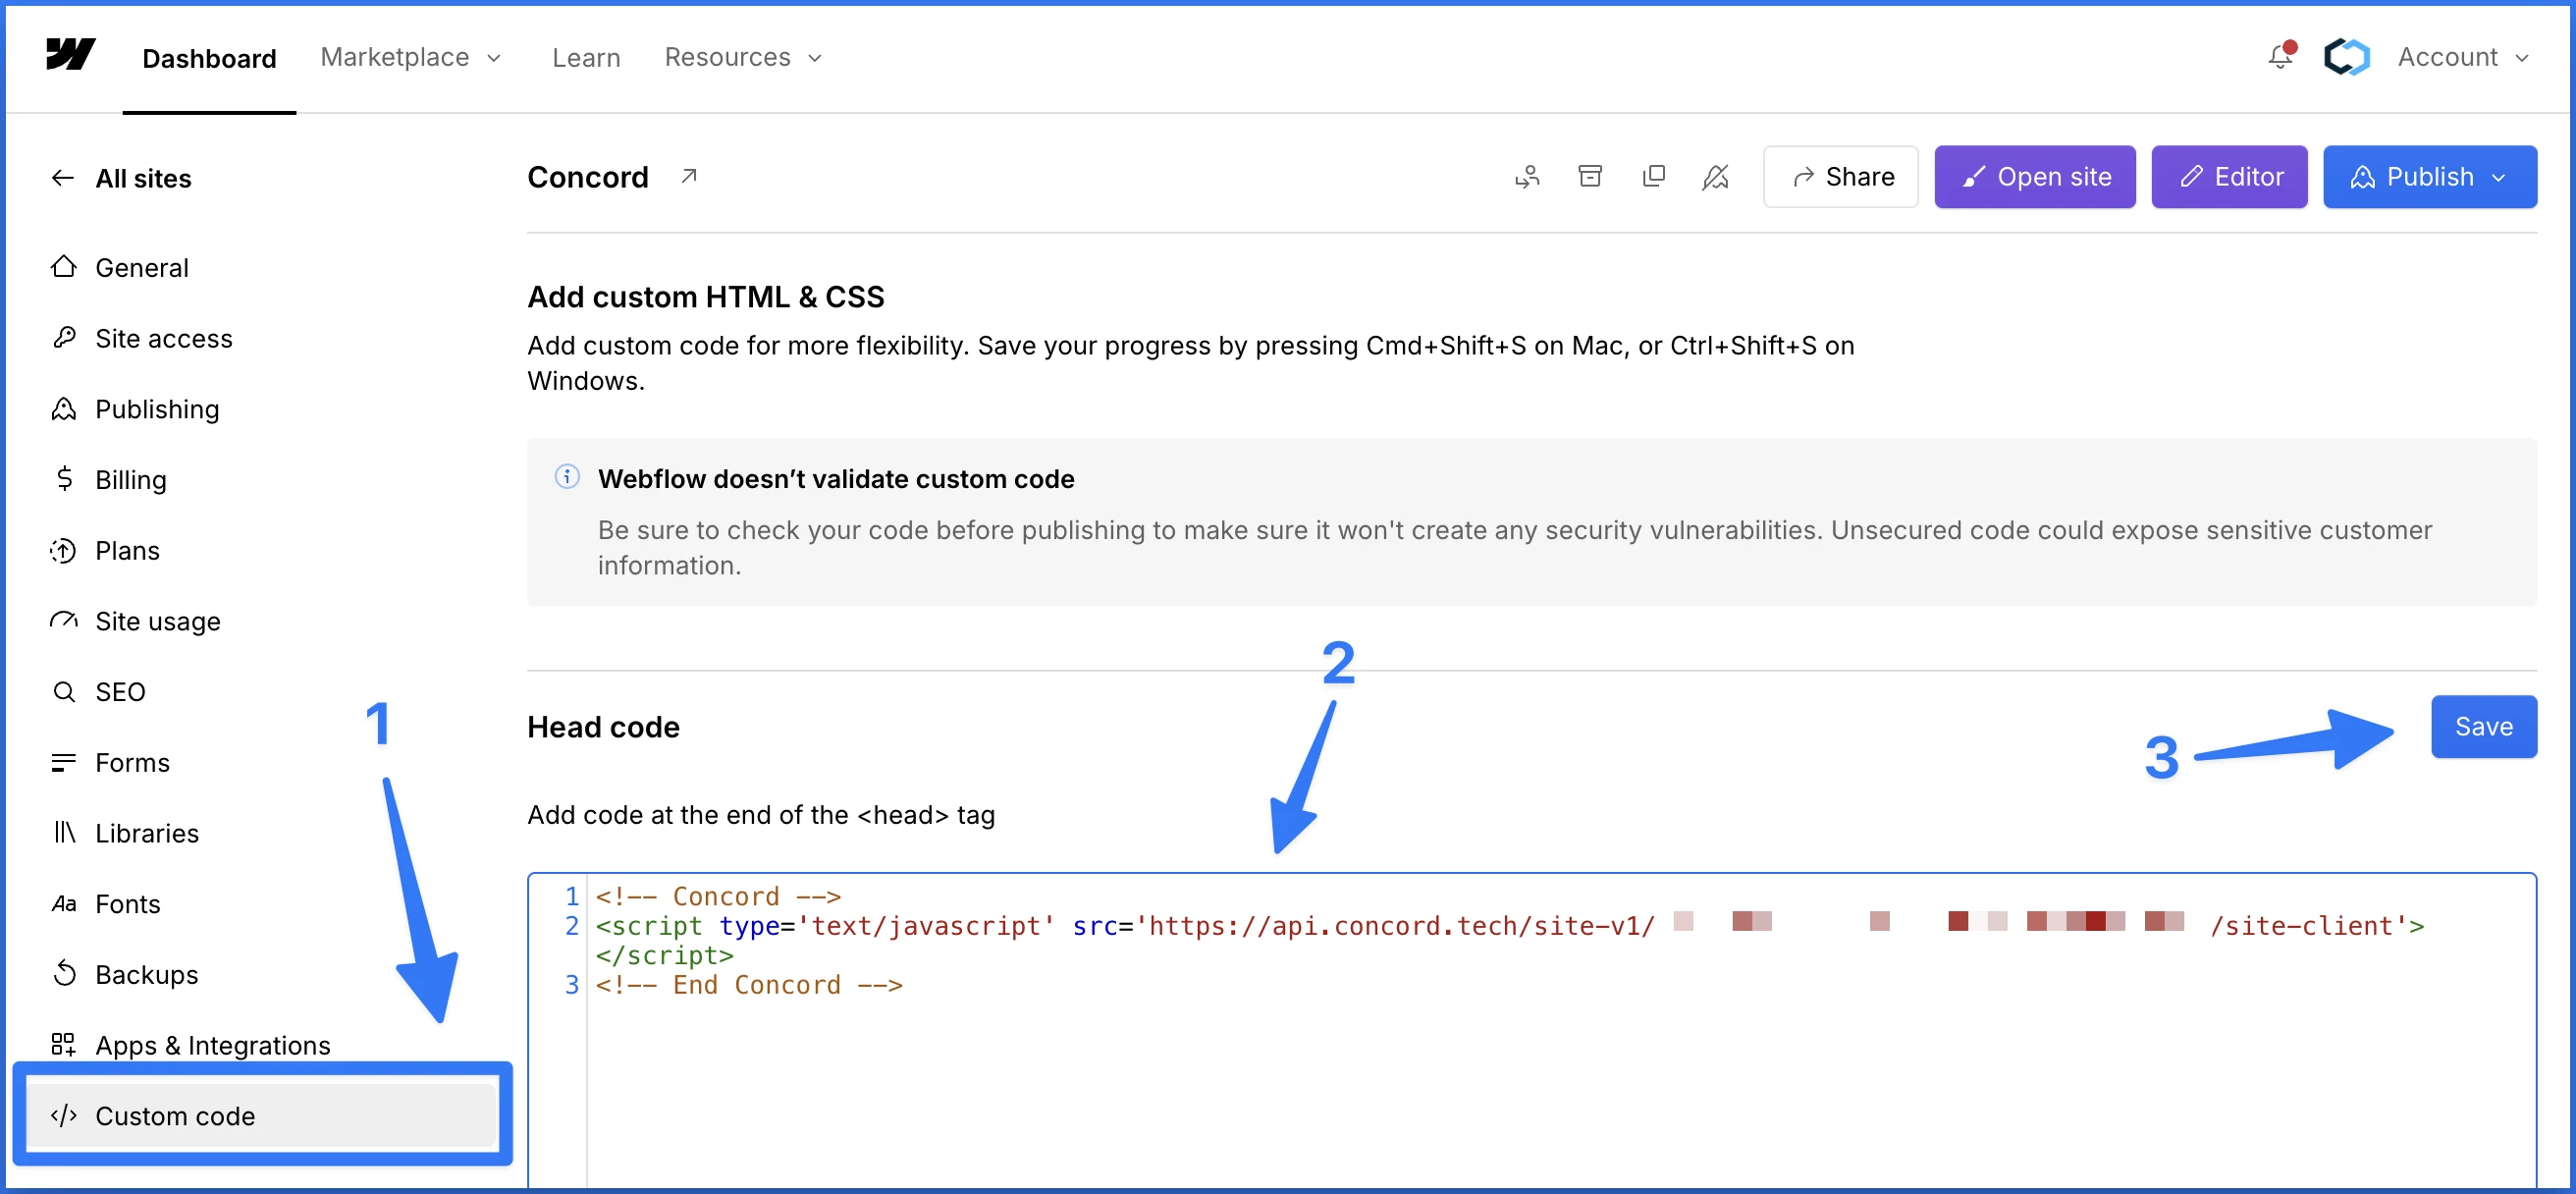
6. Click **Publish** and go back to Concord to verify your integration under **Deployment → Installation → Install Concord**. If successfully added and deployed, you should see "Recent Data Detected" in the upper right corner of the Direct Integration section:

Congratulations. You have successfully integrated Concord into Webflow and any future changes to your attached project in Concord will be automatically synced to Webflow.
# Wix Integration Guide
URL: /docs/wix-concord-integration-guide
***
title: 'Wix Integration Guide'
description: 'Step-by-step instructions on how to integrate Concord via Wix'
created: '2024-12-02T08:10:25.000Z'
updated: '2025-07-23T05:19:43.000Z'
-----------------------------------
## Overview
Welcome to our guide on integrating Concord into Wix. We make it easy to integrate Concord into your Wix website in just a few minutes and this guide will help you get up and running quickly. This guide includes the following information:
* Initial Concord configuration.
* Google Consent Mode V2 configuration.
* Integrating Concord into Wix.
## Getting Started With Concord
As part of the initial onboarding process that occurs when you set up a new organization or project in Concord, you will be able to choose your preferred consent settings, including the Consent Mode (Implied vs. Express), the Blocking mode (how trackers like cookies, scripts, iFrames, etc. are processed and blocked), the Google Consent Mode V2 setting, the Consent Duration (how long consent lasts), and other options (Sensitive Information consent, Do Not Sell, Global Privacy Control, etc.).
During that process, we provide sensible defaults that are recommended as the default global settings, but those settings can always be adjusted and additional regions can also be added and customized later in all paid plans.
For more details on this process or to complete it for the first time, please follow the instructions in this guide: [Getting Started](/docs)
If you utilize Google services like Google Analytics, Google Tag Manager, or Google Ads, we also recommend configuring and verifying Google Consent Mode V2, which allows you to adjust how and when data is shared with Google based on user consent collected via the Concord Consent Banner & Privacy Center.
To learn more about Google Consent Mode V2 and the recommended settings, please refer to this document: [Understanding & Configuring Google Consent Mode (GCM) V2](/docs/google-understanding-configuring-google-consent-mode-gcm-v2)
## Integrating Concord Into Wix
The final step is to Integrate Concord into Wix, which can typically be done in just a few minutes. Please follow the instructions below to complete this part of the process:
1. Login to your Concord organization and go to **Deployment → Installation →Install Concord** and copy the Concord script for the project you want to add to Wix (projects can be changed via the Projects selector in the page header if needed).

2. Login to your Wix account.
3. Make sure your Wix site is published with a connected domain.
* Note: More details on Wix requirements and this process can be found here: [Embedding Custom Code on Your Wix Site](https://support.wix.com/en/article/wix-editor-embedding-custom-code-on-your-site)
4. Go to **Settings** in your site's dashboard.
5. Click **Custom Code** in the **Advanced** section.
6. Click **+ Add Custom Code** at the top right.
7. Paste the Concord script code snippet in the text box.
* Note: The Concord script should always go above any other custom code to ensure that Concord runs first.
* Note: Concord code should be placed exactly as copied above. Adding async or defer to the code can cause issues with compliance due to timing.
8. Enter a name for your code.**Tip:** Give it a name that is easy to recognize so you can quickly identify it later.
9. Select the **All pages** option under **Add Code to Pages.** This adds the code to all of your site's pages, including any new pages that you create in the future.
10. Choose the option where the code loads on each page your visitor opens.
11. Choose the **Head** option under **Place Code in:**.
12. Click **Apply**.
13. Go back to Concord to verify your integration under **Deployment → Installation → Install Concord**. If successfully added and published via Wix you should see the following:

Congratulations. You have successfully integrated Concord into Wix and any future changes to your attached project in Concord will be automatically synced to your website.
# WooCommerce Integration Guide
URL: /docs/woocommerce-concord-integration-guide
***
title: 'WooCommerce Integration Guide'
description: 'Step-by-step instructions on how to integrate Concord via WooCommerce/Wordpress'
slug: 'woocommerce-concord-integration-guide'
topic: 'integrations'
created: '2024-12-02T08:20:24.000Z'
updated: '2025-07-23T05:19:55.000Z'
-----------------------------------
## Overview
Welcome to our guide on integrating Concord into WooCommerce/Wordpress. We make it easy to integrate Concord into your WooCommerce/Wordpress website in just a few minutes and this guide will help you get up and running quickly. This guide includes the following information:
* Initial Concord configuration.
* Google Consent Mode V2 configuration.
* Integrating Concord into WooCommerce/Wordpress.
## Getting Started With Concord
As part of the initial onboarding process that occurs when you set up a new organization or project in Concord, you will be able to choose your preferred consent settings, including the Consent Mode (Implied vs. Express), the Blocking mode (how trackers like cookies, scripts, iFrames, etc. are processed and blocked), the Google Consent Mode V2 setting, the Consent Duration (how long consent lasts), and other options (Sensitive Information consent, Do Not Sell, Global Privacy Control, etc.).
During that process, we provide sensible defaults that are recommended as the default global settings, but those settings can always be adjusted and additional regions can also be added and customized later in all paid plans.
For more details on this process or to complete it for the first time, please follow the instructions in this guide: [Getting Started](/docs)
If you utilize Google services like Google Analytics, Google Tag Manager, or Google Ads, we also recommend configuring and verifying Google Consent Mode V2, which allows you to adjust how and when data is shared with Google based on user consent collected via the Concord Consent Banner & Privacy Center.
To learn more about Google Consent Mode V2 and the recommended settings, please refer to this document: [Understanding & Configuring Google Consent Mode (GCM) V2](/docs/google-understanding-configuring-google-consent-mode-gcm-v2)
## Integrating Concord Into WooCommerce/Wordpress
The final step is to Integrate Concord into WooCommerce/Wordpress, which typically takes just a few minutes. Note that there are many potential ways to integrate Concord into WooComerce/Wordpress and that this is just one way. The method below is a quick and easy way used by many of our customers, but please feel free to use your preferred method (editing your functions.php file, using a different plugin that allows you to add header code to your website, etc.).
1. Login to your Concord organization and go to **Deployment → Installation → Install Concord** and copy the Concord script for the project you want to add to WooCommerce/Wordpress (projects can be changed via the Projects selector in the page header if needed).

2. Use your favorite plugin to add code to the header of all webpages on your WooCommerce/Wordpress website. We will demonstrate this process with the [WPCode Headers & Footers](https://wordpress.org/plugins/insert-headers-and-footers/) plugin below, but there are many options here. Here is another popular official option from Wordpress themselves:
* [https://wordpress.com/support/adding-code-to-headers/](https://wordpress.com/support/adding-code-to-headers/)
3. Login to WooCommerce/Wordpress and open the WPCode Headers & Footers plugin.
4. Add the Concord code you copied above in the **Global Header and Footer → Header** code box, placing Concord at the top.
* Note: The Concord script should always go above any other custom code to ensure that Concord runs first.
* Note: Concord code should be placed exactly as copied above. Adding async or defer to the code can cause issues with compliance due to timing.
5. Click **Save Changes** to insert the Concord code into the page `head `and redeploy your site. You may need to clear the cache.
6. Go back to Concord to verify your integration under **Deployment → Installation → Install Concord**. If successfully added and published via WooCommerce/Wordpress, you should see the following:

Congratulations. You have successfully integrated Concord into WooCommerce/Wordpress and any future changes to your attached project in Concord will be automatically synced to your website.
# Wordpress Integration Guide
URL: /docs/wordpress-concord-integration-guide
***
title: 'Wordpress Integration Guide'
description: 'Step-by-step instructions on how to integrate Concord via Wordpress.'
slug: 'wordpress-concord-integration-guide'
topic: 'integrations'
created: '2024-12-02T07:08:03.000Z'
updated: '2025-07-23T05:18:30.000Z'
-----------------------------------
## Overview
Welcome to our guide on integrating Concord into Wordpress. We make it easy to integrate Concord into your Wordpress website in just a few minutes and this guide will help you get up and running quickly. This guide includes the following information:
* Initial Concord configuration.
* Google Consent Mode V2 configuration.
* Integrating Concord into Wordpress.
## Getting Started With Concord
As part of the initial onboarding process that occurs when you set up a new organization or project in Concord, you will be able to choose your preferred consent settings, including the Consent Mode (Implied vs. Express), the Blocking mode (how trackers like cookies, scripts, iFrames, etc. are processed and blocked), the Google Consent Mode V2 setting, the Consent Duration (how long consent lasts), and other options (Sensitive Information consent, Do Not Sell, Global Privacy Control, etc.).
During that process, we provide sensible defaults that are recommended as the default global settings, but those settings can always be adjusted and additional regions can also be added and customized later in all paid plans.
For more details on this process or to complete it for the first time, please follow the instructions in this guide: [Getting Started](/docs)
If you utilize Google services like Google Analytics, Google Tag Manager, or Google Ads, we also recommend configuring and verifying Google Consent Mode V2, which allows you to adjust how and when data is shared with Google based on user consent collected via the Concord Consent Banner & Privacy Center.
To learn more about Google Consent Mode V2 and the recommended settings, please refer to this document: [Understanding & Configuring Google Consent Mode (GCM) V2](/docs/google-understanding-configuring-google-consent-mode-gcm-v2)
## Integrating Concord Into Wordpress (Wordpress Plugin)
The final step is to Integrate Concord into Wordpress, which typically takes just a few minutes. Note that there are many potential ways to integrate Concord into Wordpress and that this is just one way. The method below is a quick and easy way used by many of our customers, but please feel free to use your preferred method (editing your functions.php file, using a different plugin that allows you to add header code to your website, etc.).
### **Installation**
1. Get the Concord plugin from the WordPress Plugin Directory here: [Concord Wordpress Plugin](https://wordpress.org/plugins/concord/)
2. From your WordPress dashboard, go to **Plugins** and click **Add New**.
3. Click **Upload Plugin**, choose the downloaded zip file, and click **Install Now**.
4. Once installed, click **Activate** to enable the plugin.
5. Login to your Concord organization and go to **Deployment → Installation → Embed Concord** and copy the Project ID at the bottom of the page for the project you want to add to Wordpress (projects can be changed via the Projects selector in the page header if needed).

6. Paste your **Project ID** in the Wordpress Plugin and click **Save Project ID**
7. The Concord Wordpress Plugin should now show that you are connected to Concord.
8. Go back to Concord to verify your integration under **Deployment → Installation → Embed Concord**. If successfully added and published via Wordpress, you should see the following:

## Integrating Concord Into Wordpress (Direct Embed Code via WPCode)
1. Login to your Concord organization and go to **Deployment → Installation → Embed Concord** and copy the Direct Embed Code for the project you want to add to Wordpress (projects can be changed via the Projects selector in the page header if needed).

2. Use your favorite plugin to add code to the header of all webpages on your Wordpress website. We will demonstrate this process with the [WPCode Headers & Footers](https://wordpress.org/plugins/insert-headers-and-footers/) plugin below, but there are many options here. Here is another popular official option from Wordpress themselves:
* [https://wordpress.com/support/adding-code-to-headers/](https://wordpress.com/support/adding-code-to-headers/)
3. Login to Wordpress and open the WPCode Headers & Footers plugin.
4. Add the Concord code you copied above in the **Global Header and Footer → Header** code box, placing Concord at the top.
* Note: The Concord script should always go above any other custom code to ensure that Concord runs first.
* Note: Concord code should be placed exactly as copied above. Adding async or defer to the code can cause issues with compliance due to timing.

5. Click **Save Changes** to insert the Concord code into the page `head`and redeploy your site. You may need to clear the cache.
6. Go back to Concord to verify your integration under **Deployment → Installation → Embed Concord**. If successfully added and published via Wordpress, you should see the following:

Congratulations. You have successfully integrated Concord into Wordpress and any future changes to your attached project in Concord will be automatically synced to your website.
# WordPress Consent API Integration
URL: /docs/wordpress-consent-api-integration
***
title: 'WordPress Consent API Integration'
description: 'How to use the WordPress Consent API together with Concord, setup steps, testing and best practices for blocking strategies.'
slug: 'wordpress-consent-api-integration'
topic: 'integrations'
created: '2025-12-22T00:00:00.000Z'
updated: '2025-12-22T00:00:00.000Z'
-----------------------------------
## Overview
The **WordPress Consent API** standardizes consent communication between Consent Management Platforms (CMPs) like Concord and WordPress plugins. When used together with Concord, the API allows consent choices made in Concord's Consent Banner or Privacy Center to be propagated to compatible WordPress plugins (Google Site Kit, WooCommerce, etc.) with no extra configuration.
This document explains how to set up the WordPress Consent API with Concord, how Concord maps consent categories and dispatches events, and recommended blocking strategies (including a note about potential plugin issues).
***
## Quick Summary
* Concord supports the WP Consent API and will sync consent choices to WordPress when the plugin is present.
* Concord sets the `wp_consent_type` (e.g., `optin` / `optout`) and dispatches consent updates (e.g., via calls equivalent to `wp_set_consent()`)
* Recommended approach for most WordPress sites: Install and enable Concord and let the WP Consent API handle WordPress plugin consent where possible.
* Concord's automatic detection and blocking can typically be used in tandem but may break some plugins that rely on server-side cookies or certain scripts that have issues with detection or blocking (payment processing, checkout, etc.).
***
## Prerequisites
* A Concord project configured and embedded on your site (Concord plugin or direct embed) — see: **Deployment → Installation → Install Concord**
* The **WP Consent API** plugin installed on your WordPress site: [WordPress Consent API](https://wordpress.org/plugins/wp-consent-api/)
***
## How Concord and the WP Consent API Interact
* Concord will detect the presence of the WP Consent API and **sync consent changes** across the site.
* Concord will set `window.wp_consent_type` (when configured depending on your consent mode) and dispatch the appropriate events so WP plugins can react.
* Concord maps its internal categories to WordPress categories (e.g., Concord `marketing` → WP `marketing`, Concord `analytics` → WP `statistics`/`statistics-anonymous`) and then dispatches consent updates (e.g., `wp_set_consent('marketing', 'allow')`).
This means that any plugin that implements the WP Consent API should automatically respect consent decisions made via Concord.
***
## Step-by-Step Setup
1. Sign up for Concord.
2. Install and activate the WP Consent API plugin on the WordPress site.
3. Install and connect the Concord WordPress plugin (or embed the Concord script directly).
4. Verify Concord shows connected in your Concord project (Deployment → Installation → Install Concord).
5. Verify the integration is active and test consent flows (see Testing section below).
***
## Testing & Verification
Open your site in a browser devtools console and:
* Check `wp_consent_type`:
```js
// should be defined when wp consent API is active
console.log(window.wp_consent_type);
```
* Inspect WP consent cookies: `wp_consent_marketing`, `wp_consent_statistics`, etc.
* Confirm Concord dispatches consent events: try changing consent from the Concord banner and verify the WP cookies / `wp_has_consent()` reflect the change.
You can also test programmatically in the console:
```js
// Example (from WP Consent API docs)
window.wp_consent_type = 'optin';
document.dispatchEvent(new CustomEvent('wp_consent_type_defined'));
wp_set_consent('marketing', 'allow');
// or check
if (wp_has_consent('marketing')) {
console.log('marketing consent is allowed');
}
```
***
## Category & Service Mappings
* Default Concord categories: `marketing`, `analytics`, `functional`, `strictly_necessary`, `unclassified`, `ignored`.
* WP Consent API categories commonly used: `marketing`, `statistics` (and `statistics-anonymous`), `preferences`, `functional`.
Standard mappings:
* Concord `marketing` → WP `marketing`
* Concord `analytics` → WP `statistics` or `statistics-anonymous`
* Concord `functional` → WP `preferences` or `functional` (depends on CMP)
* Concord `strictly_necessary` → treat as always allowed
***
## Blocking Strategies — Concord Auto-Blocking & the WP Consent API
Concord's **tracker discovery and auto-blocking is enabled by default** and will run on most sites to detect and block trackers immediately and transparently. In most cases this automatic detection and blocking works well and doesn't require additional configuration, but certain scripts or plugins may require special handling.
### How Concord's Automatic Detection & Blocking Works (Default)
* **Auto-Enabled:** Concord's detection and blocking engine runs by default and will perform actions like removing `src`/`href` attributes or converting `
```
### Recommendation
Keep Concord auto-blocking enabled (default) because it works in most cases. For WordPress, use the WP Consent API for plugin-level consent and only opt out specific elements with `data-concord-ignore` if Concord's detection or blocking causes functional problems. Always test critical flows (checkout, login, analytics) after changes.
***
## Practical Tips & Examples
* To exclude a script or element from Concord blocking, add `data-concord-ignore` to the tag (Concord will not process it):
```html
```
* For advanced pre-blocking or managed re-insertion, the detection and blocking engine also supports pre-tagging nodes by setting attributes: `data-concord-modified="blocked"` with `data-concord-src`/`data-concord-href` and `data-concord-type` for scripts. Concord will restore these attributes once consent allows them.
* If a WordPress plugin needs a service-level consent (e.g., `google-analytics`, `woo commerce`, etc.), use the WP Consent API if available.
***
## Troubleshooting & Potential Issues
* Payment or checkout flows break: Can be caused by Concord detecting or blocking dynamic scripts. Solution: let WP Consent API manage consent for the plugin by adding `data-concord-ignore` to the script element and test.
* Server-side cookies still set after consent denied: WP Consent API exposes PHP hooks and `wp_add_cookie_info()` — ensure plugins register cookies correctly with the WP Consent API (plugin authors should do this).
* Dynamic/minified plugin scripts not detected by blocking rules: prefer WP Consent API which works via API rather than URL matching.
***
## Recommended Checklist Before Go-Live
* [ ] Concord + WP Consent API plugin installed and configured
* [ ] Category mappings verified (Concord → WP CMP)
* [ ] Main flows tested (checkout, login, analytics) with consent toggled
* [ ] Add `data-concord-ignore` or plugin exceptions where necessary
***
## Links & Resources
* WP Consent API plugin: [Wordpress Consent API](https://wordpress.org/plugins/wp-consent-api/)
* Concord WordPress release notes: [Product New: WordPress Updates & Major Plugin Update with Consent API Integration](/blog/product-news-wordpress-updates-major-plugin-update-consent-api-integration)
* Concord WordPress integration guide: [Wordpress Integration Guide](/docs/wordpress-concord-integration-guide)
# How to Create, Edit, and Delete a Cookie Policy
URL: /docs/creating-a-cookie-policy
***
title: 'How to Create, Edit, and Delete a Cookie Policy'
description: 'How to create, edit, and delete a cookie policy using Concord. '
created: '2025-01-28T04:50:25.000Z'
updated: '2025-03-27T02:23:39.000Z'
-----------------------------------
## Overview
A cookie policy is a declaration to your users on what cookies are active on your website, what user data they track, and what that data is used for. This article provides instructions on how to create, edit, and delete a custom cookie policy using Concord.
Concord makes it easy for you to create a cookie policy by providing:
* **Guided User-Friendly Interface:** Our intuitive policy generator interface guides you through the process of creating your policy in minutes.
* **Customizable Content:** Easily edit and design your policies to align with your brand, voice, and specific policy requirements.
* **Seamless Integration:** Export your cookie policy to PDF, HTML, markdown, or plain text and easily add it to your website. Synced cookies/trackers and live embedding are coming soon as well.
## Creating a New Cookie Policy
1. From the Concord Admin UI, click on **Policies** in the left navigation and click on **Add Policy** in the upper right corner of the page.
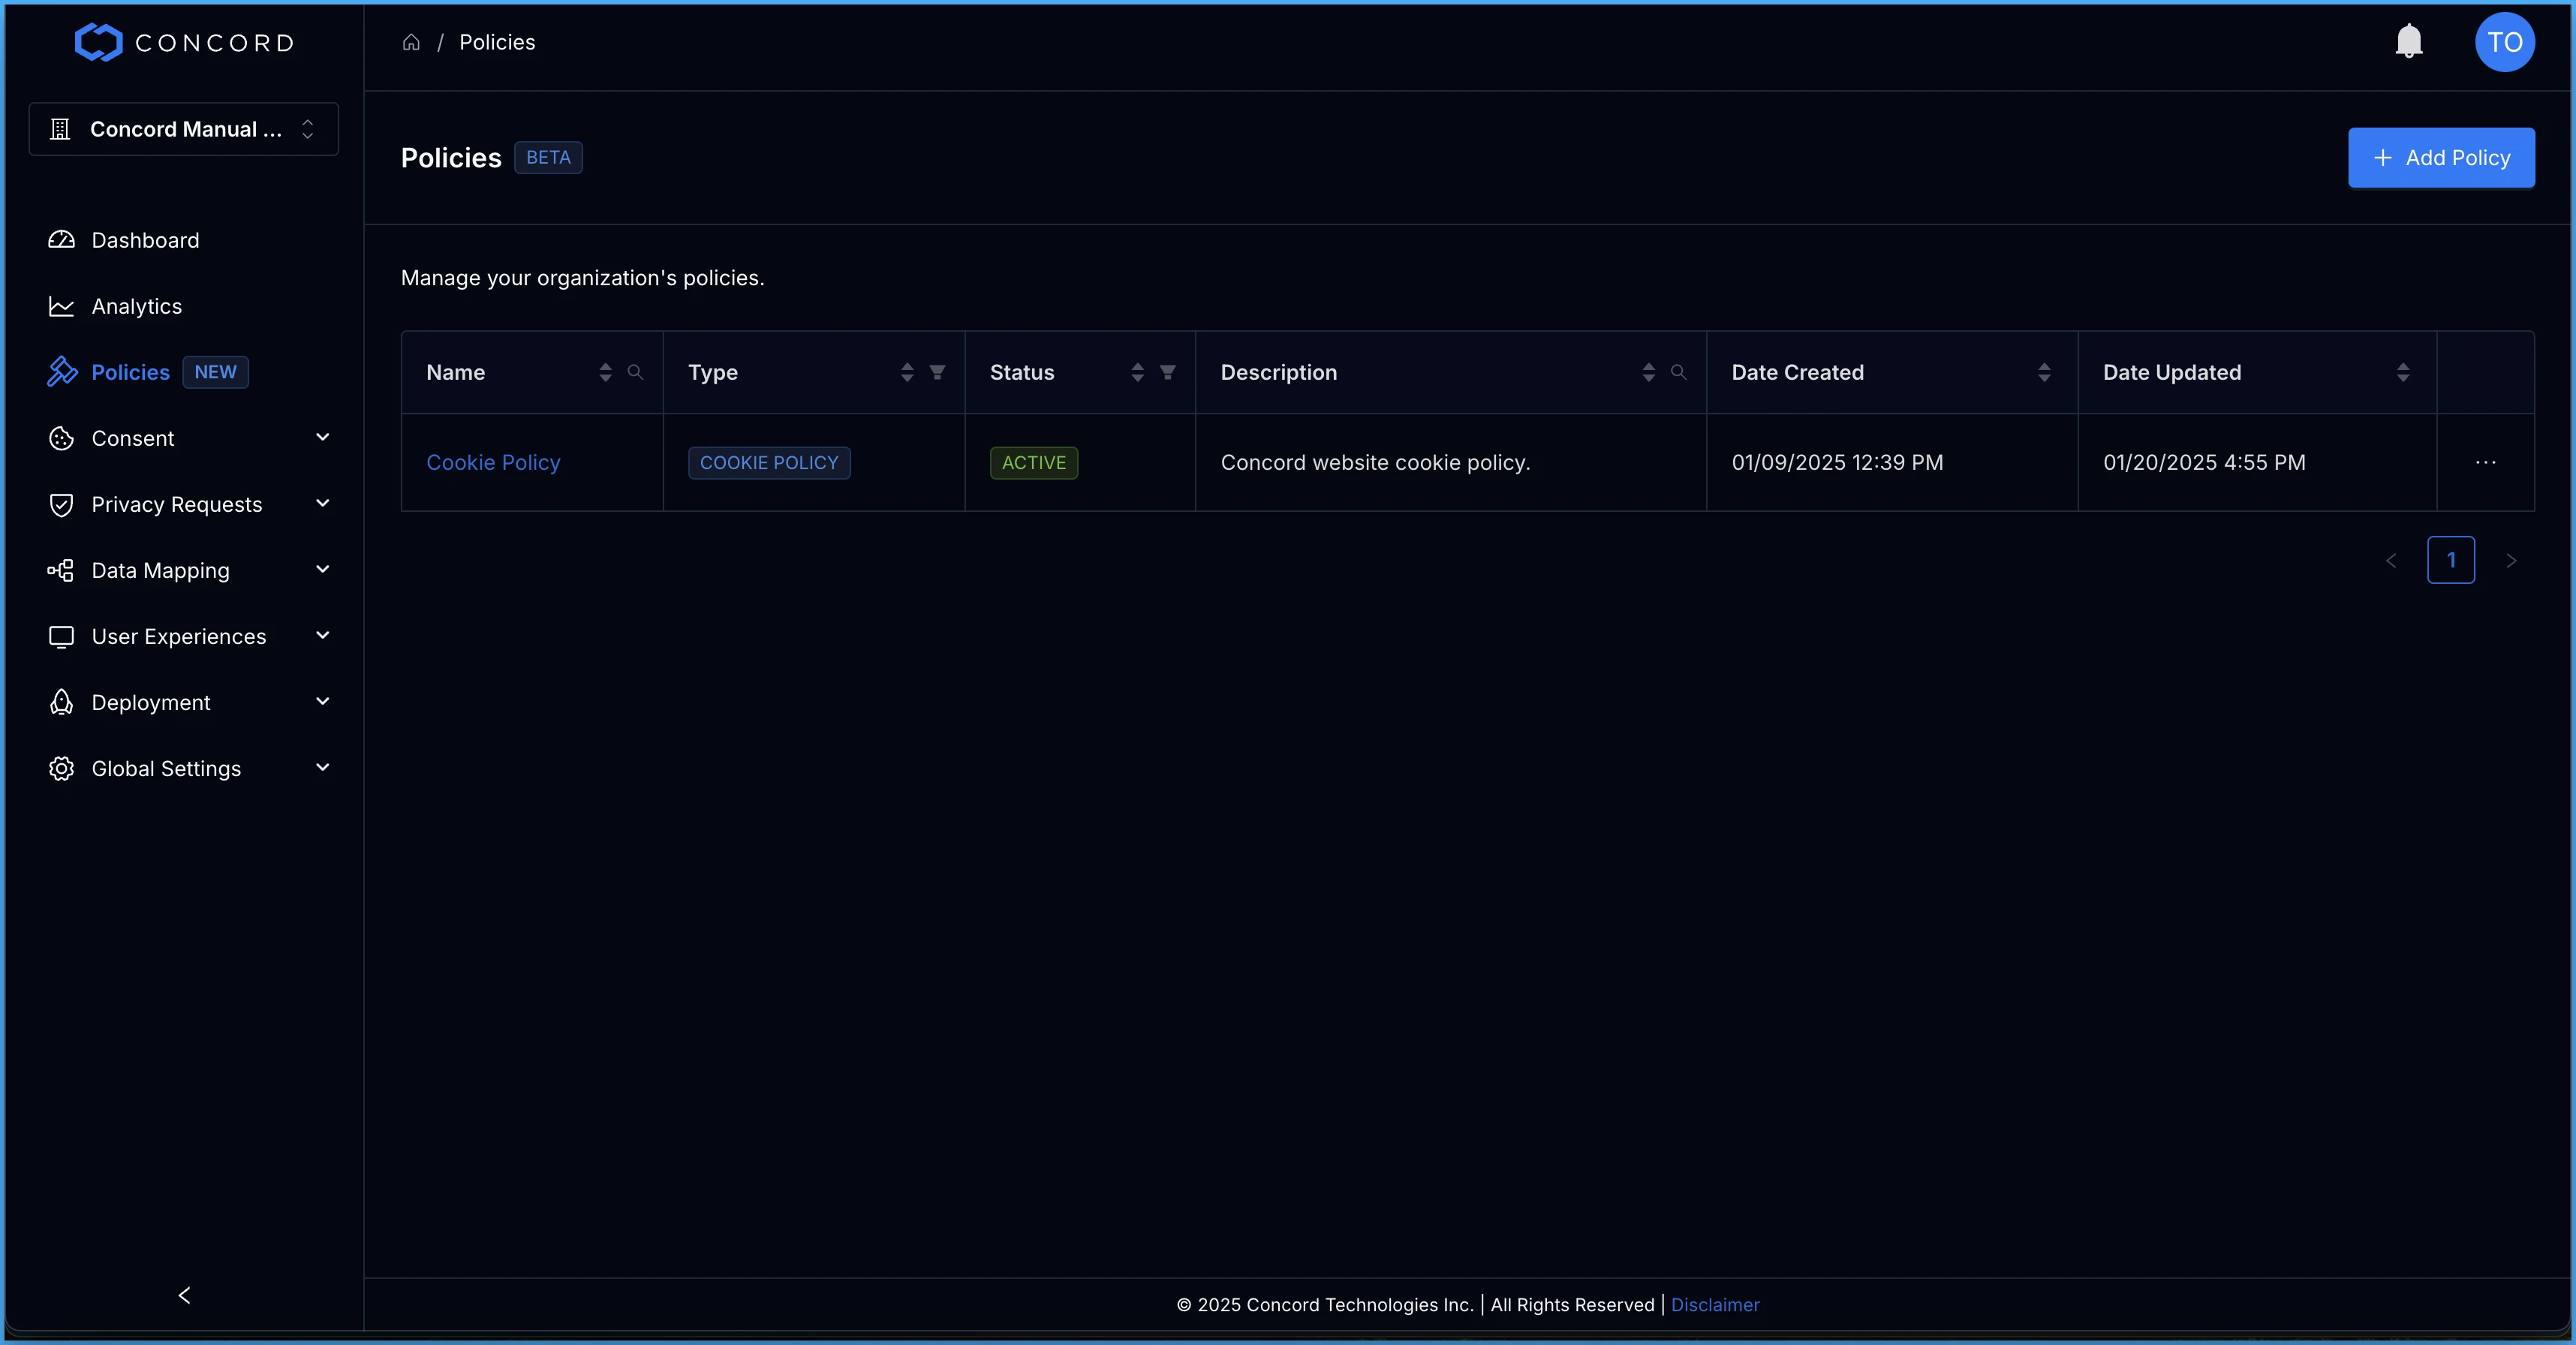
2. On the **Policy Type** page, select **Cookie Policy**.
3. On the Add Cookie Policy page, you can add the following policy details:
* Internal name for the cookie policy
* Internal description for the cookie policy
* Status of this policy (active or draft)
* Company name associated with the policy
* Effective date of the policy
* Website URL associated with the cookie policy (include http\:// or https\://)
* Types of cookies used by your website
* 3rd party cookie sharing and purpose(s)
* Privacy Office contact information (name, phone number)
4. Click **Submit** to generate a preview of your cookie policy.
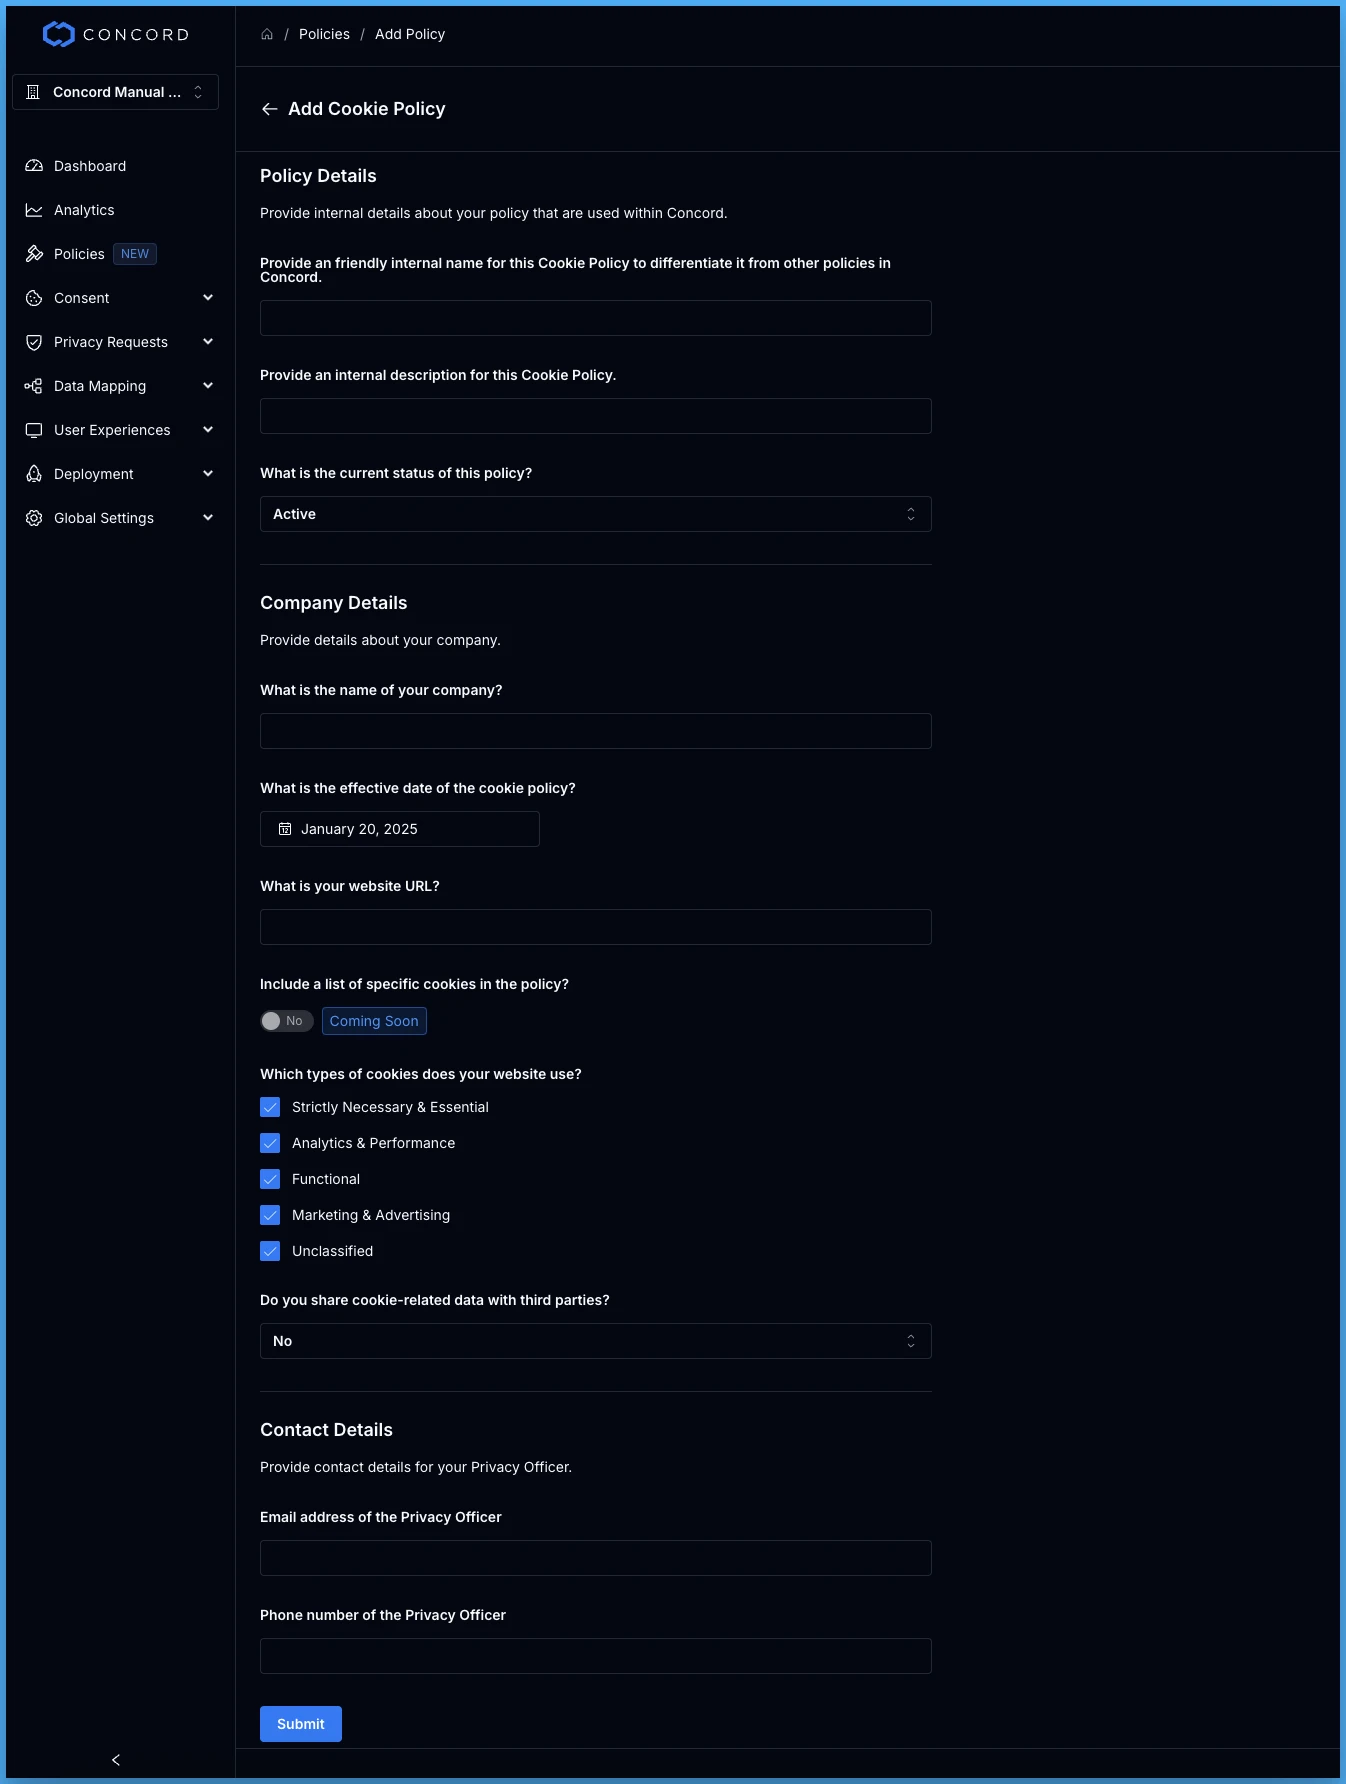
5. On the cookie policy preview page, you can easily edit and design each policy to align with your company’s brand, voice, and specific policy requirements. Click **Save** to save your changes to the policy.
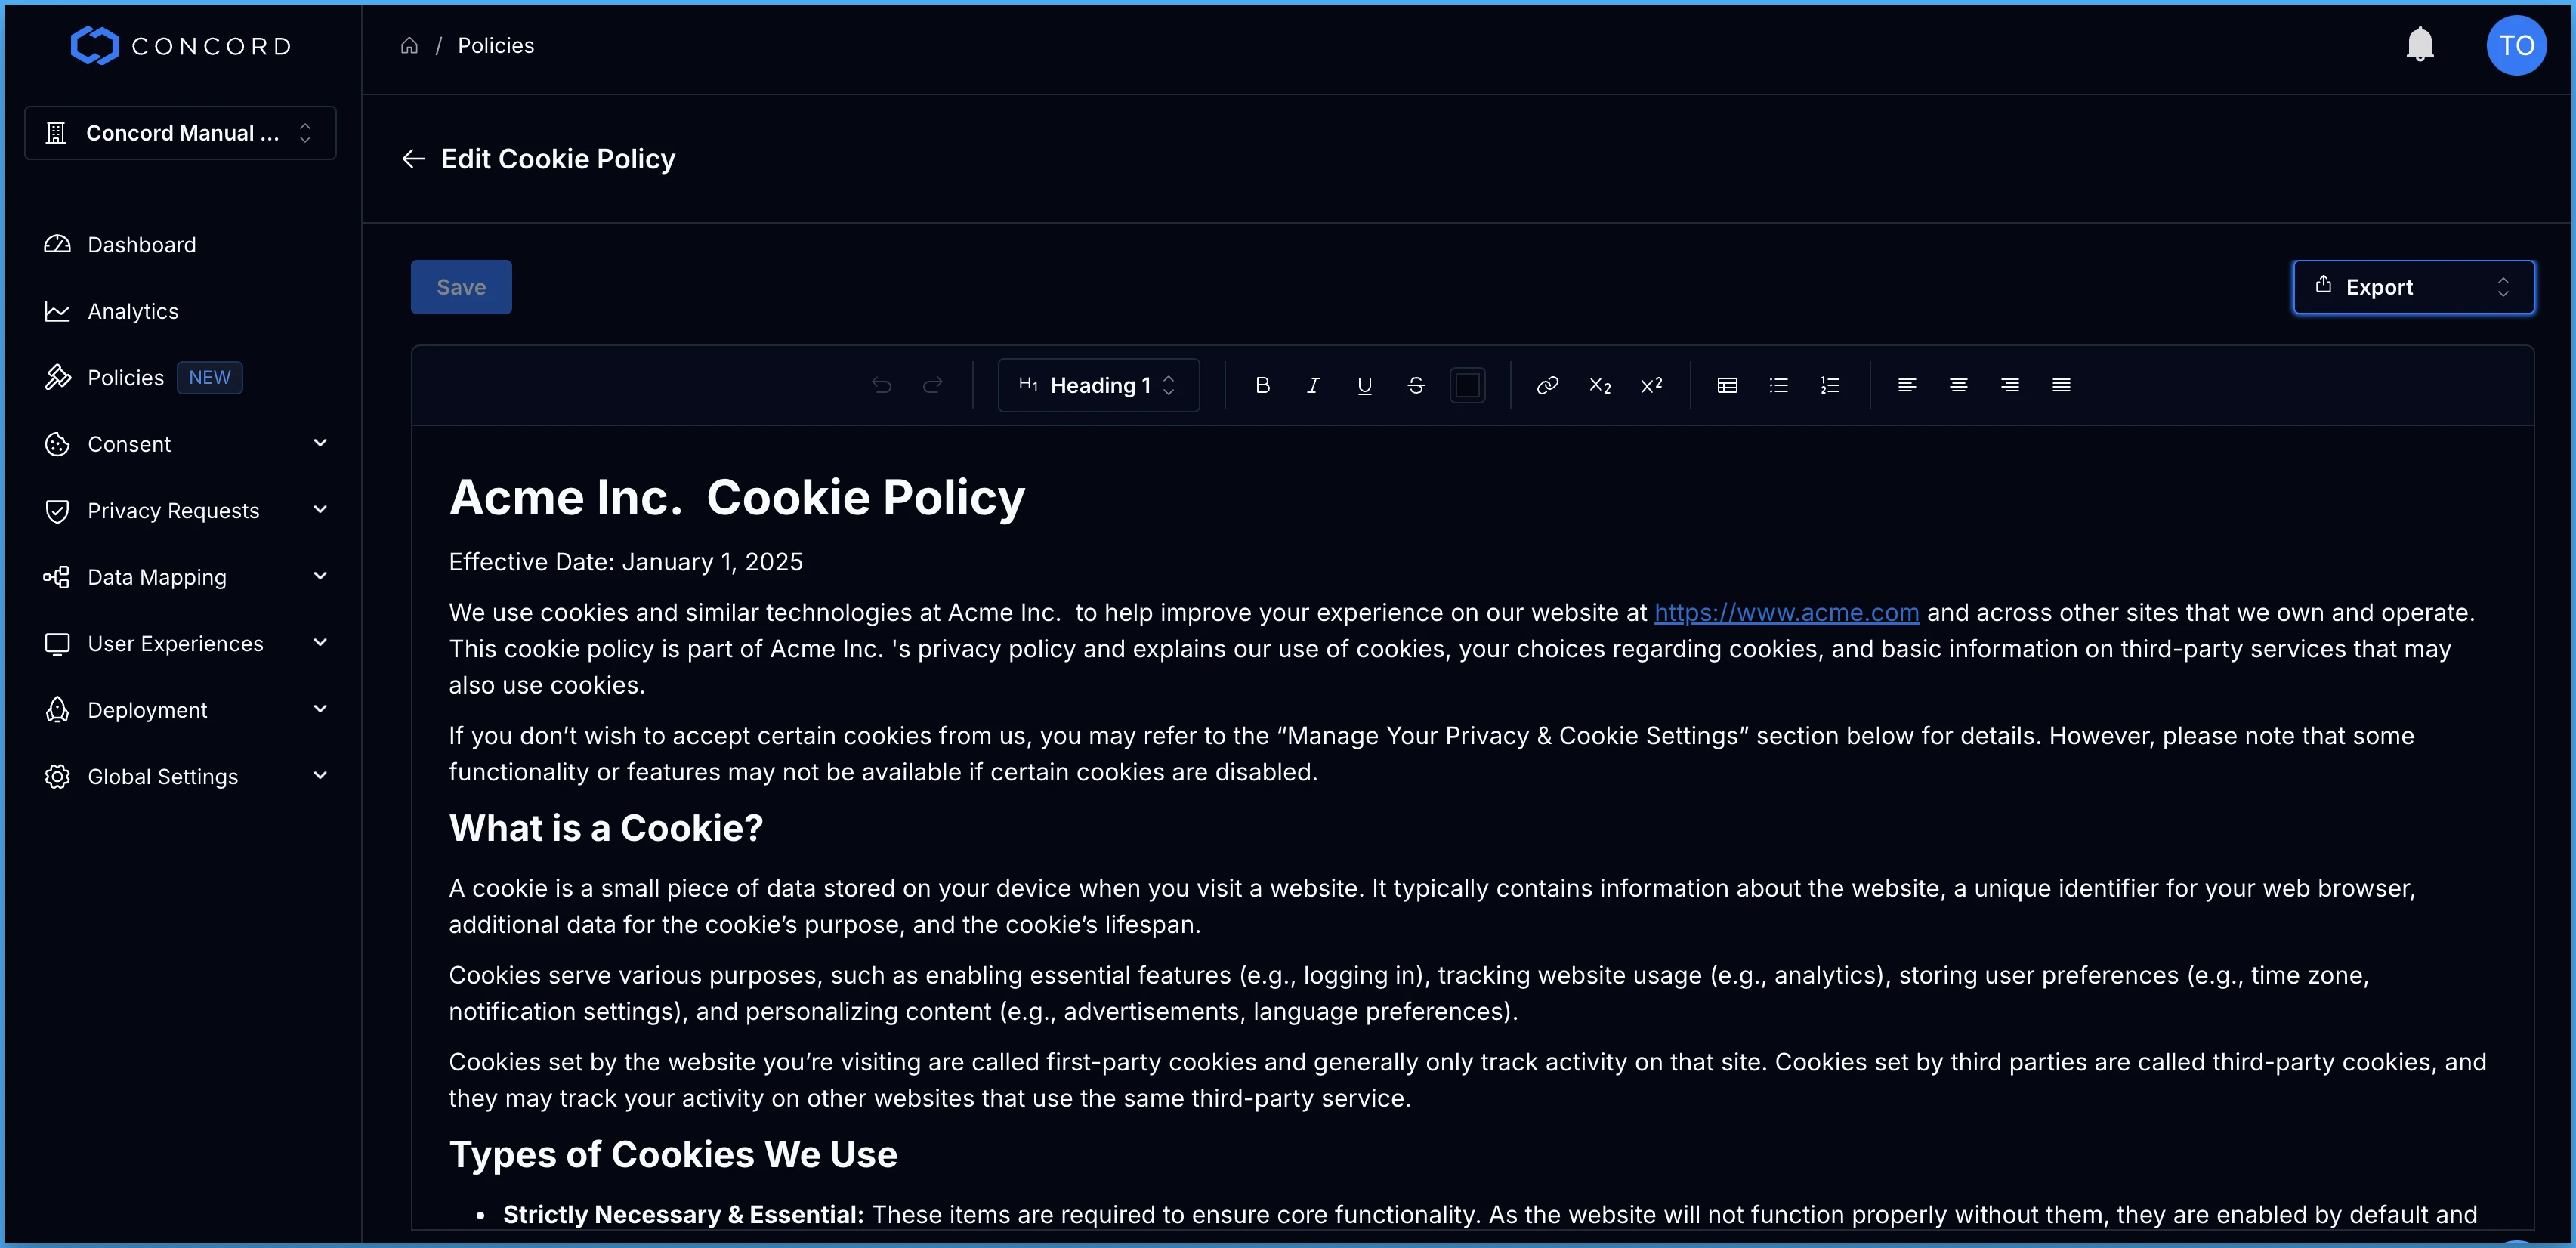
6. Export your cookie policy to PDF, HTML, markdown, or plain text and easily add it to your website.
## Editing Policies, Editing Details, & Deleting Policies
Once you’ve created and saved a cookie policy, you can easily edit the policy content, edit the policy details, or delete a policy that is no longer needed
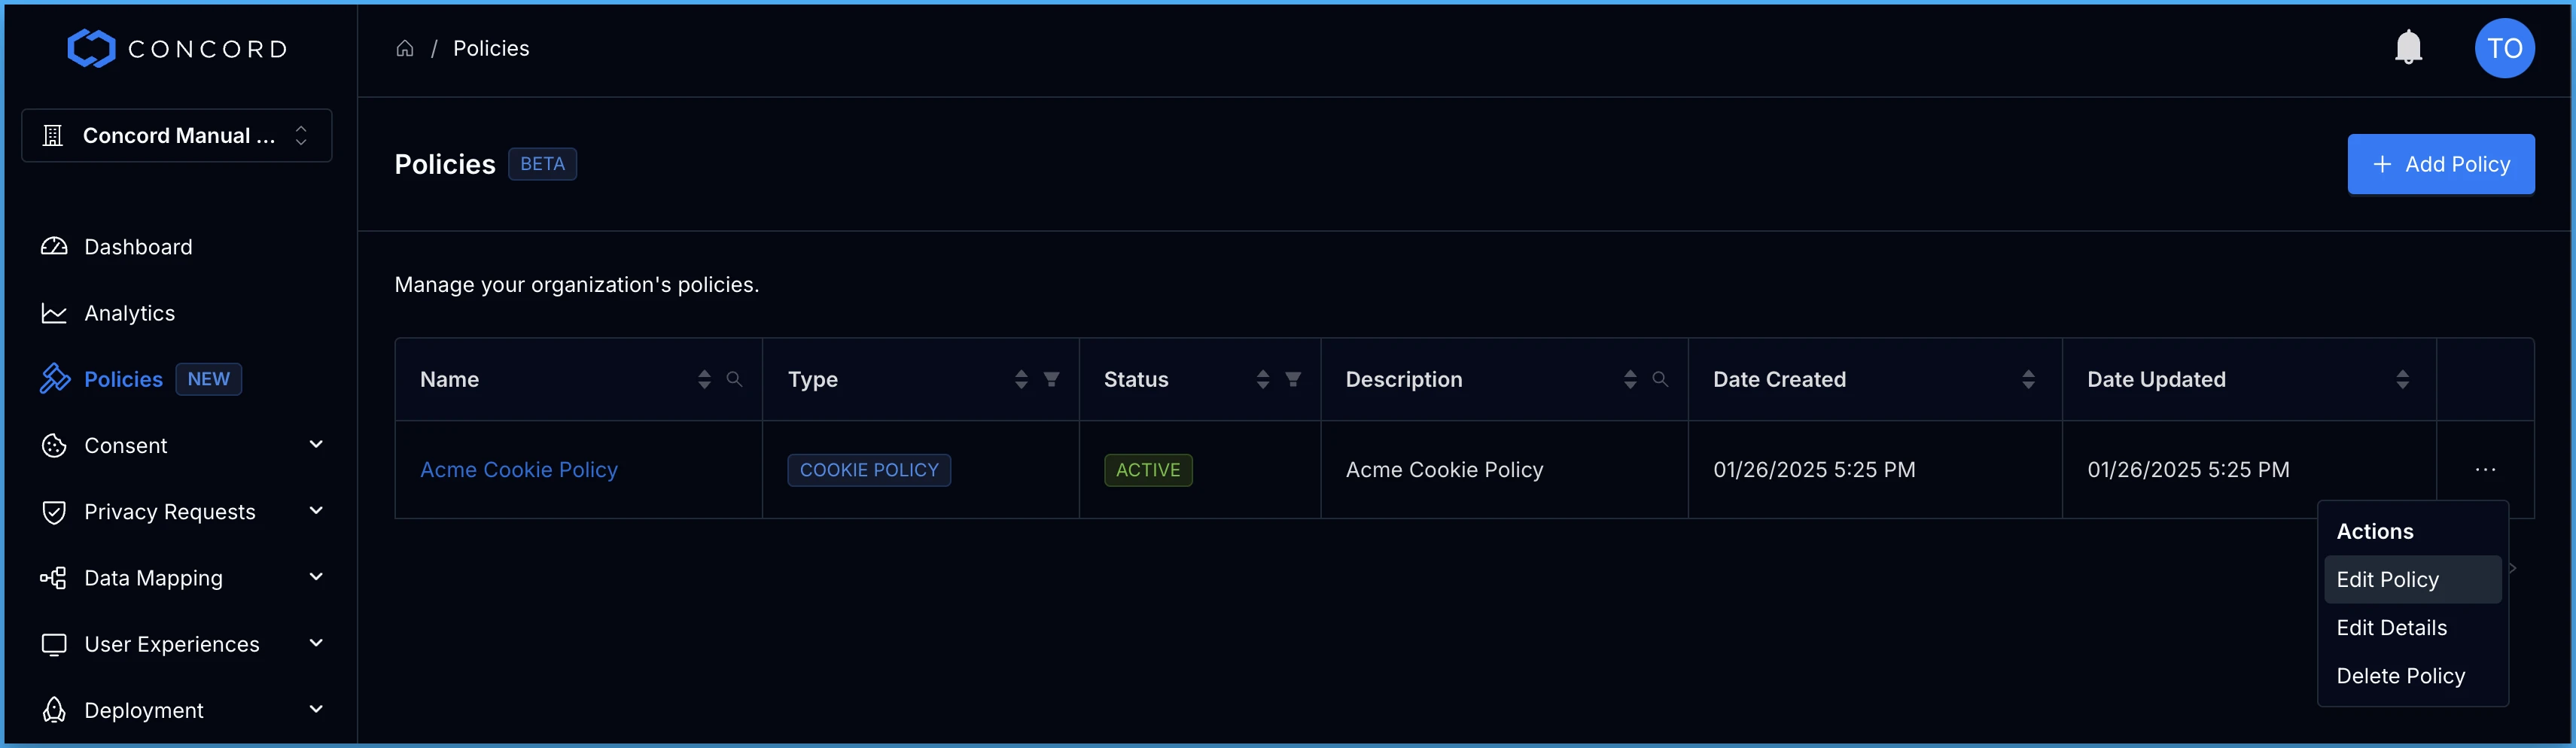
* The **Edit Policy** option takes you to the **Edit Cookie Policy** page where you easily edit and design each policy to align with your company’s brand, voice, and specific policy requirements.

* The **Edit Details** option allows you to edit the name, description, and status of the cookie policy.
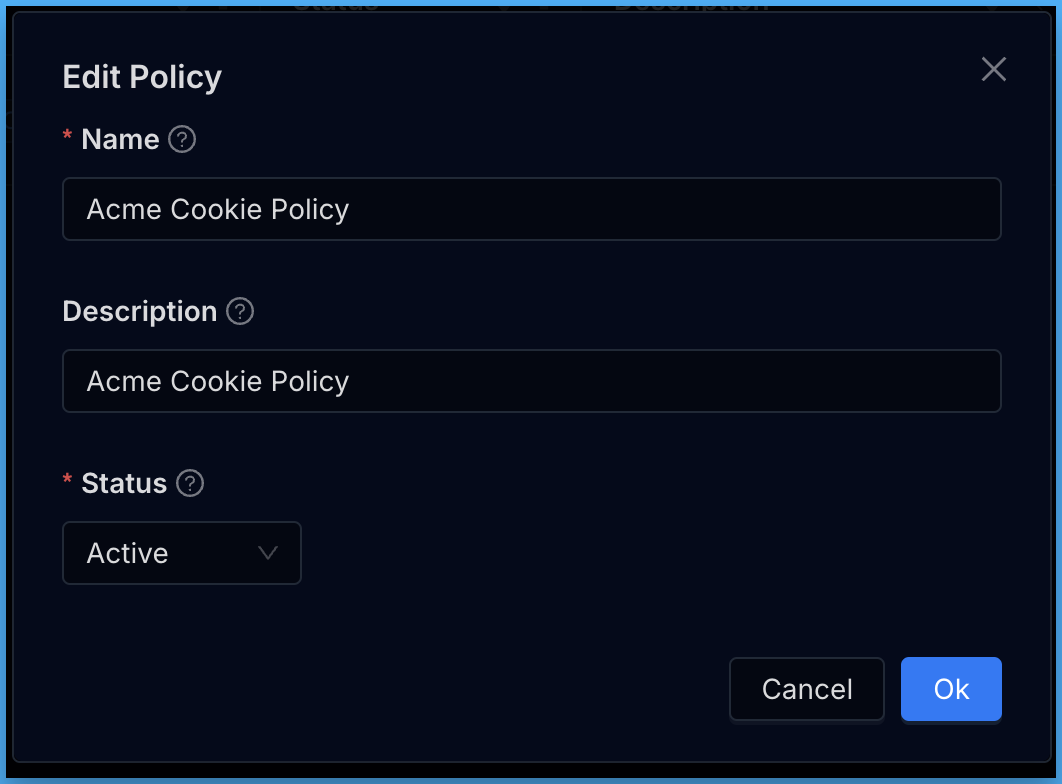
* The **Delete Policy** option allows you to delete the associated cookie policy.
# How to Create, Edit, and Delete a Privacy Policy
URL: /docs/how-to-create-edit-delete-a-privacy-policy
***
title: 'How to Create, Edit, and Delete a Privacy Policy'
description: 'This article provides instructions on how to create, edit, and delete a custom privacy policy using Concord. '
created: '2025-03-27T03:56:25.000Z'
updated: '2025-03-27T03:56:25.000Z'
-----------------------------------
A privacy policy explains how your organization collects, uses, shares, and protects information, helping to build trust and transparency with people. This article provides instructions on how to create, edit, and delete a custom privacy policy using Concord.
Concord makes it easy for you to create a privacy policy by providing:
* **A Guided User-Friendly Interface:** Our intuitive policy generator interface guides you through the process of creating your policy in minutes.
* **Customizable Content:** Easily edit and design your policies to align with your brand, voice, and specific policy requirements.
* **Seamless Integration:** Export your Privacy Policy to PDF, HTML, markdown, or plain text and easily add it to your website.
## Creating a New Privacy Policy
From the Concord Admin UI, click on **Policies** in the left navigation and click on **Add Policy** in the upper right corner of the page.

On the **Policy Type** page, select **Privacy Policy**.
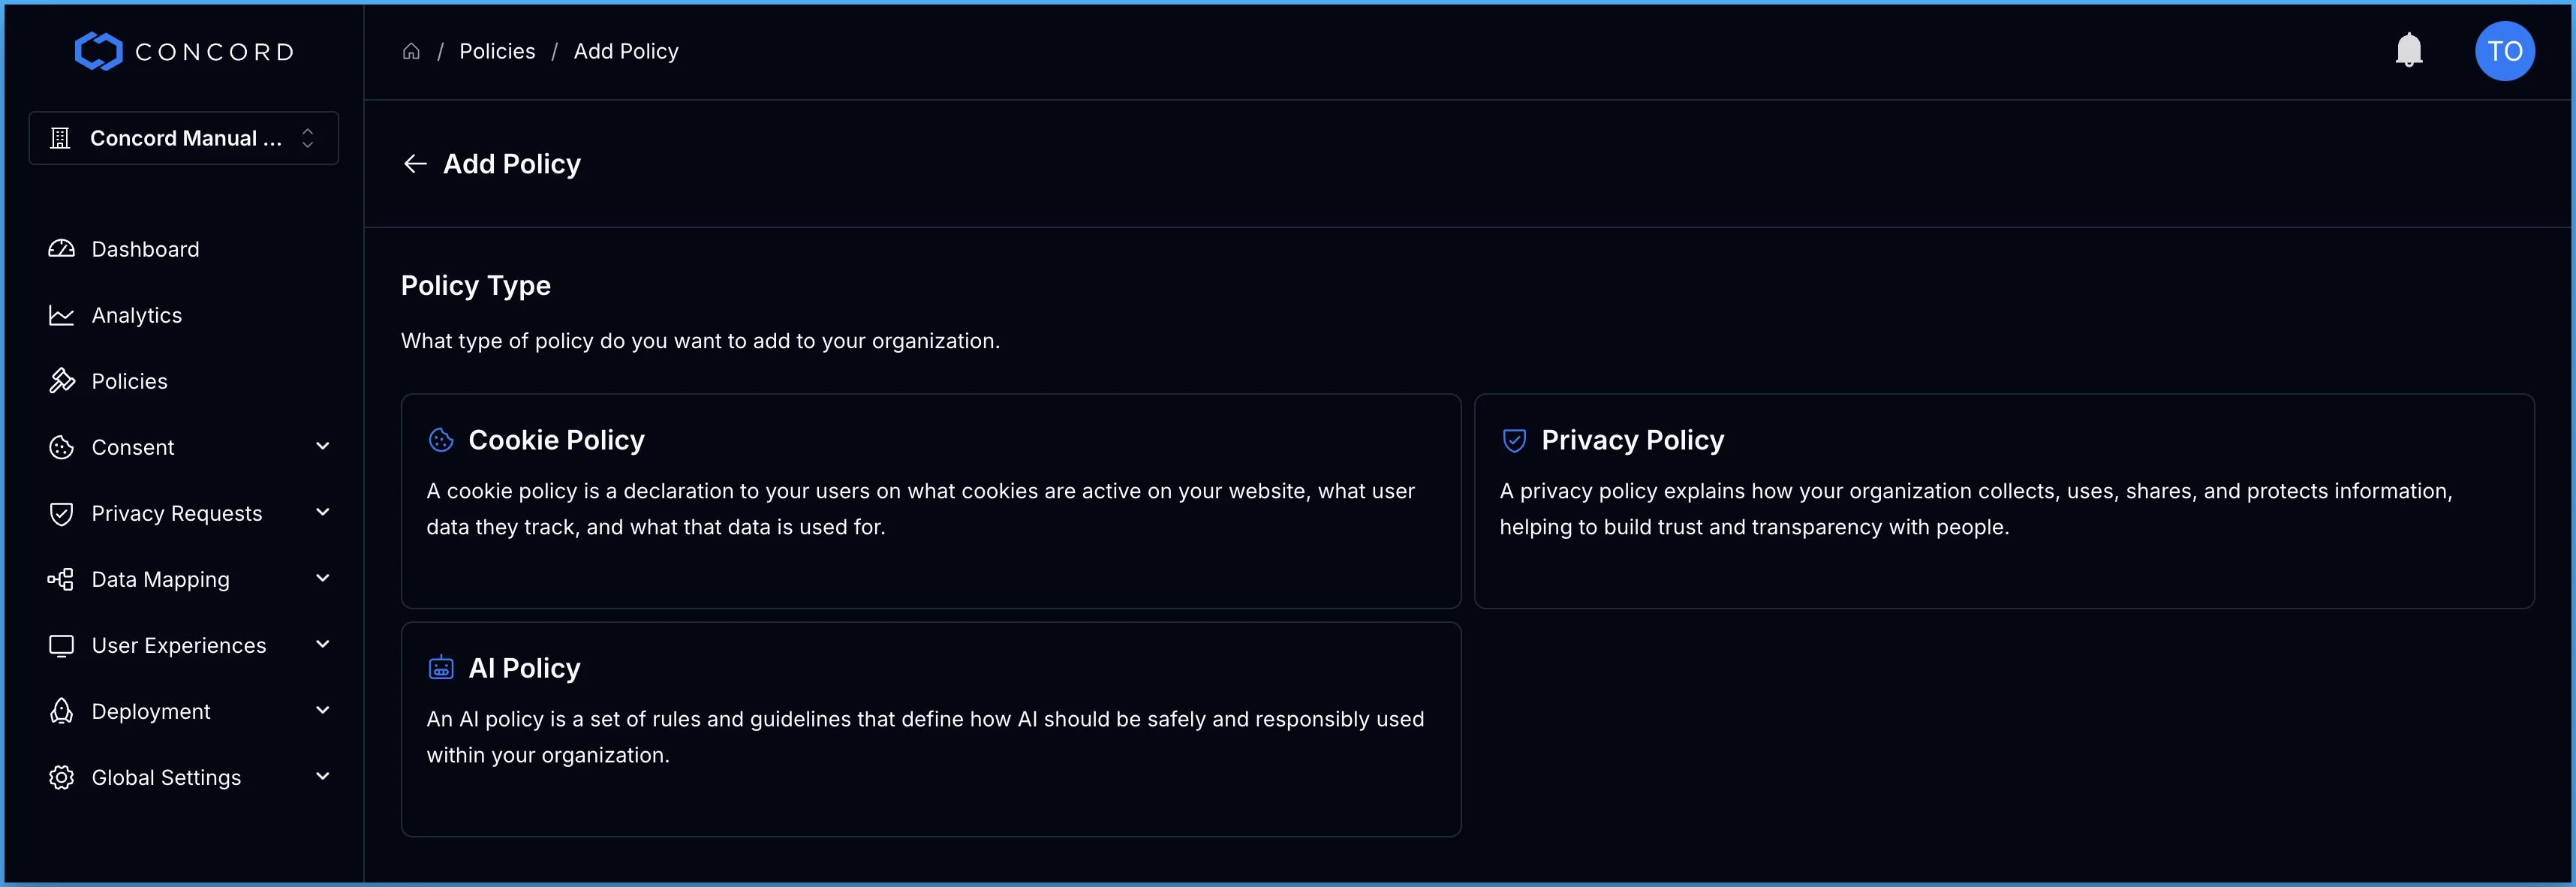
On the Add Privacy Policy page, you can add the following policy details:
### Policy Details
* Internal name for the privacy policy- Internal description of the privacy policy- Status of this policy (Active or Draft)**Company Details**
* Internal description of the privacy policy
* Status of this policy (Active or Draft)
### Company Details
* Company name associated with the policy
* Effective date of the policy
* Website URL associated with the privacy policy (include http\:// or https\://)
### Data Collection & Processing
* User behavior, usage statistics, device or browser data
* If you will provide a separate cookie policy on your website(s)
* Collection of personal and/or sensitive information
* Sharing of personal information
* Sharing with third parties
* Data storage locations
* User rights
### Regional Privacy Laws
* Disclosures for specific regional privacy laws like GDPR or US State Privacy Laws
### Contact Details
* Privacy Officer email and phone number
Click **Submit** to generate a preview of your privacy policy.
On the **Edit Privacy Policy** preview page, you can easily edit and design each policy to align with your company’s brand, voice, and specific policy requirements. Click **Save** to save your changes to the policy.
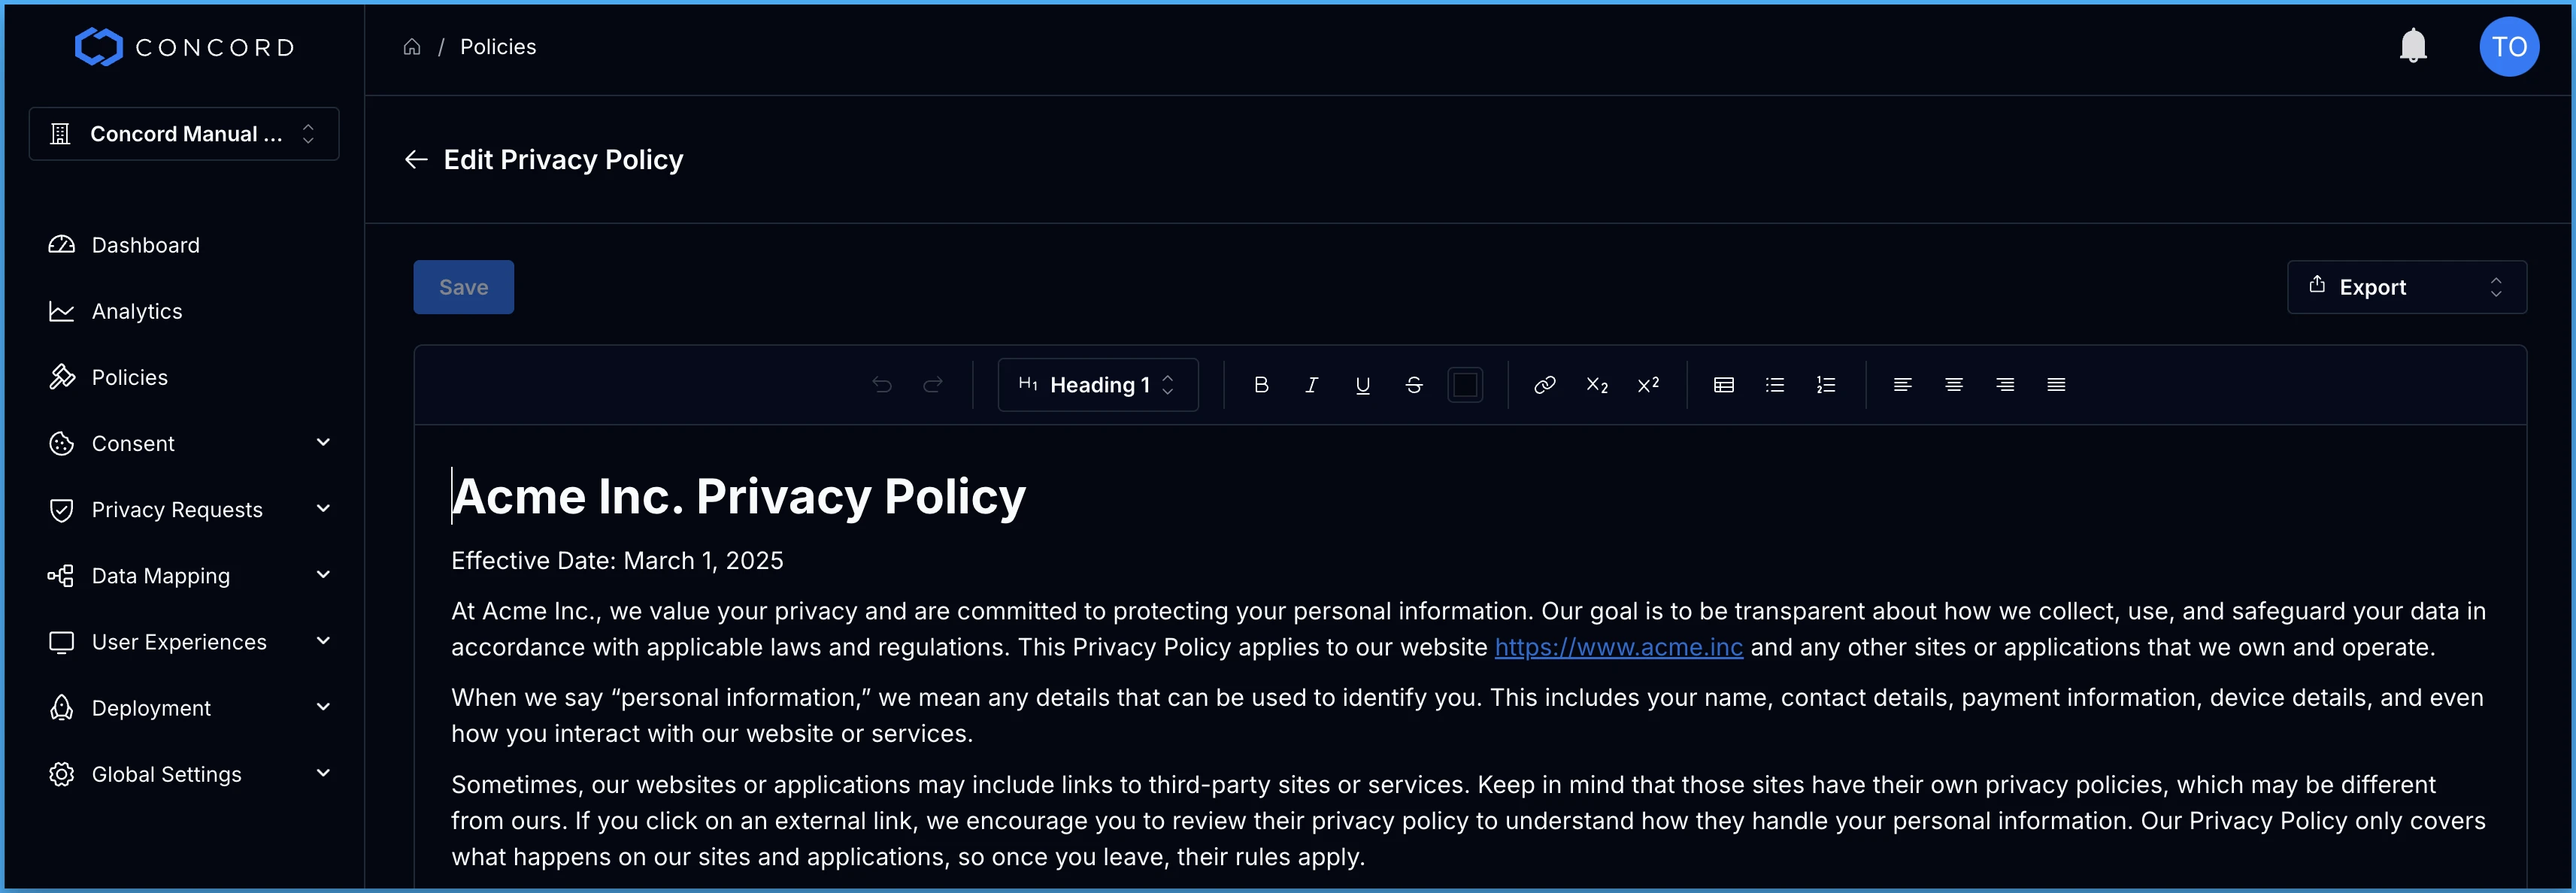
Export your privacy policy to PDF, HTML, markdown, or plain text and easily add it to your website.
## Editing Policies, Editing Details, & Deleting Policies
Once you’ve created and saved a policy, you can easily edit the policy content, edit the policy details, or delete a policy that is no longer needed.
The **Edit Policy** option takes you to the **Edit Privacy Policy** page where you can easily edit and design each policy to align with your company’s brand, voice, and specific policy requirements. You can also access the policy by clicking on the **Name** of the policy on the left hand side of the Policies table.
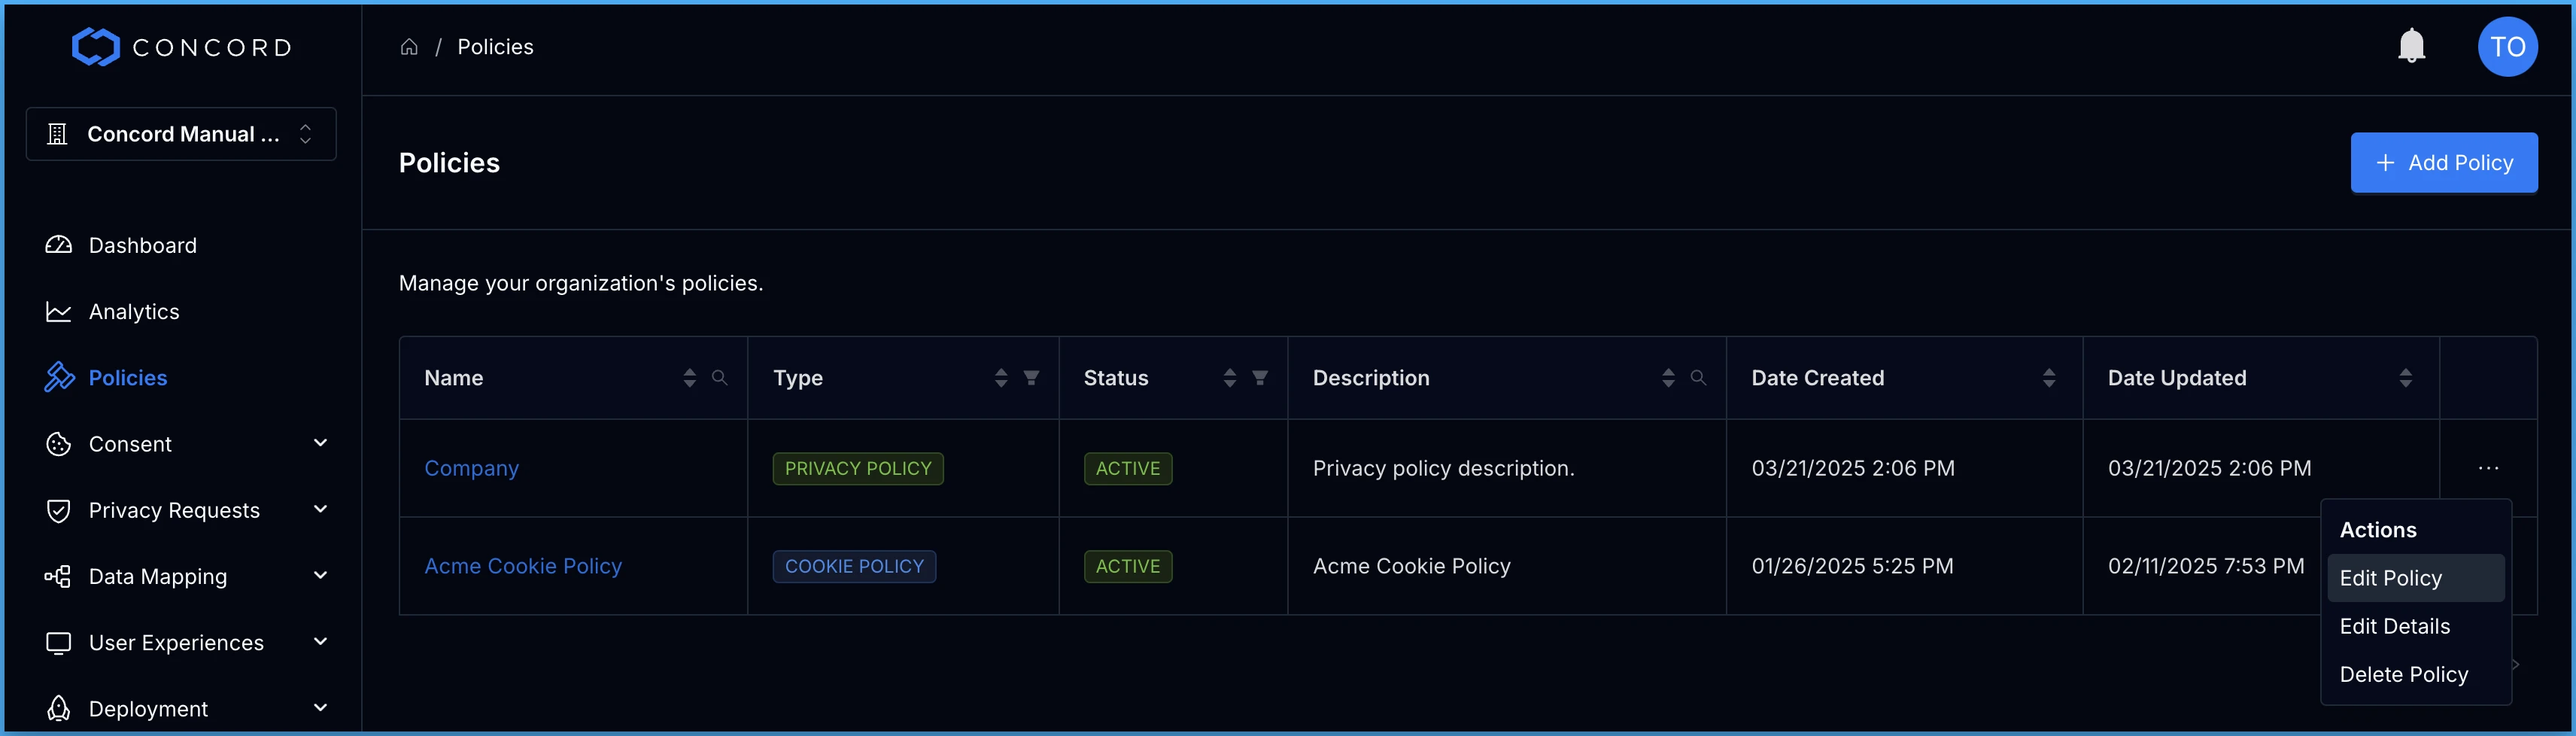
The **Edit Details** option allows you to edit the **Name, Description,** and/or **Status** of a policy- The **Delete Policy** option allows you to delete the associated privacy policy.

# How to Create, Edit, and Delete an AI Policy
URL: /docs/how-to-create-edit-delete-an-ai-policy
***
title: 'How to Create, Edit, and Delete an AI Policy'
description: 'This article provides instructions on how to create, edit, and delete a custom AI policy using Concord. '
created: '2025-03-27T03:48:17.000Z'
updated: '2025-03-27T03:48:17.000Z'
-----------------------------------
An AI policy is a set of rules and guidelines that define how AI should be safely and responsibly used within your organization. This article provides instructions on how to create, edit, and delete a custom AI policy using Concord.
Concord makes it easy for you to create an AI policy by providing:
* **A Guided User-Friendly Interface:** Our intuitive policy generator interface guides you through the process of creating your policy in minutes.
* **Customizable Content:** Easily edit and design your policies to align with your brand, voice, and specific policy requirements.
* **Seamless Integration:** Export your AI policy to PDF, HTML, markdown, or plain text and easily add it to your website.
## Creating a New AI Policy
From the Concord Admin UI, click on **Policies** in the left navigation and click on **Add Policy** in the upper right corner of the page.

On the **Policy Type** page, select **AI Policy**.

On the Add AI Policy page, you can add the following policy details:
### Policy Details
* Internal name for the AI policy- Internal description of the AI policy- Status of this policy (Active or Draft)**Company Details**
* Internal description of the AI policy
* Status of this policy (Active or Draft)
### Company Details
* Organization type (Commercial, Government, Nonprofit)
* Company name associated with the policy
* Effective date of the policy
### Titles
* The employee titles associated with this policy
### Departments
* The departments at your company
### AI Policies
* AI-specific policies for your organization
Click **Submit** to generate a preview of your AI policy.
On the **Edit Privacy Policy** preview page, you can easily edit and design each policy to align with your company’s brand, voice, and specific policy requirements. Click **Save** to save your changes to the policy.

Export your AI policy to PDF, HTML, markdown, or plain text and easily add it to your website.
## Editing Policies, Editing Details, & Deleting Policies
Once you’ve created and saved a policy, you can easily edit the policy content, edit the policy details, or delete a policy that is no longer needed.
* The **Edit Policy** option takes you to the **Edit AI Policy** page where you can easily edit and design each policy to align with your company’s brand, voice, and specific policy requirements.

* The **Edit Details** option allows you to edit the **Name**, **Description**, and/or **Status** of the policy.
* The **Delete Policy** option allows you to delete the associated AI policy.
# Managing Policy Links
URL: /docs/managing-policy-links
***
title: 'Managing Policy Links'
description: 'Create reusable Policy Links for the consent banner and privacy center — privacy policies, terms of service, cookie policies, DPAs, and custom disclosures.'
created: '2026-04-16T00:00:00.000Z'
updated: '2026-04-16T00:00:00.000Z'
-----------------------------------
## Overview
Policy Links are reusable project-level references to the legal documents your users need to see — your Privacy Policy, Terms of Service, Cookie Policy, Data Protection Agreement, and any custom disclosures you want to surface. Once a Policy Link is defined, you can insert it as an inline token in the consent banner text and it is automatically shown in your privacy center disclosures without copying URLs around.
## Where Policy Links Are Used
* **Consent banner text** — insert a Policy Link as an inline token inside the banner copy so users can reach the relevant policy without leaving the banner. Covered in [Configuring the Consent Banner](/docs/configuring-consent-banner).
* **Privacy center disclosures** — references the same Policy Links when presenting disclosure-type consents inside the privacy center.
Because both experiences resolve the same Policy Link to the same URL, you avoid drift between the banner and the privacy center.
## Built-in Policy Types
Concord ships four built-in Policy Types so the most common links you'll need are already categorized:
* **Privacy Policy**
* **Terms of Service**
* **Cookie Policy**
* **Data Protection Agreement**
You can also create a **Custom** policy type for any other disclosure (subprocessors page, acceptable use policy, AI policies, and so on).
## Adding a Policy Link
Navigate to **Policies → Links** in the admin. The page lists every Policy Link configured for the project, with columns for Name, Policy Type, Destination URL, and Status.
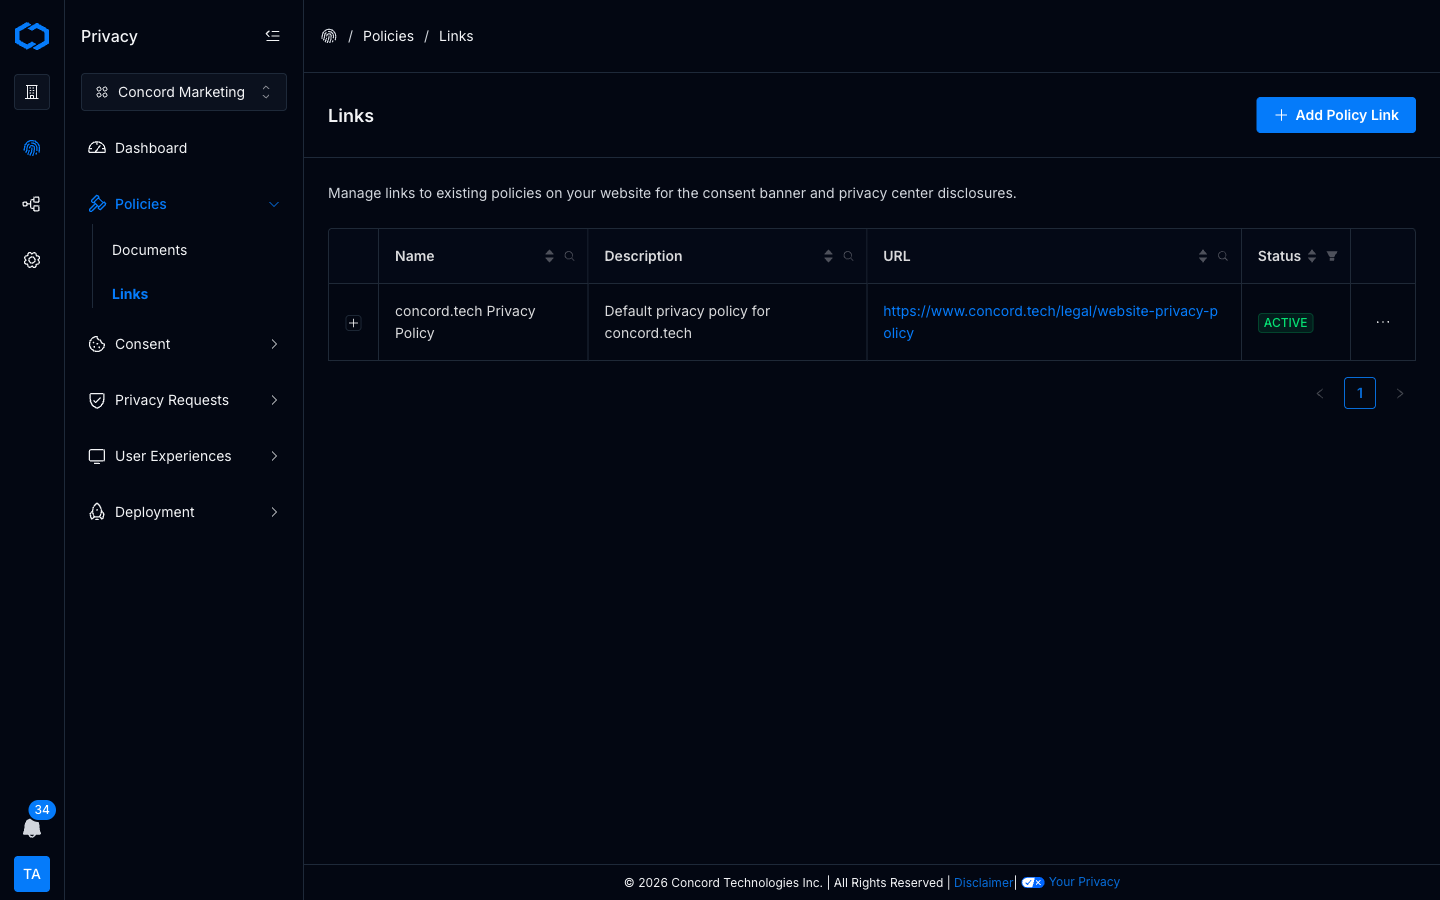
To add a new one:
1. Click **Add Policy Link** in the top right.
2. **Step 1 — Policy Type.** Pick one of the four built-in types, or choose **Custom** for anything else.
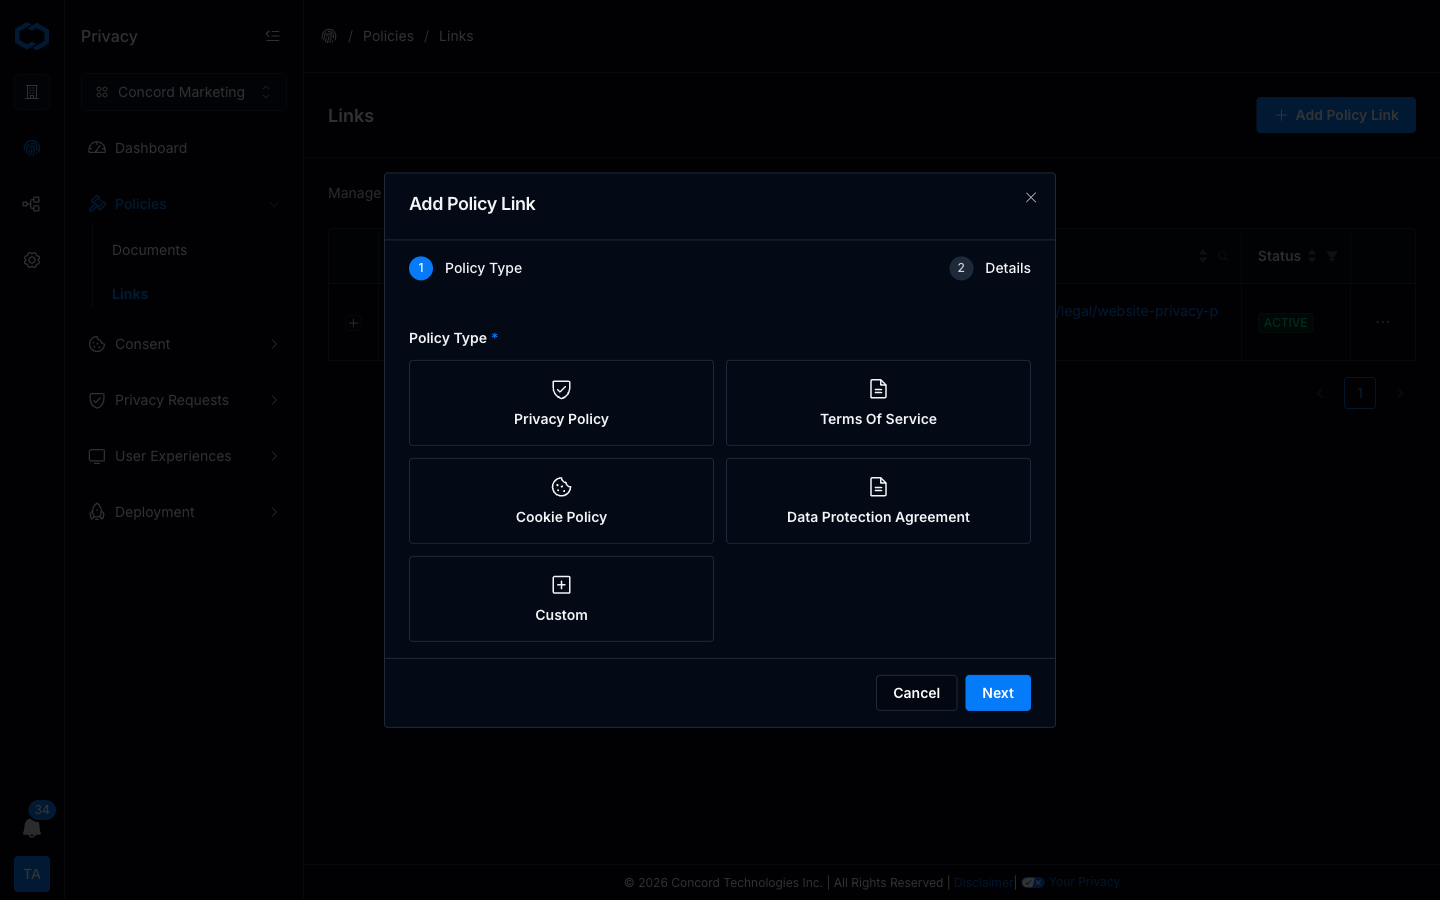
3. **Step 2 — Details.** Fill in:
* **Name** — 5–100 characters. This is how the policy is shown in admin lists and in the banner text editor's Insert Link menu.
* **Description** — what the policy covers. Used internally and in privacy center disclosures.
* **URL** — the destination the link points to. Must be a full `https://` URL.
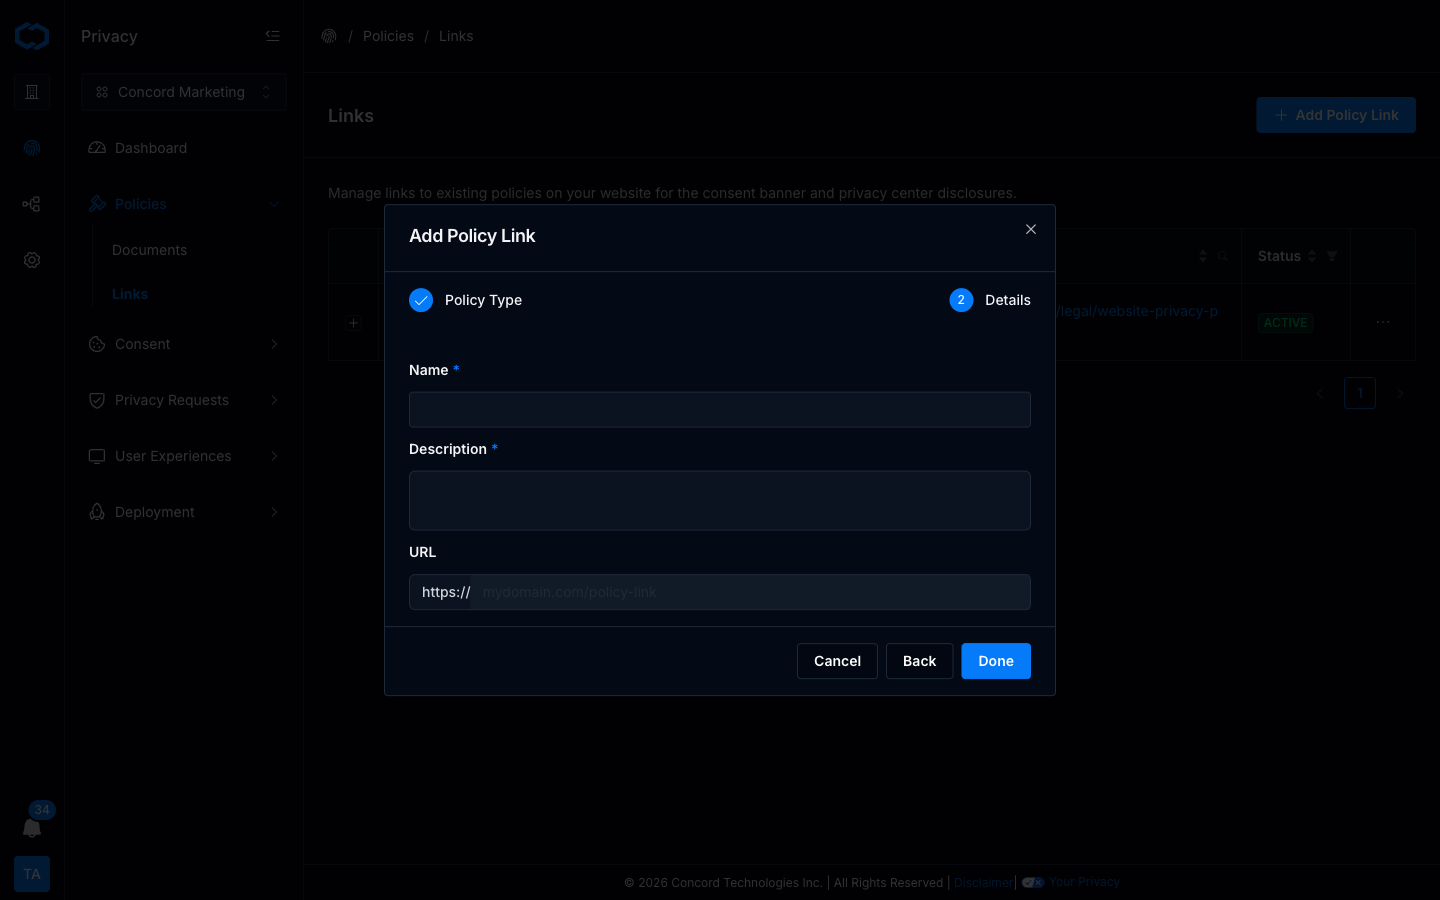
4. Click **Done**. The Policy Link is now available in the consent banner text editor's **Insert Link** menu and in privacy center disclosure settings.
## Editing a Policy Link
From **Policies → Links**, click a Policy Link row to open it. You can update the Name, Description, and URL from there.
Two things to know before you edit:
* **The URL is shared.** Every experience that references this Policy Link will use the updated URL the next time it renders. If you need a different URL per region, create a separate Policy Link and assign each region its own.
* **Banner-specific displayed text stays in the banner.** The Name you set here is the default label. If a specific consent banner (or a specific language tab on a banner) needs a different displayed text for the same link, override it inside the banner's Language tab — see [Configuring the Consent Banner](/docs/configuring-consent-banner).
## Deleting a Policy Link
Deleting a Policy Link removes it from the Insert Link menu and from any privacy center disclosure that referenced it. Banners that already embed the deleted link will surface a validation error until you replace the token with a supported link or remove it from the text.
## Legacy Policy Links
If your consent banner was configured before inline tokens were available, the old single-link setup continues to work. When you open a legacy banner in the editor, Concord converts the old Policy + Link Text fields into a supported inline token automatically.
## Related Documentation
* [Configuring the Consent Banner](/docs/configuring-consent-banner)
* [Customizing Consent Banner Styling](/docs/customizing-consent-banner-styling)
* [Consent Management Overview](/docs/consent-management-overview)
# Managing Privacy Requests
URL: /docs/managing-privacy-requests
***
title: 'Managing Privacy Requests'
description: 'Manage, fulfill, edit, and resolve user-submitted privacy requests efficiently in Concord for seamless compliance.'
created: '2022-02-21T21:18:19.000Z'
updated: '2025-03-27T04:13:13.000Z'
-----------------------------------
# Managing Privacy Requests
When your users submit Privacy Requests, your team will need to work on and finalize those requests in a timely fashion. You can easily handle these requests within Concord in the Request Log reporting section by selecting and editing an individual request. We recommend that organizations make careful and accurate use of this functionality in order to ensure seamless and error-free compliance with applicable regulations. To learn more about using Privacy Request Log report, refer to this article: [Privacy Requests Request Log](/docs/privacy-requests-request-log)
## Managing & Fulfilling a Compliance Request.
1. Click on the Privacy Requests drop-down menu and choose Request Log.
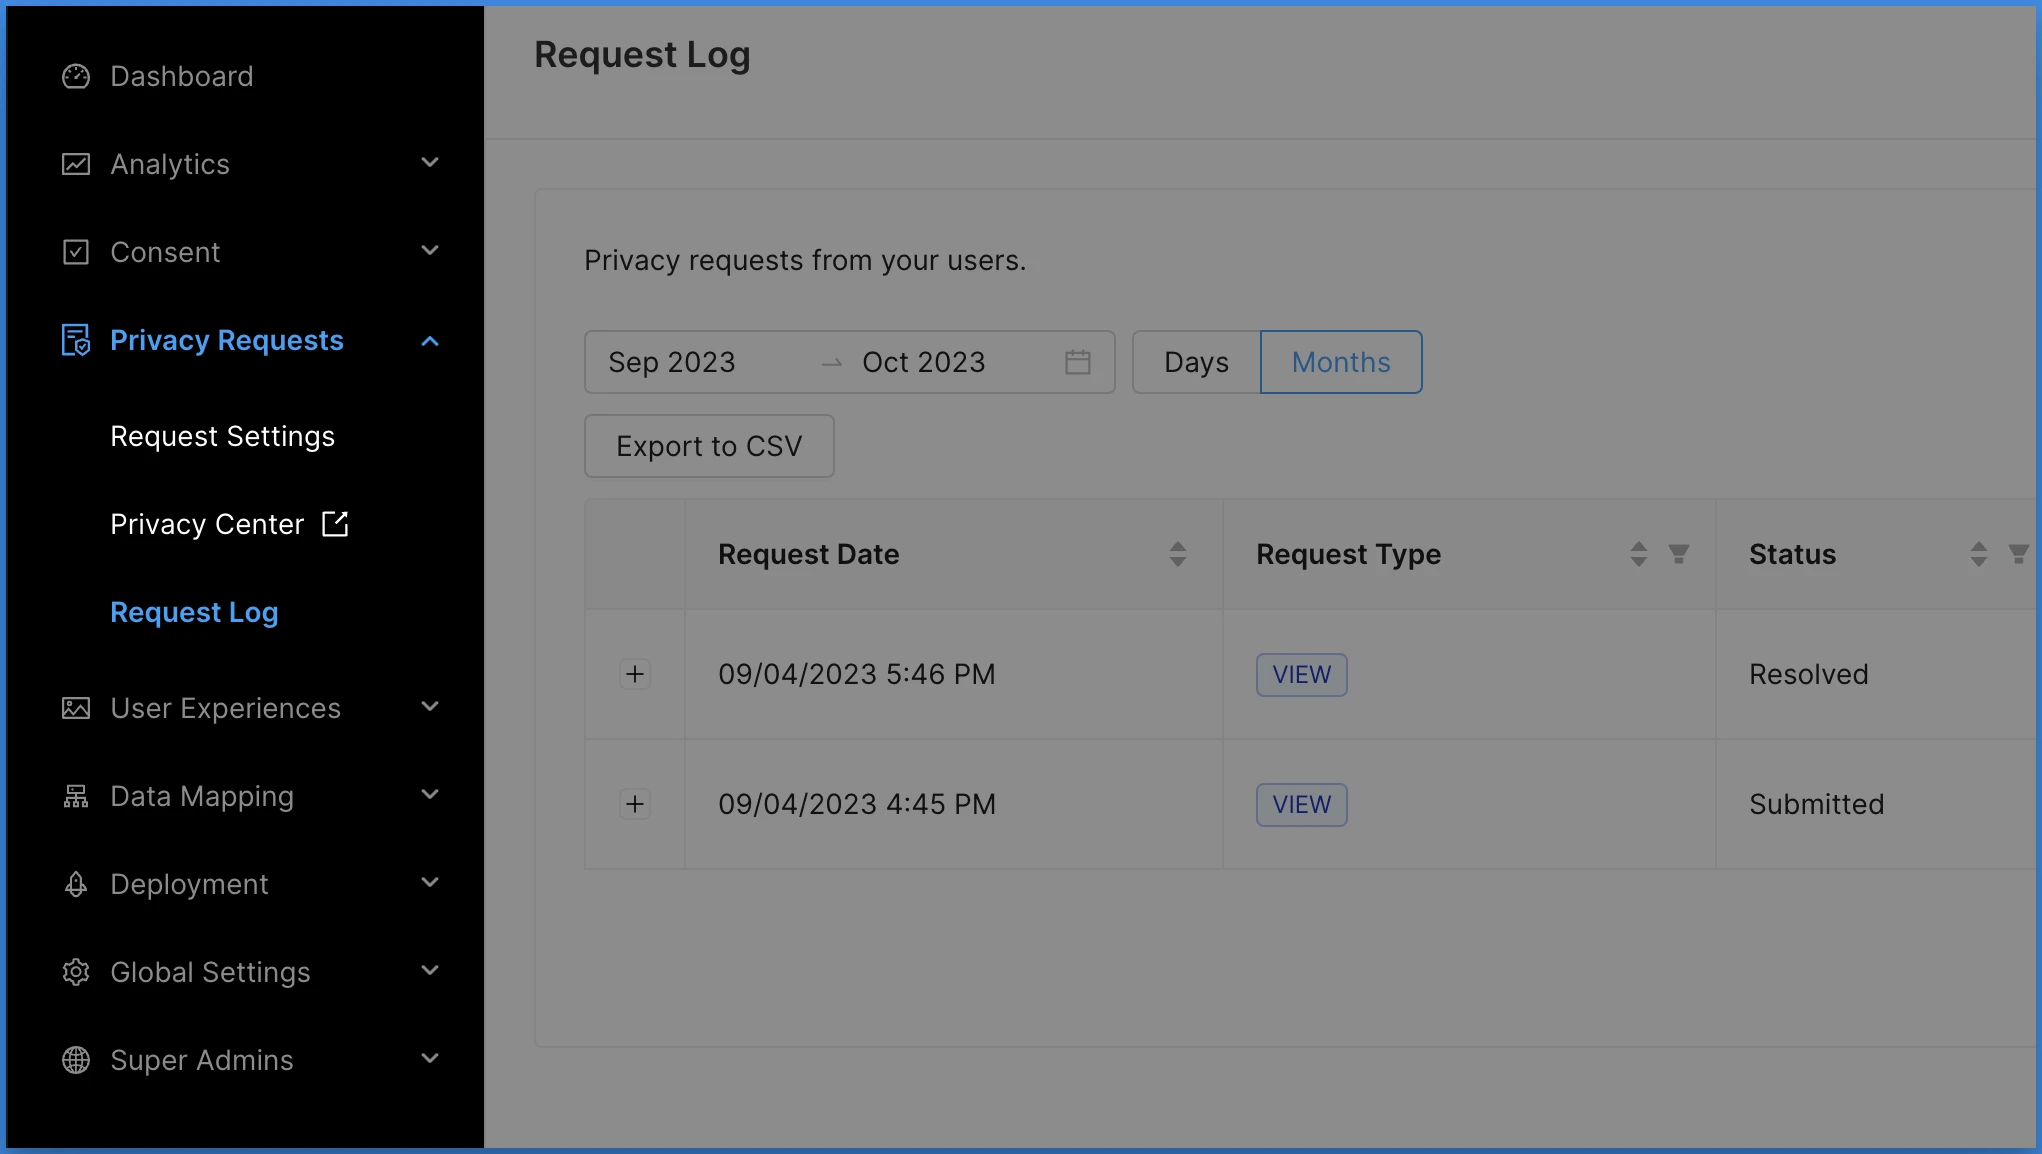
2. Click on the Edit button to the right of the Privacy Request you would like to edit.
* Privacy Requests can only be edited once the user has verified their identity and the request status has moved to the “Submitted” state.
* When a request’s status is changed, this is displayed to the user in the Privacy Center widget.
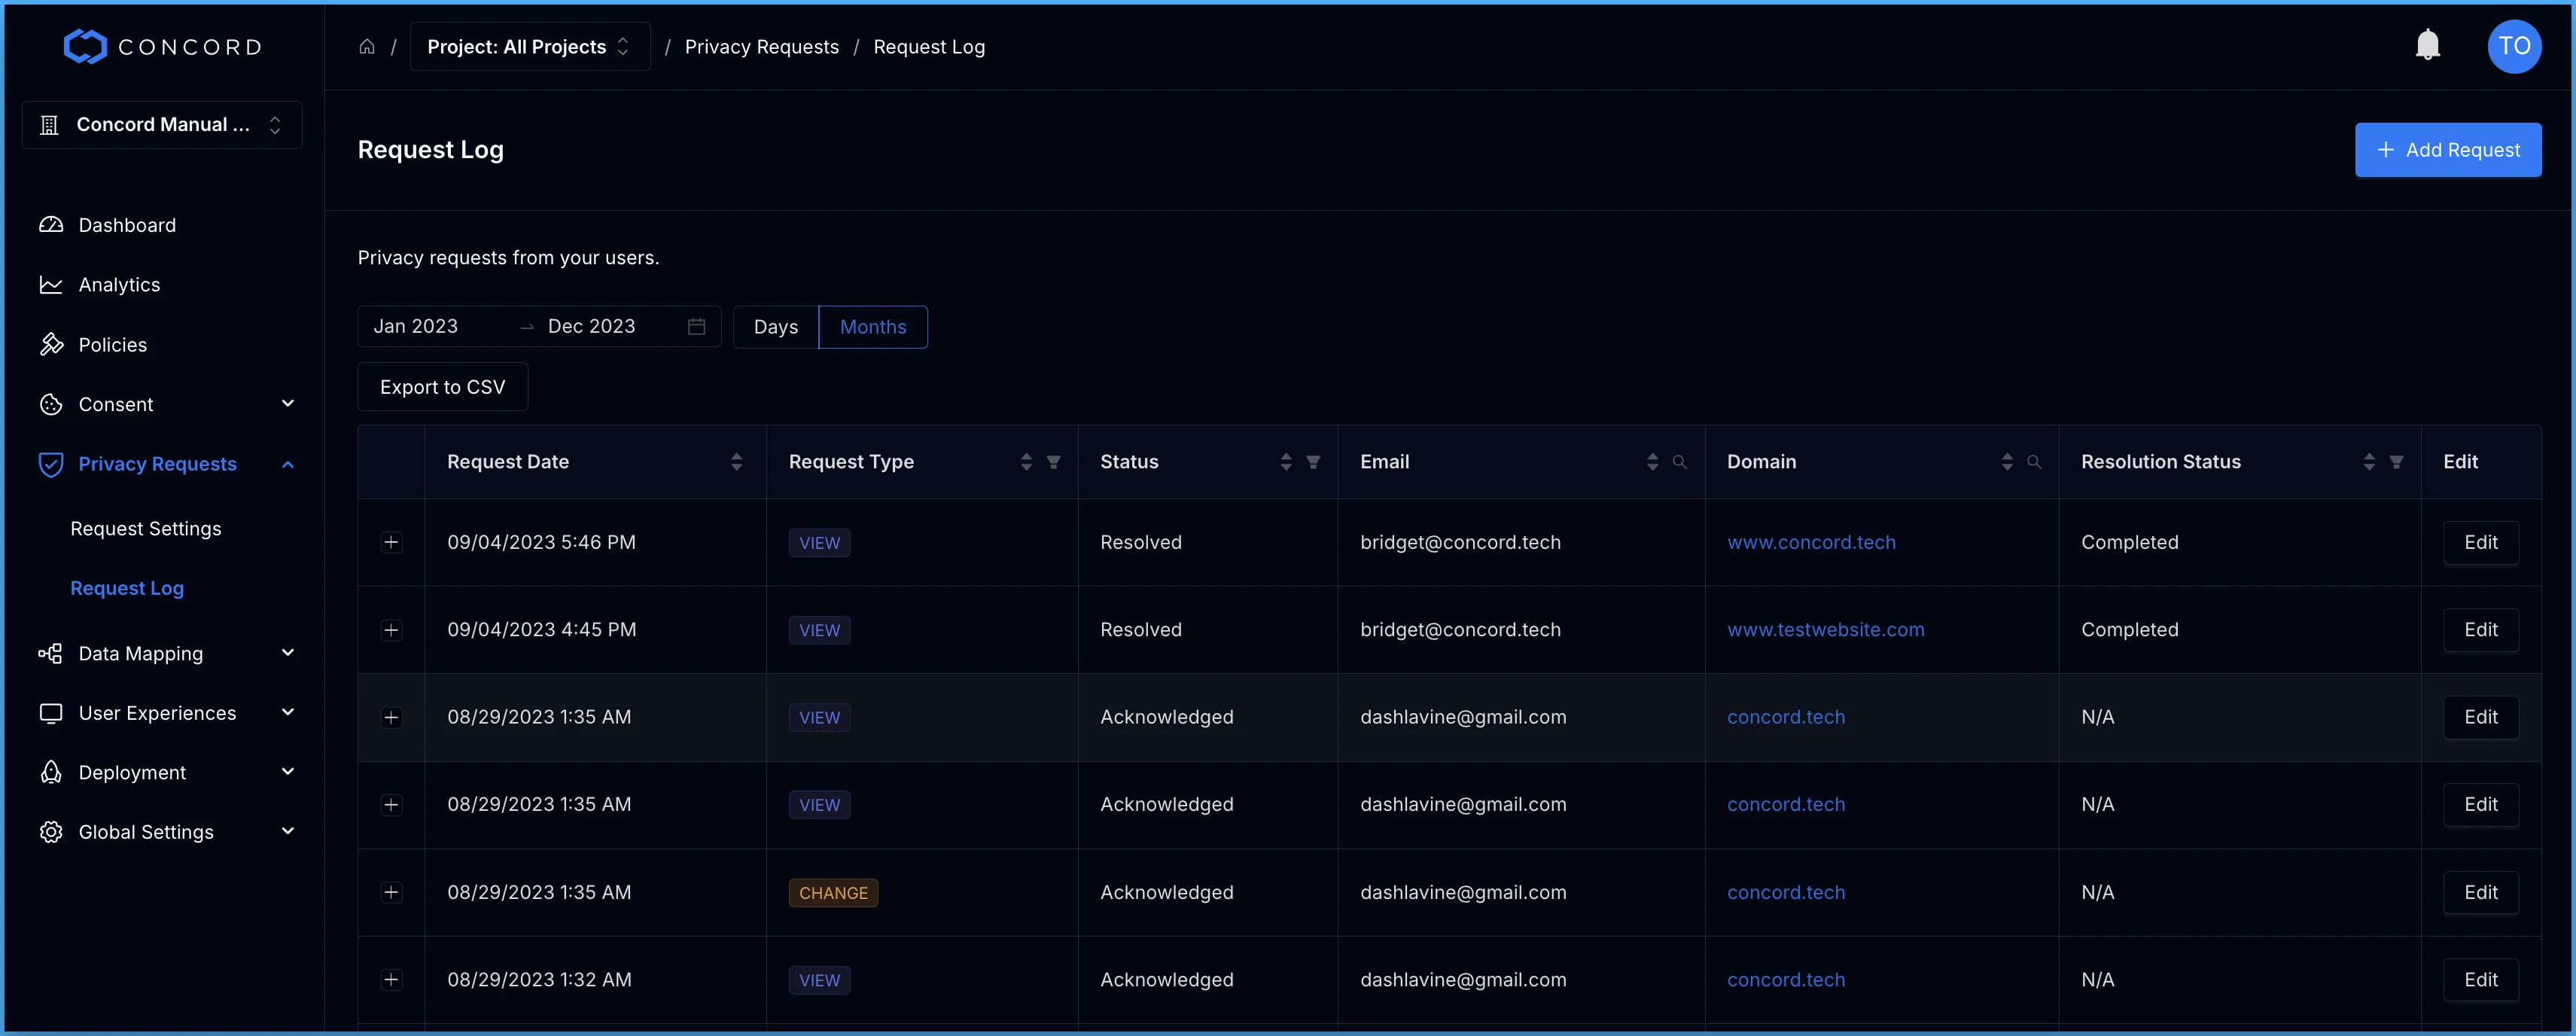
3. To change the status of the request, click Mark as Acknowledged.
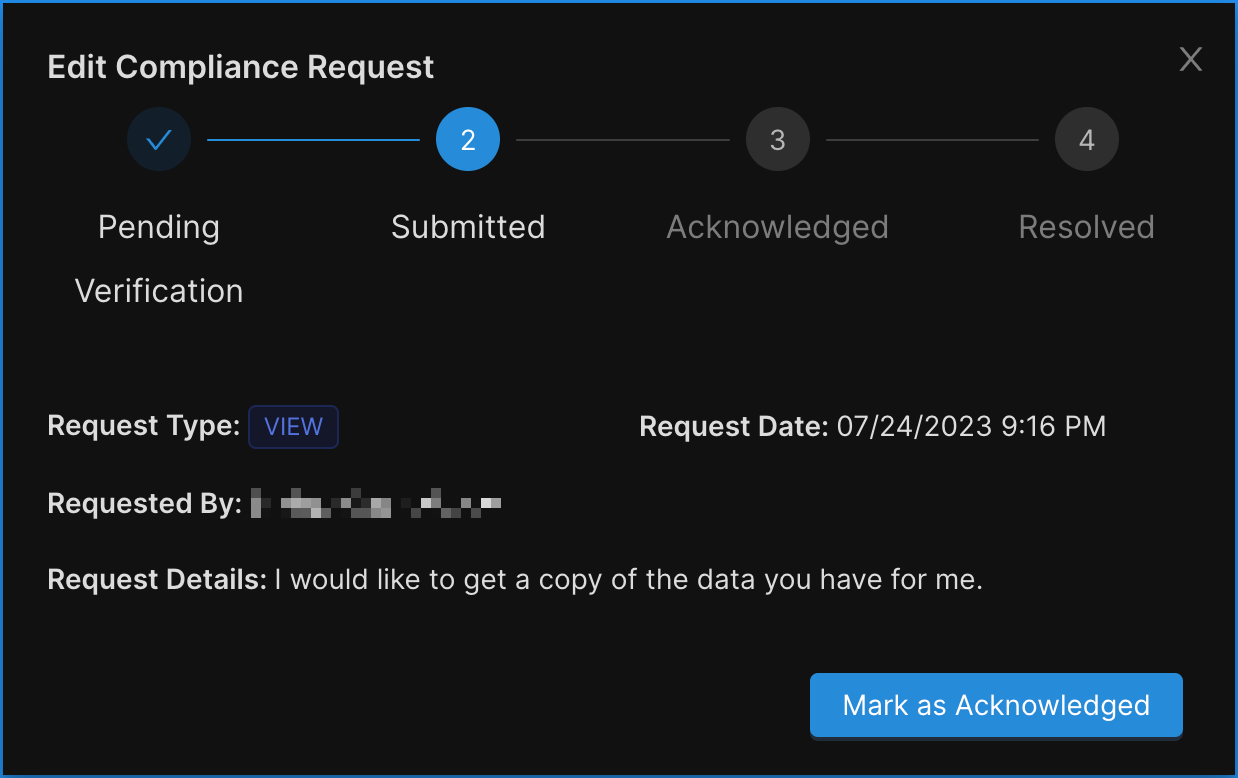
4. Once the request has been acknowledged, you may view, add, and edit the following compliance request details:
* Resolution Status: This column shows the status of the resolution that you set when you finish processing the request. This field can be set to Completed, No Records Found, Partially Completed, Denied, or Withdrawn.
* Completed: The request was processed and completed as expected.
* No Records Found: No matching records were found to process the request.
* Partially Completed: Some but not all records were found and processed.
* Denied: The request was reviewed but denied (e.g., legal exemption, identity verification failure).
* Withdrawn: The requester withdrew the request before completion.
* Resolution: When a Privacy Request is resolved, these details will be included in a resolution notification email to the user. Concord recommends consistent language here to avoid confusion and proper governance is highly encouraged to ensure effective regulatory compliance. If your organization requires assistance establishing best practices like governance, speak to your Concord representative about our available services.
* Internal Notes: Add any additional notes you want to capture for this request. These are not shown or sent to the user and are for internal use only.
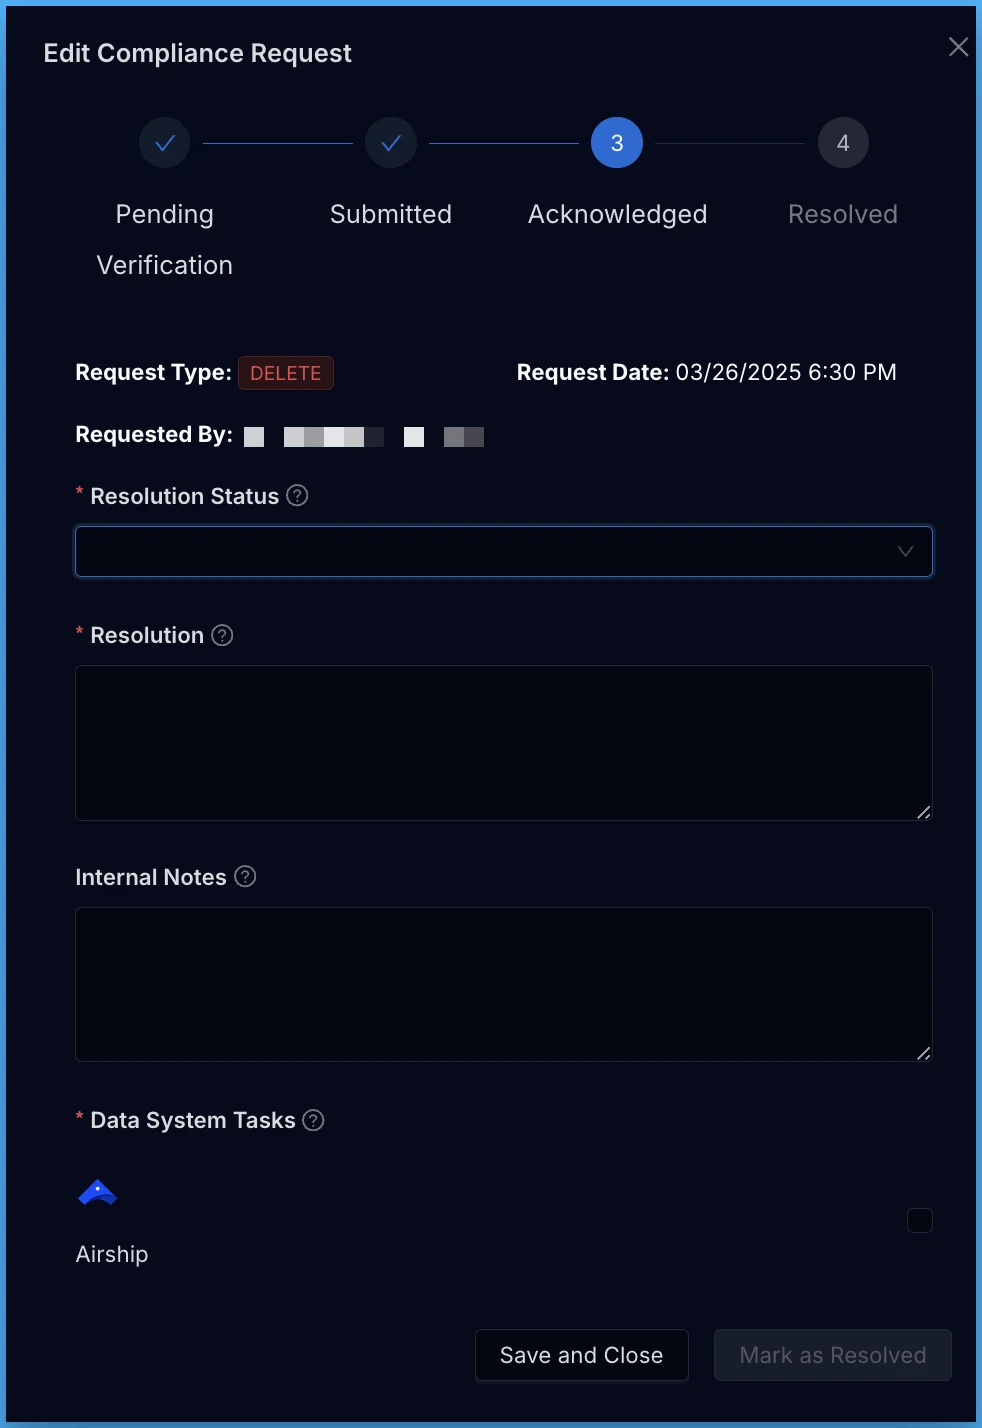
5. Insert details regarding the actions taken to resolve the user’s request under Resolution. When a Privacy Request is resolved, these details will be included in a resolution notification email to the user. Concord recommends consistent language here to avoid confusion and proper governance is highly encouraged to ensure effective regulatory compliance. If your organization requires assistance establishing best practices like governance, speak to your Concord representative about our available services.
6. If your Project has active Data Systems, you will also see a Data System Tasks section within the Edit Compliance Request workflow and any Data Systems that were active when the Privacy Request was received will have an associated Task that needs to be completed. To resolve the Privacy Request, complete and mark each Task as completed. We also recommend adding the details for each completed Task to the Resolution field. Once all Tasks are complete and checked off, the request can be resolved by clicking Mark as Resolved.
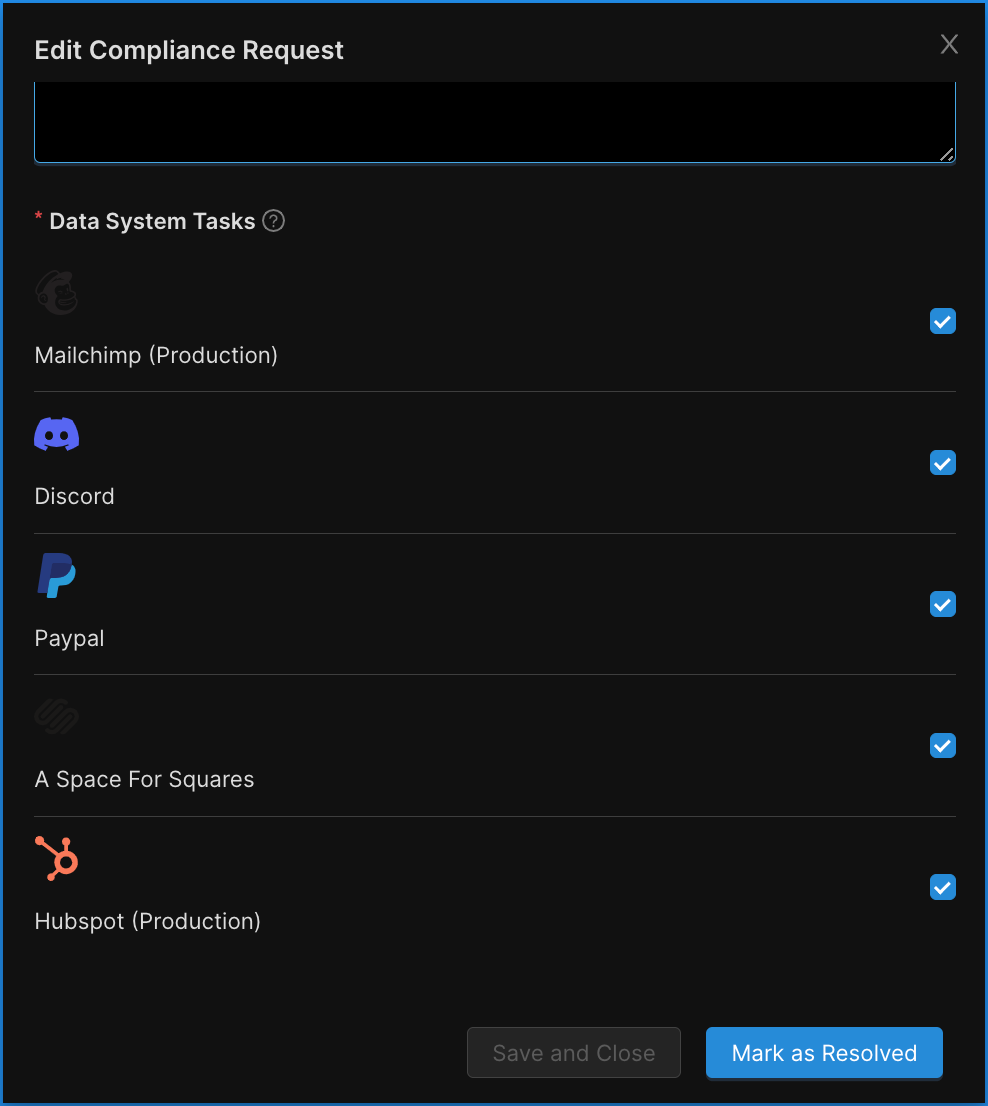
## Automation for Get a Copy Requests
For Get a Copy (View) requests, you will have the additional option on the Edit Compliance Request form to upload data related to this compliance request. All files attached to a Get a Copy request will securely sent to the requestor when the request is resolved.
To upload data related to a specific view compliance request, go to the **Data Uploads** section on the Edit Compliance Request form, click the **Upload** button, and browse to the file(s) to add them to the request.
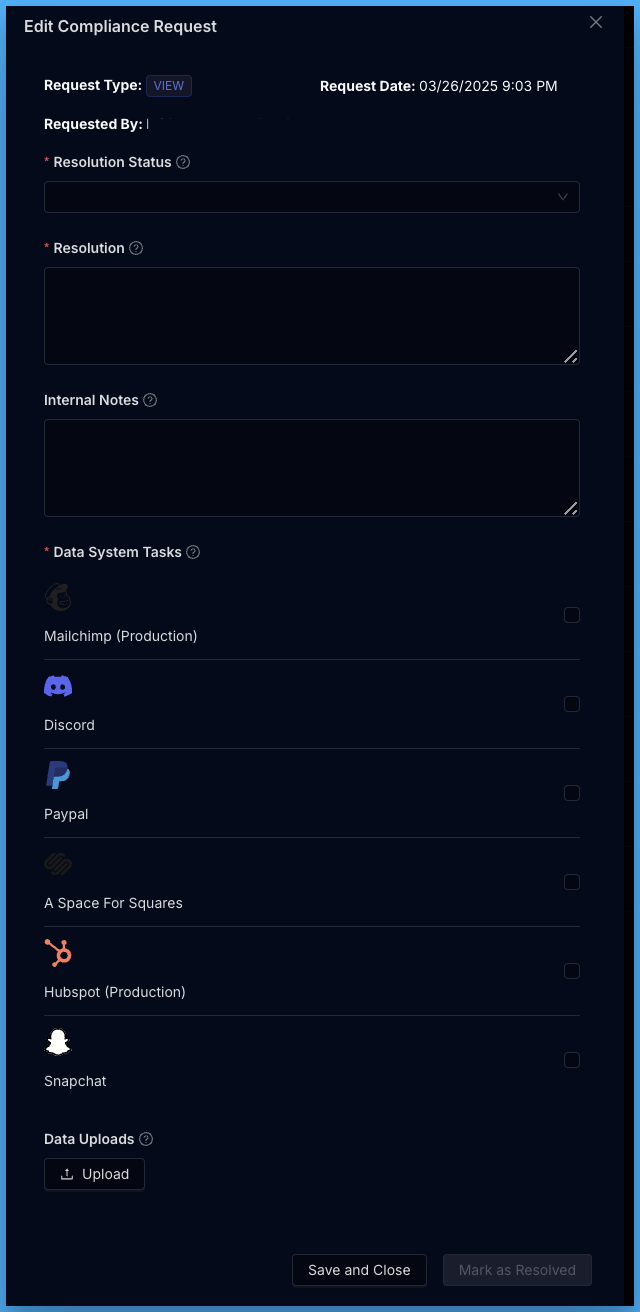
Note that the data files must meet the following requirements:
* File type: csv, json, txt, xls, pdf, doc
* Maximum individual file size: 10MB
* Maximum combined file size per request: 50MB
When the request is marked as resolved, an email will be sent to the email address associated to the request with instruction on how to access their data. The link will only be active for 24 hours. If the link has expired, the user will be prompted to request another valid secure access link.
When the the user clicks the link in the email, they will be taken to Concord secure Privacy Portal where they can download a copy of their data.
# Manually Adding Privacy Requests
URL: /docs/manually-adding-privacy-requests
***
title: 'Manually Adding Privacy Requests'
description: 'This article provides instructions on manually adding Compliance Requests when needed. '
created: '2022-02-21T21:12:54.000Z'
updated: '2025-03-27T04:20:31.000Z'
-----------------------------------
## Overview
Some organizations have alternative methods for their customers to submit data privacy requests (via phone, email, etc). In such instances it’s crucial to add those requests to Concord for processing, fulfillment, and compliance reporting purposes. This article provides instructions on manually adding those Privacy Requests so that they are available within reporting and workflows. For more information on Privacy Requests, you can also take a look at the following articles:
* For information on Privacy Request reporting, refer to this article: [Privacy Requests Request Log](/docs/privacy-requests-request-log)
* To learn more about Privacy Request workflows, refer to this article: [Managing Privacy Requests](/docs/managing-privacy-requests)
## Manually Adding a Privacy Request
1. Click on the Privacy Requests drop-down menu and choose Request Log.

2. Click on the Add Request button in the upper right of the Request Log page.
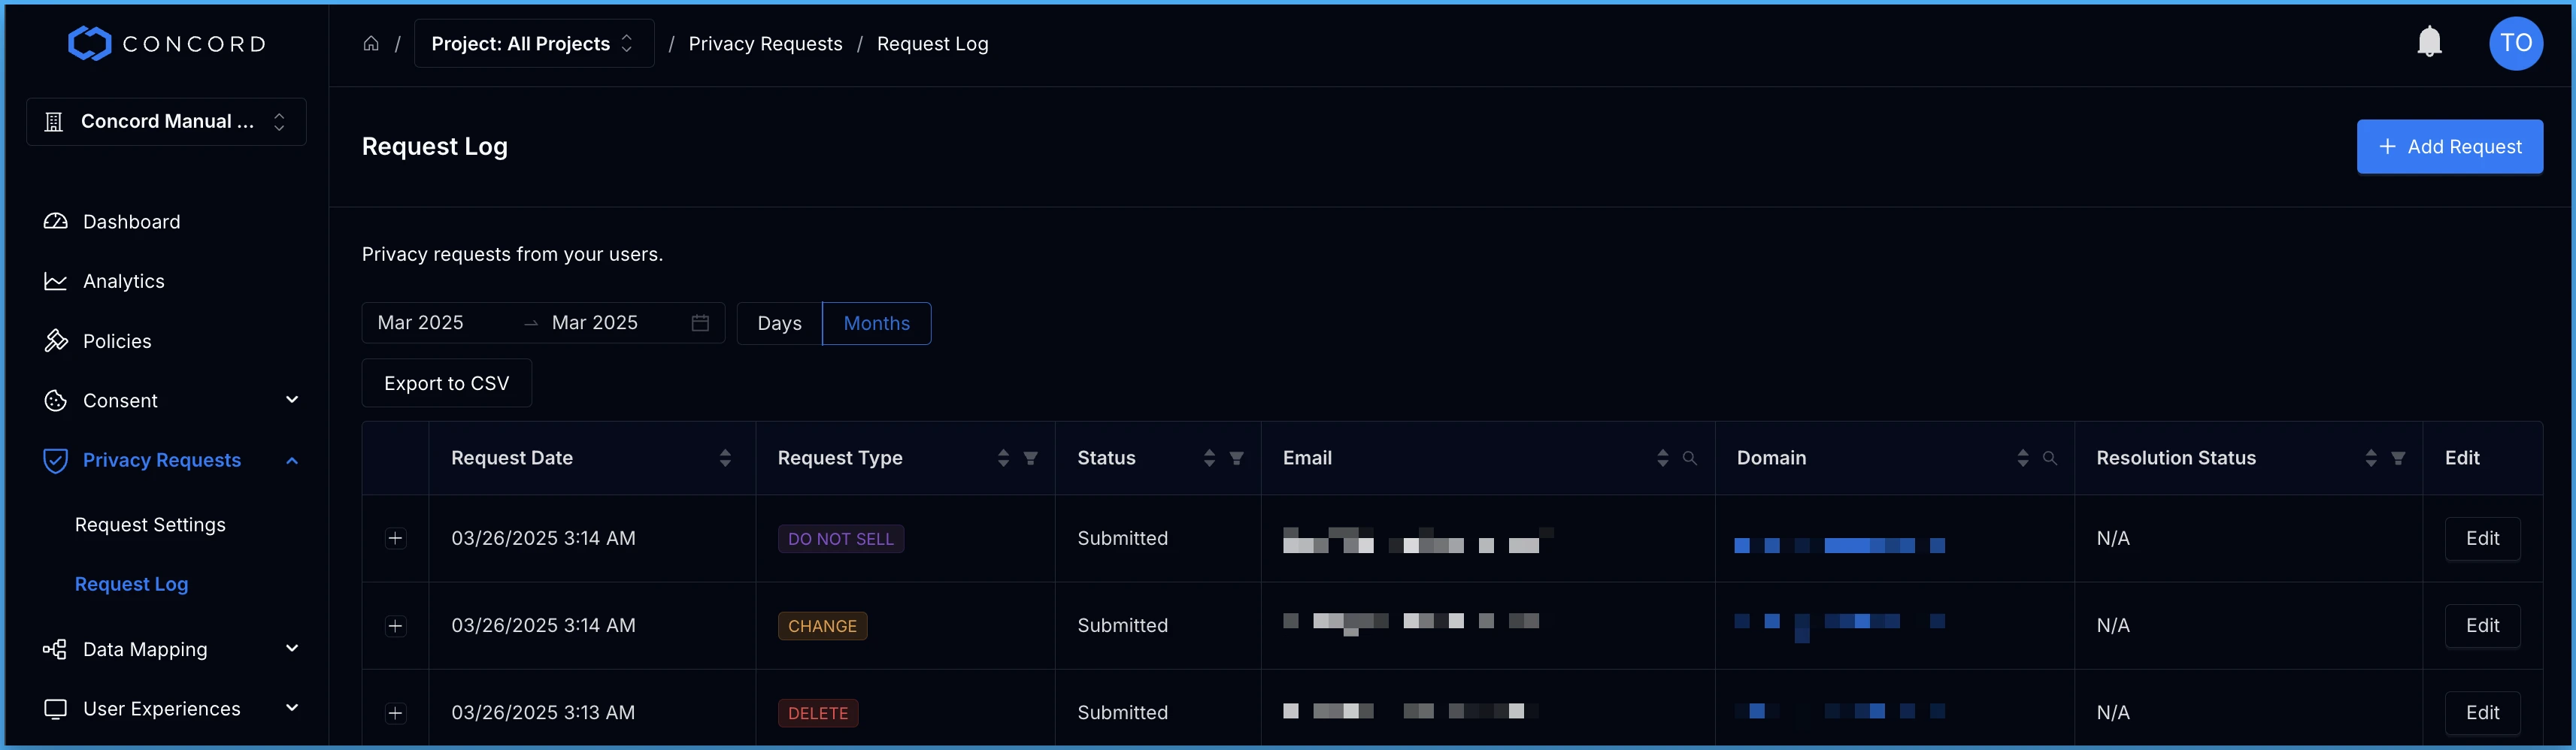
3. From this screen you will be able input all the necessary details of the user’s request:
* **Project:** The Project associated with this request.
* **Email:** The email address of the user that submitted the request.
* **First Name:** The first name of the user that submitted the request.
* **Last Name:** The last name of the user that submitted the request.
* **Phone Number:** The phone number of the user that submitted the request.
* **Request Type:** The type of request that the user submitted.
* Change
* View
* Delete
* Do Not Sell
* **Pre-verified:** Have you already verified the user's email address? Can currently only be set to true when manually adding requests. In the future, the option to set it to false will be enabled, which will then send an email verification request to the user.
* **Domain:** The primary domain that this request pertains to.
* **User Provided Details:** The details provided by the user.
* **Internal Notes:** Any internal notes related to this particular request.
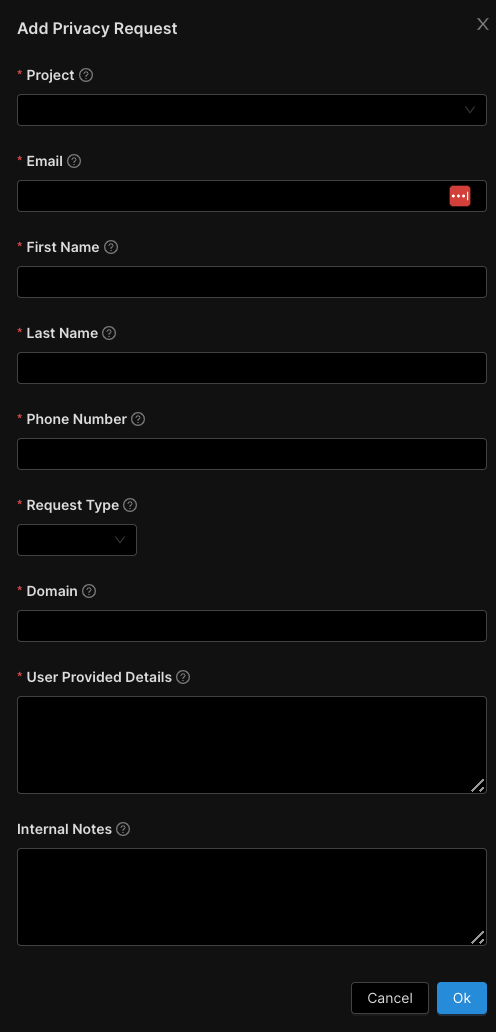
4. Click OK.
5. Once the request has been added, it will appear in your Privacy Request Log and you may follow the standard workflow to process and fulfill this request.
# Privacy Requests Reports and Metrics (DSRs/DSARs)
URL: /docs/privacy-request-reports-metrics
***
title: 'Privacy Requests Reports and Metrics (DSRs/DSARs)'
description: 'The Privacy Requests Reports section in Concord is where you can find reporting on privacy request (DSR/DSAR) metrics.'
created: '2025-12-15T20:44:02.000Z'
updated: '2025-12-15T20:44:02.000Z'
-----------------------------------
The Privacy Requests Reports section in Concord is where you can find detailed analytics and insights for privacy requests (DSRs/DSARs) for your projects.
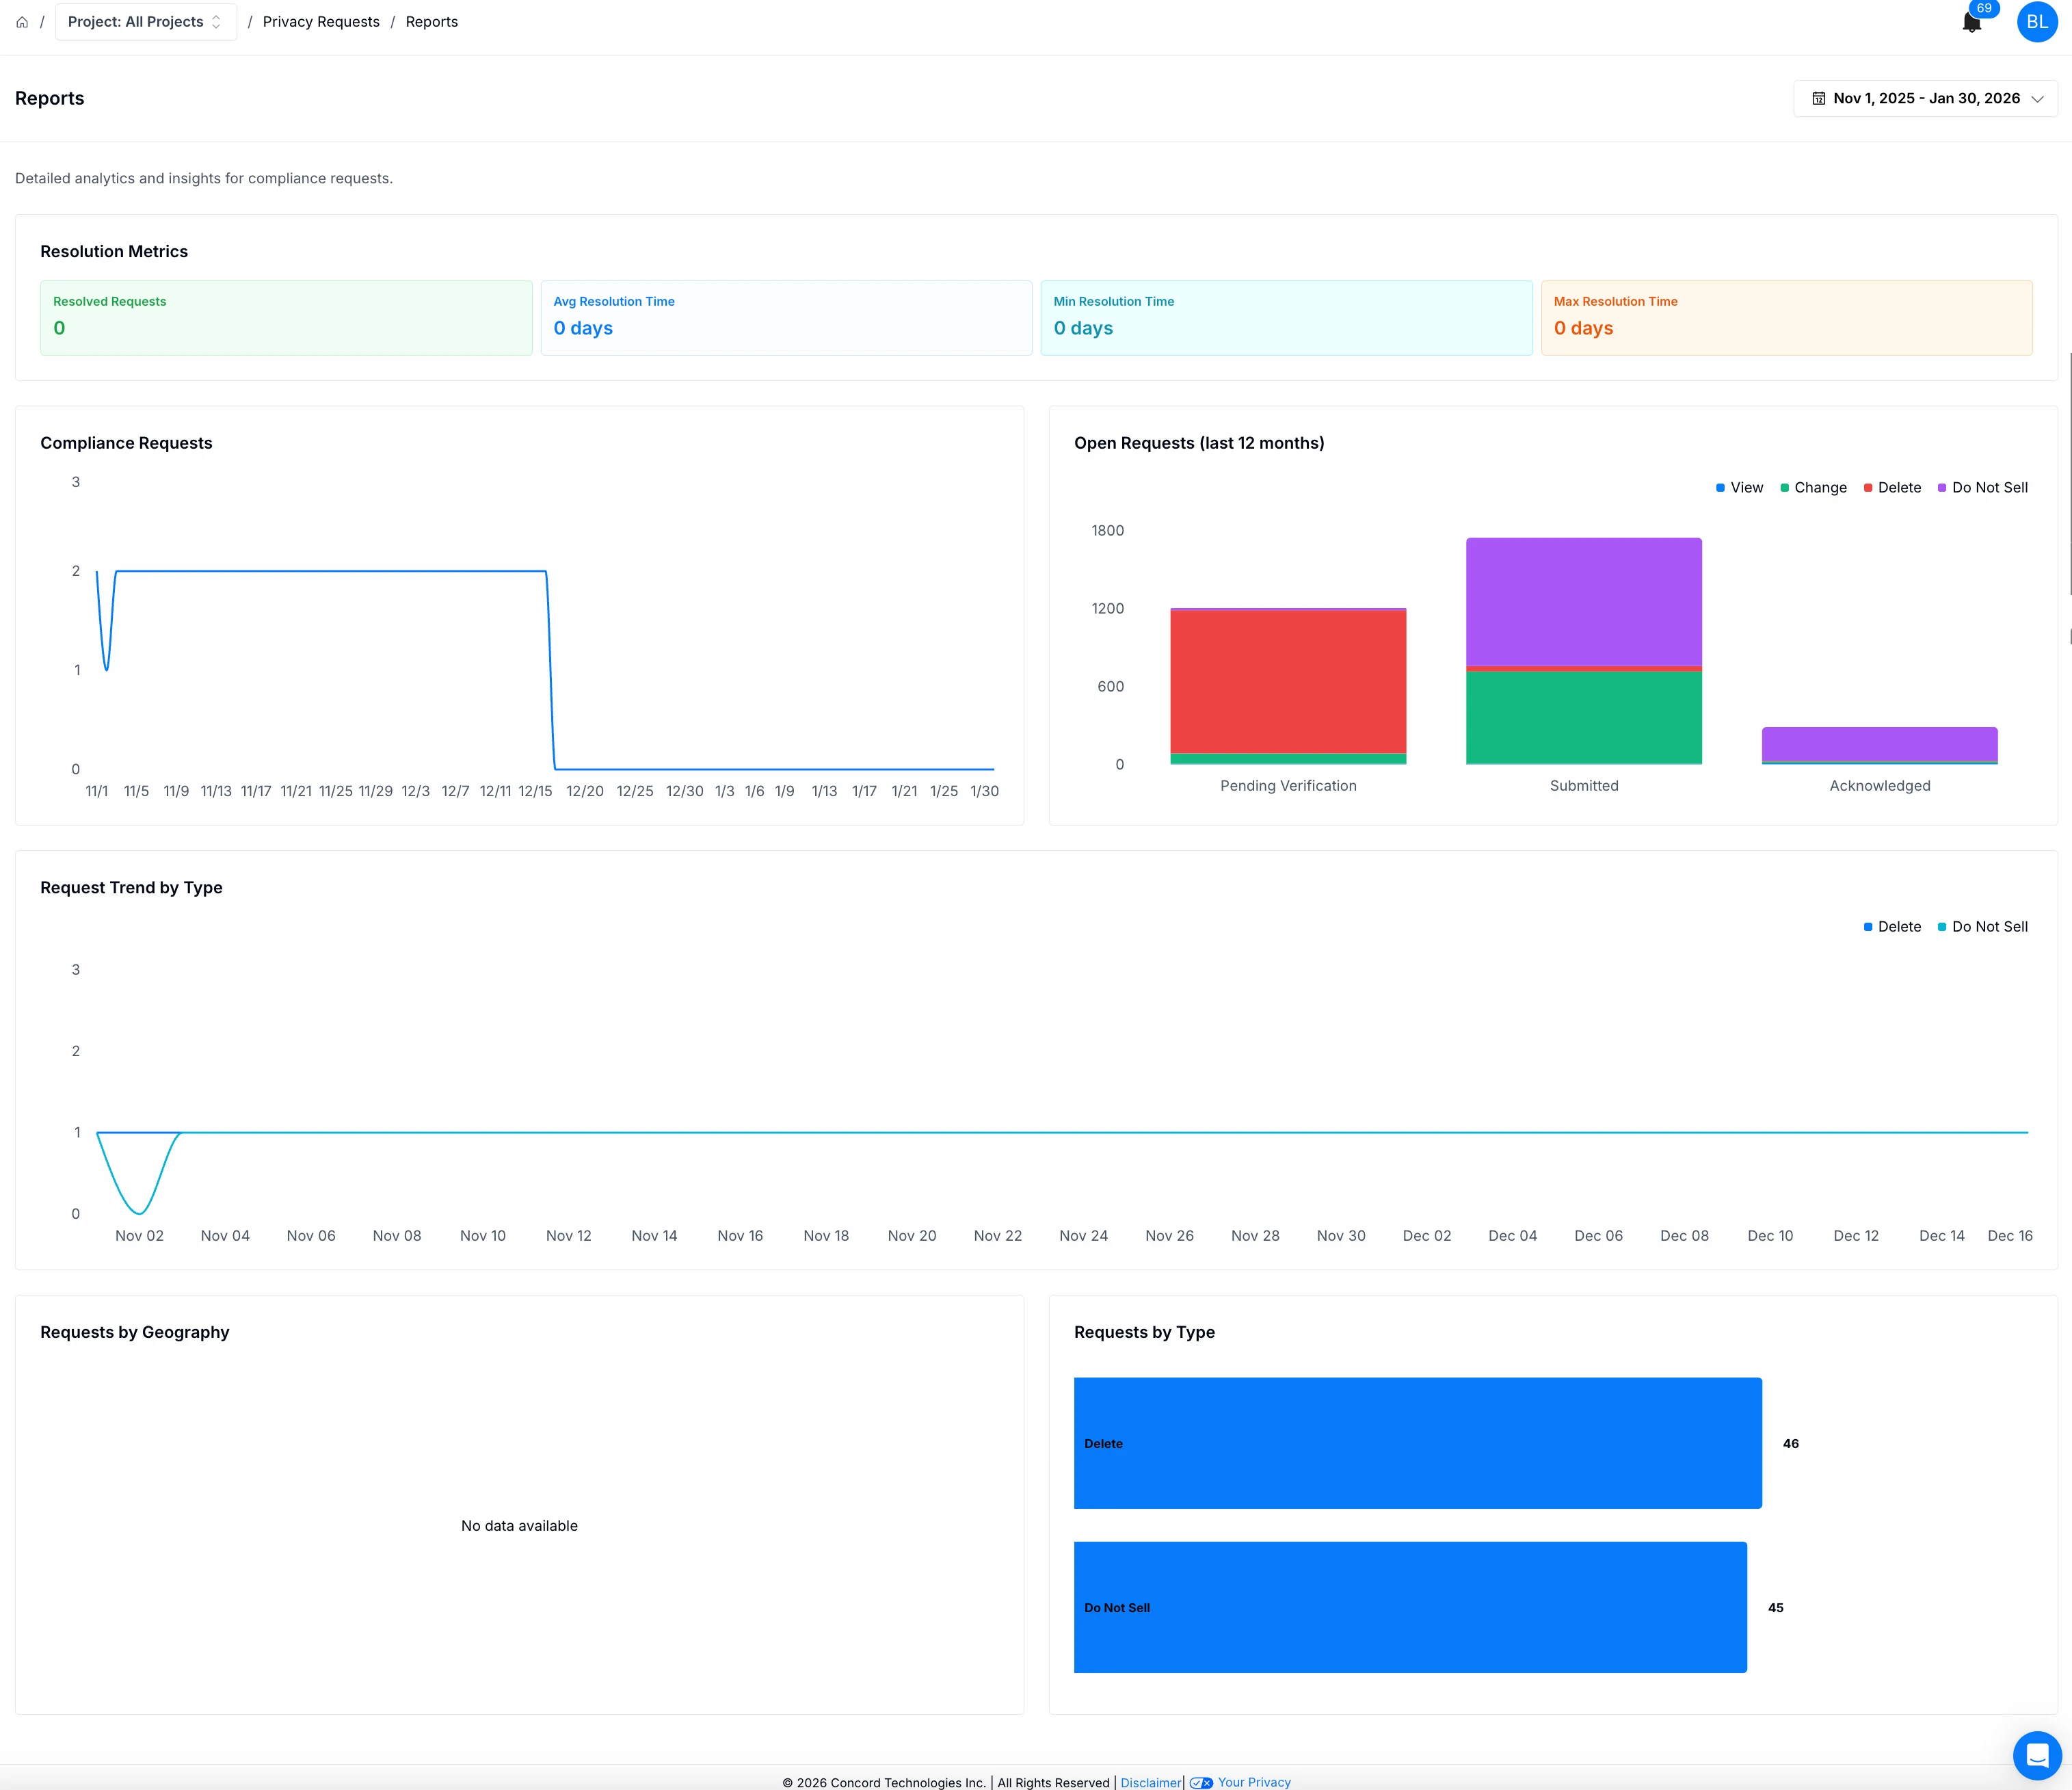
To view your privacy request analytics details, navigate to **Privacy Requests** → **Reports** in Concord. The Privacy Requests **Reports** section in Concord is where you can find the following analytics information:
* **Resolution Metrics** - For privacy requests in the selected time period, the Resolution Metrics widget shows the following:
* Resolved Requests
* Average Resolution Time in days
* Minimum Resolution Time in days
* Maximum Resolution Time in days
* **Compliance Requests -** The Privacy Requests widget shows the number of privacy requests by day for the selected time period.
* **Open Requests (last 12 months)** - The Open Requests widgets shows the number of Privacy Requests (View, Change, Delete, and Do Not Sell) grouped by status (Pending Verification, Submitted, Acknowledged).
* **Request Trend by Type** - The Request Trend by Type widget shows the trending number of privacy requests by the following types:
* Change
* Do Not Sell
* View
* Delete
* **Requests by Geography** - The Requests by Geography widget shows the total number of Privacy Requests grouped by geographical region for the given date ranged.
* **Requests by Type -** The Requests by Type widget shows the total number of privacy requests by type for the selected time period.
# Privacy Requests Request Log
URL: /docs/privacy-requests-request-log
***
title: 'Privacy Requests Request Log'
description: 'The Request Log Report shows extended detail on individual Privacy Requests received during the selected date range.'
created: '2021-05-13T20:44:23.000Z'
updated: '2025-03-27T04:32:34.000Z'
-----------------------------------
The Request Log Report shows extended detail on individual Privacy Requests received during the selected date range.

## Selecting a Date
Click within the starting date range, select a starting month, and then click within the ending date range and select an ending date.
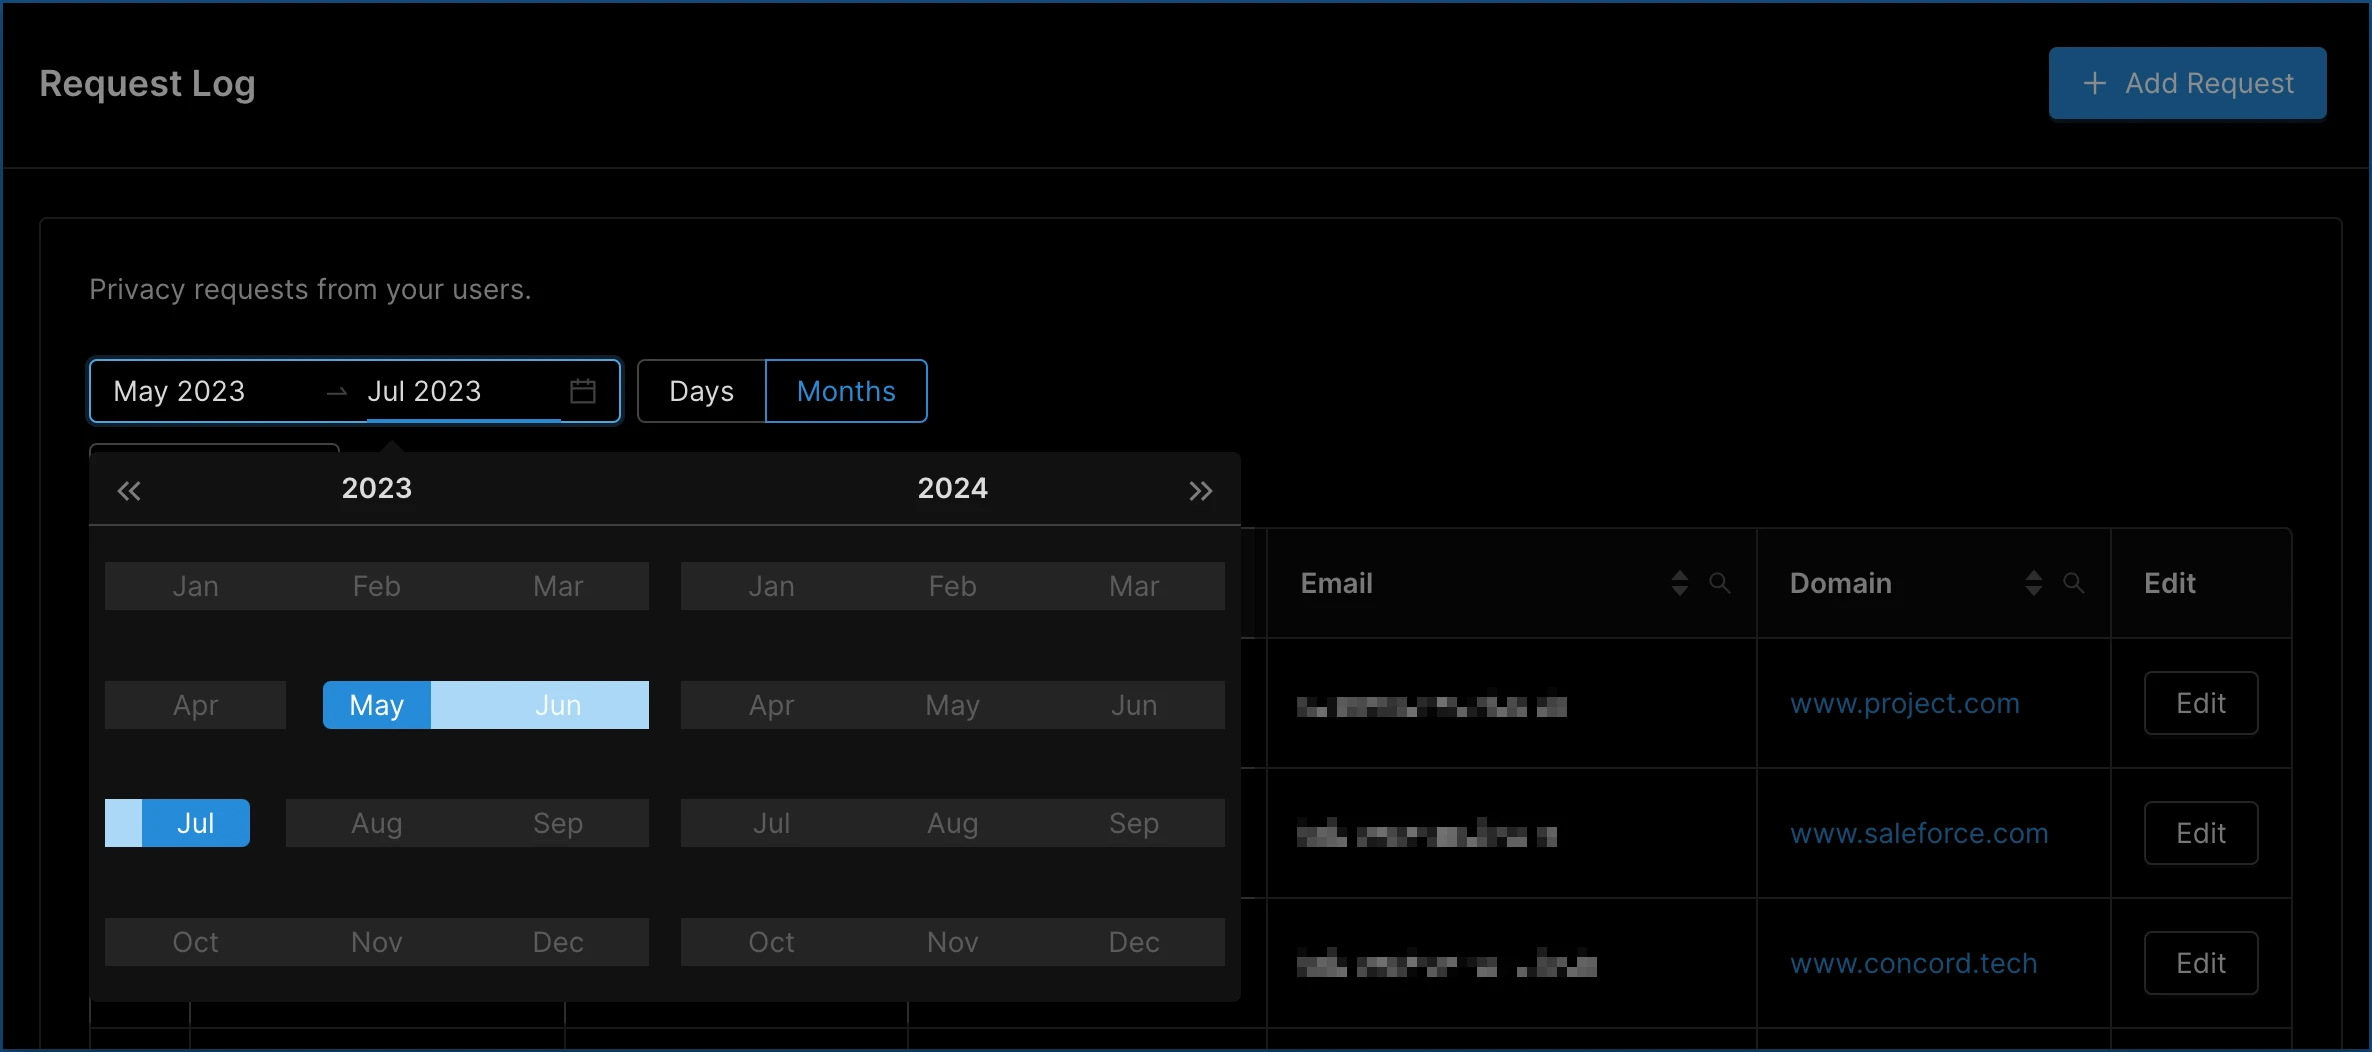
## Using the Privacy Requests Report
The columns within this report are discussed below. Note that for most columns, you may sort in ascending or descending alphanumeric order, and you can also filter by selecting specific values to show within the report.
* **Request Date:** This is the date and time the Privacy Request was received.
* **Request Type:** This column shows the type of compliance action requested: delete, view, or change.
* **Status:** This column shows the current status of the request. Here are the possible status values:
* **Pending Verification:** The user has submitted a request, but hasn’t yet verified their identity. These do not typically require action on your part.
* **Submitted**: The user has fully submitted the request, by both submitting the initial request and then verifying their identity.
* **Acknowledged**: Someone at your company has acknowledged the request at your company and is now working on it. Requests have to be moved from submitted to acknowledged or resolved in order to be worked on.
* **Resolved:** Set when the request is fully resolved by your company. When requests are moved to resolved, the final details are sent to the end user, including the notes in the Resolution field.
* **User Email:** This column displays the email address of the user making the request. You may search for any given email by clicking on the magnifying glass icon.
* **Domain:** This column shows the domain from where the request originated. You may search for a particular user domain by clicking on the magnifying glass icon.
* **Resolution Status:** This column shows the status of the resolution when you finish processing the request. This field can be set to Completed, No Records Found, Partially Completed, Denied, or Withdrawn.
* **Completed:** The request was processed and completed as expected.
* **No Records Found:** No matching records were found to process the request.
* **Partially Completed:** Some but not all records were found and processed.
* **Denied:** The request was reviewed but denied (e.g., legal exemption, identity verification failure).
* **Withdrawn:** The requester withdrew the request before completion.
* **Status:** This column shows the current status of the request. Here are the possible status values:
* **Pending Verification:** The user has submitted a request, but hasn’t yet verified their identity. These do not typically require action on your part.
* **Submitted**: The user has fully submitted the request, by both submitting the initial request and then verifying their identity.
* **Acknowledged**: Someone at your company has acknowledged the request at your company and is now working on it. Requests have to be moved from submitted to acknowledged or resolved in order to be worked on.
* **Resolved:** Set when the request is fully resolved by your company. When requests are moved to resolved, the final details are sent to the end user, including the notes in the Resolution field.
* **User Email:** This column displays the email address of the user making the request. You may search for any given email by clicking on the magnifying glass icon.
* **Domain:** This column shows the domain from where the request originated. You may search for a particular user domain by clicking on the magnifying glass icon.
* **Resolution Status:** This column shows the status of the resolution when you finish processing the request. This field can be set to Completed, No Records Found, Partially Completed, Denied, or Withdrawn.
* **Completed:** The request was processed and completed as expected.
* **No Records Found:** No matching records were found to process the request.
* **Partially Completed:** Some but not all records were found and processed.
* **Denied:** The request was reviewed but denied (e.g., legal exemption, identity verification failure).
* **Withdrawn:** The requester withdrew the request before completion.
## Viewing Additional Details
You can view additional detail about any Privacy Request within the report by clicking the **+** button to the left of the request.
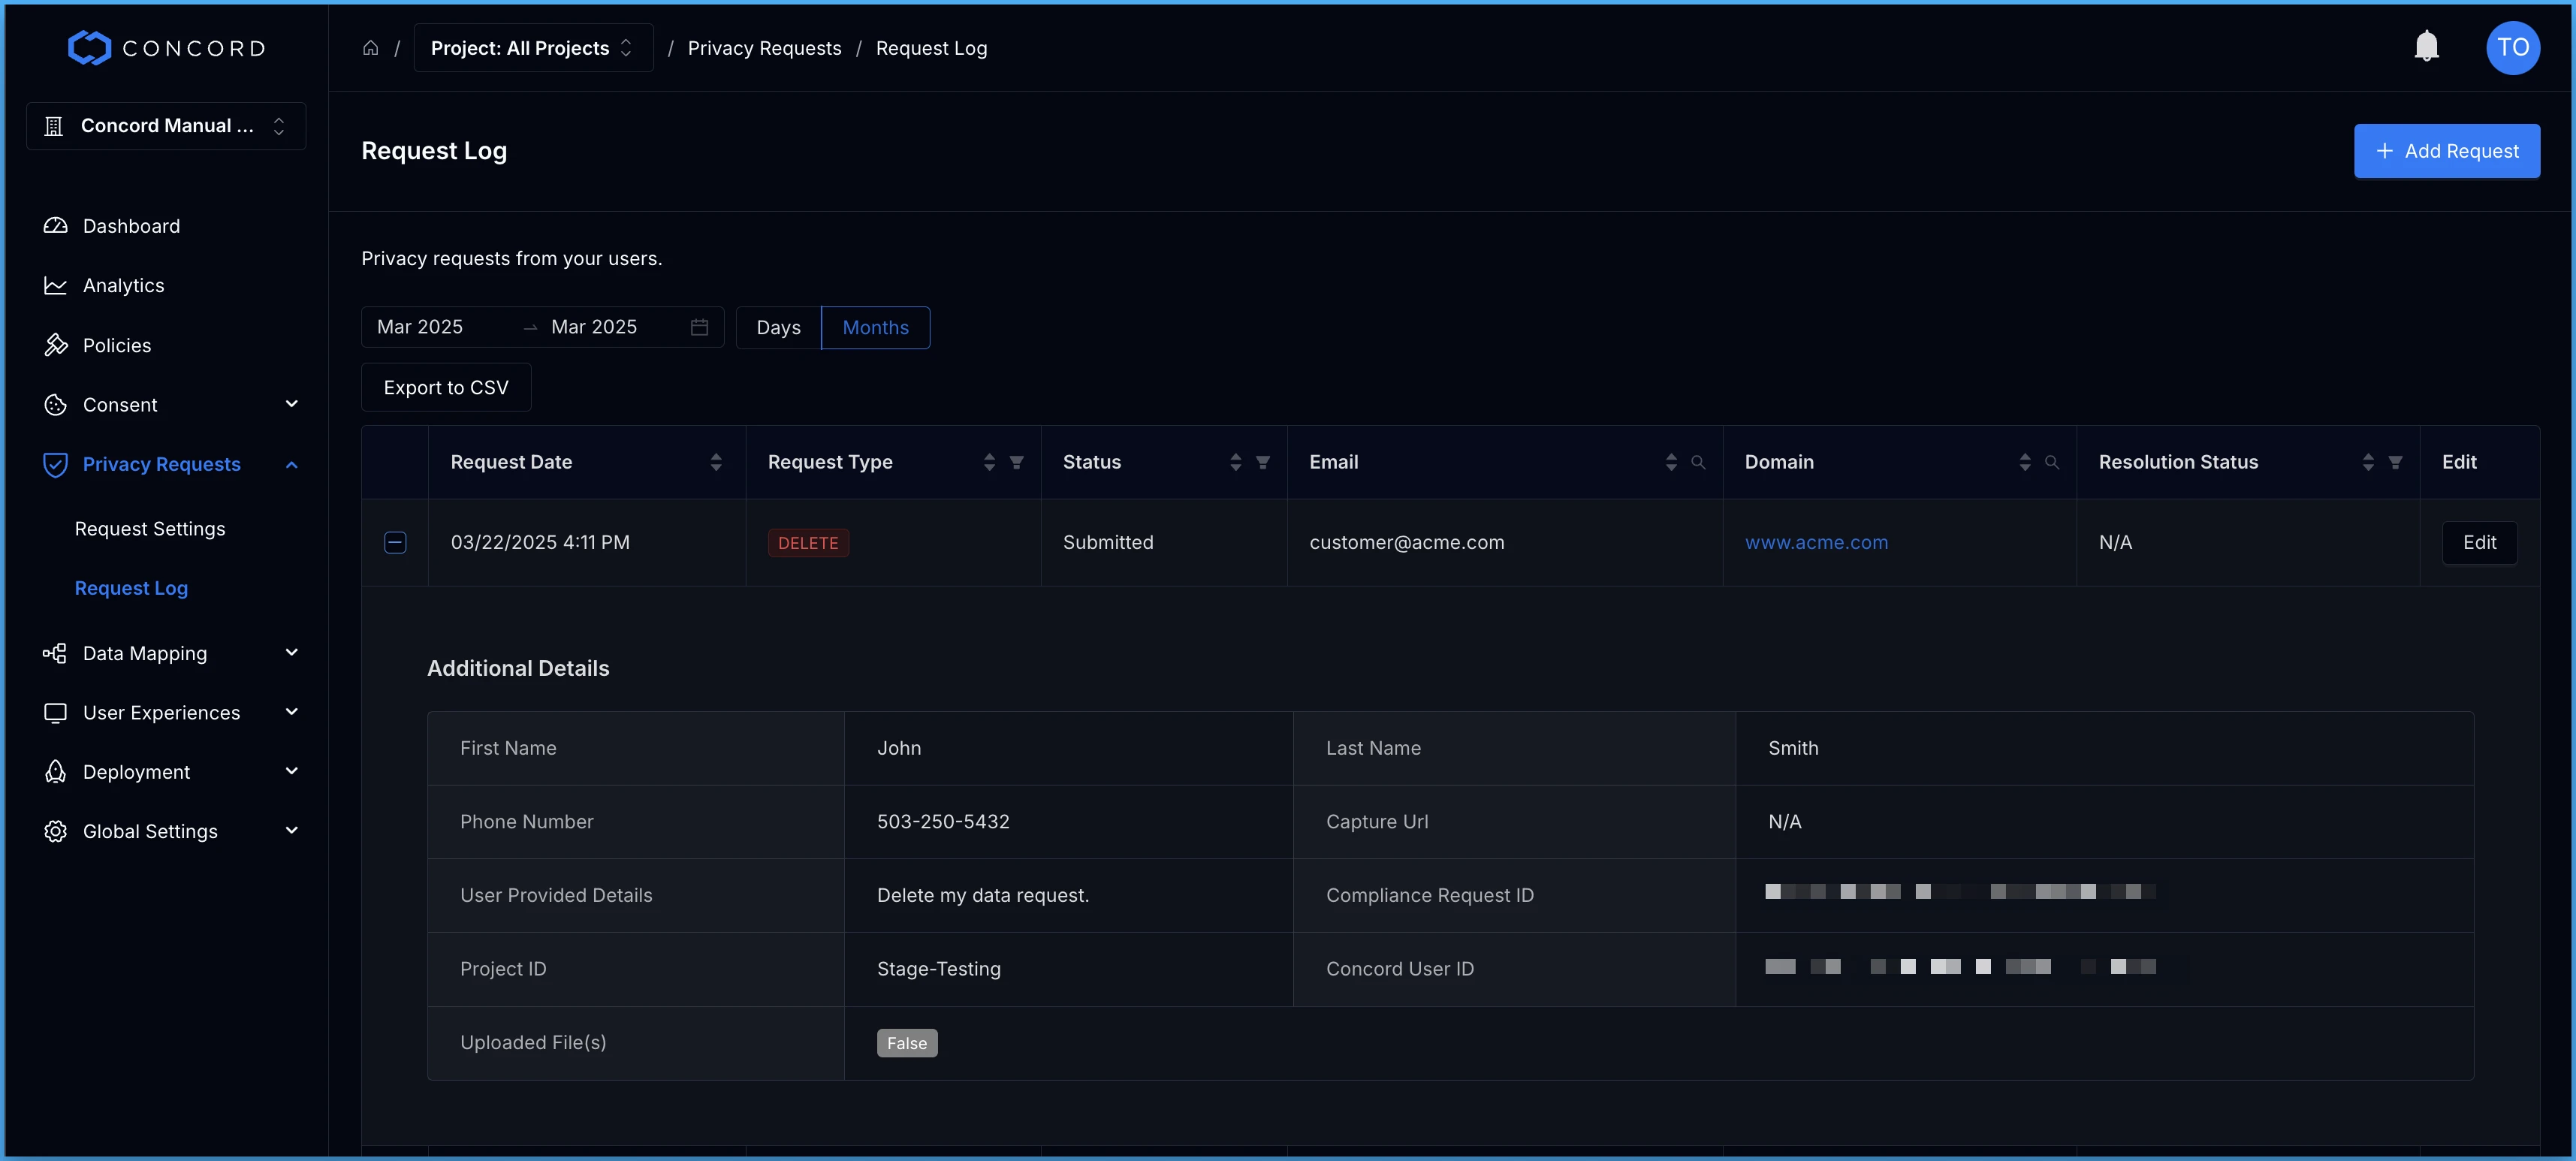
* **Compliance Request ID:** An alphanumeric Concord identifier unique to this particular request.
* **Concord User ID:** An alphanumeric ID, unique to this user, for use internally within the Concord data store. You may search for a particular user ID by clicking on the magnifying glass icon.
* **Project ID:** A unique alphanumeric ID unique to the Project used to deploy Concord to the domain from where the Privacy Request originated.
* **Request Details** : A text field displaying the details of the Privacy Request as input by the user at the time they made the request.
## Editing Privacy Requests
Concord Editors and Administrators are able to edit individual Privacy Requests in this report in order to work on and finalize those requests. Concord recommends that organizations make careful and accurate use of this functionality in order to ensure seamless, error-free compliance with applicable regulations.
1. Click on the **Edit** button to the right of the Privacy Request you would like to edit.
* Requests can only be edited once the user has verified their identity and the request status is “Submitted”.
* When a request’s status is changed, this is displayed to the user in the Privacy Center widget.
2. To change the status of the request, click **Mark as Acknowledged**.
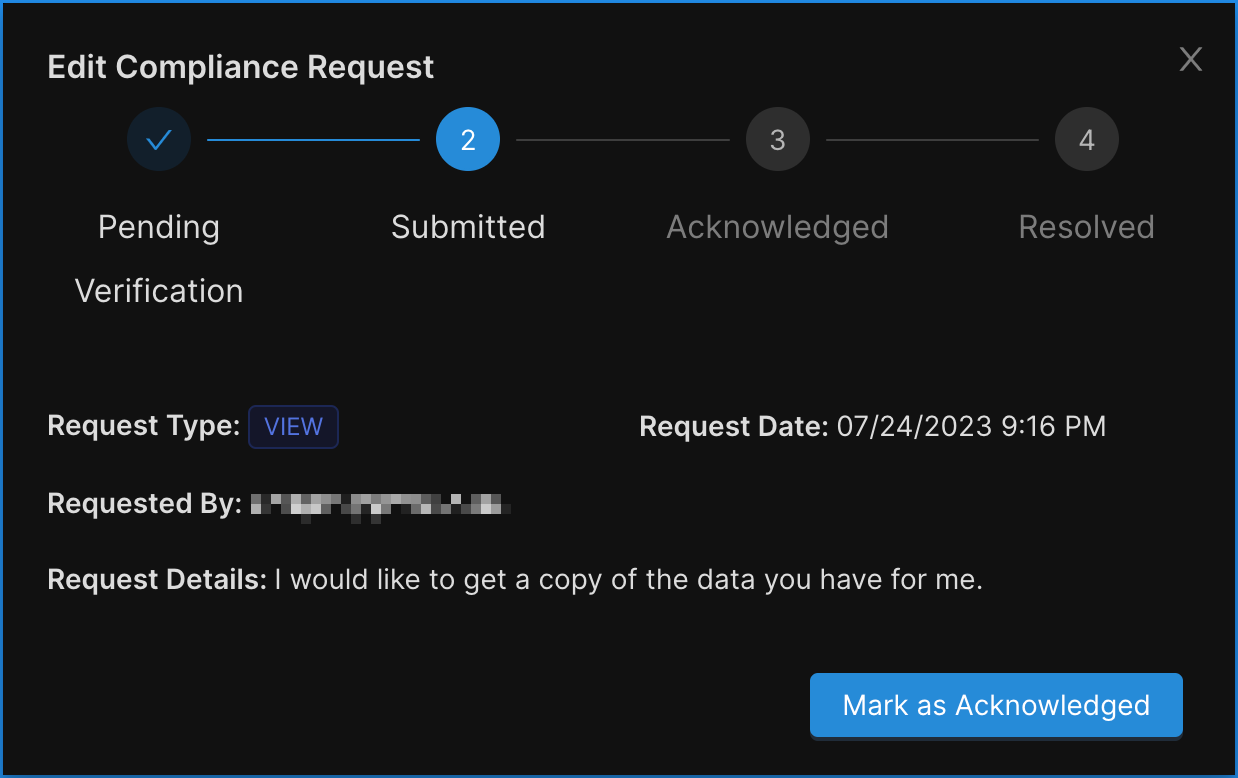
3. Once the request has been acknowledged, you may add any internal **Notes** regarding this status change. These are not shown or sent to the user and are for internal user only.
4. Choose the appropriate **Resolution Status.** This field can be set to Completed, No Records Found, Partially Completed, Denied, or Withdrawn.
* **Completed:** The request was processed and completed as expected.
* **No Records Found:** No matching records were found to process the request.
* **Partially Completed:** Some but not all records were found and processed.
* **Denied:** The request was reviewed but denied (e.g., legal exemption, identity verification failure).
* **Withdrawn:** The requester withdrew the request before completion.
5. Insert details regarding the actions taken to resolve the user’s request under **Resolution**. When a Privacy Request is resolved, these details will be included in a resolution notification email to the user.
Concord recommends consistent language here to avoid confusion and proper governance is highly encouraged to ensure effective regulatory compliance. If your organization requires assistance establishing governance to conform to best practices, speak to your Concord representative about our available services.
6. To resolve, the tasks for each Data System associated with this Privacy Request must be completed. Once all tasks are complete and check off, the request can be resolved by clicking **Mark as Resolved**.
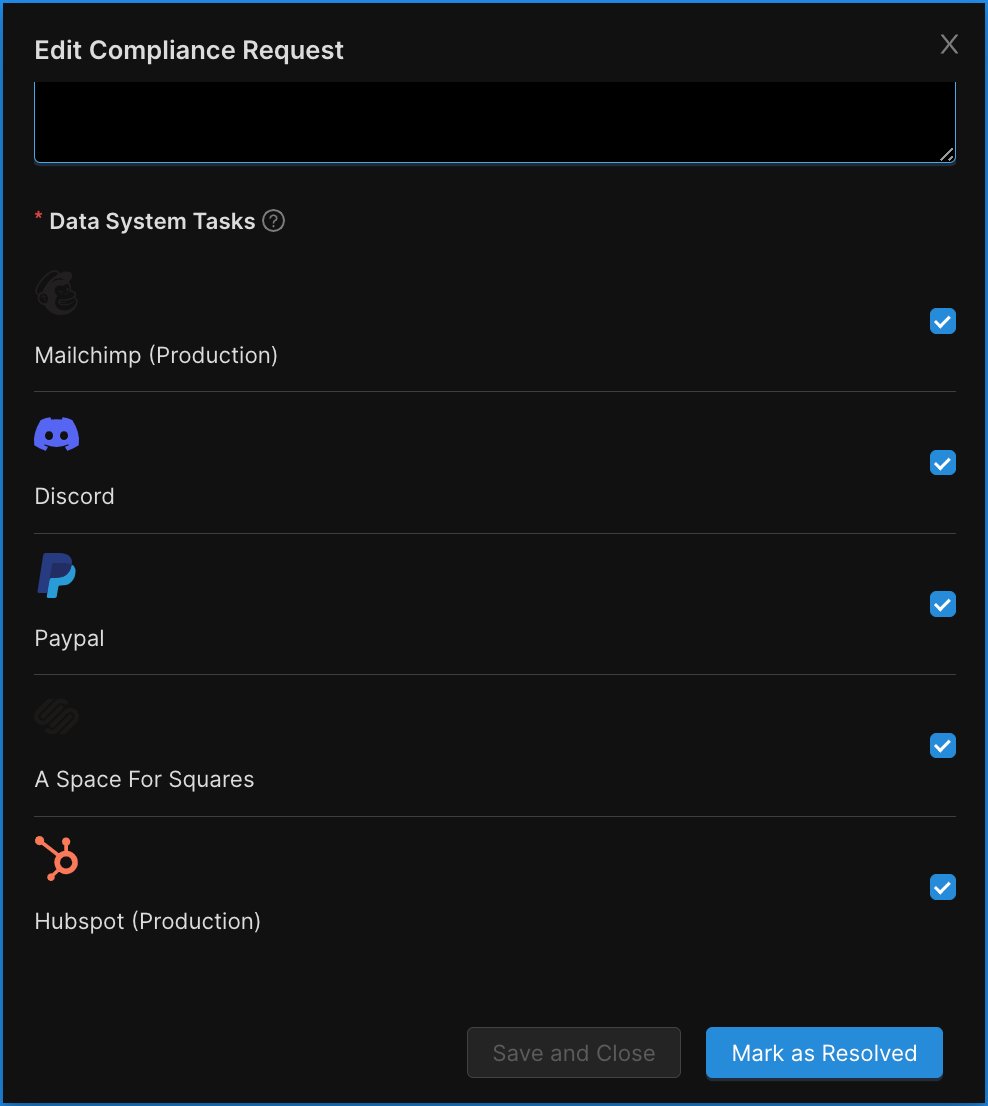
# Global Privacy Frameworks: APEC CBPR
URL: /docs/global-privacy-frameworks-apec-cbpr
***
title: 'Global Privacy Frameworks: APEC CBPR'
description: 'The APEC Cross-Border Privacy Rules (CBPR) system is a voluntary, enforceable privacy certification system designed to facilitate data flows among APEC economies while ensuring the protection of personal information. It aims to promote interoperability among privacy frameworks and enhance trust in cross-border data transfers.'
created: '2025-11-25T20:05:12.000Z'
updated: '2025-11-25T20:05:12.000Z'
-----------------------------------
## Overview
Unlike laws such as GDPR, the APEC CBPR is not a formal national or International law, but a framework that covered organizations can use to demonstrate compliance with internationally recognized privacy standards. The system is supported by individual participating economies, with enforcement via a given nation’s privacy enforcement bodies, such as the Federal Trade Commission (FTC) in the United States. Individual bodies (companies, NGO’s, etc.) must self-asses to ensure their privacy policies and practices meet the program requirements.
Upon verification via Accountability Agents, organizations will be considered “certified”. US organizations functioning as Accountability Agents include TrustArc, NCC Group, BBB National Programs, HITRUST Services, and others.
Economies implementing CBPR can claim appropriate protection of personal data when such data is moved across international borders.
## Key Dates
* November 2011 - APEC CBPR formally endorsed
* July 2012 - CBPR system open relevant countries
* April 2022 - Global Cross-Border Privacy Rules Forum established to expand CBPR beyond APEC countries
* April 2024 - Transition period in which participating economies migrate from APEC-centric to a global certification scheme, the **Global CBPR**
## Thresholds
As a voluntary framework, any entity acting as a private-sector Data Controller or Data Processors is eligible for participation and self-certification. An organization of any size and any industry, which may participate in sending or receiving data across international borders (in particular, between the participating economies) is able to participate. Participating economies include:
* Unites States
* Mexico
* Japan
* Canada
* Singapore
* Republic of Korea
* Australia
* Taiwan
* Philippines
## Obligations and Individual Rights Under APEC CBPR
* Accountability - covered entities must take responsibility for data under their control, including when sharing with third parties. Covered entities are also responsible for ensuring any organization they share data with provides equivalent protection
* Governance - internal governance measures and privacy management programs must be put into place
* Notice - timely and comprehensive privacy notices must be provided, including what data is collected, why the data is collected, how the data is used, who the data is shared with, and how to contact the organization collecting the data
* Consent - data collection consent must be obtained when required, with data subjects given choice regarding data collection, use, and sharing with third parties
* Data and use limitation - data collection and data use should be limited to the personal data necessary for the stated collection and processing purposes. Any additional use of data requires new consent or appropriate legal basis
* Integrity of personal information - data must be accurate, complete, and timely for its intended use
* Safeguards - reasonable physical, technical, and administrative protections must be in place to prevent loss, misuse, improper access, disclosure, alteration, or destruction of data subjects’ information
* Access and correction - subjects must be allowed the ability to audit, correct, or complete their data, within reasonable limits
* Dispute resolution and enforcement - dispute resolution mechanisms must be put in place, typically via Accountability Agents, with appropriate penalties in place for non-compliance, including decertification
## Personal Data
Personal data (”personal information”) under APEC CBPR includes any data that may be used to directly or indirectly identify an individual. Although a broad definition, this conforms to broad global norms. Examples include:
* Identifiers such as name, address, phone number, email address, ID and Passport numbers
* Online identifiers such as IP addresses, device IDs, cookies, usernames, etc.
* Demographic data such as age, gender, marital status, nationality
* Employment info such as job title, employer, work email, and professional affiliations
* Financial data such as credit card numbers, bank account details, etc.
* Biometric data, including facial and voice recognition data, fingerprints, etc.
* Location data including GPS coordinates, travel history, etc.
* Consumer data including shopping/purchase history, user preferences and profiles, and more
* Sensitive personal data is not recognized as a distinct category. APEC CBPR acknowledges some data types, such as health and financial data, government IDs, biometric and genetic data, and data about minor persons may require additional protection and special handling
## Penalties
Although a voluntary framework, certified entities may be subject to domestic regulatory enforcement (such as by the Federal Trade Commission in the USA). Such actions may include:
* Investigation and regulatory actions, including fines and penalties
* Decertification by Accountability Agents
* Commercial consequences, often in the form of lost business after decertification
## Configure Your Consent Banner for APEC CBPR
Regions are used to customize the behavior and experience based on an individual user’s location. As an example, this allows you to provide different experiences to users based on regional differences (like LGPD in Brazil vs. CCPA in California). When a user visits your site, we will automatically determine their location and will match them to the most granular region rule that you have setup in Concord. This can go down to the state/province level, which allows for different experiences for different laws.
### Recommended Consent Settings
Based on the current laws, we recommend the following regional settings:
* **Consent Mode:** Express
* **Blocking Mode:** Strict
* **[Google Consent Mode V2](/docs/google-understanding-configuring-google-consent-mode-gcm-v2):** Basic
* **Consent Duration:** 12 months
* **Enable Limit Sensitive Information:** Off
* **Enable Do Not Sell Consent:** Off
* **Enable Global Privacy Control:** Off
Current APEC CBPR requirements do not explicitly require **Do Not Sell** or **Global Privacy Control,** but you can enable these features if you choose to. This can be a good strategy if you want a single privacy-first configuration that you can use globally since other jurisdictions may require one or both.
For step-by-step instruction on how to configure your consent banner for different geographical regions within the Concord app, see our help document [Configure Your Consent Banner for Different Geographical Regions](/docs/configure-consent-banner-different-regions).
While you can get as granular as you want, we typically recommend a single
global policy that meets the strictest guidelines across regions, or higher
splits (like separate GDPR and United States regions, only adding additional
regions for stricter states like California if needed). If you have any
questions on how and why to configure your regions in certain ways, please
reach out to our support team.
# Global Privacy Laws: Brazil LGPD
URL: /docs/global-privacy-laws-brazil-lgpd
***
title: 'Global Privacy Laws: Brazil LGPD'
description: 'The Brazilian General Data Protection Law (LGPD) is Brazil’s first comprehensive data protection regulation, broadly aligning with the EU GDPR. It aims to regulate personal data processing, protect individuals’ privacy and fundamental rights, and provide legal certainty for data handling.'
created: '2025-11-25T20:05:12.000Z'
updated: '2025-11-25T20:05:12.000Z'
-----------------------------------
## Overview
The Brazilian General Data Protection Law — known as Lei Geral de Proteção de Dados (LGPD) — is Brazil’s first comprehensive data protection regulation, and it broadly aligns with the EU General Data Protection Regulation (GDPR). LGPD aims to regulate the processing of personal data in Brazil, protect individuals’ privacy and fundamental rights, and provide legal certainty for data handling.
## Key Dates
* Signed into law: August 14, 2018
* Effective date: September 18, 2020
## Thresholds
The LGPD applies to any processing operation carried out by a natural person or a legal entity (of public or private law), irrespective of (1) the means used for the processing, (2) the country in which its headquarters are located, or (3) the country where the data are located, provided that:
* The processing operation is carried out in Brazil;
* The purpose of the processing activity is to offer or provide goods or services, or the processing of data of individuals located in Brazil; or
* The personal data was collected in Brazil.
## Consumer Rights
* Right to be Informed – Individuals have the right to learn how companies process their personal data. This also applies when a third party obtains personal data from a controller.
* Right of Access – Individuals can request a copy of their personal data through any reasonable means. This includes via email, phone, written letter, or through an online portal.
* Right to Rectification – Individuals have the right for businesses to correct incomplete, inaccurate, or outdated information about them. There are no restrictions on the format or nature of rectification requests made by individuals.
* Right to Erasure – Individuals have the right to request complete erasure of their personal data. Businesses must honor erasure requests so long as they have consent and have verified the data subject’s identity.
* Right to Object – Also known as the “right to restriction,” individuals may ask companies to block unnecessary or excessive data collection or processing.
* Right to Data Portability – Individuals have the right to the portability of their data via an express request.
* Right not to be subject to automated decision-making – Individuals may request to review decisions made about them exclusively as a result of automation.
## Sensitive Data
Under the LGPD, sensitive data is defined as personal information that may include an individual's racial or ethnic origin, religious beliefs, political opinions, trade union membership, or religious affiliation. Sensitive data also includes health or sexual life data, as well as genetic or biometric data.
## Penalties
Under the LGPD, companies that mishandle personal data can face several consequences.
* **Warnings**
* Warnings are a first step in enforcement, and they come with a deadline to fix issues. No fines are imposed at this stage, but ignoring warnings can lead to harsher penalties.
* **Simple Fines**
* Up to 2% of a company’s gross revenue in Brazil from the previous year (excluding taxes).
* Maximum of R$50 million per violation.
* **Daily Fines**
* Daily fines are charged each day a company fails to comply.
* Capped at R$50 million.
* **Public Disclosure of Violations**
* Authorities may publish details of a breach, which can seriously damage a company’s reputation and trust.
* **Blocking or Deletion of Data**
* Access to personal data may be blocked or data may be deleted until compliance is restored.
* **Prohibition of Activities**
* Partial or total ban on processing personal data.
* **Compensation for Damages**
* Companies may need to pay individuals for harm caused by non-compliance.
## Configure Your Consent Banner for LGPD
Regions are used to customize the behavior and experience based on an individual user’s location. As an example, this allows you to provide different experiences to users based on regional differences (like LGPD in Brazil vs. CCPA in California). When a user visits your site, we will automatically determine their location and will match them to the most granular region rule that you have set up in Concord. This can go down to the state/province level, which allows for different experiences for different laws (like CCPA in California).
### Recommended Consent Settings
Based on the current laws, we recommend the following regional settings:
* **Consent Mode:** Express
* **Blocking Mode:** Strict
* **[Google Consent Mode V2](/docs/google-understanding-configuring-google-consent-mode-gcm-v2):** Basic
* **Consent Duration:** 12 months
* **Enable Limit Sensitive Information:** Off
* **Enable Do Not Sell Consent:** Off
* **Enable Global Privacy Control:** Off
Current LGPD requirements do not explicitly require **Do Not Sell** or **Global Privacy Control,** but you can enable these features if you choose to. This can be a good strategy if you want a single privacy-first configuration that you can use globally since regulations like CCPA/CPRA do require Do Not Sell but do require Global Privacy Control. Also, note that when processing privacy requests, the Brazil General Data Protection Law (LGPD) requires organizations to respond to detailed data access requests within 15 days.
For step-by-step instruction on how to configure your consent banner for different geographical regions within the Concord app, see our help document [Configure Your Consent Banner for Different Geographical Regions](/docs/configure-consent-banner-different-regions).
While you can get as granular as you want, we typically recommend a single
global policy that meets the strictest guidelines across regions, or higher
splits (like separate GDPR and United States regions, only adding additional
regions for stricter states like California if needed). If you have any
questions on how and why to configure your regions in certain ways, please
reach out to our support team.
# Global Privacy Laws: Canada PIPEDA/DPA
URL: /docs/global-privacy-laws-canada-pipeda-dpa
***
title: 'Global Privacy Laws: Canada PIPEDA/DPA'
description: 'The Canadian Personal Information Protection and Electronic Documents Act (PIPEDA) is Canada’s first comprehensive data protection regulation, broadly aligning with the EU GDPR. It aims to regulate personal data processing, protect individuals’ privacy and fundamental rights, and provide legal certainty for data handling. The Data Privacy Act (DPA) complements PIPEDA by addressing specific provincial privacy requirements.'
created: '2025-11-25T20:05:12.000Z'
updated: '2025-11-25T20:05:12.000Z'
-----------------------------------
## Overview
The Personal Information Protection and Electronic Documents Act (PIPEDA) is a comprehensive data privacy law passed by Canada in 2000 to protect personal data, privacy, and promote consumer trust in ecommerce. It governs how organizations collect, store, process, and share the personal information of individuals within Canada, no matter where the organization is based if the data is used for commercial purposes. Organizations collecting personal data for journalistic, artistic, or literary purposes are exempt. There are exceptions to PIPEDA when an individual province has its own privacy legislation. However, Canadian provincial data privacy laws are substantially similar to PIPEDA. The Data Privacy Act (DPA) was the 2015 amendment that updated PIPEDA in 2015 to modernize it for the digital age.
## Key Dates
* Signed into law: April 13, 2000
* Effective date: January 1, 2001
## Thresholds
The PIPEDA applies to any organization, regardless of size or location, if it meets at least **one** of the following thresholds:
* Private-sector organizations operating within Canada that collect, use, or disclose personal information for commercial activities. Commercial activities are broadly defined as any transaction, act, or conduct of a “commercial character”
* Canadian federal “works, undertakings, or businesses” that operate across all provinces and territories in Canada. This may include private entities operating under federal jurisdiction, such as international transport companies, broadcasters, telecom companies, airlines, etc.
* All businesses that operate in Canada and handle personal information that crosses provincial or national borders in the course of commercial activities. This holds true regardless of the province or territory in which the organization is based, and it even applies to organizations located in provinces that have their own privacy legislation deemed substantially similar to PIPEDA
## Obligations Under PIPEDA/DPA
* Data Collection
* Data must be collected under fair and lawful means, with prohibitions on deceptive or illegal practices.
* The purpose of data collection must be disclosed at or before the time of data collection
* Meaningful consent must be collected from individuals for the collection, as well as the subsequent use and disclosure, of their personal information, providing clear and understandable information about these practices
* Data collection minimization must be practiced, limiting data collection to the data necessary to enable the identified purposes
* Data Use
* Organizations must use personal information only for the purposes for which it was collected
* Organizations must document any new purposes for which personal information is intended to be used
* Disclosure of Personal Data to Third Parties
* Disclosure to third parties require individual consent prior to sharing, exempting legal and security purposes
* Third parties to which data will be disclosed must have comparable data protection and security standards as the transferring organization
* Data Retention and Disposal
* Organizations must retain personal information only for as long as it is necessary to fulfill the purposes for which it was collected
* Organizations must develop and implement effective guidelines and procedures for destruction, erasure, or anonymization of personal information once it is no longer needed
* Organizations are also expected to regularly review and update their security safeguards
* Privacy Policies
* Organizations must be transparent about their personal data practices by developing and implementing clear and readily accessible privacy policies
* Policies should provide specific information about how the organization manages personal data, including the types of personal data it collects, the purposes for which it is collected, used, and disclosed, and the organization's practices regarding the protection
* Policies should be written in plain language, avoiding complex legal or technical jargon. Organizations should make these policies readily available to individuals
* Access Requests and Challenges
* Organizations have obligations to respond to individuals who request access to their personal information
* Organizations must inform the individual whether they hold any personal data about them, and they must provide the individual with access to that information
* Responses must be handled within a reasonable time frame, typically within 30 days
* Organizations must provide a method for amending, correcting, or deleting personal data, with clear procedures established for handling challenges and complaints
* Breach Notification Requirements
* Data breaches require mandatory notifications (as of November 1, 2018). Notifications must include: the circumstances of the breach, the type of data involved, and harm mitigation activities
* Records of all data breaches must be kept for 24 months after discovery
* The Office of the Privacy Commissioner of Canada must be notified, in addition to notifying individuals.
## Individual Rights Under PIPEDA/DPA
* Right to be informed - individuals have the fundamental right to be informed about how their personal information is being handled by organizations. This includes the right to know the purposes and use for which an organization is collecting, using, or disclosing their data. individuals have the right to know who within the organization is responsible for ensuring the protection of their personal information
* Right to access - individuals have the right to access their personal data. Individuals are entitled to be informed about whether the organization holds any personal information about them, and if so, they have the right to be given access to that information
* Right to challenge - individuals have the right to challenge the accuracy and completeness of their data. Organizations are obligated to take reasonable steps to ensure the accuracy of the information and to update it
* Right to withdraw consent - individuals have the right to withdraw their consent to the collection, use, or disclosure of their personal data at any time. Organizations must inform individuals about the implications of consent withdrawal
* Right to complain to the Privacy Commissioner - individuals have the right to challenge an organization's compliance with PIPEDA, first with the accountable individual within the organization, then the Office of the Privacy Commissioner of Canada
## Sensitive Data
Under PIPEDA, **personal information** is broadly defined as any factual or subjective information, recorded or not, about an identifiable individual. This includes information that can be used on its own or in combination with other information to identify a person. Although PIPEDA itself doesn't have a strict legal definition of **sensitive personal information**, the Office of the Privacy Commissioner of Canada (OPC) has provided guidance on this topic.
* Health data (including medical records, physical or mental health information)
* Financial data (including income, credit records, banking information)
* Ethnic and racial origins
* Political opinions
* Genetic data
* Biometric data
* An individual’s sex life or sexual orientation
* Religious or philosophical beliefs
* Detailed identification information like Social Insurance Number (SIN), date of birth, or answers to security questions
* Information that could significantly impact an individual's reputation, such as information related to human rights complaints, immigration hearings, or bankruptcy proceedings
## Penalties
* Up to $100,000CAD for each violation incident, particularly those related to implementing proactive security safeguards, reporting data breaches that pose a real risk of significant harm, and maintaining records of data breaches
* PIPEDA also designates certain actions as criminal offences. These include situations where an organization purposefully destroys information after receiving a request to review that information, engages in retaliatory behavior against employees who attempt to follow PIPEDA guidelines, or obstructs the OPC in its investigations.
## Configure Your Consent Banner for PIPEDA/DPA
Regions are used to customize the behavior and experience based on an individual user’s location. As an example, this allows you to provide different experiences to users based on regional differences (like PIPEDA in Canada vs. CCPA in California). When a user visits your site, we will automatically determine their location and will match them to the most granular region rule that you have setup in Concord. This can go down to the state/province level, which allows for different experiences for different laws.
### Recommended Consent Settings
Based on the current laws, we recommend the following regional settings:
* **Consent Mode:** Express
* **Blocking Mode:** Strict
* **[Google Consent Mode V2](/docs/google-understanding-configuring-google-consent-mode-gcm-v2):** Basic
* **Consent Duration:** 12 months
* **Enable Limit Sensitive Information:** Off
* **Enable Do Not Sell Consent:** Off
* **Enable Global Privacy Control:** Off
Current PIPEDA requirements do not explicitly require **Do Not Sell** or **Global Privacy Control,** but you can enable these features if you choose to. This can be a good strategy if you want a single privacy-first configuration that you can use globally since other jurisdictions may require one or both.
For step-by-step instruction on how to configure your consent banner for different geographical regions within the Concord app, see our help document [Configure Your Consent Banner for Different Geographical Regions](/docs/configure-consent-banner-different-regions).
While you can get as granular as you want, we typically recommend a single
global policy that meets the strictest guidelines across regions, or higher
splits (like separate GDPR and United States regions, only adding additional
regions for stricter states like California if needed). If you have any
questions on how and why to configure your regions in certain ways, please
reach out to our support team.
# Global Privacy Laws: EU GDPR
URL: /docs/global-privacy-laws-eu-gdpr
***
title: 'Global Privacy Laws: EU GDPR'
description: 'The General Data Protection Regulation (GDPR) is a comprehensive data privacy law enacted by the European Union in 2018 to protect personal data and privacy. It governs how organizations collect, store, process, and share the personal information of individuals within the EU, regardless of where the organization is located. The GDPR emphasizes transparency, accountability, and user control, requiring clear consent for data use, the right to access and delete data, and strict data security measures. Non-compliance can result in substantial fines, making GDPR a key standard for data protection worldwide.'
created: '2025-11-25T20:05:12.000Z'
updated: '2025-11-25T20:05:12.000Z'
-----------------------------------
## Overview
The General Data Protection Regulation (GDPR) is a comprehensive data privacy law enacted by the European Union in 2018 to protect personal data and privacy. It governs how organizations collect, store, process, and share the personal information of individuals within the EU, regardless of where the organization is located. The GDPR emphasizes transparency, accountability, and user control, requiring clear consent for data use, the right to access and delete data, and strict data security measures. Non-compliance can result in substantial fines, making GDPR a key standard for data protection worldwide.
## Key Dates
* Signed into law: April 27, 2016
* Effective date: May 25, 2018
## Thresholds
The GDPR applies to any organization, regardless of size or location, if it meets at least **one** of the following thresholds:
* Established in the EU – The organization processes personal data in the context of activities of an establishment in the EU, regardless of where the data processing takes place.
* Offers goods or services to individuals in the EU – Even if the organization is not based in the EU, it falls under GDPR if it targets EU residents, e.g., by offering a website in an EU language, accepting EU currency, or marketing to the EU.
* Monitors behavior of individuals in the EU – This includes tracking individuals online (e.g., cookies, analytics, profiling) within the EU, regardless of where the company is based.
## Consumer Rights
* Right to be Informed – Individuals must be clearly informed about how their data is collected, used, stored, and shared
* Right of Access – Individuals can request access to the personal data an organization holds about them
* Right to Rectification – Individuals can have inaccurate or incomplete personal data corrected
* Right to be Forgotten – Individuals can request the deletion of their personal data under certain conditions (e.g., no longer necessary, consent withdrawn)
* Right to Restrict Processing – Individuals can request that the processing of their data be limited while a dispute or correction is resolved
* Right to Data Portability – Individuals can obtain and reuse their personal data across different services in a commonly used, machine-readable format
* Right to Object – Individuals can object to the processing of their data for certain purposes, such as direct marketing or profiling
* Rights Related to Automated Decision-Making and Profiling – Individuals have the right not to be subject to decisions made solely by automated processes, including profiling, if those decisions have legal or significant effects
## Sensitive Data
Under GDPR, sensitive data is also referred to as special category data. It includes personal data and therefore requires extra protection.
* Racial or ethnic origin
* Political opinions
* Religious or philosophical beliefs
* Trade union membership
* Genetic data
* Biometric data (when used to uniquely identify a person)
* Health data
* Sexual orientation
## Penalties
* Up to €10 million, or 2% of the company’s global annual revenue (whichever is higher) – for violations such as improper record keeping, failing to notify authorities of a breach, or failures to conduct impact assessments.
* Up to €20 million, or 4% of the company’s global annual revenue (whichever is higher) – for serious violations, such as breaching core principles (like data minimization or lawfulness of processing), ignoring data subject rights, or transferring data unlawfully.
* In addition to financial penalties, regulators can impose other measures like warnings, bans on data processing, or orders to correct or delete data.
## Configure Your Consent Banner for GDPR
Regions are used to customize the behavior and experience based on an individual user’s location. As an example, this allows you to provide different experiences to users based on regional differences (like GDPR in the EU vs. CCPA in California). When a user visits your site, we will automatically determine their location and will match them to the most granular region rule that you have set up in Concord. This can go down to the state/province level, which allows for different experiences for different laws (like CCPA in California).
### Recommended Consent Settings
Based on the current laws, we recommend the following regional settings:
* **Consent Mode:** Express
* **Blocking Mode:** Strict
* **[Google Consent Mode V2](/docs/google-understanding-configuring-google-consent-mode-gcm-v2):** Basic
* **Consent Duration:** 12 months
* **Enable Limit Sensitive Information:** Off
* **Enable Do Not Sell Consent:** Off
* **Enable Global Privacy Control:** Off
Current GDPR requirements do not explicitly require **Do Not Sell** or **Global Privacy Control,** but you can enable these features if you choose to. This can be a good strategy if you want a single privacy-first configuration that you can use globally since regulations like CCPA/CPRA do require Do Not Sell and Global Privacy Control.
For step-by-step instruction on how to configure your consent banner for different geographical regions within the Concord app, see our help document [Configure Your Consent Banner for Different Geographical Regions](/docs/configure-consent-banner-different-regions).
While you can get as granular as you want, we typically recommend a single
global policy that meets the strictest guidelines across regions, or higher
splits (like separate GDPR and United States regions, only adding additional
regions for stricter states like California if needed). If you have any
questions on how and why to configure your regions in certain ways, please
reach out to our support team.
# Global Privacy Laws: India DPDPA
URL: /docs/global-privacy-laws-india-dpdpa
***
title: 'Global Privacy Laws: India DPDPA'
description: 'India’s Digital Personal Data Protection Act (DPDPA) is the country’s first comprehensive privacy law, designed to regulate the collection, processing, and sharing of digital personal data and safeguard citizens’ rights.'
created: '2025-11-25T20:05:12.000Z'
updated: '2025-11-25T20:05:12.000Z'
-----------------------------------
## Overview
India’s Digital Personal Data Protection Act (DPDPA) is the country’s first comprehensive privacy law, designed to regulate the collection, processing, and sharing of digital personal data and safeguard citizens’ rights. Although enacted on August 11, 2023, its key provisions only started coming into effect on November 13, 2025. Different sections of the Act will come into force at different times over the coming months and years, with the last set of provisions scheduled to become effective on May 13, 2027. The Act defines the roles of data fiduciaries (controllers), data processors, and data principals (individuals) and applies to both digital data and digitized offline data connected to India.
## Key Dates
* Signed into law: August 11, 2023
* Effective date: November 13, 2025
## **Thresholds**
The DPDPA pertains to the processing of digital personal data within India, encompassing situations where the personal data is either (i) collected in a digital form or (ii) collected in a non-digitized form and subsequently converted into digital form. Consequently, the DPDPA does not apply to the processing of personal data in its non-digitized state. The DPDPA defines ‘personal data’ broadly to include any data that can be used to identify an individual, whether directly or indirectly, in relation to such data. It also defines ‘digital personal data’ as personal data in digital form.
While the DPDPA applies to Indian entities that engage in the processing of personal data, it also has extraterritorial applicability, applying to foreign entities that offer goods and services to Data Principals (as defined below) located within India's territory and process personal data in connection with such activities. The DPDPA does not apply to (i) personal data utilized by an individual for personal or domestic purposes or (ii) personal data deliberately made publicly accessible by either the Data Principal to whom the personal data relates or any other individual or entity mandated by law to disclose personal data to the public.
## Consumer Rights
* Right to be Informed – Individuals have the right to be informed about how their data is being processed, the purpose of the processing, and the entities with whom their data is shared.
* Right of Access – Individuals can request can request access to their personal data being processed by a data fiduciary (an entity processing data).
* Right to Rectification – Individuals can request to have inaccurate or incomplete personal data corrected.
* Right to be Erasure – Individuals can request request the erasure of their personal data.
* Right to Object to and Restrict Processing – Individuals can can object to the processing of their data and request that it be restricted.
* Right to Withdraw Consent – Individuals have the right to withdraw their consent for data processing, if consent is the basis for processing.
* Right to Grievance Redressal – Individuals have the right to lodge a complaint with the data fiduciary about data processing practices.
* Right to Nominate – Individuals can nominate someone to exercise their rights on their behalf in case of death or incapacity.
* Right to Lodge a Complaint with the Regulator – Individuals can lodge a complaint with the Data Protection Board of India after exhausting the grievance redressal process with the data fiduciary.
## Sensitive Data
The DPDPA does not define or use the term “sensitive data”, but it requires a higher level of protection for certain categories of personal data, such as health records, financial information, biometric data, and religious beliefs. Any personal data that can be used to identify an individual requires protection, and while not officially classified as "sensitive," data like names, addresses, and contact details are included in the broad definition of personal data covered by the act.
## Penalties
* The DPDPA imposes penalties for violations, including fines of up to INR 2.5 billion (approximately $31 million)
## **Configure Your Consent Banner for GDPR**
Regions are used to customize the behavior and experience based on an individual user’s location. As an example, this allows you to provide different experiences to users based on regional differences (like DPDPA in India vs. CCPA in California). When a user visits your site, we will automatically determine their location and will match them to the most granular region rule that you have set up in Concord. This can go down to the state/province level, which allows for different experiences for different laws (like CCPA in California).
### Recommended Consent Settings
Based on the current laws, we recommend the following regional settings:
* **Consent Mode:** Express
* **Blocking Mode:** Strict
* **[Google Consent Mode V2](/docs/google-understanding-configuring-google-consent-mode-gcm-v2):** Basic
* **Consent Duration:** 12 months
* **Enable Limit Sensitive Information:** Off
* **Enable Do Not Sell Consent:** Off
* **Enable Global Privacy Control:** Off
Current DPDPA requirements do not explicitly require **Do Not Sell** or **Global Privacy Control,** but you can enable these features if you choose to. This can be a good strategy if you want a single privacy-first configuration that you can use globally since regulations like CCPA/CPRA do require Do Not Sell and Global Privacy Control.
For step-by-step instruction on how to configure your consent banner for different geographical regions within the Concord app, see our help document [Configure Your Consent Banner for Different Geographical Regions](/docs/configure-consent-banner-different-regions).
While you can get as granular as you want, we typically recommend a single
global policy that meets the strictest guidelines across regions, or higher
splits (like separate GDPR and United States regions, only adding additional
regions for stricter states like California if needed). If you have any
questions on how and why to configure your regions in certain ways, please
reach out to our support team.
# Global Privacy Laws: Singapore PDPA
URL: /docs/global-privacy-laws-signapore-pdpa
***
title: 'Global Privacy Laws: Singapore PDPA'
description: 'The Personal Data Protection Act (PDPA) is Singapore’s comprehensive data protection regulation, broadly aligning with global privacy standards. It aims to regulate personal data processing, protect individuals’ privacy and fundamental rights, and provide legal certainty for data handling.'
created: '2025-11-25T20:05:12.000Z'
updated: '2025-11-25T20:05:12.000Z'
-----------------------------------
## Overview
The Singapore Personal Data Protection Act (PDPA) provides a baseline standard of protection for personal data in Singapore. The PDPA focuses primarily on information management, and its purpose is “to govern the collection, use and disclosure of personal data by organizations in a manner that recognizes both the right of individuals to protect their personal data and the need of organizations to collect, use or disclose personal data for purposes that a reasonable person would consider appropriate in the circumstances.”
## Key Dates
* Signed into law: October 15, 2012
* Effective date: July 2, 2014
## Thresholds
Singapore’s PDPA has universal applicability; it applies to all organizations — regardless of size or industry — that collect, use, or disclose personal data in Singapore. Unlike some other regulations, there is no minimum threshold (e.g., a specific number of employees or the amount of data collected) that exempts an organization from complying with the PDPA.
## Consumer Rights
* Right of Access – Individuals can request access to their personal data held by an organization and to information about how it has been used or disclosed within the past year.
* Right to Correction – Individuals can request that an organization correct any inaccurate or incomplete personal data about them.
* Right to Withdraw Consent – Individuals can withdraw consent for the collection, use, or disclosure of their personal data at any time, though reasonable notice and potential contractual limitations may apply.
* Right to be Informed - Individuals have the right to be informed about the purposes for which their personal data is being collected, used, or disclosed by an organization.
* Right to Data Portability - Individuals can request that their personal data be transmitted in a machine-readable format from one organization to another.
* Right to Restrict Processing - In certain situations, individuals can request the restriction of the processing of their personal data. This means that organizations can continue to store the data but not use it for processing purposes.
* Right to Object - Individuals can object to the use of their personal data for certain purposes, such as direct marketing.
* Right to non-discrimination - Individuals have the right to not be subjected to discriminatory practices based on their exercise of any of these data protection rights.
## Sensitive Data
The PDPA does not provide a specific definition of “sensitive data.” Instead, it requires organizations to implement reasonable security measures that match the sensitivity of the information handled. In practice, advisory guidelines highlight specific categories—such as data related to minors, financial details, medical and genetic information, and personal attributes like race, ethnicity, or religious and political beliefs—as requiring stronger safeguards due to the greater potential for harm if misused.
## Penalties
* Up to S$1 million or 10% of the organization's annual turnover in Singapore, whichever is higher, can be imposed for non-compliance.
## Configure Your Consent Banner for PDPA
Regions are used to customize the behavior and experience based on an individual user’s location. As an example, this allows you to provide different experiences to users based on regional differences (like PDPA in Singapore vs. CCPA in California). When a user visits your site, we will automatically determine their location and will match them to the most granular region rule that you have set up in Concord. This can go down to the state/province level, which allows for different experiences for different laws (like CCPA in California).
### Recommended Consent Settings
Based on the current laws, we recommend the following regional settings:
* **Consent Mode:** Express
* **Blocking Mode:** Strict
* **[Google Consent Mode V2](/docs/google-understanding-configuring-google-consent-mode-gcm-v2):** Basic
* **Consent Duration:** 12 months
* **Enable Limit Sensitive Information:** Off
* **Enable Do Not Sell Consent:** Off
* **Enable Global Privacy Control:** Off
Current PDPA requirements do not explicitly require **Do Not Sell** or **Global Privacy Control,** but you can enable these features if you choose to. This can be a good strategy if you want a single privacy-first configuration that you can use globally since regulations like CCPA/CPRA do require Do Not Sell and Global Privacy Control.
For step-by-step instruction on how to configure your consent banner for different geographical regions within the Concord app, see our help document [Configure Your Consent Banner for Different Geographical Regions](/docs/configure-consent-banner-different-regions).
While you can get as granular as you want, we typically recommend a single
global policy that meets the strictest guidelines across regions, or higher
splits (like separate GDPR and United States regions, only adding additional
regions for stricter states like California if needed). If you have any
questions on how and why to configure your regions in certain ways, please
reach out to our support team.
# State Privacy Laws: Alabama
URL: /docs/state-privacy-laws-alabama
***
title: 'State Privacy Laws: Alabama'
description: 'A summary of privacy laws in Alabama. '
created: '2026-07-03T00:00:00.000Z'
updated: '2026-07-03T00:00:00.000Z'
-----------------------------------
## Overview
The Alabama Personal Data Protection Act (APDPA) makes Alabama one of the states to adopt a comprehensive consumer data privacy law in 2026. The APDPA follows the pattern established by the majority of state privacy frameworks and does not introduce provisions that meaningfully depart from the existing state privacy consensus. For organizations already compliant with laws like Virginia's VCDPA or Colorado's CPA, Alabama's requirements are unlikely to demand significant new operational changes, though its 25,000-consumer threshold is among the lowest in the country, bringing more mid-sized businesses into scope.
## Key Dates
* Signed into law: April 16, 2026
* Effective date: May 1, 2027
## Thresholds
The APDPA applies to entities that conduct business in Alabama, or produce products or services targeted to Alabama residents, and meet at least one of the following:
* control or process the personal data of more than 25,000 consumers (excluding data processed solely to complete a payment transaction); or
* derive more than 25% of gross revenue from the sale of personal data.
## Consumer Rights
* The right to confirm whether a controller is processing their personal data and to access that data.
* The right to correct inaccuracies in their personal data.
* The right to delete their personal data.
* The right to obtain a portable copy of their personal data.
* The right to opt out of the processing of their personal data for the purposes of targeted advertising, the sale of their personal data, or profiling in furtherance of solely automated decisions that produce legal or similarly significant effects.
## Sensitive Data
The law defines sensitive data to include personal data revealing:
* Racial or ethnic origin
* Religious beliefs
* A mental or physical health condition or diagnosis
* Sex life or sexual orientation
* Citizenship or immigration status
* Genetic or biometric data processed to uniquely identify an individual
* Personal data collected from a known child (under 13 years of age)
* Precise geolocation data
## Penalties
Violations are enforced exclusively by the Alabama Attorney General, with civil penalties of up to $15,000 per violation. There is no private right of action. A 45-day right to cure applies and does not sunset.
## Configure Your Consent Banner for APDPA
Regions are used to customize the behavior and experience based on an individual user’s location. As an example, this allows you to provide different experiences to users based on regional differences (like GDPR in the EU vs. APDPA in Alabama). When a user visits your site, we will automatically determine their location and will match them to the most granular region rule that you have setup in Concord. This can go down to the state/province level, which allows for different experiences for different laws (like APDPA in Alabama).
### Recommended Consent Settings
Based on the current laws, we recommend the following regional settings:
* **Consent Mode:** Implied
* **Blocking Mode:** Strict
* **[Google Consent Mode V2](/docs/google-understanding-configuring-google-consent-mode-gcm-v2):** Advanced
* **Consent Duration:** 12 months
* **Enable Limit Sensitive Information:** Enabled
* **Enable Do Not Sell Consent:** Enabled
* **Enable Global Privacy Control:** Enabled
For step-by-step instruction on how to configure your consent banner for different geographical regions within the Concord app, see our help document [Configure Your Consent Banner for Different Geographical Regions](/docs/configure-consent-banner-different-regions).
While you can get as granular as you want, we typically recommend a single
global policy that meets the strictest guidelines across regions, or higher
splits (like separate GDPR and United States regions, only adding additional
regions for stricter states like California if needed). If you have any
questions on how and why to configure your regions in certain ways, please
reach out to our support team.
# State Privacy Laws: California
URL: /docs/state-privacy-laws-california
***
title: 'State Privacy Laws: California'
description: 'A summary of privacy laws in California.'
createdAt: '2025-07-09T03:08:58.794Z'
updatedAt: '2025-07-22T04:51:49.182Z'
-------------------------------------
## Overview
The California Privacy Rights Act (CPRA) is the most comprehensive state data privacy law. It amended the California Consumer Privacy Act (CCPA) of 2018 - landmark legislation that gives consumers more control over the personal information that businesses collect about them - by adding additional privacy protections that began on January 1, 2023.
## Key Dates
* CCPA signed into law: June 28, 2018
* CCPA effective date: January 1, 2020
* CPRA approved by voters (Prop 24): November 3, 2020
* CPRA effective date: January 1, 2023 (enforcement began July 1, 2023)
## Thresholds
The CCPA / CPRA applies to businesses that:
* Earned gross annual revenue of more than US million in the preceding year, or
* Buy, sell, or share the personal information of 100,000 or more California consumers or households, or
* Make 50% or more of its annual revenue by selling or sharing the personal information of California residents\*.\*
## Consumer Rights
* The right to know about the personal information a business collects about them and how it is used and shared.
* The right to delete personal information collected from them (with some exceptions).
* The right to opt-out of the sale or sharing of their personal information.
* The right to non-discrimination for exercising their CCPA / CPRA rights.
* The right to correct inaccurate personal information that a business has about them.
* The right to limit the use and disclosure of sensitive personal information collected about them.
## Sensitive Data
Sensitive data is defined as:
* Personal information that reveals:A consumer's social security, driver's license, state identification card, or passport number.
* A consumer's account log-in, financial account, debit card, or credit card number in combination with any required security or access code, password, or credentials allowing access to an account.
* A consumer's precise geolocation.
* A consumer's racial or ethnic origin, religious or philosophical beliefs, or union membership.
* The contents of a consumer's mail, email, and text messages unless the business is the intended recipient of the communication.
* A consumer's genetic data.
The processing of biometric information for the purpose of uniquely identifying a consumer.- Personal information collected and analyzed concerning a consumer's health.
* Personal information collected and analyzed concerning a consumer's sex life or sexual orientation.
## Penalties
Up to $7,500 per violation.
## Configure Your Consent Banner for CCPA / CPRA
Regions are used to customize the behavior and experience based on an individual user's location. As an example, this allows you to provide different experiences to users based on regional differences (like GDPR in the EU vs. CCPA/CPRA in California). When a user visits your site, we will automatically determine their location and will match them to the most granular region rule that you have setup in Concord. This can go down to the state/province level, which allows for different experiences for different laws (like CCPA/CPRA in California).
### Recommended Consent Settings
Based on the current laws, we recommend the following regional settings:
* **Consent Mode:** Express
* **Blocking Mode:** Strict
* **[Google Consent Mode V2](/docs/google-understanding-configuring-google-consent-mode-gcm-v2):** Advanced
* **Consent Duration:** 12 months
* **Enable Limit Sensitive Information:** Enabled
* **Enable Do Not Sell Consent:** Enabled
* **Enable Global Privacy Control:** Enabled
For step-by-step instruction on how to configure your consent banner for different geographical regions within the Concord app, see our help document [Configure Your Consent Banner for Different Geographical Regions](/docs/configure-consent-banner-different-regions).
While you can get as granular as you want, we typically recommend a single
global policy that meets the strictest guidelines across regions, or higher
splits (like separate GDPR and United States regions, only adding additional
regions for stricter states like California if needed). If you have any
questions on how and why to configure your regions in certain ways, please
reach out to our support team.
# State Privacy Laws: Colorado
URL: /docs/state-privacy-laws-colorado
***
title: 'State Privacy Laws: Colorado'
description: 'A summary of privacy laws in Colorado. '
created: '2025-05-11T20:19:59.000Z'
updated: '2025-05-11T20:19:59.000Z'
-----------------------------------
## Overview
Colorado enacted the Colorado Privacy Act (CPA) in June of 2021, becoming the third U.S. state to adopt a comprehensive privacy law. The CPA contains express consumer rights, controller and processor obligations, and provisions relating to CPA enforcement and interpretive guidance.
## Key Dates
* Signed into law: July 2021
* Effective date: July 1, 2023
## Thresholds
CPA applies to legal entities that conduct business or produce commercial products or services that are intentionally targeted to Colorado residents and that either:
* Control or process personal data of at least 100,000 consumers per calendar year; or
* Derive revenue from the sale of personal data and control or process the personal data of at least 25,000 consumers.
## Consumer Rights
* The right to confirm whether a controller is processing personal data concerning the consumer and to access the consumer’s personal data.
* The right to correct inaccuracies in the consumer’s personal data, taking into account the nature of the personal data and the purposes of the processing of the consumer’s personal data.
* The right to delete personal data concerning the consumer.
* The right to obtain personal data in a portable and, to the extent technically feasible, readily usable format that allows the consumer to transmit the data to another entity without hindrance.
* The right to opt out of the processing of personal data concerning the consumer for purposes of targeted advertising, the sale of personal data, or profiling in furtherance of decisions that produce legal or similarly significant effects concerning a consumer.
## Sensitive Data
The law defines sensitive data to include personal data revealing.
* Racial or ethnic origin
* Religious beliefs
* A mental or physical health condition or diagnosis
* Sex life or sexual orientation
* Citizenship or citizenship status
* Genetic or biometric data that may be processed for the purpose of uniquely identifying an individual
* Personal data of a known child
## Penalties
Up to $20,000 per violation.
## Configure Your Consent Banner for CPA
Regions are used to customize the behavior and experience based on an individual user’s location. As an example, this allows you to provide different experiences to users based on regional differences (like GDPR in the EU vs. CPA in Colorado). When a user visits your site, we will automatically determine their location and will match them to the most granular region rule that you have setup in Concord. This can go down to the state/province level, which allows for different experiences for different laws (like CPA in Colorado).
### Recommended Consent Settings
Based on the current laws, we recommend the following regional settings:
* **Consent Mode:** Implied
* **Blocking Mode:** Strict
* **[Google Consent Mode V2](/docs/google-understanding-configuring-google-consent-mode-gcm-v2):** Advanced
* **Consent Duration:** 12 months
* **Enable Limit Sensitive Information:** Enabled
* **Enable Do Not Sell Consent:** Enabled
* **Enable Global Privacy Control:** Enabled
For step-by-step instruction on how to configure your consent banner for different geographical regions within the Concord app, see our help document [Configure Your Consent Banner for Different Geographical Regions](/docs/configure-consent-banner-different-regions).
While you can get as granular as you want, we typically recommend a single
global policy that meets the strictest guidelines across regions, or higher
splits (like separate GDPR and United States regions, only adding additional
regions for stricter states like California if needed). If you have any
questions on how and why to configure your regions in certain ways, please
reach out to our support team.
# State Privacy Laws: Connecticut
URL: /docs/state-privacy-laws-connecticut
***
title: 'State Privacy Laws: Connecticut'
description: 'A summary of privacy laws in Connecticut. '
created: '2025-05-11T20:18:43.000Z'
updated: '2025-05-11T20:18:43.000Z'
-----------------------------------
## Overview
In May 2022, Governor Ned Lamont signed Senate Bill 6: An Act Concerning Personal Data Privacy and Online Monitoring (also known as The Connecticut Data Privacy Act or “CTDPA”), making Connecticut one of the first states to pass a comprehensive consumer privacy law.
## Key Dates
* Signed into law: May 10, 2022
* Effective date: July 1, 2023
## **Thresholds**
The CTDPA applies to people who conduct business in Connecticut or who produce products or services targeted to Connecticut residents and that, during the prior calendar year, controlled or processed the personal data of:
* at least 100,000 consumers; or
* 25,000 or more consumers and derived over 25% of gross revenue from the sale of personal data.
However, the CTDPA applies to all Consumer Health Data Controllers who do business in Connecticut, regardless of their size or the nature of their data processing activities (see below section regarding Consumer Health Data Controllers).
The CTDPA also applies to service providers (called “processors”) that maintain or provide services involving personal data on behalf of covered businesses.
## Consumer Rights
* The right to access personal data that a controller has collected about them.
* The right to correct inaccuracies in their personal data.
* The right to delete their personal data, including personal data that a controller collected through third parties.
* The right to obtain a copy of their personal data in a portable and readily usable format that allows them to transfer the data to another controller with ease.
* The right to opt-out of the sale of their personal data, the processing of personal data for the purposes of targeted advertising, and profiling that may have a legal or other significant impact.
## Sensitive Data
The law defines sensitive data to include personal data revealing:
* Any data revealing racial or ethnic origins, religious beliefs, mental or physical health conditions or diagnoses, sexual activity or orientation, citizenship, or immigration status;
* Consumer Health Data – which means data used to identify a consumer’s physical or mental health condition or diagnosis, and includes, but is not limited to, gender-affirming health data and reproductive health data;
* Genetic or biometric data used to uniquely identify an individual;
* Personal data of a child under the age of 13; and
* Information that identifies an individual’s specific location with a defined degree of precision and accuracy (called “precise geolocation data”).
## Penalties
Up to $7,500 per violation.
## Configure Your Consent Banner for CTDPA
Regions are used to customize the behavior and experience based on an individual user’s location. As an example, this allows you to provide different experiences to users based on regional differences (like GDPR in the EU vs. CTDPA in Connecticut). When a user visits your site, we will automatically determine their location and will match them to the most granular region rule that you have setup in Concord. This can go down to the state/province level, which allows for different experiences for different laws (like CTDPA in Connecticut).
### Recommended Consent Settings
Based on the current laws, we recommend the following regional settings:
* **Consent Mode:** Implied
* **Blocking Mode:** Strict
* **[Google Consent Mode V2](/docs/google-understanding-configuring-google-consent-mode-gcm-v2):** Advanced
* **Consent Duration:** 12 months
* **Enable Limit Sensitive Information:** Enabled
* **Enable Do Not Sell Consent:** Enabled
* **Enable Global Privacy Control:** Enabled
For step-by-step instruction on how to configure your consent banner for different geographical regions within the Concord app, see our help document [Configure Your Consent Banner for Different Geographical Regions](/docs/configure-consent-banner-different-regions).
While you can get as granular as you want, we typically recommend a single
global policy that meets the strictest guidelines across regions, or higher
splits (like separate GDPR and United States regions, only adding additional
regions for stricter states like California if needed). If you have any
questions on how and why to configure your regions in certain ways, please
reach out to our support team.
# State Privacy Laws: Delaware
URL: /docs/state-privacy-laws-delaware
***
title: 'State Privacy Laws: Delaware'
description: 'A summary of privacy laws in Delaware. '
created: '2025-05-11T20:24:21.000Z'
updated: '2025-05-11T20:24:21.000Z'
-----------------------------------
## Overview
In September 2023, Delaware became the seventh state in 2023 to enact comprehensive privacy law with the [Delaware Personal Data Privacy Act](https://legis.delaware.gov/json/BillDetail/GenerateHtmlDocumentEngrossment?engrossmentId=35877\&docTypeId=6) (DPDPA).
## Key Dates
* Signed into law: September 11, 2023
* Effective date: January 1, 2025
## Thresholds
The DPDPA applies to persons who conduct business in Delaware or produce products or services targeted to Delaware residents (“consumers”) and who, during the preceding calendar year, either:
* Controlled or processed the personal data of at least 35,000 consumers (excluding personal data controlled or processed solely for the purpose of completing a payment transaction), or
* Controlled or processed the personal data at least 10,000 consumers and derived more than 20% of their gross revenue from the sale of personal data.
## Consumer Rights
* The right to confirm whether a controller is processing the consumer's data and provide access to the consumer's data
* The right to correct inaccurate personal data of the consumer.
* The right to delete personal data about the consumer.
* The right to obtain a copy of the consumer's personal data (i.e., data portability).
* The right to obtain a list of the categories of third parties to which the controller has disclosed the consumer's personal data.
* The right to opt out of the processing of the consumer's personal data for purposes of targeted advertising, the sale of personal data, or profiling in furtherance of solely automated decisions that produce legal or similarly significant effects concerning the consumer.
## Sensitive Data
* Racial or ethnic origin
* Religious beliefs
* Mental or physical health condition or diagnosis (including pregnancy)
* Sex life, sexual orientation, status as transgender or non-binary
* National origin
* Citizenship status or immigration status
* Genetic or biometric data for the purpose of uniquely identifying an individual
* Precise geolocation data
* Personal data of a known child
## Penalties
Up to $7,500 per violation.
## Configure Your Consent Banner for DPDPA
Regions are used to customize the behavior and experience based on an individual user’s location. As an example, this allows you to provide different experiences to users based on regional differences (like GDPR in the EU vs. DPDPA in Delaware). When a user visits your site, we will automatically determine their location and will match them to the most granular region rule that you have setup in Concord. This can go down to the state/province level, which allows for different experiences for different laws (like DPDPA in Delaware).
### Recommended Consent Settings
Based on the current laws, we recommend the following regional settings:
* **Consent Mode:** Implied
* **Blocking Mode:** Strict
* **[Google Consent Mode V2](/docs/google-understanding-configuring-google-consent-mode-gcm-v2):** Advanced
* **Consent Duration:** 12 months
* **Enable Limit Sensitive Information:** Enabled
* **Enable Do Not Sell Consent:** Enabled
* **Enable Global Privacy Control:** Enabled
For step-by-step instruction on how to configure your consent banner for different geographical regions within the Concord app, see our help document [Configure Your Consent Banner for Different Geographical Regions](/docs/configure-consent-banner-different-regions).
While you can get as granular as you want, we typically recommend a single
global policy that meets the strictest guidelines across regions, or higher
splits (like separate GDPR and United States regions, only adding additional
regions for stricter states like California if needed). If you have any
questions on how and why to configure your regions in certain ways, please
reach out to our support team.
# State Privacy Laws: Florida
URL: /docs/state-privacy-laws-florida
***
title: 'State Privacy Laws: Florida'
description: 'A summary of privacy laws in Florida. '
created: '2026-07-03T00:00:00.000Z'
updated: '2026-07-03T00:00:00.000Z'
-----------------------------------
## Overview
Florida enacted the Florida Digital Bill of Rights (FDBR) in June 2023, establishing consumer data privacy protections with a distinctive focus on large technology companies. Unlike most state privacy laws, the FDBR sets a high revenue threshold, limiting its applicability to organizations with annual global gross revenues exceeding $1 billion, making it one of the narrowest comprehensive privacy laws in the country.
## Key Dates
* Signed into law: June 2023
* Effective date: July 1, 2024
## Thresholds
The FDBR applies to for-profit entities that conduct business in Florida, collect personal data about consumers, and have annual global gross revenues exceeding $1 billion. In addition, the entity must meet at least one of the following:
* Derive 50% or more of global annual revenue from the sale of online advertisements; or
* Operate a consumer smart speaker and voice command component service with an integrated virtual assistant; or
* Operate an app store or digital distribution platform that offers at least 250,000 software applications for download.
## Consumer Rights
* The right to confirm whether a controller is processing personal data and to access that data.
* The right to correct inaccuracies in personal data.
* The right to delete personal data provided by, or obtained about, the consumer.
* The right to obtain a copy of personal data in a portable and readily usable format.
* The right to opt out of the processing of personal data for purposes of targeted advertising, the sale of personal data, or profiling.
* The right to opt out of the collection of sensitive data, including precise geolocation data, and the collection of data through voice or facial recognition features.
## Sensitive Data
The law defines sensitive data as personal data revealing:
* Racial or ethnic origin
* Religious beliefs
* A mental or physical health condition or diagnosis
* Sexual orientation
* Citizenship or immigration status
* Genetic or biometric data processed for the purpose of uniquely identifying an individual
* Personal data of a child under 18 years of age
* Precise geolocation data
## Penalties
Up to $50,000 per violation. Penalties of up to $150,000 per violation apply to violations involving a consumer under 18, failure to delete or correct personal data after a request, or continued sale or sharing of data after an opt-out request.
## Configure Your Consent Banner for FDBR
Regions are used to customize the behavior and experience based on an individual user’s location. As an example, this allows you to provide different experiences to users based on regional differences (like GDPR in the EU vs. FDBR in Florida). When a user visits your site, we will automatically determine their location and will match them to the most granular region rule that you have setup in Concord. This can go down to the state/province level, which allows for different experiences for different laws (like FDBR in Florida).
### Recommended Consent Settings
Based on the current laws, we recommend the following regional settings:
* **Consent Mode:** Implied
* **Blocking Mode:** Strict
* **[Google Consent Mode V2](/docs/google-understanding-configuring-google-consent-mode-gcm-v2):** Advanced
* **Consent Duration:** 12 months
* **Enable Limit Sensitive Information:** Enabled
* **Enable Do Not Sell Consent:** Enabled
* **Enable Global Privacy Control:** Enabled
For step-by-step instruction on how to configure your consent banner for different geographical regions within the Concord app, see our help document [Configure Your Consent Banner for Different Geographical Regions](/docs/configure-consent-banner-different-regions).
While you can get as granular as you want, we typically recommend a single
global policy that meets the strictest guidelines across regions, or higher
splits (like separate GDPR and United States regions, only adding additional
regions for stricter states like California if needed). If you have any
questions on how and why to configure your regions in certain ways, please
reach out to our support team.
# State Privacy Laws: Indiana
URL: /docs/state-privacy-laws-indiana
***
title: 'State Privacy Laws: Indiana'
description: 'A summary of privacy laws in Indiana. '
created: '2026-07-03T00:00:00.000Z'
updated: '2026-07-03T00:00:00.000Z'
-----------------------------------
## Overview
The Indiana Consumer Data Protection Act (INCDPA) establishes new privacy rights for Indiana residents and corresponding obligations for businesses that collect or process their personal data. Like many comprehensive state privacy laws, the INCDPA applies to organizations that meet certain volume or revenue thresholds and focuses on consumer data collected in a personal or household context, not employment or business-to-business activities. Overall, the INCDPA aligns closely with other state frameworks while adding to the growing patchwork of U.S. privacy requirements organizations must navigate.
## Key Dates
* Signed into law: May 1, 2023
* Effective date: January 1, 2026
## Thresholds
The INCDPA applies to a person that conducts business in Indiana or produces products or services that are targeted at Indiana residents, and during a calendar year either:
* controls or processes personal data of at least 100,000 Indiana residents; or
* controls or processes personal data of at least 25,000 Indiana residents and derives over fifty percent (50%) of gross revenue from the "sale" of any personal data.
## Consumer Rights
* The right to confirm if a business is processing their personal data.
* The right to correct inaccuracies in their personal data.
* The right to delete their personal data.
* The right to obtain a copy of their personal data in a portable and readily usable format.
* The right to opt out of processing of their personal data for the purposes of targeted advertising, the sale of their personal data, or profiling.
## Sensitive Data
The law defines sensitive data to include personal data revealing:
* Racial or ethnic origin
* Religious beliefs
* A mental or physical health condition or diagnosis
* Sexual orientation
* Citizenship or immigration status
* Genetic or biometric data
* Personal data of a known child
* Precise geolocation data
## Penalties
Up to $7,500 per violation.
## Configure Your Consent Banner for INCDPA
Regions are used to customize the behavior and experience based on an individual user’s location. As an example, this allows you to provide different experiences to users based on regional differences (like GDPR in the EU vs. INCDPA in Indiana). When a user visits your site, we will automatically determine their location and will match them to the most granular region rule that you have setup in Concord. This can go down to the state/province level, which allows for different experiences for different laws (like INCDPA in Indiana).
### Recommended Consent Settings
Based on the current laws, we recommend the following regional settings:
* **Consent Mode:** Implied
* **Blocking Mode:** Strict
* **[Google Consent Mode V2](/docs/google-understanding-configuring-google-consent-mode-gcm-v2):** Advanced
* **Consent Duration:** 12 months
* **Enable Limit Sensitive Information:** Enabled
* **Enable Do Not Sell Consent:** Enabled
* **Enable Global Privacy Control:** Enabled
For step-by-step instruction on how to configure your consent banner for different geographical regions within the Concord app, see our help document [Configure Your Consent Banner for Different Geographical Regions](/docs/configure-consent-banner-different-regions).
While you can get as granular as you want, we typically recommend a single
global policy that meets the strictest guidelines across regions, or higher
splits (like separate GDPR and United States regions, only adding additional
regions for stricter states like California if needed). If you have any
questions on how and why to configure your regions in certain ways, please
reach out to our support team.
# State Privacy Laws: Iowa
URL: /docs/state-privacy-laws-iowa
***
title: 'State Privacy Laws: Iowa'
description: 'A summary of privacy laws in Iowa. '
created: '2025-05-11T20:16:54.000Z'
updated: '2025-05-11T20:16:54.000Z'
-----------------------------------
## Overview
Iowa was the sixth state to pass a comprehensive state privacy law. The Iowa Consumer Data Protection Act (ICDPA) outlines consumer rights, obligations of businesses, privacy notice requirements, and other related provisions.
## Key Dates
* Signed into law: March 29, 2023
* Effective date: January 1, 2025
## Thresholds
The ICDPA applies to any individual that conducts business in Iowa or produces products or services that are targeted at Iowa consumers, and which during a calendar year either:
* controls or processes personal data of at least 100,000 Iowa consumers or
* controls or processes personal data of at least 25,000 Iowa consumers and derives over fifty percent (50%) of gross revenue from the "sale" of personal data.
## Consumer Rights
* The right to confirm processing about about whether their data is being processed.
* The right to access personal data held by a business.
* The right to data portability, enabling consumers to transfer their personal data to another service provider.
* The right to deletion of their data from company records, helping them control their digital footprint.
* The right to opt out of the sale of personal data, empowering consumers to restrict businesses from selling or using their data for targeted advertising.
## Sensitive Data
* Racial or ethnic origin, religious beliefs, health diagnoses
* Citizenship or immigration status
* Genetic and biometric data uniquely identifying an individual
* Children’s data and precise geolocation data
## Penalties
Up to $7,500 per violation.
## Configure Your Consent Banner for ICDPA
Regions are used to customize the behavior and experience based on an individual user’s location. As an example, this allows you to provide different experiences to users based on regional differences (like GDPR in the EU vs. ICDPA in Iowa). When a user visits your site, we will automatically determine their location and will match them to the most granular region rule that you have setup in Concord. This can go down to the state/province level, which allows for different experiences for different laws (like ICDPA in Iowa).
### Recommended Consent Settings
Based on the current laws, we recommend the following regional settings:
* **Consent Mode:** Implied
* **Blocking Mode:** Strict
* **[Google Consent Mode V2](/docs/google-understanding-configuring-google-consent-mode-gcm-v2):** Advanced
* **Consent Duration:** 12 months
* **Enable Limit Sensitive Information:** Enabled
* **Enable Do Not Sell Consent:** Enabled
* **Enable Global Privacy Control:** Enabled
For step-by-step instruction on how to configure your consent banner for different geographical regions within the Concord app, see our help document [Configure Your Consent Banner for Different Geographical Regions](/docs/configure-consent-banner-different-regions).
While you can get as granular as you want, we typically recommend a single
global policy that meets the strictest guidelines across regions, or higher
splits (like separate GDPR and United States regions, only adding additional
regions for stricter states like California if needed). If you have any
questions on how and why to configure your regions in certain ways, please
reach out to our support team.
# State Privacy Laws: Kentucky
URL: /docs/state-privacy-laws-kentucky
***
title: 'State Privacy Laws: Kentucky'
description: 'A summary of privacy laws in Kentucky. '
created: '2026-07-03T00:00:00.000Z'
updated: '2026-07-03T00:00:00.000Z'
-----------------------------------
## Overview
The Kentucky Consumer Data Protection Act (KCDPA) establishes consumer privacy rights for Kentucky residents and sets compliance obligations for businesses that meet certain processing thresholds. Similar to other comprehensive state privacy laws, the KCDPA applies to personal data collected in an individual or household context and does not extend to employment-related or business-to-business data.
## Key Dates
* Signed into law: April 4, 2024
* Effective date: January 1, 2026
## Thresholds
The KCDPA applies to “controllers,” defined to mean persons or businesses that:
* control or process personal data of at least 100,000 Kentucky consumers; or
* control or process personal data of at least 25,000 Kentucky consumers and derive over 50% of their gross revenue from the sale of personal data.
## Consumer Rights
* The right to confirm whether certain businesses collecting personal data (“controllers”) are processing their personal data.
* The right to access their collected personal data (without revealing trade secrets).
* The right to correct inaccuracies in their personal data.
* The right to delete their personal data.
* The right to obtain a portable copy of their personal data to the extent feasible (without revealing trade secrets).
* The right to opt out of processing of their personal data for the purposes of targeted advertising, the sale of their personal data, or profiling.
* The right to protect their sensitive data from processing without their personal consent.
## Sensitive Data
The law defines sensitive data to include personal data revealing:
* Racial or ethnic origin
* Religious beliefs
* A mental or physical health condition or diagnosis
* Sexual orientation
* Citizenship or immigration status
* Genetic or biometric data used for personal identification
* Personal data of a known child
* Precise geolocation data
## Penalties
Up to $7,500 per violation.
## Configure Your Consent Banner for KCDPA
Regions are used to customize the behavior and experience based on an individual user’s location. As an example, this allows you to provide different experiences to users based on regional differences (like GDPR in the EU vs. KCDPA in Kentucky). When a user visits your site, we will automatically determine their location and will match them to the most granular region rule that you have setup in Concord. This can go down to the state/province level, which allows for different experiences for different laws (like KCDPA in Kentucky).
### Recommended Consent Settings
Based on the current laws, we recommend the following regional settings:
* **Consent Mode:** Implied
* **Blocking Mode:** Strict
* **[Google Consent Mode V2](/docs/google-understanding-configuring-google-consent-mode-gcm-v2):** Basic
* **Consent Duration:** 12 months
* **Enable Limit Sensitive Information:** Enabled
* **Enable Do Not Sell Consent:** Enabled
* **Enable Global Privacy Control:** Enabled
For step-by-step instruction on how to configure your consent banner for different geographical regions within the Concord app, see our help document [Configure Your Consent Banner for Different Geographical Regions](/docs/configure-consent-banner-different-regions).
While you can get as granular as you want, we typically recommend a single
global policy that meets the strictest guidelines across regions, or higher
splits (like separate GDPR and United States regions, only adding additional
regions for stricter states like California if needed). If you have any
questions on how and why to configure your regions in certain ways, please
reach out to our support team.
# State Privacy Laws: Louisiana
URL: /docs/state-privacy-laws-louisiana
***
title: 'State Privacy Laws: Louisiana'
description: 'A summary of privacy laws in Louisiana. '
created: '2026-07-03T00:00:00.000Z'
updated: '2026-07-03T00:00:00.000Z'
-----------------------------------
## Overview
The Louisiana Data Privacy Act (LDPA) makes Louisiana the 22nd state to enact a comprehensive consumer data privacy law. Signed in May 2026 and effective January 1, 2027, it has the shortest runway of the four laws enacted in 2026. The LDPA generally follows the established state privacy framework but stands out for its California-style thresholds (including a standalone revenue trigger) and for requiring specific, verbatim notice language from businesses that sell sensitive or biometric data.
## Key Dates
* Signed into law: May 29, 2026
* Effective date: January 1, 2027
## Thresholds
The LDPA applies to entities that conduct business in Louisiana and meet at least one of the following:
* annual gross revenue exceeding $25 million; or
* annually buy, receive, sell, or share the personal information of 75,000 or more consumers, households, or devices; or
* derive 50% or more of annual revenue from selling consumers' personal information.
## Consumer Rights
* The right to confirm whether a controller is processing their personal data and to access that data.
* The right to correct inaccuracies in their personal data.
* The right to delete their personal data.
* The right to obtain a portable copy of their personal data.
* The right to opt out of the processing of their personal data for the purposes of targeted advertising, the sale of their personal data, or profiling in furtherance of decisions that produce legal or similarly significant effects.
* The right to appeal a controller's denial of a request.
## Sensitive Data
The law defines sensitive data to include personal data revealing:
* Racial or ethnic origin
* Religious beliefs
* A mental or physical health diagnosis
* Sex life or sexual orientation
* Citizenship or immigration status
* Genetic or biometric data processed to uniquely identify an individual
* Personal data collected from a known child (under 13 years of age)
* Precise geolocation data
## Penalties
Violations are enforced exclusively by the Louisiana Attorney General as unfair or deceptive trade practices, with civil penalties of up to $5,000 per violation. There is no private right of action. A 30-day right to cure is available, but it sunsets on July 31, 2027, meaning businesses will have only seven months of cure availability after the law takes effect.
## Configure Your Consent Banner for LDPA
Regions are used to customize the behavior and experience based on an individual user’s location. As an example, this allows you to provide different experiences to users based on regional differences (like GDPR in the EU vs. LDPA in Louisiana). When a user visits your site, we will automatically determine their location and will match them to the most granular region rule that you have setup in Concord. This can go down to the state/province level, which allows for different experiences for different laws (like LDPA in Louisiana).
### Recommended Consent Settings
Based on the current laws, we recommend the following regional settings:
* **Consent Mode:** Implied
* **Blocking Mode:** Strict
* **[Google Consent Mode V2](/docs/google-understanding-configuring-google-consent-mode-gcm-v2):** Advanced
* **Consent Duration:** 12 months
* **Enable Limit Sensitive Information:** Enabled
* **Enable Do Not Sell Consent:** Enabled
* **Enable Global Privacy Control:** Enabled
For step-by-step instruction on how to configure your consent banner for different geographical regions within the Concord app, see our help document [Configure Your Consent Banner for Different Geographical Regions](/docs/configure-consent-banner-different-regions).
While you can get as granular as you want, we typically recommend a single
global policy that meets the strictest guidelines across regions, or higher
splits (like separate GDPR and United States regions, only adding additional
regions for stricter states like California if needed). If you have any
questions on how and why to configure your regions in certain ways, please
reach out to our support team.
# State Privacy Laws: Maryland
URL: /docs/state-privacy-laws-maryland
***
title: 'State Privacy Laws: Maryland'
description: 'A summary of privacy laws in Maryland. '
created: '2025-05-02T21:14:26.000Z'
updated: '2025-05-02T21:14:26.000Z'
-----------------------------------
## Overview
The Maryland Online Data Protection Act (MODPA) gives Maryland residents power over their personal data by granting them privacy rights. While the MODPA is similar in many ways to other state privacy laws, it is considered more stringent than other states in terms of its broad applicability, controller requirements, and higher penalties; it also requires controllers to conduct privacy impact assessments on a regular basis for the processing of personal data that presents a heightened risk of harm to the consumer.
## Key Dates
* Signed into law: May 9, 2024
* Effective date: October 1, 2025
## Thresholds
The MODPA applies to any person that conducts business in Maryland or provides products or services that are targeted to residents of Maryland, and that during the preceding calendar year:
* Controlled or processed personal data of at least 35,000 consumers, excluding personal data controlled or processed solely for the purpose of completing a payment transaction; or
* Controlled or processed personal data of at least 10,000 consumers and derived more than twenty percent (20%) of its gross revenue from the sale of personal data.
## Consumer Rights
* The right to confirm whether a controller processes their personal data and if so, access their data.
* The right to correct inaccuracies in their personal data.
* The right to delete personal data provided by or obtained about the consumer, unless retention of the data is required by law.
* The right to obtain a copy of their personal data held by the controller in a readily usable format (i.e., data portability) that allows the consumer to easily transfer their data to another controller.
* The right to obtain a list of the categories of third parties to which the controller has disclosed their data or to which the controller has disclosed data generally.
* The right to opt out of the processing of their personal data for the purposes of targeted advertising, the sale of their personal data, or profiling.
## Sensitive Data
Sensitive data is defined as personal data revealing:
* Racial or ethnic origin
* Religious beliefs
* Physical or mental health status, including gender affirming treatments and reproductive or sexual health care
* Sex life or sexual orientation
* Status as transgender or non-binary
* National origin
* Citizenship or immigration status
* Genetic or biometric data
* Data collected from a known child
* Geolocation data
## Penalties
Up to $10,000 for each violation and $25,000 per violation for repeated violations.
## Configure Your Consent Banner for MODPA
Regions are used to customize the behavior and experience based on an individual user’s location. As an example, this allows you to provide different experiences to users based on regional differences (like GDPR in the EU vs. MODPA in Maryland). When a user visits your site, we will automatically determine their location and will match them to the most granular region rule that you have setup in Concord. This can go down to the state/province level, which allows for different experiences for different laws (like MODPA in Maryland).
### Recommended Consent Settings
Based on the current laws, we recommend the following regional settings:
* **Consent Mode:** Implied
* **Blocking Mode:** Strict
* **[Google Consent Mode V2](/docs/google-understanding-configuring-google-consent-mode-gcm-v2):** Advanced
* **Consent Duration:** 12 months
* **Enable Limit Sensitive Information:** Enabled
* **Enable Do Not Sell Consent:** Enabled
* **Enable Global Privacy Control:** Enabled
For step-by-step instruction on how to configure your consent banner for different geographical regions within the Concord app, see our help document [Configure Your Consent Banner for Different Geographical Regions](/docs/configure-consent-banner-different-regions).
While you can get as granular as you want, we typically recommend a single
global policy that meets the strictest guidelines across regions, or higher
splits (like separate GDPR and United States regions, only adding additional
regions for stricter states like California if needed). If you have any
questions on how and why to configure your regions in certain ways, please
reach out to our support team.
# State Privacy Laws: Minnesota
URL: /docs/state-privacy-laws-minnesota
***
title: 'State Privacy Laws: Minnesota'
description: 'While the Minnesota Consumer Data Privacy Act (MCDPA) largely follows the Washington Privacy Act framework, it includes several distinctive elements. Among those is an exemption for small businesses, as well as granting consumers the right to challenge and seek explanations for profiling decisions. The bill also emphasizes cross-state compatibility through its privacy policy requirements, aiming to streamline compliance across different state privacy laws.'
created: '2025-05-11T20:05:12.000Z'
updated: '2025-05-11T20:05:12.000Z'
-----------------------------------
## Overview
While the Minnesota Consumer Data Privacy Act (MCDPA) largely follows the Washington Privacy Act framework, it includes several distinctive elements. Among those is an exemption for small businesses, as well as granting consumers the right to challenge and seek explanations for profiling decisions. The bill also emphasizes cross-state compatibility through its privacy policy requirements, aiming to streamline compliance across different state privacy laws.
## Key Dates
* Signed into law: May 19, 2024
* Effective date: July 31, 2025
## **Thresholds**
The MNCDPA applies to legal entities that conduct business in Minnesota or produce products or services that are targeted to Minnesota residents and satisfy one or more of the following thresholds:
* control or process personal data of 100,000 or more consumers in a calendar year (excluding personal data controlled or processed solely for the purpose of completing a payment transaction)
* derive over twenty-five percent (25%) of gross revenue from the sale of personal data and process or control personal data of 25,000 or more consumers.
## Consumer Rights
* The right to confirm whether a controller is processing their personal data and providing access to their data, unless providing confirmation and access would require the controller to reveal a trade secret.
* The right to correct inaccuracies in their personal data.
* The right to delete personal data concerning them.
* The right to obtain a copy, in an accessible format, of their personal data processed by the controller (i.e., data portability).
* The right to opt out of the processing of their personal data for the purposes of targeted advertising, the sale of their personal data, or profiling.
* The right to obtain a list of third parties to which the controller has disclosed the consumer's personal data.
## Sensitive Data
Sensitive data is defined as:
* Personal data revealing
* Racial or ethnic origin
* Religious beliefs
* Mental or physical health diagnosis
* Sexual orientation
* Citizenship or immigration status
* Genetic or biometric data for the purpose of uniquely identifying an individual
* Data collected from a known child
* Specific geolocation data.
## Penalties
Up to ,500 per violation.
## **Configure Your Consent Banner for MCDPA**
Regions are used to customize the behavior and experience based on an individual user’s location. As an example, this allows you to provide different experiences to users based on regional differences (like GDPR in the EU vs. MCDPA in MCDPA). When a user visits your site, we will automatically determine their location and will match them to the most granular region rule that you have setup in Concord. This can go down to the state/province level, which allows for different experiences for different laws (like MCDPA in Minnesota).
### Recommended Consent Settings
Based on the current laws, we recommend the following regional settings:
* **Consent Mode:** Implied
* **Blocking Mode:** Strict
* **[Google Consent Mode V2](/docs/google-understanding-configuring-google-consent-mode-gcm-v2):** Advanced
* **Consent Duration:** 12 months
* **Enable Limit Sensitive Information:** Enabled
* **Enable Do Not Sell Consent:** Enabled
* **Enable Global Privacy Control:** Enabled
For step-by-step instruction on how to configure your consent banner for different geographical regions within the Concord app, see our help document [Configure Your Consent Banner for Different Geographical Regions](/docs/configure-consent-banner-different-regions).
While you can get as granular as you want, we typically recommend a single
global policy that meets the strictest guidelines across regions, or higher
splits (like separate GDPR and United States regions, only adding additional
regions for stricter states like California if needed). If you have any
questions on how and why to configure your regions in certain ways, please
reach out to our support team.
# State Privacy Laws: Montana
URL: /docs/state-privacy-laws-montana
***
title: 'State Privacy Laws: Montana'
description: 'A summary of privacy laws in Montana. '
created: '2025-05-11T20:05:12.000Z'
updated: '2025-05-11T20:05:12.000Z'
-----------------------------------
## Overview
Montana was the ninth state to pass a comprehensive state privacy law with the Montana Consumer Data Privacy Act (MTCDPA). While the MTCDPA shares similarities with other state privacy laws, such as those in California, Colorado, and Florida, it exempts fewer organizations, making its impact more widespread.
## Key Dates
* Signed into law: May 19, 2023
* Effective date: October 1, 2024
## Thresholds
The MTCDPA applies to a person that conducts business in Montana or produces products or services that are targeted at Montana consumers, and either:
* controls or processes personal data of at least 50,000 Montana consumers (excluding personal data processed for completing payment transactions)
* controls or processes personal data of at least 25,000 Montana consumers and derives over twenty-five percent (25%) of gross revenue from the "sale" of any personal data.
## Consumer Rights
* The right to confirm whether a controller is processing their data.
* The right to request access to the data a controller has collected.
* The right to correct inaccuracies in personal data.
* The right to request a controller delete collected data.
* The right to obtain a copy of the data a controller has collected.
* The right to opt out of the processing of personal data for the purposes of targeted advertising, sale, or automated profiling.
## Sensitive Data
* Racial or ethnic origin
* Religious beliefs
* Mental/physical health condition and/or diagnosis
* Information about a person’s sex life, sexual orientation or sex life
* Citizenship/immigration status
* The processing of genetic or biometric data for the purpose of uniquely identifying an individual
* Personal data collected from a known child
* Precise geolocation data
## Penalties
Montana does not specify a civil penalty amount.
## Configure Your Consent Banner for MTCDPA
Regions are used to customize the behavior and experience based on an individual user’s location. As an example, this allows you to provide different experiences to users based on regional differences (like GDPR in the EU vs. MTCDPA in Montana). When a user visits your site, we will automatically determine their location and will match them to the most granular region rule that you have setup in Concord. This can go down to the state/province level, which allows for different experiences for different laws (like MTCDPA in Montana).
### Recommended Consent Settings
Based on the current laws, we recommend the following regional settings:
* **Consent Mode:** Implied
* **Blocking Mode:** Strict
* **[Google Consent Mode V2](/docs/google-understanding-configuring-google-consent-mode-gcm-v2):** Advanced
* **Consent Duration:** 12 months
* **Enable Limit Sensitive Information:** Enabled
* **Enable Do Not Sell Consent:** Enabled
* **Enable Global Privacy Control:** Enabled
For step-by-step instruction on how to configure your consent banner for different geographical regions within the Concord app, see our help document [Configure Your Consent Banner for Different Geographical Regions](/docs/configure-consent-banner-different-regions).
While you can get as granular as you want, we typically recommend a single
global policy that meets the strictest guidelines across regions, or higher
splits (like separate GDPR and United States regions, only adding additional
regions for stricter states like California if needed). If you have any
questions on how and why to configure your regions in certain ways, please
reach out to our support team.
# State Privacy Laws: Nebraska
URL: /docs/state-privacy-laws-nebraska
***
title: 'State Privacy Laws: Nebraska'
description: 'A summary of privacy laws in Nebraska. '
created: '2025-05-01T22:55:18.000Z'
updated: '2025-05-01T22:55:18.000Z'
-----------------------------------
## Overview
The Nebraska Consumer Data Protection Act (NCDPA) most closely resembles the Texas Data Privacy and Security Act. Unlike many other state privacy laws, the NCDPA provides no thresholds - revenue or number of consumers for which it controls or processes data - for the law to apply; therefore, its applicability is much broader than other states.
## Key Dates
* Signed into law: April 17, 2024
* Effective date: January 1, 2025
## Thresholds
The NCDPA applies to persons that conduct business in Nebraska or produce products or services consumed by Nebraska residents; process or engage in the sale of personal data; and are not a small business.
## Consumer Rights
* The right to confirm processing of personal data.
* The right to access personal data.
* The right to correct inaccurate personal data.
* The right to delete personal data.
* The right to port personal data.
* The right to opt out of targeted advertising, sale of personal data, profiling in furtherance of decisions that produce legal or similarly significant effects.
## Sensitive Data
* Personal data revealing racial or ethnic origin, religious beliefs, mental or physical health diagnosis, sexual orientation, or citizenship or immigration status
* Genetic or biometric data that is processed for the purpose of uniquely identifying an individual
* Personal data collected from a known child
* Precise location data
## Penalties
Up to $2,500 for each violation of the act.
## Configure Your Consent Banner for NCDPA
Regions are used to customize the behavior and experience based on an individual user’s location. As an example, this allows you to provide different experiences to users based on regional differences (like GDPR in the EU vs. NCDPA in Nebraska). When a user visits your site, we will automatically determine their location and will match them to the most granular region rule that you have setup in Concord. This can go down to the state/province level, which allows for different experiences for different laws (like NCDPA in Nebraska).
### Recommended Consent Settings
Based on the current laws, we recommend the following regional settings:
* **Consent Mode:** Implied
* **Blocking Mode:** Strict
* **[Google Consent Mode V2](/docs/google-understanding-configuring-google-consent-mode-gcm-v2):** Advanced
* **Consent Duration:** 12 months
* **Enable Limit Sensitive Information:** Enabled
* **Enable Do Not Sell Consent:** Enabled
* **Enable Global Privacy Control:** Enabled
For step-by-step instruction on how to configure your consent banner for different geographical regions within the Concord app, see our help document [Configure Your Consent Banner for Different Geographical Regions](/docs/configure-consent-banner-different-regions).
While you can get as granular as you want, we typically recommend a single
global policy that meets the strictest guidelines across regions, or higher
splits (like separate GDPR and United States regions, only adding additional
regions for stricter states like California if needed). If you have any
questions on how and why to configure your regions in certain ways, please
reach out to our support team.
# State Privacy Laws: New Hampshire
URL: /docs/state-privacy-laws-new-hampshire
***
title: 'State Privacy Laws: New Hampshire'
description: 'A summary of privacy laws in New Hampshire. '
slug: 'state-privacy-laws-new-hampshire'
topic: 'laws-regulations'
created: '2025-05-02T21:12:21.000Z'
updated: '2025-05-02T21:12:34.000Z'
-----------------------------------
## Overview
The New Hampshire Data Privacy Act (NHDPA) creates a substantial new set of consumer rights for residents whose personal data is controlled and processed by businesses that engage in trade or commerce in New Hampshire.
## Key Dates
* Signed into law: March 6, 2024
* Effective date: January 1, 2025
## Thresholds
The NHDPA applies to controllers who either conduct business in the state of New Hampshire or produce products or services targeted to residents of New Hampshire and who, within a one-year period, either:
* Control or process the personal data of at least 35,000 unique New Hampshire consumers; or
* Control or process personal data of 10,000 unique New Hampshire consumers and derive more than 25% of gross revenue from the sale of personal data. "Sale" of data includes exchange for not only monetary compensation but also "other valuable consideration."
## Consumer Rights
* The right to confirm whether or not a business is controlling or processing their personal data.
* The right to correct any inaccuracies in their personal data being processed by businesses.
* The right to demand the deletion of personal data obtained from or about them.
* The right to obtain a copy of their personal data being controlled or processed by the business in a portable, and readable format.
* The right to opt out of the future processing of their personal data for purposes of targeted advertising, the sale of personal data, or profiling.
## Sensitive Data
Sensitive data is defined as personal data revealing:
* Racial or ethnic origin
* Religious beliefs
* Mental or physical health diagnosis
* Sex life or sexual orientation
* Citizenship or immigration status
* Genetic or biometric data that could identify an individual
* Data collected from a known child
* Geolocation data
## Penalties
Up to $10,000 for each violation of the act. The Attorney General can also seek criminal penalties if there is sufficient evidence that a business is purposely failing to comply with the requirements of the Act. Criminal penalties can include a fine of up to $10,000 per violation.
## Configure Your Consent Banner for NHDPA
Regions are used to customize the behavior and experience based on an individual user’s location. As an example, this allows you to provide different experiences to users based on regional differences (like GDPR in the EU vs. NHDPA in New Hampshire). When a user visits your site, we will automatically determine their location and will match them to the most granular region rule that you have setup in Concord. This can go down to the state/province level, which allows for different experiences for different laws (like NHDPA in New Hampshire).
### Recommended Consent Settings
Based on the current laws, we recommend the following regional settings:
* **Consent Mode:** Implied
* **Blocking Mode:** Strict
* **[Google Consent Mode V2](/docs/google-understanding-configuring-google-consent-mode-gcm-v2):** Advanced
* **Consent Duration:** 12 months
* **Enable Limit Sensitive Information:** Enabled
* **Enable Do Not Sell Consent:** Enabled
* **Enable Global Privacy Control:** Enabled
For step-by-step instruction on how to configure your consent banner for different geographical regions within the Concord app, see our help document [Configure Your Consent Banner for Different Geographical Regions](/docs/configure-consent-banner-different-regions).
While you can get as granular as you want, we typically recommend a single
global policy that meets the strictest guidelines across regions, or higher
splits (like separate GDPR and United States regions, only adding additional
regions for stricter states like California if needed). If you have any
questions on how and why to configure your regions in certain ways, please
reach out to our support team.
# State Privacy Laws: New Jersey
URL: /docs/state-privacy-laws-new-jersey
***
title: 'State Privacy Laws: New Jersey'
description: 'A summary of privacy laws in New Jersey. '
created: '2025-05-01T22:52:32.000Z'
updated: '2025-05-01T22:52:32.000Z'
-----------------------------------
## Overview
New Jersey was the thirteenth state to adopt comprehensive data privacy legislation. The New Jersey Data Protection Act (NJDPA) protects personal data and gives New Jersey residents control over how their data is used.
## Key Dates
* Signed into law: January 16, 2024
* Effective date: January 15, 2025
## Thresholds
The NJDPA applies to controllers that conduct business in the state or produce products or services targeted to residents that meet either of two thresholds in a calendar year:
* Control or process the personal data of at least 100,000 consumers (NJ residents), excluding personal data processed solely for the purpose of completing a payment transaction- Control or process the personal data of at least 25,000 consumers and derive revenue, or receive a discount on the price of any goods or services, from the sale of personal data.## Consumer Rights- The right to confirm whether a controller accesses and processes their personal data.- The right to correct inaccuracies in their personal data.- The right to delete their personal data.- The right to obtain a copy of their personal data held by the controller in a readily usable format (i.e., data portability).- The right to opt out of processing of their personal data for the purposes of targeted advertising, the sale of their personal data, or profiling. Consumers may also designate an authorized agent to exercise their right to opt out on their behalf.## Sensitive DataSensitive data is defined as personal data revealing
* Racial or ethnic origin- Religious beliefs- Mental or physical health condition or treatment- Sex life or sexual orientation- Financial information, including account access details- Citizenship or immigration status- Transgender or non-binary status- Genetic or biometric data that could identify an individual- Data collected from a known child- Geolocation data## PenaltiesNo monetary penalties are defined in the Act, but a violation of the NJDPA will constitute a violation of the New Jersey Consumer Fraud Act, which can entail fines of up to ,000 for the initial violation and up to ,000 for subsequent violations.
## Configure Your Consent Banner for NJDPA
Regions are used to customize the behavior and experience based on an individual user’s location. As an example, this allows you to provide different experiences to users based on regional differences (like GDPR in the EU vs. NJDPA in New Jersey). When a user visits your site, we will automatically determine their location and will match them to the most granular region rule that you have setup in Concord. This can go down to the state/province level, which allows for different experiences for different laws (like NJDPA in New Jersey).
### Recommended Consent Settings
Based on the current laws, we recommend the following regional settings:
* **Consent Mode:** Implied
* **Blocking Mode:** Strict
* **[Google Consent Mode V2](/docs/google-understanding-configuring-google-consent-mode-gcm-v2):** Advanced
* **Consent Duration:** 12 months
* **Enable Limit Sensitive Information:** Enabled
* **Enable Do Not Sell Consent:** Enabled
* **Enable Global Privacy Control:** Enabled
For step-by-step instruction on how to configure your consent banner for different geographical regions within the Concord app, see our help document [Configure Your Consent Banner for Different Geographical Regions](/docs/configure-consent-banner-different-regions).
While you can get as granular as you want, we typically recommend a single
global policy that meets the strictest guidelines across regions, or higher
splits (like separate GDPR and United States regions, only adding additional
regions for stricter states like California if needed). If you have any
questions on how and why to configure your regions in certain ways, please
reach out to our support team.
# State Privacy Laws: Oklahoma
URL: /docs/state-privacy-laws-oklahoma
***
title: 'State Privacy Laws: Oklahoma'
description: 'A summary of privacy laws in Oklahoma. '
created: '2026-07-03T00:00:00.000Z'
updated: '2026-07-03T00:00:00.000Z'
-----------------------------------
## Overview
The Oklahoma Consumer Data Privacy Act (OCDPA) makes Oklahoma one of the states to adopt a comprehensive consumer data privacy law in 2026. The OCDPA provides the core consumer rights found in most state frameworks but takes a notably more business-friendly approach in its construction: the definition of "sale" is narrow (covering only exchanges for monetary consideration), the law includes broad exemptions, and there is no universal opt-out requirement, meaning businesses are not obligated to honor opt-out preference signals like the Global Privacy Control.
## Key Dates
* Signed into law: March 20, 2026
* Effective date: January 1, 2027
## Thresholds
The OCDPA applies to entities that conduct business in Oklahoma, or produce products or services targeted to Oklahoma residents, and during a calendar year meet at least one of the following:
* control or process the personal data of at least 100,000 Oklahoma consumers; or
* control or process the personal data of at least 25,000 Oklahoma consumers and derive more than 50% of gross revenue from the sale of personal data.
## Consumer Rights
* The right to confirm whether a controller is processing their personal data and to access that data.
* The right to correct inaccuracies in their personal data.
* The right to delete their personal data.
* The right to obtain a portable copy of their personal data.
* The right to opt out of the processing of their personal data for the purposes of targeted advertising, the sale of their personal data, or profiling in furtherance of decisions that produce legal or similarly significant effects.
* The right to appeal a controller's denial of a request.
## Sensitive Data
The law defines sensitive data to include personal data revealing:
* Racial or ethnic origin
* Religious beliefs
* A mental or physical health diagnosis
* Sexual orientation
* Citizenship or immigration status
* Genetic or biometric data processed to uniquely identify an individual
* Personal data collected from a known child (under 13 years of age)
* Precise geolocation data
## Penalties
Violations are enforced exclusively by the Oklahoma Attorney General, with civil penalties of up to $7,500 per violation. There is no private right of action. A 30-day right to cure applies and does not sunset.
## Configure Your Consent Banner for OCDPA
Regions are used to customize the behavior and experience based on an individual user’s location. As an example, this allows you to provide different experiences to users based on regional differences (like GDPR in the EU vs. OCDPA in Oklahoma). When a user visits your site, we will automatically determine their location and will match them to the most granular region rule that you have setup in Concord. This can go down to the state/province level, which allows for different experiences for different laws (like OCDPA in Oklahoma).
### Recommended Consent Settings
Based on the current laws, we recommend the following regional settings:
* **Consent Mode:** Implied
* **Blocking Mode:** Strict
* **[Google Consent Mode V2](/docs/google-understanding-configuring-google-consent-mode-gcm-v2):** Advanced
* **Consent Duration:** 12 months
* **Enable Limit Sensitive Information:** Enabled
* **Enable Do Not Sell Consent:** Enabled
* **Enable Global Privacy Control:** Enabled
For step-by-step instruction on how to configure your consent banner for different geographical regions within the Concord app, see our help document [Configure Your Consent Banner for Different Geographical Regions](/docs/configure-consent-banner-different-regions).
While you can get as granular as you want, we typically recommend a single
global policy that meets the strictest guidelines across regions, or higher
splits (like separate GDPR and United States regions, only adding additional
regions for stricter states like California if needed). If you have any
questions on how and why to configure your regions in certain ways, please
reach out to our support team.
# State Privacy Laws: Oregon
URL: /docs/state-privacy-laws-oregon
***
title: 'State Privacy Laws: Oregon'
description: 'A summary of privacy laws in Oregon. '
created: '2025-05-11T20:21:20.000Z'
updated: '2025-06-20T22:35:45.000Z'
-----------------------------------
## Overview
The Oregon Consumer Privacy Act (OCPA) is the result of the efforts of the Oregon Attorney General’s Consumer Privacy Task Force. The law defines personal and biometric data broadly, protects consumer data rights holistically, and holds companies that have access to personal data to high standards. The law also gives consumers control over how businesses use their personal data. It guarantees Oregonians affirmative rights to manage and safeguard their personal data.
## Key Dates
* Signed into law: July 18, 2023
* Effective date: July 1, 2024
* For nonprofit entities covered by OCPA, the law takes effect July 1, 2025.
## Thresholds
OCPA applies to any individual or entity that conducts business in Oregon or that provides products or services to Oregon residents if, during a calendar year, that individual or entity controls or processes the personal data of:
* at least 100,000 consumers; or
* 25,000 or more consumers and derives over 25% of annual gross revenue from the sale of personal data.
## Consumer Rights
* The right to know/confirm — consumers can get a list of the specific entities that received their personal data.
* The right to correct any inaccuracies in the data about them.
* The right to delete the data a business has about them.
* The right to opt out of the selling, profiling, or otherwise use of their data for targeted advertising.
* The right to data portability, enabling consumers to get a copy of the personal and sensitive data a business has about them.
* The right to sensitive data protections — consumers have heightened (“opt in” consent) protections when personal data reveals racial or ethnic background, national origin, religious beliefs, mental or physical condition or diagnosis, sexual orientation, status as transgender or nonbinary, crime victim status, or citizenship or immigration status; genetic or biometric data; and precise geolocation data.
* Special protections for youth — businesses must follow the requirements of the federal Children’s Online Privacy Protection Act (COPPA) when processing data of children under 13 years old, and “opt in” consent is required for targeted advertising, profiling, or sale of the personal data of a youth 13 to 15 years old.
## Sensitive Data
* Any data revealing an individual’s racial or ethnic background, national origin, religious beliefs, mental or physical health conditions or diagnoses, sexual orientation, citizenship or immigration status, status as transgender or nonbinary, or status as a crime victim.
* Genetic data, or biometric data that could be used to identify an individual.
* Personal data of a child under the age of 13.
* Information about an individual’s specific past or present location.
## Penalties
Up to $2,500 per violation.
## Configure Your Consent Banner for OCPA
Regions are used to customize the behavior and experience based on an individual user’s location. As an example, this allows you to provide different experiences to users based on regional differences (like GDPR in the EU vs. OCPA in Oregon). When a user visits your site, we will automatically determine their location and will match them to the most granular region rule that you have setup in Concord. This can go down to the state/province level, which allows for different experiences for different laws (like OCPA in Oregon).
### Recommended Consent Settings
Based on the current laws, we recommend the following regional settings:
* **Consent Mode:** Implied
* **Blocking Mode:** Strict
* **[Google Consent Mode V2](/docs/google-understanding-configuring-google-consent-mode-gcm-v2):** Advanced
* **Consent Duration:** 12 months
* **Enable Limit Sensitive Information:** Enabled
* **Enable Do Not Sell Consent:** Enabled
* **Enable Global Privacy Control:** Enabled
For step-by-step instruction on how to configure your consent banner for different geographical regions within the Concord app, see our help document [Configure Your Consent Banner for Different Geographical Regions](/docs/configure-consent-banner-different-regions).
While you can get as granular as you want, we typically recommend a single
global policy that meets the strictest guidelines across regions, or higher
splits (like separate GDPR and United States regions, only adding additional
regions for stricter states like California if needed). If you have any
questions on how and why to configure your regions in certain ways, please
reach out to our support team.
# State Privacy Laws: Rhode Island
URL: /docs/state-privacy-laws-rhode-island
***
title: 'State Privacy Laws: Rhode Island'
description: 'A summary of privacy laws in Rhode Island. '
created: '2026-07-03T00:00:00.000Z'
updated: '2026-07-03T00:00:00.000Z'
-----------------------------------
## Overview
The Rhode Island Data Transparency and Privacy Protection Act (RIDTPPA) provides Rhode Island residents with enhanced rights over their personal data and establishes responsibilities for businesses that meet specified applicability thresholds. Like many state privacy laws, the Act focuses on consumer data collected in a personal context and excludes employment and business-to-business data. Consumers are granted rights to access, correct, delete, and obtain copies of their personal data, along with the ability to opt out of targeted advertising, the sale of personal data, and certain automated decision-making activities.
## Key Dates
* Signed into law: June 28, 2024
* Effective date: January 1, 2026
## Thresholds
The RIDTPPA applies to “controllers,” defined to mean persons or businesses that, within the preceding calendar year:
* controlled or processed personal data of at least 35,000 Rhode Island customers; or
* controlled or processed personal data of 10,000 Rhode Island customers and derived over 20% of their gross revenue from the sale of personal data.
## Consumer Rights
* The right to confirm whether a controller processes their personal data.
* The right to access their collected personal data (without revealing trade secrets).
* The right to correct inaccuracies in their personal data.
* The right to delete their personal data.
* The right to obtain a portable copy of their personal data held by a controller to the extent feasible.
* The right to opt out of processing of their personal data for the purposes of targeted advertising, the sale of their personal data, or profiling.
## Sensitive Data
The law defines sensitive data to include:
* Racial or ethnic origin
* Religious beliefs
* A mental or physical health condition or diagnosis
* Sexual orientation
* Citizenship or immigration status
* Genetic or biometric data used for personal identification
* Personal data collected from a known child (under 13 years of age)
* Precise geolocation data
## Penalties
Up to $10,000 per violation.
## Configure Your Consent Banner for RIDTPPA
Regions are used to customize the behavior and experience based on an individual user’s location. As an example, this allows you to provide different experiences to users based on regional differences (like GDPR in the EU vs. RIDTPPA in Rhode Island). When a user visits your site, we will automatically determine their location and will match them to the most granular region rule that you have setup in Concord. This can go down to the state/province level, which allows for different experiences for different laws (like RIDTPPA in Rhode Island).
### Recommended Consent Settings
Based on the current laws, we recommend the following regional settings:
* **Consent Mode:** Implied
* **Blocking Mode:** Strict
* **[Google Consent Mode V2](/docs/google-understanding-configuring-google-consent-mode-gcm-v2):** Advanced
* **Consent Duration:** 12 months
* **Enable Limit Sensitive Information:** Enabled
* **Enable Do Not Sell Consent:** Enabled
* **Enable Global Privacy Control:** Enabled
For step-by-step instruction on how to configure your consent banner for different geographical regions within the Concord app, see our help document [Configure Your Consent Banner for Different Geographical Regions](/docs/configure-consent-banner-different-regions).
While you can get as granular as you want, we typically recommend a single
global policy that meets the strictest guidelines across regions, or higher
splits (like separate GDPR and United States regions, only adding additional
regions for stricter states like California if needed). If you have any
questions on how and why to configure your regions in certain ways, please
reach out to our support team.
# State Privacy Laws: Tennessee
URL: /docs/state-privacy-laws-tennessee
***
title: 'State Privacy Laws: Tennessee'
description: 'A summary of privacy laws in Tennessee. '
created: '2025-05-01T22:30:57.000Z'
updated: '2025-05-01T22:30:57.000Z'
-----------------------------------
## Overview
Tennessee was the eighth state to enact comprehensive data privacy legislation when the Governor signed the Tennessee Information Protection Act (TIPA) into law in 2023. However, it has one of the longest preparation periods, with the Act not going into effect until July 2025. TIPA aligns more closely with the Virginia Consumer Data Protection Act and other business-oriented state privacy laws like those enacted in Utah and Iowa. While TIPA provides meaningful privacy protections for consumers, it is generally considered less stringent than the more consumer-focused privacy laws seen in California (CCPA/CPRA), Indiana (INCDPA), and Colorado (CPA).
## Key Dates
* Signed into law: May 11, 2023
* Effective date: July 1, 2025
## Thresholds
The TIPA applies to controllers that conduct business in Tennessee by producing products or services that are targeted to the residents of Tennessee, **and** that:
* exceed $25 million in revenue; and
* either (1) control or process personal information of at least 25,000 consumers and derive more than fifty percent (50%) of gross revenue from the sale of personal information, or (2) during a calendar year, control or process personal information of at least 175,000 consumers.
## Consumer Rights
* The right to confirm whether the controller is processing their personal information and provide them access to their personal information.
* The right to correct inaccuracies in their personal information.
* The right to delete personal information provided by or obtained about them.
* The right to obtain a copy of the consumer's personal information that the consumer previously provided to the controller (i.e., data portability).
* The right to opt out of the processing of their personal information for targeted advertising, selling personal information about them, or profiling.
## Sensitive Data
Sensitive data is defined as:
* Personal information revealing racial or ethnic origin, religious beliefs, mental or physical health diagnosis, sexual orientation, or citizenship or immigration status
* The processing of genetic or biometric data for the purpose of uniquely identifying a natural person
* The personal information collected from a known child (e.g., a natural person under 13 years of age)
* Precise geolocation data
## Penalties
Up to $15,000 per violation.
## Configure Your Consent Banner for TIPA
Regions are used to customize the behavior and experience based on an individual user’s location. As an example, this allows you to provide different experiences to users based on regional differences (like GDPR in the EU vs. TIPA in Tennessee). When a user visits your site, we will automatically determine their location and will match them to the most granular region rule that you have setup in Concord. This can go down to the state/province level, which allows for different experiences for different laws (like TIPA in Tennessee).
### Recommended Consent Settings
Based on the current laws, we recommend the following regional settings:
* **Consent Mode:** Implied
* **Blocking Mode:** Strict
* **[Google Consent Mode V2](/docs/google-understanding-configuring-google-consent-mode-gcm-v2):** Advanced
* **Consent Duration:** 12 months
* **Enable Limit Sensitive Information:** Enabled
* **Enable Do Not Sell Consent:** Enabled
* **Enable Global Privacy Control:** Enabled
For step-by-step instruction on how to configure your consent banner for different geographical regions within the Concord app, see our help document [Configure Your Consent Banner for Different Geographical Regions](/docs/configure-consent-banner-different-regions).
While you can get as granular as you want, we typically recommend a single
global policy that meets the strictest guidelines across regions, or higher
splits (like separate GDPR and United States regions, only adding additional
regions for stricter states like California if needed). If you have any
questions on how and why to configure your regions in certain ways, please
reach out to our support team.
# State Privacy Laws: Texas
URL: /docs/state-privacy-laws-texas
***
title: 'State Privacy Laws: Texas'
description: 'A summary of privacy laws in Texas. '
created: '2025-05-03T19:36:05.000Z'
updated: '2025-05-03T19:36:05.000Z'
-----------------------------------
## Overview
Texas was the eleventh state to enact a comprehensive consumer data privacy law. The Texas Data Privacy and Security Act (TDPSA) grants Texas residents several key rights over their personal data. It also establishes privacy protection safeguards that apply to companies that “conduct business in Texas or produce a product or service consumed by residents of Texas” and that collect, use, store, sell, share, analyze, or process consumers’ personal data. Small businesses (as defined by the federal Small Business Administration) are generally exempt from the Act, except that if a small business sells the sensitive data of a consumer, it must first obtain the consumer’s consent.
## Key Dates
* Signed into law: June 18, 2023
* Effective date: July 1, 2024
## Thresholds
The TDPSA applies to persons that:
* conduct business in Texas or produce products or services consumed by Texas residents;
* process or engage in the sale of personal data; and
* are not "small businesses" as defined by the SBA.
## Consumer Rights
* The right to know whether a company is processing the consumer’s personal data and to obtain the personal data in a readable format.
* The right to correct inaccuracies in the consumer’s personal data, taking into account the nature of the data and the purposes for processing the data.
* The right to delete personal data provided by or obtained about the consumer.
* The right to opt out of the processing of personal data for purposes of targeted advertising, the sale of personal data, or profiling in furtherance of a decision made by the company concerning the consumer that results in the provision or denial by the company of the following:
* Financial and lending services;
* Housing, insurance, or health care services;
* Education enrollment;
* Employment opportunities;
* Criminal justice; or
* Access to basic necessities, such as food and water.
* The right to not face retaliation or discrimination for exercising these
rights.
## Sensitive Data
* Any data revealing racial or ethnic origins, religious beliefs, mental or physical health conditions or diagnoses, sexuality, citizenship, or immigration status;
* Genetic or biometric data processed to uniquely identify an individual;
* Personal data of a child under the age of 13; and
* Precise geolocation data (information that identifies an individual’s specific location with a defined degree of precision and accuracy).
## Penalties
Up to $7,500 per violation.
## **Configure Your Consent Banner for TDPSA**
Regions are used to customize the behavior and experience based on an individual user’s location. As an example, this allows you to provide different experiences to users based on regional differences (like GDPR in the EU vs. TDPSA in Texas). When a user visits your site, we will automatically determine their location and will match them to the most granular region rule that you have setup in Concord. This can go down to the state/province level, which allows for different experiences for different laws (like TDPSA in Texas).
### Recommended Consent Settings
Based on the current laws, we recommend the following regional settings:
* **Consent Mode:** Implied
* **Blocking Mode:** Strict
* **[Google Consent Mode V2](/docs/google-understanding-configuring-google-consent-mode-gcm-v2):** Advanced
* **Consent Duration:** 12 months
* **Enable Limit Sensitive Information:** Enabled
* **Enable Do Not Sell Consent:** Enabled
* **Enable Global Privacy Control:** Enabled
For step-by-step instruction on how to configure your consent banner for different geographical regions within the Concord app, see our help document [Configure Your Consent Banner for Different Geographical Regions](/docs/configure-consent-banner-different-regions).
While you can get as granular as you want, we typically recommend a single
global policy that meets the strictest guidelines across regions, or higher
splits (like separate GDPR and United States regions, only adding additional
regions for stricter states like California if needed). If you have any
questions on how and why to configure your regions in certain ways, please
reach out to our support team.
# State Privacy Laws: Utah
URL: /docs/state-privacy-laws-utah
***
title: 'State Privacy Laws: Utah'
description: 'A summary of privacy laws in Utah. '
created: '2025-05-02T21:38:46.000Z'
updated: '2025-05-02T21:38:46.000Z'
-----------------------------------
## Overview
Utah was the fourth state to enact a comprehensive consumer data privacy law. Of the three consumer privacy laws that came before it (California, Virginia and Colorado), the Utah Consumer Privacy Act (UCPA) most closely resembles the Virginia Consumer Data Protection Act. However, the UCPA takes a lighter, more business-friendly approach to consumer privacy than all three of its predecessors.
## Key Dates
* Signed into law: March 24, 2022
* Effective date: December 31, 2023
## Thresholds
The UCPA specifically applies to controllers and processors who either conduct business in the State of Utah or produce a product or service targeted to consumers who are residents of the State of Utah. These controllers and processors must:
* Have an annual revenue of $25,000,000 or more and either
* Control or process personal data of 100,000 or more consumers during a calendar year, OR
* Derive over 50% of their gross revenue from the sale of personal data and control or process personal data of 25,000 or more consumers.
## Consumer Rights
* The right to confirm whether a controller is processing the consumer’s personal data.
* The right to access the consumer’s personal data.
* The right to delete the consumer’s personal data that the consumer provided to the controller. Importantly, the UCPA does not afford consumers the right to delete all personal data that a controller has about them. Under the UCPA, a consumer only has the right to delete the personal data they provided to the controller.
* The right to data portability: Consumers have “the right to obtain a copy of the consumer’s personal data, that the consumer previously provided to the controller, in a format that:
* to the extent technically feasible, is portable;
* to the extent practicable, is readily usable; and
* allows the consumer to transmit the data to another controller without impediment, where the processing is carried out by automated means.”
* The right to opt out of the processing of the consumer’s personal data for the purposes of targeted advertising; or the sale of personal data.
## Sensitive Data
The UCPA provides a definition for “sensitive data,” but unlike the VCDPA and the CPA, it **does not** require consumer consent for processing such data. The UCPA defines “sensitive data” as:
* Any data that reveals an individual’s racial or ethnic origin; religious beliefs; sexual orientation; citizenship or immigration status; or medical history, mental or physical health, medical treatment or diagnosis by a health care professional;
* Specific geolocation data; and
* Certain genetic personal data or biometric data.
The UCPA requires that businesses provide notice and an opportunity to opt out of the use of this sensitive data. Under the UCPA, consent is only required in the context of parental consent for processing children’s data.
## Penalties
Up to $7,500 per violation.
## Configure Your Consent Banner for UCPA
Regions are used to customize the behavior and experience based on an individual user’s location. As an example, this allows you to provide different experiences to users based on regional differences (like GDPR in the EU vs. UCPA in Utah). When a user visits your site, we will automatically determine their location and will match them to the most granular region rule that you have setup in Concord. This can go down to the state/province level, which allows for different experiences for different laws (like UCPA in Utah).
### Recommended Consent Settings
Based on the current laws, we recommend the following regional settings:
* **Consent Mode:** Implied
* **Blocking Mode:** Strict
* **[Google Consent Mode V2](/docs/google-understanding-configuring-google-consent-mode-gcm-v2):** Advanced
* **Consent Duration:** 12 months
* **Enable Limit Sensitive Information:** Enabled
* **Enable Do Not Sell Consent:** Enabled
* **Enable Global Privacy Control:** Enabled
For step-by-step instruction on how to configure your consent banner for different geographical regions within the Concord app, see our help document [Configure Your Consent Banner for Different Geographical Regions](/docs/configure-consent-banner-different-regions).
While you can get as granular as you want, we typically recommend a single
global policy that meets the strictest guidelines across regions, or higher
splits (like separate GDPR and United States regions, only adding additional
regions for stricter states like California if needed). If you have any
questions on how and why to configure your regions in certain ways, please
reach out to our support team.
# State Privacy Laws: Vermont
URL: /docs/state-privacy-laws-vermont
***
title: 'State Privacy Laws: Vermont'
description: 'A summary of privacy laws in Vermont. '
created: '2026-07-03T00:00:00.000Z'
updated: '2026-07-03T00:00:00.000Z'
-----------------------------------
## Overview
The Vermont Data Privacy and Online Surveillance Act (VDPOSA) is the most expansive of the comprehensive state privacy laws enacted in 2026. Modeled on Connecticut's framework, widely regarded as one of the stronger state privacy statutes, Vermont's law pushes meaningfully beyond the current norm with several distinctive provisions: it requires businesses to disclose whether personal data is used to train large language models (LLMs), gives consumers the right to question the results of profiling decisions, restricts the sale of consumer health data, and prohibits geofencing near health care facilities. Because it takes effect on January 1, 2028, businesses have a comparatively long runway to prepare.
## Key Dates
* Signed into law: June 16, 2026
* Effective date: January 1, 2028
## Thresholds
The VDPOSA applies to entities that conduct business in Vermont, or produce products or services targeted to Vermont residents, and during a calendar year meet at least one of the following:
* control or process the personal data of at least 35,000 consumers (excluding data processed solely to complete a payment transaction); or
* control or process the sensitive data of at least 3,000 consumers; or
* offer for sale the personal data of at least 3,000 consumers.
The law does not include a revenue-based threshold. Its consumer health data provisions apply to any entity doing business in Vermont, with no threshold.
## Consumer Rights
* The right to confirm whether a controller is processing their personal data and to access that data.
* The right to correct inaccuracies in their personal data.
* The right to delete their personal data.
* The right to obtain a portable copy of their personal data.
* The right to opt out of the processing of their personal data for the purposes of targeted advertising, the sale of their personal data, or profiling in furtherance of decisions that produce legal or similarly significant effects.
* The right to question the result of profiling, learn the reason for a profiling decision, and review and correct the data used.
* The right to obtain a list of the third parties to whom their personal data has been sold.
* The right to appeal a controller's refusal to act on a request.
## Sensitive Data
The law defines sensitive data broadly to include data revealing:
* Racial or ethnic origin
* Religious beliefs
* A mental or physical health condition or diagnosis
* Sex life, sexual orientation, or transgender or nonbinary status
* Citizenship or immigration status
* Genetic or biometric data
* Neural data
* Precise geolocation data
* Personal data collected from a known child (under 13 years of age)
## Penalties
Violations are enforced exclusively by the Vermont Attorney General as violations of the Vermont Consumer Protection Act, with civil penalties of up to $10,000 per violation. There is no private right of action. A 60-day right to cure is available through June 30, 2029, after which the opportunity to cure becomes discretionary.
## Configure Your Consent Banner for VDPOSA
Regions are used to customize the behavior and experience based on an individual user’s location. As an example, this allows you to provide different experiences to users based on regional differences (like GDPR in the EU vs. VDPOSA in Vermont). When a user visits your site, we will automatically determine their location and will match them to the most granular region rule that you have setup in Concord. This can go down to the state/province level, which allows for different experiences for different laws (like VDPOSA in Vermont).
### Recommended Consent Settings
Based on the current laws, we recommend the following regional settings:
* **Consent Mode:** Implied
* **Blocking Mode:** Strict
* **[Google Consent Mode V2](/docs/google-understanding-configuring-google-consent-mode-gcm-v2):** Advanced
* **Consent Duration:** 12 months
* **Enable Limit Sensitive Information:** Enabled
* **Enable Do Not Sell Consent:** Enabled
* **Enable Global Privacy Control:** Enabled
For step-by-step instruction on how to configure your consent banner for different geographical regions within the Concord app, see our help document [Configure Your Consent Banner for Different Geographical Regions](/docs/configure-consent-banner-different-regions).
While you can get as granular as you want, we typically recommend a single
global policy that meets the strictest guidelines across regions, or higher
splits (like separate GDPR and United States regions, only adding additional
regions for stricter states like California if needed). If you have any
questions on how and why to configure your regions in certain ways, please
reach out to our support team.
# State Privacy Laws: Virginia
URL: /docs/state-privacy-laws-virginia
***
title: 'State Privacy Laws: Virginia'
description: 'A summary of privacy laws in Virginia. '
created: '2025-05-02T21:33:26.000Z'
updated: '2025-05-02T21:33:26.000Z'
-----------------------------------
## Overview
Virginia was the second state, after California, to enact a comprehensive consumer data privacy law. Due to being an early adopter, the Virginia Consumer Data Protection Act is similar to the CCPA and GDPR.
## Key Dates
* Signed into law: March 2, 2021
* Effective date: January 1, 2023
## Thresholds
The VCDPA applies to persons that either conduct business in the commonwealth or produce products or services that are targeted to residents of the commonwealth and that:
* control or possess the personal data of at least 100,000 consumers in a calendar year, or
* control or possess the personal data of at least 25,000 consumers, while deriving over 50 percent of gross revenue from the sale of that data.
## Consumer Rights
* The right to confirm if a controller is actually processing their personal data.
* The right to correct inaccuracies in the consumer’s personal data that is collected by the controller.
* The right to delete personal data provided by or obtained about the consumer.
* The right to obtain copies of the personal data collected by the controller.
* The right to opt out of the processing of personal data for purposes of targeted advertising, the sale of personal data, or further profiling.
## Sensitive Data
The VCDPA defines sensitive data as a category of personal data that includes:
* Personal data revealing racial or ethnic origin, religious beliefs, mental or physical health diagnosis, sexual orientation, or citizenship or immigration status;
* The processing of genetic or biometric data for the purpose of uniquely identifying a natural person;
* The personal data collected from a known child; or
* Precise geolocation data.
## Penalties
Up to $7,500 per violation.
## Configure Your Consent Banner for VCDPA
Regions are used to customize the behavior and experience based on an individual user’s location. As an example, this allows you to provide different experiences to users based on regional differences (like GDPR in the EU vs. VCDPA in Virginia). When a user visits your site, we will automatically determine their location and will match them to the most granular region rule that you have setup in Concord. This can go down to the state/province level, which allows for different experiences for different laws (like VCDPA in Virginia).
### Recommended Consent Settings
Based on the current laws, we recommend the following regional settings:
* **Consent Mode:** Implied
* **Blocking Mode:** Strict
* **[Google Consent Mode V2](/docs/google-understanding-configuring-google-consent-mode-gcm-v2):** Advanced
* **Consent Duration:** 12 months
* **Enable Limit Sensitive Information:** Enabled
* **Enable Do Not Sell Consent:** Enabled
* **Enable Global Privacy Control:** Enabled
For step-by-step instruction on how to configure your consent banner for different geographical regions within the Concord app, see our help document [Configure Your Consent Banner for Different Geographical Regions](/docs/configure-consent-banner-different-regions).
While you can get as granular as you want, we typically recommend a single
global policy that meets the strictest guidelines across regions, or higher
splits (like separate GDPR and United States regions, only adding additional
regions for stricter states like California if needed). If you have any
questions on how and why to configure your regions in certain ways, please
reach out to our support team.
# Delete API key by ID
URL: /docs/privacy-v1/api-keys/delete_privacy_v1_organizations_organizationid_api_keys_apikey
***
title: Delete API key by ID
full: true
\_openapi:
preload:
* [https://api.concord.tech/docs/json/privacy-v1/](https://api.concord.tech/docs/json/privacy-v1/)
method: DELETE
webhook: false
toc: \[]
structuredData:
headings: \[]
contents:
* content: Deletes an API key.
***
{/* This file was generated by Fumadocs. Do not edit this file directly. Any changes should be made by running the generation command again. */}
export default function Layout(props) {
const { APIPage, OpenAPIPage } = props.components ?? {};
// "APIPage" is the old name from v10, this allows both for backward compatibility
const Comp = OpenAPIPage ?? APIPage;
return (
<>
{props.children}
);
}
# Get API keys
URL: /docs/privacy-v1/api-keys/get_privacy_v1_organizations_organizationid_api_keys
***
title: Get API keys
full: true
\_openapi:
preload:
* [https://api.concord.tech/docs/json/privacy-v1/](https://api.concord.tech/docs/json/privacy-v1/)
method: GET
webhook: false
toc: \[]
structuredData:
headings: \[]
contents:
* content: Gets the API keys for an organization.
***
{/* This file was generated by Fumadocs. Do not edit this file directly. Any changes should be made by running the generation command again. */}
export default function Layout(props) {
const { APIPage, OpenAPIPage } = props.components ?? {};
// "APIPage" is the old name from v10, this allows both for backward compatibility
const Comp = OpenAPIPage ?? APIPage;
return (
<>
{props.children}
);
}
# Update API key
URL: /docs/privacy-v1/api-keys/patch_privacy_v1_organizations_organizationid_api_keys_apikey
***
title: Update API key
full: true
\_openapi:
preload:
* [https://api.concord.tech/docs/json/privacy-v1/](https://api.concord.tech/docs/json/privacy-v1/)
method: PATCH
webhook: false
toc: \[]
structuredData:
headings: \[]
contents:
* content: Updates an API key.
***
{/* This file was generated by Fumadocs. Do not edit this file directly. Any changes should be made by running the generation command again. */}
export default function Layout(props) {
const { APIPage, OpenAPIPage } = props.components ?? {};
// "APIPage" is the old name from v10, this allows both for backward compatibility
const Comp = OpenAPIPage ?? APIPage;
return (
<>
{props.children}
);
}
# Create API key
URL: /docs/privacy-v1/api-keys/post_privacy_v1_organizations_organizationid_api_keys
***
title: Create API key
full: true
\_openapi:
preload:
* [https://api.concord.tech/docs/json/privacy-v1/](https://api.concord.tech/docs/json/privacy-v1/)
method: POST
webhook: false
toc: \[]
structuredData:
headings: \[]
contents:
* content: Creates a new API key.
***
{/* This file was generated by Fumadocs. Do not edit this file directly. Any changes should be made by running the generation command again. */}
export default function Layout(props) {
const { APIPage, OpenAPIPage } = props.components ?? {};
// "APIPage" is the old name from v10, this allows both for backward compatibility
const Comp = OpenAPIPage ?? APIPage;
return (
<>
{props.children}
);
}
# Delete a compliance request file
URL: /docs/privacy-v1/compliance-requests/delete_privacy_v1_organizations_organizationid_projects_projectid_compliance_requests_compliancerequestid_files_filename
***
title: Delete a compliance request file
full: true
\_openapi:
preload:
* [https://api.concord.tech/docs/json/privacy-v1/](https://api.concord.tech/docs/json/privacy-v1/)
method: DELETE
webhook: false
toc: \[]
structuredData:
headings: \[]
contents:
* content: Delete a compliance request file from a request.
***
{/* This file was generated by Fumadocs. Do not edit this file directly. Any changes should be made by running the generation command again. */}
export default function Layout(props) {
const { APIPage, OpenAPIPage } = props.components ?? {};
// "APIPage" is the old name from v10, this allows both for backward compatibility
const Comp = OpenAPIPage ?? APIPage;
return (
<>
{props.children}
);
}
# Get organization level compliance requests
URL: /docs/privacy-v1/compliance-requests/get_privacy_v1_organizations_organizationid_compliance_requests
***
title: Get organization level compliance requests
full: true
\_openapi:
preload:
* [https://api.concord.tech/docs/json/privacy-v1/](https://api.concord.tech/docs/json/privacy-v1/)
method: GET
webhook: false
toc: \[]
structuredData:
headings: \[]
contents:
* content: Gets compliance requests for an organization.
***
{/* This file was generated by Fumadocs. Do not edit this file directly. Any changes should be made by running the generation command again. */}
export default function Layout(props) {
const { APIPage, OpenAPIPage } = props.components ?? {};
// "APIPage" is the old name from v10, this allows both for backward compatibility
const Comp = OpenAPIPage ?? APIPage;
return (
<>
{props.children}
);
}
# Get organization level compliance requests events
URL: /docs/privacy-v1/compliance-requests/get_privacy_v1_organizations_organizationid_compliance_requests_events
***
title: Get organization level compliance requests events
full: true
\_openapi:
preload:
* [https://api.concord.tech/docs/json/privacy-v1/](https://api.concord.tech/docs/json/privacy-v1/)
method: GET
webhook: false
toc: \[]
structuredData:
headings: \[]
contents:
* content: Gets compliance request events for an organization.
***
{/* This file was generated by Fumadocs. Do not edit this file directly. Any changes should be made by running the generation command again. */}
export default function Layout(props) {
const { APIPage, OpenAPIPage } = props.components ?? {};
// "APIPage" is the old name from v10, this allows both for backward compatibility
const Comp = OpenAPIPage ?? APIPage;
return (
<>
{props.children}
);
}
# Get project level compliance requests
URL: /docs/privacy-v1/compliance-requests/get_privacy_v1_organizations_organizationid_projects_projectid_compliance_requests
***
title: Get project level compliance requests
full: true
\_openapi:
preload:
* [https://api.concord.tech/docs/json/privacy-v1/](https://api.concord.tech/docs/json/privacy-v1/)
method: GET
webhook: false
toc: \[]
structuredData:
headings: \[]
contents:
* content: Gets the compliance requests for a project.
***
{/* This file was generated by Fumadocs. Do not edit this file directly. Any changes should be made by running the generation command again. */}
export default function Layout(props) {
const { APIPage, OpenAPIPage } = props.components ?? {};
// "APIPage" is the old name from v10, this allows both for backward compatibility
const Comp = OpenAPIPage ?? APIPage;
return (
<>
{props.children}
);
}
# Get project level compliance requests events
URL: /docs/privacy-v1/compliance-requests/get_privacy_v1_organizations_organizationid_projects_projectid_compliance_requests_events
***
title: Get project level compliance requests events
full: true
\_openapi:
preload:
* [https://api.concord.tech/docs/json/privacy-v1/](https://api.concord.tech/docs/json/privacy-v1/)
method: GET
webhook: false
toc: \[]
structuredData:
headings: \[]
contents:
* content: Gets the compliance request events for a project.
***
{/* This file was generated by Fumadocs. Do not edit this file directly. Any changes should be made by running the generation command again. */}
export default function Layout(props) {
const { APIPage, OpenAPIPage } = props.components ?? {};
// "APIPage" is the old name from v10, this allows both for backward compatibility
const Comp = OpenAPIPage ?? APIPage;
return (
<>
{props.children}
);
}
# Update compliance request
URL: /docs/privacy-v1/compliance-requests/patch_privacy_v1_organizations_organizationid_projects_projectid_compliance_requests_compliancerequestid
***
title: Update compliance request
full: true
\_openapi:
preload:
* [https://api.concord.tech/docs/json/privacy-v1/](https://api.concord.tech/docs/json/privacy-v1/)
method: PATCH
webhook: false
toc: \[]
structuredData:
headings: \[]
contents:
* content: Updates a compliance request.
***
{/* This file was generated by Fumadocs. Do not edit this file directly. Any changes should be made by running the generation command again. */}
export default function Layout(props) {
const { APIPage, OpenAPIPage } = props.components ?? {};
// "APIPage" is the old name from v10, this allows both for backward compatibility
const Comp = OpenAPIPage ?? APIPage;
return (
<>
{props.children}
);
}
# Create compliance request(s)
URL: /docs/privacy-v1/compliance-requests/post_privacy_v1_organizations_organizationid_projects_projectid_compliance_requests
***
title: Create compliance request(s)
full: true
\_openapi:
preload:
* [https://api.concord.tech/docs/json/privacy-v1/](https://api.concord.tech/docs/json/privacy-v1/)
method: POST
webhook: false
toc: \[]
structuredData:
headings: \[]
contents:
* content: Create new compliance request(s) in a project.
***
{/* This file was generated by Fumadocs. Do not edit this file directly. Any changes should be made by running the generation command again. */}
export default function Layout(props) {
const { APIPage, OpenAPIPage } = props.components ?? {};
// "APIPage" is the old name from v10, this allows both for backward compatibility
const Comp = OpenAPIPage ?? APIPage;
return (
<>
{props.children}
);
}
# Upload a compliance request file
URL: /docs/privacy-v1/compliance-requests/post_privacy_v1_organizations_organizationid_projects_projectid_compliance_requests_compliancerequestid_file
***
title: Upload a compliance request file
full: true
\_openapi:
preload:
* [https://api.concord.tech/docs/json/privacy-v1/](https://api.concord.tech/docs/json/privacy-v1/)
method: POST
webhook: false
toc: \[]
structuredData:
headings: \[]
contents:
* content: Uploads a compliance request file to a request.
***
{/* This file was generated by Fumadocs. Do not edit this file directly. Any changes should be made by running the generation command again. */}
export default function Layout(props) {
const { APIPage, OpenAPIPage } = props.components ?? {};
// "APIPage" is the old name from v10, this allows both for backward compatibility
const Comp = OpenAPIPage ?? APIPage;
return (
<>
{props.children}
);
}
# Generate + attach a trust-center subscriber export for a VIEW DSAR task
URL: /docs/privacy-v1/compliance-requests/post_privacy_v1_organizations_organizationid_projects_projectid_compliance_requests_compliancerequestid_trust_center_exports
***
title: Generate + attach a trust-center subscriber export for a VIEW DSAR task
full: true
\_openapi:
preload:
* [https://api.concord.tech/docs/json/privacy-v1/](https://api.concord.tech/docs/json/privacy-v1/)
method: POST
webhook: false
toc: \[]
structuredData:
headings: \[]
contents:
* content: Runs `exportSubscriberData` for the synthetic trust-center task and
uploads the resulting JSON to the request's file store. The existing
PATCH-on-resolve flow picks it up in the download zip automatically.
Idempotent on re-click (overwrites the prior export under the same
filename). Does NOT mark the task completed — admin handles that
separately when they resolve the request.
***
{/* This file was generated by Fumadocs. Do not edit this file directly. Any changes should be made by running the generation command again. */}
export default function Layout(props) {
const { APIPage, OpenAPIPage } = props.components ?? {};
// "APIPage" is the old name from v10, this allows both for backward compatibility
const Comp = OpenAPIPage ?? APIPage;
return (
<>
{props.children}
);
}
# Create compliance scan
URL: /docs/privacy-v1/compliance-scans/post_privacy_v1_organizations_organizationid_projects_projectid_compliance_scans
***
title: Create compliance scan
full: true
\_openapi:
preload:
* [https://api.concord.tech/docs/json/privacy-v1/](https://api.concord.tech/docs/json/privacy-v1/)
method: POST
webhook: false
toc: \[]
structuredData:
headings: \[]
contents:
* content: Start a managed compliance scan for an authorized target (a registered
project domain or a subdomain whose registrable parent matches one).
***
{/* This file was generated by Fumadocs. Do not edit this file directly. Any changes should be made by running the generation command again. */}
export default function Layout(props) {
const { APIPage, OpenAPIPage } = props.components ?? {};
// "APIPage" is the old name from v10, this allows both for backward compatibility
const Comp = OpenAPIPage ?? APIPage;
return (
<>
{props.children}
);
}
# Get organization level consent events
URL: /docs/privacy-v1/consent-events/get_privacy_v1_organizations_organizationid_consent_events
***
title: Get organization level consent events
full: true
\_openapi:
preload:
* [https://api.concord.tech/docs/json/privacy-v1/](https://api.concord.tech/docs/json/privacy-v1/)
method: GET
webhook: false
toc: \[]
structuredData:
headings: \[]
contents:
* content: Gets consent events for an organization.
***
{/* This file was generated by Fumadocs. Do not edit this file directly. Any changes should be made by running the generation command again. */}
export default function Layout(props) {
const { APIPage, OpenAPIPage } = props.components ?? {};
// "APIPage" is the old name from v10, this allows both for backward compatibility
const Comp = OpenAPIPage ?? APIPage;
return (
<>
{props.children}
);
}
# Get the consent events for a project.
URL: /docs/privacy-v1/consent-events/get_privacy_v1_organizations_organizationid_projects_projectid_consent_events
***
title: Get the consent events for a project.
full: true
\_openapi:
preload:
* [https://api.concord.tech/docs/json/privacy-v1/](https://api.concord.tech/docs/json/privacy-v1/)
method: GET
webhook: false
toc: \[]
structuredData:
headings: \[]
contents:
* content: Get project level consent events
***
{/* This file was generated by Fumadocs. Do not edit this file directly. Any changes should be made by running the generation command again. */}
export default function Layout(props) {
const { APIPage, OpenAPIPage } = props.components ?? {};
// "APIPage" is the old name from v10, this allows both for backward compatibility
const Comp = OpenAPIPage ?? APIPage;
return (
<>
{props.children}
);
}
# Export consent events
URL: /docs/privacy-v1/consent-events/post_privacy_v1_organizations_organizationid_consent_events_export
***
title: Export consent events
full: true
\_openapi:
preload:
* [https://api.concord.tech/docs/json/privacy-v1/](https://api.concord.tech/docs/json/privacy-v1/)
method: POST
webhook: false
toc: \[]
structuredData:
headings: \[]
contents:
* content: Starts a background export of consent events as a CSV or JSON document.
Returns the export document immediately, tagged `export-pending`; poll
it until an asset appears (ready) or it carries the `export-failed`
tag.
***
{/* This file was generated by Fumadocs. Do not edit this file directly. Any changes should be made by running the generation command again. */}
export default function Layout(props) {
const { APIPage, OpenAPIPage } = props.components ?? {};
// "APIPage" is the old name from v10, this allows both for backward compatibility
const Comp = OpenAPIPage ?? APIPage;
return (
<>
{props.children}
);
}
# Create consent event(s)
URL: /docs/privacy-v1/consent-events/post_privacy_v1_organizations_organizationid_projects_projectid_consent_events
***
title: Create consent event(s)
full: true
\_openapi:
preload:
* [https://api.concord.tech/docs/json/privacy-v1/](https://api.concord.tech/docs/json/privacy-v1/)
method: POST
webhook: false
toc: \[]
structuredData:
headings: \[]
contents:
* content: Create new consent event(s) in a project.
***
{/* This file was generated by Fumadocs. Do not edit this file directly. Any changes should be made by running the generation command again. */}
export default function Layout(props) {
const { APIPage, OpenAPIPage } = props.components ?? {};
// "APIPage" is the old name from v10, this allows both for backward compatibility
const Comp = OpenAPIPage ?? APIPage;
return (
<>
{props.children}
);
}
# Delete consent type
URL: /docs/privacy-v1/consent-types/delete_privacy_v1_organizations_organizationid_projects_projectid_consent_types_consenttypeid
***
title: Delete consent type
full: true
\_openapi:
preload:
* [https://api.concord.tech/docs/json/privacy-v1/](https://api.concord.tech/docs/json/privacy-v1/)
method: DELETE
webhook: false
toc: \[]
structuredData:
headings: \[]
contents:
* content: Delete a consent type for a project.
***
{/* This file was generated by Fumadocs. Do not edit this file directly. Any changes should be made by running the generation command again. */}
export default function Layout(props) {
const { APIPage, OpenAPIPage } = props.components ?? {};
// "APIPage" is the old name from v10, this allows both for backward compatibility
const Comp = OpenAPIPage ?? APIPage;
return (
<>
{props.children}
);
}
# Get consent types
URL: /docs/privacy-v1/consent-types/get_privacy_v1_organizations_organizationid_projects_projectid_consent_types
***
title: Get consent types
full: true
\_openapi:
preload:
* [https://api.concord.tech/docs/json/privacy-v1/](https://api.concord.tech/docs/json/privacy-v1/)
method: GET
webhook: false
toc: \[]
structuredData:
headings: \[]
contents:
* content: Get consent types for a project.
***
{/* This file was generated by Fumadocs. Do not edit this file directly. Any changes should be made by running the generation command again. */}
export default function Layout(props) {
const { APIPage, OpenAPIPage } = props.components ?? {};
// "APIPage" is the old name from v10, this allows both for backward compatibility
const Comp = OpenAPIPage ?? APIPage;
return (
<>
{props.children}
);
}
# Update consent type
URL: /docs/privacy-v1/consent-types/patch_privacy_v1_organizations_organizationid_projects_projectid_consent_types_consenttypeid
***
title: Update consent type
full: true
\_openapi:
preload:
* [https://api.concord.tech/docs/json/privacy-v1/](https://api.concord.tech/docs/json/privacy-v1/)
method: PATCH
webhook: false
toc: \[]
structuredData:
headings: \[]
contents:
* content: Update a consent type for a project.
***
{/* This file was generated by Fumadocs. Do not edit this file directly. Any changes should be made by running the generation command again. */}
export default function Layout(props) {
const { APIPage, OpenAPIPage } = props.components ?? {};
// "APIPage" is the old name from v10, this allows both for backward compatibility
const Comp = OpenAPIPage ?? APIPage;
return (
<>
{props.children}
);
}
# Create consent type
URL: /docs/privacy-v1/consent-types/post_privacy_v1_organizations_organizationid_projects_projectid_consent_types
***
title: Create consent type
full: true
\_openapi:
preload:
* [https://api.concord.tech/docs/json/privacy-v1/](https://api.concord.tech/docs/json/privacy-v1/)
method: POST
webhook: false
toc: \[]
structuredData:
headings: \[]
contents:
* content: Create a new consent type in a project.
***
{/* This file was generated by Fumadocs. Do not edit this file directly. Any changes should be made by running the generation command again. */}
export default function Layout(props) {
const { APIPage, OpenAPIPage } = props.components ?? {};
// "APIPage" is the old name from v10, this allows both for backward compatibility
const Comp = OpenAPIPage ?? APIPage;
return (
<>
{props.children}
);
}
# Delete a data flow
URL: /docs/privacy-v1/data-system-connections/delete_privacy_v1_organizations_organizationid_data_system_connections_datasystemconnectionid
***
title: Delete a data flow
full: true
\_openapi:
preload:
* [https://api.concord.tech/docs/json/privacy-v1/](https://api.concord.tech/docs/json/privacy-v1/)
method: DELETE
webhook: false
toc: \[]
structuredData:
headings: \[]
contents:
* content: Deletes a data flow (connection) between two data systems.
***
{/* This file was generated by Fumadocs. Do not edit this file directly. Any changes should be made by running the generation command again. */}
export default function Layout(props) {
const { APIPage, OpenAPIPage } = props.components ?? {};
// "APIPage" is the old name from v10, this allows both for backward compatibility
const Comp = OpenAPIPage ?? APIPage;
return (
<>
{props.children}
);
}
# List data flows (optionally for one data system)
URL: /docs/privacy-v1/data-system-connections/get_privacy_v1_organizations_organizationid_data_system_connections
***
title: List data flows (optionally for one data system)
full: true
\_openapi:
preload:
* [https://api.concord.tech/docs/json/privacy-v1/](https://api.concord.tech/docs/json/privacy-v1/)
method: GET
webhook: false
toc: \[]
structuredData:
headings: \[]
contents:
* content: Lists data flows for the organization, optionally filtered to one data
system.
***
{/* This file was generated by Fumadocs. Do not edit this file directly. Any changes should be made by running the generation command again. */}
export default function Layout(props) {
const { APIPage, OpenAPIPage } = props.components ?? {};
// "APIPage" is the old name from v10, this allows both for backward compatibility
const Comp = OpenAPIPage ?? APIPage;
return (
<>
{props.children}
);
}
# Update a data flow
URL: /docs/privacy-v1/data-system-connections/patch_privacy_v1_organizations_organizationid_data_system_connections_datasystemconnectionid
***
title: Update a data flow
full: true
\_openapi:
preload:
* [https://api.concord.tech/docs/json/privacy-v1/](https://api.concord.tech/docs/json/privacy-v1/)
method: PATCH
webhook: false
toc: \[]
structuredData:
headings: \[]
contents:
* content: Updates a data flow (direction, data categories, or transfer
mechanism).
***
{/* This file was generated by Fumadocs. Do not edit this file directly. Any changes should be made by running the generation command again. */}
export default function Layout(props) {
const { APIPage, OpenAPIPage } = props.components ?? {};
// "APIPage" is the old name from v10, this allows both for backward compatibility
const Comp = OpenAPIPage ?? APIPage;
return (
<>
{props.children}
);
}
# Create a data flow between two data systems
URL: /docs/privacy-v1/data-system-connections/post_privacy_v1_organizations_organizationid_data_system_connections
***
title: Create a data flow between two data systems
full: true
\_openapi:
preload:
* [https://api.concord.tech/docs/json/privacy-v1/](https://api.concord.tech/docs/json/privacy-v1/)
method: POST
webhook: false
toc: \[]
structuredData:
headings: \[]
contents:
* content: Creates a directional data flow (connection) between two data systems.
***
{/* This file was generated by Fumadocs. Do not edit this file directly. Any changes should be made by running the generation command again. */}
export default function Layout(props) {
const { APIPage, OpenAPIPage } = props.components ?? {};
// "APIPage" is the old name from v10, this allows both for backward compatibility
const Comp = OpenAPIPage ?? APIPage;
return (
<>
{props.children}
);
}
# Delete data system attribute
URL: /docs/privacy-v1/data-systems/delete_privacy_v1_organizations_organizationid_data_system_attributes_datasystemattributeid
***
title: Delete data system attribute
full: true
\_openapi:
preload:
* [https://api.concord.tech/docs/json/privacy-v1/](https://api.concord.tech/docs/json/privacy-v1/)
method: DELETE
webhook: false
toc: \[]
structuredData:
headings: \[]
contents:
* content: Deletes a data system attribute.
***
{/* This file was generated by Fumadocs. Do not edit this file directly. Any changes should be made by running the generation command again. */}
export default function Layout(props) {
const { APIPage, OpenAPIPage } = props.components ?? {};
// "APIPage" is the old name from v10, this allows both for backward compatibility
const Comp = OpenAPIPage ?? APIPage;
return (
<>
{props.children}
);
}
# Delete data system
URL: /docs/privacy-v1/data-systems/delete_privacy_v1_organizations_organizationid_data_systems_datasystemid
***
title: Delete data system
full: true
\_openapi:
preload:
* [https://api.concord.tech/docs/json/privacy-v1/](https://api.concord.tech/docs/json/privacy-v1/)
method: DELETE
webhook: false
toc: \[]
structuredData:
headings: \[]
contents:
* content: Deletes a data system.
***
{/* This file was generated by Fumadocs. Do not edit this file directly. Any changes should be made by running the generation command again. */}
export default function Layout(props) {
const { APIPage, OpenAPIPage } = props.components ?? {};
// "APIPage" is the old name from v10, this allows both for backward compatibility
const Comp = OpenAPIPage ?? APIPage;
return (
<>
{props.children}
);
}
# Get data system attributes
URL: /docs/privacy-v1/data-systems/get_privacy_v1_organizations_organizationid_data_system_attributes
***
title: Get data system attributes
full: true
\_openapi:
preload:
* [https://api.concord.tech/docs/json/privacy-v1/](https://api.concord.tech/docs/json/privacy-v1/)
method: GET
webhook: false
toc: \[]
structuredData:
headings: \[]
contents:
* content: Gets the data system attributes for an organization.
***
{/* This file was generated by Fumadocs. Do not edit this file directly. Any changes should be made by running the generation command again. */}
export default function Layout(props) {
const { APIPage, OpenAPIPage } = props.components ?? {};
// "APIPage" is the old name from v10, this allows both for backward compatibility
const Comp = OpenAPIPage ?? APIPage;
return (
<>
{props.children}
);
}
# Get data systems
URL: /docs/privacy-v1/data-systems/get_privacy_v1_organizations_organizationid_data_systems
***
title: Get data systems
full: true
\_openapi:
preload:
* [https://api.concord.tech/docs/json/privacy-v1/](https://api.concord.tech/docs/json/privacy-v1/)
method: GET
webhook: false
toc: \[]
structuredData:
headings: \[]
contents:
* content: Gets the data systems for an organization.
***
{/* This file was generated by Fumadocs. Do not edit this file directly. Any changes should be made by running the generation command again. */}
export default function Layout(props) {
const { APIPage, OpenAPIPage } = props.components ?? {};
// "APIPage" is the old name from v10, this allows both for backward compatibility
const Comp = OpenAPIPage ?? APIPage;
return (
<>
{props.children}
);
}
# Get mapped global data systems
URL: /docs/privacy-v1/data-systems/get_privacy_v1_organizations_organizationid_mapped_global_data_systems
***
title: Get mapped global data systems
full: true
\_openapi:
preload:
* [https://api.concord.tech/docs/json/privacy-v1/](https://api.concord.tech/docs/json/privacy-v1/)
method: GET
webhook: false
toc: \[]
structuredData:
headings: \[]
contents:
* content: Gets the global data systems with attributes mapped to organization
level ids.
***
{/* This file was generated by Fumadocs. Do not edit this file directly. Any changes should be made by running the generation command again. */}
export default function Layout(props) {
const { APIPage, OpenAPIPage } = props.components ?? {};
// "APIPage" is the old name from v10, this allows both for backward compatibility
const Comp = OpenAPIPage ?? APIPage;
return (
<>
{props.children}
);
}
# Update data system attribute
URL: /docs/privacy-v1/data-systems/patch_privacy_v1_organizations_organizationid_data_system_attributes_datasystemattributeid
***
title: Update data system attribute
full: true
\_openapi:
preload:
* [https://api.concord.tech/docs/json/privacy-v1/](https://api.concord.tech/docs/json/privacy-v1/)
method: PATCH
webhook: false
toc: \[]
structuredData:
headings: \[]
contents:
* content: Updates a data system attribute.
***
{/* This file was generated by Fumadocs. Do not edit this file directly. Any changes should be made by running the generation command again. */}
export default function Layout(props) {
const { APIPage, OpenAPIPage } = props.components ?? {};
// "APIPage" is the old name from v10, this allows both for backward compatibility
const Comp = OpenAPIPage ?? APIPage;
return (
<>
{props.children}
);
}
# Update data system
URL: /docs/privacy-v1/data-systems/patch_privacy_v1_organizations_organizationid_data_systems_datasystemid
***
title: Update data system
full: true
\_openapi:
preload:
* [https://api.concord.tech/docs/json/privacy-v1/](https://api.concord.tech/docs/json/privacy-v1/)
method: PATCH
webhook: false
toc: \[]
structuredData:
headings: \[]
contents:
* content: Updates a data system.
***
{/* This file was generated by Fumadocs. Do not edit this file directly. Any changes should be made by running the generation command again. */}
export default function Layout(props) {
const { APIPage, OpenAPIPage } = props.components ?? {};
// "APIPage" is the old name from v10, this allows both for backward compatibility
const Comp = OpenAPIPage ?? APIPage;
return (
<>
{props.children}
);
}
# Create data system attribute
URL: /docs/privacy-v1/data-systems/post_privacy_v1_organizations_organizationid_data_system_attributes
***
title: Create data system attribute
full: true
\_openapi:
preload:
* [https://api.concord.tech/docs/json/privacy-v1/](https://api.concord.tech/docs/json/privacy-v1/)
method: POST
webhook: false
toc: \[]
structuredData:
headings: \[]
contents:
* content: Creates a new data system attribute.
***
{/* This file was generated by Fumadocs. Do not edit this file directly. Any changes should be made by running the generation command again. */}
export default function Layout(props) {
const { APIPage, OpenAPIPage } = props.components ?? {};
// "APIPage" is the old name from v10, this allows both for backward compatibility
const Comp = OpenAPIPage ?? APIPage;
return (
<>
{props.children}
);
}
# Create data system
URL: /docs/privacy-v1/data-systems/post_privacy_v1_organizations_organizationid_data_systems
***
title: Create data system
full: true
\_openapi:
preload:
* [https://api.concord.tech/docs/json/privacy-v1/](https://api.concord.tech/docs/json/privacy-v1/)
method: POST
webhook: false
toc: \[]
structuredData:
headings: \[]
contents:
* content: Creates a new data system.
***
{/* This file was generated by Fumadocs. Do not edit this file directly. Any changes should be made by running the generation command again. */}
export default function Layout(props) {
const { APIPage, OpenAPIPage } = props.components ?? {};
// "APIPage" is the old name from v10, this allows both for backward compatibility
const Comp = OpenAPIPage ?? APIPage;
return (
<>
{props.children}
);
}
# Delete a domain
URL: /docs/privacy-v1/domains/delete_privacy_v1_organizations_organizationid_projects_projectid_domains_domainid
***
title: Delete a domain
full: true
\_openapi:
preload:
* [https://api.concord.tech/docs/json/privacy-v1/](https://api.concord.tech/docs/json/privacy-v1/)
method: DELETE
webhook: false
toc: \[]
structuredData:
headings: \[]
contents:
* content: Deletes a domain from a project.
***
{/* This file was generated by Fumadocs. Do not edit this file directly. Any changes should be made by running the generation command again. */}
export default function Layout(props) {
const { APIPage, OpenAPIPage } = props.components ?? {};
// "APIPage" is the old name from v10, this allows both for backward compatibility
const Comp = OpenAPIPage ?? APIPage;
return (
<>
{props.children}
);
}
# Get domains
URL: /docs/privacy-v1/domains/get_privacy_v1_organizations_organizationid_projects_projectid_domains
***
title: Get domains
full: true
\_openapi:
preload:
* [https://api.concord.tech/docs/json/privacy-v1/](https://api.concord.tech/docs/json/privacy-v1/)
method: GET
webhook: false
toc: \[]
structuredData:
headings: \[]
contents:
* content: Get the domains for a project.
***
{/* This file was generated by Fumadocs. Do not edit this file directly. Any changes should be made by running the generation command again. */}
export default function Layout(props) {
const { APIPage, OpenAPIPage } = props.components ?? {};
// "APIPage" is the old name from v10, this allows both for backward compatibility
const Comp = OpenAPIPage ?? APIPage;
return (
<>
{props.children}
);
}
# Update domain
URL: /docs/privacy-v1/domains/patch_privacy_v1_organizations_organizationid_projects_projectid_domains_domainid
***
title: Update domain
full: true
\_openapi:
preload:
* [https://api.concord.tech/docs/json/privacy-v1/](https://api.concord.tech/docs/json/privacy-v1/)
method: PATCH
webhook: false
toc: \[]
structuredData:
headings: \[]
contents:
* content: Updates a domain in a project.
***
{/* This file was generated by Fumadocs. Do not edit this file directly. Any changes should be made by running the generation command again. */}
export default function Layout(props) {
const { APIPage, OpenAPIPage } = props.components ?? {};
// "APIPage" is the old name from v10, this allows both for backward compatibility
const Comp = OpenAPIPage ?? APIPage;
return (
<>
{props.children}
);
}
# Create a new domain
URL: /docs/privacy-v1/domains/post_privacy_v1_organizations_organizationid_projects_projectid_domains
***
title: Create a new domain
full: true
\_openapi:
preload:
* [https://api.concord.tech/docs/json/privacy-v1/](https://api.concord.tech/docs/json/privacy-v1/)
method: POST
webhook: false
toc: \[]
structuredData:
headings: \[]
contents:
* content: Creates a domain in a project.
***
{/* This file was generated by Fumadocs. Do not edit this file directly. Any changes should be made by running the generation command again. */}
export default function Layout(props) {
const { APIPage, OpenAPIPage } = props.components ?? {};
// "APIPage" is the old name from v10, this allows both for backward compatibility
const Comp = OpenAPIPage ?? APIPage;
return (
<>
{props.children}
);
}
# Delete send from email
URL: /docs/privacy-v1/emails/delete_privacy_v1_organizations_organizationid_emails_emailid
***
title: Delete send from email
full: true
\_openapi:
preload:
* [https://api.concord.tech/docs/json/privacy-v1/](https://api.concord.tech/docs/json/privacy-v1/)
method: DELETE
webhook: false
toc: \[]
structuredData:
headings: \[]
contents:
* content: Deletes a send from email.
***
{/* This file was generated by Fumadocs. Do not edit this file directly. Any changes should be made by running the generation command again. */}
export default function Layout(props) {
const { APIPage, OpenAPIPage } = props.components ?? {};
// "APIPage" is the old name from v10, this allows both for backward compatibility
const Comp = OpenAPIPage ?? APIPage;
return (
<>
{props.children}
);
}
# Get send from emails
URL: /docs/privacy-v1/emails/get_privacy_v1_organizations_organizationid_emails
***
title: Get send from emails
full: true
\_openapi:
preload:
* [https://api.concord.tech/docs/json/privacy-v1/](https://api.concord.tech/docs/json/privacy-v1/)
method: GET
webhook: false
toc: \[]
structuredData:
headings: \[]
contents:
* content: Gets the send from emails for an organization.
***
{/* This file was generated by Fumadocs. Do not edit this file directly. Any changes should be made by running the generation command again. */}
export default function Layout(props) {
const { APIPage, OpenAPIPage } = props.components ?? {};
// "APIPage" is the old name from v10, this allows both for backward compatibility
const Comp = OpenAPIPage ?? APIPage;
return (
<>
{props.children}
);
}
# Update send from email
URL: /docs/privacy-v1/emails/patch_privacy_v1_organizations_organizationid_emails_emailid
***
title: Update send from email
full: true
\_openapi:
preload:
* [https://api.concord.tech/docs/json/privacy-v1/](https://api.concord.tech/docs/json/privacy-v1/)
method: PATCH
webhook: false
toc: \[]
structuredData:
headings: \[]
contents:
* content: Updates a send from email.
***
{/* This file was generated by Fumadocs. Do not edit this file directly. Any changes should be made by running the generation command again. */}
export default function Layout(props) {
const { APIPage, OpenAPIPage } = props.components ?? {};
// "APIPage" is the old name from v10, this allows both for backward compatibility
const Comp = OpenAPIPage ?? APIPage;
return (
<>
{props.children}
);
}
# Create send from email
URL: /docs/privacy-v1/emails/post_privacy_v1_organizations_organizationid_emails
***
title: Create send from email
full: true
\_openapi:
preload:
* [https://api.concord.tech/docs/json/privacy-v1/](https://api.concord.tech/docs/json/privacy-v1/)
method: POST
webhook: false
toc: \[]
structuredData:
headings: \[]
contents:
* content: 'Creates a new send-from identity. Defaults to a per-address identity
(sends a SES verification email to the recipient); pass `identityType:
"domain"` with `domain: ""` to provision a per-domain
SES identity (returns DKIM + MAIL FROM DNS records for the customer to
publish at their DNS provider).'
***
{/* This file was generated by Fumadocs. Do not edit this file directly. Any changes should be made by running the generation command again. */}
export default function Layout(props) {
const { APIPage, OpenAPIPage } = props.components ?? {};
// "APIPage" is the old name from v10, this allows both for backward compatibility
const Comp = OpenAPIPage ?? APIPage;
return (
<>
{props.children}
);
}
# Get GCM scan results
URL: /docs/privacy-v1/gcm-scans/get_privacy_v1_organizations_organizationid_projects_projectid_gcm_scan_results
***
title: Get GCM scan results
full: true
\_openapi:
preload:
* [https://api.concord.tech/docs/json/privacy-v1/](https://api.concord.tech/docs/json/privacy-v1/)
method: GET
webhook: false
toc: \[]
structuredData:
headings: \[]
contents:
* content: Gets the GCM scan results for a project.
***
{/* This file was generated by Fumadocs. Do not edit this file directly. Any changes should be made by running the generation command again. */}
export default function Layout(props) {
const { APIPage, OpenAPIPage } = props.components ?? {};
// "APIPage" is the old name from v10, this allows both for backward compatibility
const Comp = OpenAPIPage ?? APIPage;
return (
<>
{props.children}
);
}
# Create gcm scan
URL: /docs/privacy-v1/gcm-scans/post_privacy_v1_organizations_organizationid_projects_projectid_gcm_scans
***
title: Create gcm scan
full: true
\_openapi:
preload:
* [https://api.concord.tech/docs/json/privacy-v1/](https://api.concord.tech/docs/json/privacy-v1/)
method: POST
webhook: false
toc: \[]
structuredData:
headings: \[]
contents:
* content: Start a new manual gcm scan for the current project or a custom domain
(billed per domain scanned; the weekly auto-run is free).
***
{/* This file was generated by Fumadocs. Do not edit this file directly. Any changes should be made by running the generation command again. */}
export default function Layout(props) {
const { APIPage, OpenAPIPage } = props.components ?? {};
// "APIPage" is the old name from v10, this allows both for backward compatibility
const Comp = OpenAPIPage ?? APIPage;
return (
<>
{props.children}
);
}
# Get languages
URL: /docs/privacy-v1/languages/get_privacy_v1_organizations_organizationid_projects_projectid_regions_regionid_languages
***
title: Get languages
full: true
\_openapi:
preload:
* [https://api.concord.tech/docs/json/privacy-v1/](https://api.concord.tech/docs/json/privacy-v1/)
method: GET
webhook: false
toc: \[]
structuredData:
headings: \[]
contents:
* content: Gets languages for a region.
***
{/* This file was generated by Fumadocs. Do not edit this file directly. Any changes should be made by running the generation command again. */}
export default function Layout(props) {
const { APIPage, OpenAPIPage } = props.components ?? {};
// "APIPage" is the old name from v10, this allows both for backward compatibility
const Comp = OpenAPIPage ?? APIPage;
return (
<>
{props.children}
);
}
# Get language
URL: /docs/privacy-v1/languages/get_privacy_v1_organizations_organizationid_projects_projectid_regions_regionid_languages_languageid
***
title: Get language
full: true
\_openapi:
preload:
* [https://api.concord.tech/docs/json/privacy-v1/](https://api.concord.tech/docs/json/privacy-v1/)
method: GET
webhook: false
toc: \[]
structuredData:
headings: \[]
contents:
* content: Gets a language.
***
{/* This file was generated by Fumadocs. Do not edit this file directly. Any changes should be made by running the generation command again. */}
export default function Layout(props) {
const { APIPage, OpenAPIPage } = props.components ?? {};
// "APIPage" is the old name from v10, this allows both for backward compatibility
const Comp = OpenAPIPage ?? APIPage;
return (
<>
{props.children}
);
}
# Update language
URL: /docs/privacy-v1/languages/patch_privacy_v1_organizations_organizationid_projects_projectid_regions_regionid_languages_languageid
***
title: Update language
full: true
\_openapi:
preload:
* [https://api.concord.tech/docs/json/privacy-v1/](https://api.concord.tech/docs/json/privacy-v1/)
method: PATCH
webhook: false
toc: \[]
structuredData:
headings: \[]
contents:
* content: Updates an existing language.
***
{/* This file was generated by Fumadocs. Do not edit this file directly. Any changes should be made by running the generation command again. */}
export default function Layout(props) {
const { APIPage, OpenAPIPage } = props.components ?? {};
// "APIPage" is the old name from v10, this allows both for backward compatibility
const Comp = OpenAPIPage ?? APIPage;
return (
<>
{props.children}
);
}
# Enables or disables the multi-language support for the given organization, project, and region IDs.
URL: /docs/privacy-v1/languages/post_privacy_v1_organizations_organizationid_projects_projectid_regions_regionid_languages
***
title: Enables or disables the multi-language support for the given
organization, project, and region IDs.
full: true
\_openapi:
preload:
* [https://api.concord.tech/docs/json/privacy-v1/](https://api.concord.tech/docs/json/privacy-v1/)
method: POST
webhook: false
toc: \[]
structuredData:
headings: \[]
contents:
* content: Enables or disables the multi-language support and translates English
language settings to the preset target languages.
***
{/* This file was generated by Fumadocs. Do not edit this file directly. Any changes should be made by running the generation command again. */}
export default function Layout(props) {
const { APIPage, OpenAPIPage } = props.components ?? {};
// "APIPage" is the old name from v10, this allows both for backward compatibility
const Comp = OpenAPIPage ?? APIPage;
return (
<>
{props.children}
);
}
# Get_privacy_v1_organizations_organizationid_compliance_requests_compliancerequestid_connector_results
URL: /docs/privacy-v1/integrations/get_privacy_v1_organizations_organizationid_compliance_requests_compliancerequestid_connector_results
***
title: Get\_privacy\_v1\_organizations\_organizationid\_compliance\_requests\_compliancerequestid\_connector\_results
full: true
\_openapi:
preload:
* [https://api.concord.tech/docs/json/privacy-v1/](https://api.concord.tech/docs/json/privacy-v1/)
method: GET
webhook: false
toc: \[]
structuredData:
headings: \[]
contents: \[]
***
{/* This file was generated by Fumadocs. Do not edit this file directly. Any changes should be made by running the generation command again. */}
export default function Layout(props) {
const { APIPage, OpenAPIPage } = props.components ?? {};
// "APIPage" is the old name from v10, this allows both for backward compatibility
const Comp = OpenAPIPage ?? APIPage;
return (
<>
{props.children}
);
}
# Delete organization by ID
URL: /docs/privacy-v1/organizations/delete_privacy_v1_organizations_organizationid
***
title: Delete organization by ID
full: true
\_openapi:
preload:
* [https://api.concord.tech/docs/json/privacy-v1/](https://api.concord.tech/docs/json/privacy-v1/)
method: DELETE
webhook: false
toc: \[]
structuredData:
headings: \[]
contents:
* content: Updates an organization.
***
{/* This file was generated by Fumadocs. Do not edit this file directly. Any changes should be made by running the generation command again. */}
export default function Layout(props) {
const { APIPage, OpenAPIPage } = props.components ?? {};
// "APIPage" is the old name from v10, this allows both for backward compatibility
const Comp = OpenAPIPage ?? APIPage;
return (
<>
{props.children}
);
}
# Get organizations
URL: /docs/privacy-v1/organizations/get_privacy_v1_organizations
***
title: Get organizations
full: true
\_openapi:
preload:
* [https://api.concord.tech/docs/json/privacy-v1/](https://api.concord.tech/docs/json/privacy-v1/)
method: GET
webhook: false
toc: \[]
structuredData:
headings: \[]
contents:
* content: Gets the organizations that you have access to.
***
{/* This file was generated by Fumadocs. Do not edit this file directly. Any changes should be made by running the generation command again. */}
export default function Layout(props) {
const { APIPage, OpenAPIPage } = props.components ?? {};
// "APIPage" is the old name from v10, this allows both for backward compatibility
const Comp = OpenAPIPage ?? APIPage;
return (
<>
{props.children}
);
}
# Get organization by ID
URL: /docs/privacy-v1/organizations/get_privacy_v1_organizations_organizationid
***
title: Get organization by ID
full: true
\_openapi:
preload:
* [https://api.concord.tech/docs/json/privacy-v1/](https://api.concord.tech/docs/json/privacy-v1/)
method: GET
webhook: false
toc: \[]
structuredData:
headings: \[]
contents:
* content: Gets the details for an organization.
***
{/* This file was generated by Fumadocs. Do not edit this file directly. Any changes should be made by running the generation command again. */}
export default function Layout(props) {
const { APIPage, OpenAPIPage } = props.components ?? {};
// "APIPage" is the old name from v10, this allows both for backward compatibility
const Comp = OpenAPIPage ?? APIPage;
return (
<>
{props.children}
);
}
# Update organization by ID
URL: /docs/privacy-v1/organizations/patch_privacy_v1_organizations_organizationid
***
title: Update organization by ID
full: true
\_openapi:
preload:
* [https://api.concord.tech/docs/json/privacy-v1/](https://api.concord.tech/docs/json/privacy-v1/)
method: PATCH
webhook: false
toc: \[]
structuredData:
headings: \[]
contents:
* content: Updates an organization.
***
{/* This file was generated by Fumadocs. Do not edit this file directly. Any changes should be made by running the generation command again. */}
export default function Layout(props) {
const { APIPage, OpenAPIPage } = props.components ?? {};
// "APIPage" is the old name from v10, this allows both for backward compatibility
const Comp = OpenAPIPage ?? APIPage;
return (
<>
{props.children}
);
}
# Create organization
URL: /docs/privacy-v1/organizations/post_privacy_v1_organizations
***
title: Create organization
full: true
\_openapi:
preload:
* [https://api.concord.tech/docs/json/privacy-v1/](https://api.concord.tech/docs/json/privacy-v1/)
method: POST
webhook: false
toc: \[]
structuredData:
headings: \[]
contents:
* content: Creates a new organization.
***
{/* This file was generated by Fumadocs. Do not edit this file directly. Any changes should be made by running the generation command again. */}
export default function Layout(props) {
const { APIPage, OpenAPIPage } = props.components ?? {};
// "APIPage" is the old name from v10, this allows both for backward compatibility
const Comp = OpenAPIPage ?? APIPage;
return (
<>
{props.children}
);
}
# Processing activity
URL: /docs/privacy-v1/processing-activities/delete_privacy_v1_organizations_organizationid_processing_activities_processingactivityid
***
title: Processing activity
full: true
\_openapi:
preload:
* [https://api.concord.tech/docs/json/privacy-v1/](https://api.concord.tech/docs/json/privacy-v1/)
method: DELETE
webhook: false
toc: \[]
structuredData:
headings: \[]
contents:
* content: Deletes a processing activity.
***
{/* This file was generated by Fumadocs. Do not edit this file directly. Any changes should be made by running the generation command again. */}
export default function Layout(props) {
const { APIPage, OpenAPIPage } = props.components ?? {};
// "APIPage" is the old name from v10, this allows both for backward compatibility
const Comp = OpenAPIPage ?? APIPage;
return (
<>
{props.children}
);
}
# Get mapped global processing activities
URL: /docs/privacy-v1/processing-activities/get_privacy_v1_organizations_organizationid_mapped_global_processing_activities
***
title: Get mapped global processing activities
full: true
\_openapi:
preload:
* [https://api.concord.tech/docs/json/privacy-v1/](https://api.concord.tech/docs/json/privacy-v1/)
method: GET
webhook: false
toc: \[]
structuredData:
headings: \[]
contents:
* content: Gets the global processing activities with attributes mapped to
organization level ids.
***
{/* This file was generated by Fumadocs. Do not edit this file directly. Any changes should be made by running the generation command again. */}
export default function Layout(props) {
const { APIPage, OpenAPIPage } = props.components ?? {};
// "APIPage" is the old name from v10, this allows both for backward compatibility
const Comp = OpenAPIPage ?? APIPage;
return (
<>
{props.children}
);
}
# Get processing activities
URL: /docs/privacy-v1/processing-activities/get_privacy_v1_organizations_organizationid_processing_activities
***
title: Get processing activities
full: true
\_openapi:
preload:
* [https://api.concord.tech/docs/json/privacy-v1/](https://api.concord.tech/docs/json/privacy-v1/)
method: GET
webhook: false
toc: \[]
structuredData:
headings: \[]
contents:
* content: Gets the processing activities for an organization.
***
{/* This file was generated by Fumadocs. Do not edit this file directly. Any changes should be made by running the generation command again. */}
export default function Layout(props) {
const { APIPage, OpenAPIPage } = props.components ?? {};
// "APIPage" is the old name from v10, this allows both for backward compatibility
const Comp = OpenAPIPage ?? APIPage;
return (
<>
{props.children}
);
}
# Update processing activity
URL: /docs/privacy-v1/processing-activities/patch_privacy_v1_organizations_organizationid_processing_activities_processingactivityid
***
title: Update processing activity
full: true
\_openapi:
preload:
* [https://api.concord.tech/docs/json/privacy-v1/](https://api.concord.tech/docs/json/privacy-v1/)
method: PATCH
webhook: false
toc: \[]
structuredData:
headings: \[]
contents:
* content: Updates a processing activity.
***
{/* This file was generated by Fumadocs. Do not edit this file directly. Any changes should be made by running the generation command again. */}
export default function Layout(props) {
const { APIPage, OpenAPIPage } = props.components ?? {};
// "APIPage" is the old name from v10, this allows both for backward compatibility
const Comp = OpenAPIPage ?? APIPage;
return (
<>
{props.children}
);
}
# Create processing activity
URL: /docs/privacy-v1/processing-activities/post_privacy_v1_organizations_organizationid_processing_activities
***
title: Create processing activity
full: true
\_openapi:
preload:
* [https://api.concord.tech/docs/json/privacy-v1/](https://api.concord.tech/docs/json/privacy-v1/)
method: POST
webhook: false
toc: \[]
structuredData:
headings: \[]
contents:
* content: Creates a new processing activity.
***
{/* This file was generated by Fumadocs. Do not edit this file directly. Any changes should be made by running the generation command again. */}
export default function Layout(props) {
const { APIPage, OpenAPIPage } = props.components ?? {};
// "APIPage" is the old name from v10, this allows both for backward compatibility
const Comp = OpenAPIPage ?? APIPage;
return (
<>
{props.children}
);
}
# Delete project
URL: /docs/privacy-v1/projects/delete_privacy_v1_organizations_organizationid_projects_projectid
***
title: Delete project
full: true
\_openapi:
preload:
* [https://api.concord.tech/docs/json/privacy-v1/](https://api.concord.tech/docs/json/privacy-v1/)
method: DELETE
webhook: false
toc: \[]
structuredData:
headings: \[]
contents:
* content: Deletes a project.
***
{/* This file was generated by Fumadocs. Do not edit this file directly. Any changes should be made by running the generation command again. */}
export default function Layout(props) {
const { APIPage, OpenAPIPage } = props.components ?? {};
// "APIPage" is the old name from v10, this allows both for backward compatibility
const Comp = OpenAPIPage ?? APIPage;
return (
<>
{props.children}
);
}
# Get projects
URL: /docs/privacy-v1/projects/get_privacy_v1_organizations_organizationid_projects
***
title: Get projects
full: true
\_openapi:
preload:
* [https://api.concord.tech/docs/json/privacy-v1/](https://api.concord.tech/docs/json/privacy-v1/)
method: GET
webhook: false
toc: \[]
structuredData:
headings: \[]
contents:
* content: Gets projects for an organization.
***
{/* This file was generated by Fumadocs. Do not edit this file directly. Any changes should be made by running the generation command again. */}
export default function Layout(props) {
const { APIPage, OpenAPIPage } = props.components ?? {};
// "APIPage" is the old name from v10, this allows both for backward compatibility
const Comp = OpenAPIPage ?? APIPage;
return (
<>
{props.children}
);
}
# Get project
URL: /docs/privacy-v1/projects/get_privacy_v1_organizations_organizationid_projects_projectid
***
title: Get project
full: true
\_openapi:
preload:
* [https://api.concord.tech/docs/json/privacy-v1/](https://api.concord.tech/docs/json/privacy-v1/)
method: GET
webhook: false
toc: \[]
structuredData:
headings: \[]
contents:
* content: Gets a project.
***
{/* This file was generated by Fumadocs. Do not edit this file directly. Any changes should be made by running the generation command again. */}
export default function Layout(props) {
const { APIPage, OpenAPIPage } = props.components ?? {};
// "APIPage" is the old name from v10, this allows both for backward compatibility
const Comp = OpenAPIPage ?? APIPage;
return (
<>
{props.children}
);
}
# Get project branding
URL: /docs/privacy-v1/projects/get_privacy_v1_organizations_organizationid_projects_projectid_branding
***
title: Get project branding
full: true
\_openapi:
preload:
* [https://api.concord.tech/docs/json/privacy-v1/](https://api.concord.tech/docs/json/privacy-v1/)
method: GET
webhook: false
toc: \[]
structuredData:
headings: \[]
contents:
* content: Returns the project-level branding. Privacy experiences inherit it
(region -> project -> org -> default).
***
{/* This file was generated by Fumadocs. Do not edit this file directly. Any changes should be made by running the generation command again. */}
export default function Layout(props) {
const { APIPage, OpenAPIPage } = props.components ?? {};
// "APIPage" is the old name from v10, this allows both for backward compatibility
const Comp = OpenAPIPage ?? APIPage;
return (
<>
{props.children}
);
}
# Update project
URL: /docs/privacy-v1/projects/patch_privacy_v1_organizations_organizationid_projects_projectid
***
title: Update project
full: true
\_openapi:
preload:
* [https://api.concord.tech/docs/json/privacy-v1/](https://api.concord.tech/docs/json/privacy-v1/)
method: PATCH
webhook: false
toc: \[]
structuredData:
headings: \[]
contents:
* content: Updates a project.
***
{/* This file was generated by Fumadocs. Do not edit this file directly. Any changes should be made by running the generation command again. */}
export default function Layout(props) {
const { APIPage, OpenAPIPage } = props.components ?? {};
// "APIPage" is the old name from v10, this allows both for backward compatibility
const Comp = OpenAPIPage ?? APIPage;
return (
<>
{props.children}
);
}
# Update project branding
URL: /docs/privacy-v1/projects/patch_privacy_v1_organizations_organizationid_projects_projectid_branding
***
title: Update project branding
full: true
\_openapi:
preload:
* [https://api.concord.tech/docs/json/privacy-v1/](https://api.concord.tech/docs/json/privacy-v1/)
method: PATCH
webhook: false
toc: \[]
structuredData:
headings: \[]
contents:
* content: Updates the project-level branding that privacy experiences inherit.
Sending null for a field clears it so it inherits org branding.
***
{/* This file was generated by Fumadocs. Do not edit this file directly. Any changes should be made by running the generation command again. */}
export default function Layout(props) {
const { APIPage, OpenAPIPage } = props.components ?? {};
// "APIPage" is the old name from v10, this allows both for backward compatibility
const Comp = OpenAPIPage ?? APIPage;
return (
<>
{props.children}
);
}
# Create new project
URL: /docs/privacy-v1/projects/post_privacy_v1_organizations_organizationid_projects
***
title: Create new project
full: true
\_openapi:
preload:
* [https://api.concord.tech/docs/json/privacy-v1/](https://api.concord.tech/docs/json/privacy-v1/)
method: POST
webhook: false
toc: \[]
structuredData:
headings: \[]
contents:
* content: Create a new project in an organization
***
{/* This file was generated by Fumadocs. Do not edit this file directly. Any changes should be made by running the generation command again. */}
export default function Layout(props) {
const { APIPage, OpenAPIPage } = props.components ?? {};
// "APIPage" is the old name from v10, this allows both for backward compatibility
const Comp = OpenAPIPage ?? APIPage;
return (
<>
{props.children}
);
}
# Delete public key
URL: /docs/privacy-v1/public-keys/delete_privacy_v1_organizations_organizationid_public_keys_kid
***
title: Delete public key
full: true
\_openapi:
preload:
* [https://api.concord.tech/docs/json/privacy-v1/](https://api.concord.tech/docs/json/privacy-v1/)
method: DELETE
webhook: false
toc: \[]
structuredData:
headings: \[]
contents:
* content: Deletes a JWT public key by its key ID (kid).
***
{/* This file was generated by Fumadocs. Do not edit this file directly. Any changes should be made by running the generation command again. */}
export default function Layout(props) {
const { APIPage, OpenAPIPage } = props.components ?? {};
// "APIPage" is the old name from v10, this allows both for backward compatibility
const Comp = OpenAPIPage ?? APIPage;
return (
<>
{props.children}
);
}
# Get public keys
URL: /docs/privacy-v1/public-keys/get_privacy_v1_organizations_organizationid_public_keys
***
title: Get public keys
full: true
\_openapi:
preload:
* [https://api.concord.tech/docs/json/privacy-v1/](https://api.concord.tech/docs/json/privacy-v1/)
method: GET
webhook: false
toc: \[]
structuredData:
headings: \[]
contents:
* content: Gets the JWT public keys for an organization. These keys are used to
verify authenticated identify requests.
***
{/* This file was generated by Fumadocs. Do not edit this file directly. Any changes should be made by running the generation command again. */}
export default function Layout(props) {
const { APIPage, OpenAPIPage } = props.components ?? {};
// "APIPage" is the old name from v10, this allows both for backward compatibility
const Comp = OpenAPIPage ?? APIPage;
return (
<>
{props.children}
);
}
# Add public key
URL: /docs/privacy-v1/public-keys/post_privacy_v1_organizations_organizationid_public_keys
***
title: Add public key
full: true
\_openapi:
preload:
* [https://api.concord.tech/docs/json/privacy-v1/](https://api.concord.tech/docs/json/privacy-v1/)
method: POST
webhook: false
toc: \[]
structuredData:
headings: \[]
contents:
* content: Uploads a JWT public key (JWK format) for authenticated identify
requests.
***
{/* This file was generated by Fumadocs. Do not edit this file directly. Any changes should be made by running the generation command again. */}
export default function Layout(props) {
const { APIPage, OpenAPIPage } = props.components ?? {};
// "APIPage" is the old name from v10, this allows both for backward compatibility
const Comp = OpenAPIPage ?? APIPage;
return (
<>
{props.children}
);
}
# Delete region
URL: /docs/privacy-v1/regions/delete_privacy_v1_organizations_organizationid_projects_projectid_regions_regionid
***
title: Delete region
full: true
\_openapi:
preload:
* [https://api.concord.tech/docs/json/privacy-v1/](https://api.concord.tech/docs/json/privacy-v1/)
method: DELETE
webhook: false
toc: \[]
structuredData:
headings: \[]
contents:
* content: Deletes an existing region.
***
{/* This file was generated by Fumadocs. Do not edit this file directly. Any changes should be made by running the generation command again. */}
export default function Layout(props) {
const { APIPage, OpenAPIPage } = props.components ?? {};
// "APIPage" is the old name from v10, this allows both for backward compatibility
const Comp = OpenAPIPage ?? APIPage;
return (
<>
{props.children}
);
}
# Get regions
URL: /docs/privacy-v1/regions/get_privacy_v1_organizations_organizationid_projects_projectid_regions
***
title: Get regions
full: true
\_openapi:
preload:
* [https://api.concord.tech/docs/json/privacy-v1/](https://api.concord.tech/docs/json/privacy-v1/)
method: GET
webhook: false
toc: \[]
structuredData:
headings: \[]
contents:
* content: Gets regions for a project.
***
{/* This file was generated by Fumadocs. Do not edit this file directly. Any changes should be made by running the generation command again. */}
export default function Layout(props) {
const { APIPage, OpenAPIPage } = props.components ?? {};
// "APIPage" is the old name from v10, this allows both for backward compatibility
const Comp = OpenAPIPage ?? APIPage;
return (
<>
{props.children}
);
}
# Get region
URL: /docs/privacy-v1/regions/get_privacy_v1_organizations_organizationid_projects_projectid_regions_regionid
***
title: Get region
full: true
\_openapi:
preload:
* [https://api.concord.tech/docs/json/privacy-v1/](https://api.concord.tech/docs/json/privacy-v1/)
method: GET
webhook: false
toc: \[]
structuredData:
headings: \[]
contents:
* content: Gets a region.
***
{/* This file was generated by Fumadocs. Do not edit this file directly. Any changes should be made by running the generation command again. */}
export default function Layout(props) {
const { APIPage, OpenAPIPage } = props.components ?? {};
// "APIPage" is the old name from v10, this allows both for backward compatibility
const Comp = OpenAPIPage ?? APIPage;
return (
<>
{props.children}
);
}
# Get resolved branding
URL: /docs/privacy-v1/regions/get_privacy_v1_organizations_organizationid_projects_projectid_regions_regionid_branding_resolved
***
title: Get resolved branding
full: true
\_openapi:
preload:
* [https://api.concord.tech/docs/json/privacy-v1/](https://api.concord.tech/docs/json/privacy-v1/)
method: GET
webhook: false
toc: \[]
structuredData:
headings: \[]
contents:
* content: Gets the effective branding for a region (region -> project -> org ->
default), matching what the widget renders.
***
{/* This file was generated by Fumadocs. Do not edit this file directly. Any changes should be made by running the generation command again. */}
export default function Layout(props) {
const { APIPage, OpenAPIPage } = props.components ?? {};
// "APIPage" is the old name from v10, this allows both for backward compatibility
const Comp = OpenAPIPage ?? APIPage;
return (
<>
{props.children}
);
}
# Update region
URL: /docs/privacy-v1/regions/patch_privacy_v1_organizations_organizationid_projects_projectid_regions_regionid
***
title: Update region
full: true
\_openapi:
preload:
* [https://api.concord.tech/docs/json/privacy-v1/](https://api.concord.tech/docs/json/privacy-v1/)
method: PATCH
webhook: false
toc: \[]
structuredData:
headings: \[]
contents:
* content: Updates an existing region.
***
{/* This file was generated by Fumadocs. Do not edit this file directly. Any changes should be made by running the generation command again. */}
export default function Layout(props) {
const { APIPage, OpenAPIPage } = props.components ?? {};
// "APIPage" is the old name from v10, this allows both for backward compatibility
const Comp = OpenAPIPage ?? APIPage;
return (
<>
{props.children}
);
}
# Create region
URL: /docs/privacy-v1/regions/post_privacy_v1_organizations_organizationid_projects_projectid_regions
***
title: Create region
full: true
\_openapi:
preload:
* [https://api.concord.tech/docs/json/privacy-v1/](https://api.concord.tech/docs/json/privacy-v1/)
method: POST
webhook: false
toc: \[]
structuredData:
headings: \[]
contents:
* content: Creates a new region.
***
{/* This file was generated by Fumadocs. Do not edit this file directly. Any changes should be made by running the generation command again. */}
export default function Layout(props) {
const { APIPage, OpenAPIPage } = props.components ?? {};
// "APIPage" is the old name from v10, this allows both for backward compatibility
const Comp = OpenAPIPage ?? APIPage;
return (
<>
{props.children}
);
}
# Delete ROPA Report
URL: /docs/privacy-v1/ropa-reports/delete_privacy_v1_organizations_organizationid_ropa_reports_reportid
***
title: Delete ROPA Report
full: true
\_openapi:
preload:
* [https://api.concord.tech/docs/json/privacy-v1/](https://api.concord.tech/docs/json/privacy-v1/)
method: DELETE
webhook: false
toc: \[]
structuredData:
headings: \[]
contents:
* content: Deletes a draft ROPA Report. Only reports in draft status can be
deleted; finalized reports are archived and retained, never deleted.
***
{/* This file was generated by Fumadocs. Do not edit this file directly. Any changes should be made by running the generation command again. */}
export default function Layout(props) {
const { APIPage, OpenAPIPage } = props.components ?? {};
// "APIPage" is the old name from v10, this allows both for backward compatibility
const Comp = OpenAPIPage ?? APIPage;
return (
<>
{props.children}
);
}
# Remove a processing activity from a ROPA report
URL: /docs/privacy-v1/ropa-reports/delete_privacy_v1_organizations_organizationid_ropa_reports_reportid_rows_rowid
***
title: Remove a processing activity from a ROPA report
full: true
\_openapi:
preload:
* [https://api.concord.tech/docs/json/privacy-v1/](https://api.concord.tech/docs/json/privacy-v1/)
method: DELETE
webhook: false
toc: \[]
structuredData:
headings: \[]
contents:
* content: Hard-delete an Article-30 row from a draft report.
***
{/* This file was generated by Fumadocs. Do not edit this file directly. Any changes should be made by running the generation command again. */}
export default function Layout(props) {
const { APIPage, OpenAPIPage } = props.components ?? {};
// "APIPage" is the old name from v10, this allows both for backward compatibility
const Comp = OpenAPIPage ?? APIPage;
return (
<>
{props.children}
);
}
# Get ROPA Reports
URL: /docs/privacy-v1/ropa-reports/get_privacy_v1_organizations_organizationid_ropa_reports
***
title: Get ROPA Reports
full: true
\_openapi:
preload:
* [https://api.concord.tech/docs/json/privacy-v1/](https://api.concord.tech/docs/json/privacy-v1/)
method: GET
webhook: false
toc: \[]
structuredData:
headings: \[]
contents:
* content: Gets the ROPA Reports for an organization.
***
{/* This file was generated by Fumadocs. Do not edit this file directly. Any changes should be made by running the generation command again. */}
export default function Layout(props) {
const { APIPage, OpenAPIPage } = props.components ?? {};
// "APIPage" is the old name from v10, this allows both for backward compatibility
const Comp = OpenAPIPage ?? APIPage;
return (
<>
{props.children}
);
}
# Get ROPA Report
URL: /docs/privacy-v1/ropa-reports/get_privacy_v1_organizations_organizationid_ropa_reports_reportid
***
title: Get ROPA Report
full: true
\_openapi:
preload:
* [https://api.concord.tech/docs/json/privacy-v1/](https://api.concord.tech/docs/json/privacy-v1/)
method: GET
webhook: false
toc: \[]
structuredData:
headings: \[]
contents:
* content: Gets a ROPA Report.
***
{/* This file was generated by Fumadocs. Do not edit this file directly. Any changes should be made by running the generation command again. */}
export default function Layout(props) {
const { APIPage, OpenAPIPage } = props.components ?? {};
// "APIPage" is the old name from v10, this allows both for backward compatibility
const Comp = OpenAPIPage ?? APIPage;
return (
<>
{props.children}
);
}
# Export a ROPA report
URL: /docs/privacy-v1/ropa-reports/get_privacy_v1_organizations_organizationid_ropa_reports_reportid_export
***
title: Export a ROPA report
full: true
\_openapi:
preload:
* [https://api.concord.tech/docs/json/privacy-v1/](https://api.concord.tech/docs/json/privacy-v1/)
method: GET
webhook: false
toc: \[]
structuredData:
headings: \[]
contents:
* content: Renders the report (resolving merge tokens + expanding activity cards)
using the same pipeline as finalization, in the requested format.
Works for drafts and finalized reports.
***
{/* This file was generated by Fumadocs. Do not edit this file directly. Any changes should be made by running the generation command again. */}
export default function Layout(props) {
const { APIPage, OpenAPIPage } = props.components ?? {};
// "APIPage" is the old name from v10, this allows both for backward compatibility
const Comp = OpenAPIPage ?? APIPage;
return (
<>
{props.children}
);
}
# Update ROPA report summary
URL: /docs/privacy-v1/ropa-reports/patch_privacy_v1_organizations_organizationid_ropa_reports_reportid
***
title: Update ROPA report summary
full: true
\_openapi:
preload:
* [https://api.concord.tech/docs/json/privacy-v1/](https://api.concord.tech/docs/json/privacy-v1/)
method: PATCH
webhook: false
toc: \[]
structuredData:
headings: \[]
contents:
* content: Update the summary content of a ROPA report.
***
{/* This file was generated by Fumadocs. Do not edit this file directly. Any changes should be made by running the generation command again. */}
export default function Layout(props) {
const { APIPage, OpenAPIPage } = props.components ?? {};
// "APIPage" is the old name from v10, this allows both for backward compatibility
const Comp = OpenAPIPage ?? APIPage;
return (
<>
{props.children}
);
}
# Update a ROPA report row
URL: /docs/privacy-v1/ropa-reports/patch_privacy_v1_organizations_organizationid_ropa_reports_reportid_rows_rowid
***
title: Update a ROPA report row
full: true
\_openapi:
preload:
* [https://api.concord.tech/docs/json/privacy-v1/](https://api.concord.tech/docs/json/privacy-v1/)
method: PATCH
webhook: false
toc: \[]
structuredData:
headings: \[]
contents:
* content: Update editable Article-30 fields of a single ROPA row (draft only).
Sets per-field override flags and appends change-log entries.
***
{/* This file was generated by Fumadocs. Do not edit this file directly. Any changes should be made by running the generation command again. */}
export default function Layout(props) {
const { APIPage, OpenAPIPage } = props.components ?? {};
// "APIPage" is the old name from v10, this allows both for backward compatibility
const Comp = OpenAPIPage ?? APIPage;
return (
<>
{props.children}
);
}
# Create ROPA report
URL: /docs/privacy-v1/ropa-reports/post_privacy_v1_organizations_organizationid_ropa_reports
***
title: Create ROPA report
full: true
\_openapi:
preload:
* [https://api.concord.tech/docs/json/privacy-v1/](https://api.concord.tech/docs/json/privacy-v1/)
method: POST
webhook: false
toc: \[]
structuredData:
headings: \[]
contents:
* content: Create a new ROPA report for an organization.
***
{/* This file was generated by Fumadocs. Do not edit this file directly. Any changes should be made by running the generation command again. */}
export default function Layout(props) {
const { APIPage, OpenAPIPage } = props.components ?? {};
// "APIPage" is the old name from v10, this allows both for backward compatibility
const Comp = OpenAPIPage ?? APIPage;
return (
<>
{props.children}
);
}
# Finalize ROPA report
URL: /docs/privacy-v1/ropa-reports/post_privacy_v1_organizations_organizationid_ropa_reports_reportid_finalize
***
title: Finalize ROPA report
full: true
\_openapi:
preload:
* [https://api.concord.tech/docs/json/privacy-v1/](https://api.concord.tech/docs/json/privacy-v1/)
method: POST
webhook: false
toc: \[]
structuredData:
headings: \[]
contents:
* content: 'Finalize a ROPA report: freeze its content, generate a PDF, and store
it as a report document.'
***
{/* This file was generated by Fumadocs. Do not edit this file directly. Any changes should be made by running the generation command again. */}
export default function Layout(props) {
const { APIPage, OpenAPIPage } = props.components ?? {};
// "APIPage" is the old name from v10, this allows both for backward compatibility
const Comp = OpenAPIPage ?? APIPage;
return (
<>
{props.children}
);
}
# Add a processing activity to a ROPA report
URL: /docs/privacy-v1/ropa-reports/post_privacy_v1_organizations_organizationid_ropa_reports_reportid_rows
***
title: Add a processing activity to a ROPA report
full: true
\_openapi:
preload:
* [https://api.concord.tech/docs/json/privacy-v1/](https://api.concord.tech/docs/json/privacy-v1/)
method: POST
webhook: false
toc: \[]
structuredData:
headings: \[]
contents:
* content: Seed a new Article-30 row from a processing activity not already in the
report (draft only).
***
{/* This file was generated by Fumadocs. Do not edit this file directly. Any changes should be made by running the generation command again. */}
export default function Layout(props) {
const { APIPage, OpenAPIPage } = props.components ?? {};
// "APIPage" is the old name from v10, this allows both for backward compatibility
const Comp = OpenAPIPage ?? APIPage;
return (
<>
{props.children}
);
}
# Get TCF purposes from GVL
URL: /docs/privacy-v1/tcf-purpose-management/get_privacy_v1_organizations_organizationid_projects_projectid_tcf_purposes
***
title: Get TCF purposes from GVL
full: true
\_openapi:
preload:
* [https://api.concord.tech/docs/json/privacy-v1/](https://api.concord.tech/docs/json/privacy-v1/)
method: GET
webhook: false
toc: \[]
structuredData:
headings: \[]
contents:
* content: Retrieve IAB TCF purposes, special purposes, features, or special
features from the Global Vendor List.
***
{/* This file was generated by Fumadocs. Do not edit this file directly. Any changes should be made by running the generation command again. */}
export default function Layout(props) {
const { APIPage, OpenAPIPage } = props.components ?? {};
// "APIPage" is the old name from v10, this allows both for backward compatibility
const Comp = OpenAPIPage ?? APIPage;
return (
<>
{props.children}
);
}
# Get TCF stack selections for region
URL: /docs/privacy-v1/tcf-stack-management/get_privacy_v1_organizations_organizationid_projects_projectid_regions_regionid_tcf_stack_selections
***
title: Get TCF stack selections for region
full: true
\_openapi:
preload:
* [https://api.concord.tech/docs/json/privacy-v1/](https://api.concord.tech/docs/json/privacy-v1/)
method: GET
webhook: false
toc: \[]
structuredData:
headings: \[]
contents:
* content: Retrieve TCF stack selections for a specific region template.
***
{/* This file was generated by Fumadocs. Do not edit this file directly. Any changes should be made by running the generation command again. */}
export default function Layout(props) {
const { APIPage, OpenAPIPage } = props.components ?? {};
// "APIPage" is the old name from v10, this allows both for backward compatibility
const Comp = OpenAPIPage ?? APIPage;
return (
<>
{props.children}
);
}
# Get TCF stacks for admin management
URL: /docs/privacy-v1/tcf-stack-management/get_privacy_v1_organizations_organizationid_projects_projectid_tcf_stacks
***
title: Get TCF stacks for admin management
full: true
\_openapi:
preload:
* [https://api.concord.tech/docs/json/privacy-v1/](https://api.concord.tech/docs/json/privacy-v1/)
method: GET
webhook: false
toc: \[]
structuredData:
headings: \[]
contents:
* content: Retrieve TCF stacks for admin management interface with filtering
options.
***
{/* This file was generated by Fumadocs. Do not edit this file directly. Any changes should be made by running the generation command again. */}
export default function Layout(props) {
const { APIPage, OpenAPIPage } = props.components ?? {};
// "APIPage" is the old name from v10, this allows both for backward compatibility
const Comp = OpenAPIPage ?? APIPage;
return (
<>
{props.children}
);
}
# Update TCF stack selections for region
URL: /docs/privacy-v1/tcf-stack-management/patch_privacy_v1_organizations_organizationid_projects_projectid_regions_regionid_tcf_stack_selections
***
title: Update TCF stack selections for region
full: true
\_openapi:
preload:
* [https://api.concord.tech/docs/json/privacy-v1/](https://api.concord.tech/docs/json/privacy-v1/)
method: PATCH
webhook: false
toc: \[]
structuredData:
headings: \[]
contents:
* content: Update TCF stack selections for a specific region template.
***
{/* This file was generated by Fumadocs. Do not edit this file directly. Any changes should be made by running the generation command again. */}
export default function Layout(props) {
const { APIPage, OpenAPIPage } = props.components ?? {};
// "APIPage" is the old name from v10, this allows both for backward compatibility
const Comp = OpenAPIPage ?? APIPage;
return (
<>
{props.children}
);
}
# Get TCF vendor selections
URL: /docs/privacy-v1/tcf-vendor-management/get_privacy_v1_organizations_organizationid_projects_projectid_regions_regionid_tcf_vendor_selections
***
title: Get TCF vendor selections
full: true
\_openapi:
preload:
* [https://api.concord.tech/docs/json/privacy-v1/](https://api.concord.tech/docs/json/privacy-v1/)
method: GET
webhook: false
toc: \[]
structuredData:
headings: \[]
contents:
* content: Retrieve the vendor selections for a region.
***
{/* This file was generated by Fumadocs. Do not edit this file directly. Any changes should be made by running the generation command again. */}
export default function Layout(props) {
const { APIPage, OpenAPIPage } = props.components ?? {};
// "APIPage" is the old name from v10, this allows both for backward compatibility
const Comp = OpenAPIPage ?? APIPage;
return (
<>
{props.children}
);
}
# Get TCF vendors for admin management
URL: /docs/privacy-v1/tcf-vendor-management/get_privacy_v1_organizations_organizationid_projects_projectid_tcf_vendors
***
title: Get TCF vendors for admin management
full: true
\_openapi:
preload:
* [https://api.concord.tech/docs/json/privacy-v1/](https://api.concord.tech/docs/json/privacy-v1/)
method: GET
webhook: false
toc: \[]
structuredData:
headings: \[]
contents:
* content: Retrieve TCF vendors for admin management interface with filtering
options.
***
{/* This file was generated by Fumadocs. Do not edit this file directly. Any changes should be made by running the generation command again. */}
export default function Layout(props) {
const { APIPage, OpenAPIPage } = props.components ?? {};
// "APIPage" is the old name from v10, this allows both for backward compatibility
const Comp = OpenAPIPage ?? APIPage;
return (
<>
{props.children}
);
}
# Update TCF vendor selections
URL: /docs/privacy-v1/tcf-vendor-management/patch_privacy_v1_organizations_organizationid_projects_projectid_regions_regionid_tcf_vendor_selection
***
title: Update TCF vendor selections
full: true
\_openapi:
preload:
* [https://api.concord.tech/docs/json/privacy-v1/](https://api.concord.tech/docs/json/privacy-v1/)
method: PATCH
webhook: false
toc: \[]
structuredData:
headings: \[]
contents:
* content: Update TCF vendor selections for a region. Supports both single vendor
and bulk updates.
***
{/* This file was generated by Fumadocs. Do not edit this file directly. Any changes should be made by running the generation command again. */}
export default function Layout(props) {
const { APIPage, OpenAPIPage } = props.components ?? {};
// "APIPage" is the old name from v10, this allows both for backward compatibility
const Comp = OpenAPIPage ?? APIPage;
return (
<>
{props.children}
);
}
# Delete one or more tracker scan results
URL: /docs/privacy-v1/tracker-scans/delete_privacy_v1_organizations_organizationid_projects_projectid_tracker_scans
***
title: Delete one or more tracker scan results
full: true
\_openapi:
preload:
* [https://api.concord.tech/docs/json/privacy-v1/](https://api.concord.tech/docs/json/privacy-v1/)
method: DELETE
webhook: false
toc: \[]
structuredData:
headings: \[]
contents:
* content: 'Deletes a single tracker scan result (`{ id }`) or a batch (`{ ids: [...] }`) in one request.'
***
{/* This file was generated by Fumadocs. Do not edit this file directly. Any changes should be made by running the generation command again. */}
export default function Layout(props) {
const { APIPage, OpenAPIPage } = props.components ?? {};
// "APIPage" is the old name from v10, this allows both for backward compatibility
const Comp = OpenAPIPage ?? APIPage;
return (
<>
{props.children}
);
}
# Delete tracker scan result by ID
URL: /docs/privacy-v1/tracker-scans/delete_privacy_v1_organizations_organizationid_projects_projectid_tracker_scans_id
***
title: Delete tracker scan result by ID
full: true
\_openapi:
preload:
* [https://api.concord.tech/docs/json/privacy-v1/](https://api.concord.tech/docs/json/privacy-v1/)
method: DELETE
webhook: false
toc: \[]
structuredData:
headings: \[]
contents:
* content: Deletes a tracker scan result.
***
{/* This file was generated by Fumadocs. Do not edit this file directly. Any changes should be made by running the generation command again. */}
export default function Layout(props) {
const { APIPage, OpenAPIPage } = props.components ?? {};
// "APIPage" is the old name from v10, this allows both for backward compatibility
const Comp = OpenAPIPage ?? APIPage;
return (
<>
{props.children}
);
}
# Get tracker scan results
URL: /docs/privacy-v1/tracker-scans/get_privacy_v1_organizations_organizationid_projects_projectid_tracker_scan_results
***
title: Get tracker scan results
full: true
\_openapi:
preload:
* [https://api.concord.tech/docs/json/privacy-v1/](https://api.concord.tech/docs/json/privacy-v1/)
method: GET
webhook: false
toc: \[]
structuredData:
headings: \[]
contents:
* content: Gets the tracker scan results for a project.
***
{/* This file was generated by Fumadocs. Do not edit this file directly. Any changes should be made by running the generation command again. */}
export default function Layout(props) {
const { APIPage, OpenAPIPage } = props.components ?? {};
// "APIPage" is the old name from v10, this allows both for backward compatibility
const Comp = OpenAPIPage ?? APIPage;
return (
<>
{props.children}
);
}
# Update tracker scan
URL: /docs/privacy-v1/tracker-scans/patch_privacy_v1_organizations_organizationid_projects_projectid_tracker_scans_id
***
title: Update tracker scan
full: true
\_openapi:
preload:
* [https://api.concord.tech/docs/json/privacy-v1/](https://api.concord.tech/docs/json/privacy-v1/)
method: PATCH
webhook: false
toc: \[]
structuredData:
headings: \[]
contents:
* content: Updates a tracker scan result.
***
{/* This file was generated by Fumadocs. Do not edit this file directly. Any changes should be made by running the generation command again. */}
export default function Layout(props) {
const { APIPage, OpenAPIPage } = props.components ?? {};
// "APIPage" is the old name from v10, this allows both for backward compatibility
const Comp = OpenAPIPage ?? APIPage;
return (
<>
{props.children}
);
}
# Create new tracker scan
URL: /docs/privacy-v1/tracker-scans/post_privacy_v1_organizations_organizationid_projects_projectid_tracker_scans
***
title: Create new tracker scan
full: true
\_openapi:
preload:
* [https://api.concord.tech/docs/json/privacy-v1/](https://api.concord.tech/docs/json/privacy-v1/)
method: POST
webhook: false
toc: \[]
structuredData:
headings: \[]
contents:
* content: Start a new manual tracker scan for the current project
(paid-plans-only; billed per domain scanned).
***
{/* This file was generated by Fumadocs. Do not edit this file directly. Any changes should be made by running the generation command again. */}
export default function Layout(props) {
const { APIPage, OpenAPIPage } = props.components ?? {};
// "APIPage" is the old name from v10, this allows both for backward compatibility
const Comp = OpenAPIPage ?? APIPage;
return (
<>
{props.children}
);
}
# Delete one or more trackers
URL: /docs/privacy-v1/trackers/delete_privacy_v1_organizations_organizationid_projects_projectid_trackers
***
title: Delete one or more trackers
full: true
\_openapi:
preload:
* [https://api.concord.tech/docs/json/privacy-v1/](https://api.concord.tech/docs/json/privacy-v1/)
method: DELETE
webhook: false
toc: \[]
structuredData:
headings: \[]
contents:
* content: 'Deletes a single tracker (`{ id }`) or a batch (`{ ids: [...] }`) in
one request.'
***
{/* This file was generated by Fumadocs. Do not edit this file directly. Any changes should be made by running the generation command again. */}
export default function Layout(props) {
const { APIPage, OpenAPIPage } = props.components ?? {};
// "APIPage" is the old name from v10, this allows both for backward compatibility
const Comp = OpenAPIPage ?? APIPage;
return (
<>
{props.children}
);
}
# Delete tracker by ID
URL: /docs/privacy-v1/trackers/delete_privacy_v1_organizations_organizationid_projects_projectid_trackers_id
***
title: Delete tracker by ID
full: true
\_openapi:
preload:
* [https://api.concord.tech/docs/json/privacy-v1/](https://api.concord.tech/docs/json/privacy-v1/)
method: DELETE
webhook: false
toc: \[]
structuredData:
headings: \[]
contents:
* content: Deletes a tracker.
***
{/* This file was generated by Fumadocs. Do not edit this file directly. Any changes should be made by running the generation command again. */}
export default function Layout(props) {
const { APIPage, OpenAPIPage } = props.components ?? {};
// "APIPage" is the old name from v10, this allows both for backward compatibility
const Comp = OpenAPIPage ?? APIPage;
return (
<>
{props.children}
);
}
# Get trackers
URL: /docs/privacy-v1/trackers/get_privacy_v1_organizations_organizationid_projects_projectid_trackers
***
title: Get trackers
full: true
\_openapi:
preload:
* [https://api.concord.tech/docs/json/privacy-v1/](https://api.concord.tech/docs/json/privacy-v1/)
method: GET
webhook: false
toc: \[]
structuredData:
headings: \[]
contents:
* content: Gets the trackers for a project.
***
{/* This file was generated by Fumadocs. Do not edit this file directly. Any changes should be made by running the generation command again. */}
export default function Layout(props) {
const { APIPage, OpenAPIPage } = props.components ?? {};
// "APIPage" is the old name from v10, this allows both for backward compatibility
const Comp = OpenAPIPage ?? APIPage;
return (
<>
{props.children}
);
}
# Update tracker
URL: /docs/privacy-v1/trackers/patch_privacy_v1_organizations_organizationid_projects_projectid_trackers_id
***
title: Update tracker
full: true
\_openapi:
preload:
* [https://api.concord.tech/docs/json/privacy-v1/](https://api.concord.tech/docs/json/privacy-v1/)
method: PATCH
webhook: false
toc: \[]
structuredData:
headings: \[]
contents:
* content: Updates a tracker.
***
{/* This file was generated by Fumadocs. Do not edit this file directly. Any changes should be made by running the generation command again. */}
export default function Layout(props) {
const { APIPage, OpenAPIPage } = props.components ?? {};
// "APIPage" is the old name from v10, this allows both for backward compatibility
const Comp = OpenAPIPage ?? APIPage;
return (
<>
{props.children}
);
}
# Create new tracker(s)
URL: /docs/privacy-v1/trackers/post_privacy_v1_organizations_organizationid_projects_projectid_trackers
***
title: Create new tracker(s)
full: true
\_openapi:
preload:
* [https://api.concord.tech/docs/json/privacy-v1/](https://api.concord.tech/docs/json/privacy-v1/)
method: POST
webhook: false
toc: \[]
structuredData:
headings: \[]
contents:
* content: Create one or more new trackers for the current project.
***
{/* This file was generated by Fumadocs. Do not edit this file directly. Any changes should be made by running the generation command again. */}
export default function Layout(props) {
const { APIPage, OpenAPIPage } = props.components ?? {};
// "APIPage" is the old name from v10, this allows both for backward compatibility
const Comp = OpenAPIPage ?? APIPage;
return (
<>
{props.children}
);
}
# Delete user
URL: /docs/privacy-v1/users/delete_privacy_v1_organizations_organizationid_users_userid
***
title: Delete user
full: true
\_openapi:
preload:
* [https://api.concord.tech/docs/json/privacy-v1/](https://api.concord.tech/docs/json/privacy-v1/)
method: DELETE
webhook: false
toc: \[]
structuredData:
headings: \[]
contents:
* content: Deletes a user.
***
{/* This file was generated by Fumadocs. Do not edit this file directly. Any changes should be made by running the generation command again. */}
export default function Layout(props) {
const { APIPage, OpenAPIPage } = props.components ?? {};
// "APIPage" is the old name from v10, this allows both for backward compatibility
const Comp = OpenAPIPage ?? APIPage;
return (
<>
{props.children}
);
}
# Get users
URL: /docs/privacy-v1/users/get_privacy_v1_organizations_organizationid_users
***
title: Get users
full: true
\_openapi:
preload:
* [https://api.concord.tech/docs/json/privacy-v1/](https://api.concord.tech/docs/json/privacy-v1/)
method: GET
webhook: false
toc: \[]
structuredData:
headings: \[]
contents:
* content: Gets the users for an Organization.
***
{/* This file was generated by Fumadocs. Do not edit this file directly. Any changes should be made by running the generation command again. */}
export default function Layout(props) {
const { APIPage, OpenAPIPage } = props.components ?? {};
// "APIPage" is the old name from v10, this allows both for backward compatibility
const Comp = OpenAPIPage ?? APIPage;
return (
<>
{props.children}
);
}
# Update user
URL: /docs/privacy-v1/users/patch_privacy_v1_organizations_organizationid_users_userid
***
title: Update user
full: true
\_openapi:
preload:
* [https://api.concord.tech/docs/json/privacy-v1/](https://api.concord.tech/docs/json/privacy-v1/)
method: PATCH
webhook: false
toc: \[]
structuredData:
headings: \[]
contents:
* content: Updates a user.
***
{/* This file was generated by Fumadocs. Do not edit this file directly. Any changes should be made by running the generation command again. */}
export default function Layout(props) {
const { APIPage, OpenAPIPage } = props.components ?? {};
// "APIPage" is the old name from v10, this allows both for backward compatibility
const Comp = OpenAPIPage ?? APIPage;
return (
<>
{props.children}
);
}
# Create user
URL: /docs/privacy-v1/users/post_privacy_v1_organizations_organizationid_users
***
title: Create user
full: true
\_openapi:
preload:
* [https://api.concord.tech/docs/json/privacy-v1/](https://api.concord.tech/docs/json/privacy-v1/)
method: POST
webhook: false
toc: \[]
structuredData:
headings: \[]
contents:
* content: Creates a new user in an organization.
***
{/* This file was generated by Fumadocs. Do not edit this file directly. Any changes should be made by running the generation command again. */}
export default function Layout(props) {
const { APIPage, OpenAPIPage } = props.components ?? {};
// "APIPage" is the old name from v10, this allows both for backward compatibility
const Comp = OpenAPIPage ?? APIPage;
return (
<>
{props.children}
);
}
# Resend organization invite
URL: /docs/privacy-v1/users/post_privacy_v1_organizations_organizationid_users_userid_resend_invite
***
title: Resend organization invite
full: true
\_openapi:
preload:
* [https://api.concord.tech/docs/json/privacy-v1/](https://api.concord.tech/docs/json/privacy-v1/)
method: POST
webhook: false
toc: \[]
structuredData:
headings: \[]
contents:
* content: Resend an organization invite to a user.
***
{/* This file was generated by Fumadocs. Do not edit this file directly. Any changes should be made by running the generation command again. */}
export default function Layout(props) {
const { APIPage, OpenAPIPage } = props.components ?? {};
// "APIPage" is the old name from v10, this allows both for backward compatibility
const Comp = OpenAPIPage ?? APIPage;
return (
<>
{props.children}
);
}
# Get compliance requests
URL: /docs/site-v1/compliance-requests/get_site_v1_projectid_compliance_requests
***
title: Get compliance requests
full: true
\_openapi:
preload:
* [https://api.concord.tech/docs/json/site-v1/](https://api.concord.tech/docs/json/site-v1/)
method: GET
webhook: false
toc: \[]
structuredData:
headings: \[]
contents:
* content: Get compliance requests for the current user.
***
{/* This file was generated by Fumadocs. Do not edit this file directly. Any changes should be made by running the generation command again. */}
export default function Layout(props) {
const { APIPage, OpenAPIPage } = props.components ?? {};
// "APIPage" is the old name from v10, this allows both for backward compatibility
const Comp = OpenAPIPage ?? APIPage;
return (
<>
{props.children}
);
}
# Get compliance request by ID
URL: /docs/site-v1/compliance-requests/get_site_v1_projectid_compliance_requests_compliancerequestid
***
title: Get compliance request by ID
full: true
\_openapi:
preload:
* [https://api.concord.tech/docs/json/site-v1/](https://api.concord.tech/docs/json/site-v1/)
method: GET
webhook: false
toc: \[]
structuredData:
headings: \[]
contents:
* content: Get a compliance request by id.
***
{/* This file was generated by Fumadocs. Do not edit this file directly. Any changes should be made by running the generation command again. */}
export default function Layout(props) {
const { APIPage, OpenAPIPage } = props.components ?? {};
// "APIPage" is the old name from v10, this allows both for backward compatibility
const Comp = OpenAPIPage ?? APIPage;
return (
<>
{props.children}
);
}
# Create compliance request(s)
URL: /docs/site-v1/compliance-requests/post_site_v1_projectid_compliance_requests
***
title: Create compliance request(s)
full: true
\_openapi:
preload:
* [https://api.concord.tech/docs/json/site-v1/](https://api.concord.tech/docs/json/site-v1/)
method: POST
webhook: false
toc: \[]
structuredData:
headings: \[]
contents:
* content: Create new compliance request(s).
***
{/* This file was generated by Fumadocs. Do not edit this file directly. Any changes should be made by running the generation command again. */}
export default function Layout(props) {
const { APIPage, OpenAPIPage } = props.components ?? {};
// "APIPage" is the old name from v10, this allows both for backward compatibility
const Comp = OpenAPIPage ?? APIPage;
return (
<>
{props.children}
);
}
# Send compliance details
URL: /docs/site-v1/compliance-requests/post_site_v1_projectid_compliance_requests_id_send_details
***
title: Send compliance details
full: true
\_openapi:
preload:
* [https://api.concord.tech/docs/json/site-v1/](https://api.concord.tech/docs/json/site-v1/)
method: POST
webhook: false
toc: \[]
structuredData:
headings: \[]
contents:
* content: Send compliance details for a compliance request.
***
{/* This file was generated by Fumadocs. Do not edit this file directly. Any changes should be made by running the generation command again. */}
export default function Layout(props) {
const { APIPage, OpenAPIPage } = props.components ?? {};
// "APIPage" is the old name from v10, this allows both for backward compatibility
const Comp = OpenAPIPage ?? APIPage;
return (
<>
{props.children}
);
}
# Verify compliance request with token
URL: /docs/site-v1/compliance-requests/post_site_v1_projectid_compliance_requests_id_verify_token
***
title: Verify compliance request with token
full: true
\_openapi:
preload:
* [https://api.concord.tech/docs/json/site-v1/](https://api.concord.tech/docs/json/site-v1/)
method: POST
webhook: false
toc: \[]
structuredData:
headings: \[]
contents:
* content: Verify a compliance request using a token.
***
{/* This file was generated by Fumadocs. Do not edit this file directly. Any changes should be made by running the generation command again. */}
export default function Layout(props) {
const { APIPage, OpenAPIPage } = props.components ?? {};
// "APIPage" is the old name from v10, this allows both for backward compatibility
const Comp = OpenAPIPage ?? APIPage;
return (
<>
{props.children}
);
}
# Get consent events
URL: /docs/site-v1/consent-events/get_site_v1_projectid_consent_events
***
title: Get consent events
full: true
\_openapi:
preload:
* [https://api.concord.tech/docs/json/site-v1/](https://api.concord.tech/docs/json/site-v1/)
method: GET
webhook: false
toc: \[]
structuredData:
headings: \[]
contents:
* content: Get consent events for the current user.
***
{/* This file was generated by Fumadocs. Do not edit this file directly. Any changes should be made by running the generation command again. */}
export default function Layout(props) {
const { APIPage, OpenAPIPage } = props.components ?? {};
// "APIPage" is the old name from v10, this allows both for backward compatibility
const Comp = OpenAPIPage ?? APIPage;
return (
<>
{props.children}
);
}
# Get consent event by ID
URL: /docs/site-v1/consent-events/get_site_v1_projectid_consent_events_id
***
title: Get consent event by ID
full: true
\_openapi:
preload:
* [https://api.concord.tech/docs/json/site-v1/](https://api.concord.tech/docs/json/site-v1/)
method: GET
webhook: false
toc: \[]
structuredData:
headings: \[]
contents:
* content: Get a consent event by ID.
***
{/* This file was generated by Fumadocs. Do not edit this file directly. Any changes should be made by running the generation command again. */}
export default function Layout(props) {
const { APIPage, OpenAPIPage } = props.components ?? {};
// "APIPage" is the old name from v10, this allows both for backward compatibility
const Comp = OpenAPIPage ?? APIPage;
return (
<>
{props.children}
);
}
# Create consent event(s)
URL: /docs/site-v1/consent-events/post_site_v1_projectid_consent_events
***
title: Create consent event(s)
full: true
\_openapi:
preload:
* [https://api.concord.tech/docs/json/site-v1/](https://api.concord.tech/docs/json/site-v1/)
method: POST
webhook: false
toc: \[]
structuredData:
headings: \[]
contents:
* content: Create consent event(s) for the current user.
***
{/* This file was generated by Fumadocs. Do not edit this file directly. Any changes should be made by running the generation command again. */}
export default function Layout(props) {
const { APIPage, OpenAPIPage } = props.components ?? {};
// "APIPage" is the old name from v10, this allows both for backward compatibility
const Comp = OpenAPIPage ?? APIPage;
return (
<>
{props.children}
);
}
# Get consent state
URL: /docs/site-v1/consent-state/get_site_v1_projectid_consent_state
***
title: Get consent state
full: true
\_openapi:
preload:
* [https://api.concord.tech/docs/json/site-v1/](https://api.concord.tech/docs/json/site-v1/)
method: GET
webhook: false
toc: \[]
structuredData:
headings: \[]
contents:
* content: Get the current consent state for the current user.
***
{/* This file was generated by Fumadocs. Do not edit this file directly. Any changes should be made by running the generation command again. */}
export default function Layout(props) {
const { APIPage, OpenAPIPage } = props.components ?? {};
// "APIPage" is the old name from v10, this allows both for backward compatibility
const Comp = OpenAPIPage ?? APIPage;
return (
<>
{props.children}
);
}
# Get consent types
URL: /docs/site-v1/consent-types/get_site_v1_projectid_consent_types
***
title: Get consent types
full: true
\_openapi:
preload:
* [https://api.concord.tech/docs/json/site-v1/](https://api.concord.tech/docs/json/site-v1/)
method: GET
webhook: false
toc: \[]
structuredData:
headings: \[]
contents:
* content: Get the consent types for the current project.
***
{/* This file was generated by Fumadocs. Do not edit this file directly. Any changes should be made by running the generation command again. */}
export default function Layout(props) {
const { APIPage, OpenAPIPage } = props.components ?? {};
// "APIPage" is the old name from v10, this allows both for backward compatibility
const Comp = OpenAPIPage ?? APIPage;
return (
<>
{props.children}
);
}
# Health check
URL: /docs/site-v1/health-check/get_site_v1_health_check
***
title: Health check
full: true
\_openapi:
preload:
* [https://api.concord.tech/docs/json/site-v1/](https://api.concord.tech/docs/json/site-v1/)
method: GET
webhook: false
toc: \[]
structuredData:
headings: \[]
contents:
* content: Health check for the API.
***
{/* This file was generated by Fumadocs. Do not edit this file directly. Any changes should be made by running the generation command again. */}
export default function Layout(props) {
const { APIPage, OpenAPIPage } = props.components ?? {};
// "APIPage" is the old name from v10, this allows both for backward compatibility
const Comp = OpenAPIPage ?? APIPage;
return (
<>
{props.children}
);
}
# Identify the current user
URL: /docs/site-v1/identity/post_site_v1_projectid_identify
***
title: Identify the current user
full: true
\_openapi:
preload:
* [https://api.concord.tech/docs/json/site-v1/](https://api.concord.tech/docs/json/site-v1/)
method: POST
webhook: false
toc: \[]
structuredData:
headings: \[]
contents:
* content: Identify the current session user by email or contextId. If a matching
identity is found, merges the current identity into the matched one
and returns synced consent state.
***
{/* This file was generated by Fumadocs. Do not edit this file directly. Any changes should be made by running the generation command again. */}
export default function Layout(props) {
const { APIPage, OpenAPIPage } = props.components ?? {};
// "APIPage" is the old name from v10, this allows both for backward compatibility
const Comp = OpenAPIPage ?? APIPage;
return (
<>
{props.children}
);
}
# Get session token
URL: /docs/site-v1/session/get_site_v1_projectid_session
***
title: Get session token
full: true
\_openapi:
preload:
* [https://api.concord.tech/docs/json/site-v1/](https://api.concord.tech/docs/json/site-v1/)
method: GET
webhook: false
toc: \[]
structuredData:
headings: \[]
contents:
* content: Get a session token for the current user.
***
{/* This file was generated by Fumadocs. Do not edit this file directly. Any changes should be made by running the generation command again. */}
export default function Layout(props) {
const { APIPage, OpenAPIPage } = props.components ?? {};
// "APIPage" is the old name from v10, this allows both for backward compatibility
const Comp = OpenAPIPage ?? APIPage;
return (
<>
{props.children}
);
}